Furniture
How To Spray Paint A Dresser
Modified: October 20, 2024
Transform your dresser with a sleek new look! Learn how to effortlessly spray paint your furniture for a stunning makeover.
(Many of the links in this article redirect to a specific reviewed product. Your purchase of these products through affiliate links helps to generate commission for Storables.com, at no extra cost. Learn more)
Introduction
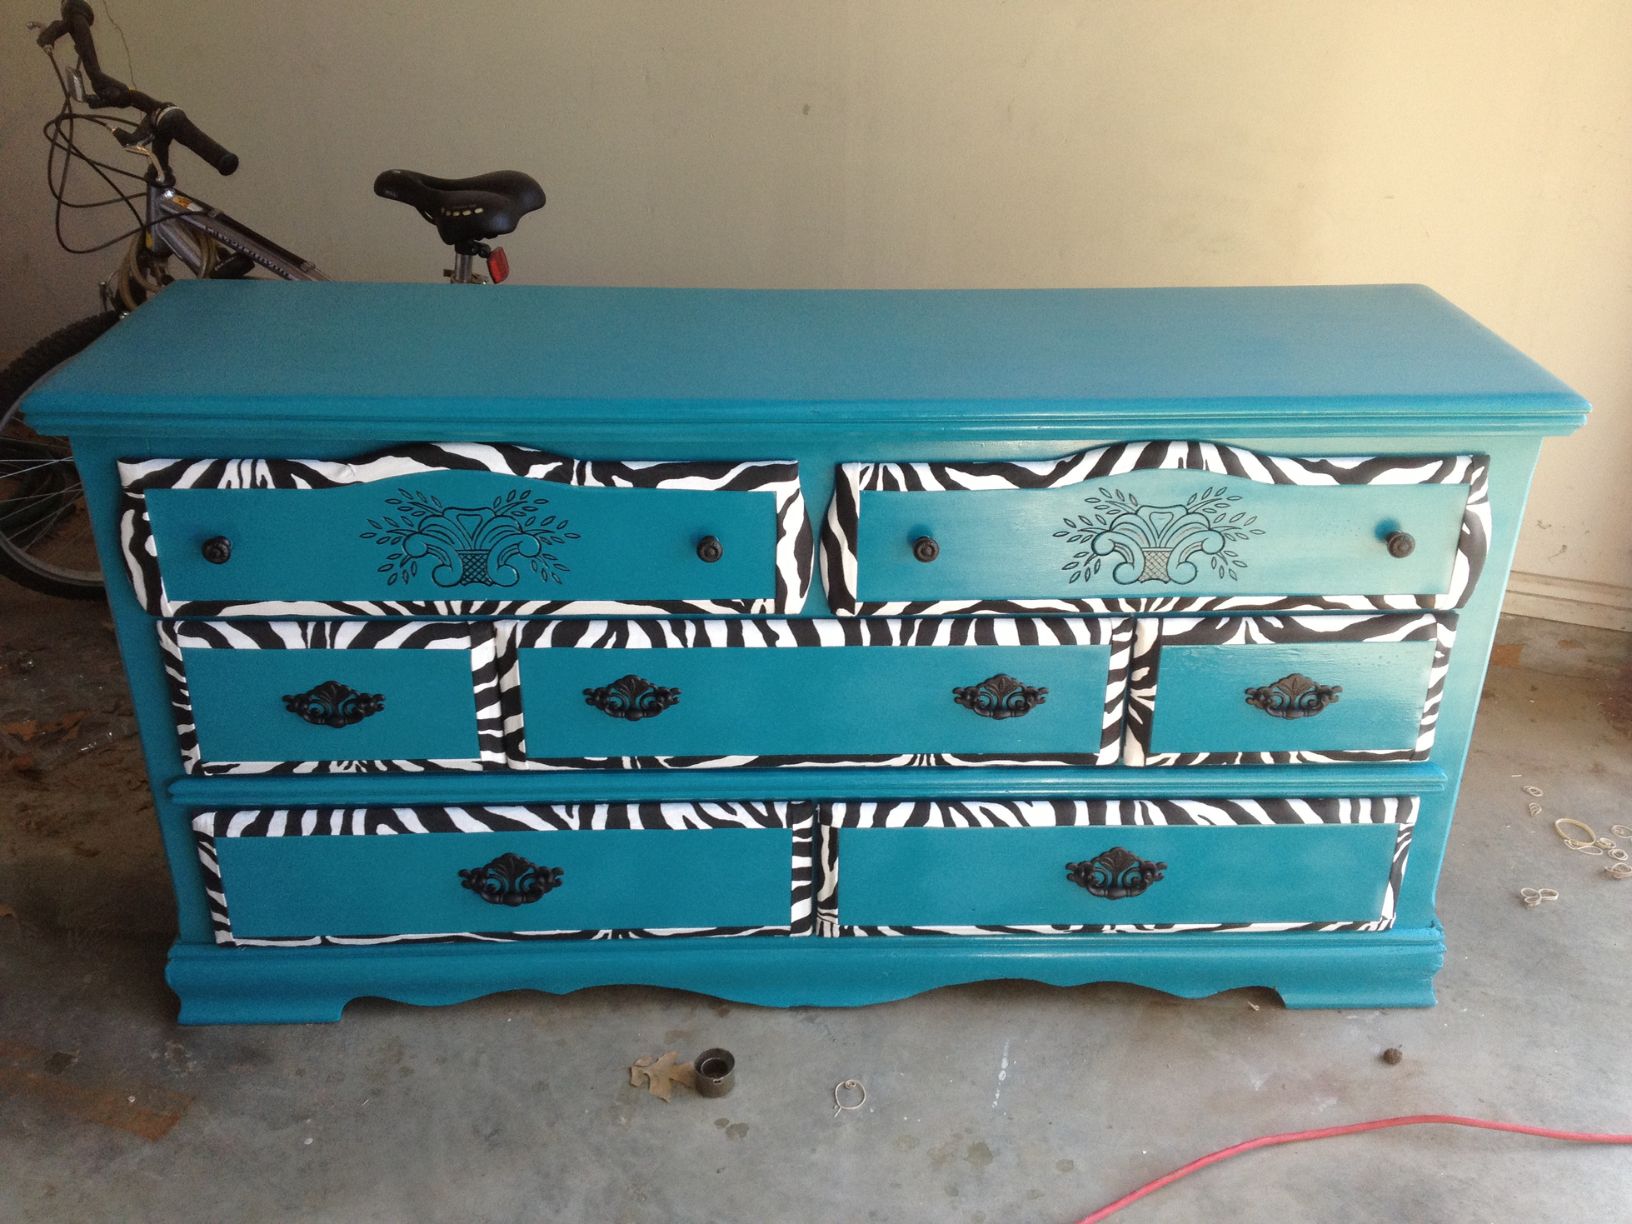
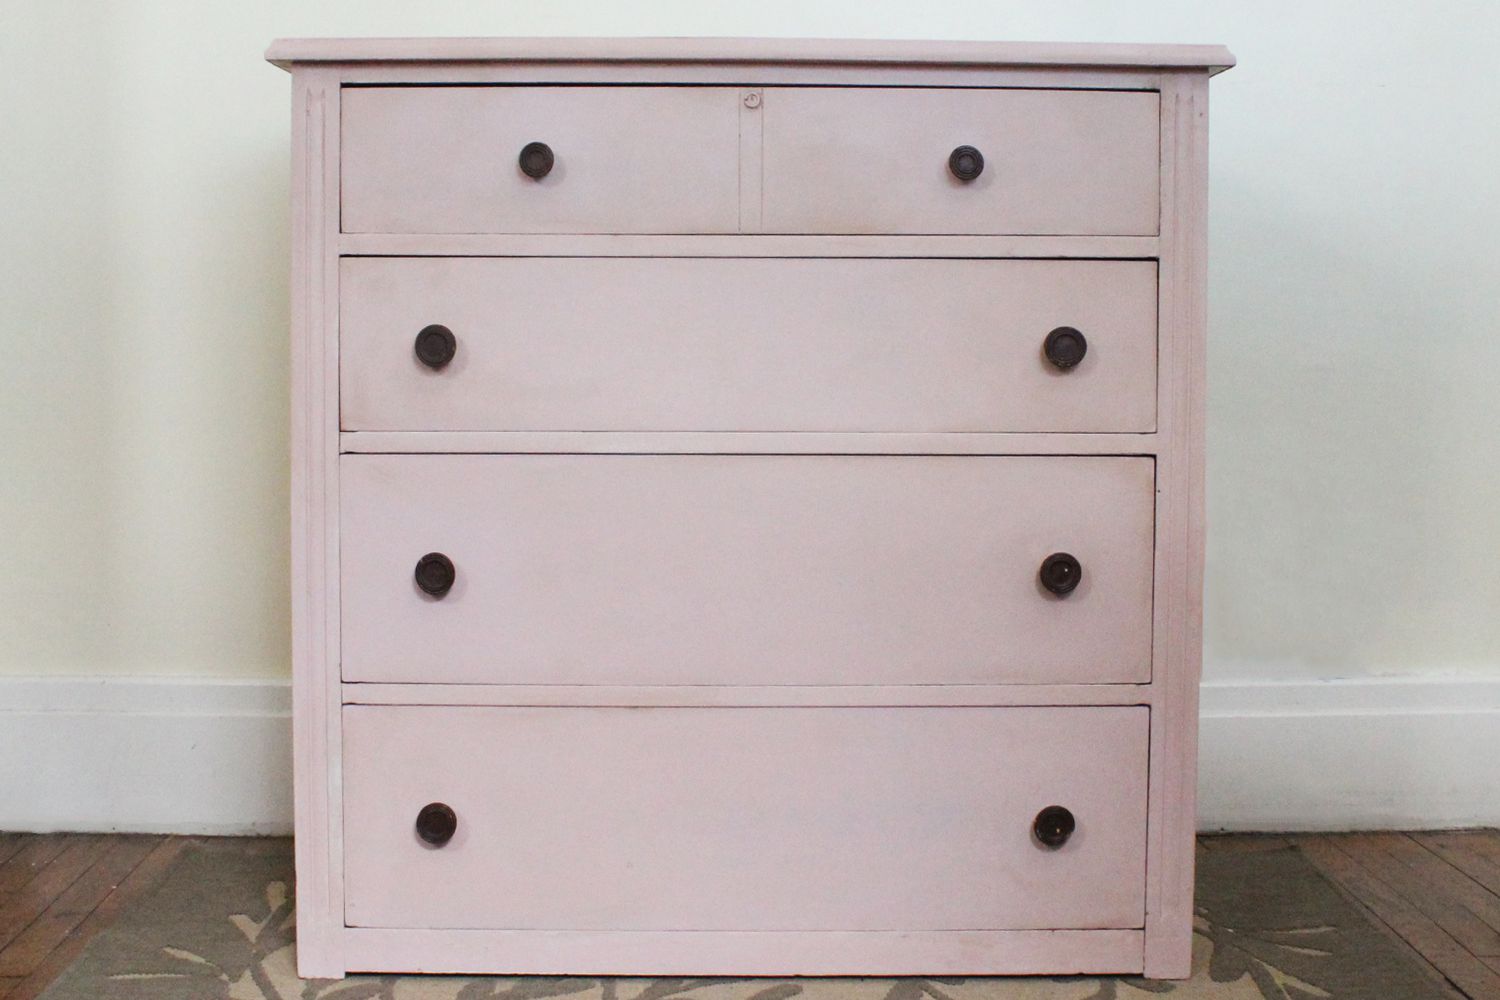
Are you looking to give your old dresser a fresh new look? A great way to transform the appearance of a dresser is by spray painting it. Not only does spray painting provide a smooth and even finish, but it also allows for a wide range of color options. Whether you want to update a vintage dresser or add a pop of color to a boring piece of furniture, spray painting is a fantastic DIY project that can completely revamp the look of your dresser.
In this article, we will guide you through the step-by-step process of spray painting a dresser. From the necessary materials to the finishing touches, we’ll cover everything you need to know to achieve a professional-looking result. So, gather your supplies and let’s get started!
Note: Before you start the project, make sure you have a well-ventilated area or work outside to ensure proper air circulation while using spray paint.
Key Takeaways:
- Transform your old dresser into a stunning, personalized piece with spray painting. Follow the meticulous steps for a professional-looking result and unleash your creativity with a wide range of color options.
- Achieve a smooth and long-lasting finish by properly preparing, priming, and spray painting your dresser. Add finishing touches for durability and enjoy your beautifully transformed furniture.
Read more: How To Spray Paint A Fence
Materials Needed
Before you begin spray painting your dresser, gather the following materials:
- Old dresser: Choose a dresser that you want to transform. Make sure it’s sturdy and in good condition.
- Sandpaper: Use sandpaper with a medium grit (around 120-150) to sand the surface of the dresser.
- Tack cloth: This sticky cloth is perfect for removing any dust or debris after sanding.
- Primer: Look for a high-quality primer suitable for use on wood furniture.
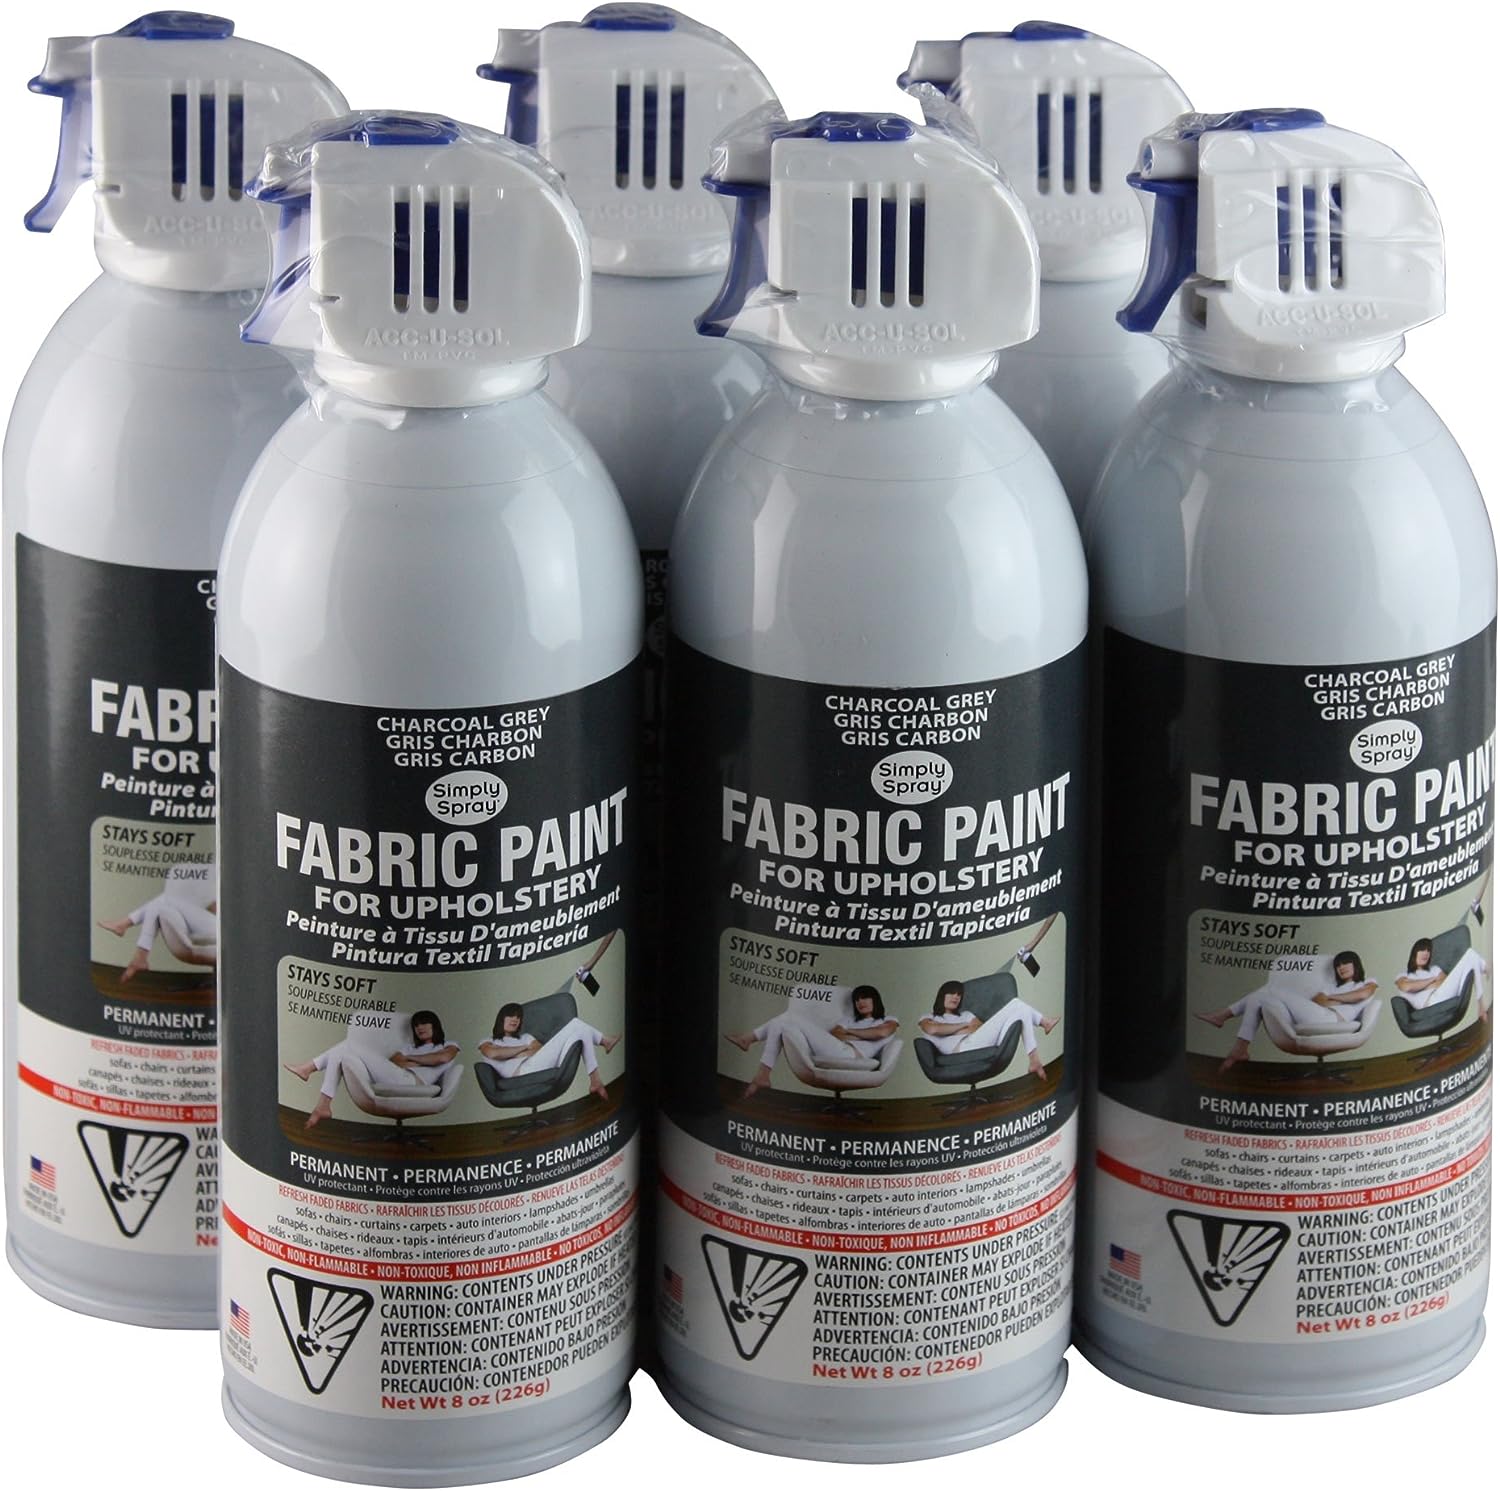
- Spray paint: Choose a spray paint specifically formulated for use on furniture. Consider the color and finish you desire.
- Clear coat: Optional but recommended for added durability and protection. Choose a clear coat that is compatible with the spray paint you’ve selected.
- Newspapers or drop cloths: Lay these down to protect your work area from overspray.
- Painter’s tape: Use this to cover any areas you want to protect from paint, such as knobs or hardware.
- Respirator mask: Ensure your safety by wearing a mask to protect against fumes.
- Gloves: Protect your hands from paint and chemicals with disposable gloves.
Once you have gathered all of the materials, you’re ready to move on to the preparation stage.
Step 1: Preparation
Before you start spray painting your dresser, it’s essential to properly prepare the surface. This involves sanding the dresser and cleaning it to ensure a smooth and clean base for the paint. Follow these steps:
Sanding the Dresser
Begin by using sandpaper with a medium grit (around 120-150) to sand the entire surface of the dresser. Sand in the direction of the wood grain to avoid any scratches. The goal is to create a roughened surface that will help the paint adhere better.
Focus on sanding any rough patches, scratches, or imperfections on the dresser’s surface. If the dresser has a glossy finish or has been previously painted, sanding will also help remove the top layer and provide better adhesion for the new paint.
Once you have sanded the entire surface, use a tack cloth to remove any dust or debris, ensuring a clean surface for the next step.
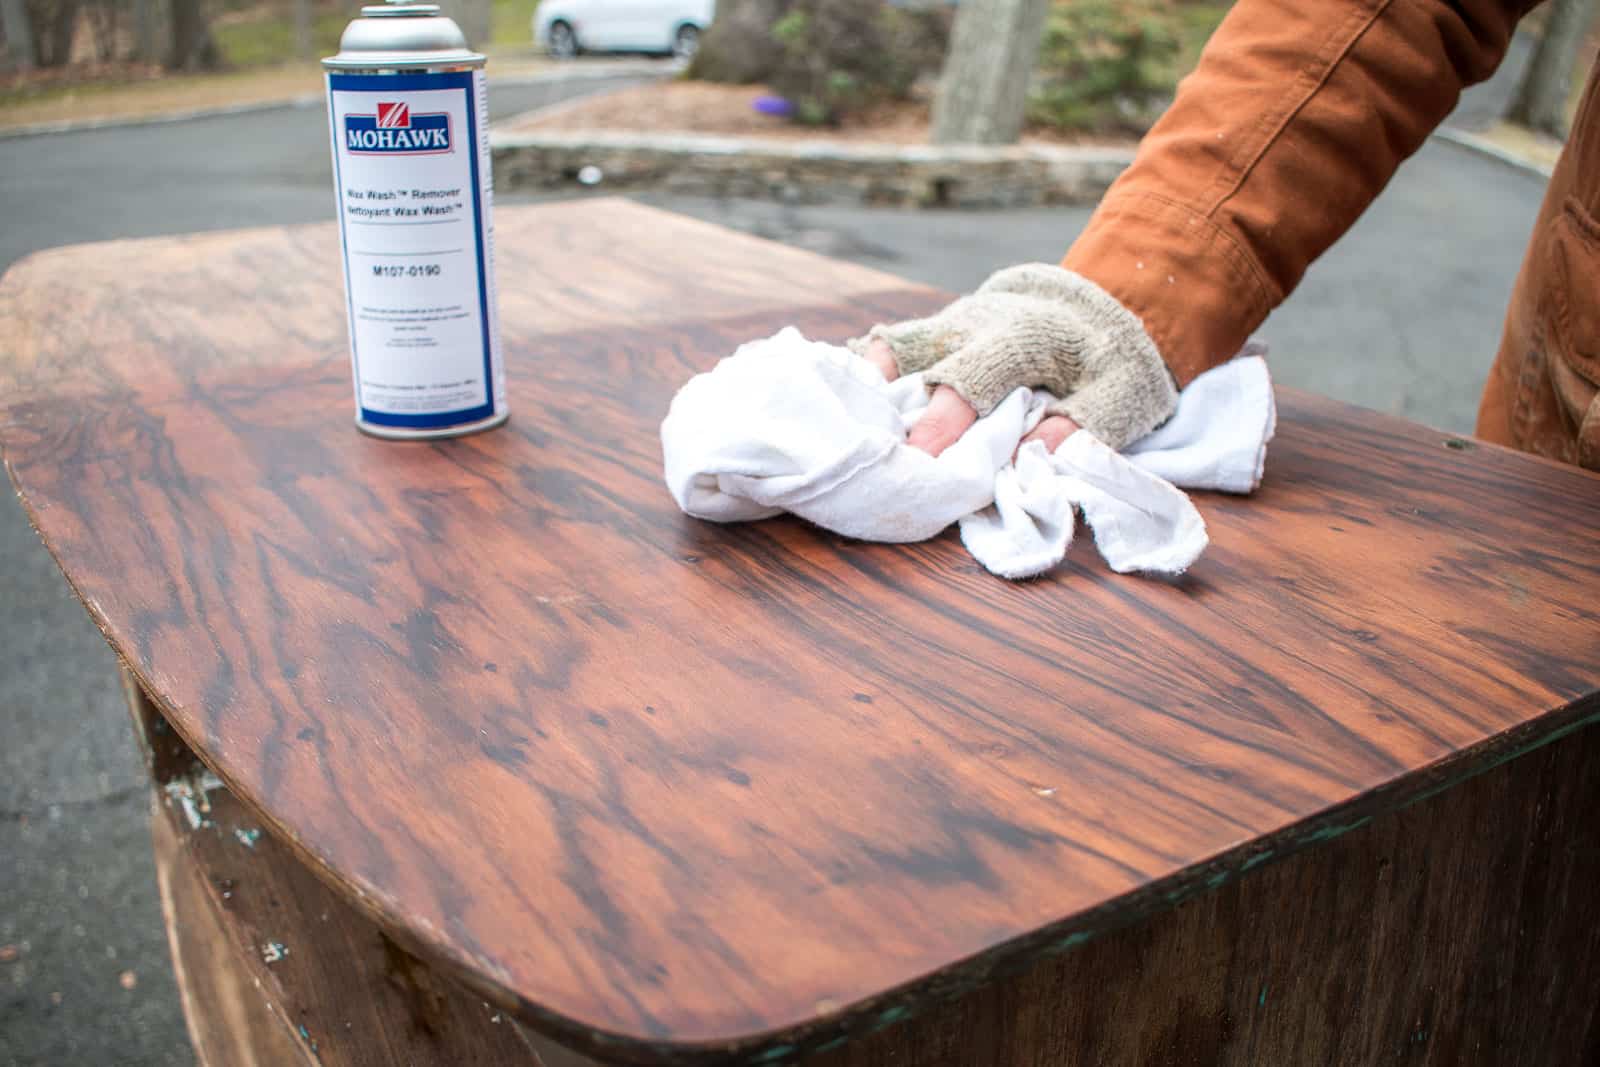
Cleaning the Dresser
Next, it’s crucial to clean the dresser thoroughly to remove any remaining dust or dirt. You can use a mild detergent mixed with water and a soft cloth to wipe down the surface. Pay close attention to areas that may accumulate grime, such as corners and crevices.
After cleaning, rinse the dresser with a clean, damp cloth to remove any soap residue. Allow the dresser to dry completely before moving on to the next step.
Properly sanding and cleaning the dresser will ensure that the paint adheres smoothly and provides a professional-looking finish. With the preparation complete, you’re now ready to move on to the next step: priming the dresser.
Read more: How To Store Spray Paint
Step 2: Priming
Priming is a crucial step in the spray painting process as it provides a smooth and even base for the paint to adhere to. Follow these steps to apply primer to your dresser:
Applying Primer to the Dresser
Before you begin, make sure you are working in a well-ventilated area or outdoors. Lay down newspapers or drop cloths to protect your work surface.
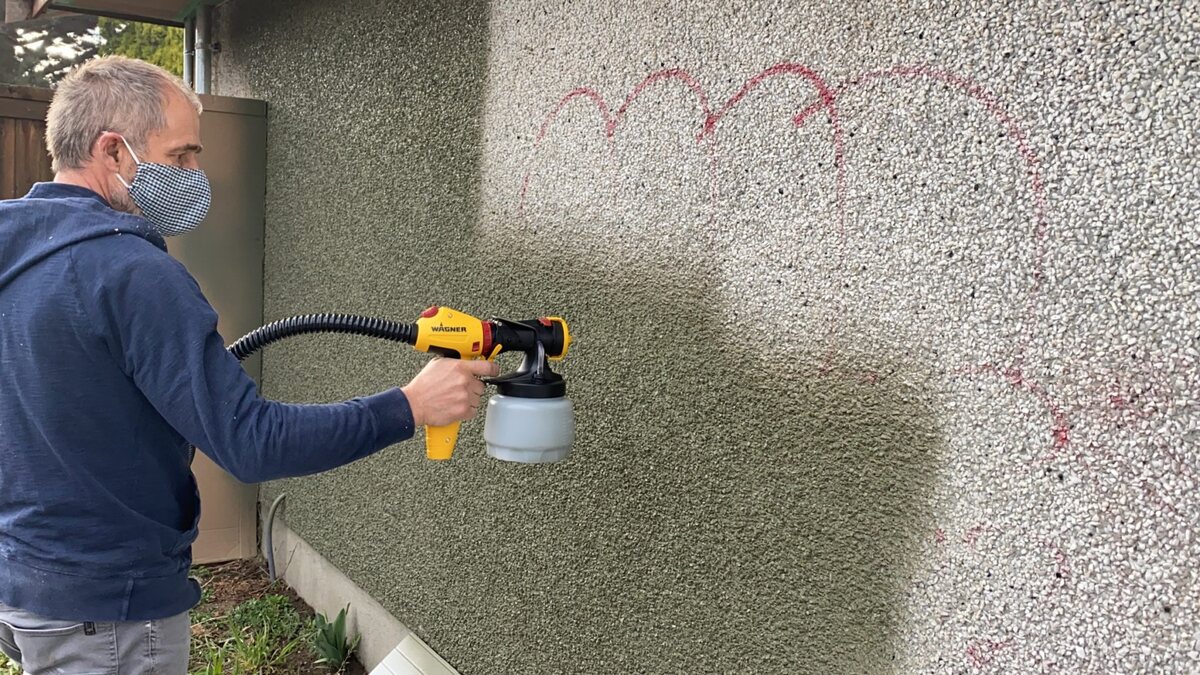
Start by shaking the can of primer thoroughly to ensure it’s well mixed. Hold the can 8-10 inches away from the dresser’s surface and apply a thin, even coat of primer. Move the can in a steady back-and-forth motion, overlapping each pass slightly to avoid streaks.
Take your time and cover the entire surface of the dresser. If you’re working with a dresser that has decorative molding or intricate detailing, use a small brush to reach these areas that cannot be easily sprayed.
Allow the first coat of primer to dry completely according to the manufacturer’s instructions. Once dry, gently sand the surface with fine-grit sandpaper (around 220 grit) to remove any imperfections or roughness. Wipe away any dust with a tack cloth.
Apply a second coat of primer in the same manner as the first, ensuring even coverage. Again, let it dry completely before moving on to the next step.
Priming the dresser helps the paint adhere better and prevents the wood from absorbing too much paint. It creates a strong foundation for your final paint color, ensuring a smooth and long-lasting finish. With the dresser primed, it’s time to move on to the exciting part: spray painting!
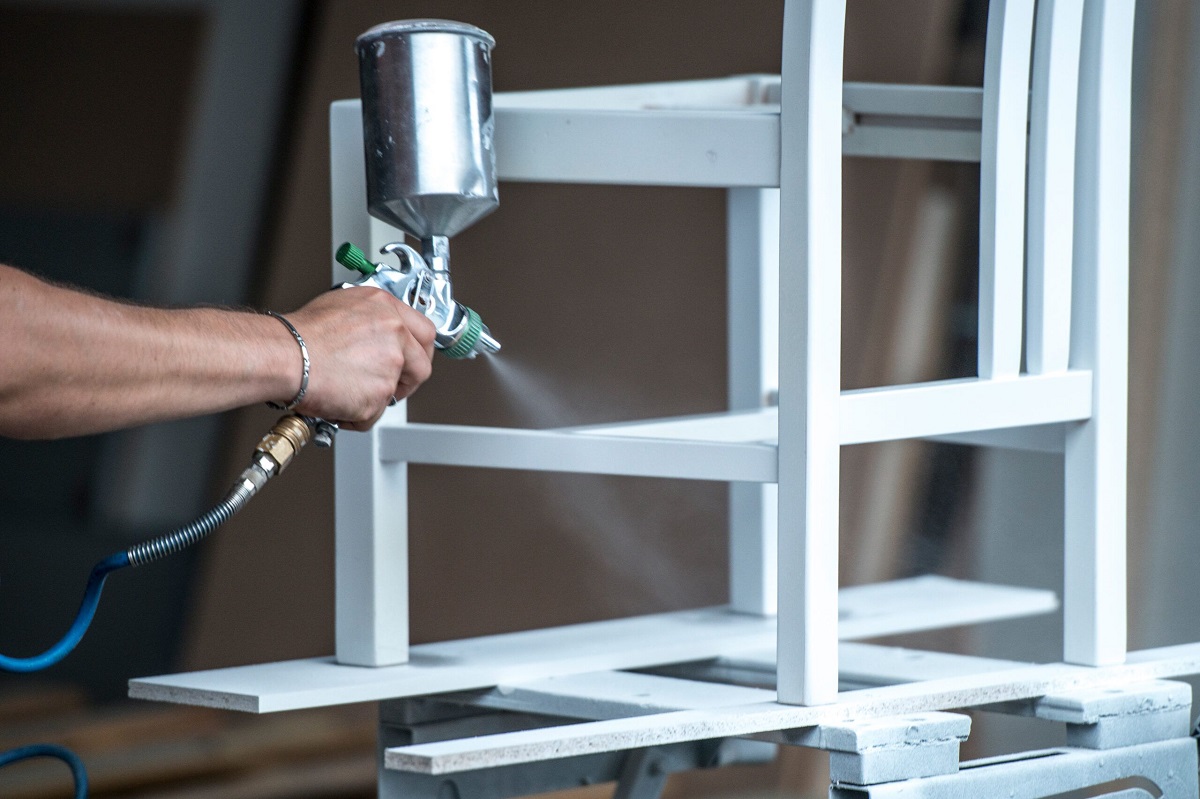
Step 3: Spray Painting
Now that you have prepared the dresser and applied the primer, it’s time to start spray painting. Follow these steps to achieve a beautifully painted dresser:
Choosing the Paint Color
Before you start spraying the dresser, decide on the color you want to use. Consider the overall aesthetic of the room where the dresser will be placed. Do you want a bold and vibrant color that stands out, or a more neutral tone that complements the existing decor?
Take your time to browse through various paint options and choose a spray paint specifically designed for furniture. Consider factors such as the finish (matte, satin, gloss) and the durability of the paint. Make sure to read the instructions on the paint can for any specific recommendations.
Read more: How To Spray Paint Glass Vases
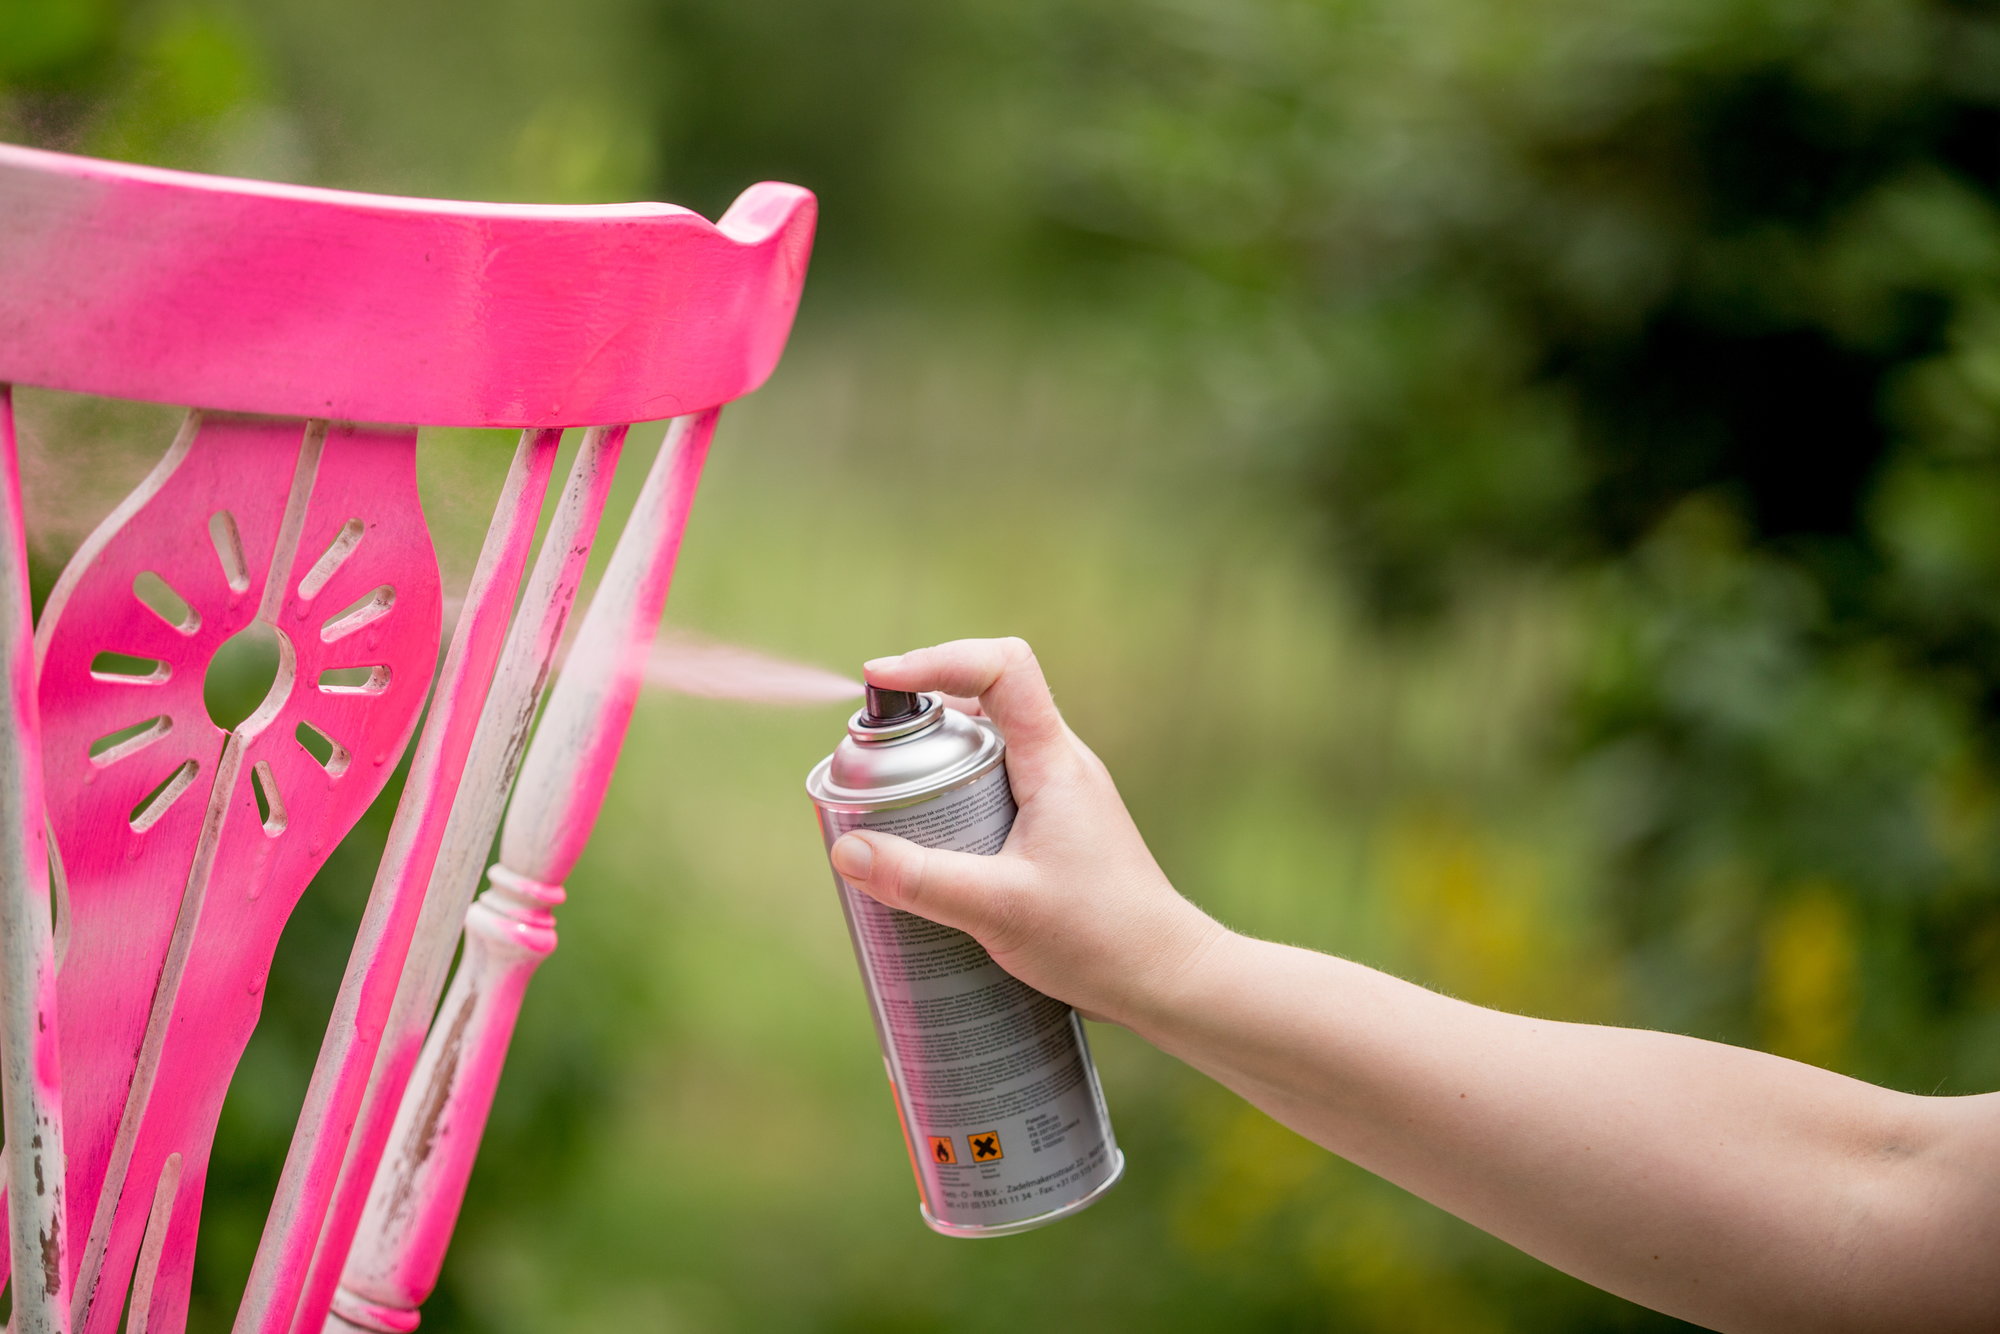
Applying the First Coat
Begin by shaking the spray paint can vigorously for at least one minute to ensure it’s well mixed. Hold the can approximately 8-10 inches away from the surface of the dresser, and begin spraying using a smooth and sweeping motion.
Start at the top of the dresser and work your way down, overlapping each stroke slightly to ensure even coverage. Make sure to spray from different angles to reach all the nooks and crannies of the dresser.
Apply a thin and even first coat of paint, keeping the nozzle of the can in constant motion to avoid drips or pooling. It’s better to apply multiple light coats than one heavy coat, as this will reduce the risk of unevenness and drips.
Applying Additional Coats if Necessary
After applying the first coat, allow it to dry according to the manufacturer’s instructions. Inspect the surface for any thin or uneven areas. If needed, apply additional coats of spray paint to achieve the desired color and coverage.
Remember to follow the drying time mentioned on the paint can between each coat. This will ensure that the previous coat is fully dry before applying the next one.
If you encounter any imperfections or drips while applying the paint, wait for the coat to dry completely and gently sand the surface with fine-grit sandpaper. Wipe away any dust with a tack cloth before applying the next coat.
Continue applying coats of spray paint until you achieve a smooth and uniform finish. Take your time and be patient, as multiple light coats will result in a better final outcome. With the painting complete, it’s time to move on to the final step: finishing touches.
Step 4: Finishing Touches
After completing the spray painting process, it’s important to add some finishing touches to ensure the longevity and durability of your newly painted dresser. This involves applying a clear coat and reassembling the dresser. Follow these steps to give your dresser the final polish:
Applying a Clear Coat
While not mandatory, applying a clear coat over the spray paint can provide an extra layer of protection and enhance the longevity of your dresser’s finish. Clear coats come in a variety of finishes, such as matte, satin, or gloss. Choose a clear coat that complements the finish of your paint.
Make sure the spray paint on the dresser is completely dry before applying the clear coat. Shake the clear coat can thoroughly to ensure proper mixing of the product. Hold the can 8-10 inches away from the surface and apply a light and even coat of clear coat. Continue to spray in a smooth, sweeping motion, overlapping each stroke slightly.
Allow the first coat of clear coat to dry completely according to the manufacturer’s instructions. Depending on the product, you may need to apply multiple coats of clear coat for optimal protection and shine. Remember to let each coat dry before applying the next one.
Reassembling the Dresser
Once the clear coat is dry, it’s time to reassemble your dresser. Carefully screw or attach any knobs, handles, or other hardware that were removed prior to painting. Take your time to ensure everything is securely in place.
If necessary, touch-up any areas that may have been accidentally scratched or damaged during the reassembly process with a small brush and matching paint color.
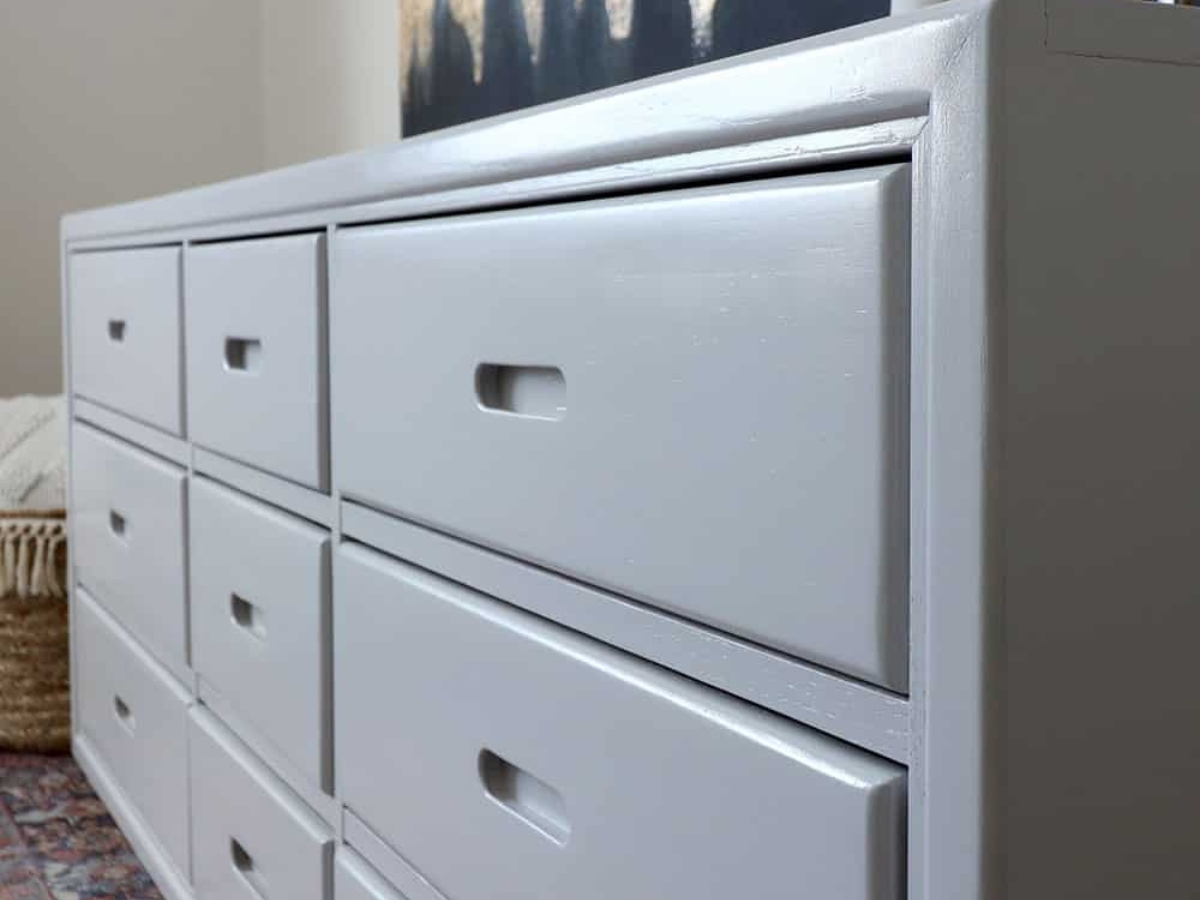
Now that your dresser is fully reassembled and the paint is dry, you can enjoy your beautifully spray painted furniture. It’s time to find the perfect spot in your home to showcase your work and appreciate the transformation you’ve made.
Congratulations! You have successfully spray painted your dresser and given it a fresh new look. With proper care and maintenance, your painted dresser will continue to be a stunning piece in your home for years to come.
Read more: How To Spray Paint Interior Walls
Conclusion
Congratulations on successfully completing the process of spray painting your dresser! By following the steps outlined in this article, you have transformed your old piece of furniture into a stunning and personalized addition to your home decor. The meticulous preparation, diligent priming, careful spray painting, and thoughtful finishing touches have all contributed to achieving a professional-looking result.
Remember, spray painting allows you to unleash your creativity and give your furniture a fresh new look. Don’t be afraid to experiment with different colors and finishes to suit your style and preferences. Whether you opt for a bold and vibrant color or a subtle and neutral tone, spray painting gives you the opportunity to breathe new life into any old piece of furniture.
Proper care and maintenance will ensure the longevity of your freshly painted dresser. Avoid using abrasive cleaners that can damage the finish and instead opt for gentle cleaning methods. Regularly dust and wipe down the surface to keep it looking its best.
As you gain more experience and confidence, you may find yourself tackling more advanced spray painting projects, such as painting multiple pieces of furniture or adding intricate designs. Remember to always prioritize safety, work in a well-ventilated area, and follow the instructions provided by the paint manufacturer.
Now that you’ve successfully completed this DIY project, let your creativity and passion for furniture transformation continue to flourish. Enjoy your newly painted dresser and the sense of accomplishment that comes with creating something beautiful with your own hands.
Thank you for joining us on this spray painting journey. Happy painting!
Frequently Asked Questions about How To Spray Paint A Dresser
Was this page helpful?
At Storables.com, we guarantee accurate and reliable information. Our content, validated by Expert Board Contributors, is crafted following stringent Editorial Policies. We're committed to providing you with well-researched, expert-backed insights for all your informational needs.


0 thoughts on “How To Spray Paint A Dresser”