
Articles
How To Start Honda Pressure Washer
Modified: October 28, 2024
Learn how to start your Honda pressure washer with our informative articles. Get step-by-step instructions and troubleshooting tips for a smooth and efficient cleaning experience.
(Many of the links in this article redirect to a specific reviewed product. Your purchase of these products through affiliate links helps to generate commission for Storables.com, at no extra cost. Learn more)
Introduction
Welcome to the world of pressure washing with Honda! If you’re looking to clean those stubborn stains, dirt, and grime from various surfaces, then a Honda pressure washer is your perfect companion. With its exceptional power and durability, a Honda pressure washer can tackle even the toughest cleaning tasks with ease.
In this article, we’ll guide you on how to start your Honda pressure washer. Whether you’re a beginner or have some experience, we’ll provide you with step-by-step instructions to ensure a smooth start-up. However, before we dive into the starting process, it’s essential to understand some safety precautions to ensure your well-being and the integrity of your equipment.
Please remember that safety should always be the top priority when operating any machinery. Always follow the manufacturer’s instructions and guidelines to prevent accidents and injuries.
Key Takeaways:
- Safety first! Before starting your Honda pressure washer, prioritize protective gear, proper ventilation, and cautious pressure adjustments. Following safety precautions ensures a secure and hassle-free pressure washing experience.
- Proper setup, fuel and oil checks, and following the correct starting procedures are essential for a successful start-up of your Honda pressure washer. Operating tips and regular maintenance further ensure optimal performance and longevity.
Read more: How To Start A Craftsman Pressure Washer
Safety Precautions
Prior to starting your Honda pressure washer, it’s crucial to familiarize yourself with the safety precautions. By doing so, you can minimize the risks associated with operating the equipment. Here are some key safety measures to keep in mind:
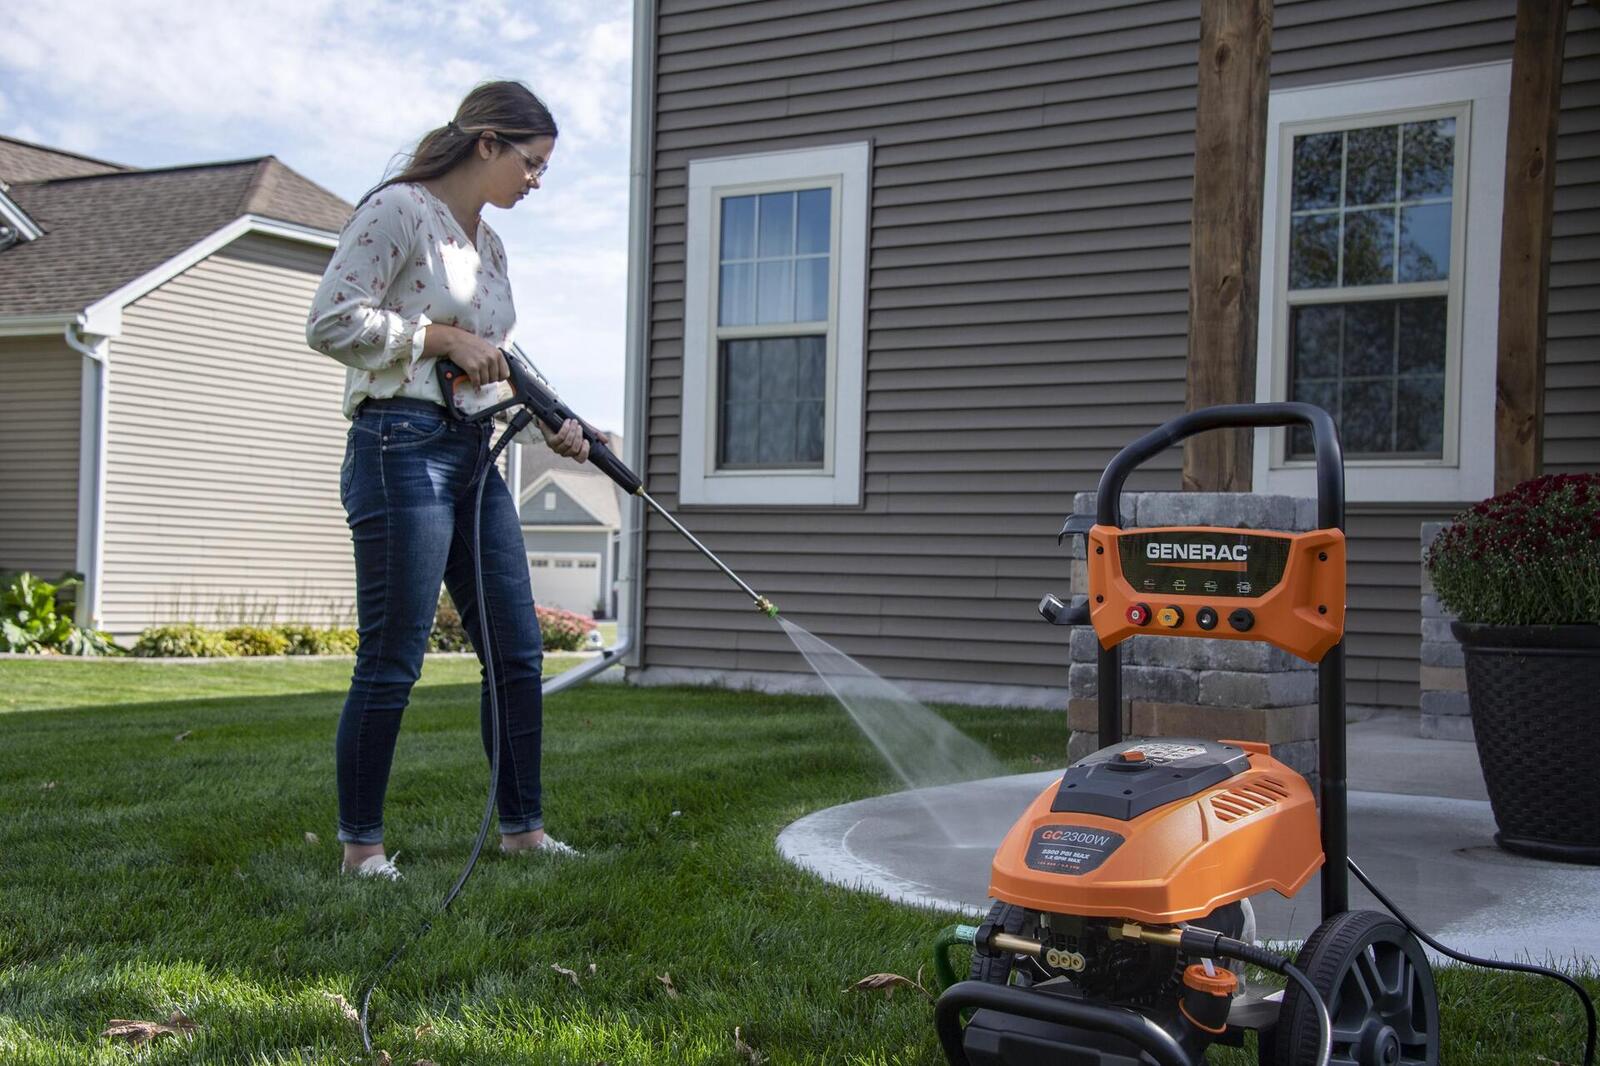
- Protective Gear: Wear appropriate protective clothing, including safety goggles, gloves, and closed-toe shoes, to safeguard yourself from debris, water splashes, and chemicals.
- Location: Choose a well-ventilated area with ample space to operate the pressure washer. Ensure that the surrounding environment is clear of any obstacles, children, or pets.
- Electrical Connections: If you’re using an electric pressure washer, inspect the power cord for any damage or fraying. Avoid using extension cords if possible, as they can cause power fluctuations and safety hazards.
- Gasoline Engine: If you have a gasoline-powered pressure washer, always operate it in well-ventilated outdoor areas to prevent carbon monoxide buildup. Never add fuel while the engine is running or hot, and avoid smoking or using open flames nearby.
- Ventilation: Ensure there is proper ventilation in the area where the pressure washer is being used. The exhaust fumes of a gasoline engine can be harmful when inhaled in an enclosed space.
- Pressure Adjustment: Be cautious when adjusting the pressure on the pressure washer. High pressure can cause injury or damage to surfaces, so start with the lowest pressure setting and increase gradually if needed.
- Chemical Use: If you plan to use cleaning chemicals or detergents, ensure they are suitable for use with a pressure washer and follow the manufacturer’s instructions. Avoid using chemicals that are harmful to the environment or surfaces.
- Disconnect Power: Before performing any maintenance or troubleshooting, always disconnect the power supply and allow the pressure washer to cool down.
Remember to consult the user manual that came with your Honda pressure washer for specific safety precautions and guidelines. By adhering to these safety measures, you can enjoy a hassle-free and secure pressure washing experience.
Unpacking and Setup
Once you’ve familiarized yourself with the safety precautions, it’s time to unpack and set up your Honda pressure washer. Follow these steps to ensure a proper installation:
- Start by locating a flat and stable surface to place your pressure washer. This could be a concrete pad, driveway, or any other solid surface that can support the weight of the equipment.
- Remove the pressure washer from its packaging and carefully inspect it for any signs of damage or missing parts. If you notice any issues, contact the manufacturer or retailer for assistance.
- Attach the handle to the main unit following the manufacturer’s instructions. Ensure it is securely fastened and aligned properly.
- If your pressure washer comes with wheels, attach them to the base for easy maneuverability.
- Connect the high-pressure hose to the water outlet on the pressure washer. Make sure it is tightly screwed in place to prevent any leaks.
- Next, connect the other end of the high-pressure hose to the spray gun. Again, ensure it is securely attached.
- If your pressure washer has a detergent tank or attachment, fill it with the appropriate cleaning solution according to the manufacturer’s instructions.
- Check the engine oil level in the crankcase, and if necessary, add the recommended oil to the appropriate level. Similarly, check the fuel tank and fill it with fresh unleaded gasoline.
- Inspect the spark plug and ensure it is securely in place.
- Double-check all hose connections and tighten them if needed. Ensure all fittings are secure and free from any leaks.
Once you’ve completed the setup process, your Honda pressure washer is ready to be started. Before proceeding, make sure you have read the user manual provided by the manufacturer for any specific instructions related to your model.
Now that your pressure washer is set up correctly, let’s proceed to the next step: checking the fuel and oil levels before starting the engine.
Fuel and Oil Check
Before starting the engine of your Honda pressure washer, it’s essential to check the fuel and oil levels to ensure smooth operation. Here’s how you can do it:
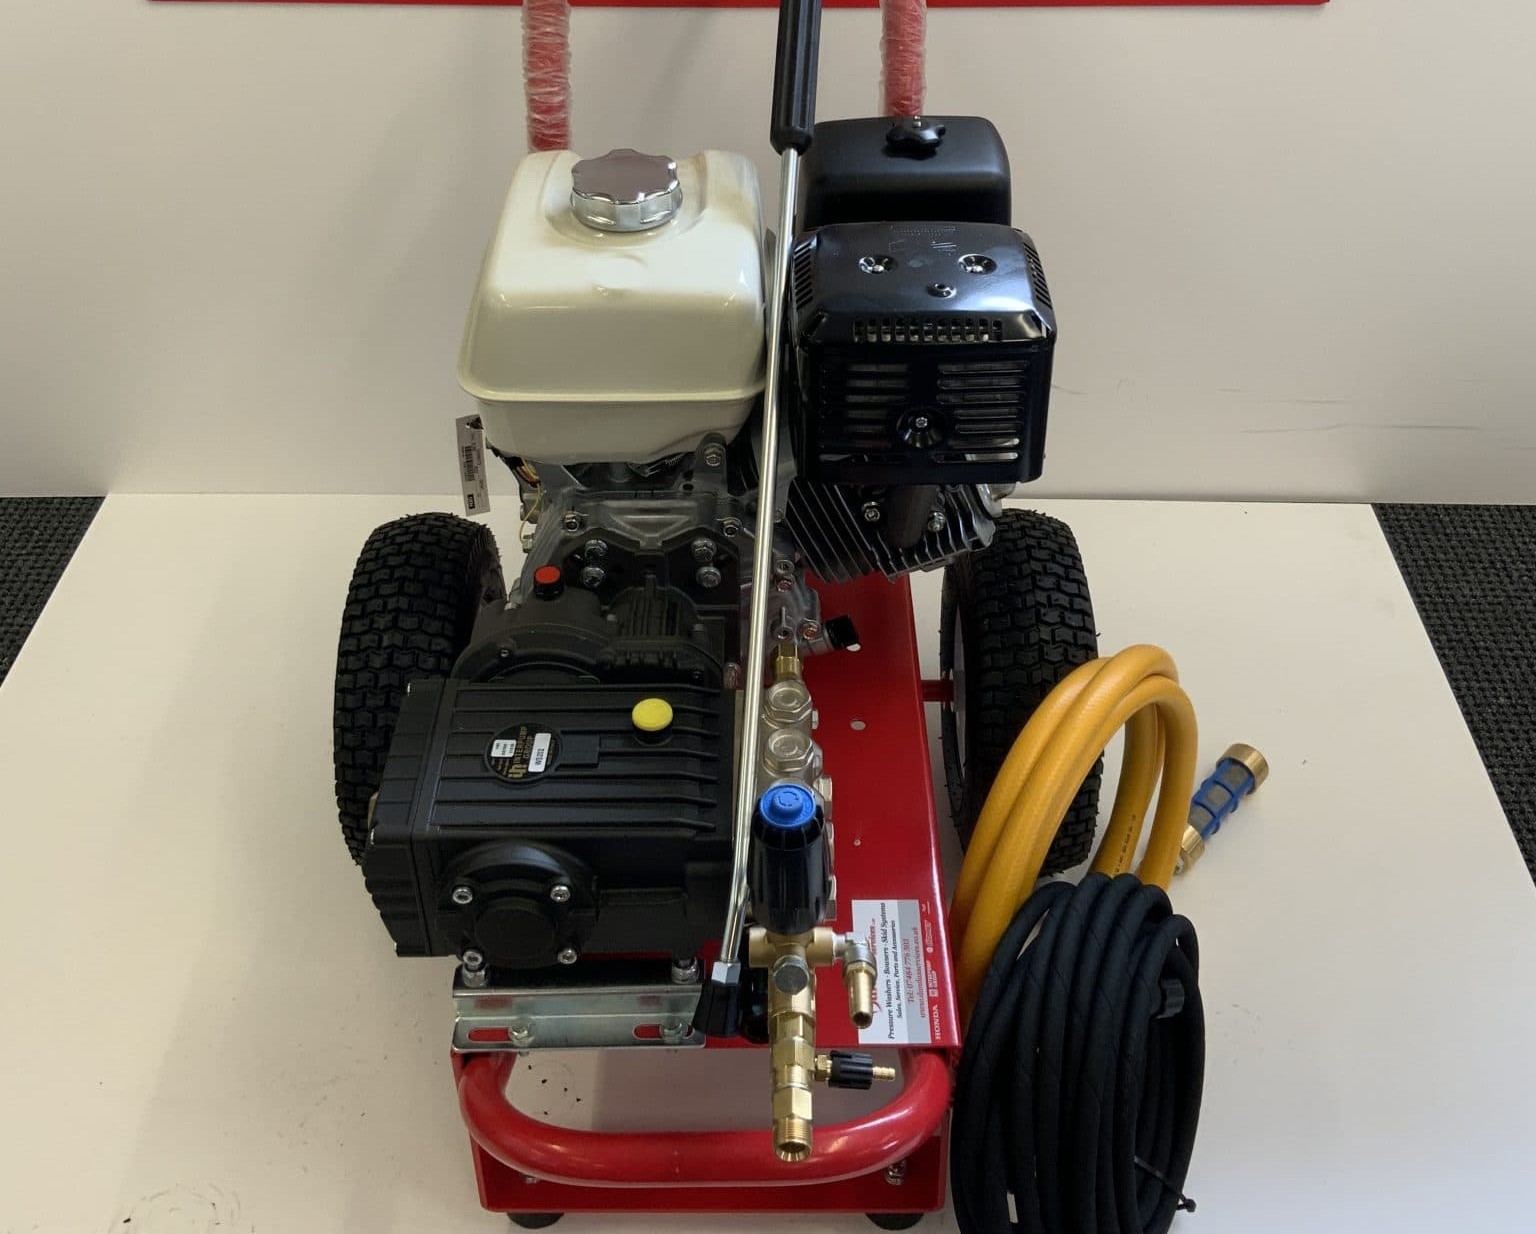
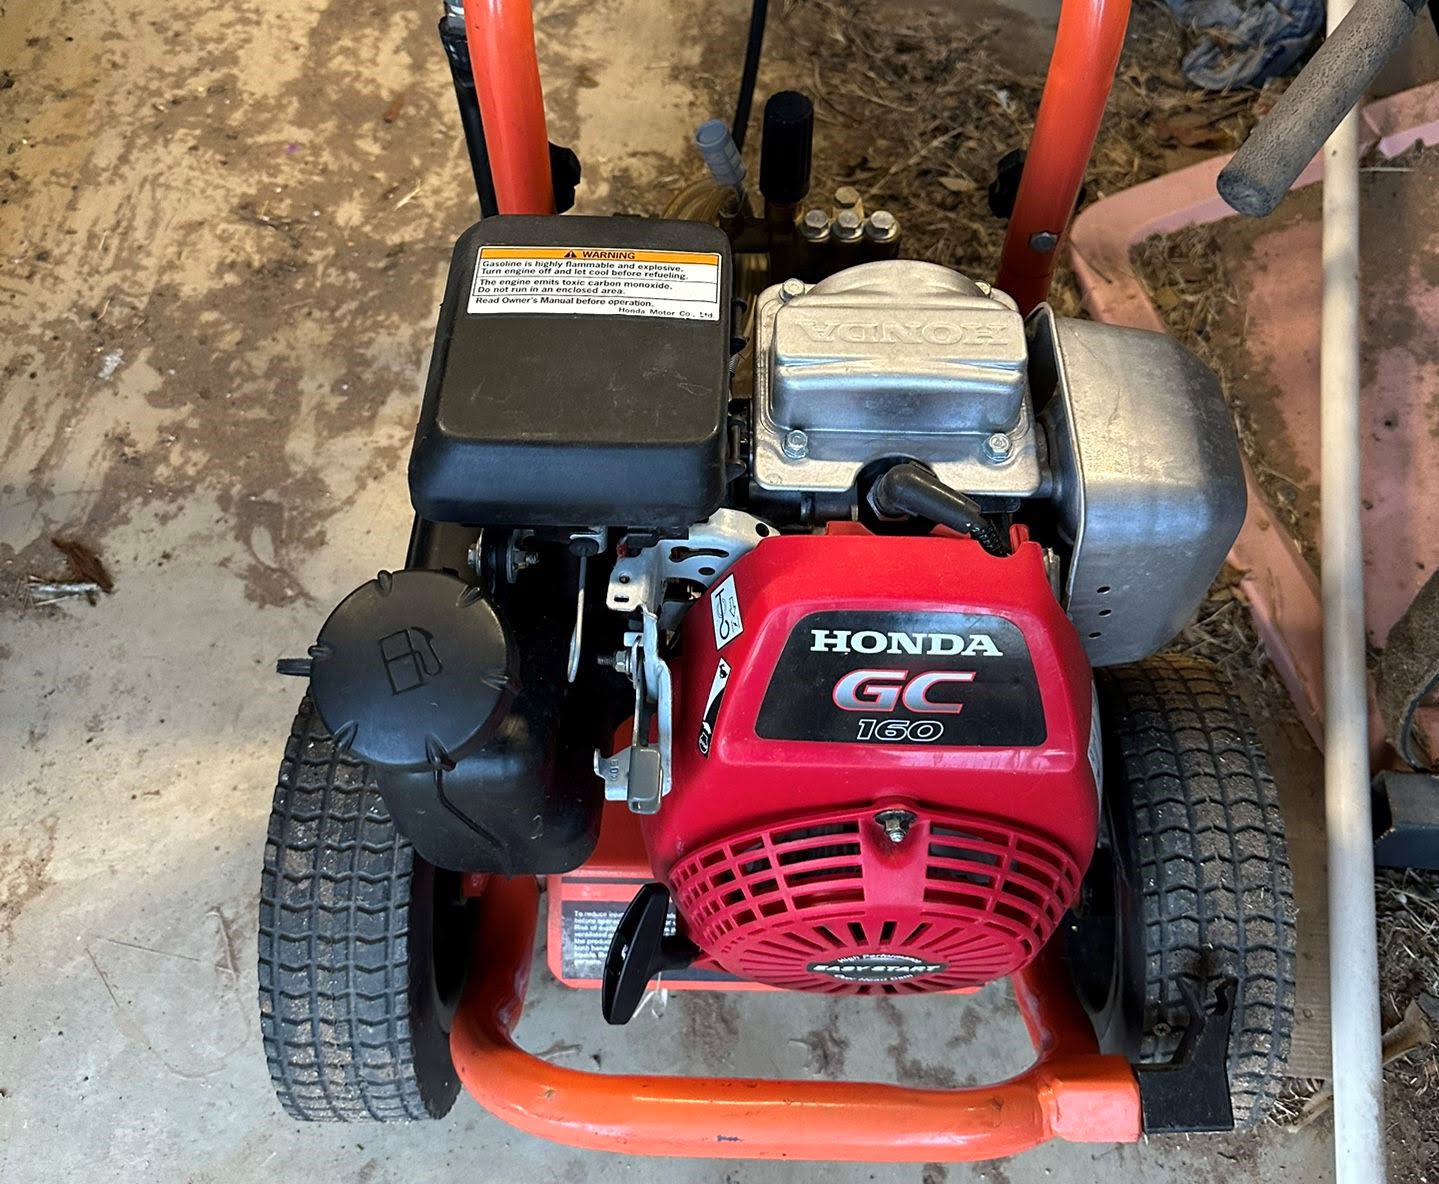
- Locate the fuel tank on your pressure washer. It is typically located near the engine.
- Check the fuel level by removing the fuel cap and visually inspecting the tank. Ensure that there is enough fuel to run the pressure washer for the desired duration.
- If the fuel level is low, fill the tank with fresh unleaded gasoline. Be careful not to overfill.
- Next, locate the oil fill cap or dipstick on the engine. Consult the user manual to locate it if you are having trouble finding it.
- Remove the oil fill cap or dipstick and wipe it clean with a cloth.
- Insert the dipstick back into the oil fill hole (do not screw it in) or fully screw in the oil fill cap.
- Take out the dipstick or unscrew the oil fill cap and check the oil level. It should be between the upper and lower marks on the dipstick or within the indicated safe range.
- If the oil level is low, add the recommended type and amount of oil specified in the user manual. Use a funnel to avoid spills and overfilling.
- Ensure that the oil fill cap or dipstick is securely fastened.
By checking the fuel and oil levels before starting your Honda pressure washer, you can prevent any potential damage to the engine and ensure optimal performance. It’s important to use the recommended fuel type and oil specified by the manufacturer for your specific model.
With the fuel and oil levels properly checked and topped up, the next step is to learn how to start your Honda pressure washer. We’ll cover that in the following section.
Starting the Honda Pressure Washer
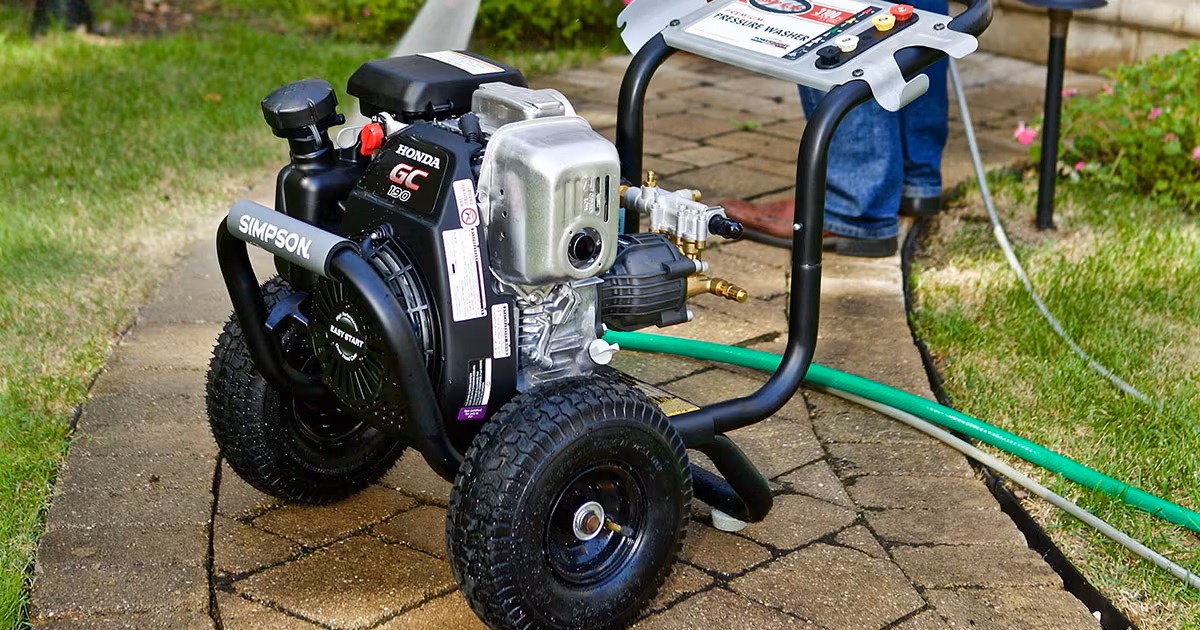
Now that you’ve completed the setup and checked the fuel and oil levels, it’s time to start your Honda pressure washer. Follow these steps to ensure a successful start-up:
- Locate the ignition switch or pull-start cord on the pressure washer’s engine.
- If your pressure washer has an ignition switch, ensure it is in the “OFF” position before proceeding. If there is a choke lever, move it to the “CHOKE” position.
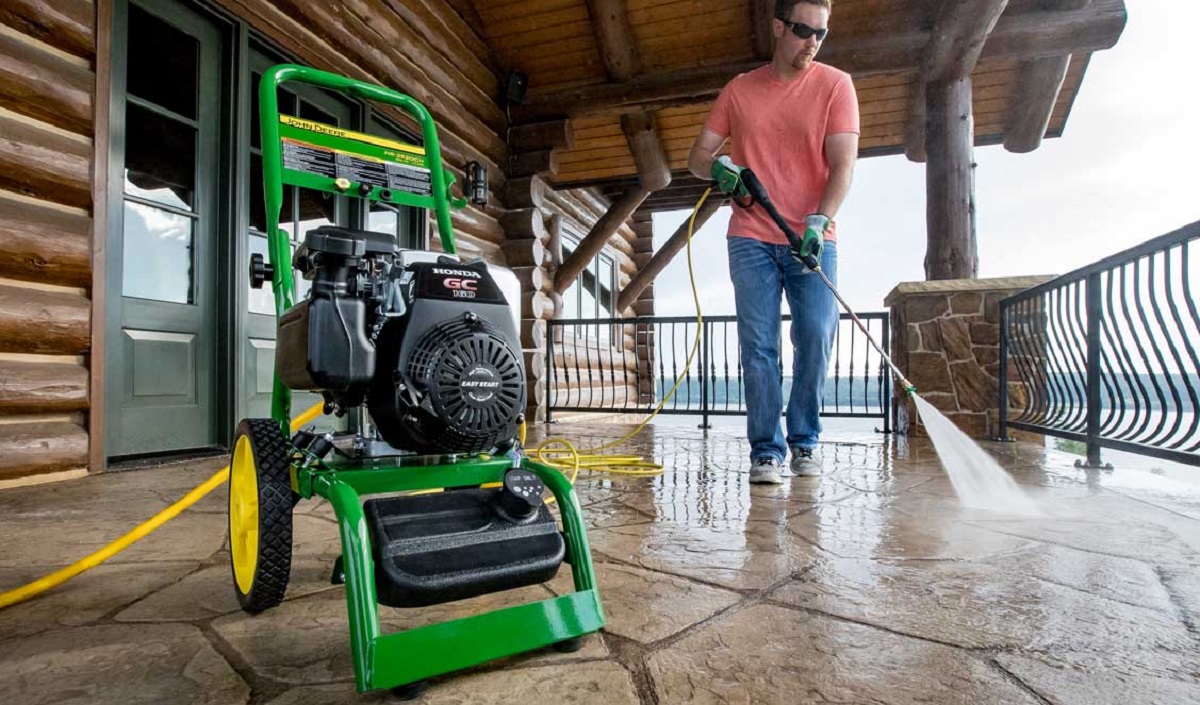
- If your pressure washer has a pull-start cord, ensure the fuel valve is in the “ON” position. Hold onto the spray gun’s handle with one hand and use your other hand to firmly grip the pull-start cord. Pull the cord briskly to start the engine. Repeat if necessary until the engine starts running.
- If your pressure washer has an ignition switch, move it to the “ON” position after the engine starts running smoothly. If there is a choke lever, move it to the “RUN” position.
- Allow the pressure washer’s engine to warm up for a few minutes before applying any pressure.
- Get familiar with the controls on the spray gun, including the trigger and nozzle adjustments.
- Once the engine has warmed up, squeeze the trigger on the spray gun to start the water flow. Slowly increase the pressure by adjusting the nozzle to your desired setting.
- Begin your pressure washing tasks, starting with a low-pressure setting and gradually increasing if needed.
It’s important to note that different model variations of Honda pressure washers may have slightly different starting procedures. Therefore, it’s crucial to consult the user manual provided by the manufacturer for any specific instructions related to your particular model.
By following these steps, you can confidently start your Honda pressure washer and begin tackling those tough cleaning tasks.
In the next section, we’ll provide you with some operating tips to ensure the best performance and longevity of your pressure washer.
Before starting your Honda pressure washer, make sure to check the oil level, fuel level, and water supply. Also, ensure that the choke is in the correct position and the spark plug is connected properly.
Operating Tips
To ensure optimal performance and longevity of your Honda pressure washer, it’s important to keep in mind the following operating tips:
- Maintain Proper Distance: Maintain a safe distance between the pressure washer nozzle and the surface being cleaned. Start with a greater distance and gradually reduce it to prevent any damage.
- Test on a Small Area: Before starting to clean larger surfaces, test the pressure washer on a small, inconspicuous area to ensure it won’t cause any damage or discoloration.
- Use Proper Nozzle: Select the appropriate nozzle for the task at hand. Different nozzles are designed for varying spray patterns and pressures. Refer to the user manual for guidance.
- Angle of Spray: Hold the pressure washer nozzle at a slight angle to the surface being cleaned, rather than directly facing it. This helps to prevent the water from penetrating beneath the surface and causing damage.
- Clean in Sections: When cleaning large surfaces, such as driveways or decks, work in sections to ensure thorough cleaning and even results.
- Proper Water Source: Connect the pressure washer to a clean water source, such as a garden hose. Avoid using water from a pool or hot tub, as it can damage the equipment.
- Regular Breaks: Take regular breaks during prolonged use to prevent overheating and allow the pressure washer to cool down.
- Clean the Equipment: After each use, clean the pressure washer and remove any debris or dirt. This helps to prevent clogging and prolongs the life of the equipment.
- Proper Storage: Store your Honda pressure washer in a dry and secure place, away from extreme temperatures and potential hazards.
- Regular Maintenance: Follow the manufacturer’s recommended maintenance schedule, which may include oil changes, filter replacements, and spark plug inspections.
By following these operating tips, you can achieve the best cleaning results while ensuring the longevity and optimal performance of your Honda pressure washer.
In the next section, we’ll discuss the proper shutdown and maintenance procedures to keep your pressure washer in excellent condition.
Shutdown and Maintenance
Properly shutting down and maintaining your Honda pressure washer is crucial for its longevity and continued performance. Follow these steps to safely shut down your pressure washer and perform routine maintenance:
- Release Pressure: After completing your pressure washing tasks, release the pressure by squeezing the trigger on the spray gun to relieve any remaining water pressure.
- Turn Off the Engine: If your pressure washer has an ignition switch, turn it to the “OFF” position. If it has a pull-start cord, allow the engine to idle for a few moments, then carefully pull the cord briskly to shut off the engine.
- Disconnect Power: If using an electric pressure washer, disconnect the power cord from the electrical outlet. For gasoline-powered models, turn off the fuel valve.
- Cleaning and Maintenance: Once the pressure washer is completely shut down, clean the exterior of the unit to remove any dirt or debris. Inspect the hoses, fittings, and spray gun for any signs of damage or leaks. If necessary, replace or repair any damaged parts.
- Oil Inspection and Change: Refer to the user manual for guidance on how to properly inspect and change the oil in your pressure washer’s engine. Regular oil changes ensure optimal performance and longevity.
- Spark Plug Maintenance: Inspect the spark plug for any signs of wear or damage. Clean or replace it as needed according to the manufacturer’s recommendations.
- Storage: Store your Honda pressure washer in a clean, dry, and well-ventilated area. Protect it from extreme temperatures, excessive moisture, and potential hazards.
- Maintenance Schedule: Follow the maintenance schedule outlined in the user manual, which may include regular oil changes, filter replacements, and spark plug inspections.
By adhering to the proper shutdown and maintenance procedures, you can prolong the life of your Honda pressure washer and ensure its continued performance for years to come.
In the next section, we’ll provide you with a troubleshooting guide to assist you in identifying and resolving common issues with your pressure washer.
Troubleshooting Guide
While Honda pressure washers are known for their reliability, you may occasionally encounter common issues during operation. Here’s a troubleshooting guide to help you identify and resolve these problems:
- No Start: If your pressure washer fails to start, check for the following:
- Ensure the fuel valve is turned on and there is enough fuel in the tank.
- Check the spark plug for any signs of wear or damage. Clean or replace it if necessary.
- Verify that the oil level is within the recommended range.
- Inspect the fuel filter for clogs or blockages and clean or replace it if needed.
- Refer to the user manual for further troubleshooting steps.
- Low Pressure: If you notice a decrease in pressure, consider the following:
- Check the nozzle for any obstructions or debris. Clean or replace it if necessary.
- Inspect the hose and fittings for leaks or blockages.
- Ensure the water supply is adequate and the hose is not kinked or damaged.
- Check the inlet screen for any clogs or debris. Clean or replace it as needed.
- Strange Noises: Unusual noises from the pressure washer may indicate a mechanical issue. Take the following steps:
- Inspect the engine for loose or damaged parts. Tighten or replace as needed.
- Check the pump for any signs of damage or wear. Consult the user manual for guidance on pump maintenance.
- If the noise persists, contact a qualified technician for further inspection.
- Leaks: Leakage can occur in various areas of the pressure washer. Address the issue as follows:
- Inspect all hose connections and fittings for any loose or damaged parts. Tighten or replace as needed.
- Look for cracks or tears in the hoses and replace them if necessary.
- Check the seals and gaskets for any signs of damage or wear. Replace if needed.
- If the leak persists, it is recommended to seek professional assistance for repairs.
- Other Issues: If you encounter any other issues not mentioned above, refer to the user manual for troubleshooting guidance. If the problem persists, contact the manufacturer or a qualified technician for assistance.
Remember to always prioritize your safety when troubleshooting your Honda pressure washer. If you are unsure or uncomfortable performing any repairs yourself, seek professional help to avoid further damage or injury.
In the final section, we’ll conclude our guide on starting a Honda pressure washer.
Conclusion
Congratulations! You are now equipped with the knowledge and understanding of how to start and operate your Honda pressure washer. By following the safety precautions, unpacking and setting up the equipment correctly, checking the fuel and oil levels, and starting the engine using the proper procedures, you can ensure a smooth and successful pressure washing experience.
Remember to follow the operating tips to achieve the best cleaning results while maintaining the longevity and performance of your pressure washer. Regular maintenance, including oil changes, spark plug inspections, and proper storage, is vital to keep your equipment in excellent condition.
In the event that you encounter any issues, consult the troubleshooting guide to help identify and resolve common problems. But if you’re unsure or uncomfortable performing any repairs, it is always recommended to seek professional assistance to ensure safety and prevent further damage.
We hope this guide has been helpful in getting you started with your Honda pressure washer. Now, it’s time to put your machine to work and enjoy the satisfaction of a clean, sparkling surface. Happy pressure washing!
Now that you’ve mastered starting and maintaining your Honda pressure washer, why stop there? Keeping your home in tip-top shape goes beyond occasional cleaning. Dive into our comprehensive guide on essential home upkeep. From seasonal tasks to everyday checks, we cover all you need to keep your living space welcoming and well-maintained year-round.
Frequently Asked Questions about How To Start Honda Pressure Washer
Was this page helpful?
At Storables.com, we guarantee accurate and reliable information. Our content, validated by Expert Board Contributors, is crafted following stringent Editorial Policies. We're committed to providing you with well-researched, expert-backed insights for all your informational needs.

0 thoughts on “How To Start Honda Pressure Washer”