Home>Articles>How To Store An Outboard Motor Without A Stand
Articles
How To Store An Outboard Motor Without A Stand
Modified: October 20, 2024
Learn the best techniques for storing your outboard motor without a stand in this informative articles. Keep your motor safe and protected during the off-season.
(Many of the links in this article redirect to a specific reviewed product. Your purchase of these products through affiliate links helps to generate commission for Storables.com, at no extra cost. Learn more)
Introduction
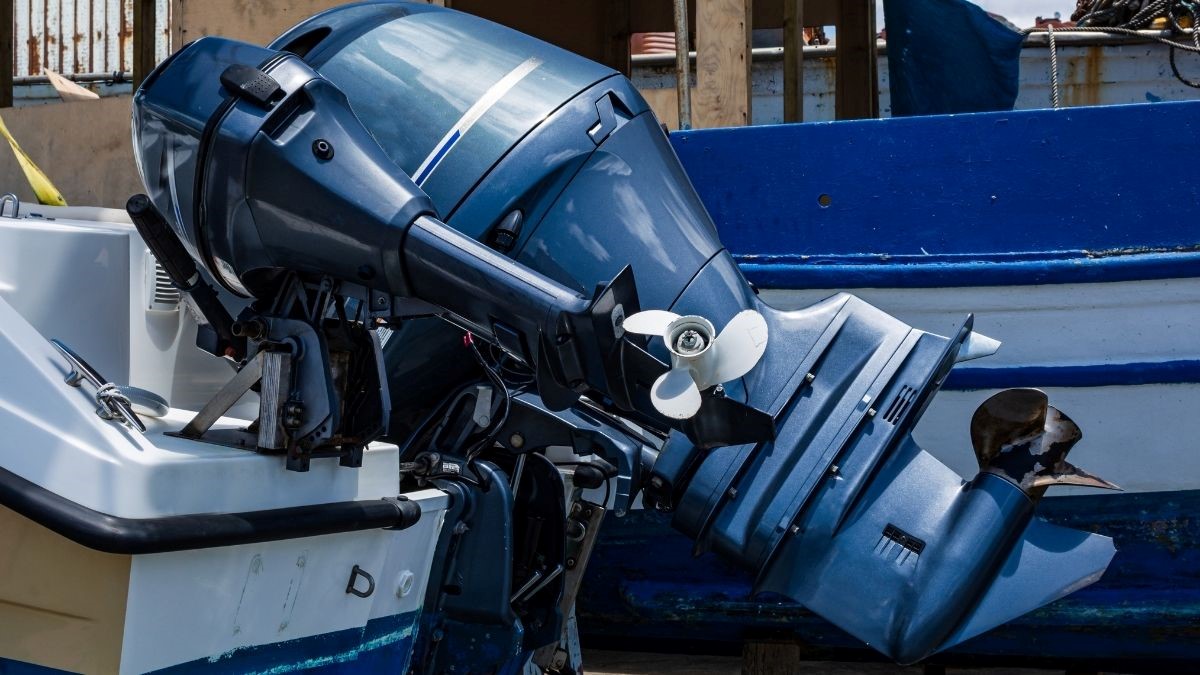
Storing an outboard motor without a stand can be a daunting task, but with the right knowledge and preparation, it is definitely achievable. Whether you’re preparing for the off-season or simply need to store your outboard motor temporarily, taking the necessary steps to protect your investment is crucial. In this article, we will guide you through the process of storing your outboard motor without a stand, ensuring its safety and longevity.
Properly storing your outboard motor without a stand involves several key steps, from preparing the motor for storage to choosing the right storage location and protecting it from the elements. By following these steps, you can ensure that your outboard motor remains in optimal condition, ready to perform whenever you need it.
In the following sections, we will delve into each of these steps in detail, providing you with valuable insights and instructions to make the storage process as seamless as possible. Whether you are a seasoned boat owner or a newcomer to the world of outboard motors, this guide will equip you with the knowledge you need to store your motor effectively.
Remember, proper storage of your outboard motor is essential to keep it in good working condition for years to come. Neglecting to store it correctly can lead to damage, deterioration, and costly repairs. So, let’s dive in and explore the steps you need to take to store your outboard motor without a stand.
Key Takeaways:
- Properly preparing, cleaning, and positioning your outboard motor for storage without a stand is essential to prevent damage and ensure its longevity. Regular maintenance and inspections are crucial for maintaining its condition.
- Choosing the right storage location, protecting the motor from the elements, and performing basic maintenance tasks are key to keeping your outboard motor in optimal condition during storage. Regular check-ups help address any issues promptly.
Preparing the Outboard Motor for Storage
Before you store your outboard motor without a stand, it is important to take certain precautions to ensure its longevity. Follow these steps to prepare your motor for storage:
1. Give it a thorough cleaning: Start by giving your outboard motor a good cleaning. Use a mild detergent and water to remove any dirt, grime, or salt deposits. Pay close attention to the propeller, lower unit, and other exposed parts.
2. Check for damage: Inspect your outboard motor for any signs of damage or wear. Look for cracks, leaks, or loose parts. If you notice any issues, it’s best to address them before storing the motor.
3. Change the oil: It is recommended to change the oil before storing your outboard motor. Old oil can contain contaminants that can cause damage over time. Follow the manufacturer’s instructions to drain the old oil and refill it with fresh oil.
4. Replace the fuel filter: A clogged fuel filter can restrict the flow of fuel and potentially cause problems when you start the motor again. Consider replacing the fuel filter to ensure optimal performance.
5. Lubricate moving parts: Apply grease or lubricant to the moving parts of your outboard motor, including the propeller shaft, throttle linkage, and steering mechanism. This will help prevent rust and keep the parts operating smoothly.
6. Disconnect the battery: If your outboard motor has a battery, disconnect it to prevent it from draining during storage. Store the battery in a cool, dry place and keep it charged periodically to maintain its lifespan.
7. Fog the cylinders: To prevent corrosion inside the engine’s cylinders, consider fogging them with a rust inhibitor. This will help protect the internal components from moisture and ensure easier start-up when you use the motor again.
By following these steps, you can ensure that your outboard motor is in optimal condition for storage. Taking the time to properly prepare your motor will help prevent any potential problems and prolong its lifespan. Now that your motor is ready, let’s move on to selecting the right storage location.
Choosing the Right Storage Location
Selecting the appropriate storage location for your outboard motor is crucial to ensure its safety and protection. Here are some factors to consider when choosing the right storage location:
1. Indoor storage: Whenever possible, try to store your outboard motor indoors. This could be in a garage, shed, or storage unit. Indoor storage provides protection from the elements, including rain, snow, and sunlight, which can cause damage to the motor over time.
2. Climate control: If you have access to a climate-controlled storage facility, it is highly recommended. Extreme temperatures can be detrimental to your motor, affecting its performance and lifespan. A climate-controlled environment helps maintain a stable temperature, preventing damage from excessive heat or cold.
3. Adequate space: Ensure that the storage location has enough space to accommodate your outboard motor. It should not be cramped or crowded, as this can lead to accidental damage or limit access for maintenance and inspections.
4. Security measures: Consider the security of the storage facility. Look for features such as fencing, surveillance cameras, and on-site security personnel to protect against theft or vandalism.
5. Ventilation: Good ventilation is essential to prevent the build-up of moisture and condensation. Make sure the storage location has proper airflow to minimize the risk of rust or mildew formation.
6. Accessibility: Choose a storage location that is easily accessible whenever you need to inspect or perform maintenance on your outboard motor. You don’t want to encounter logistical challenges when retrieving or returning your motor.
Remember to check local regulations or community guidelines to ensure that storing your outboard motor at the chosen location is permitted.
By considering these factors, you can select a storage location that will provide optimum protection for your outboard motor. Once you have found the right place, the next step is to clean your motor thoroughly before storage.
Cleaning the Outboard Motor
Properly cleaning your outboard motor before storage is essential to remove any dirt, debris, or salt residue that could potentially cause damage or corrosion. Follow these steps to clean your motor effectively:
1. Gather the necessary supplies: You will need a bucket of warm water, mild detergent or boat soap, a soft brush or sponge, and a hose with a gentle spray nozzle.
2. Rinse the motor with water: Start by rinsing the motor with water to remove any loose dirt or debris. Use a gentle spray nozzle on your hose to avoid causing damage to the motor.
3. Prepare a cleaning solution: Fill a bucket with warm water and add a small amount of mild detergent or boat soap. Avoid using harsh or abrasive cleaners, as they can damage the motor’s finish.
4. Scrub the motor: Dip the soft brush or sponge into the cleaning solution and gently scrub the motor in a circular motion. Pay attention to areas that are prone to accumulation of dirt or salt, such as the lower unit, propeller, and around the cowling.
5. Rinse thoroughly: Once you have scrubbed the motor, rinse it thoroughly with clean water. Ensure that all soap residue is fully removed.
6. Dry the motor: Use a clean, dry cloth to wipe down the motor and remove any excess water. Pay close attention to areas that tend to hold moisture, such as crevices and nooks.
7. Apply a protective coating: Consider applying a protective coating or wax to the motor’s surfaces to help prevent corrosion during storage. Follow the manufacturer’s instructions for the specific product you choose.
By thoroughly cleaning your outboard motor, you remove any contaminants that could potentially cause damage or deterioration. This step is especially important if you have been operating your motor in saltwater, as salt accumulation can be corrosive. Once your motor is clean and dry, it is time to move on to draining the fuel system to prevent fuel-related issues during storage.
Draining the Fuel System
Before storing your outboard motor without a stand, it is essential to properly drain the fuel system to prevent any fuel-related issues during storage. Here are the steps to drain the fuel system effectively:
1. Run the motor: Start by running the motor for a few minutes to warm it up. This will make it easier to drain the fuel from the system.
2. Turn off the fuel supply: Locate the fuel valve or shut-off switch on your outboard motor and turn it off. This will prevent fuel from flowing into the system during the draining process.
3. Locate the fuel drain plug: The fuel drain plug is usually located on the bottom of the carburetor or fuel pump. Consult your outboard motor’s manual if you are unsure of its location.
4. Position a fuel container: Place a suitable container beneath the fuel drain plug to catch the drained fuel.
5. Remove the fuel drain plug: Carefully remove the fuel drain plug, allowing the fuel to drain into the container. Be cautious as the fuel may be hot.
6. Drain the fuel completely: Allow the fuel to drain completely until there is no more fuel flowing out. This ensures that all fuel is removed from the system.
7. Inspect and clean the plug: While the fuel is draining, inspect the fuel drain plug for any debris or clogs. Clean it thoroughly before reinserting it.
8. Dispose of the fuel properly: It is important to dispose of the drained fuel properly. Contact your local authorities or recycling centers to find out the proper disposal method based on your location’s regulations.
9. Run the motor again: Once the fuel system is fully drained, start the motor again and let it run until it shuts off. This ensures that any remaining fuel in the system is used up.
By draining the fuel system, you prevent the fuel from degrading over time and potentially causing issues such as clogged carburetors or fuel lines. Additionally, it reduces the risk of stale fuel accumulating, which can lead to starting problems when you use the motor again. Now that the fuel system is drained, the next step is to remove the outboard motor from the boat before storage.
Read more: How To Store A 4 Stroke Outboard
Removing the Outboard Motor from the Boat
To store your outboard motor without a stand, you will need to remove it from the boat. Here are the steps to safely remove the outboard motor from the boat:
1. Gather the necessary tools: Before you begin, gather the tools you will need, such as a wrench or socket set, depending on the type of motor mount bolts used on your boat.
2. Locate the motor mount bolts: Identify the motor mount bolts that secure the outboard motor to the transom of the boat. These bolts are typically located on either side of the motor.
3. Loosen the motor mount bolts: Use the appropriate tool to loosen the motor mount bolts. Turn them counterclockwise until they are loose enough to remove.
4. Support the motor: Before fully removing the motor mount bolts, ensure that you have a safe and stable support system in place to hold the weight of the motor. This can be a specially designed outboard motor cart or a sturdy workbench.
5. Remove the motor mount bolts: Carefully remove the motor mount bolts completely. Keep a firm grip on the outboard motor to prevent it from falling or tilting.
6. Lift and detach the outboard motor: With the motor mount bolts removed, lift the outboard motor carefully, ensuring proper body mechanics to avoid strain. Detach any remaining connections, such as the throttle and shift cables, carefully noting their locations for reinstallation later.
7. Place the outboard motor on the support system: Gently lower the outboard motor onto the prepared support system, ensuring that it is stable and secure. Avoid placing excessive pressure on any sensitive components.
8. Inspect the boat and transom: While the outboard motor is removed, take the opportunity to inspect the boat and transom for any signs of damage or wear. Address any necessary repairs or maintenance before reinstalling the motor.
Removing the outboard motor from the boat allows for easier and safer storage. It also provides an opportunity to inspect the boat and transom for any potential issues. Once the outboard motor is removed, the next step is to properly position and secure it for storage, ensuring its stability and protection.
To store an outboard motor without a stand, you can hang it from a sturdy beam or ceiling using a hoist or pulley system. Make sure it is securely fastened to prevent any accidents.
Properly Positioning the Outboard Motor
Positioning the outboard motor correctly is crucial to ensure its stability and protection during storage. Here are the steps to properly position the outboard motor:
1. Choose a stable surface: Place the outboard motor on a stable and level surface, such as an outboard motor stand or a sturdy workbench. This will provide a solid foundation and prevent any tilting or movement during storage.
2. Align the motor vertically: Position the outboard motor in a vertical orientation, with the propeller facing down towards the ground. This helps prevent any potential oil leakage or damage to the internal components.
3. Use support brackets if necessary: If you are using an outboard motor stand, make sure to use support brackets or adjustable arms to securely hold the motor in place. These brackets help distribute the weight evenly and provide additional stability.
4. Keep the motor upright: Ensure that the outboard motor remains in an upright position throughout the storage period. Avoid tilting or leaning the motor at an angle, as this can cause fluids to flow into unintended areas and potentially damage the internal components.
5. Secure any movable parts: Secure any movable parts of the outboard motor, such as the tilt and trim mechanism, with appropriate locking mechanisms or by following the manufacturer’s instructions. This prevents accidental movement during storage.
6. Protect sensitive components: Consider using protective covers or bags to shield sensitive components of the outboard motor, such as the propeller, control cables, and electrical connections, from dust, moisture, and other potential sources of damage.
By properly positioning the outboard motor, you ensure its stability and minimize the risk of damage during storage. Take the time to select a suitable surface, align the motor vertically, and use necessary support brackets or locking mechanisms. Additionally, protect any sensitive components to maintain their condition. With the outboard motor positioned correctly, the next step is to protect it from the elements.
Protecting the Outboard Motor from the Elements
Protecting your outboard motor from the elements is essential to prevent damage from exposure to weather and other external factors during storage. Here’s how you can effectively protect your motor:
1. Use a breathable cover: Invest in a breathable cover specifically designed for outboard motors. These covers are made of materials that allow air circulation, preventing the build-up of moisture and condensation. Ensure that the cover fits snugly and securely over the motor.
2. Shield from sunlight: If storing your outboard motor outdoors, shield it from direct sunlight. Continuous exposure to UV rays can cause fading, cracking, and deterioration of the motor’s paint, decals, and plastic components. Use a canopy or shade structure to protect the motor from prolonged sun exposure.
3. Protect against moisture: Moisture is one of the biggest threats to the longevity of your motor. Use a moisture-absorbing product, such as desiccant packs or moisture-absorbing crystals, inside the motor cover or in the vicinity of the motor to help prevent moisture-related issues.
4. Elevate the motor: When storing the outboard motor outdoors, consider elevating it slightly off the ground to prevent water accumulation and potential damage. Use sturdy blocks or an outboard motor stand to raise the motor, ensuring stability and protection from ground moisture.
5. Check for leaks: Regularly inspect the motor for any signs of leaks, especially if storing it outdoors. Check for water pooling, oil drips, or any fluid accumulation. Address any leaks promptly to prevent further damage or deterioration.
6. Maintain ventilation: Ensure proper ventilation around the motor storage area, whether indoors or outdoors. Good airflow prevents the build-up of moisture and helps regulate temperature, reducing the risk of condensation and rust formation.
7. Keep it away from corrosive substances: Store the outboard motor away from any corrosive substances, such as fertilizers, chemicals, or cleaning solutions. These can potentially damage the motor’s components and surfaces.
Taking these precautions will help protect your outboard motor from the elements and minimize the risk of damage during storage. By using a breathable cover, shielding from sunlight, preventing moisture accumulation, and maintaining proper ventilation, you can safeguard your motor and ensure its longevity. However, it’s also important to perform basic maintenance tasks to keep your outboard motor in optimal condition during storage, which we’ll cover in the next section.
Performing Basic Maintenance
Performing basic maintenance tasks on your outboard motor before storage can help ensure its longevity and prevent any potential problems when you use it again. Here are the essential maintenance tasks to consider:
1. Change the oil and filter: If you haven’t done so already, change the oil and filter in your outboard motor before storage. Old oil can contain contaminants that may cause damage over time. Follow the manufacturer’s recommendations for the specific oil type and change interval.
2. Lubricate moving parts: Apply lubricant to the moving parts of your outboard motor, such as the propeller shaft, throttle linkage, and steering mechanism. This helps prevent rust and ensures smooth operation when you use the motor again.
3. Inspect and tighten connections: Inspect all connections, hoses, and clamps for any signs of wear, damage, or looseness. Tighten any loose connections and replace any damaged parts as necessary.
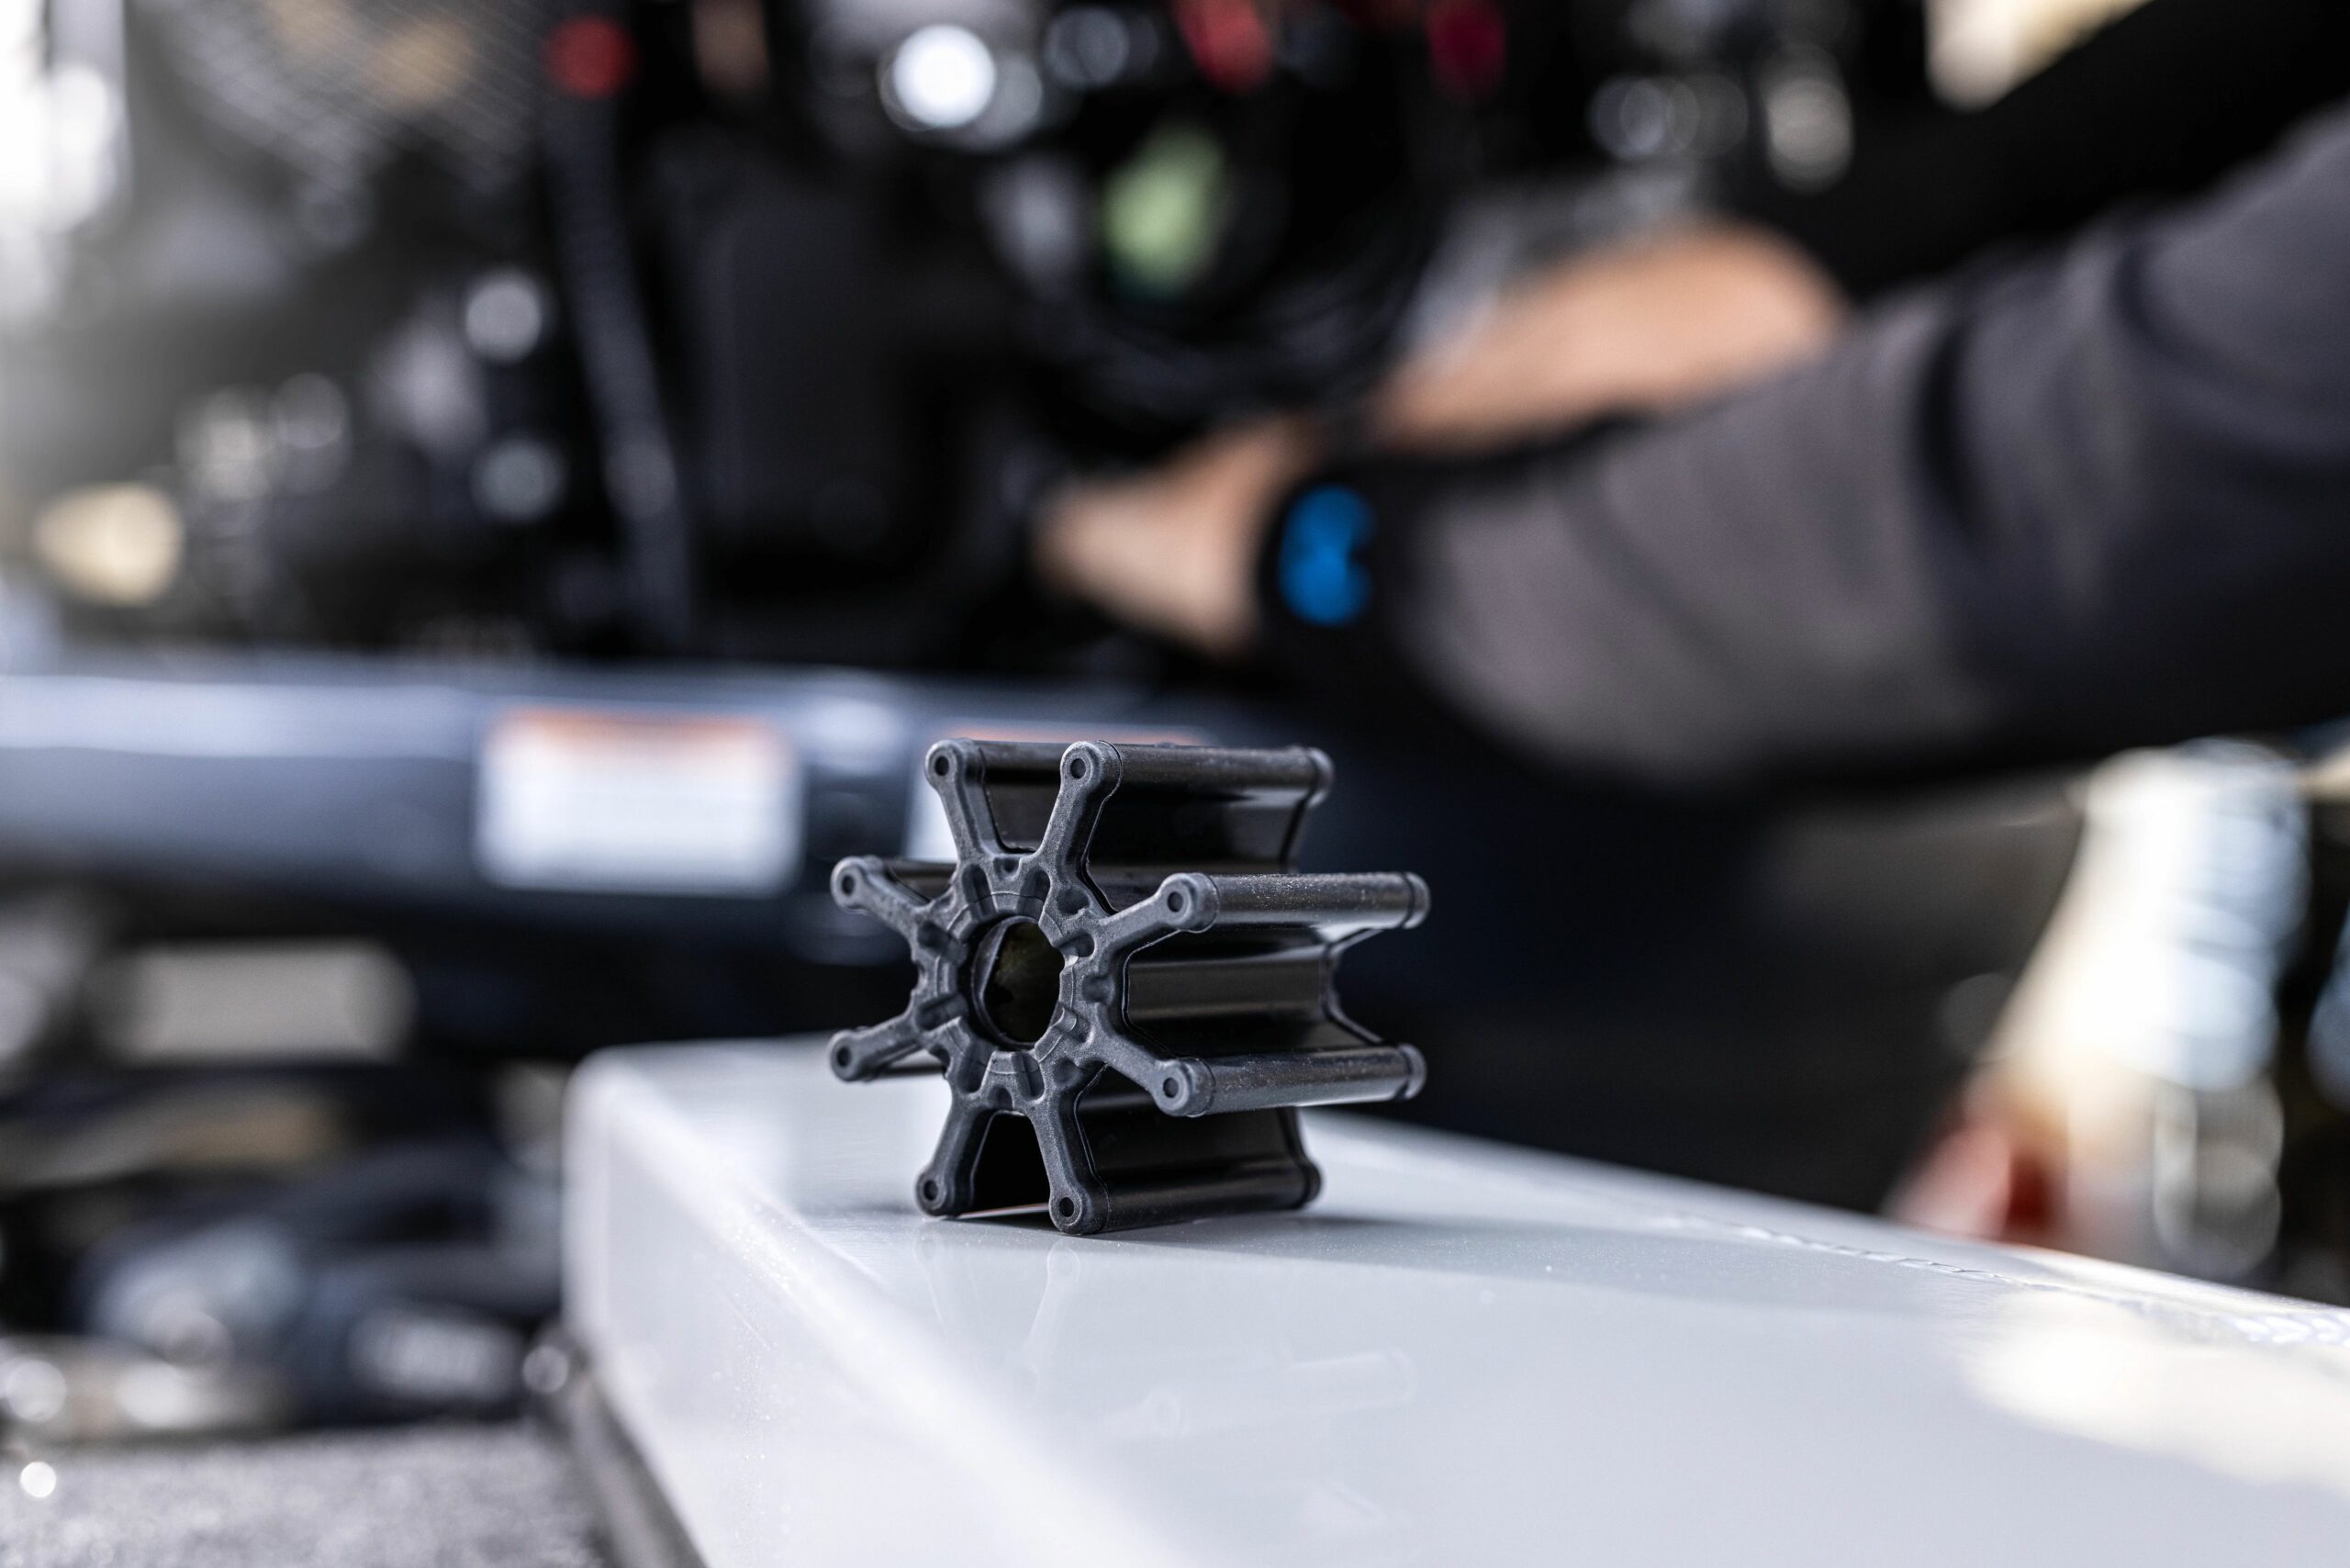
4. Check the cooling system: Ensure that the cooling system is clean and free from any blockages. Check the water pump impeller for wear or damage and replace it if necessary. Flush the cooling system with fresh water to remove any salt or debris.
5. Test the electrical system: Test the electrical system components, including the battery, spark plugs, and ignition system. Replace any worn-out spark plugs and ensure that the battery is properly charged.
6. Inspect the fuel system: Check the fuel system for any signs of leaks, clogs, or deterioration. Replace or repair any damaged fuel lines or connectors. Consider using a fuel stabilizer to prevent fuel degradation during storage.
7. Check the propeller: Inspect the propeller for any damage, cracks, or bent blades. Clean it thoroughly and make any necessary repairs or replacements before storage.
8. Perform a test run: If possible, take your outboard motor for a short test run before storage. This allows you to verify that everything is functioning correctly and address any immediate issues before storing the motor.
By performing these basic maintenance tasks, you can ensure that your outboard motor is in optimal condition for storage and minimize the risk of any problems arising during the idle period. Once the maintenance is complete, it’s time to store the outboard motor in an upright position to further protect it.
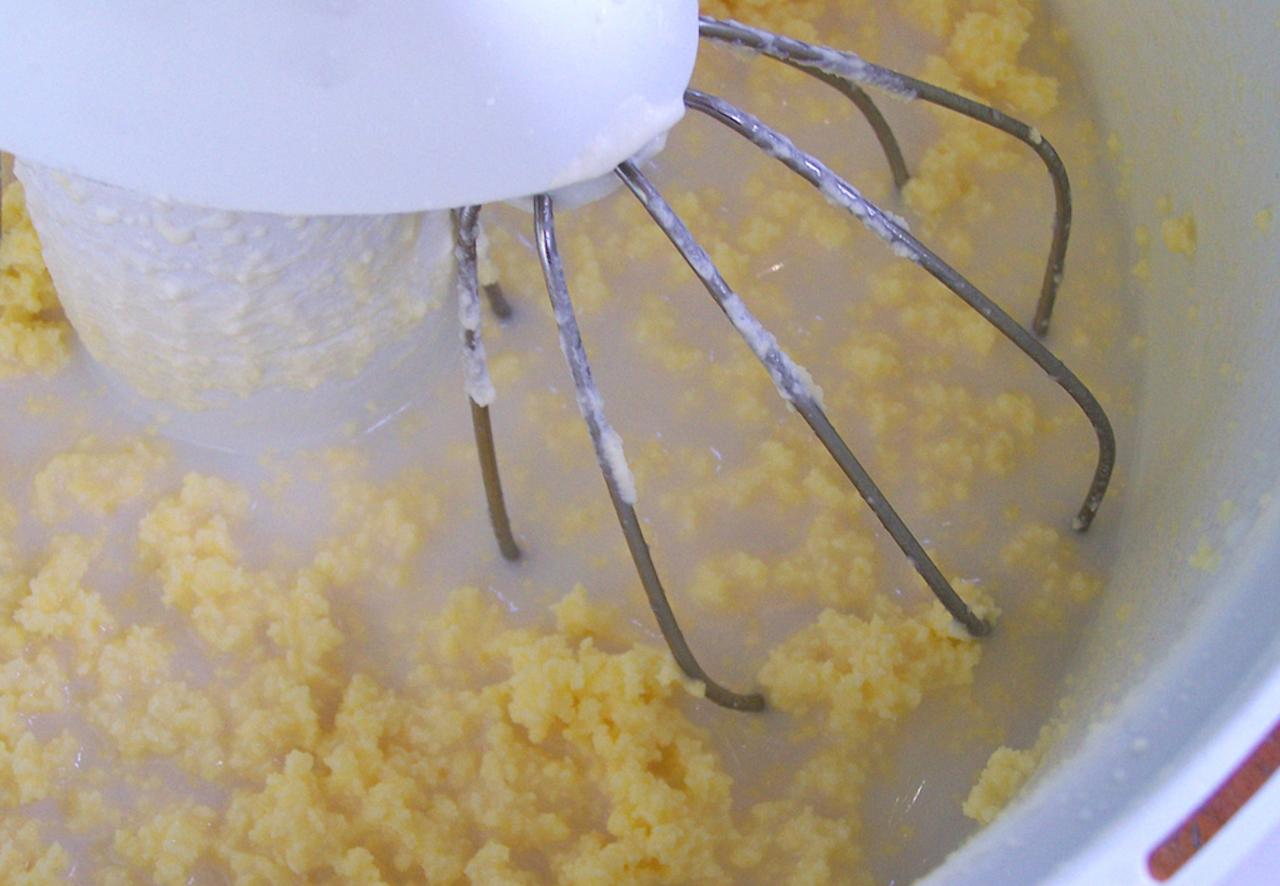
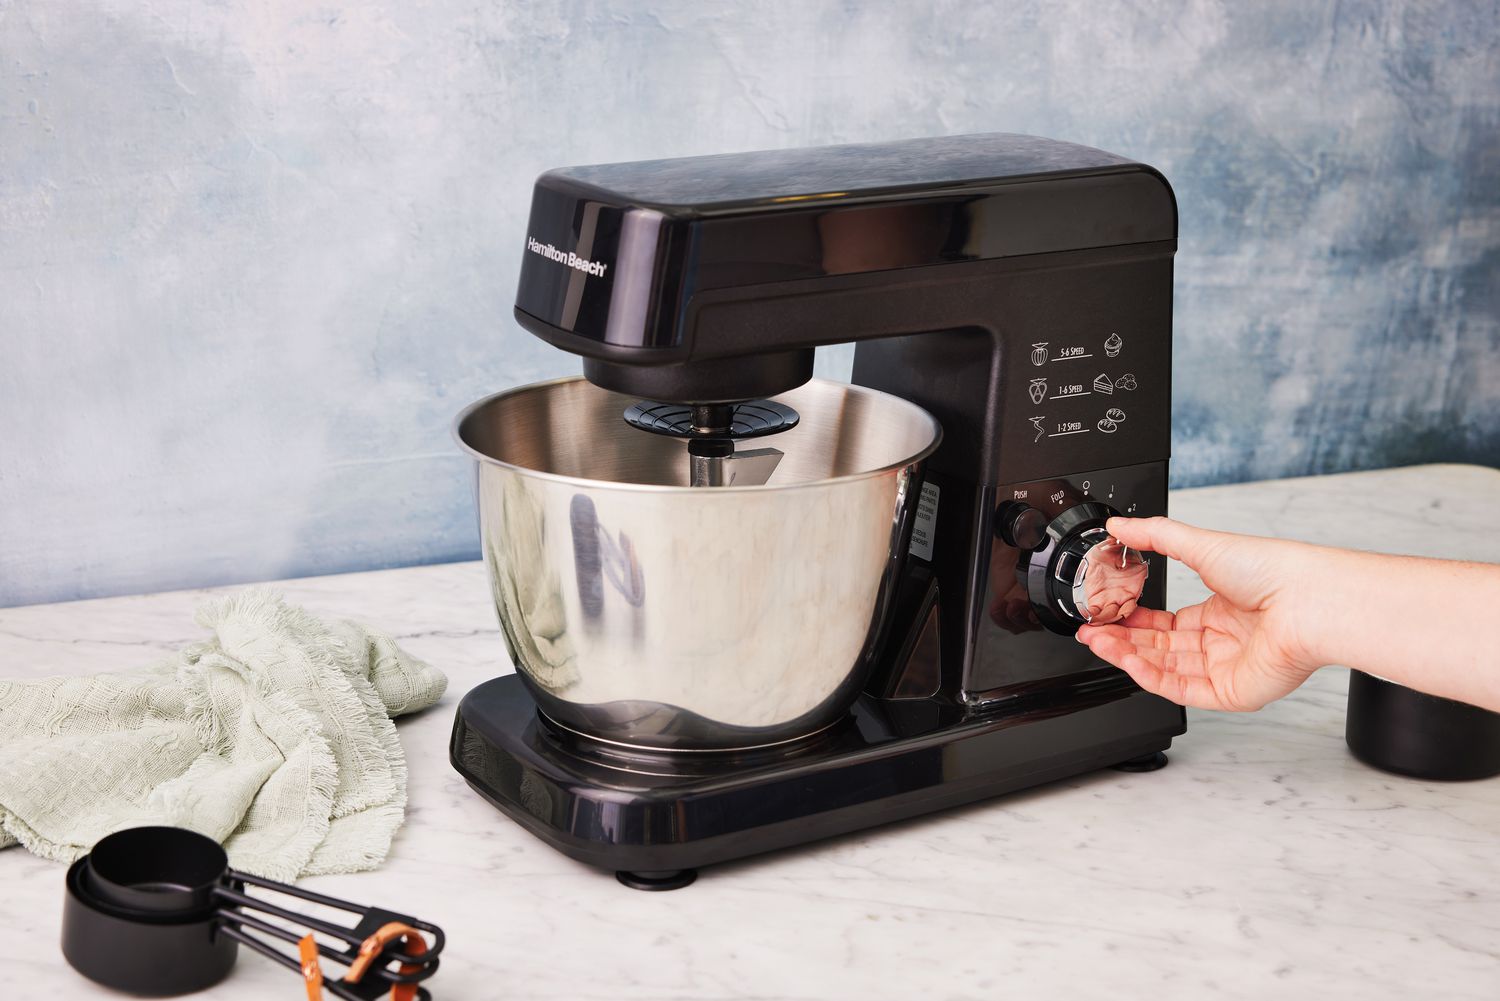
Read more: Which Motor Used In Mixer
Storing the Outboard Motor in an Upright Position
Storing your outboard motor in an upright position is crucial to prevent any potential oil leaks and ensure the longevity of the motor. Here are the steps to store your outboard motor in an upright position:
1. Position the motor securely: Make sure the outboard motor is positioned on a stable surface, such as an outboard motor stand or a sturdy workbench. Ensure that the motor is securely supported to prevent any accidental movement or tipping.
2. Align the motor vertically: Stand the outboard motor upright, with the propeller facing down towards the ground. This position helps prevent oil from seeping into unintended areas and minimizes the risk of oil leakage.
3. Secure movable parts: Lock or secure any movable parts of the outboard motor, such as the tilt and trim mechanism, using the appropriate locking mechanisms or following the manufacturer’s instructions. This prevents any unintended movement during storage.
4. Cover the motor: Use a breathable cover specifically designed for outboard motors to protect it from dust, dirt, and moisture. Ensure that the cover fits snugly and covers the motor completely. This helps maintain a clean and protected environment for the motor.
5. Store in a dry area: Place the outboard motor in a dry, well-ventilated area to prevent the buildup of moisture. Avoid storing the motor directly on the ground to prevent contact with ground moisture. If storing outdoors, elevate the motor using sturdy blocks or an outboard motor stand.
6. Regularly inspect the motor: Throughout the storage period, periodically check on the motor to ensure it remains in the upright position and that the cover is securely in place. Look for any signs of damage, corrosion, or moisture accumulation. Address any issues promptly.
By storing your outboard motor in an upright position, you minimize the risk of oil leaks and ensure its stability and protection during the storage period. Remember to choose a stable surface, align the motor vertically, securely cover it, and regularly inspect the motor. With the motor in the correct storage position, the final step is to regularly check on the stored outboard motor to maintain its condition and readiness.
Regularly Checking on the Stored Outboard Motor
While your outboard motor is in storage, it is important to regularly check on it to ensure its condition is maintained and to address any potential issues that may arise. Here are the steps for regularly checking on the stored outboard motor:
1. Scheduled inspections: Establish a schedule to inspect the outboard motor at regular intervals, such as once a month or every few weeks. Consistent monitoring allows you to catch any problems early and take necessary action.
2. Visual inspection: Begin by visually inspecting the motor for any signs of damage, corrosion, or leaks. Check for loose connections, damaged components, or any debris that may have accumulated.
3. Check the cover: Ensure that the motor cover is securely in place, with no areas exposed. If you notice any damage to the cover, repair or replace it to maintain proper protection.
4. Verify stability: Confirm that the outboard motor is still positioned upright and securely supported. Ensure that it hasn’t tilted or shifted during the storage period.
5. Look for signs of moisture: Check for any signs of moisture accumulation or condensation inside the motor or on its surfaces. Moisture can lead to damage, rust, and other issues, so it’s important to address it promptly.
6. Inspect fuel lines and connections: Examine the fuel lines and connections for any signs of leaks or deterioration. Ensure that there are no cracks, loose fittings, or other issues that may impact the fuel system’s integrity.
7. Test battery charge (if applicable): If your outboard motor has a battery, periodically test its charge level. This ensures that the battery remains in good condition for future use.
8. Perform basic maintenance: If you notice any minor issues or preventive maintenance tasks that need to be addressed, such as lubrication or cleaning, take the opportunity to perform those tasks during the inspection.
9. Address issues promptly: If you discover any problems during the inspection, address them promptly. This may involve repairing damaged components, tightening loose connections, or seeking professional assistance if necessary.
By regularly checking on the stored outboard motor, you can actively monitor its condition and address any issues before they escalate. This proactive approach ensures that your motor remains in good working condition and ready for use. With these regular check-ups, you can have peace of mind knowing that your outboard motor is well-maintained even during storage periods.
By following these steps, you can ensure that your outboard motor remains in optimal condition throughout the storage period, increasing its longevity and performance when you are ready to use it again.
Conclusion
Properly storing an outboard motor without a stand is vital for maintaining its longevity and ensuring optimal performance when you need it. By following the steps outlined in this article, you can effectively prepare, clean, and protect your outboard motor during storage.
Start by thoroughly preparing the outboard motor for storage, which includes cleaning it, checking for damage, changing the oil, and lubricating moving parts. Next, choose the right storage location, ensuring it is secure, climate-controlled, and well-ventilated.
When it’s time to store the outboard motor, position it upright on a stable surface and protect it from the elements using a breathable cover. Make sure to regularly inspect the motor, checking for any damage, moisture accumulation, or leaks. Address any issues promptly to prevent further damage or deterioration.
Performing basic maintenance tasks, such as changing the oil, inspecting connections, and testing the electrical system, ensures your outboard motor remains in good working condition during storage.
Remember, proper storage and maintenance not only protect your investment but also save you time and money on potential repairs or replacements down the line. By taking the necessary steps to protect your outboard motor, you can enjoy its reliable performance for years to come.
So, set aside some time to properly store and maintain your outboard motor without a stand. Follow the guidelines in this article and adapt them to your specific motor and storage situation. With a little effort now, you can ensure that your outboard motor is ready to hit the water whenever you are.
Frequently Asked Questions about How To Store An Outboard Motor Without A Stand
Was this page helpful?
At Storables.com, we guarantee accurate and reliable information. Our content, validated by Expert Board Contributors, is crafted following stringent Editorial Policies. We're committed to providing you with well-researched, expert-backed insights for all your informational needs.


0 thoughts on “How To Store An Outboard Motor Without A Stand”