Articles
How To Store Veggies In Mason Jars
Modified: October 20, 2024
Looking for articles on how to store veggies in mason jars? Discover the best practices and tips for preserving and organizing vegetables in this comprehensive guide.
(Many of the links in this article redirect to a specific reviewed product. Your purchase of these products through affiliate links helps to generate commission for Storables.com, at no extra cost. Learn more)
Introduction
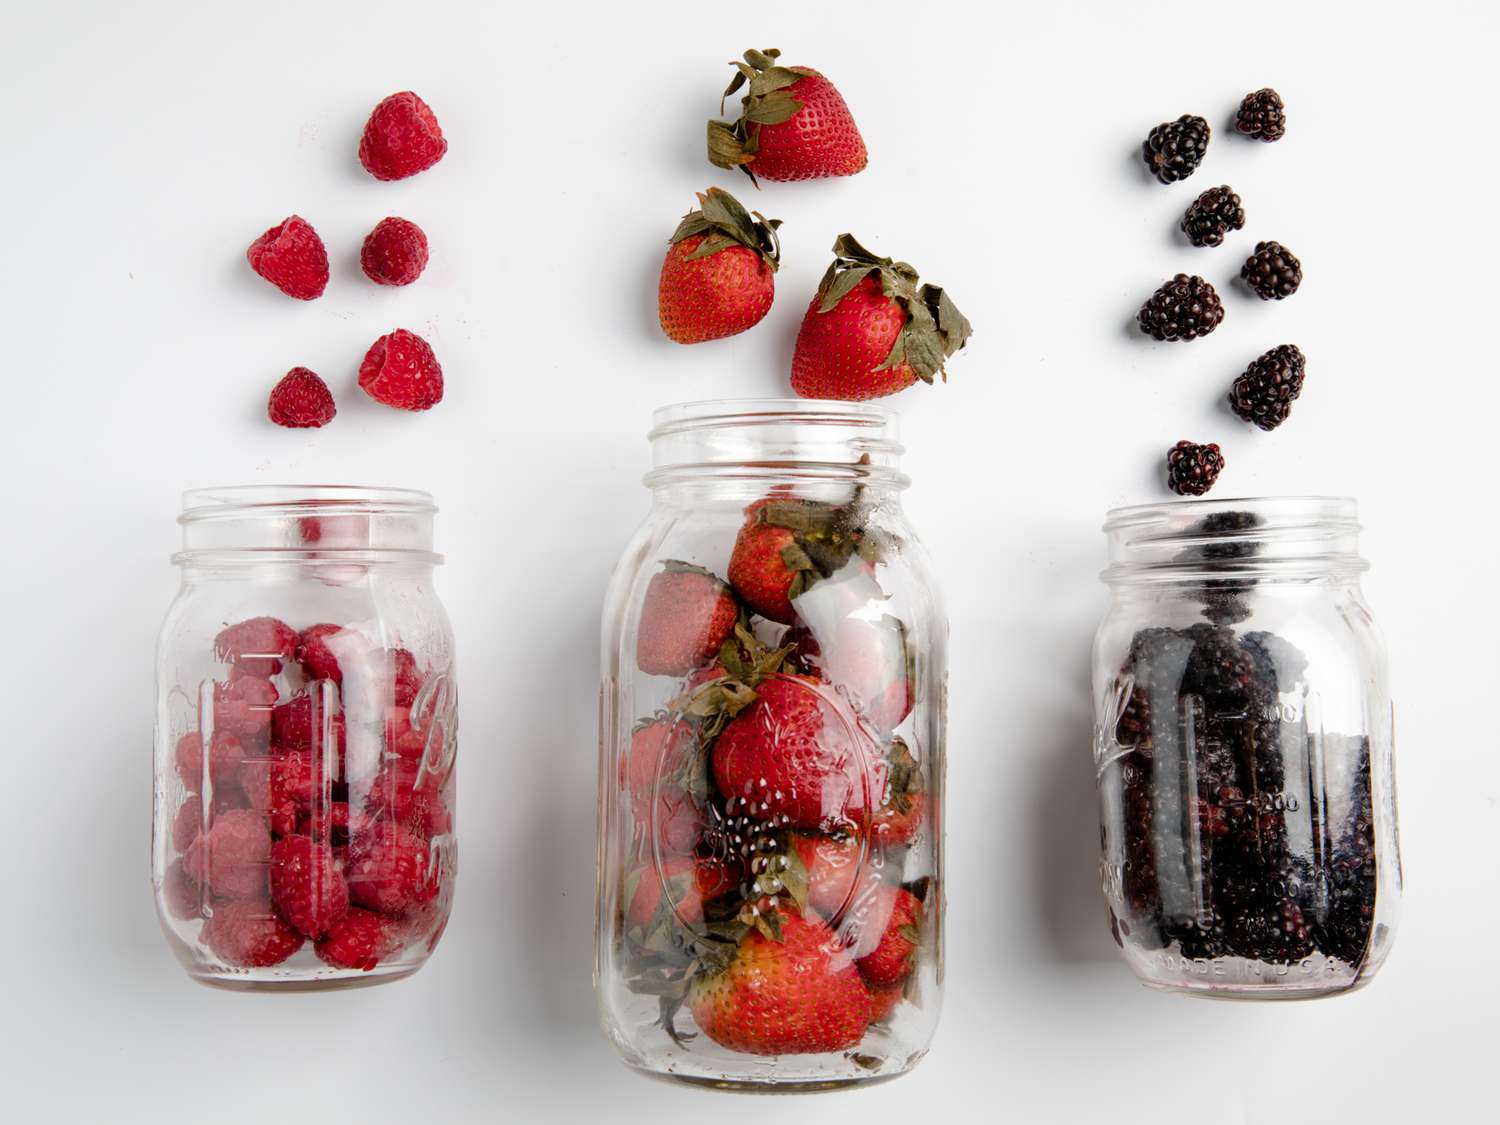
When it comes to storing vegetables, Mason jars have become a popular choice among home cooks and food enthusiasts. These versatile glass jars offer an excellent solution for preserving and organizing various types of veggies, keeping them fresh for longer periods.
Using Mason jars for vegetable storage offers several advantages. First and foremost, the airtight seal provided by the jars helps to maintain the freshness and flavor of the vegetables. The transparent nature of the glass jars allows you to easily see what’s stored inside, making it convenient to locate specific veggies. Additionally, Mason jars are reusable and environmentally friendly, reducing the need for single-use plastic containers.
To effectively store your veggies in Mason jars, there are several factors to consider. From choosing the right jar size to preparing the jars for storage, this article will guide you through the process step-by-step. We will also explore different methods of storing specific types of vegetables, such as blanching and freezing, storing leafy greens, root vegetables, cut vegetables, and even fermenting vegetables in Mason jars.
Furthermore, we’ll discuss how Mason jars can be utilized for meal prepping, allowing you to conveniently portion out vegetables in advance and have them ready to use throughout the week. Plus, we’ll share some essential tips for long-term vegetable storage in Mason jars to ensure optimum freshness and longevity.
So, whether you’re a seasoned home cook or a beginner in the kitchen, this comprehensive guide will equip you with all the knowledge needed to store your veggies efficiently and enjoy their freshness for longer periods with the help of Mason jars.
Key Takeaways:
- Mason jars offer a versatile and eco-friendly solution for storing veggies, preserving freshness, and minimizing food waste. From blanching and freezing to fermenting, these glass jars provide practical and sustainable vegetable storage options.
- Proper preparation, jar selection, and storage techniques are essential for maximizing the shelf life of veggies in Mason jars. By following these guidelines, home cooks can enjoy extended freshness, convenience, and sustainability in their vegetable storage routine.
Read more: How To Store Mason Jars
Choosing the Right Mason Jars
When it comes to storing veggies in Mason jars, choosing the right jar size is essential. The size of the jar will depend on the quantity of vegetables you plan to store and the available space in your pantry or refrigerator.
Mason jars come in various sizes, including half-pint, pint, quart, and even larger sizes like half-gallon or gallon jars. The half-pint and pint jars are ideal for storing small quantities of vegetables or single servings. Quart-sized jars are suitable for medium-sized batches, while the larger sizes are better for bulk storage or fermenting large amounts of veggies.
It is also important to consider the type of closure or lid that comes with the Mason jar. Most Mason jars have two-piece lids consisting of a flat metal disc and a screw-on ring. The metal disc acts as a seal, while the ring secures it in place. Make sure the lid is in good condition and creates a tight seal to ensure the freshness and longevity of your vegetables. Some Mason jars also have reusable lids made of BPA-free plastic, which can be a more convenient and eco-friendly option.
Another factor to consider is the material of the Mason jar. While most Mason jars are made of glass, you may come across plastic jars labeled as “Mason-style” jars. Glass jars are preferable for vegetable storage as they are non-reactive and don’t absorb odors or flavors. They are also more durable and can withstand temperature changes better than plastic jars.
Lastly, consider the shape of the jar. Mason jars come in various shapes, including regular mouth and wide mouth. The regular mouth jars have a smaller opening, which can make it more challenging to pack and retrieve certain vegetables. On the other hand, wide mouth jars have a wider opening, making it easier to access the veggies and clean the jar.
By considering these factors – jar size, type of closure, material, and shape – you can choose the right Mason jars for your vegetable storage needs. Remember to have a variety of jar sizes on hand to accommodate different quantities of veggies, and opt for glass jars with tight-fitting lids for maximum freshness and longevity.
Preparing the Mason Jars for Storage
Before storing your veggies in Mason jars, it’s important to properly prepare the jars to ensure cleanliness and hygiene. Follow these steps to prepare your Mason jars for vegetable storage:
- Clean the jars: Start by washing the Mason jars, lids, and rings in hot, soapy water. Rinse them thoroughly to remove any soap residue.
- Sterilize the jars: To ensure the jars are free from any bacteria or contaminants, you can choose to sterilize them. Place the clean jars and their lids in a large pot filled with water. Bring the water to a boil and let the jars simmer for about 10 minutes. Use tongs to remove the jars from the pot and set them upside down on a clean towel to dry.
- Inspect the jars: After sterilizing the jars, carefully inspect them for any cracks, chips, or defects. Discard any jars or lids that are damaged or compromised, as they may not create a proper seal for your veggies.
- Check for airtight seals: Before using the jars, check the rubber seals on the lids for any signs of wear or damage. The rubber seals should be pliable and free from cracks or tears. If you notice any defects, replace the seals with new ones to ensure an airtight seal for your vegetables.
Once you’ve cleaned, sterilized, and inspected the Mason jars, they are ready to be used for vegetable storage. It’s important to note that the jars should be completely dry before adding any vegetables to prevent moisture buildup and potential spoilage.
By taking the time to properly prepare your Mason jars for storage, you can ensure that your veggies remain fresh, safe, and free from contaminants. This extra step will contribute to the overall success of preserving your vegetables in these versatile glass jars.
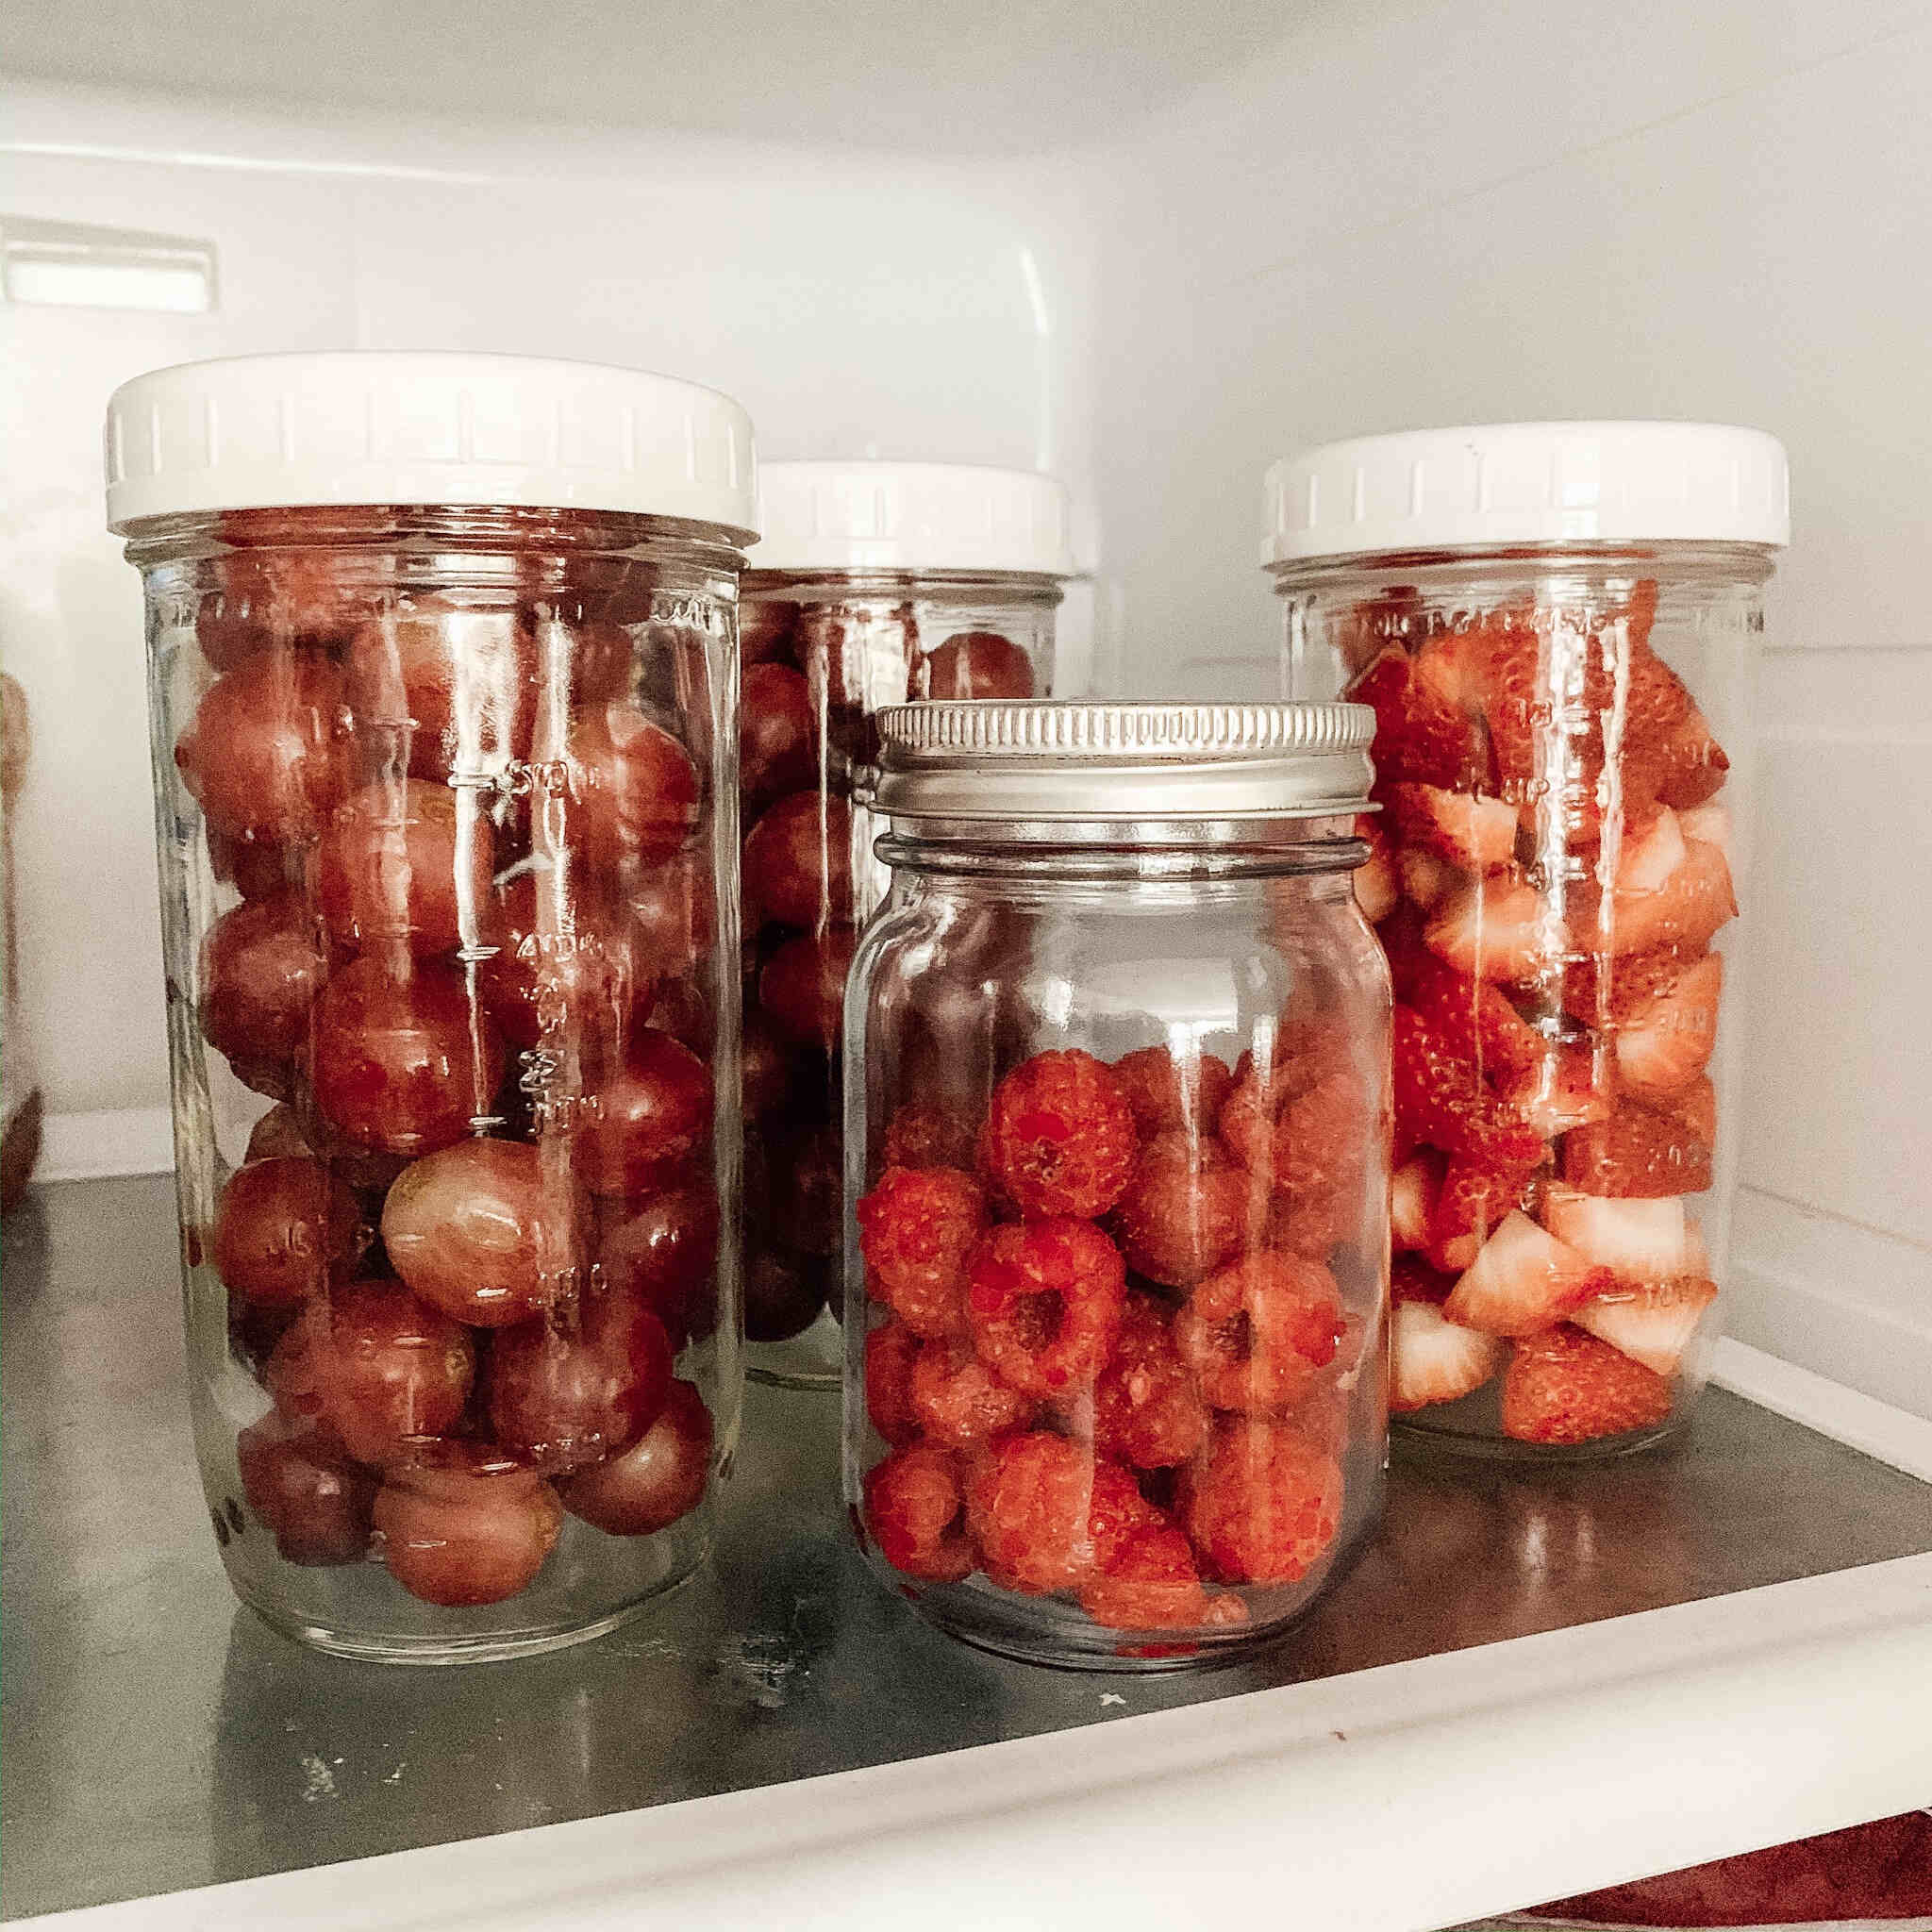
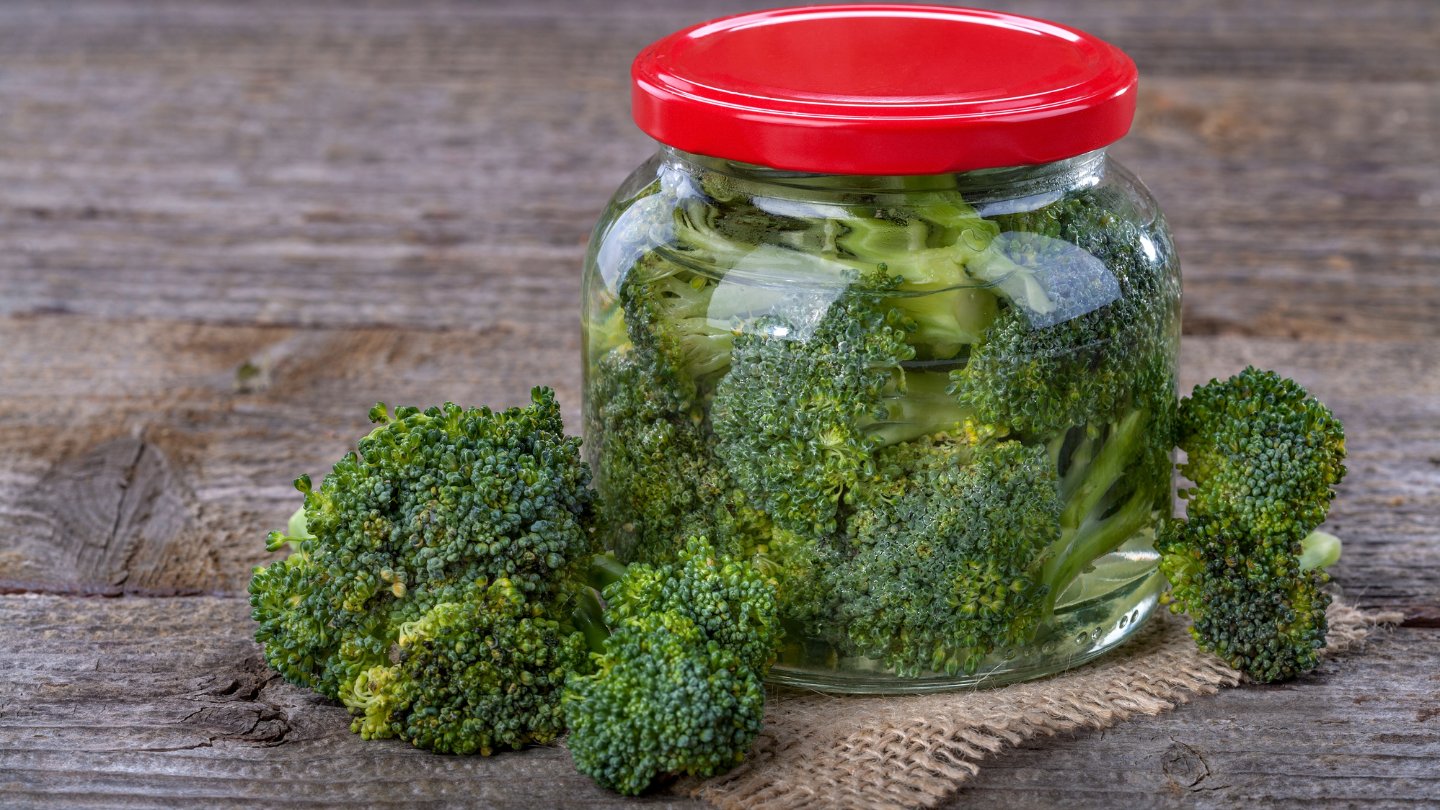
Blanching and Freezing Vegetables
Blanching and freezing vegetables is a popular method of preserving their freshness and nutritional value. This technique involves briefly cooking the vegetables in boiling water, followed by immediately plunging them into ice water to halt the cooking process. Blanching helps to retain the vibrant color, texture, and flavor of the vegetables, while freezing ensures long-term storage.
Here’s how you can blanch and freeze vegetables using Mason jars:
- Choose the right vegetables: Not all vegetables are suitable for blanching and freezing. Some vegetables that work well include broccoli, green beans, carrots, peas, and corn. These vegetables retain their quality and texture when frozen.
- Prepare the vegetables: Wash the vegetables thoroughly and remove any stems, leaves, or inedible parts. Cut them into bite-sized pieces or leave them whole, depending on your preference.
- Blanch the vegetables: Bring a large pot of water to a boil. Add the vegetables to the boiling water and cook them for a specific time depending on the vegetable type. Generally, most vegetables require 1-3 minutes of blanching. Refer to a blanching chart or specific recipes for exact blanching times.
- Ice water bath: After blanching, quickly remove the vegetables from the boiling water using a slotted spoon or tongs and transfer them immediately into a bowl filled with ice water. Allow the vegetables to cool completely in the ice water for the same duration as the blanching time.
- Drain and dry: Drain the vegetables thoroughly to remove excess moisture. You can use a salad spinner or pat them dry with a clean kitchen towel to ensure they are free from water droplets.
- Pack in Mason jars: Take the blanched and dried vegetables and pack them tightly into clean and dry Mason jars, leaving a bit of headspace at the top. This headspace allows for expansion during freezing.
- Seal and freeze: Secure the lids onto the Mason jars, ensuring they are airtight. Label the jars with the name and date of freezing. Place the jars in the freezer, making sure they are placed upright to avoid leakage.
When you’re ready to use the frozen vegetables, simply thaw them in the refrigerator overnight or quickly blanch them again before cooking. By blanching and freezing your favorite vegetables in Mason jars, you can enjoy their freshness and nutritional benefits throughout the year.
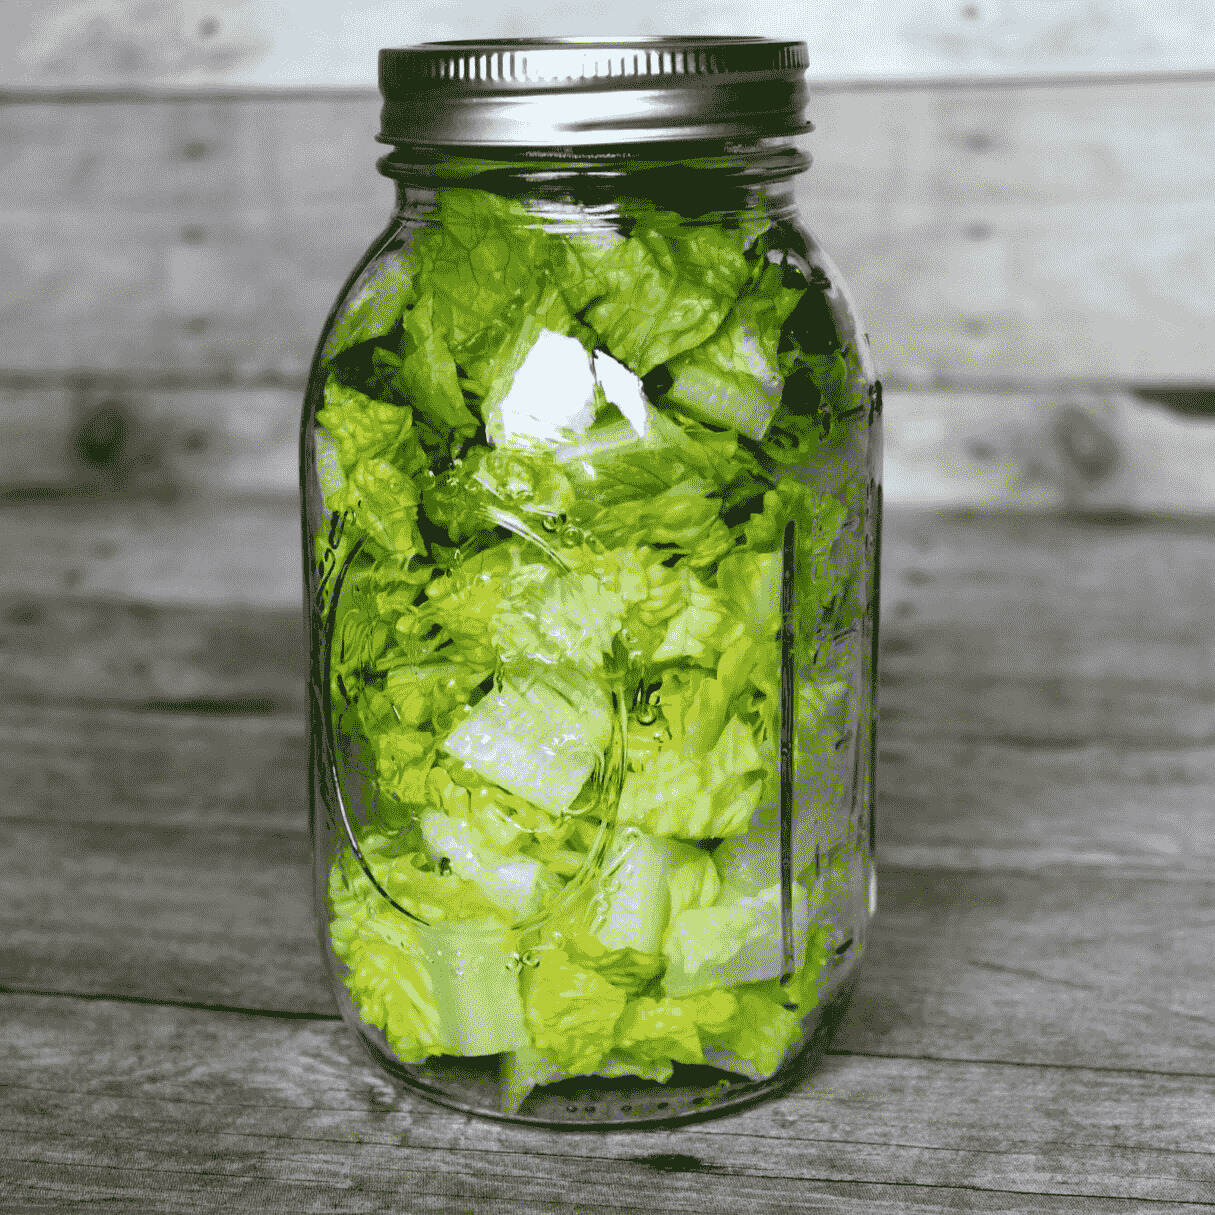
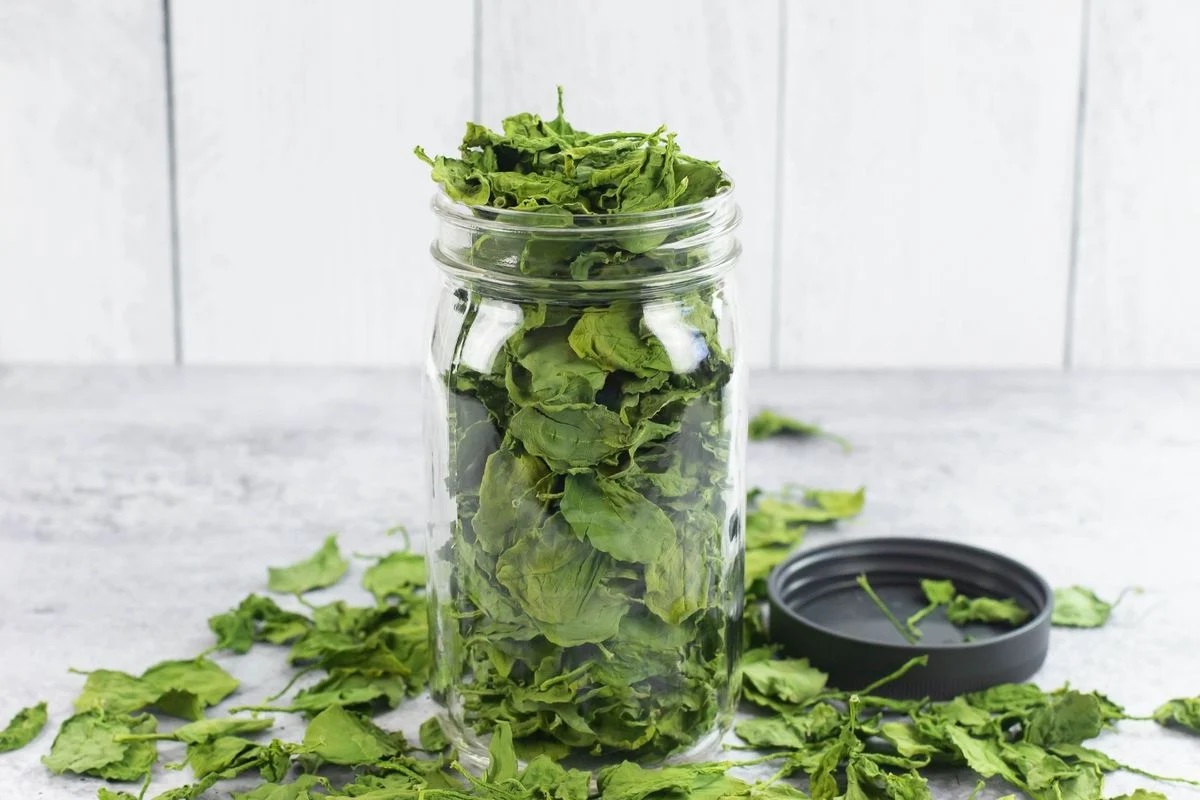
Storing Leafy Greens in Mason Jars
Leafy greens are delicate vegetables that require proper storage to maintain their crispness and flavor. Mason jars offer an excellent solution for storing leafy greens, keeping them fresh for longer periods. Here’s how you can store leafy greens in Mason jars:
- Washing and drying: Start by washing the leafy greens thoroughly in cold water to remove any dirt or debris. Gently shake off the excess water and pat them dry using a clean kitchen towel or a salad spinner. Ensure that the leaves are completely dry before storing them to prevent moisture buildup.
- Trimming and cutting: Remove any damaged or wilted leaves from the greens. Trim off the tough stems or rib sections of the greens, if necessary. Cut the greens into manageable-sized pieces, such as bite-sized leaves or larger sections, depending on your preference and the size of the Mason jar.
- Layering in Mason jars: Take a clean and dry Mason jar and start layering the leafy greens inside. Place a layer of greens at the bottom, making sure not to pack them too tightly. Add another layer and continue until the jar is filled, leaving some headspace at the top for air circulation. Avoid overpacking the jar, as it can result in bruising or compacting of the greens.
- Airtight seal: Once the jar is filled with the leafy greens, seal it tightly with the lid. Ensure that the lid is secured properly to create an airtight seal. This will help to maintain the freshness and crispness of the greens.
- Storage location: Store the Mason jars of leafy greens in the refrigerator’s vegetable crisper or a cool area of your kitchen. The cool temperature will help to slow down the wilting process and keep the greens fresh for a more extended period.
- Monitoring freshness: It’s essential to check the freshness of the stored leafy greens regularly. Inspect the leaves for any signs of spoilage, such as discoloration or sliminess. Remove any wilted or spoiled leaves immediately to prevent them from affecting the rest of the greens.
By storing leafy greens in Mason jars, you can effectively preserve their freshness and crispness for several days. The airtight seal of the jars helps to keep the greens away from moisture and maintain their quality. Enjoy vibrant and nutritious leafy greens by following these simple steps!
Read more: How To Store Blueberries In Mason Jars
Storing Root Vegetables in Mason Jars
Root vegetables are known for their long shelf life, but proper storage is still important to ensure their freshness and prevent them from spoiling. Mason jars offer a convenient and effective method for storing root vegetables, keeping them in optimal condition. Here’s how you can store root vegetables in Mason jars:
- Cleaning and preparation: Start by washing the root vegetables thoroughly under cold water to remove any dirt or debris. Gently scrub the skin if needed. Dry the vegetables completely before storing them in Mason jars to prevent moisture buildup and potential rotting.
- Trimming and cutting (optional): Depending on your preference and the size of the Mason jar, you may choose to trim or cut the root vegetables. Remove any damaged or wilted parts, and peel or trim the skin as desired. Slice or dice the vegetables into appropriate sizes for easier storage and cooking.
- Packing the jars: Take clean and dry Mason jars and pack the root vegetables inside. Place the vegetables in the jars, ensuring they are not packed too tightly. Leave some headspace at the top of the jar to allow for air circulation. Avoid overcrowding the vegetables, as this can lead to faster spoilage.
- Adding moisture control (optional): You can choose to add moisture-absorbing packets or a piece of clean paper towel to help absorb excess moisture and maintain the freshness of the root vegetables. This step is especially useful if you live in a humid environment.
- Airtight seal: Once the root vegetables are packed in the Mason jars, seal the jars tightly with the lids. Check that the lids are secured properly to create an airtight seal. This will help to prolong the storage life of the root vegetables.
- Storage location: Store the Mason jars of root vegetables in a cool, dark, and dry place, such as a pantry or a root cellar if available. These conditions will help to maintain the quality and flavor of the vegetables.
- Checking freshness: Regularly inspect the stored root vegetables for any signs of spoilage, such as soft spots, mold, or an unpleasant odor. Remove any affected vegetables immediately to prevent the spread of spoilage to other vegetables.
By following these steps, you can store root vegetables in Mason jars and prolong their shelf life. Proper storage helps to preserve the texture and flavor of the vegetables, ensuring that they remain fresh and ready to use in your favorite recipes.
To store veggies in mason jars, make sure to clean and dry the veggies thoroughly before placing them in the jars. Store the jars in the refrigerator to keep the veggies fresh for a longer period of time.
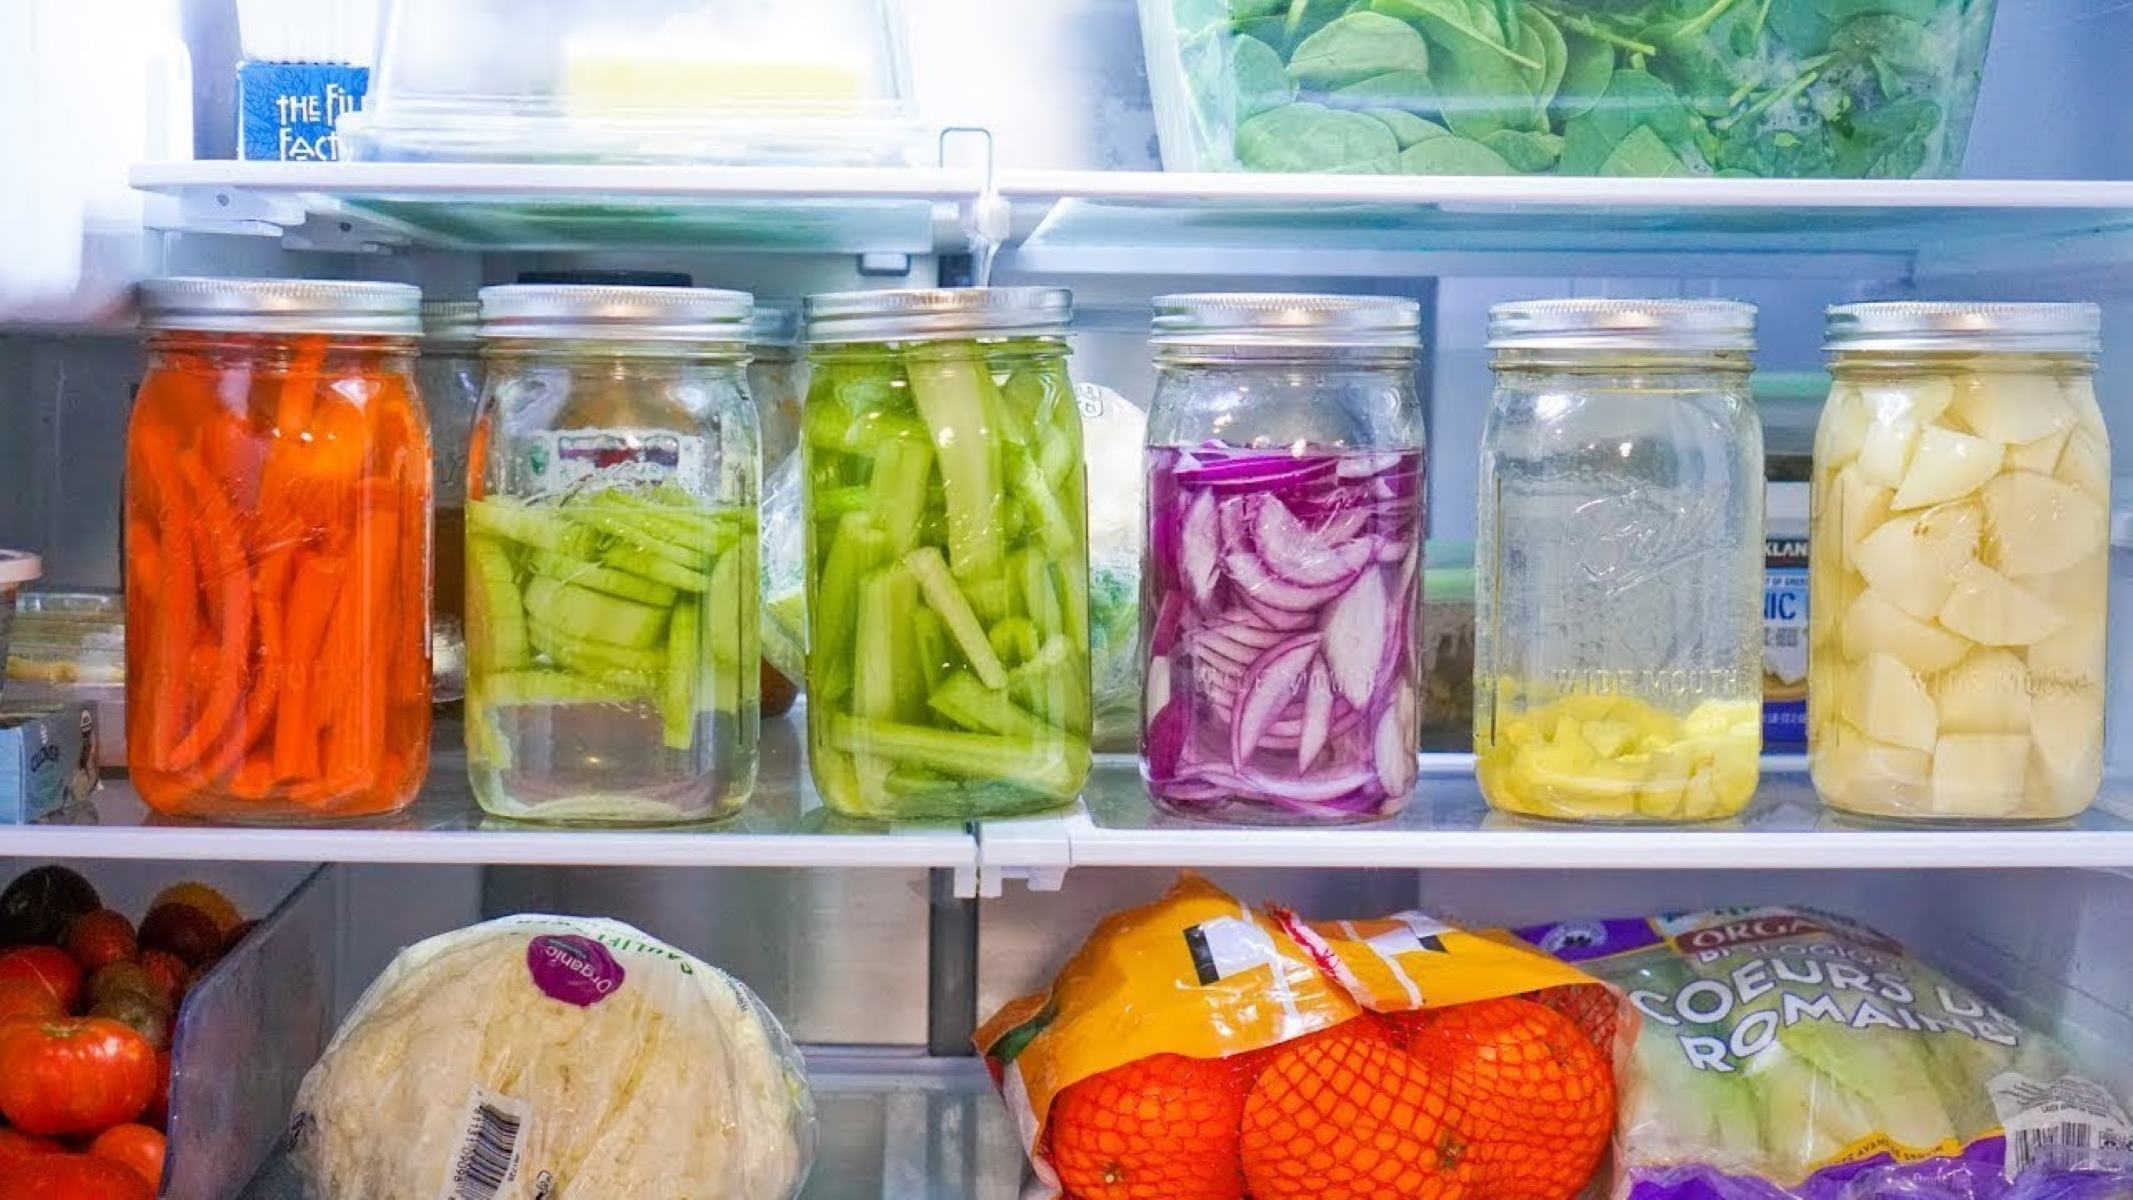
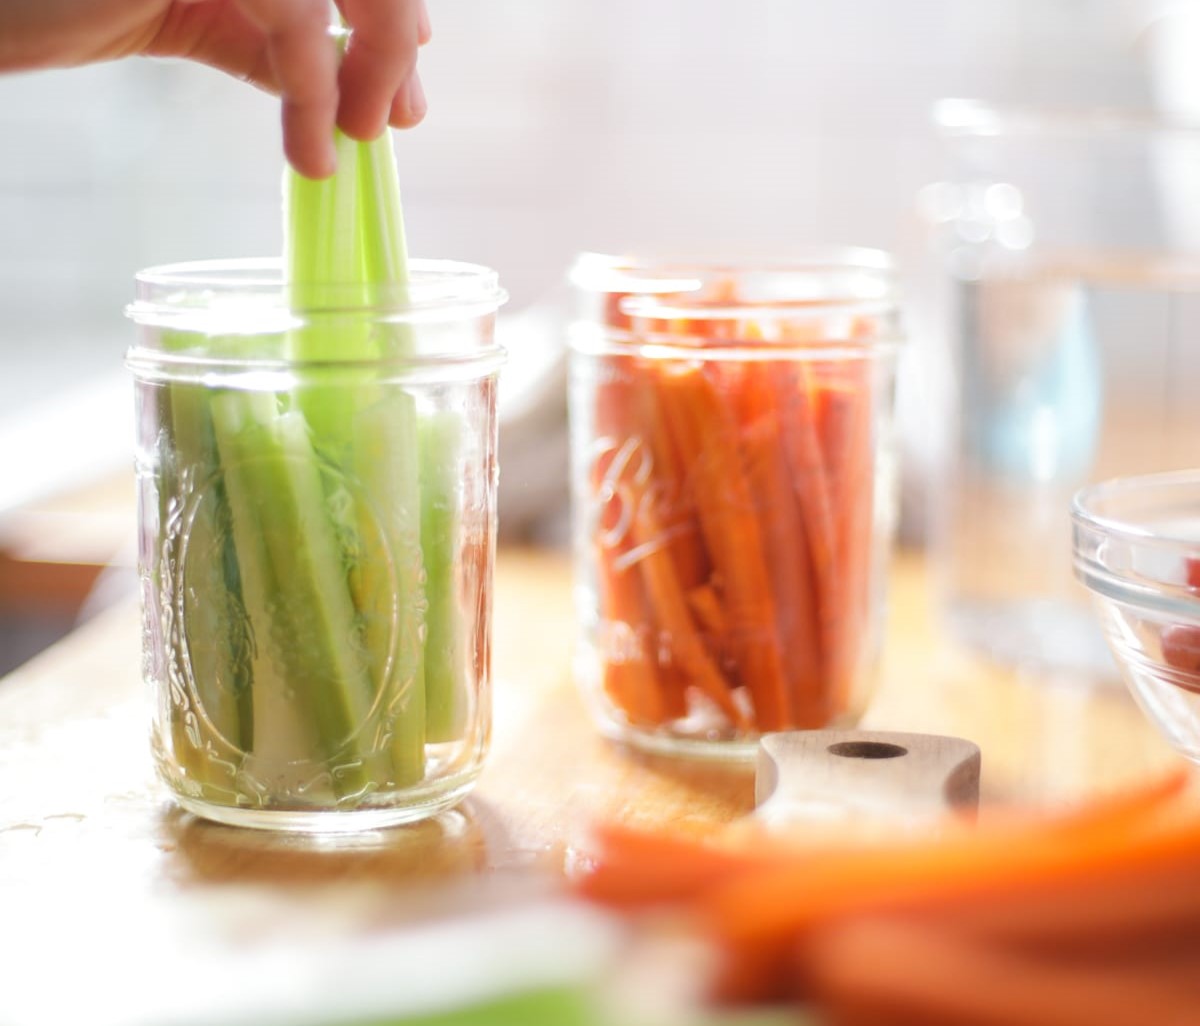
Storing Cut Vegetables in Mason Jars
Pre-cutting vegetables can save time in the kitchen and make meal preparation more convenient. However, improper storage can lead to premature spoilage and loss of freshness. Mason jars offer an excellent solution for storing cut vegetables, keeping them fresh for longer periods. Here’s how you can store cut vegetables in Mason jars:
- Cleaning and preparation: Start by washing the vegetables thoroughly under cold water to remove any dirt or debris. Pat them dry with a clean kitchen towel or paper towels to remove excess moisture.
- Cutting and sizing: Cut the vegetables into your desired shapes and sizes. Keep in mind that smaller pieces may fit better in the jars, but larger ones might be more suitable for specific recipes. Consider the type of vegetables you’re working with and how you plan to use them when determining the size.
- Packing the jars: Take clean and dry Mason jars and pack the cut vegetables inside. Fill the jars with the vegetables, leaving some headspace at the top for air circulation. Avoid overfilling the jars as it can compress the vegetables and reduce their freshness. Instead, pack them loosely to maintain their texture.
- Airtight seal: Once the jars are filled, secure the lids onto the Mason jars tightly. Make sure the lids are properly sealed to create an airtight environment. This will help to preserve the freshness and flavor of the cut vegetables.
- Storage location: Store the Mason jars of cut vegetables in the refrigerator. Most cut vegetables require refrigeration to maintain their quality. Place them in the vegetable crisper or in a designated area where they can stay cool and remain accessible.
- Checking freshness: Regularly check the stored cut vegetables for any signs of spoilage, such as discoloration, sliminess, or an off-putting odor. If you notice any signs of spoilage, remove the affected vegetables immediately to prevent the spread of spoilage to other vegetables.
By storing cut vegetables in Mason jars, you can extend their shelf life and maintain their freshness. The airtight seal provided by the jars helps to protect the vegetables from moisture and contaminants. Incorporate this storage method into your meal prep routine to enjoy the convenience of pre-cut vegetables without sacrificing quality or taste.
Storing Fermented Vegetables in Mason Jars
Fermenting vegetables is a popular method for preserving them while enhancing their flavor and nutritional value. Mason jars are an ideal container for fermenting and storing fermented vegetables, allowing you to enjoy the tangy and probiotic-rich goodness for longer periods. Here’s how you can store fermented vegetables in Mason jars:
- Fermenting process: Begin by fermenting your vegetables using your preferred fermentation method and recipe. This typically involves submerging the vegetables in a brine or saltwater solution and allowing the natural fermentation process to take place.
- Transfer to Mason jars: Once the fermentation process is complete, carefully transfer the fermented vegetables into clean and dry Mason jars. Use a slotted spoon or tongs to handle the vegetables gently and avoid crushing them.
- Packing the jars: Fill the Mason jars with the fermented vegetables, ensuring they are packed tightly and completely submersed in their brine. Leave some headspace at the top of the jar to accommodate any expansion that may occur during storage.
- Airtight seal: Seal the jars tightly with the lids. Make sure the lids are secure to create an airtight environment, essential for preserving the flavor and probiotic content of the fermented vegetables.
- Storage location: Store the Mason jars of fermented vegetables in a cool and dark place, such as a pantry or a refrigerator. The cool temperature helps to slow down the fermentation process and maintain the quality of the vegetables.
- Allow for further fermentation (optional): Depending on your preference, you can continue to ferment the vegetables in the jars at room temperature for a few days before transferring them to the refrigerator. This secondary fermentation can enhance the flavor and texture of the vegetables.
- Checking freshness: Monitor the fermented vegetables regularly to ensure their freshness. Look for any signs of spoilage, such as mold growth or foul odors. If you notice any indications of spoilage, discard the affected jar and its contents.
By storing fermented vegetables in Mason jars, you can enjoy the unique flavors and health benefits of these probiotic-rich foods. The airtight seal of the jars helps to maintain the quality and freshness of the fermented vegetables, allowing you to savor their tangy goodness over an extended period.
Using Mason Jars for Meal Prepping
Mason jars can be a game-changer when it comes to meal prepping. Their versatility and convenience make them an excellent choice for pre-portioning and storing meals ahead of time. Here’s how you can make the most of Mason jars for meal prepping:
- Choose the right size: Consider the portion sizes and the type of meals you plan to prepare. Select Mason jars that can hold an adequate amount of food while still leaving some space for shaking and mixing. Pint-sized or quart-sized jars are often ideal for most meal prepping needs.
- Layer ingredients: Start by adding the ingredients that can withstand moisture at the bottom of the jar, such as dressings, sauces, or grains. Layer sturdier ingredients, like proteins or vegetables, on top. This layering helps to keep the different components separate until you’re ready to mix and enjoy the meal.
- Consider the order of assembly: Think strategically about the order in which you add ingredients to the jar. If you’re including delicate leafy greens, they should be placed closer to the top to prevent them from wilting or becoming soggy. Consider the cooking time of each ingredient to ensure they will be heated through when reheating the meal.
- Add toppings separately: If you’re including toppings like nuts, seeds, or crunchy vegetables, it’s best to store them separately. This way, they stay fresh and maintain their texture until you’re ready to add them to your meal right before eating.
- Label and date: Don’t forget to label each jar with the name of the meal and the date of preparation. This helps you keep track of what’s inside and ensures you consume them within the recommended time frame.
- Reheating and serving: When you’re ready to enjoy your prepped meal, simply remove the lid, and depending on the ingredients, either microwave the jar or transfer the contents to a plate or bowl. Give the meal a good mix to distribute the flavors evenly and enjoy your nutritious and hassle-free prepped meal!
- Storage guidelines: Store the Mason jars in the refrigerator to keep the meals fresh. Most properly prepared and stored meals can last up to five days in the refrigerator. However, it’s essential to pay attention to the specific ingredients and their freshness to ensure food safety.
By using Mason jars for meal prepping, you can save time and effort in the kitchen while enjoying wholesome and well-portioned meals throughout the week. Experiment with different recipes and ingredients to create a variety of nutritious and satisfying jar meals that suit your taste and dietary preferences.
Read more: How To Store Cucumbers In Mason Jars
Tips for Long-Term Vegetable Storage in Mason Jars
When it comes to long-term vegetable storage in Mason jars, a few extra steps and precautions can go a long way in maintaining the freshness and quality of the vegetables. Here are some tips to help you maximize the shelf life of your veggies:
- Choose the freshest produce: Start with fresh, high-quality vegetables for long-term storage. Select vegetables that are free from blemishes, bruises, or signs of spoilage. It’s best to choose vegetables at their peak of freshness to ensure they can withstand extended storage periods.
- Properly clean and dry the vegetables: Thoroughly wash the vegetables to remove any dirt or debris. Ensure that they are completely dry before packing them into the Mason jars. Moisture can lead to mold or spoilage, so it’s crucial to eliminate any excess moisture.
- Use a vacuum sealer (optional): Consider investing in a vacuum sealer to remove excess air from the Mason jars. This technique helps to inhibit the growth of bacteria and maintain the freshness of the vegetables for a more extended period.
- Add moisture control packets (optional): To further enhance long-term storage, you can insert moisture control packets inside the Mason jars. These packets help absorb excess moisture and prevent spoilage. Be sure to select packets that are safe for food storage.
- Store in a cool and dark place: Find a cool and dark location to store the Mason jars of vegetables. Ideally, the temperature should be around 50-55°F (10-13°C) for optimal vegetable storage. Avoid exposing the jars to direct sunlight or fluctuating temperatures.
- Check for spoilage regularly: Regularly inspect the stored vegetables for any signs of spoilage, such as mold growth, sliminess, or unpleasant odors. If you notice any spoiled vegetables, remove them immediately to prevent the spread of spoilage to the rest of the vegetables.
- Rotate your stock: To ensure that you use up the oldest vegetables first and maintain a fresh supply, practice a “first in, first out” rotation system. This ensures that you’re consuming the oldest vegetables before they deteriorate in quality.
- Be mindful of storage duration: While long-term storage is possible with Mason jars, it’s essential to be mindful of the recommended storage duration for different types of vegetables. Some vegetables will last longer than others, so plan your rotation and consumption accordingly.
By following these tips for long-term vegetable storage in Mason jars, you can extend the shelf life and enjoy the produce’s freshness over an extended period. Proper preparation, storage conditions, and regular monitoring ensure that your vegetables stay in excellent condition, enabling you to enjoy them even during off-seasons or extended periods of time.
Conclusion
Storing vegetables in Mason jars is a practical and efficient way to extend their freshness and ensure they remain in optimal condition. Whether you’re blanching and freezing, storing leafy greens or root vegetables, fermenting, or meal prepping, these versatile glass jars offer a range of benefits for preserving and organizing your veggies.
By selecting the right jar size, properly preparing the jars, and following specific storage methods for different types of vegetables, you can maximize their shelf life and minimize food waste. Mason jars provide an airtight seal, keeping out moisture, contaminants, and odors, while allowing you to conveniently see what’s stored inside.
In addition to their practicality, Mason jars also contribute to sustainable living by reducing the use of single-use plastic containers. These reusable jars are eco-friendly and can be used repeatedly for many years, aligning with a conscious and environmentally responsible lifestyle.
Whether you’re a seasoned home cook or just starting in the kitchen, incorporating Mason jars into your vegetable storage routine is a valuable strategy. From meal prepping for busy weekdays to fermenting vegetables for added flavor and health benefits, Mason jars provide a versatile and reliable solution.
Remember to choose the freshest produce, properly clean and prepare the vegetables, and monitor the jars regularly for any signs of spoilage. By following these guidelines, you can confidently store your veggies in Mason jars and enjoy their freshness, nutrition, and flavors for extended periods.
So, go ahead and stock up on Mason jars, get creative with your vegetable storage, and embark on a journey of keeping your veggies fresh, organized, and ready to use whenever you need them!
Frequently Asked Questions about How To Store Veggies In Mason Jars
Was this page helpful?
At Storables.com, we guarantee accurate and reliable information. Our content, validated by Expert Board Contributors, is crafted following stringent Editorial Policies. We're committed to providing you with well-researched, expert-backed insights for all your informational needs.


0 thoughts on “How To Store Veggies In Mason Jars”