
Articles
How To Store Celery In Mason Jars
Modified: August 23, 2024
Learn how to store celery in mason jars with these helpful articles. Extend the lifespan of your celery and keep it fresh for longer.
(Many of the links in this article redirect to a specific reviewed product. Your purchase of these products through affiliate links helps to generate commission for Storables.com, at no extra cost. Learn more)
Introduction:
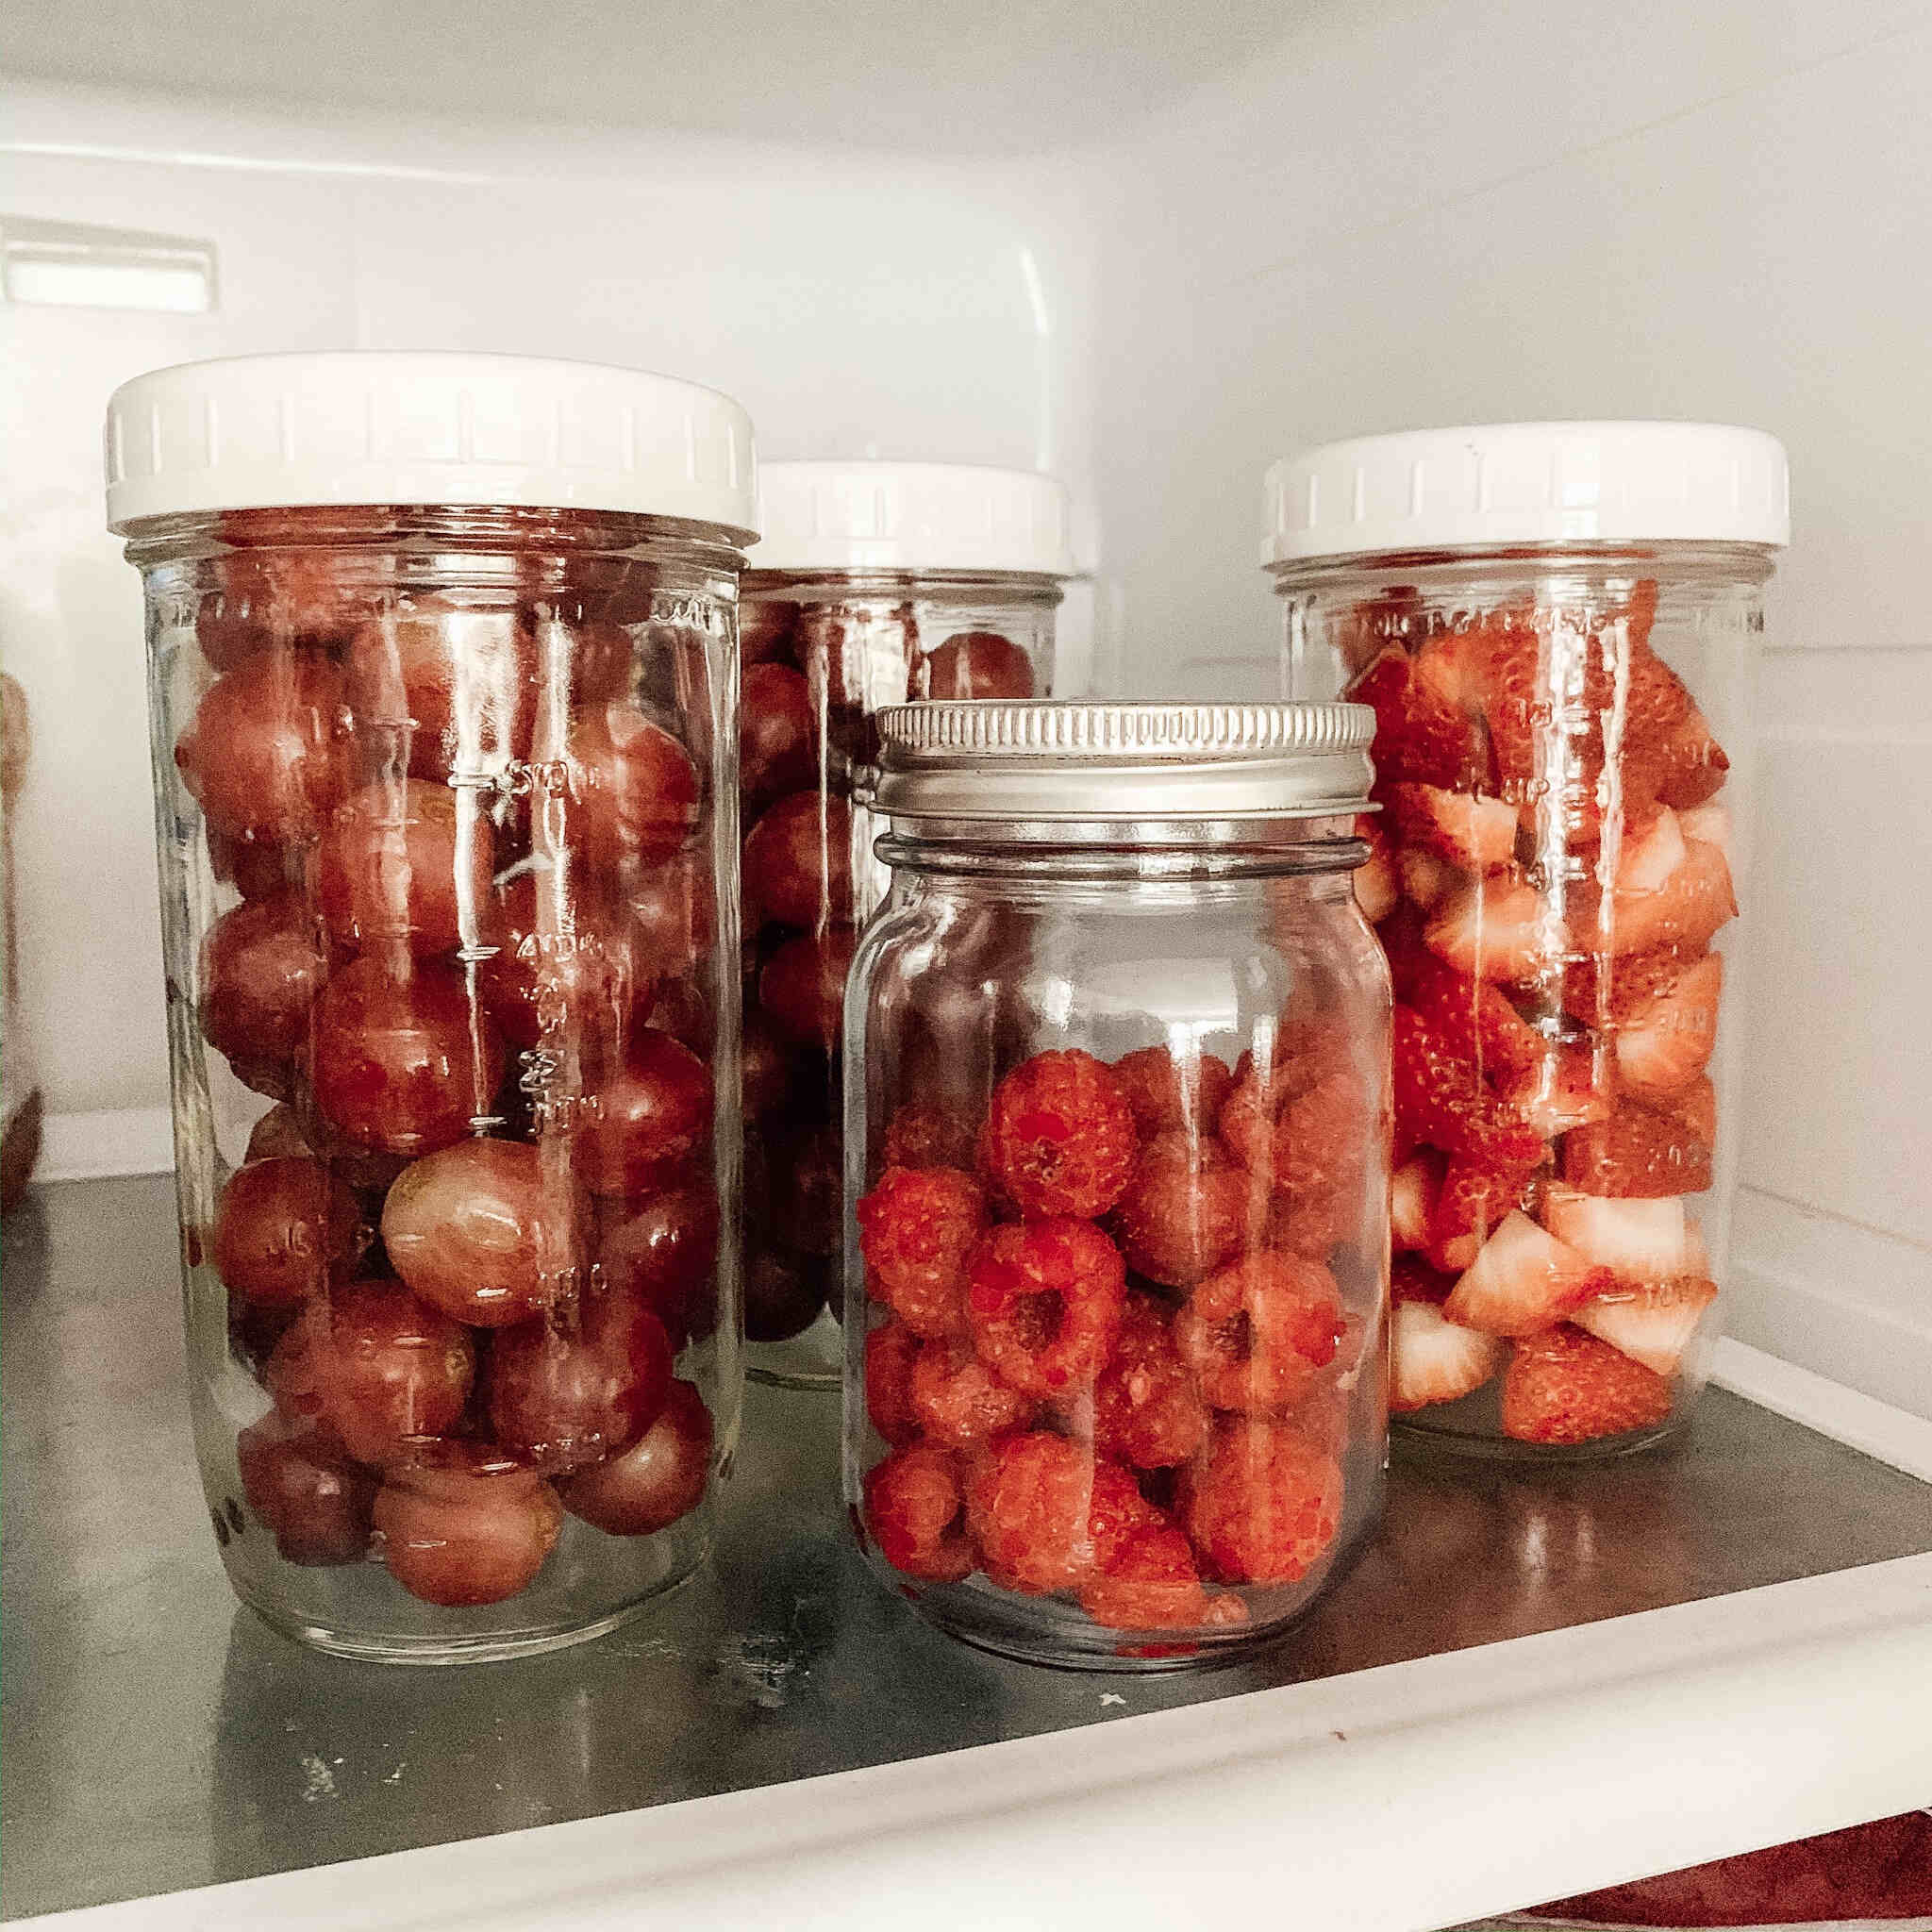
Storing celery in mason jars is not only a practical way to keep this versatile vegetable fresh for longer, but it also adds a touch of charm to your kitchen decor. Mason jars have become a staple in households, serving various purposes from canning to storing pantry staples. By using mason jars to store celery, you can prolong its shelf life, maintain its crispness, and easily access it whenever you need it for cooking or snacking.
In this article, we will guide you through the process of storing celery in mason jars, step by step. You’ll learn the benefits of this storage method, how to properly prepare the celery, sterilize the jars, and pack them to optimize freshness. By following these steps, you’ll ensure that your celery stays vibrant, crunchy, and flavorful for an extended period.
But why go through the effort of storing celery in mason jars? Let’s take a closer look at the benefits.
Key Takeaways:
- Store celery in mason jars to extend its shelf life, retain its nutritional value, and reduce plastic waste. Enjoy easy organization and enhance your kitchen decor while keeping celery fresh and flavorful.
- Follow the step-by-step process to prep, pack, and seal celery in mason jars for optimal freshness. Explore various culinary uses and enjoy the convenience of stored celery.
Read more: How To Store Mason Jars
Benefits of Storing Celery in Mason Jars:
When it comes to preserving celery, using mason jars offers several advantages over other storage methods. Here are some key benefits:
- Extended Shelf Life: Storing celery in mason jars can help prolong its freshness and shelf life. The airtight seal provided by the jars helps prevent moisture loss, keeping the celery from drying out too quickly. This means that you can enjoy crisp and flavorful celery for a longer period, reducing waste and saving money.
- Retains Nutritional Value: Celery is a nutrient-rich vegetable, packed with vitamins, minerals, and fiber. Traditional storage methods, such as wrapping celery in plastic or storing it loose in the refrigerator, can lead to nutrient loss. However, by storing it in mason jars, you can help preserve its nutritional value for a longer time, ensuring that you get the maximum benefits from this healthy vegetable.
- Easy Organization: Storing celery in mason jars not only keeps it fresh, but it also helps with kitchen organization. Mason jars are stackable, which means you can neatly arrange them in the fridge or pantry, saving space and making it easier to locate your celery when you need it. Plus, the clear glass jars allow you to see the contents at a glance, eliminating the need to rummage through the fridge to find what you’re looking for.
- Reduced Plastic Waste: By using mason jars for celery storage, you can cut down on single-use plastic waste. Instead of reaching for plastic bags or cling wrap, mason jars provide a sustainable and eco-friendly alternative. They are reusable, durable, and help minimize your environmental footprint.
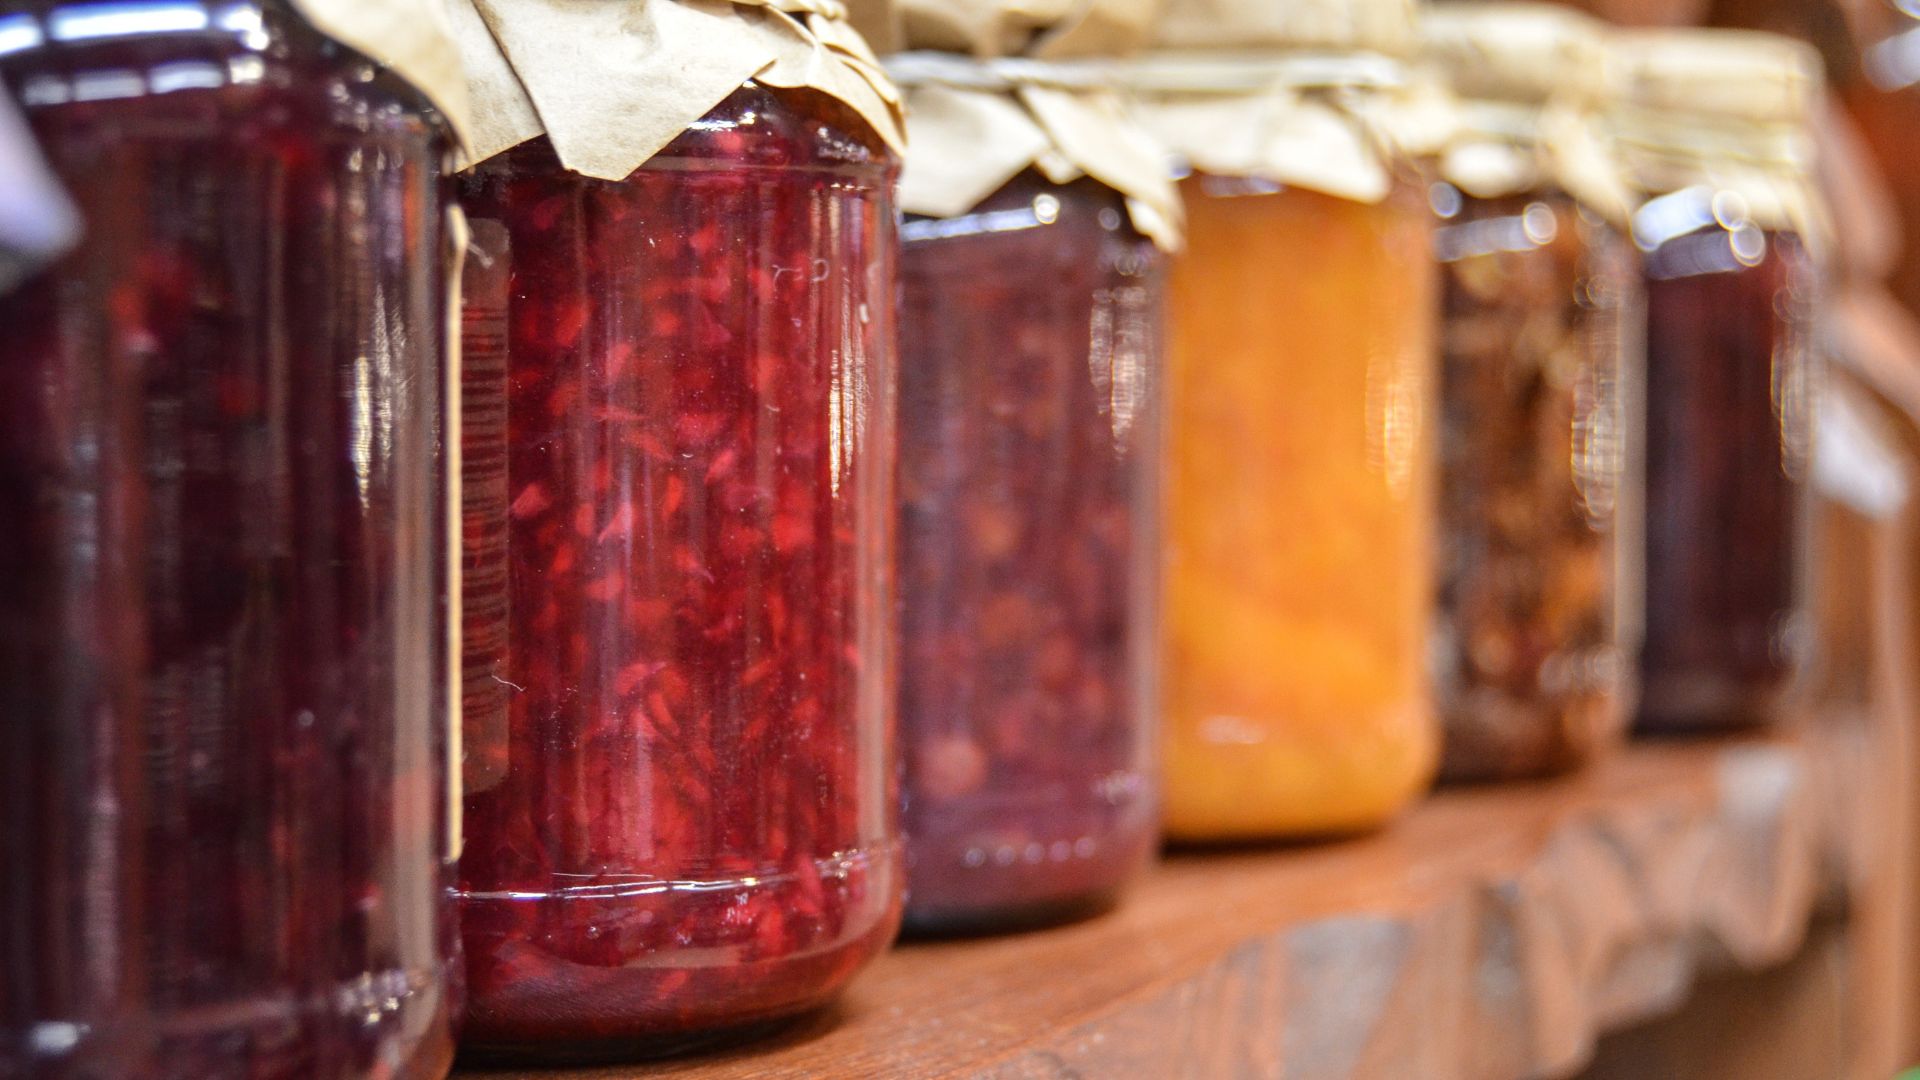
- Enhanced Kitchen Decor: Let’s not forget about the visual appeal of storing celery in mason jars. The rustic charm of these iconic jars adds a delightful touch to your kitchen decor. You can arrange them on open shelves, countertops, or even display them in a decorative tray. Storing celery in mason jars not only serves a practical purpose but also adds a unique flair to your culinary space.
Now that you’re aware of the benefits, let’s dive into the step-by-step process of storing celery in mason jars.
Step 1: Choosing the Right Celery
When it comes to storing celery, selecting the right bunch is crucial for optimal results. Here are a few tips for choosing the right celery:
- Freshness: Look for celery bunches that appear fresh and crisp. The stalks should be firm and have a vibrant green color. Avoid celery with wilted or yellowing leaves, as this is a sign of aging.
- Tightly Packed Stalks: Opt for celery bunches with tightly packed stalks. The stalks should be packed together, with minimal gaps between them. This indicates that the celery is fresh and has not started to dry out.
- Avoid Moisture: Moisture can cause celery to spoil quickly. Avoid celery bunches with any signs of excessive moisture or wetness. This can be an indication of rotting or mold growth, which will affect the shelf life of the celery.
- Strong Aroma: Take a whiff of the celery before purchasing. It should have a crisp and fresh aroma. If the celery smells off or has a pungent odor, it may not be fresh.
- Organic Options: Consider choosing organic celery if it’s available to you. Organic celery is grown without the use of synthetic pesticides or fertilizers, which can be advantageous for health-conscious individuals.
By following these guidelines, you’ll ensure that you start the celery storage process with a fresh and high-quality bunch. Next, we’ll move on to prepping the celery for storage in mason jars.
Step 2: Prepping the Celery
Before storing celery in mason jars, it is important to properly prepare the vegetable. Follow these steps to ensure that your celery is clean and ready for storage:
- Wash the Celery: Start by washing the celery thoroughly under cold running water. Remove any dirt or debris by gently scrubbing the stalks with your fingers or a vegetable brush. Rinse it well to ensure that all traces of dirt are removed.
- Trim the Ends: Once the celery is clean, trim off both ends of the celery stalks. Cut about ½ inch from the base and discard any tough or discolored parts.
- Separate the Stalks: If the celery is in a bunch, gently separate the individual stalks. This will make it easier to pack them into the mason jars later on.
- Remove the Leaves: While the leaves of celery are edible and can be used for cooking or garnishing, it is best to remove them before storing. The leaves have a tendency to wilt quickly, and their presence can increase moisture content, leading to faster spoilage.
- Dry the Celery: Once the celery is prepped, pat it dry using a clean kitchen towel or paper towels. Removing excess moisture will help prevent the celery from becoming soggy and prolong its shelf life.
By following these steps, you’ll have clean and properly prepped celery ready for storage in mason jars. In the next step, we’ll discuss how to sterilize the jars to maintain the freshness of the celery.
Step 3: Sterilizing the Mason Jars
Before you pack the celery into mason jars, it is crucial to ensure that the jars are properly sterilized. This step helps eliminate any potential bacteria or contaminants that could spoil the celery. Follow these steps to sterilize your mason jars:
- Clean the Jars: Start by thoroughly cleaning the mason jars with hot soapy water. Use a bottle brush or a sponge to scrub the inside and outside of the jars, including the lids. Rinse them well to remove any soap residue.
- Boiling Method: One effective method to sterilize mason jars is by boiling them. Place the clean jars, lids, and rings in a large stockpot or a canning pot. Fill the pot with enough water to completely submerge the jars. Bring the water to a rolling boil.
- Boil for 10 Minutes: Once the water is boiling, let the jars and lids boil for at least 10 minutes. This will ensure that any bacteria or pathogens are killed.
- Remove and Dry: Carefully remove the sterilized jars, lids, and rings from the pot using canning tongs or heat-resistant gloves. Place them on a clean towel or a drying rack to air dry. Avoid touching the inside of the jars to prevent contamination.
- Check for Damage: Before using the jars, inspect them for any signs of damage or cracks. Discard any jars that are chipped, cracked, or have damaged seals, as they may not provide an airtight seal necessary for proper storage.
By following these steps, your mason jars will be clean, sterilized, and ready to preserve the freshness of the celery. In the next step, we’ll discuss how to cut and prep the celery for storage in the jars.
Read more: How To Store Blueberries In Mason Jars
Step 4: Cutting and Prepping Celery for Storage
Now that your mason jars are sterilized, it’s time to cut and prep the celery for storage. Follow these steps to ensure that the celery is properly prepared for packing:
- Decide on Size: You have the option to store the celery stalks whole or cut them into smaller pieces, depending on your preference and intended use. If you plan to use the celery for snacks, it may be easier to cut them into smaller, bite-sized pieces. However, if you intend to use them for cooking or recipes that require longer celery stalks, it’s best to keep them whole.
- Trim as Needed: If there are any tough or discolored parts on the celery stalks, trim them off with a sharp knife. This will ensure that only the freshest and most tender parts are packed into the jars.
- Consider Celery Leaves: While the leaves can be removed before packing, you can choose to leave them intact if you prefer. Celery leaves are edible and can add flavor to dishes. However, if you decide to keep the leaves, make sure to separate them from the stalks and pack them separately in the jars.
- Cut into Lengths: If you are cutting the celery into smaller pieces, decide on the desired lengths and slice them accordingly. Aim for uniform lengths to ensure even packing in the jars. Ideally, the pieces should fit comfortably within the height of the jars while leaving a little headspace at the top.
- Optional: Blanching Method: If you prefer to prolong the celery’s shelf life even further, you can blanch the celery before packing. Blanching involves briefly boiling the celery to partially cook it, then immediately immersing it in ice water to stop the cooking process. This step can help retain the celery’s texture and color for an extended period.
By following these steps, you’ll have neatly trimmed and prepped celery ready to be packed into the mason jars. In the next step, we’ll guide you on how to properly pack the celery into the jars for optimal freshness.
To store celery in mason jars, trim the ends, place in a jar with water, cover with a plastic bag, and store in the refrigerator for up to 2 weeks. Change the water every few days to keep it fresh.
Step 5: Packing the Celery in Mason Jars
Now that your celery is prepped and your mason jars are sterilized, it’s time to pack the celery into the jars. Follow these steps to ensure that the celery is packed properly for optimal freshness:
- Select the Right Jar Size: Choose mason jars that are the right size for the amount of celery you have. It’s important to leave enough headspace at the top of the jar to ensure a proper seal and prevent the celery from being squished or overcrowded.
- Use Airtight Jars: Mason jars with airtight lids are ideal for storing celery. The airtight seal helps to create a controlled environment, keeping the celery fresh for longer.
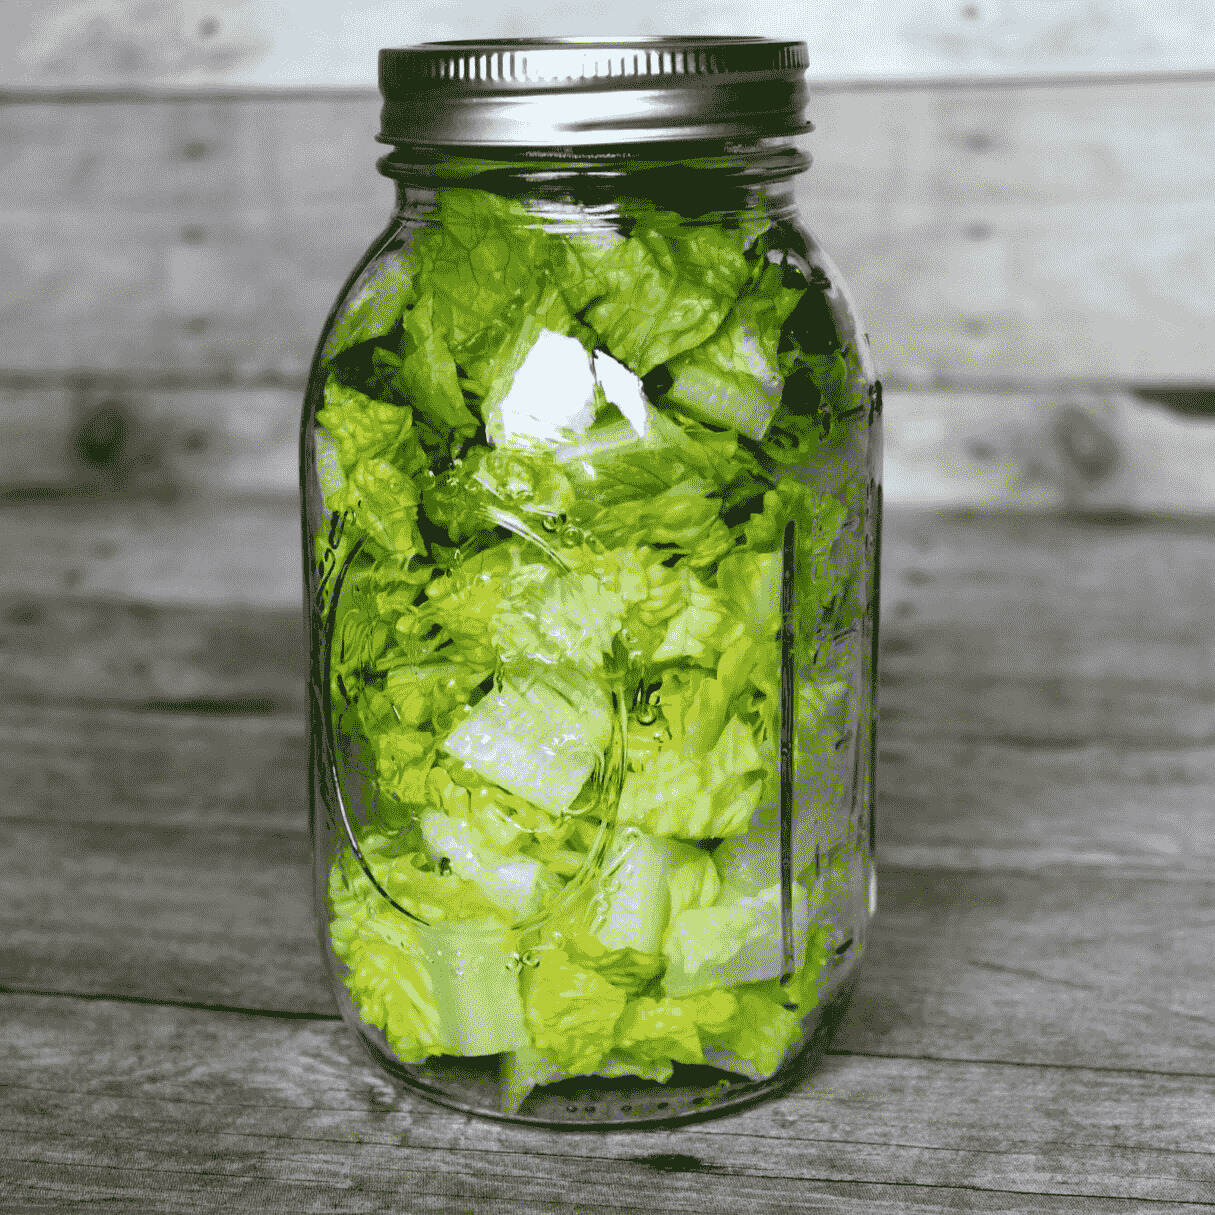
- Pack the Celery Tightly: Start by tightly packing the celery into the jars, making sure there are no gaps or air pockets. Press down gently as you add more celery to ensure an even and compact arrangement. Avoid overstuffing the jars, as this can cause the celery to become squished and lose its freshness.
- Consider Layering: If you have a large amount of celery, consider layering it within the jars. You can add a layer of celery, followed by a piece of parchment paper or a lettuce leaf, and then add another layer of celery on top. This helps to separate the celery stalks and prevents them from sticking together.
- Leave Headroom: Leave about ½ inch to 1 inch of headroom at the top of the jars. This space allows for the expansion of the celery as it freezes and helps create a proper seal when you close the jar.
- Wipe the Rim: Before sealing the jars, wipe the rim and threads of each jar with a clean, damp cloth. This ensures that there are no traces of celery or moisture that could hinder the sealing process.
By following these steps, you’ll have neatly packed jars filled with fresh celery. In the next step, we’ll discuss how to properly seal the mason jars to maintain the celery’s freshness.
Step 6: Sealing the Mason Jars
Sealing the mason jars is a critical step in the celery storage process. It ensures an airtight environment that preserves the freshness and crispness of the celery. Follow these steps to properly seal the mason jars:
- Replace the Lids: Ensure that you have clean, undamaged lids for each jar. Place the lids on top of the jars, making sure they are centered and properly aligned.
- Screw on the Rings: Secure the lids in place by screwing on the rings. Use your fingers to tighten the rings just until they resist. Avoid over-tightening, as this can create unnecessary pressure on the lids and may prevent a proper seal.
- Hot Water Bath: If you want to maximize the storage time of the celery, you can consider performing a hot water bath. This additional step involves submerging the sealed jars in boiling water for a specific amount of time to create a stronger seal. Consult canning resources or guidelines for the recommended processing time based on your jar size and altitude.
- Check for a Seal: After sealing the jars, let them cool at room temperature. As they cool, you may hear a popping sound, indicating that the lids have properly sealed. Once the jars are completely cool, gently press down on the center of each lid. If it is firm and does not move, the jars are sealed. If the lid pops back up, the seal is not secure, and the celery should be consumed immediately or reprocessed in a hot water bath.
- Label the Jars: It’s helpful to label the jars with the date of storage. This allows you to keep track of the freshness and rotation of your celery supply. You can use removable labels or write directly on the lids or jars with a marker.
By following these steps, you’ll have properly sealed mason jars that will help maintain the freshness and quality of your stored celery. In the next step, we’ll discuss the best practices for storing celery in the fridge.
Step 7: Storing Celery in the Fridge
After properly sealing the mason jars, it’s time to store the celery in the fridge. Follow these steps to ensure that the celery stays fresh and maintains its crispness:
- Find a Suitable Spot: Clear a space in your fridge where you can accommodate the mason jars. Ideally, choose a spot where the celery will be undisturbed and not at risk of getting squished or bumped.
- Keep Away from Ethylene Producers: Celery is sensitive to ethylene gas, which is naturally released by some fruits and vegetables. To prevent premature wilting, store the mason jars away from ethylene-producing fruits such as apples, bananas, and melons.
- Optimal Temperature: Set your refrigerator to a temperature between 32°F (0°C) and 40°F (4°C) to maintain the celery’s freshness. Avoid placing the jars near the back of the fridge, as temperature fluctuations can occur in this area.
- Refrigerator Shelf Life: When stored properly in mason jars, celery can last for up to 2-3 weeks in the refrigerator. However, it’s always best to check on the celery’s freshness regularly and consume it within its optimal storage period.
- Avoid Freezing: While mason jars are freezer-safe, celery can lose its texture and become mushy when thawed. It is not recommended to freeze celery for long-term storage.
By following these steps, your celery will remain fresh, crisp, and full of flavor in the refrigerator. In the final step, we’ll discuss how to make the most of your stored celery when using it for various culinary purposes.
Read more: How To Store Cucumbers In Mason Jars
Step 8: Using Stored Celery
Now that you have your celery stored in mason jars, it’s time to make the most of it in your culinary endeavors. Here are some ideas for using your stored celery:
- Snack on Fresh Crudités: Celery sticks make for a crunch, low-calorie snack. Serve them with a side of healthy dips such as hummus, peanut butter, or Greek yogurt-based dressings.
- Add to Salads: Chop up the celery and add it to your favorite salads for an extra crunch and flavor. Celery pairs well with ingredients like lettuce, tomatoes, onions, and bell peppers.
- Incorporate into Stir-Fries: Slice the celery into thin strips and stir-fry it with other vegetables, protein, and your choice of sauce for a quick and nutritious meal.
- Add to Soups and Stews: Celery is a classic ingredient in soups and stews, adding depth and flavor. Dice the celery and add it to your favorite recipes for a tasty boost.
- Create Celery Juice or Smoothies: Celery juice has become popular for its potential health benefits. Blend the celery with other fruits and vegetables to create refreshing and nutritious smoothies or juices.
- Use as a Flavor Base: Celery is one of the essential ingredients in many flavor bases, such as mirepoix in French cuisine and soffritto in Italian cuisine. Sauté diced celery with onions and carrots as a base for various dishes like sauces, soups, and braises.
- Experiment with Stuffings and Stuffing Mixes: Add chopped celery to traditional stuffing recipes for a flavorful twist or experiment with creating your own stuffing mix using dried celery flakes.
- Try Celery Pesto or Salsa: Blend celery with herbs, garlic, nuts, and olive oil to create a unique pesto. Alternatively, dice celery and combine it with tomatoes, onions, herbs, and spices to make a zesty salsa.
With your stored celery, the possibilities are endless. Get creative and enjoy incorporating this versatile vegetable into your meals. Don’t forget to periodically check the freshness of the celery and discard any jars that show signs of spoilage or deterioration.
By following these steps, you can extend the shelf life of your celery and enjoy its crispness and flavor long after its purchase. Mason jars provide a convenient and visually pleasing storage solution, ensuring that your celery remains fresh and ready to use whenever you need it. Happy cooking!
Have any questions or need clarification? Feel free to ask!
Conclusion:
Storing celery in mason jars is a practical and visually appealing way to keep this versatile vegetable fresh for longer. By following the steps outlined in this article, you can properly store and preserve celery, ensuring that it stays crisp, flavorful, and ready to use whenever you need it.
Using mason jars for celery storage offers numerous benefits. It extends the shelf life of the vegetable, retains its nutritional value, and minimizes plastic waste compared to traditional storage methods. Additionally, storing celery in mason jars allows for easy organization and adds a charming touch to your kitchen decor.
Remember to choose fresh celery, properly prep and trim the stalks, sterilize the mason jars, and pack the celery tightly. Sealing the jars and storing them in the fridge at the optimal temperature will help maintain the celery’s freshness and crunch.
When it’s time to use your stored celery, there are countless culinary possibilities. From snacking on raw celery sticks to incorporating it into salads, stir-fries, soups, and even creating your own unique recipes, the options are endless. Get creative and make the most of this nutritious and flavorful vegetable.
By following these steps and utilizing mason jars as your storage solution, you can enjoy celery’s benefits and versatility for an extended period. The freshness and convenience of stored celery will enhance your cooking experience and reduce waste.
So, go ahead and bring home a bunch of celery, grab your mason jars, and embark on the journey of prolonging its shelf life while adding a touch of charm to your kitchen. Happy celery storage!
If you have any further questions or need additional guidance, please feel free to reach out. Enjoy your fresh and crisp celery!
Frequently Asked Questions about How To Store Celery In Mason Jars
Was this page helpful?
At Storables.com, we guarantee accurate and reliable information. Our content, validated by Expert Board Contributors, is crafted following stringent Editorial Policies. We're committed to providing you with well-researched, expert-backed insights for all your informational needs.


0 thoughts on “How To Store Celery In Mason Jars”