Articles
How To Store Canna Lily Bulbs
Modified: May 6, 2024
Learn how to properly store canna lily bulbs for the winter in this informative article. Get expert tips and advice on preserving your bulbs for a successful bloom next season.
(Many of the links in this article redirect to a specific reviewed product. Your purchase of these products through affiliate links helps to generate commission for Storables.com, at no extra cost. Learn more)
Introduction
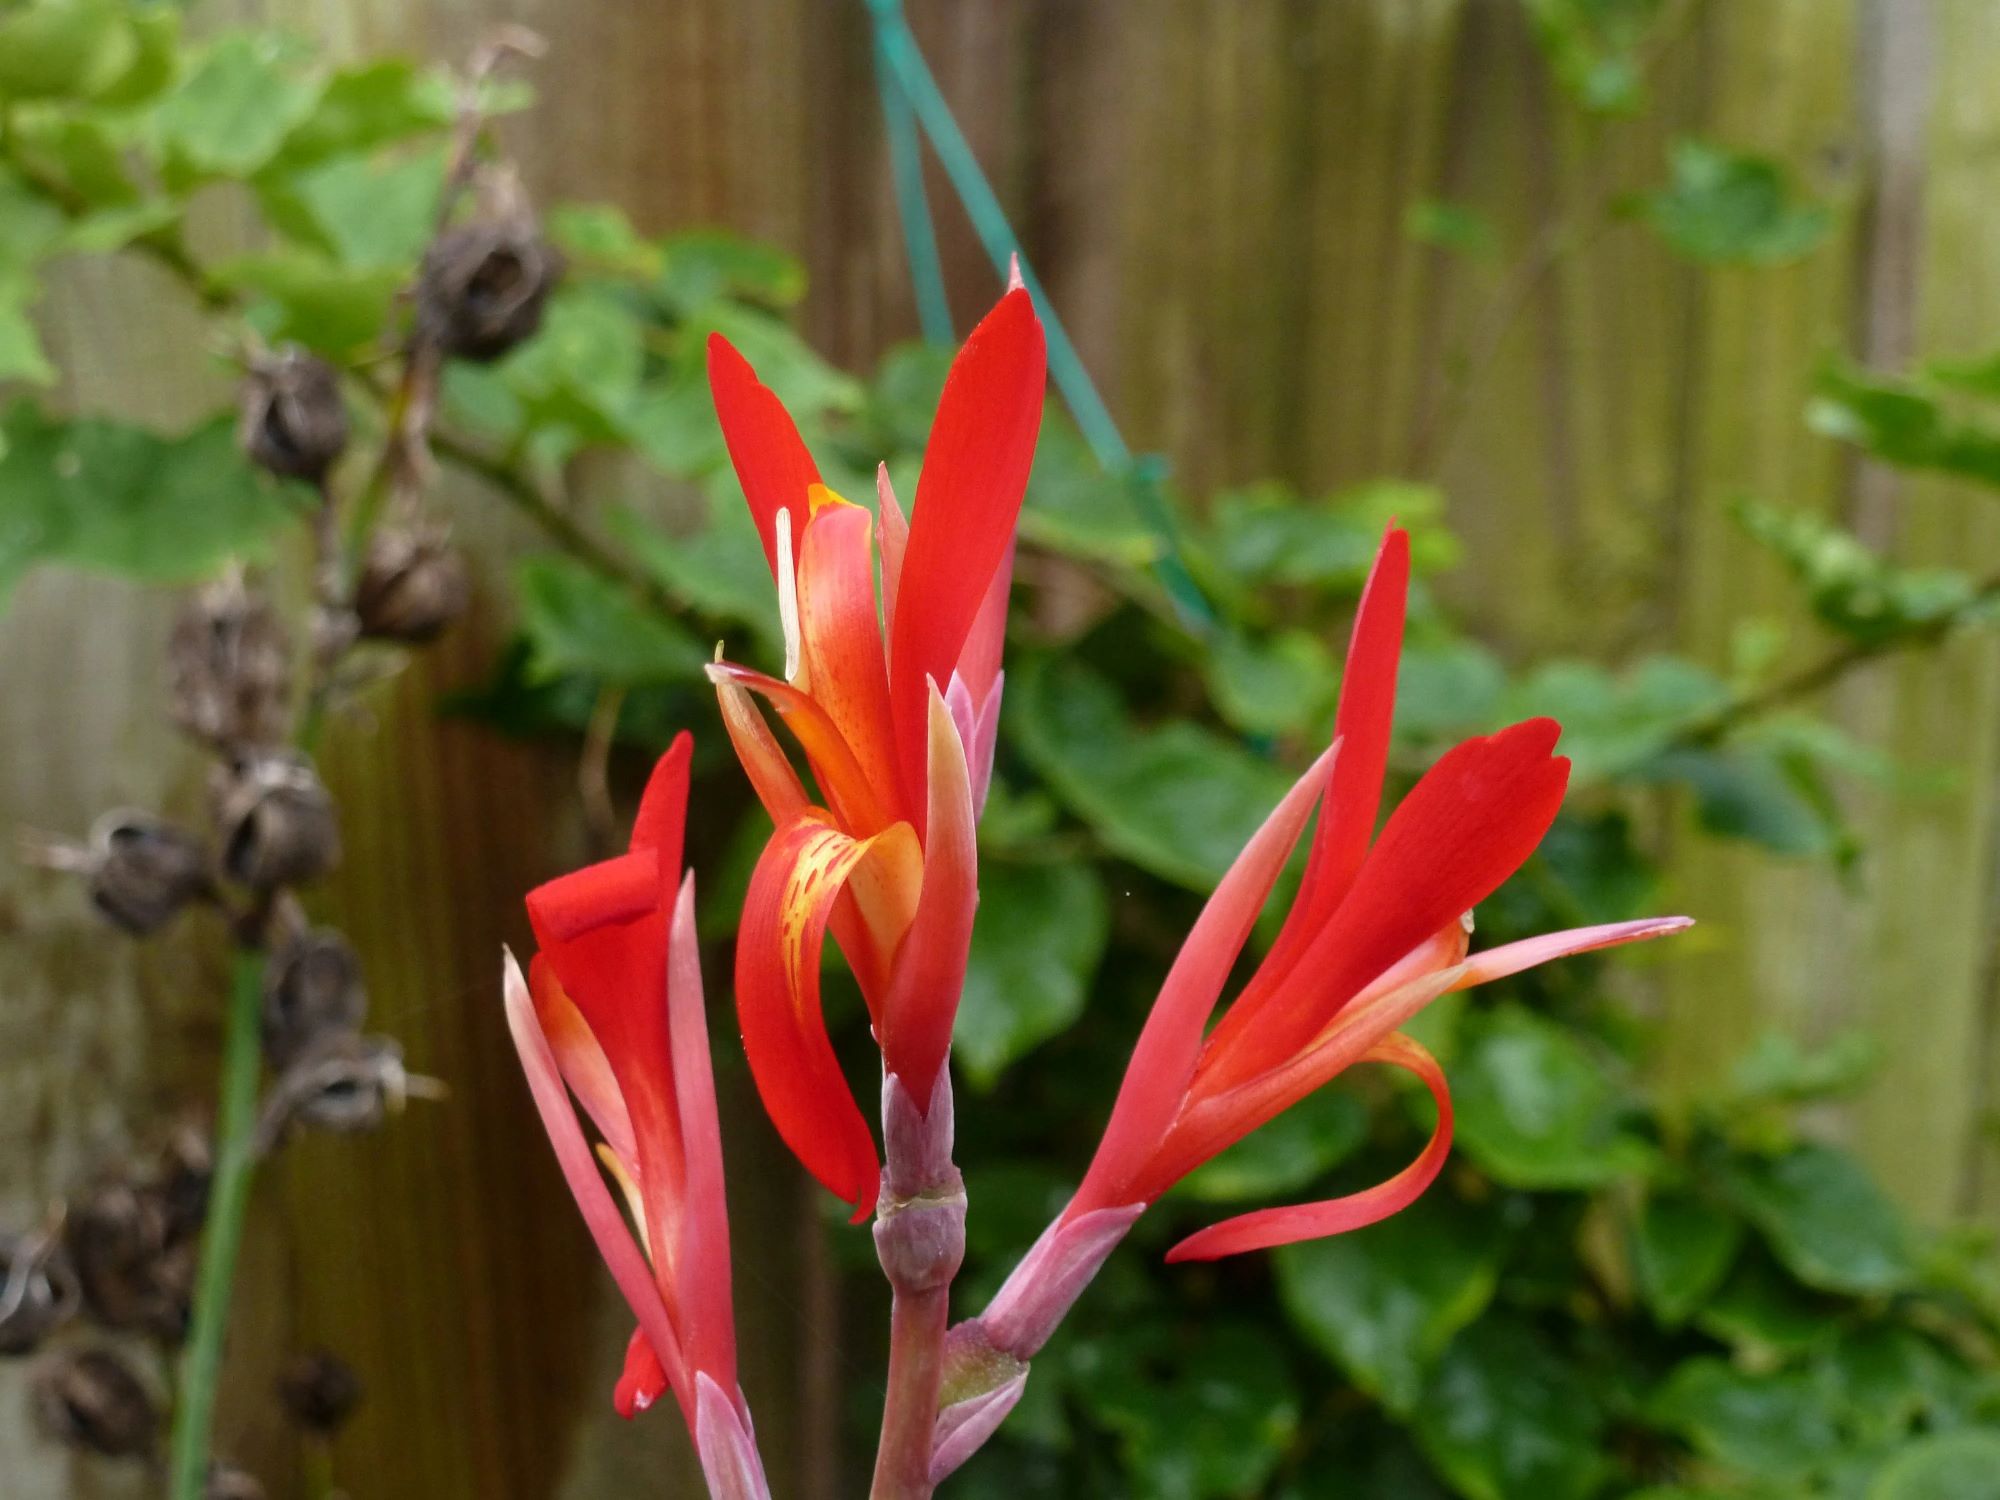
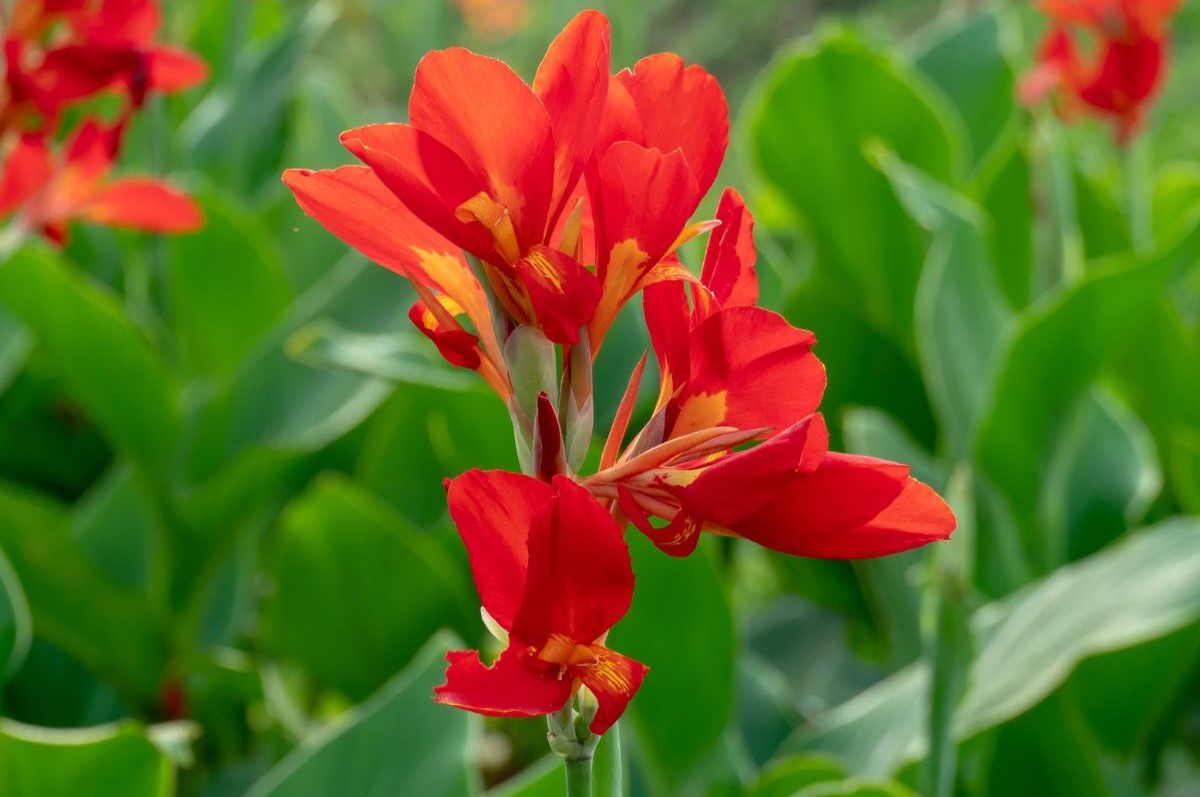
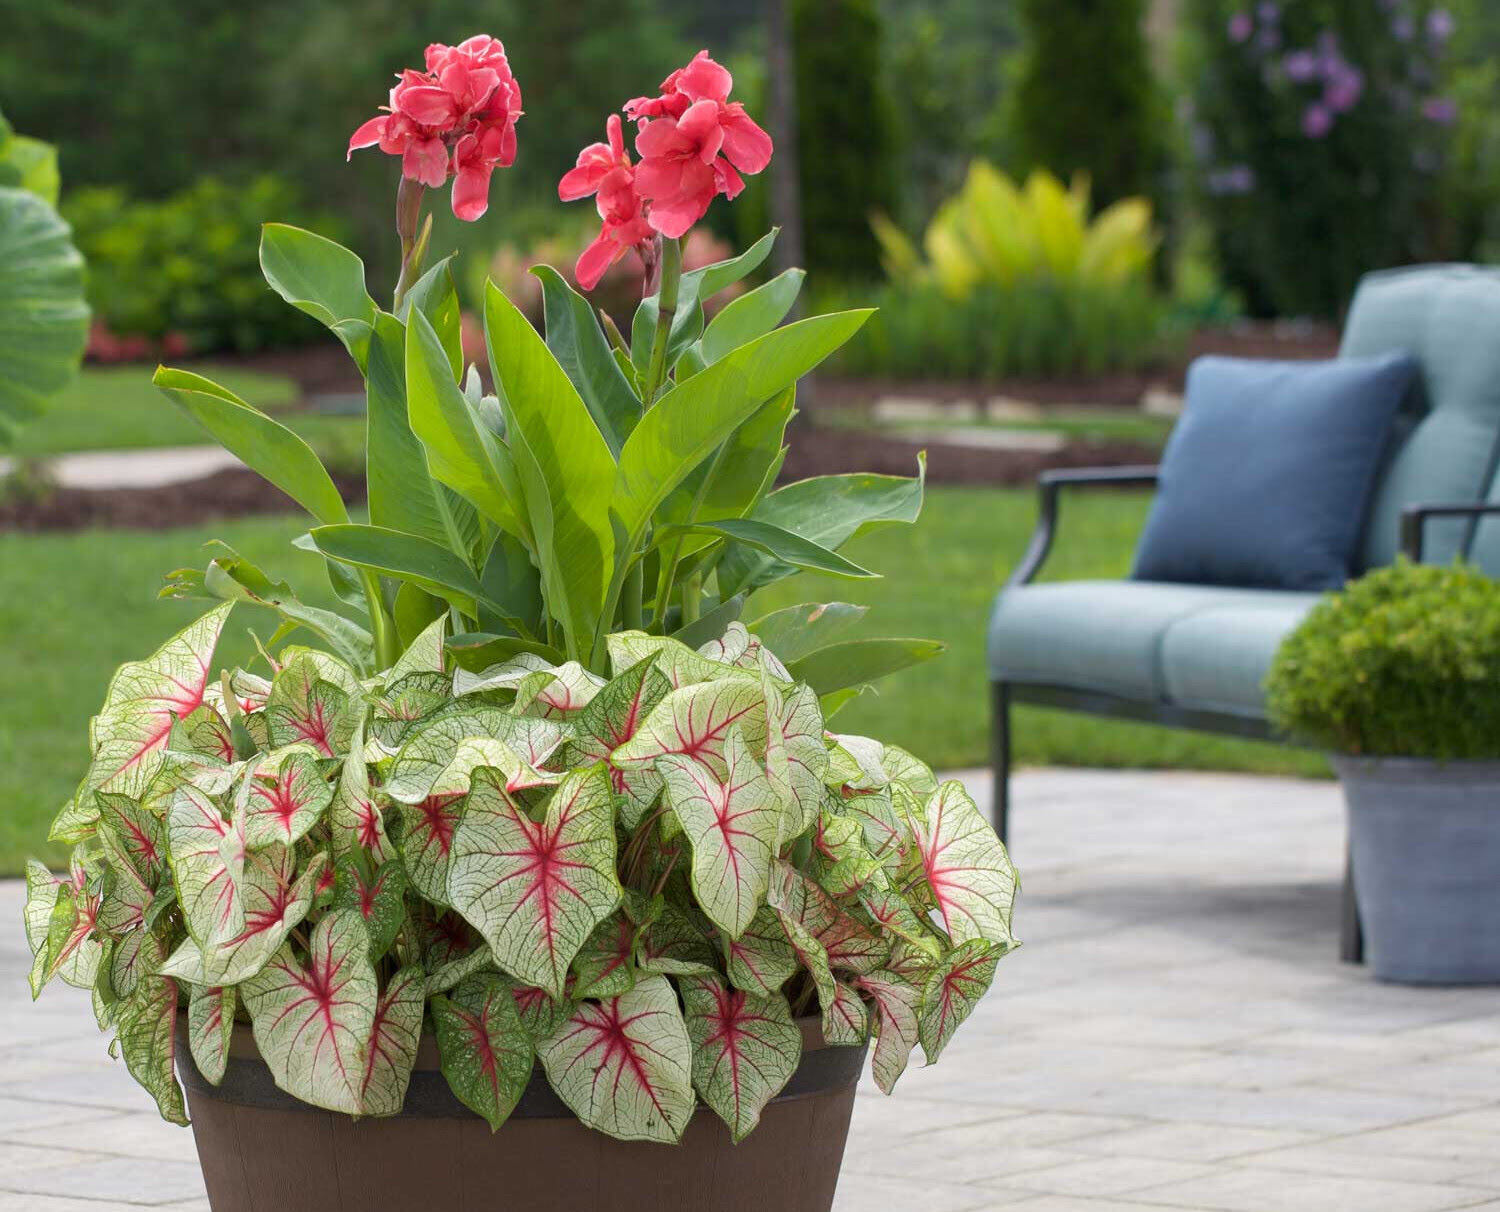
Welcome to this comprehensive guide on how to store canna lily bulbs. Canna lilies are beautiful flowering plants that add a touch of tropical charm to any garden. With their vibrant colors and lush foliage, these bulbs are a popular choice for gardeners looking to create a stunning display.
However, canna lilies are not winter hardy in many regions, and the bulbs need to be dug up and stored properly to ensure their survival during the colder months. In this article, we will delve into the intricacies of storing canna lily bulbs, from understanding the bulbs to the steps involved in their proper storage and rejuvenation in the following spring.
Whether you are a seasoned gardener or a beginner looking to learn the ropes, this article will equip you with the knowledge you need to successfully store and revive your canna lily bulbs. So let’s dive in!
Key Takeaways:
- Properly storing canna lily bulbs involves understanding their biology, digging them up at the right time, preparing them for storage, choosing the ideal storage location, and monitoring their condition throughout the winter.
- When replanting canna lily bulbs in the spring, ensure proper soil preparation, planting depth, watering, mulching, fertilizing, and maintenance to encourage healthy growth and stunning floral displays.
Read more: How To Store Canna Lily Seeds
Understanding Canna Lily Bulbs
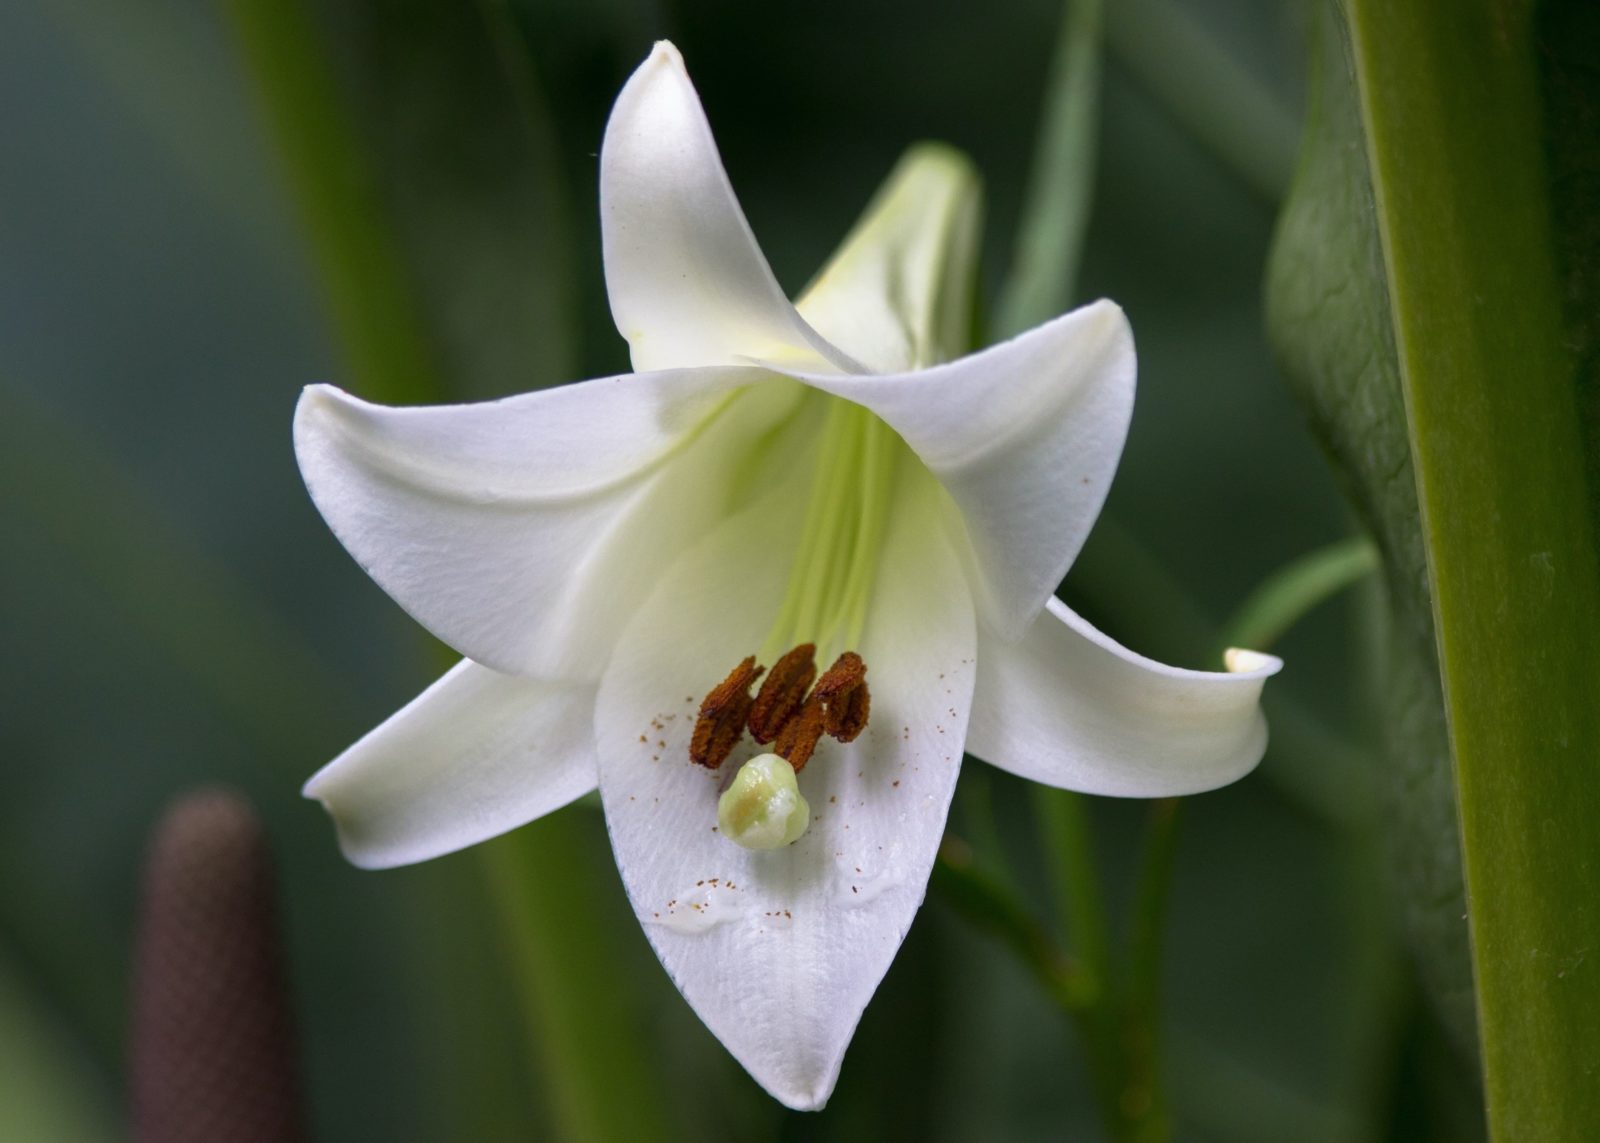
Before we delve into the storage process, it’s important to have a good understanding of canna lily bulbs. Canna lilies, also known as Canna indica, are tropical plants native to South America. They are prized for their large, vibrant flowers and bold foliage.
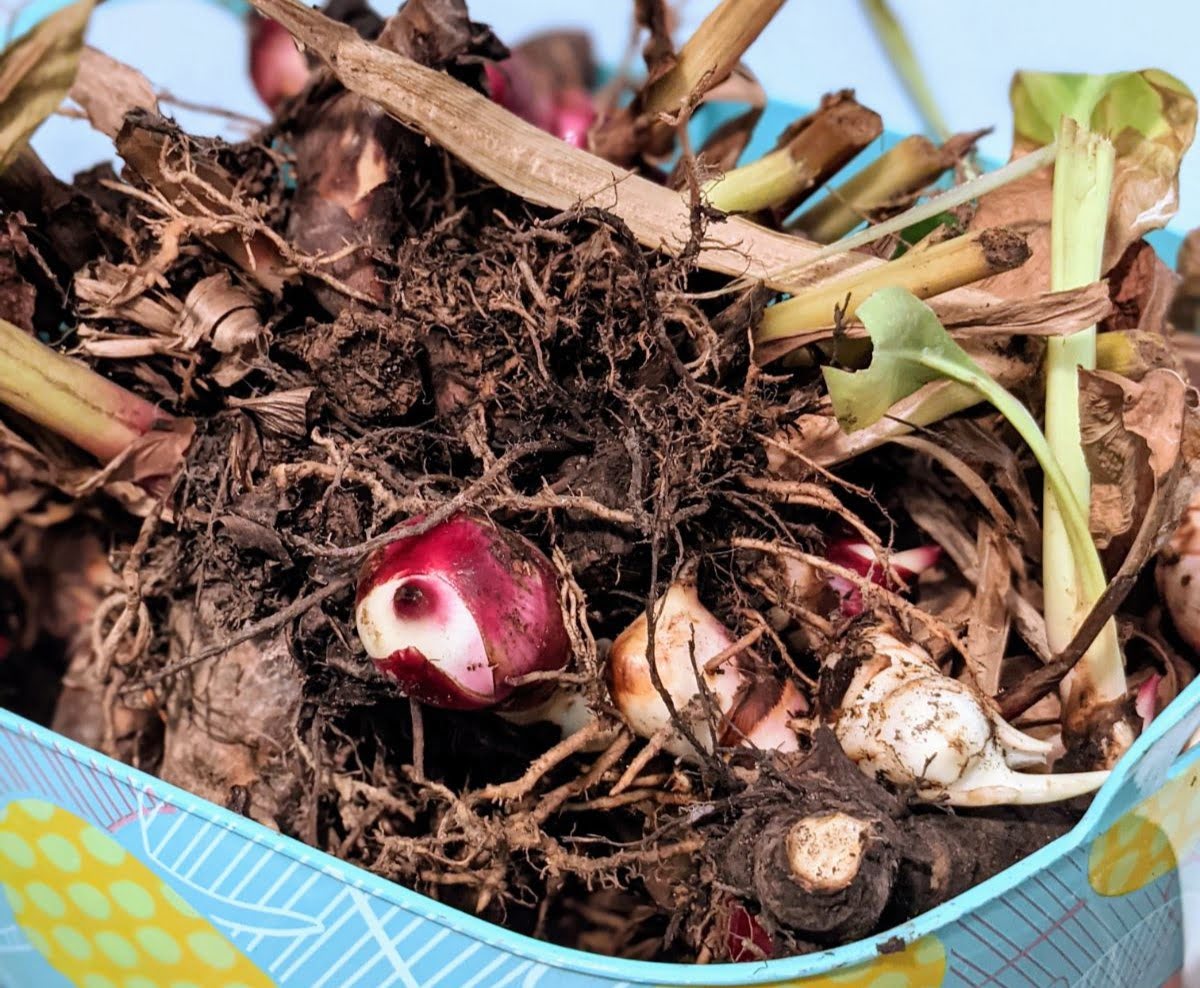
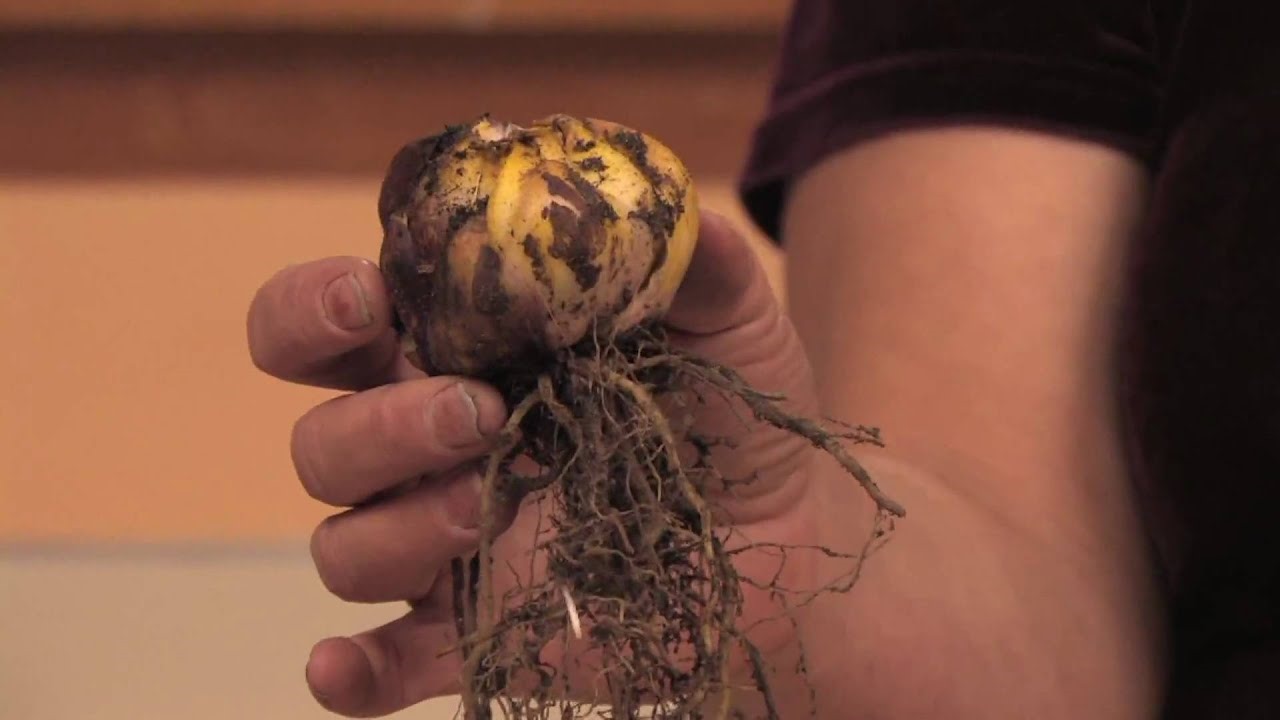
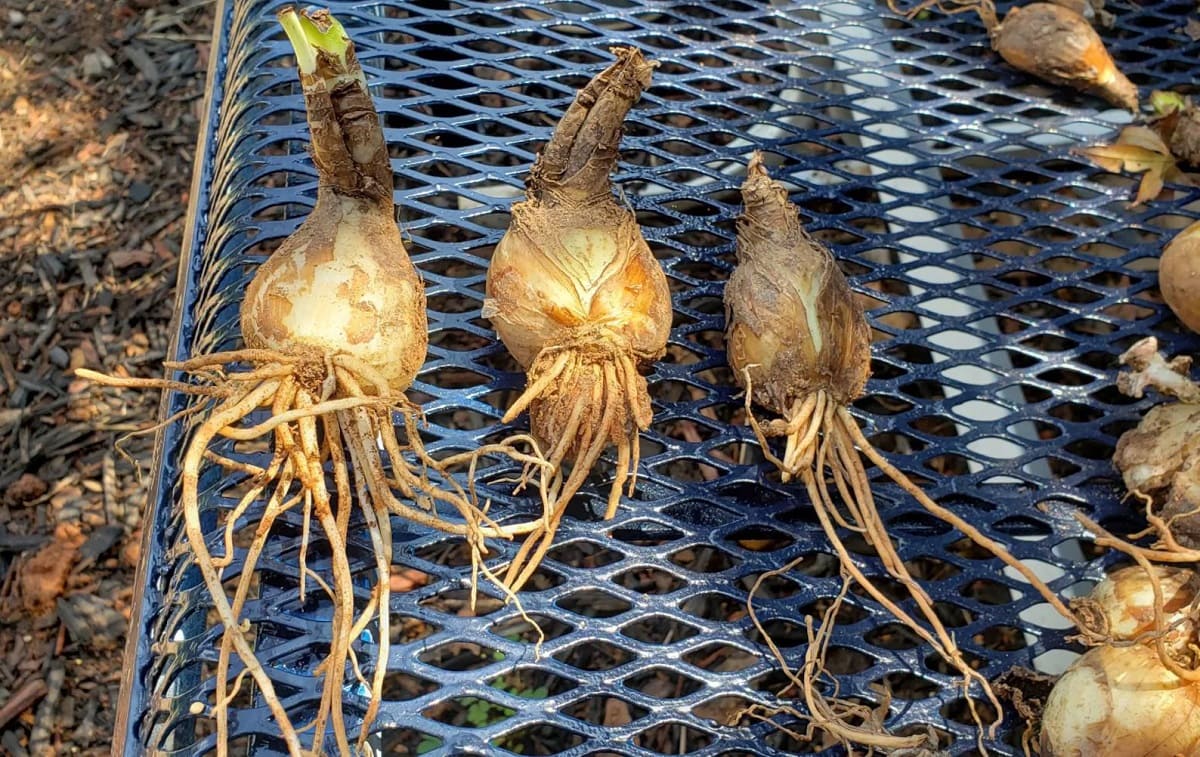
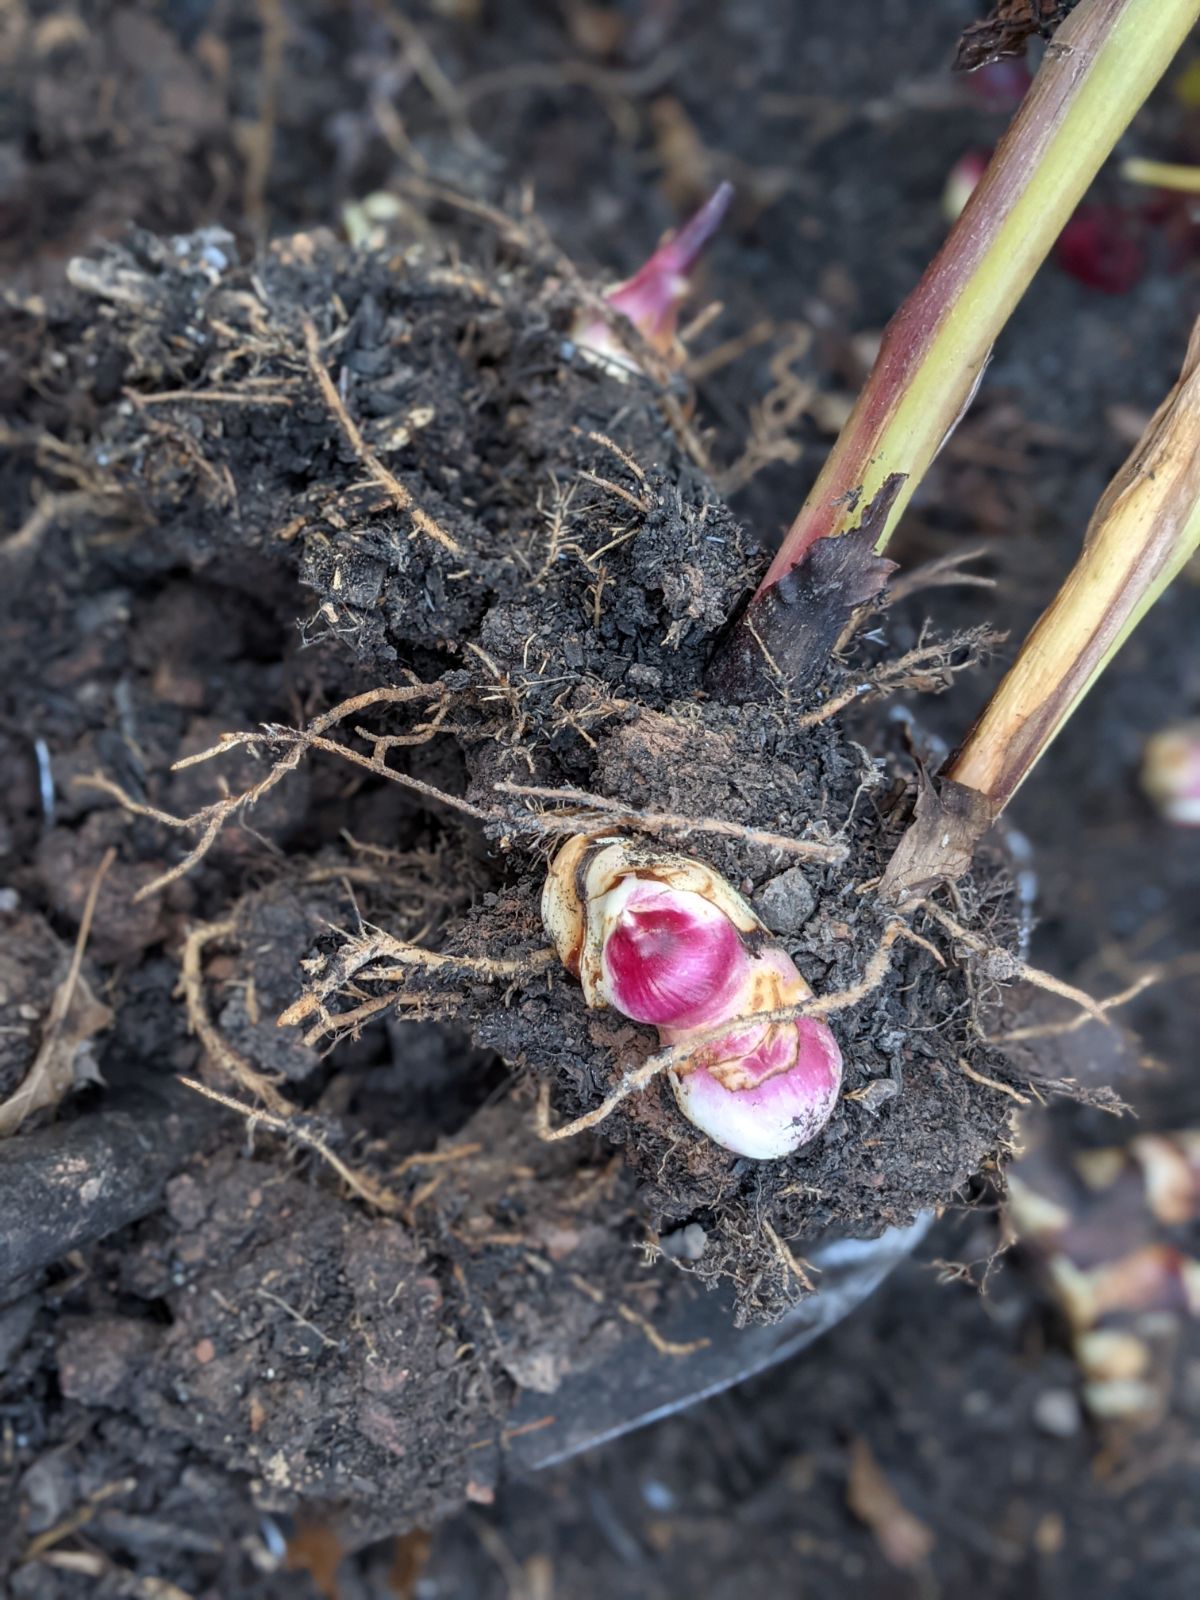
Canna lilies grow from underground bulbs, which store the nutrients and energy needed for the plant to survive and grow. These bulbs are similar in appearance to small potatoes, with a smooth skin and round shape. Inside the bulb, there are dormant buds that will sprout when the conditions are right.
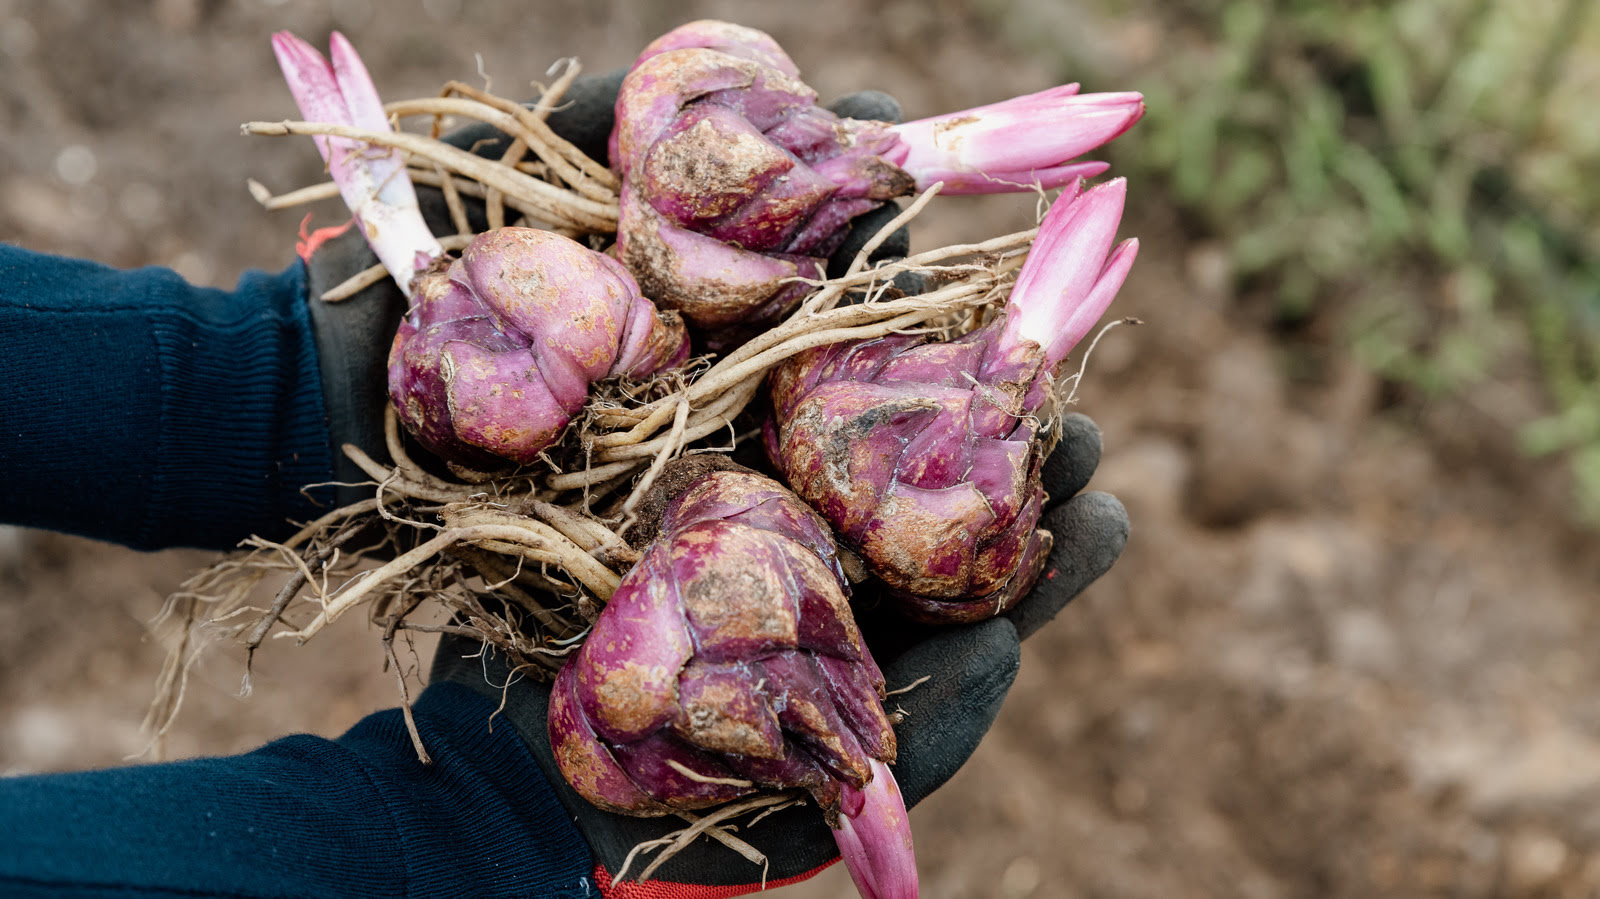
One interesting aspect of canna lily bulbs is that they can multiply over time. As the bulbs mature, they produce small offshoots or “bulblets” that can be separated from the main bulb and grown into new plants. This natural process of bulb multiplication can result in a larger colony of canna lilies over time.
When it comes to storage, it’s important to handle canna lily bulbs with care. These bulbs are sensitive to cold temperatures and excess moisture, which can lead to rot and damage. By understanding the biology of canna lily bulbs, we can take the necessary steps to ensure their health and vitality while in storage.
Now that we have a clear understanding of canna lily bulbs, let’s move on to discussing the best time to dig up these bulbs and prepare them for storage.
When to Dig Up Canna Lily Bulbs
Determining the right time to dig up your canna lily bulbs is crucial for their successful storage. In most regions, it’s recommended to dig up the bulbs in the late fall before the first frost hits. By doing so, you ensure that the bulbs have enough time to dry and prepare for storage.
Keep an eye on the weather forecast in your area to anticipate the first frost. Typically, when temperatures drop below 50°F (10°C), it’s a sign that it’s time to start preparing your canna lily bulbs for winter storage.
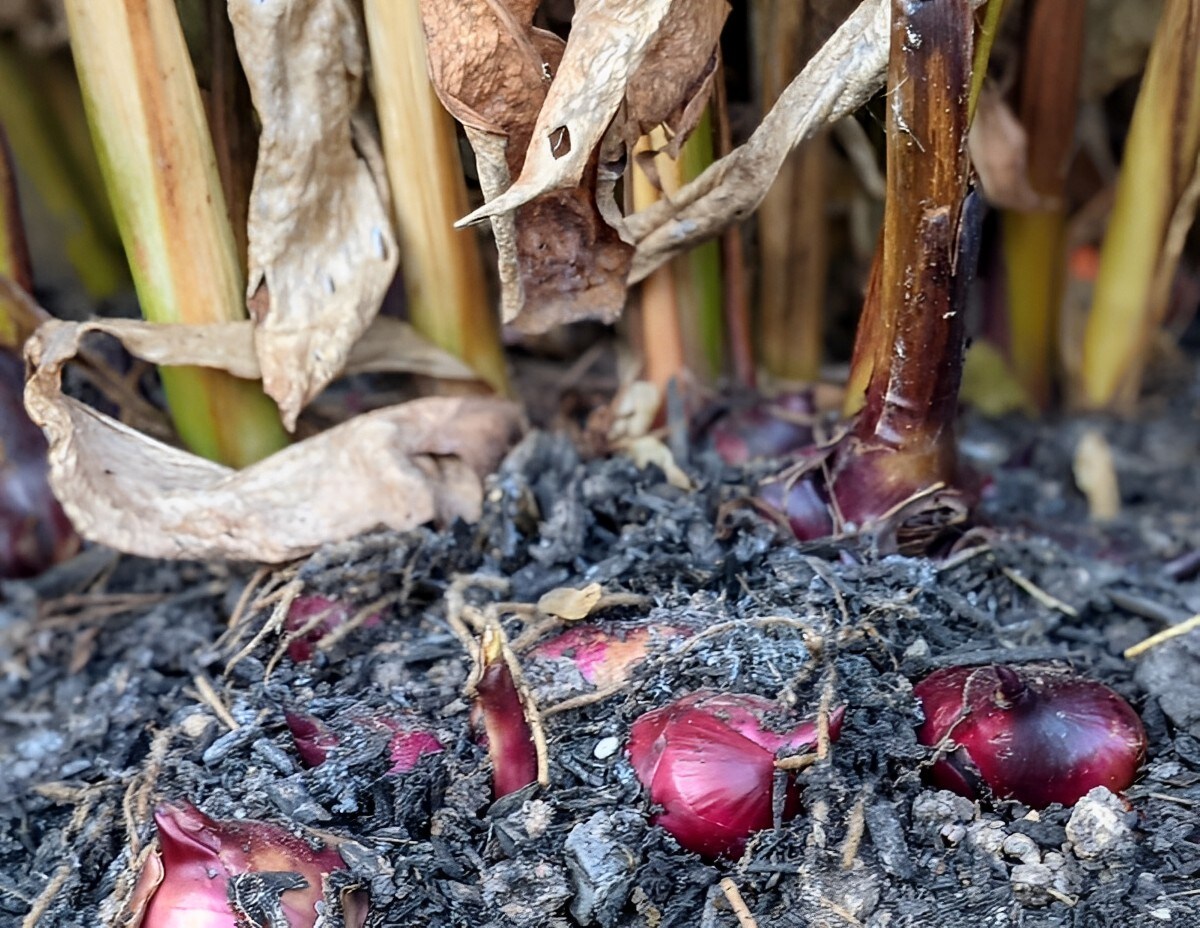
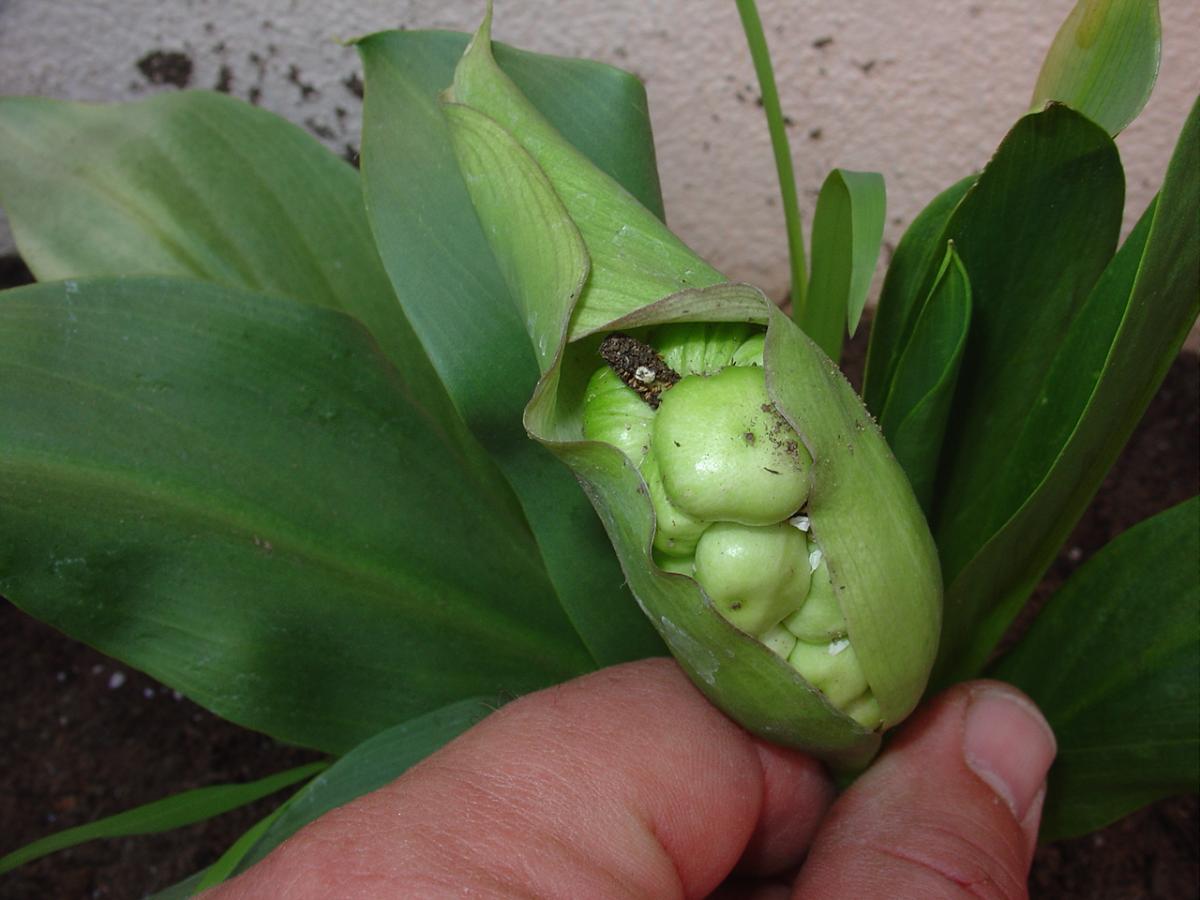
When you notice the foliage of your canna lilies starting to turn yellow or brown, it’s a clear indication that the plants have entered their dormant phase. This is the optimal time to dig up the bulbs. To dig up the bulbs, carefully use a garden fork or shovel to loosen the soil around the base of the plants, being careful not to damage the bulbs.
Once you have gently lifted the bulbs out of the ground, gently shake off any excess soil and trim the foliage back to about 2-3 inches above the bulb. This will help minimize the risk of disease and allow the bulbs to dry more efficiently.
It’s important to note that if you live in a mild climate where frost is not a concern, you can leave your canna lily bulbs in the ground year-round. However, if you experience harsh winters or freezing temperatures, it is highly recommended to dig up the bulbs and store them.
Now that you know when to dig up your canna lily bulbs, let’s move on to the next step: preparing the bulbs for storage.
Preparing Canna Lily Bulbs for Storage
Once you have dug up your canna lily bulbs, it’s essential to properly prepare them for storage. This preparation involves cleaning, drying, and inspecting the bulbs to ensure their health during the winter months.
The first step is to gently remove any excess soil from the bulbs. You can use your hands or a soft brush to carefully brush off the dirt. Avoid using water to wash the bulbs, as excess moisture can lead to rotting.
After cleaning, it’s crucial to allow the bulbs to dry thoroughly. Place them in a well-ventilated area, away from direct sunlight, for about a week. During this drying period, the remaining moisture on the bulbs will evaporate, reducing the risk of fungal or bacterial growth.
While the bulbs are drying, take the opportunity to inspect them for any signs of damage or disease. Discard any bulbs that appear soft, mushy, or have visible signs of rot. This will help prevent any potential spread of diseases or pests to the stored bulbs.
Once the bulbs are clean and dry, it’s a good idea to dust them with a fungicidal powder. This can help prevent the development of mold or fungal infections during storage. Be sure to follow the instructions provided by the manufacturer for proper application.
Now that your canna lily bulbs are clean, dry, and inspected, it’s time to move on to the next step: choosing the right storage location.
Choosing the Right Storage Location
When it comes to storing your canna lily bulbs, choosing the right location is crucial for their survival and health throughout the winter. The ideal storage conditions for canna lily bulbs include a cool, dry, and dark environment.
Start by finding a cool area where the temperature remains consistently between 40°F (4°C) and 50°F (10°C). This can be a basement, garage, or any other location that remains relatively cool and doesn’t experience extreme fluctuations in temperature.
Next, ensure that the storage location is dry. Excess moisture can cause the bulbs to rot, so it’s important to avoid any areas that are prone to high humidity or dampness. If necessary, you can use a dehumidifier or place the bulbs near a fan to improve air circulation and keep the area dry.
In addition to temperature and moisture, it’s important to keep the bulbs in a dark environment. Exposure to light can cause the bulbs to start sprouting prematurely, which can weaken them before the growing season. Choose a storage location where the bulbs will be shielded from any sources of light.
Another consideration when choosing a storage location is the accessibility. You’ll want to ensure that you can easily check on the bulbs throughout the winter months. This will allow you to monitor for any signs of rot or damage and take necessary actions promptly.
Finally, it’s important to keep the bulbs away from any potential pests. Mice, rats, and other critters may be attracted to the stored bulbs, leading to damage or complete loss. Take precautions such as sealing the storage containers securely or placing mothballs in the vicinity to deter pests.
By carefully selecting the right storage location for your canna lily bulbs, you are setting them up for a successful period of dormancy until the next growing season. With the storage location in place, let’s move on to the storing process itself.
After digging up the canna lily bulbs, let them air dry for a few days. Store them in a cool, dry place in peat moss or vermiculite to prevent rotting. Check on them periodically to ensure they are not drying out.
Read more: How To Store Canna Bulbs
Storing Canna Lily Bulbs for Winter
Now that you have prepared your canna lily bulbs and chosen the right storage location, it’s time to store them for the winter. Proper storage will ensure the bulbs remain dormant and healthy until it’s time to replant them in the spring.
The best way to store canna lily bulbs is in a container that provides good airflow and insulation. You can use a cardboard box, a paper bag, or a breathable mesh bag for this purpose. Avoid using plastic bags or airtight containers, as they can trap moisture and promote fungus growth.
Place a layer of dry peat moss, sawdust, or perlite at the bottom of the container to provide insulation and cushioning for the bulbs. Arrange the cleaned and dried bulbs on top of the layer, making sure they are not touching each other. Add another layer of insulation material on top, leaving enough space between the bulbs and the lid of the container.
Label the container with the variety of canna lily bulbs stored and the date of storage. This will help you keep track of the bulbs and their storage duration. Place the sealed container in the chosen storage location, ensuring it remains in a cool, dark, and dry environment.
During the winter months, it’s important to periodically check on the stored bulbs. Inspect them for any signs of rot, mold, or drying out. If you notice any bulbs showing signs of damage, promptly remove them from the storage container to prevent the spread of diseases.
Additionally, it’s a good idea to gently rotate the container every few weeks to ensure equal exposure to air and prevent any potential moisture buildup. This will help maintain the health and quality of the stored bulbs.
By following these storage guidelines, you are giving your canna lily bulbs the best chance to survive the winter and thrive in the coming spring. Now, let’s move on to some tips for replanting the stored bulbs in the spring.
Monitoring and Protecting Stored Canna Lily Bulbs
While your canna lily bulbs are in storage during the winter months, it’s essential to monitor them regularly and take necessary precautions to protect them from any potential damage or deterioration. Here are some tips to ensure the well-being of your stored bulbs:
1. Regular Inspection: Check on your stored bulbs every few weeks to examine their condition. Look for any signs of rot, mold, or drying out. If you notice any bulbs showing signs of damage, remove them immediately to prevent the spread of diseases.
2. Moisture Control: Ensure that the storage environment remains dry and free from excess moisture. Excessive humidity can lead to fungal or bacterial growth, causing damage to the bulbs. Consider using moisture-absorbent materials like silica gel packets in the storage container to help control moisture levels.
3. Temperature Regulation: Maintain a consistent cool temperature in the storage location. Fluctuating temperatures can disrupt the dormancy period of the bulbs or cause them to sprout prematurely. Avoid exposing the bulbs to extreme cold or freezing temperatures.
4. Pest Prevention: Take precautions to protect the stored bulbs from pests. Keep the storage area clean and free from any potential critters that may be attracted to the bulbs. Consider using insect repellents or natural pest control methods to deter pests.
5. Air Circulation: Ensure proper airflow around the stored bulbs. Gently rotate the container every few weeks to prevent any moisture buildup and allow for equal exposure to air. This will help maintain the freshness and quality of the bulbs.
6. Storage Duration: It’s important to note that canna lily bulbs are best stored for a maximum of 4-6 months. Storing them for longer periods may decrease their viability for successful growth in the following season. Consider replanting any stored bulbs that have been kept for an extended period.
By monitoring and taking necessary precautions to protect your stored canna lily bulbs, you are ensuring their health and increasing the chances of successful growth when it’s time to replant them in the spring.
Now, let’s move on to some tips for replanting your canna lily bulbs in the spring.
Tips for Replanting Canna Lily Bulbs in Spring
When spring arrives and the danger of frost has passed, it’s time to replant your stored canna lily bulbs. Follow these tips to ensure successful replanting and a vibrant display of canna lilies in your garden:
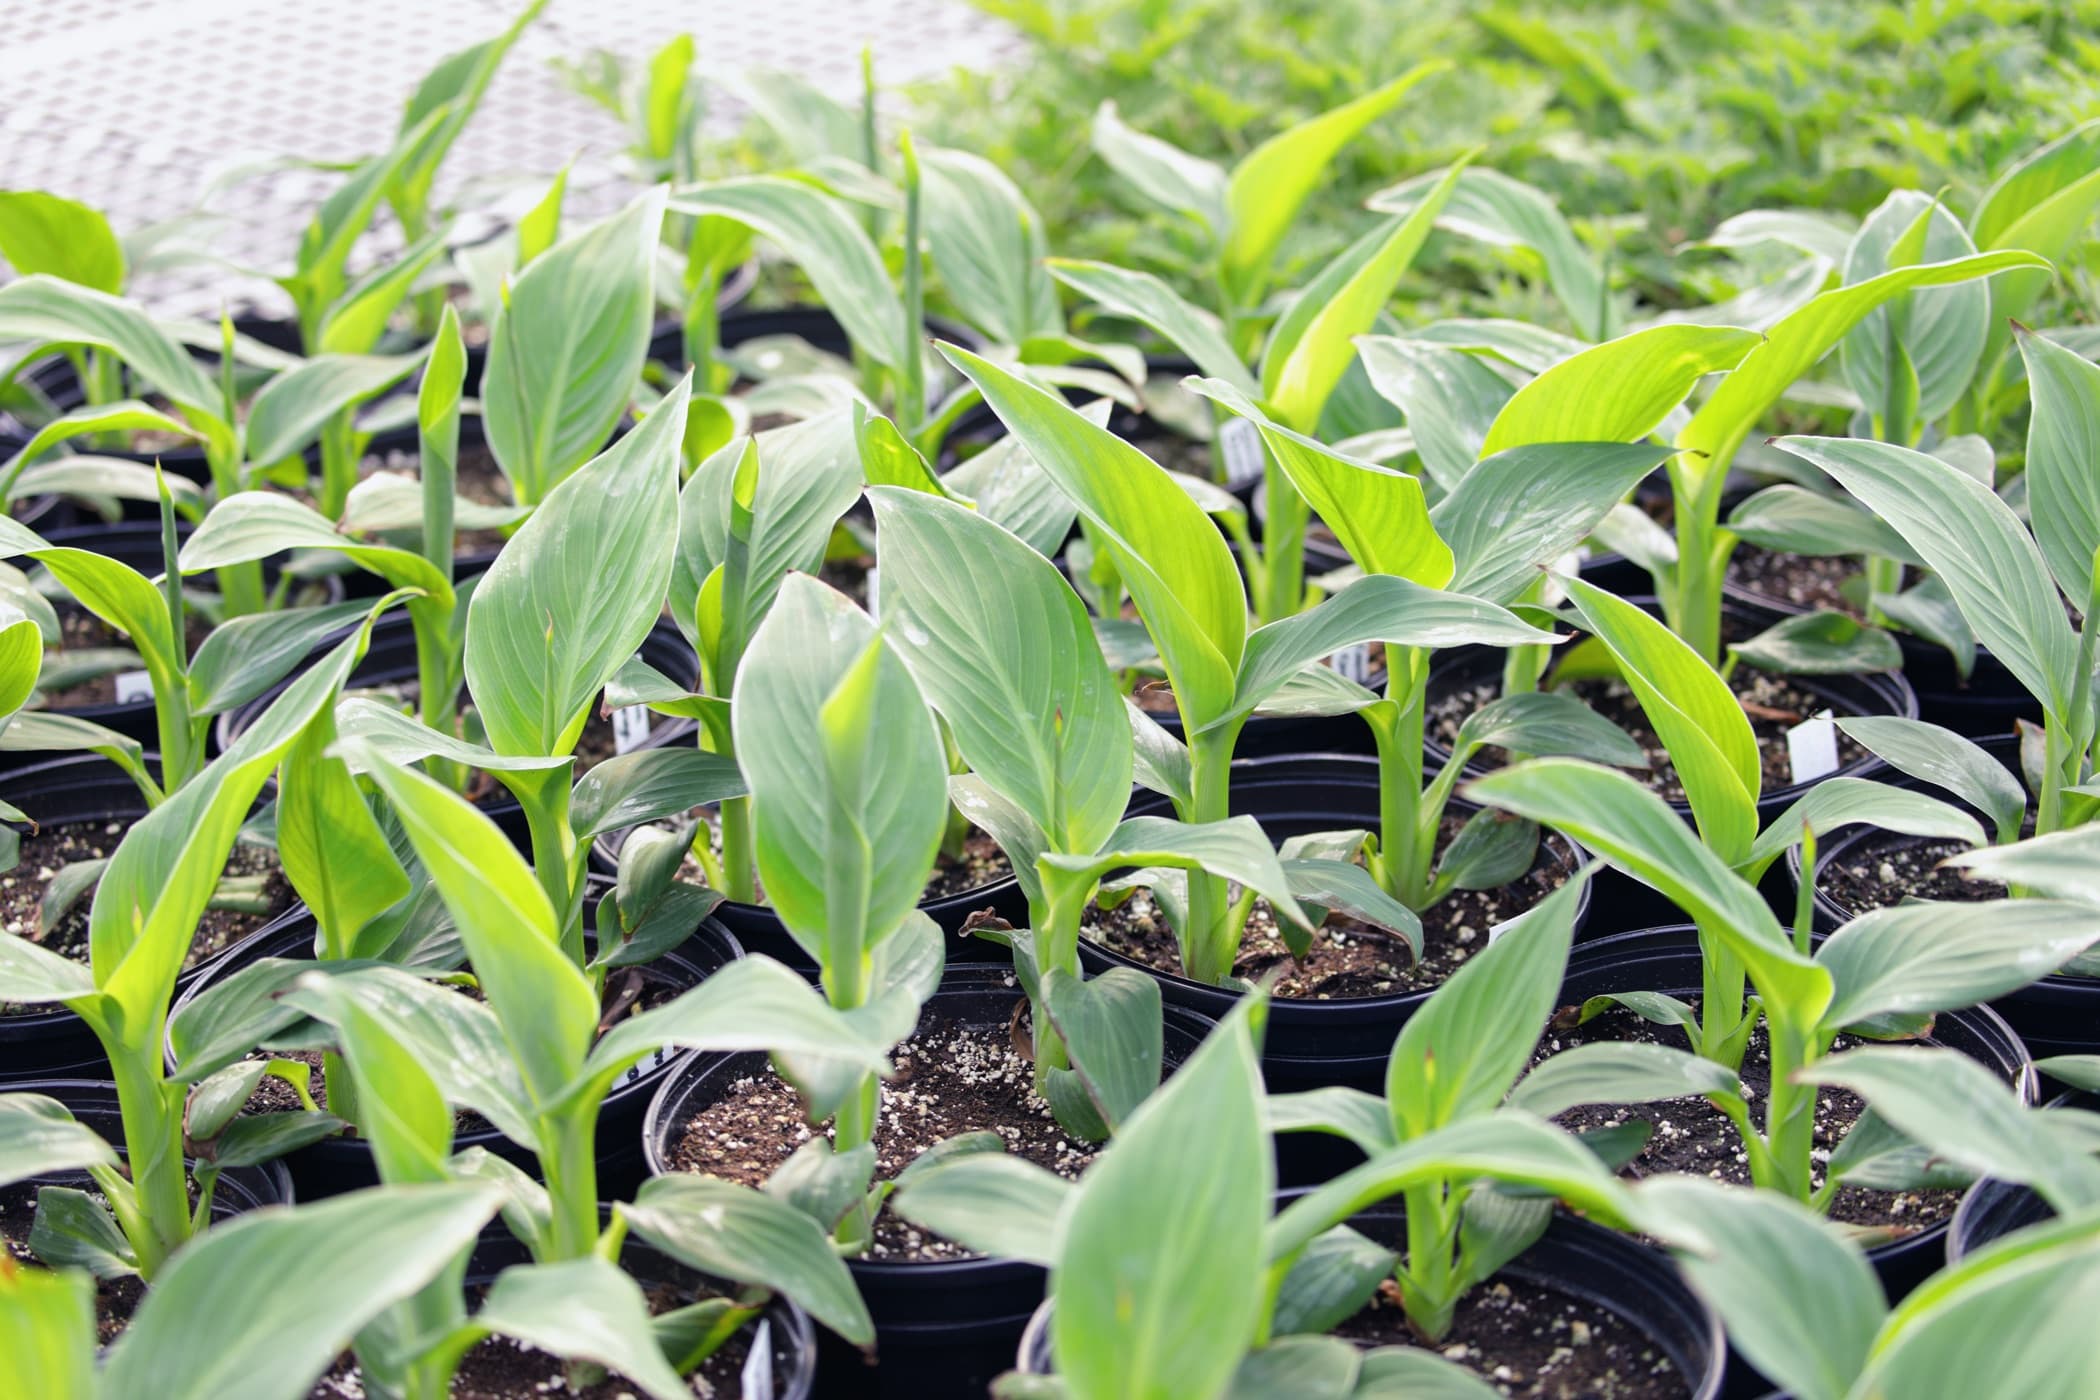
1. Preparing the Soil: Choose a location in your garden that receives full sun or partial shade. Prepare the soil by removing any weeds, rocks, or debris. Incorporate organic matter such as compost or well-rotted manure to improve soil fertility and drainage.
2. Digging the Planting Hole: Dig a hole that is about 6-8 inches deep. If you are planting multiple bulbs, space them at least 1-2 feet apart to allow for proper growth and airflow between plants.
3. Planting Depth: Place the bulbs in the hole with the growing buds facing up. The top of the bulb should be about 2-3 inches below the soil surface. This planting depth will provide stability and protection for the bulbs while allowing the shoots to emerge easily.
4. Watering: After planting, give the bulbs a thorough watering to settle the soil and encourage root growth. Keep the soil evenly moist but not overly saturated. Avoid overwatering, as it can lead to rotting of the bulbs.
5. Mulching: Apply a layer of organic mulch, such as straw or wood chips, around the base of the plants. This will help conserve moisture, suppress weed growth, and regulate soil temperature.
6. Fertilizing: About a month after planting, apply a balanced fertilizer with equal amounts of nitrogen, phosphorus, and potassium. Follow the instructions on the fertilizer package for proper application rates. This will provide the necessary nutrients for healthy growth and abundant bloom.
7. Watering and Maintenance: Throughout the growing season, water the canna lilies regularly, especially during dry spells. Also, remove any weeds that compete for nutrients and monitor for pests or diseases. Proper maintenance will help ensure vigorous growth and stunning flowers.
8. Winter Storage: Remember to dig up and store your canna lily bulbs again before the first frost in the fall. Repeat the storage process outlined in earlier sections to protect the bulbs during the winter months.
By following these tips for replanting canna lily bulbs, you can enjoy a beautiful and thriving display of these tropical plants in your garden. With the right care and attention, your canna lilies will reward you with their stunning blooms throughout the summer season.
Now that you have learned how to successfully replant canna lily bulbs, let’s conclude this guide.
Conclusion
Congratulations! You have now learned how to store canna lily bulbs for the winter and ensure their health and vitality until the next growing season. By following the steps outlined in this comprehensive guide, you can successfully store, monitor, and replant your canna lily bulbs with confidence.
Remember that canna lily bulbs require proper care and attention during storage to prevent rotting, drying out, or other issues that can affect their viability. Understanding the biology of canna lily bulbs and providing the right storage conditions will help ensure their survival and the abundance of vibrant blooms in your garden.
From understanding the best time to dig up the bulbs and preparing them for storage to choosing the right storage location and monitoring their condition, each step plays a vital role in the success of storing canna lily bulbs.
When spring arrives, don’t forget to replant your stored bulbs in a well-prepared garden bed. Follow the tips for proper planting depth, watering, fertilizing, and maintenance to encourage healthy growth and stunning floral displays throughout the summer.
With a little bit of effort and attention, you can enjoy the beauty and elegance of canna lilies year after year. So take advantage of these storage and replanting techniques to create a breathtaking garden that will impress friends, family, and neighbors alike.
Thank you for joining us on this journey of learning how to store canna lily bulbs. We hope this guide has provided you with valuable insights and guidance to ensure the success and longevity of your canna lilies. Happy gardening!
Once you've mastered storing canna lily bulbs, consider the next seasonal challenge: keeping mice out of your camper during winter. Our guide offers practical steps to ensure your vehicle remains rodent-free and in top condition, ready for spring adventures. Dive into our tips for a peaceful off-season storage experience.
Frequently Asked Questions about How To Store Canna Lily Bulbs
Was this page helpful?
At Storables.com, we guarantee accurate and reliable information. Our content, validated by Expert Board Contributors, is crafted following stringent Editorial Policies. We're committed to providing you with well-researched, expert-backed insights for all your informational needs.


0 thoughts on “How To Store Canna Lily Bulbs”