
Articles
How To Store Cherries In Mason Jars
Modified: December 7, 2023
Discover the best way to store cherries in mason jars with our informative articles. Preserve their freshness and enjoy delicious cherries all year round.
(Many of the links in this article redirect to a specific reviewed product. Your purchase of these products through affiliate links helps to generate commission for Storables.com, at no extra cost. Learn more)
Introduction
Cherries are a delicious and nutritious fruit that have a relatively short shelf life. If you’ve found yourself with a surplus of cherries and want to extend their freshness, storing them in mason jars is a great option. Not only does it help preserve their flavor and texture, but it also adds a touch of rustic charm to your pantry or refrigerator.
In this article, we’ll guide you through the step-by-step process of how to store cherries in mason jars. Whether you plan to enjoy them later, use them for baking, or simply want to savor the taste of summer all year round, this method will ensure that your cherries stay fresh and delicious.
Before we dive into the process, it’s essential to note that there are two common methods for storing cherries in jars: refrigerating and freezing. Refrigerating cherries will keep them fresh for a few weeks, while freezing will allow you to enjoy them for up to a year. Choose the method that best suits your needs and available storage space.
Now, let’s get started with step one: choosing fresh cherries.
Key Takeaways:
- Preserve the Taste of Summer: Store fresh cherries in mason jars by selecting top-quality fruit, packing carefully, and optionally adding a simple syrup for extended shelf life. Enjoy the delicious flavor all year round!
- Long-Term Freshness: Whether refrigerating for a few weeks or freezing for up to a year, storing cherries in mason jars ensures their quality and accessibility. Follow the step-by-step guide for delicious results.
Read more: How To Store Mason Jars
Step 1: Choose Fresh Cherries
The key to storing cherries successfully is starting with top-quality, fresh cherries. When selecting cherries, look for ones that are firm, plump, and blemish-free. Avoid cherries that are soft, bruised, or have moldy spots, as these signs indicate that they are past their prime.
When it comes to cherry varieties, there are numerous options available, such as Bing, Rainier, and Sweetheart cherries, each with its own unique flavor profile. Choose the variety that appeals to your taste buds or use a combination of different varieties to create a diverse flavor profile when storing.
If possible, pick cherries that are slightly underripe. They will have a longer shelf life and will continue to ripen after being picked. However, be cautious not to choose cherries that are too unripe, as they may not develop their full flavor.
When purchasing cherries, buy them in bulk or at a pick-your-own orchard to ensure you have enough to fill your mason jars. The amount of cherries you’ll need will vary depending on the size of your jars and how many jars you plan to fill.
Now that you have selected your fresh cherries, it’s time to move on to step two: preparing the mason jars.
Step 2: Prepare the Mason Jars
Before you start filling your mason jars with cherries, it’s important to ensure that the jars are clean and ready for use. Here’s how to prepare your mason jars:
- Wash the jars: Start by washing the mason jars, lids, and bands in warm, soapy water. Use a bottle brush or sponge to scrub away any dirt or residue. Rinse them thoroughly to remove any soap residue.
- Sterilize the jars: To ensure the jars are free from any bacteria or contaminants, you can sterilize them. There are several methods to sterilize jars, including boiling them in a pot of water for 10 minutes, using a dishwasher with a sterilizing cycle, or placing them in a preheated oven at 225°F (107°C) for 10 minutes. Choose the method that works best for you.
- Inspect the jars: Once the jars are sterilized, visually inspect them for any cracks or chips. Discard any jars that are damaged, as they may not seal properly and could contaminate your cherries.
- Prepare the lids and bands: While the jars are cooling, you can prepare the lids and bands. Place the lids in a small saucepan and cover them with water. Bring the water to a gentle simmer, but do not boil. Let the lids simmer for a few minutes to soften the sealing compound. Remove them from the water and set them aside to dry.
Now that your mason jars are clean and ready, it’s time to move on to step three: washing and drying the cherries.
Step 3: Wash and Dry the Cherries
Properly washing and drying the cherries before storing them is a crucial step to remove any dirt, pesticides, or residual substances. Follow these steps to ensure your cherries are clean and ready to be stored:
- Rinse the cherries: Place the cherries in a colander or strainer and give them a gentle rinse under cool running water. Use your hands to agitate the cherries slightly to remove any debris or dirt.
- Inspect the cherries: As you rinse the cherries, take the time to inspect them individually. Remove any cherries that have mold, bruises, or are severely damaged. Set aside only the cherries that are in good condition for storage.
- Dry the cherries: After rinsing, gently pat the cherries dry with a clean kitchen towel or paper towels. Make sure they are completely dry before proceeding.
It’s important to note that cherries have a delicate skin that can easily bruise or become damaged. Handle them gently to ensure their quality and longevity.
Now that your cherries are clean and dry, it’s time to move on to step four: removing the stems and pits.
Step 4: Remove the Stems and Pits
Removing the stems and pits from cherries is an essential step to ensure a pleasant eating experience and convenient storage. Follow these steps to remove the stems and pits:
- Prepare a workstation: Find a clean and spacious area to work on. Place a cutting board and a small sharp knife or cherry pitter within reach.
- Hold the cherry: Take a cherry in one hand and hold it gently between your thumb and forefinger.
- Remove the stem: With your other hand, firmly grasp the stem of the cherry and twist it gently. The stem should separate easily from the fruit.
- Pit the cherry: If using a knife, make a shallow slit along one side of the cherry near the stem end. Gently twist the cherry open and remove the pit using the tip of the knife. Be careful not to cut yourself. Alternatively, you can use a cherry pitter, a handy tool specifically designed for removing cherry pits. Simply position the cherry in the pitter with the stem end facing up and press down, allowing the tool to extract the pit.
- Repeat the process: Continue removing the stems and pits from each cherry until you have processed all of them.
Removing the pits from cherries not only makes them more enjoyable to eat, but it also eliminates the potential for the pits to affect the flavor or texture of other cherries in the jar during storage.
Now that you have removed the stems and pits from the cherries, it’s time to move on to step five: packing the cherries into mason jars.
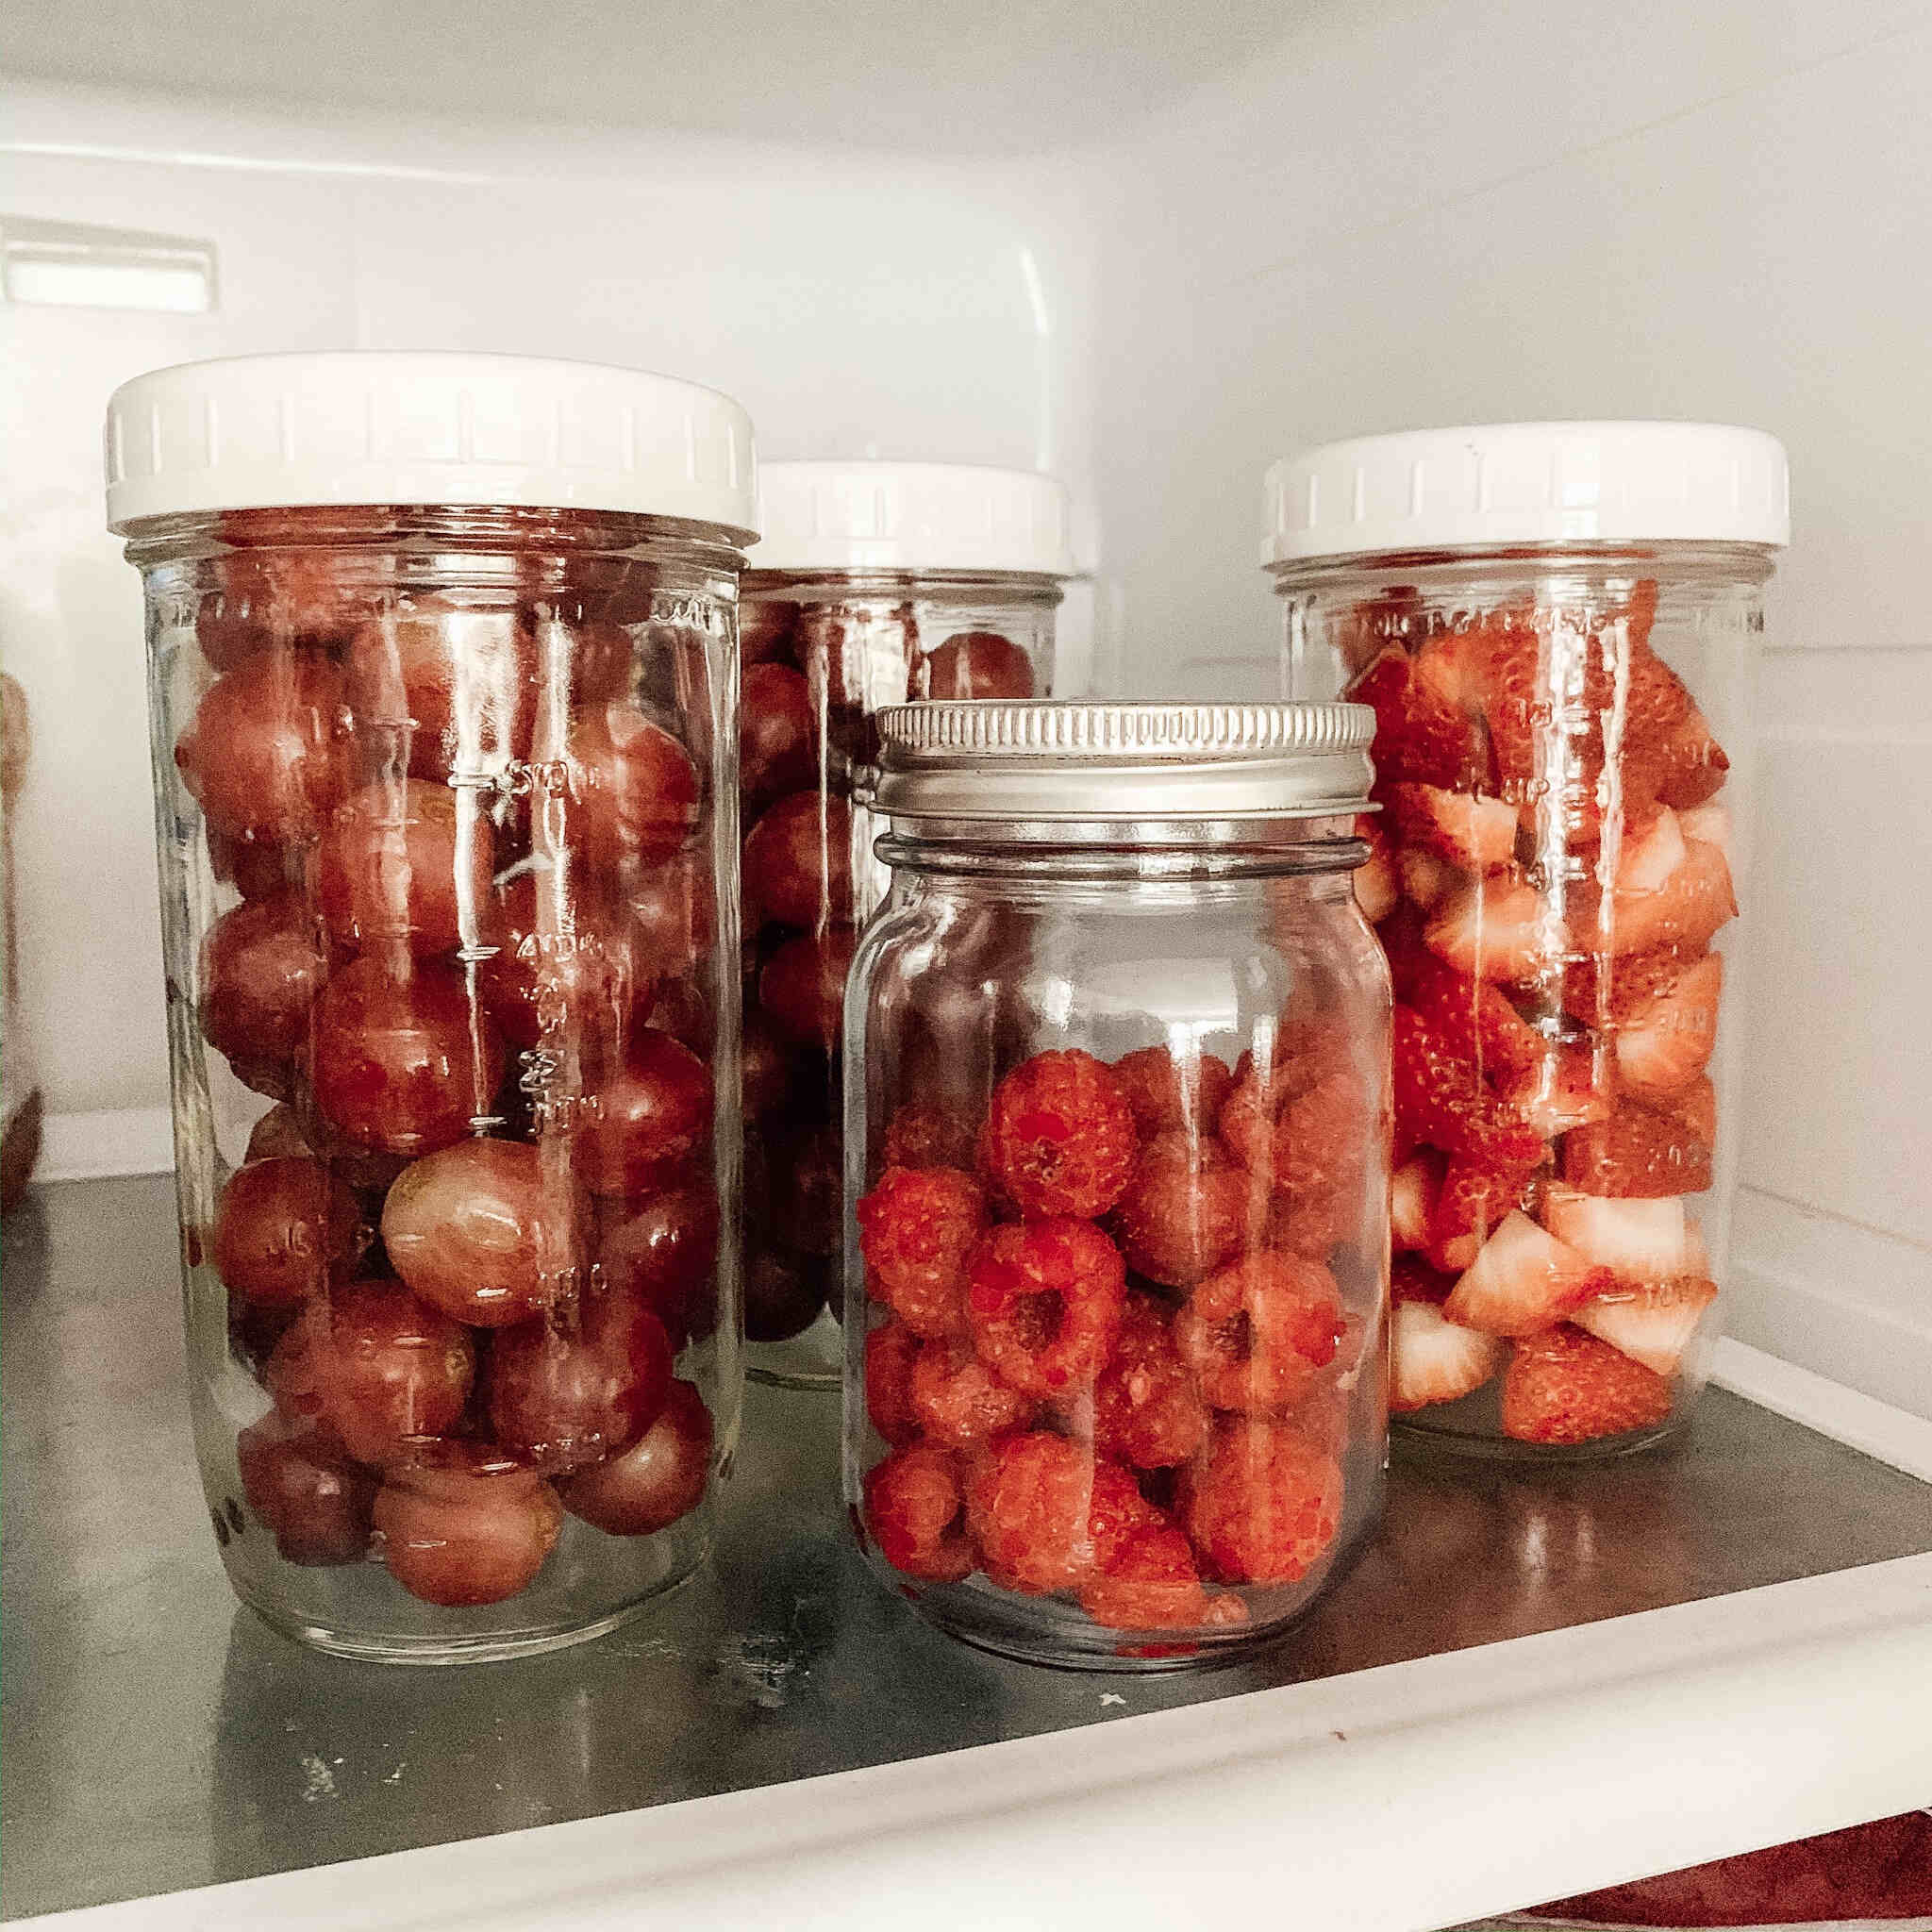
After washing and drying the cherries, remove the stems and pit them if desired. Pack the cherries into clean mason jars, leaving a little space at the top. Seal the jars tightly and store them in the refrigerator for up to 2 weeks.
Read more: How To Store Blueberries In Mason Jars
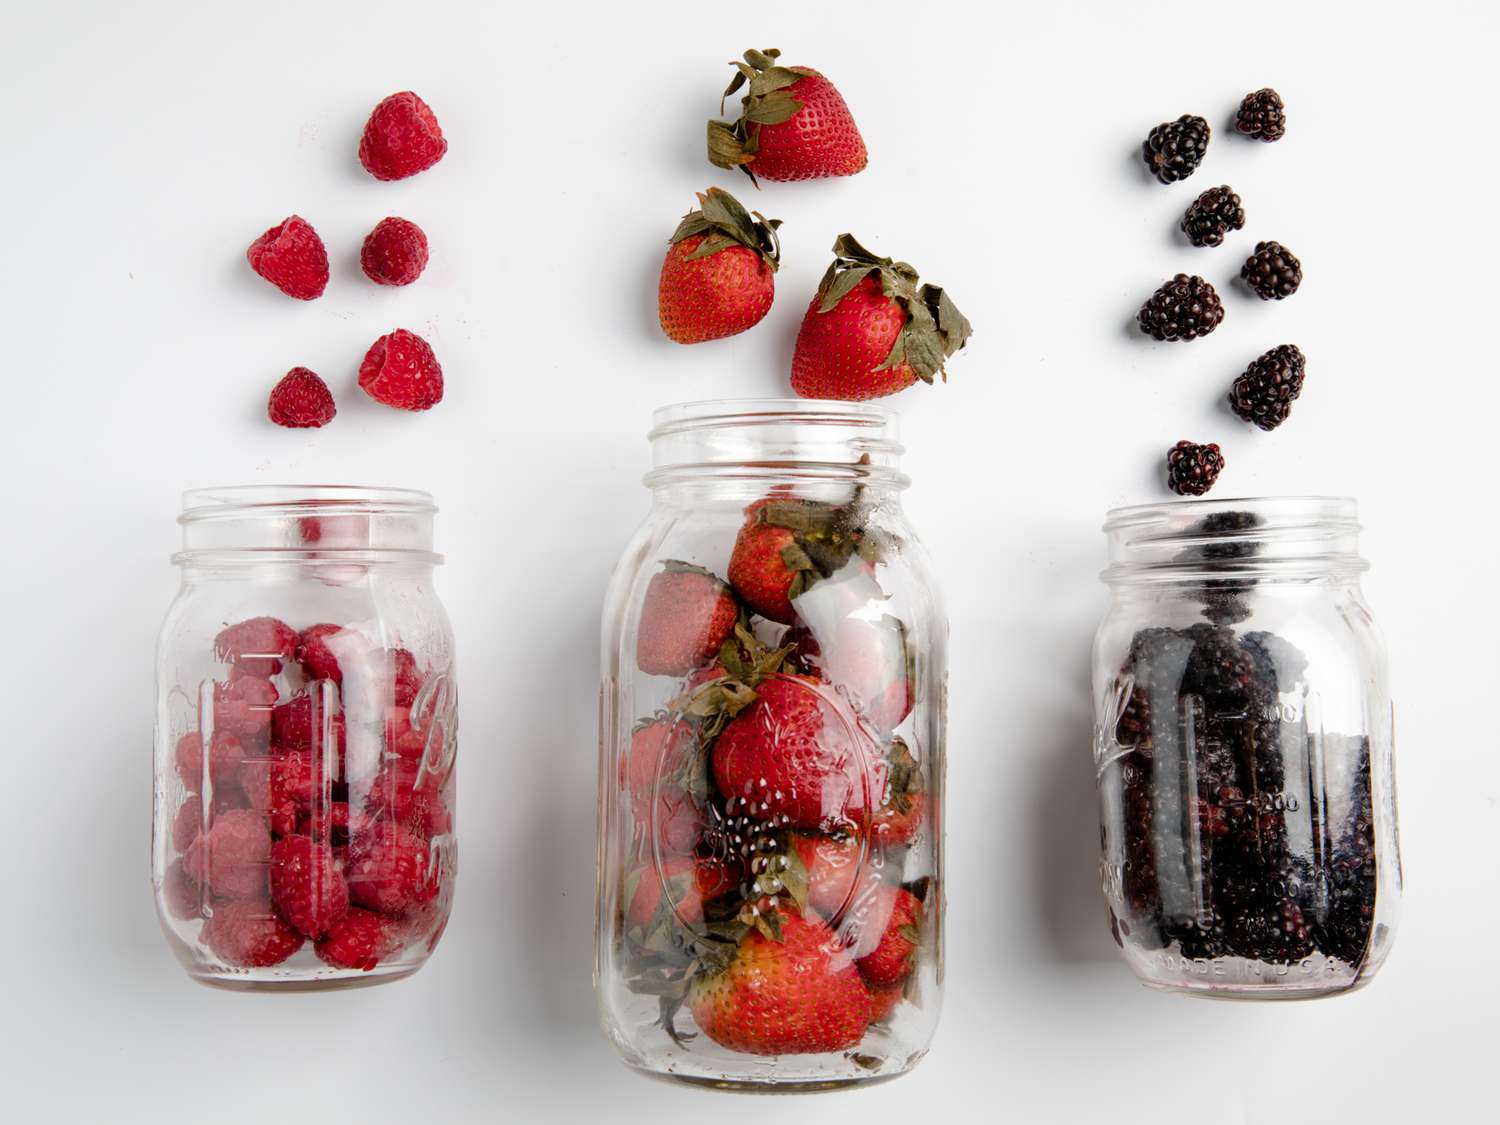
Step 5: Pack the Cherries into Mason Jars
Now that your cherries are prepped and ready, it’s time to pack them into the mason jars. Follow these steps to ensure proper packing:
- Select the appropriate jar size: Consider the size of your cherries and the quantity you would like to store. Choose mason jars that can comfortably accommodate the cherries without overcrowding.
- Fill the jars: Begin by gently layering the cherries into the jar, being careful not to crush or bruise them. You can pack them tightly, but leave a little space at the top to allow for expansion during storage.
- Eliminate air pockets: As you pack the cherries into the jar, use a clean utensil, such as a chopstick or a small spatula, to push them down and eliminate any air pockets. This will help ensure the cherries are evenly distributed and tightly packed.
- Avoid overfilling: Do not overfill the jars, as the cherries may release juice during storage, which can lead to leaks or seal failure. Leave about ½ inch (1.3 cm) of headspace at the top of the jar.
Continue filling the jars until all the cherries are packed. If you have leftover cherries and don’t have enough jars, consider freezing them separately for later use. Label each jar with the date of packing to keep track of their freshness.
Now that your cherries are securely packed into the mason jars, it’s time to move on to step six (optional): adding a simple syrup.
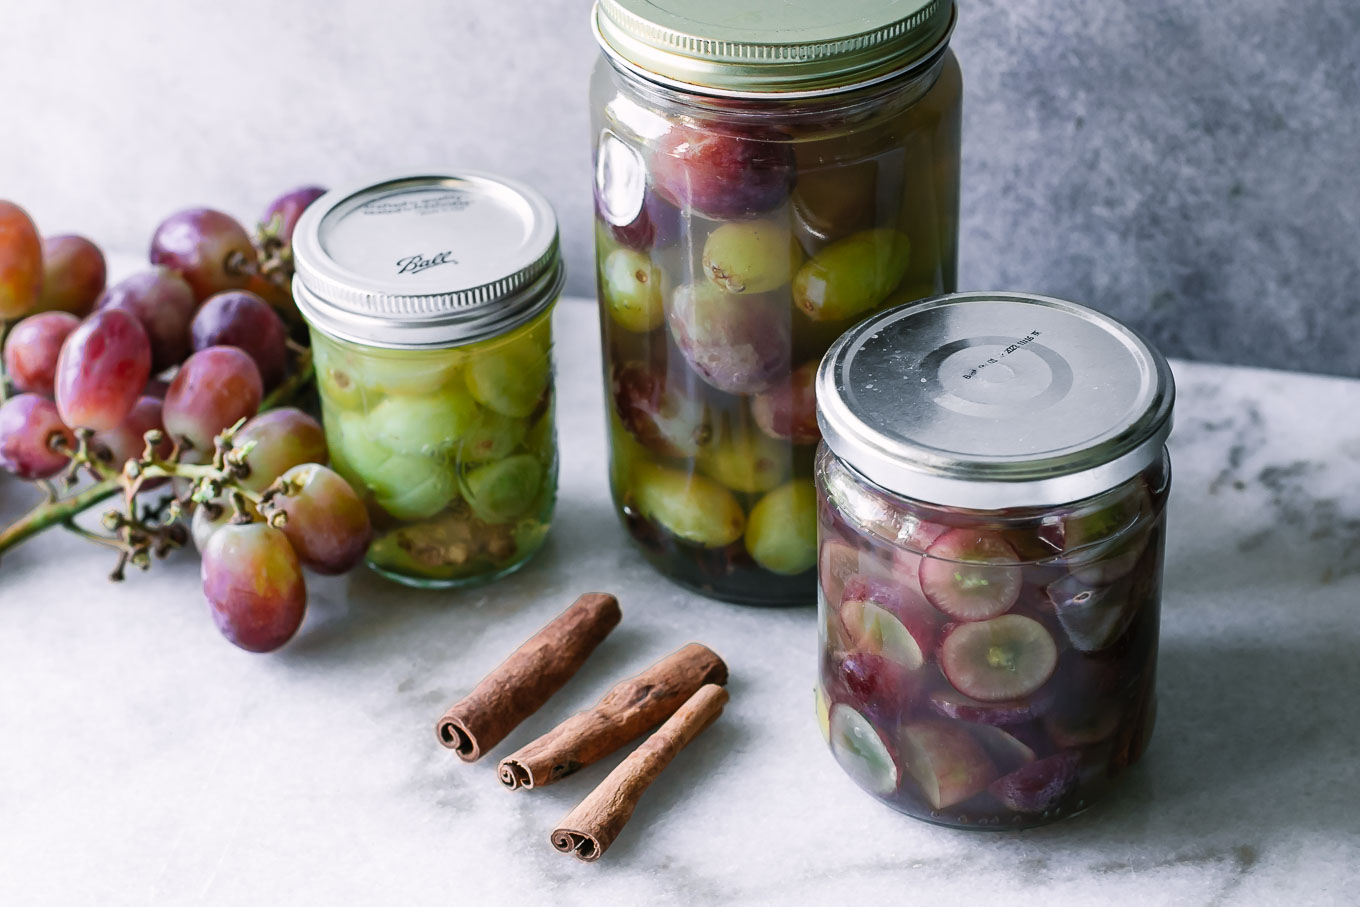
Step 6: Add Simple Syrup (Optional)
Adding a simple syrup to your jars of cherries is an optional step that can help enhance their flavor and extend their shelf life. Simple syrup is a combination of sugar and water, and it adds a hint of sweetness to the cherries. Follow these steps to add a simple syrup:
- Prepare the simple syrup: In a saucepan, combine equal parts sugar and water. For example, you can use 1 cup of water and 1 cup of granulated sugar. Heat the mixture over medium heat, stirring until the sugar completely dissolves.
- Cool the syrup: Allow the syrup to cool completely before adding it to the jars. This helps prevent the cherries from becoming too soft during the packing process.
- Add the syrup: Once the syrup has cooled, pour it into the jars over the packed cherries. The syrup should cover the cherries, but leave a little headspace at the top of the jar.
- Gently shake the jars: After adding the syrup, gently tap or shake the jars to ensure that it distributes evenly among the cherries.
Adding a simple syrup not only enhances the flavor of the cherries but also helps maintain their texture and juiciness during storage. It can be particularly beneficial if you plan to use the cherries for desserts, cocktails, or other culinary creations.
If you prefer not to use a simple syrup, you can skip this step and proceed to sealing and storing the jars, which we’ll cover in step seven.
Before moving on to the sealing and storing process, let’s recap the optional step of adding a simple syrup to the cherries.
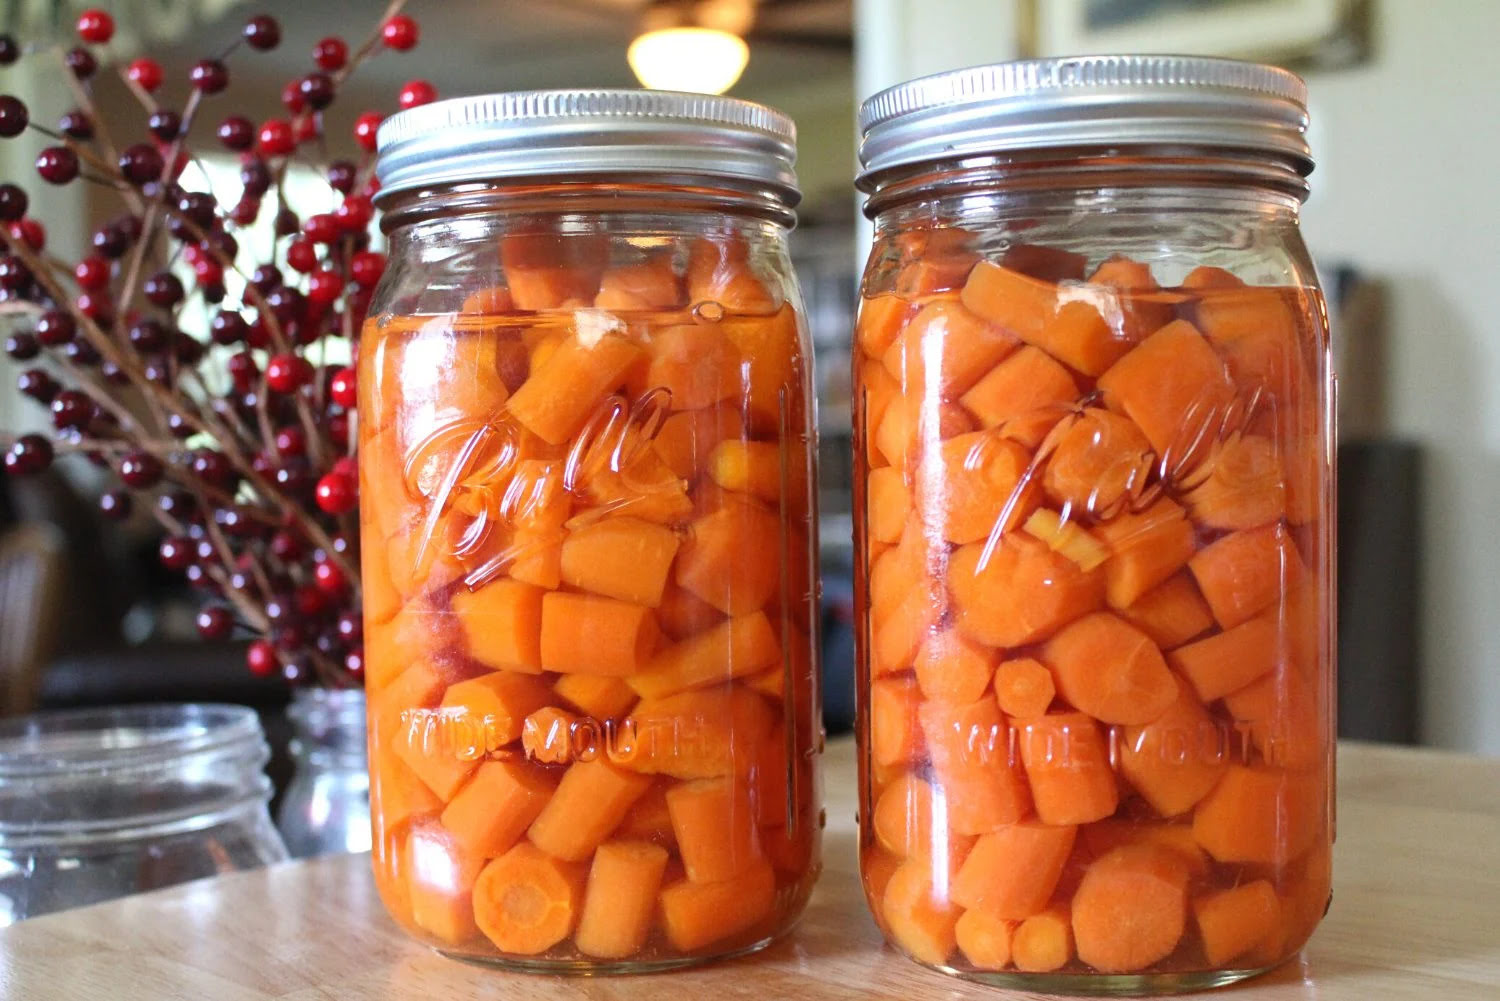
Step 7: Seal and Store the Jars
After you’ve packed the cherries into mason jars and, optionally, added a simple syrup, it’s time to seal the jars to ensure proper storage. Follow these steps to seal and store the jars:
- Ensure clean jar rims: Before sealing the jars, check that the rims are clean and free from any residue or food particles. This will help create a proper seal.
- Apply the lids: Take the sterilized lids that you prepared earlier and place them on top of each jar. Secure them in place by screwing on the bands until they are finger-tight. Avoid overtightening, as this can prevent the lids from properly sealing.
- Check for proper seal: After applying the lids, check each jar to ensure a proper seal. The lids should be slightly concave and should not move or flex when pressed with your finger.
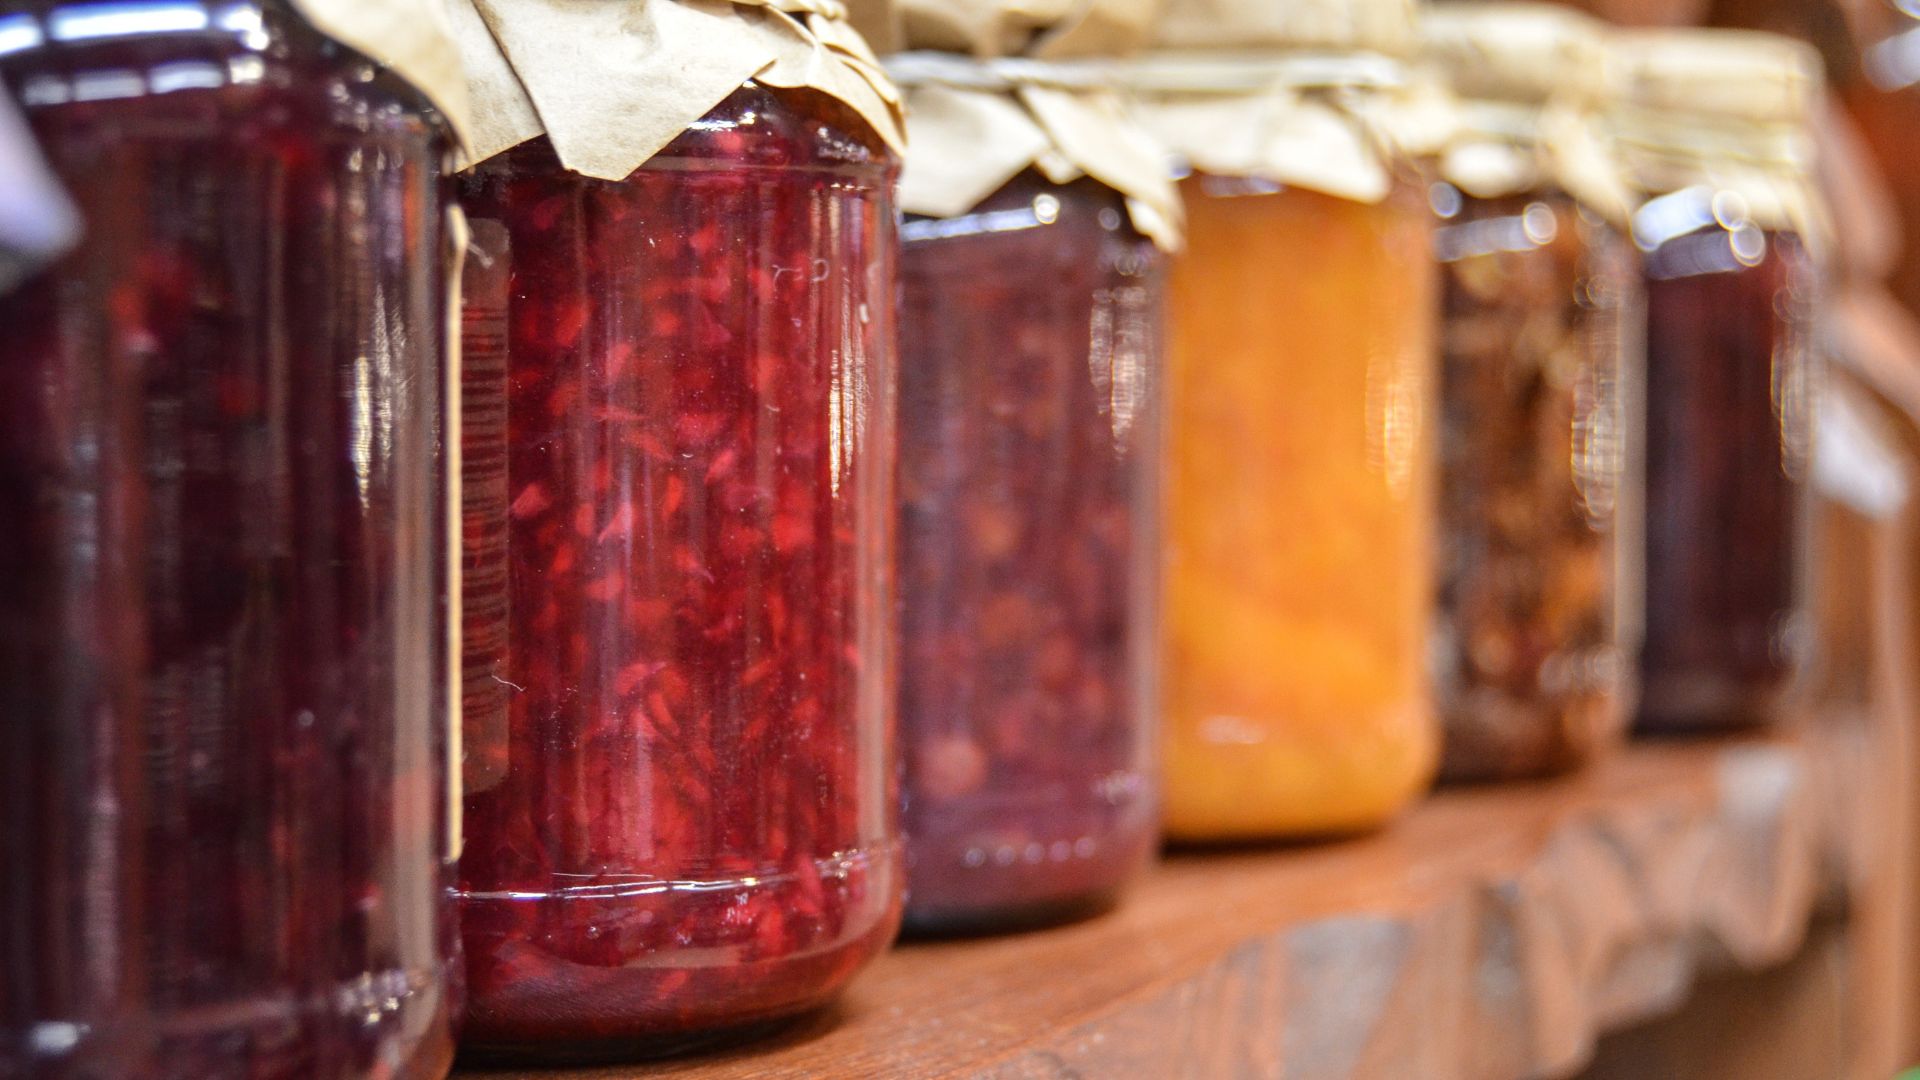
- Store in a cool, dark place: Once you have confirmed the jars are properly sealed, it’s time to store them. Choose a cool, dark place, such as a pantry or cellar, to store the jars. Avoid areas that are exposed to direct sunlight or extreme temperature fluctuations.
Properly sealed and stored, the cherries can be kept at room temperature for a short period, usually a few weeks. However, for longer-term storage, it is recommended to refrigerate or freeze them, which we will cover in the next step.
By following these steps, you can ensure that your cherries remain fresh and flavorful for an extended period of time. Now, let’s move on to step eight to learn about refrigerating or freezing the cherries.
Step 8: Refrigerate or Freeze the Cherries
To maximize the shelf life of your stored cherries, you have the option to either refrigerate or freeze them. Follow these steps to refrigerate or freeze your cherries:
- Refrigeration: If you plan to consume the cherries within a few weeks, refrigeration is a suitable option. Place the sealed jars of cherries in the refrigerator, ideally at a temperature between 32°F (0°C) and 40°F (4°C).
- Freezing: Freezing allows you to store cherries for a much longer period, usually up to a year. Here’s how to freeze the cherries:
- Flash-freeze: Before freezing the cherries, it’s best to pre-freeze them individually to prevent them from sticking together. Spread the cherries on a baking sheet in a single layer and place them in the freezer. Allow them to freeze for 1-2 hours or until they are firm.
- Pack in freezer-safe containers: Once the cherries are pre-frozen, transfer them to freezer-safe containers or resealable freezer bags. Remove as much air as possible from the containers or bags before sealing. It’s helpful to label the containers with the date of freezing.
- Store in the freezer: Place the containers of cherries in the freezer, ideally at a temperature of 0°F (-18°C) or below. This will ensure the cherries retain their quality and freshness for an extended period.
Whether you choose to refrigerate or freeze the cherries, it’s important to note that the texture may slightly change after thawing. Frozen cherries are best used in recipes that require cooking or baking, while refrigerated cherries can be enjoyed as a snack or used in various dishes.
Remember to properly thaw frozen cherries in the refrigerator before using them and to consume refrigerated cherries within a few weeks for optimal quality.
By following these steps, you can store and enjoy your cherries for an extended period, making the most of their delicious flavors and nutritional value.
Now that you’ve learned how to store cherries in mason jars, it’s time to put your knowledge into practice and enjoy the taste of summer all year round!
Read more: How To Store Cucumbers In Mason Jars
Conclusion
Learning how to store cherries in mason jars is a practical and enjoyable way to preserve their freshness and savor their delicious flavor long after cherry season has ended. By following the step-by-step process outlined in this guide, you can ensure that your cherries remain tasty and accessible for months to come.
Starting with selecting the freshest cherries, washing and drying them carefully, and removing the stems and pits, you prepare the cherries for packing into clean mason jars. Optionally, you can add a simple syrup to enhance the flavor and extend the shelf life of the cherries.
Properly sealing the jars and storing them in a cool, dark place is crucial to maintaining the quality of the cherries. Alternatively, refrigerating or freezing the jars allows for longer-term storage, with frozen cherries lasting up to a year while refrigerated cherries can be enjoyed for a few weeks.
Whether you choose to use your stored cherries in baked goods, cocktails, or simply as a delightful snack, having them conveniently stored in mason jars ensures that you can enjoy their sweet taste and vibrant color whenever you desire.
Remember to label your jars with the packing date to keep track of their freshness, and be sure to thaw frozen cherries in the refrigerator before using them.
Now that you have mastered the art of storing cherries in mason jars, it’s time to embark on your own cherry-packing adventure. So go ahead, stock up on fresh cherries, grab your mason jars, and start preserving the goodness of this delectable fruit. Happy cherry storing!
Frequently Asked Questions about How To Store Cherries In Mason Jars
Was this page helpful?
At Storables.com, we guarantee accurate and reliable information. Our content, validated by Expert Board Contributors, is crafted following stringent Editorial Policies. We're committed to providing you with well-researched, expert-backed insights for all your informational needs.

0 thoughts on “How To Store Cherries In Mason Jars”