Articles
How To Store Food In Mason Jars
Modified: January 6, 2024
Discover the best methods of storing food in mason jars with our insightful articles. Keep your food fresh and organized for longer periods.
(Many of the links in this article redirect to a specific reviewed product. Your purchase of these products through affiliate links helps to generate commission for Storables.com, at no extra cost. Learn more)
Introduction
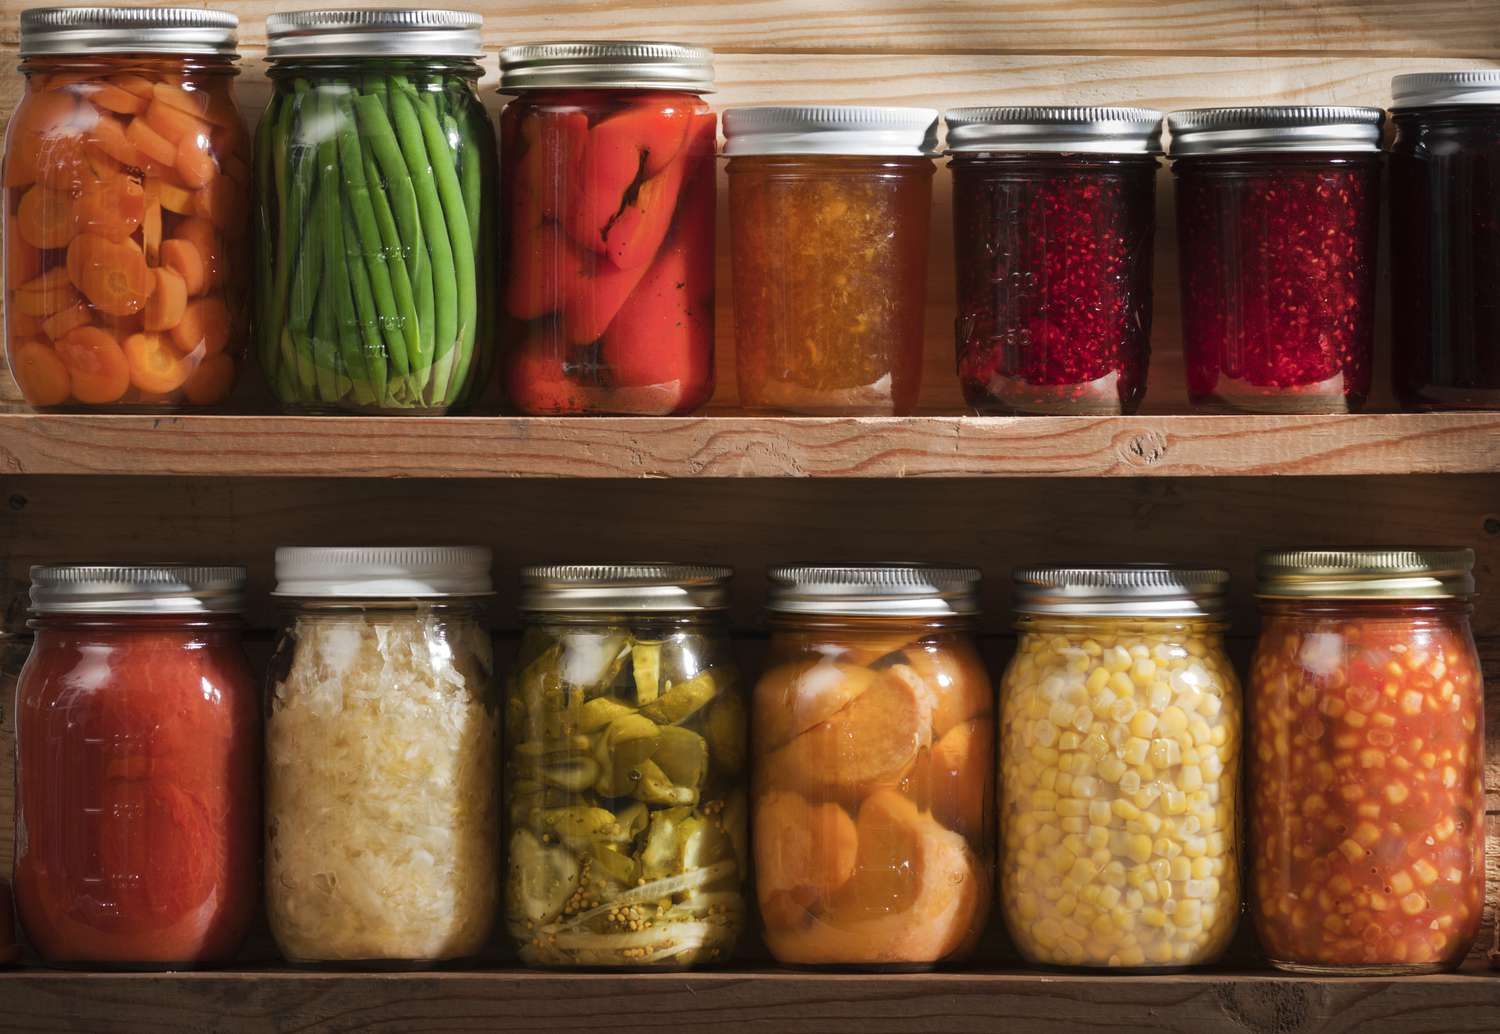
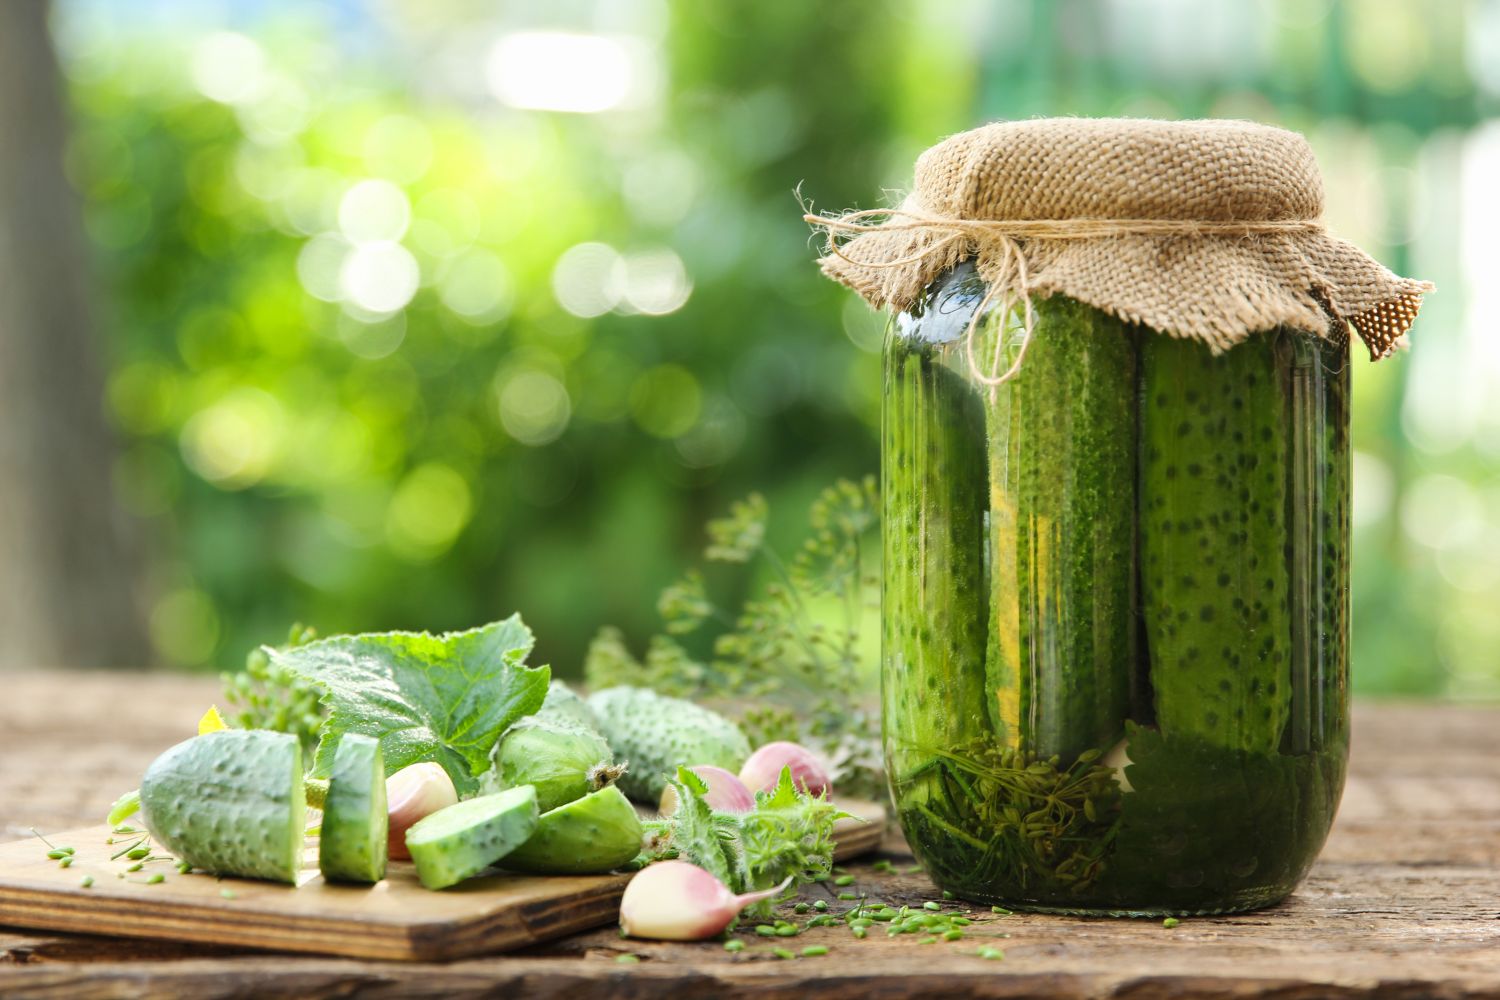
Mason jars have long been a staple in households for canning and preserving food. Their versatile and durable design makes them an ideal choice for storing food in a convenient and eco-friendly way. Whether you’re looking to store leftover meals, pantry staples, or even homemade baby food, mason jars are a fantastic option. In this article, we will explore the ins and outs of storing food in mason jars, from choosing the right jars to proper sealing techniques and everything in between.
Choosing the right mason jars is the first step to successful food storage. There are various sizes available, ranging from small jars perfect for individual servings to larger ones that can hold bulk quantities. Consider your storage needs and the types of food you plan to store when selecting the appropriate size of jars. Additionally, opt for jars made from high-quality glass to ensure they are durable and resistant to temperature changes.
Preparing the mason jars for food storage is crucial to maintain cleanliness and prevent spoilage. Thoroughly wash the jars and lids with warm soapy water, and rinse them well to remove any residue. It’s also recommended to sterilize the jars by placing them in boiling water for a few minutes, ensuring they are free from any bacteria or contaminants.
Key Takeaways:
- Mason jars are a versatile and eco-friendly option for storing various foods, from pantry staples to homemade baby food. Choosing the right jars, proper preparation, and sealing techniques are crucial for successful food storage.
- Storing mason jars in a cool, dark place is essential for maintaining the quality and longevity of the stored food. Labeling, organizing, and regularly checking for freshness and shelf life are key practices to ensure safe and enjoyable meals.
Read more: How To Store Cilantro In Mason Jar
Choosing the right mason jars
When it comes to choosing the right mason jars for food storage, there are a few factors to consider. While mason jars are available in various sizes and styles, it’s important to select ones that are suitable for your specific storage needs.
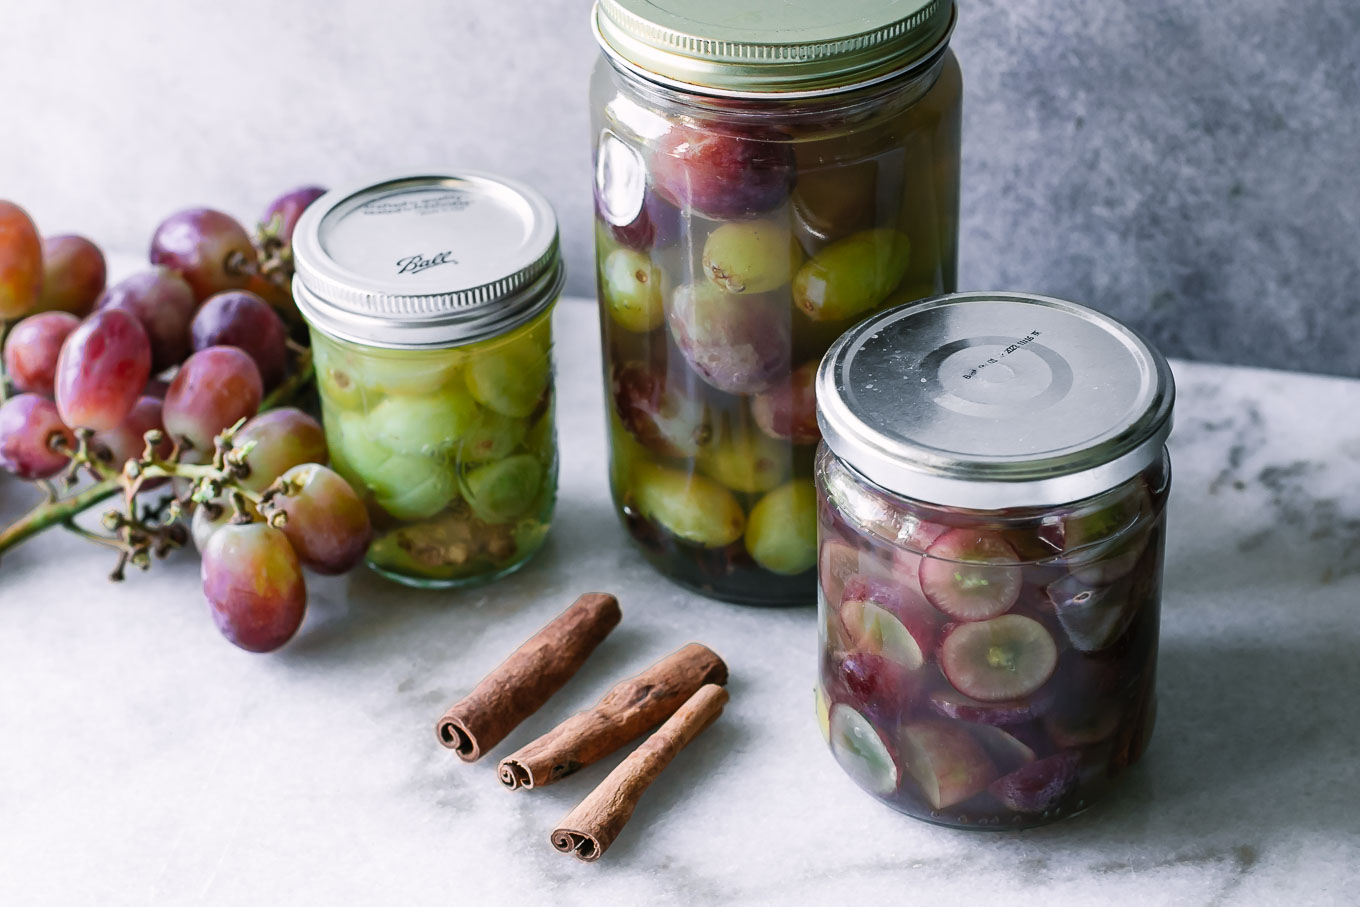
Size matters: Mason jars come in different sizes, including half-pint, pint, quart, and even larger sizes. The size you choose will depend on the quantity of food you plan to store. If you’re storing individual servings or small quantities, half-pint or pint-sized jars may be sufficient. For larger quantities or bulk storage, quart-sized jars or larger may be more appropriate.
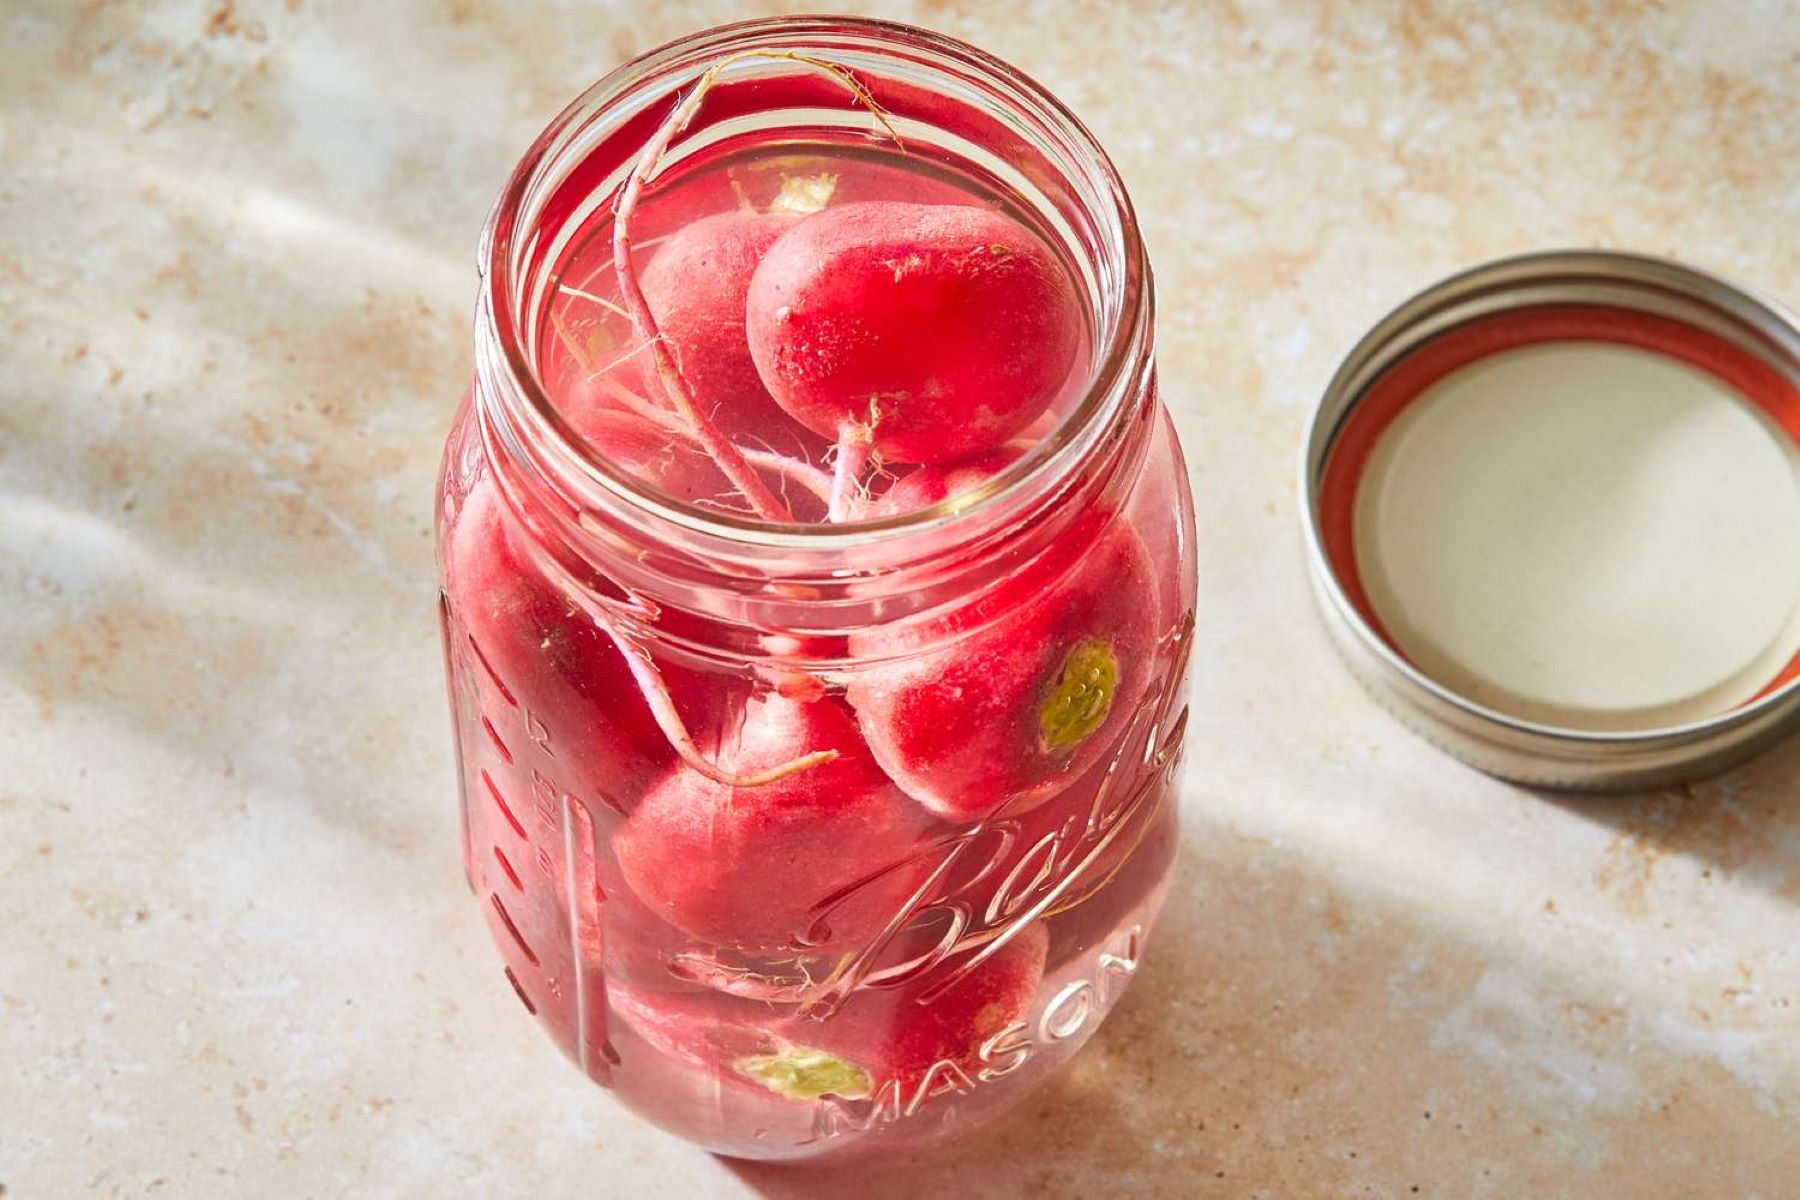
Consider the food type: Certain foods may require specific jar types. For example, if you plan to store liquids or foods with high acidity, it’s recommended to use jars with two-piece lids, consisting of a flat metal lid and a screw-on band. This type of lid provides a more secure and airtight seal. For dry foods or items that don’t require a tight seal, such as dried herbs or non-perishable pantry staples, single-piece lids can be used.
Quality and durability: Opt for mason jars made from high-quality glass. Look for jars that are thick and durable, as they are less likely to break or shatter during storage. Additionally, ensure that the glass is free from any defects or cracks, as these can compromise the integrity of the jar and lead to spoilage.
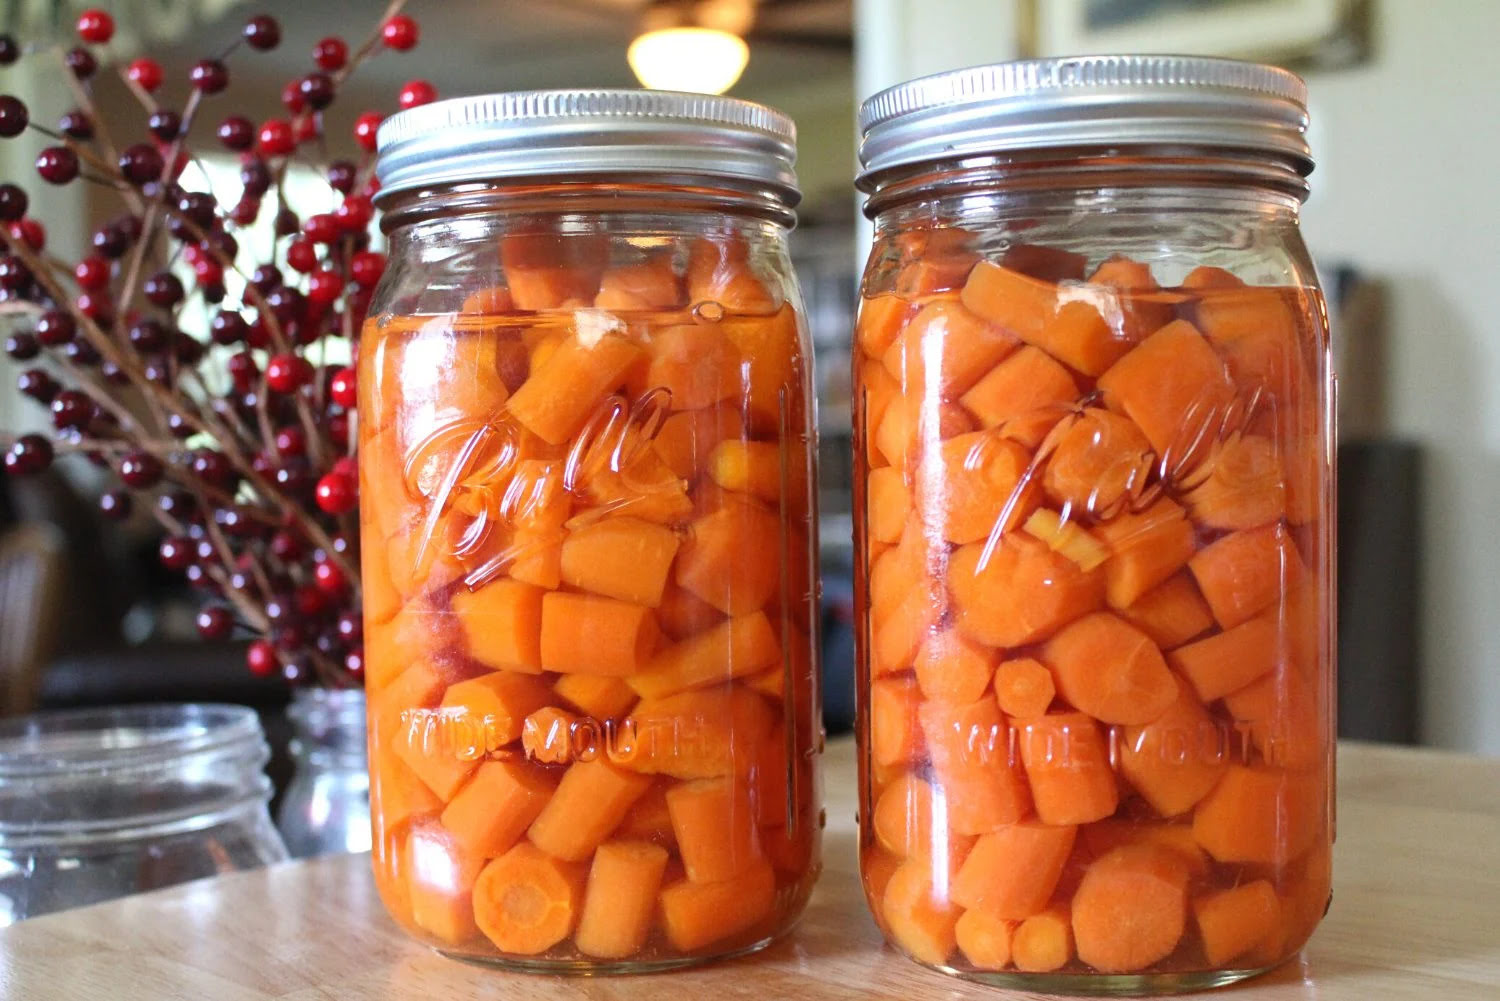
Style and aesthetics: While the primary function of mason jars is for food storage, there’s no harm in considering the aesthetic aspect as well. Mason jars come in a variety of styles, including regular-mouth and wide-mouth options. Regular-mouth jars are better for liquids or pouring contents, while wide-mouth jars are more convenient for filling and accessing bulky or larger food items.
By considering these factors, you can select the right mason jars to suit your food storage needs. Remember to choose the appropriate size, consider the type of food you will be storing, prioritize quality and durability, and choose a style that aligns with your preferences. With the right mason jars, you can ensure the longevity and freshness of your stored food.
Preparing the mason jars for food storage
Properly preparing mason jars for food storage is essential to ensure the cleanliness and integrity of the stored food. Here are the steps to follow when preparing your mason jars:
1. Clean the jars: Before using mason jars for food storage, wash them thoroughly with warm soapy water. Use a bottle brush or sponge to scrub both the inside and outside of the jars. Pay close attention to the rims and ridges to remove any dirt or residue. Rinse the jars well to ensure all soap is removed.
2. Sterilize the jars: To minimize the risk of bacteria and spoilage, it’s recommended to sterilize the mason jars. There are several ways to sterilize the jars:
- Boiling Water Method: Place the jars in a large pot filled with water. Bring the water to a rolling boil and let the jars simmer for about 10 minutes. Remove the jars from the boiling water using jar tongs and place them on a clean, dry towel to cool.
- Oven Method: Preheat your oven to 200°F (93°C). Place the clean jars on a baking sheet and put them in the oven for about 20 minutes. Carefully remove the jars using oven mitts, as they will be hot. Allow them to cool on a heat-resistant surface.
- Dishwasher Method: If your dishwasher has a high-temperature setting, you can use it to sterilize the jars. Place the jars in the dishwasher and run them through a full cycle using the highest temperature setting.
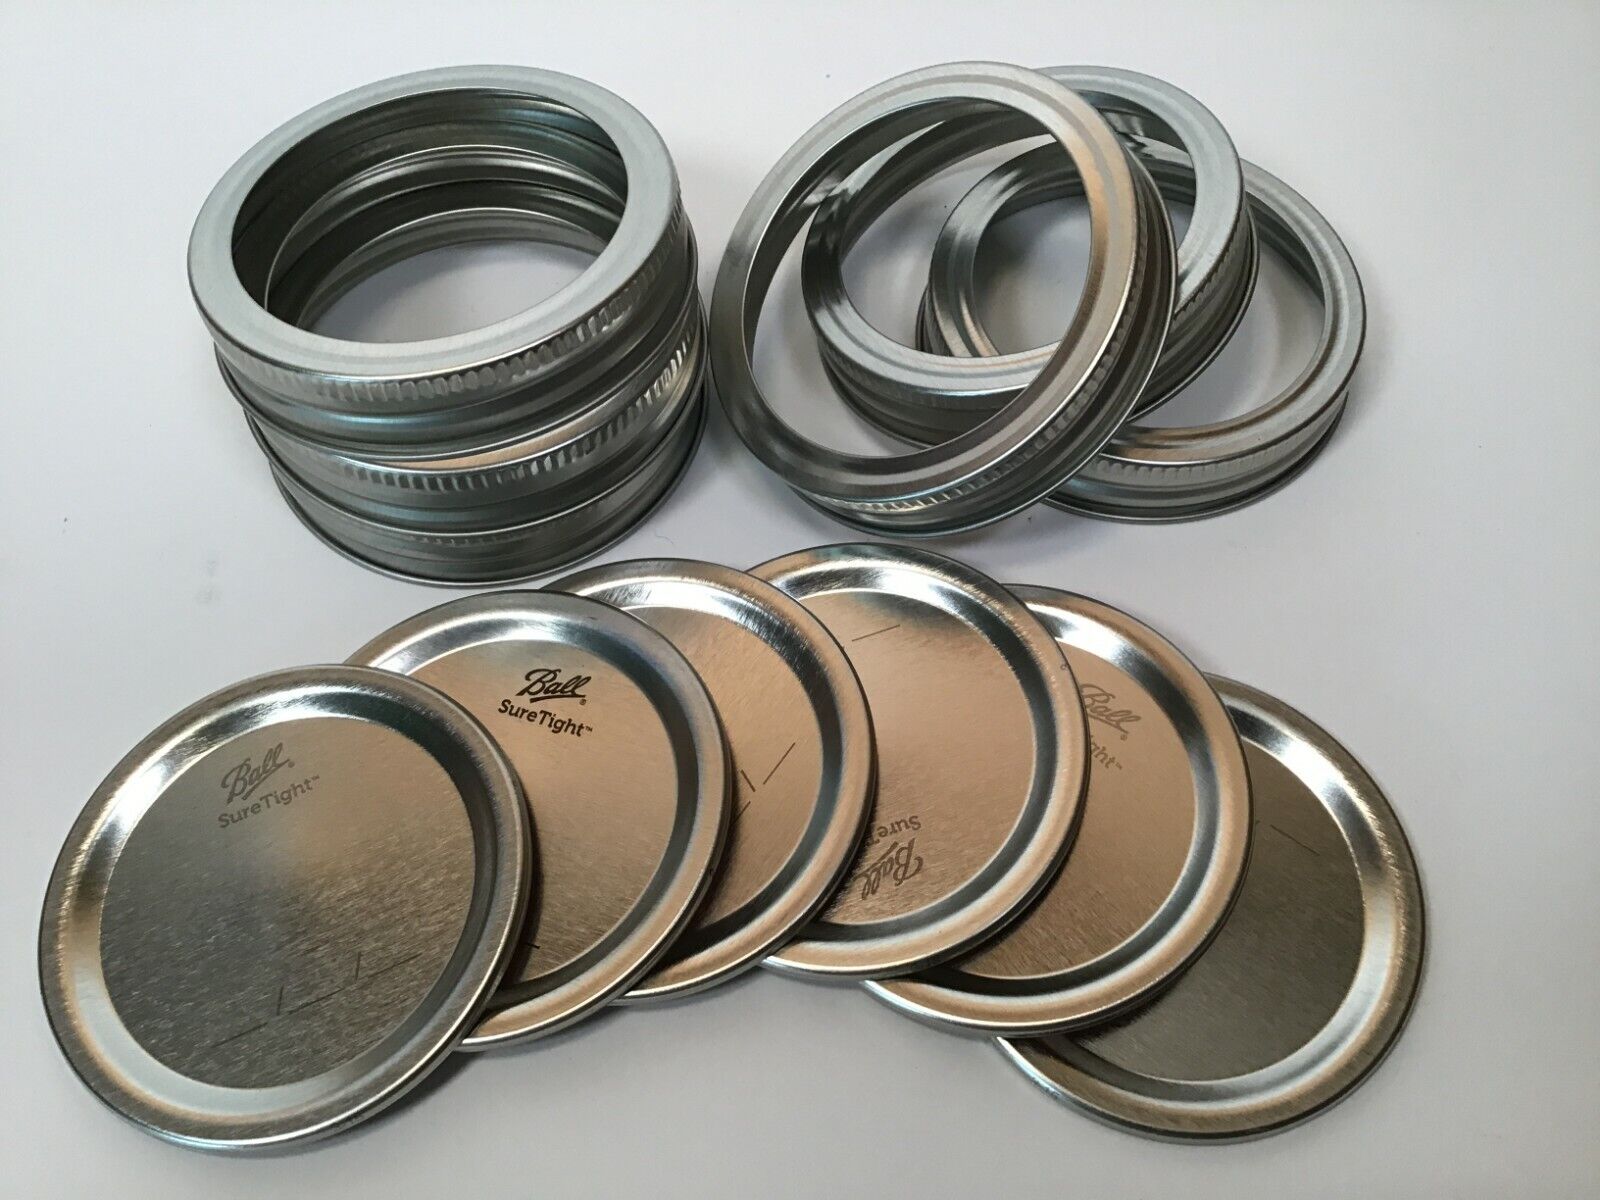
3. Prepare the lids and bands: While the jars are sterilizing, prepare the lids and bands. Wash them with warm soapy water and rinse them thoroughly. Ensure there are no cracks or imperfections in the lids that could affect the seal. If using two-piece lids, make sure the rubber sealing ring is in good condition and free from any damage.
4. Air dry the jars: Once the jars have been sterilized and the lids and bands are prepared, allow them to air dry completely. This will help prevent any moisture from being trapped inside the jars, which could lead to mold or spoilage.
Following these steps will help ensure that your mason jars are clean and ready for safe food storage. Properly sterilized jars and clean lids will minimize the risk of bacteria and contamination, allowing you to preserve food with confidence.
Filling the mason jars properly
Properly filling mason jars is crucial to maintain the freshness and quality of the stored food. Here are some tips to help you fill your mason jars effectively:
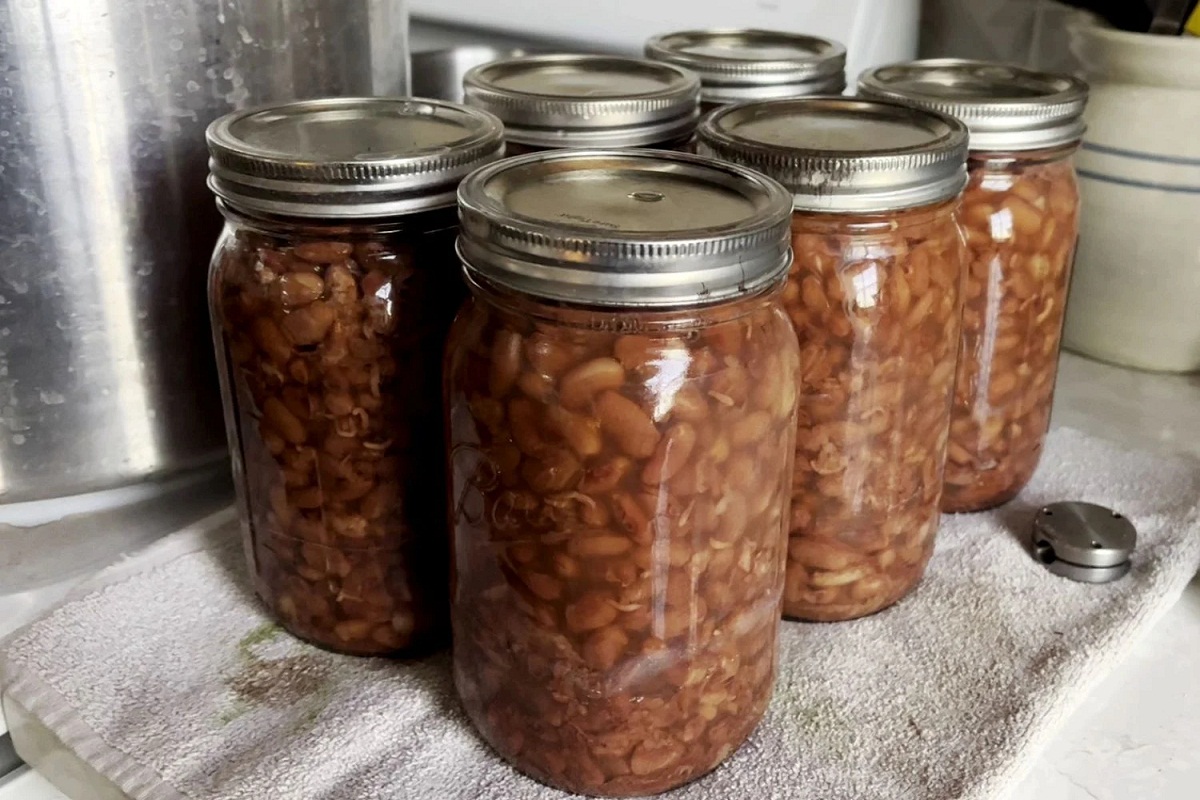
1. Leave headspace: When filling the jars, it’s important to leave some headspace at the top. The amount of headspace needed may vary depending on the type of food being stored. As a general rule, leave about ½ to 1 inch of headspace to allow for expansion during freezing or canning. This extra space helps prevent the food from overflowing and promotes proper sealing.
2. Pack the food tightly: To maximize space and prevent air pockets, pack the food tightly into the jars. Use a spatula or spoon to push the ingredients down and eliminate any gaps. By compacting the contents, you reduce the chances of spoilage and ensure better preservation.
3. Avoid overfilling: While it may be tempting to fill the jars to the brim, it’s important to resist this urge. Overfilling can lead to improper sealing and can cause the contents to push against the lid, leading to leaks or spoilage. Follow the recommended headspace guidelines for the specific food you’re storing.
4. Remove air bubbles: After packing the food into the jar, use a utensil or a chopstick to remove any air bubbles trapped in the mixture. Simply insert the utensil into the jar and gently press against the sides to release the bubbles. This step helps improve the vacuum seal and prevents potential spoilage.
5. Wipe the rims: Before applying the lids, wipe the rims of the jars with a clean, damp cloth. This removes any food particles or residue that could interfere with the sealing process. Ensuring clean and dry rim surfaces enhances the effectiveness of the sealing process and helps prevent contamination.
By following these tips, you’ll ensure that your mason jars are properly filled, space-efficient, and ready for the next step in the food storage process. Taking the time to pack the jars correctly will help maintain the quality, flavor, and freshness of your stored food for an extended period of time.
Using proper sealing techniques
Properly sealing mason jars is essential for preserving the freshness and longevity of food stored inside. Here are some techniques to ensure a secure and airtight seal:
1. Use two-piece lids: For foods that require a tight seal, like liquids or foods with high acidity, it is recommended to use two-piece lids consisting of a flat metal lid and a screw-on band. The flat metal lid has a sealing compound that creates a vacuum seal when properly tightened.
2. Apply the lids correctly: After filling the jars and wiping the rims, place the flat lids on top of the jar openings. Make sure the sealing compound on the lid is in direct contact with the rim of the jar. Then, screw on the bands firmly, but not excessively tight. Over-tightening can prevent air from escaping during the sealing process.
3. Check for a seal: Once the lids are applied, and the jars are sealed, it’s important to check for a successful seal. Let the jars sit undisturbed for at least 12 to 24 hours, allowing the vacuum seal to form. After this time, press down on the center of the lid. If it stays down and doesn’t flex or pop, the seal is secure. If the lid flexes or pops back up, the seal may not be properly formed, and the jar should be refrigerated or reprocessed.
4. Store upright: To ensure a good seal, store the sealed mason jars upright. This helps maintain even pressure on the lid and prevents any leakage or compromise to the seal. Avoid storing jars on their sides or upside down, as this can potentially break the seal and lead to spoilage.
5. Label and date the jars: To keep track of your stored food and maintain organization, it’s important to label each jar with its contents and date of storage. This will help you easily identify the contents and keep track of their shelf life. Use waterproof labels or markers to prevent smudging or fading.
Using these proper sealing techniques will ensure that your mason jar lids create a tight and secure seal, effectively preserving the quality and freshness of your stored food. Proper sealing is the key to long-term storage and can help extend the shelf life of your homemade or preserved foods.
When storing food in mason jars, make sure to leave some headspace at the top to allow for expansion during freezing or canning. This will help prevent the jars from cracking.
Read more: How To Store Mason Jars
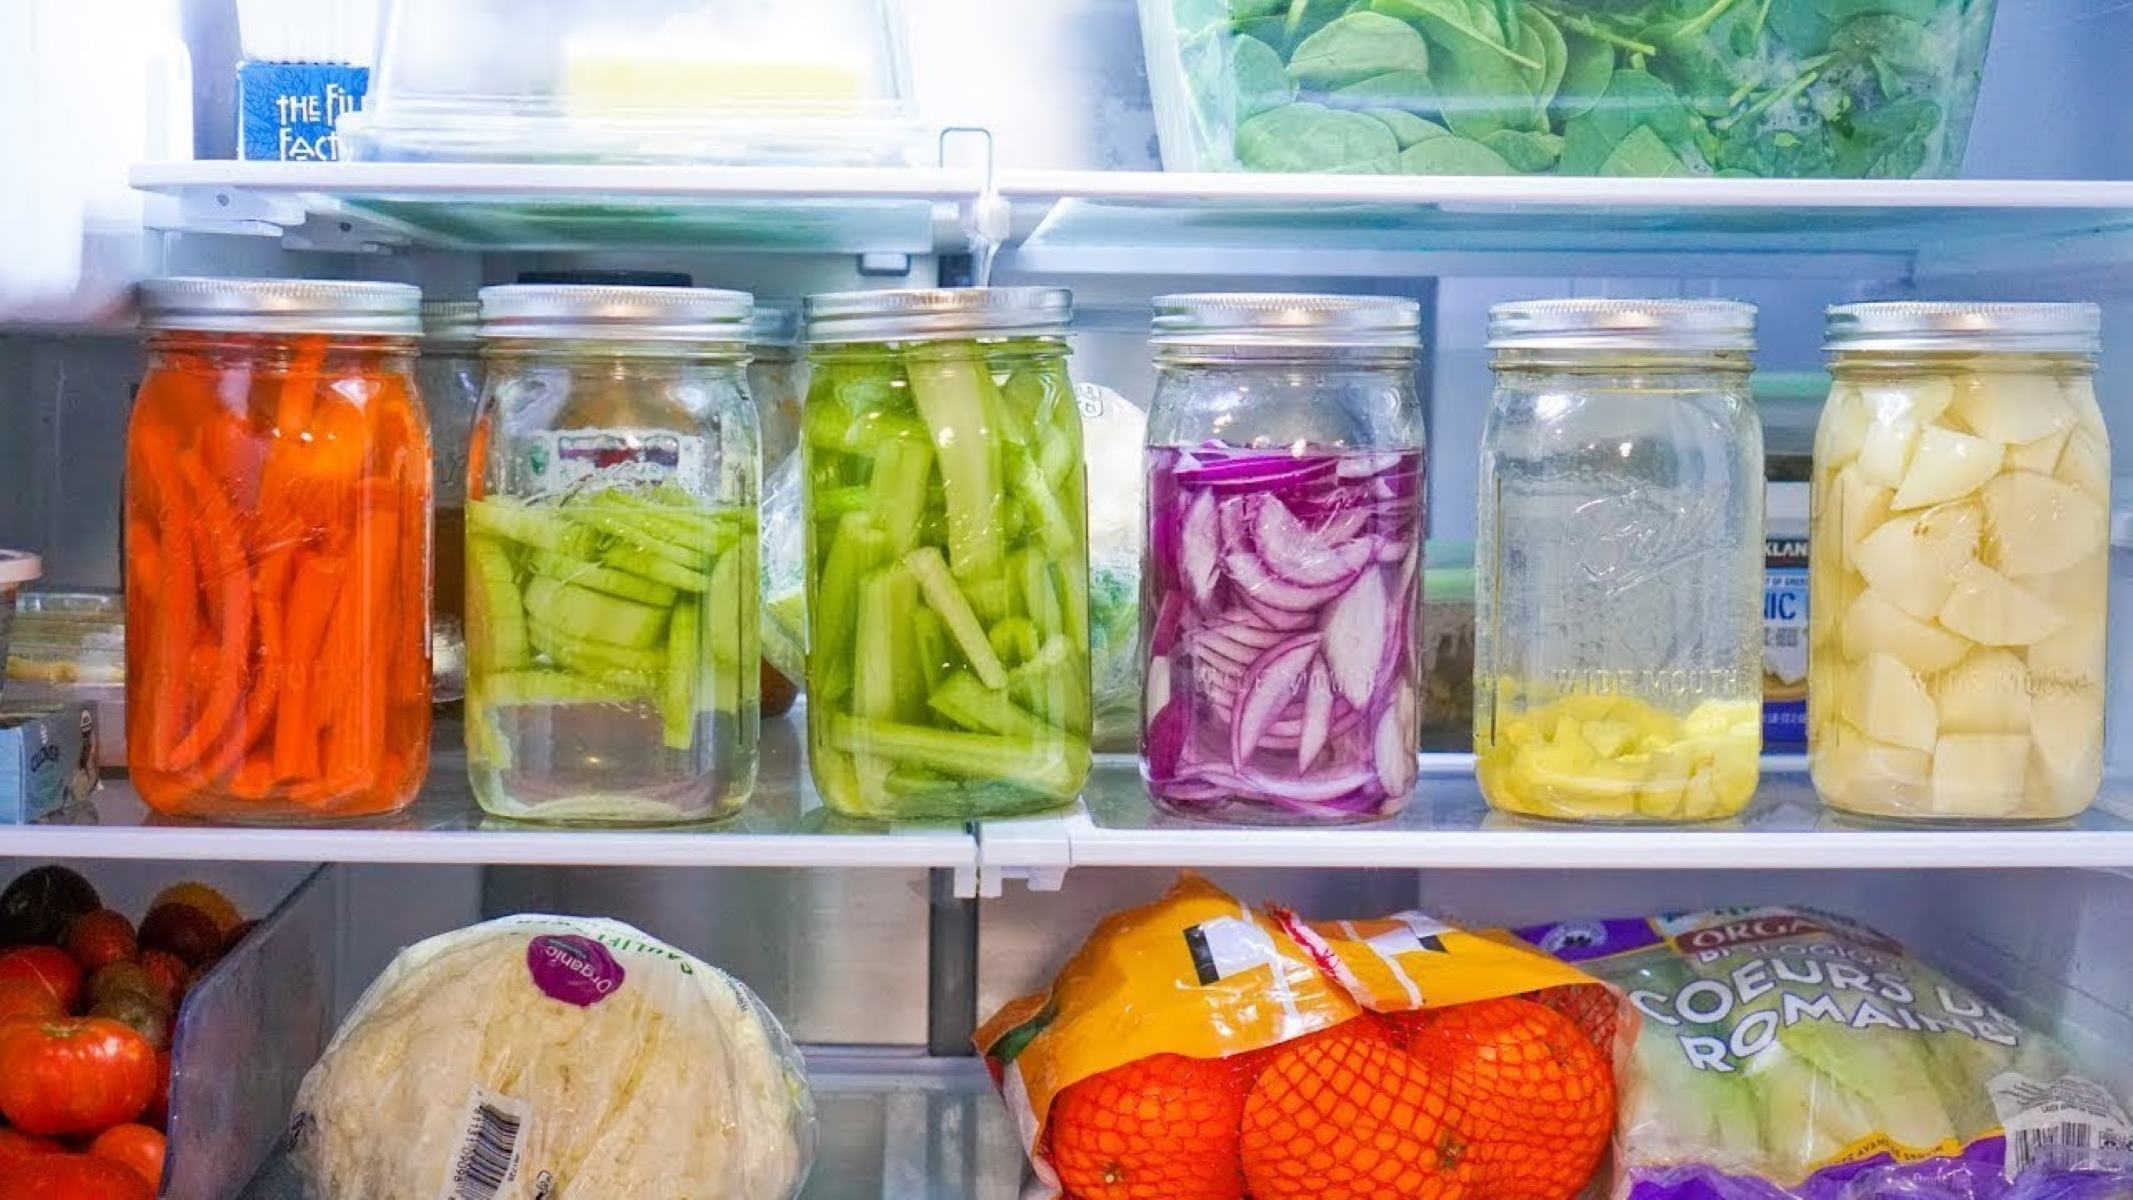
Storing mason jars in a cool and dark place
Proper storage conditions play a vital role in maintaining the quality and longevity of food stored in mason jars. Here’s why storing mason jars in a cool and dark place is essential, along with some tips to help you create the ideal storage environment:
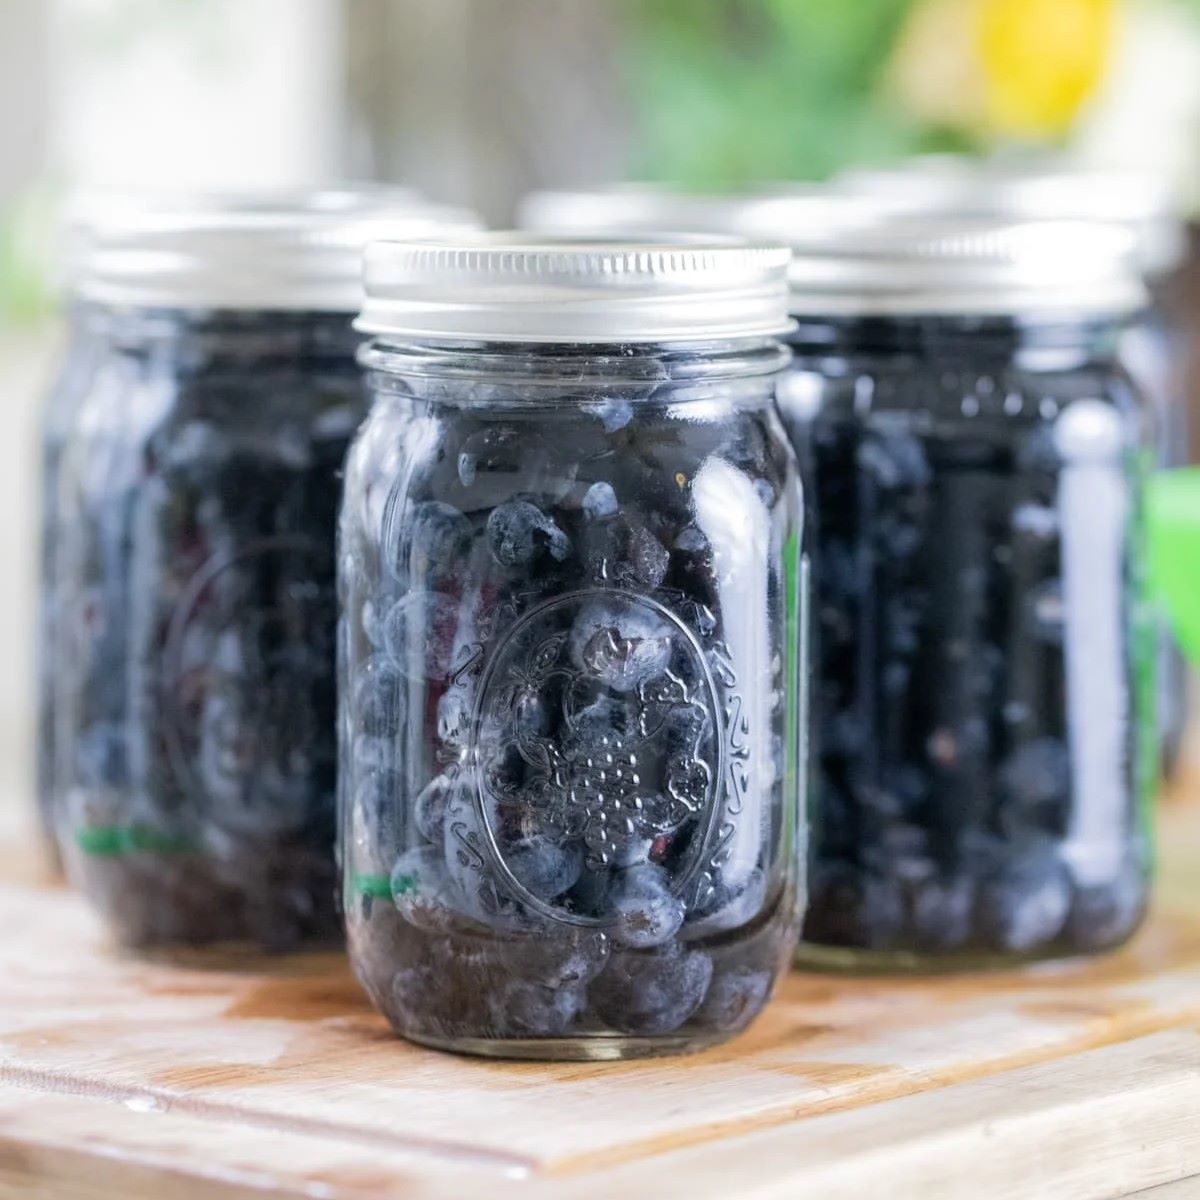
Temperature control: Storing mason jars in a cool environment helps preserve the freshness of the contents. High temperatures can accelerate spoilage and degrade the quality of the stored food. Ideally, the storage area should be kept below 70°F (21°C) to inhibit bacterial growth and maintain optimal food quality.
Avoid sunlight exposure: Sunlight can have detrimental effects on food stored in mason jars. The UV rays can cause degradation of nutrients, flavor changes, and discoloration. It’s best to store mason jars in a dark place, such as a pantry, cellar, or cupboard, away from direct sunlight.
Prevent temperature fluctuations: Fluctuations in temperature can impact the integrity of the jar seals and compromise the stored food. Rapid changes in temperature can cause the contents to expand or contract, potentially leading to leaks or spoilage. Avoid storing mason jars near heat sources or in areas with significant temperature variations, such as next to a stove or refrigerator.
Humidity control: Excessive humidity can create a breeding ground for mold and other microorganisms. It’s important to store mason jars in a dry environment to prevent moisture from seeping into the jars. Moisture can lead to the growth of bacteria or mold, jeopardizing the safety and quality of the stored food.
Airtight storage: To maintain the freshness and integrity of the stored food, ensure that the mason jars are tightly sealed and airtight. This prevents air and moisture from entering the jars, which can lead to spoilage or degradation. Regularly check the seals and reseal any jars that may have become loose.
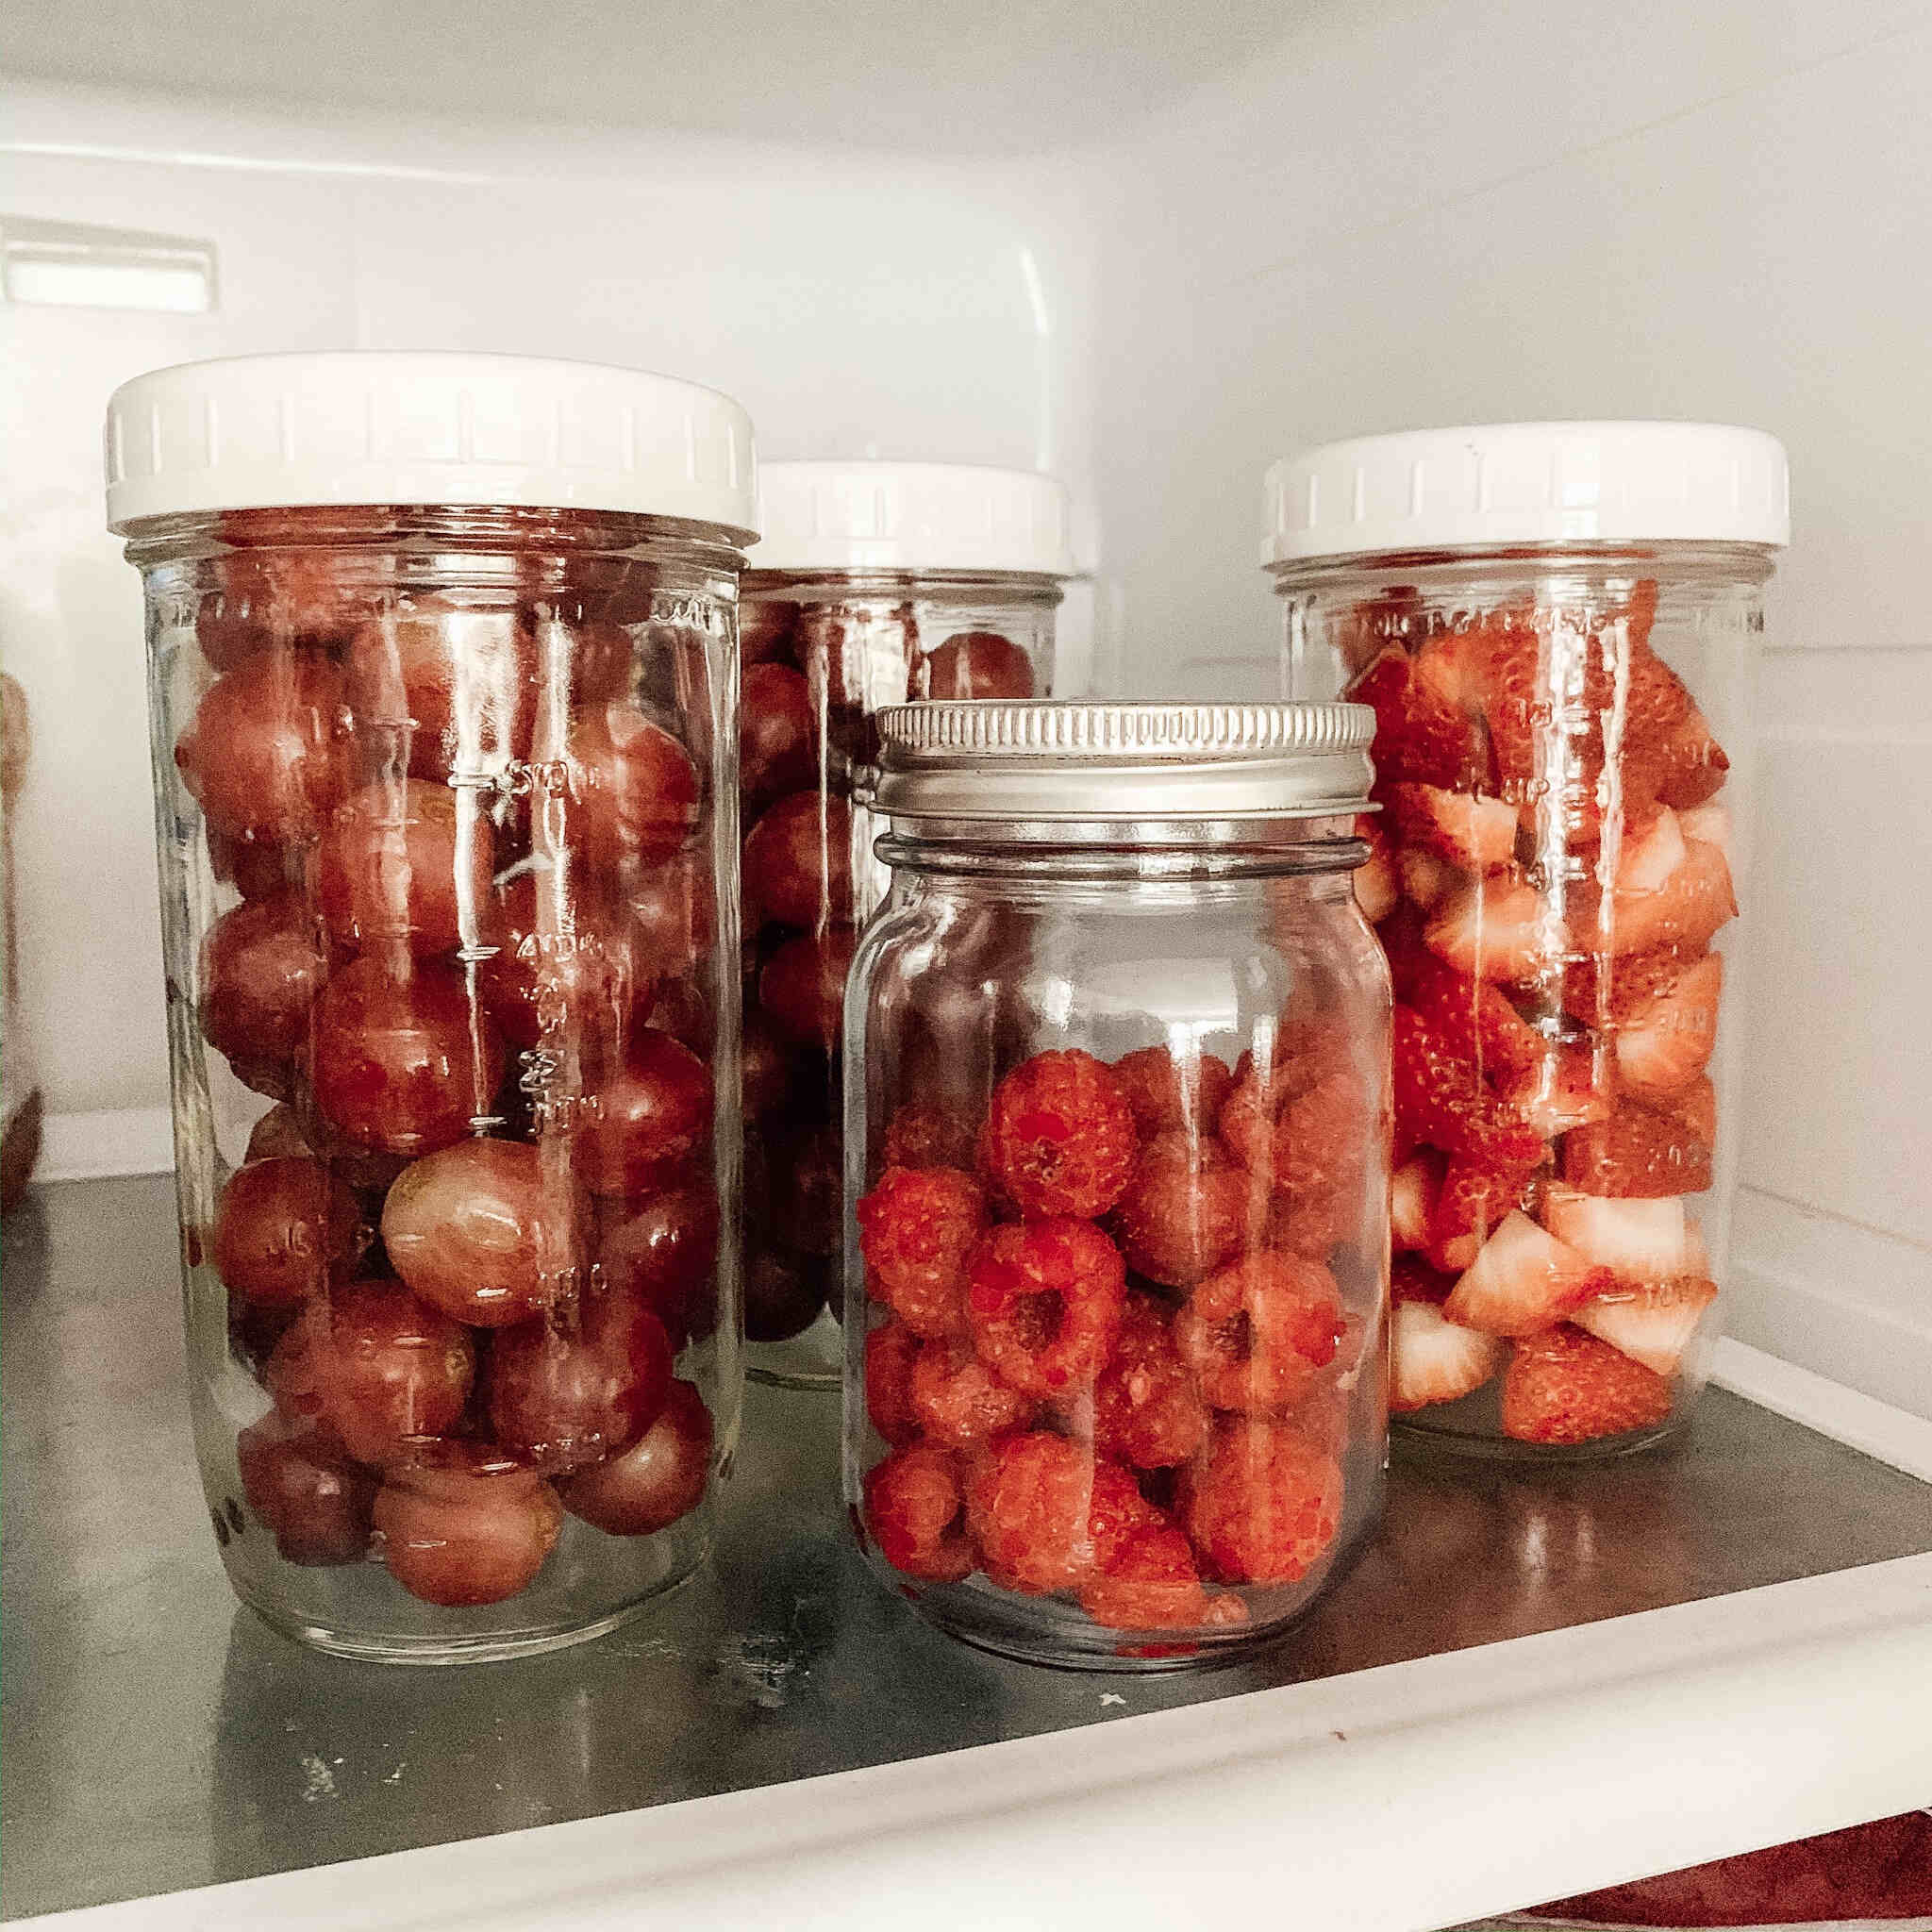
Organize and rotate: When storing mason jars, it’s helpful to organize them in a way that allows for easy access and rotation. Place the jars in a systematic manner, keeping track of the contents and the dates of storage. This ensures that you use the oldest jars first, helping to minimize food waste and maximize freshness.
By storing your mason jars in a cool, dark, and controlled environment, you can maintain the quality, freshness, and safety of the stored food. Proper storage conditions play a crucial role in extending the shelf life of your preserved or homemade foods, ensuring that you can enjoy them for an extended period of time.
Labeling and organizing your stored food
Labeling and organizing your stored food is a crucial step in ensuring easy access, proper rotation, and overall efficiency. By implementing an effective labeling and organizing system, you can maximize the benefits of mason jar food storage. Here are some tips to help you label and organize your stored food:
1. Use waterproof labels: When labeling your mason jars, it’s important to use waterproof labels or markers. Moisture can seep into the jars, potentially causing regular labels to smudge or fade over time. Waterproof labels ensure that your labels remain legible and intact throughout the duration of storage.
2. Clearly label the contents: Clearly label each jar with the name of the stored food. Be specific and provide additional details if necessary, such as the type of sauce or the date of preservation. This makes it easier to identify the contents without having to open the jar, especially if you have multiple jars with similar-looking contents.
3. Include storage dates: Adding the date of storage to each jar label is highly beneficial for maintaining proper rotation. This allows you to easily identify which jars need to be used first in order to minimize food waste and ensure that the oldest items are consumed before newer ones.
4. Categorize and group similar items: Grouping similar items together can help create an organized system for retrieval. Organize your jars based on categories such as grains, beans, sauces, or soups. This not only allows for easier navigation but also makes it simpler to assess your inventory and restock when needed.
5. Consider using color coding: If you have a large collection of mason jars or multiple categories of food storage, consider implementing a color-coding system. Assign specific colors to different food categories using colored labels or marker dots on the lids. This quick visual reference makes it easier to identify specific types of food at a glance.
6. Store in an orderly manner: When organizing your mason jars, arrange them in a systematic and orderly manner. This could involve placing them in straight rows or using storage bins or shelves to keep them separated and easily accessible. Ensure that your storage area is stable and that the jars won’t be at risk of falling or tumbling over.
7. Regularly review and rotate: Regularly check the jars in your storage area to ensure that the labels are still readable and that the jars are properly sealed. Check for any signs of spoilage or contamination, such as bulging lids or off odors. Additionally, make an effort to rotate your stored food by using the oldest jars first and replenishing your stock accordingly.
By implementing a labeling and organizing system, you can optimize your mason jar storage and make the most of your stored food. Clear labels and proper organization help you easily locate specific items, maintain proper rotation, and minimize food waste in the long run.
Checking for freshness and shelf life
Regularly checking the freshness and shelf life of your stored food is essential to ensure that you are consuming safe and high-quality items. Mason jar food storage can help extend the shelf life of various food items, but it is still important to monitor their condition. Here are some key steps to help you check for freshness and shelf life:
1. Visual inspection: Start by visually inspecting the contents of each jar. Look for any signs of spoilage, such as mold growth, discoloration, or unusual textures. If the food appears spoiled or has an off smell, it is best to err on the side of caution and discard it.
2. Examine the seal: Check the seal of each jar to ensure it is intact. Gently press down on the center of the lid to check for any signs of movement or popping. If the lid flexes or pops back up, it may indicate that the seal has been compromised. In such cases, it is advisable to refrigerate or consume the contents immediately.
3. Smell test: Take a whiff of the contents. If there is any foul or off odor, it may indicate spoilage. Trust your senses and if anything smells rancid or unpleasant, it is best to discard the food.
4. Check for freezer burn: If you have stored food in mason jars in the freezer, check for any signs of freezer burn. Freezer burn occurs when food is exposed to air and can result in the food becoming dry, discolored, and with a off flavor. If you notice freezer burn on any items, it is advisable to remove and discard them.
5. Assess the flavor and texture: Before consuming the stored food, taste a small portion and assess the flavor and texture. If the taste is off or the texture is mushy or undesirable, it may indicate that the food has deteriorated and is no longer suitable for consumption.
6. Keep track of shelf life: Maintain a record of when you stored each item and its recommended shelf life. Different foods have varying shelf lives, and it’s important to consume them within the recommended time frame for optimal quality and safety. Monitor and rotate your stored items accordingly to avoid any unnecessary waste.
7. Use common sense: Ultimately, use your common sense when evaluating the freshness and shelf life of your stored food. If anything looks, smells, or tastes questionable, it’s better to be safe than sorry and discard it to avoid any potential risks to your health.
By regularly checking the freshness and shelf life of your stored food, you can ensure that you are consuming safe and enjoyable meals. Taking the time to evaluate and monitor your mason jar storage will help you maintain the quality and integrity of your stored food for a longer period of time.
Tips and tricks for successful mason jar food storage
To make the most out of your mason jar food storage, here are some tips and tricks to help ensure successful preservation and long-lasting freshness:
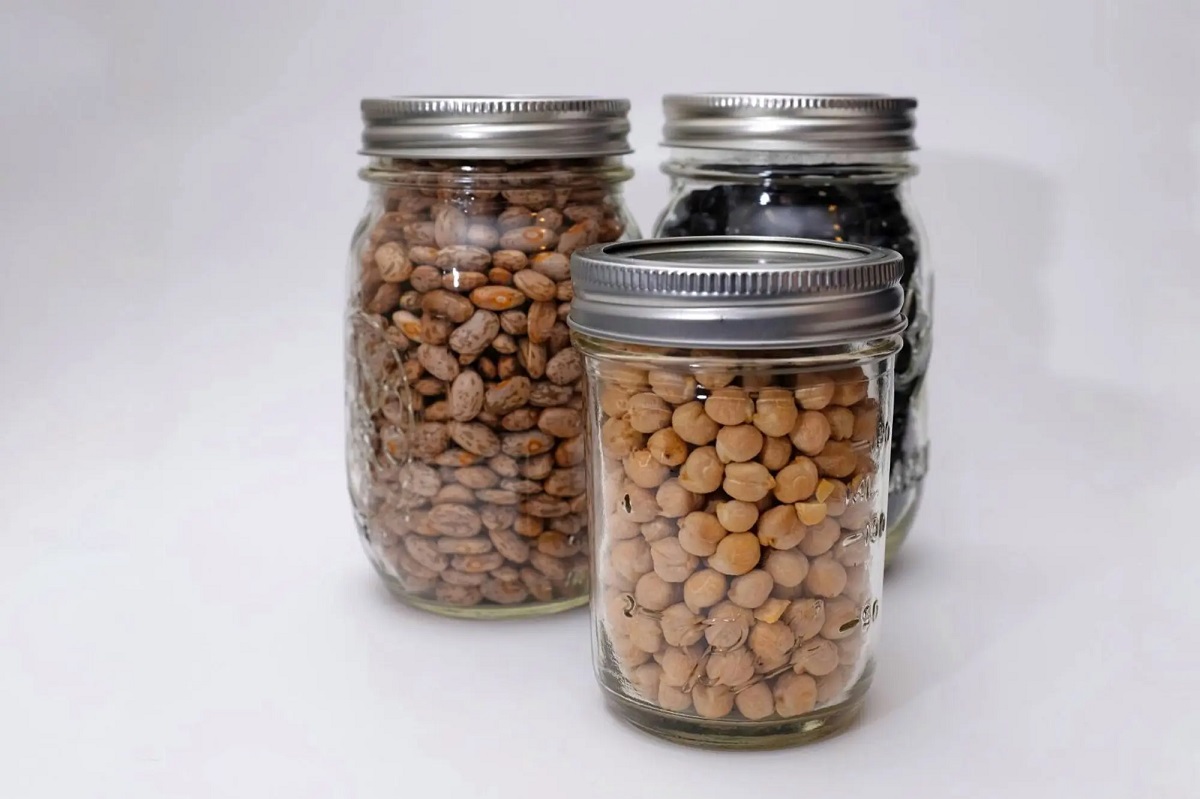
1. Use oxygen absorbers: If you’re storing dry goods like grains, beans, or powdered ingredients, consider adding oxygen absorbers to the jars. These small packets help remove oxygen from the jar, reducing the risk of spoilage and insect infestation.
2. Vacuum seal with a FoodSaver: For an even more airtight seal, consider using a vacuum sealer like a FoodSaver. Vacuum sealing removes air from the jar, creating a vacuum environment that extends the shelf life of your stored food.
3. Freeze liquids in jars with caution: While mason jars are suitable for freezer storage, be cautious when freezing liquids. Liquids expand when frozen, so leave enough headspace in the jar to accommodate expansion and prevent jar breakage.
4. Use the right jar size for leftovers: When storing leftovers in mason jars, choose a jar size that accommodates the portion you wish to store. Using a jar that is too large can result in unnecessary air space, which can cause food to spoil more quickly.
5. Blanch vegetables before freezing: If you plan to store vegetables in mason jars in the freezer, blanch them beforehand. Blanching involves boiling vegetables briefly, then immediately placing them in ice water to halt the cooking process. Blanching helps preserve the color, texture, and nutritional value of the vegetables during freezing.
6. Rotate your stored food: To ensure that your stored food remains fresh, practice proper rotation by using the oldest jars first. This helps prevent food waste and ensures that you consume the items before they surpass their recommended shelf life.
7. Don’t overload your storage area: Avoid overpacking your storage area with mason jars. Overcrowding can make it challenging to access the jars, and it increases the risk of jars toppling over and breaking. Leave enough space between jars for easy retrieval and airflow.
8. Experiment with different jar sizes: Mason jars come in various sizes, so don’t be afraid to experiment and find what works best for specific food items. Smaller jars are ideal for single servings or spices, while larger jars are great for bulk storage or preserving larger quantities of food.
9. Reuse jars and lids properly: Mason jars and bands can be reused, but it’s important to use new flat lids with a sealing compound for each batch of preserved food. Reusing flat lids may compromise the seal and result in spoilage.
10. Keep an inventory: Maintain an inventory of your stored food to track what you have on hand. This helps you plan your meals and prevents unnecessary food purchases.
By implementing these tips and tricks, you can enhance the success of your mason jar food storage. From using oxygen absorbers and vacuum sealing to practicing proper rotation and keeping an inventory, these techniques will help maximize the freshness and quality of your stored food.
Read more: How To Store Brown Sugar In A Mason Jar
Final thoughts and conclusion
Storing food in mason jars is a practical and efficient way to preserve the freshness and quality of your favorite meals and ingredients. The versatility and convenience of mason jars make them an ideal choice for storing a wide range of foods, from pantry staples to homemade sauces and even leftovers. By following the right techniques and practices, you can ensure successful mason jar food storage that will benefit you in multiple ways.
Choosing the right mason jars, preparing them properly, filling them correctly, and using proper sealing techniques are crucial steps in the process. Additionally, storing mason jars in a cool and dark place, labeling and organizing your stored food, and regularly checking for freshness and shelf life are essential practices to maintain optimal food quality and safety.
By implementing the tips and tricks shared in this article, you can make the most out of your mason jar food storage. The proper selection and preparation of mason jars, along with effective sealing and storage techniques, will help you prolong the shelf life of your stored food while preserving its nutritional value and flavor.
Remember to check your stored food regularly, use proper rotation techniques, and trust your senses when evaluating the freshness of your stored food. Developing good habits when it comes to mason jar food storage will not only help reduce food waste but also save you time and money in the long run.
In conclusion, mason jar food storage provides a simple and efficient way to preserve and organize your food. With the right techniques and attention to detail, you can enjoy the benefits of long-lasting freshness and convenient storage. So, gather your mason jars, start storing your favorite foods, and experience the joy of easy access and delicious meals!
Frequently Asked Questions about How To Store Food In Mason Jars
Was this page helpful?
At Storables.com, we guarantee accurate and reliable information. Our content, validated by Expert Board Contributors, is crafted following stringent Editorial Policies. We're committed to providing you with well-researched, expert-backed insights for all your informational needs.


0 thoughts on “How To Store Food In Mason Jars”