Articles
How To Store Garden Green Beans
Modified: February 23, 2024
Learn effective techniques for storing garden green beans with these informative articles. Find expert tips on preserving the freshness and flavor of your harvest.
(Many of the links in this article redirect to a specific reviewed product. Your purchase of these products through affiliate links helps to generate commission for Storables.com, at no extra cost. Learn more)
Introduction
Garden green beans are a popular and versatile vegetable that can be enjoyed in a variety of dishes. Whether you grow your own green beans or buy them fresh from the market, it’s important to know how to properly store them to maintain their freshness and flavor.
In this article, we will explore different methods for storing garden green beans, including freezing, canning, and refrigerating. We will also provide tips on how to choose, prepare, and maintain the quality of your green beans to ensure they last as long as possible.
So whether you have a bumper crop of green beans from your garden or simply want to take advantage of the abundant fresh beans available in the market, read on to learn how to store your green beans properly and enjoy their deliciousness for longer.
Key Takeaways:
- Preserve the Freshness: Store green beans in the refrigerator for short-term use or freeze them after blanching for long-term enjoyment, ensuring vibrant color and delicious flavor year-round.
- Extend Shelf Life: Whether canning, vacuum sealing, or freezing, green beans can be stored for up to 12 months, providing a convenient and nutritious addition to meals beyond the harvest season.
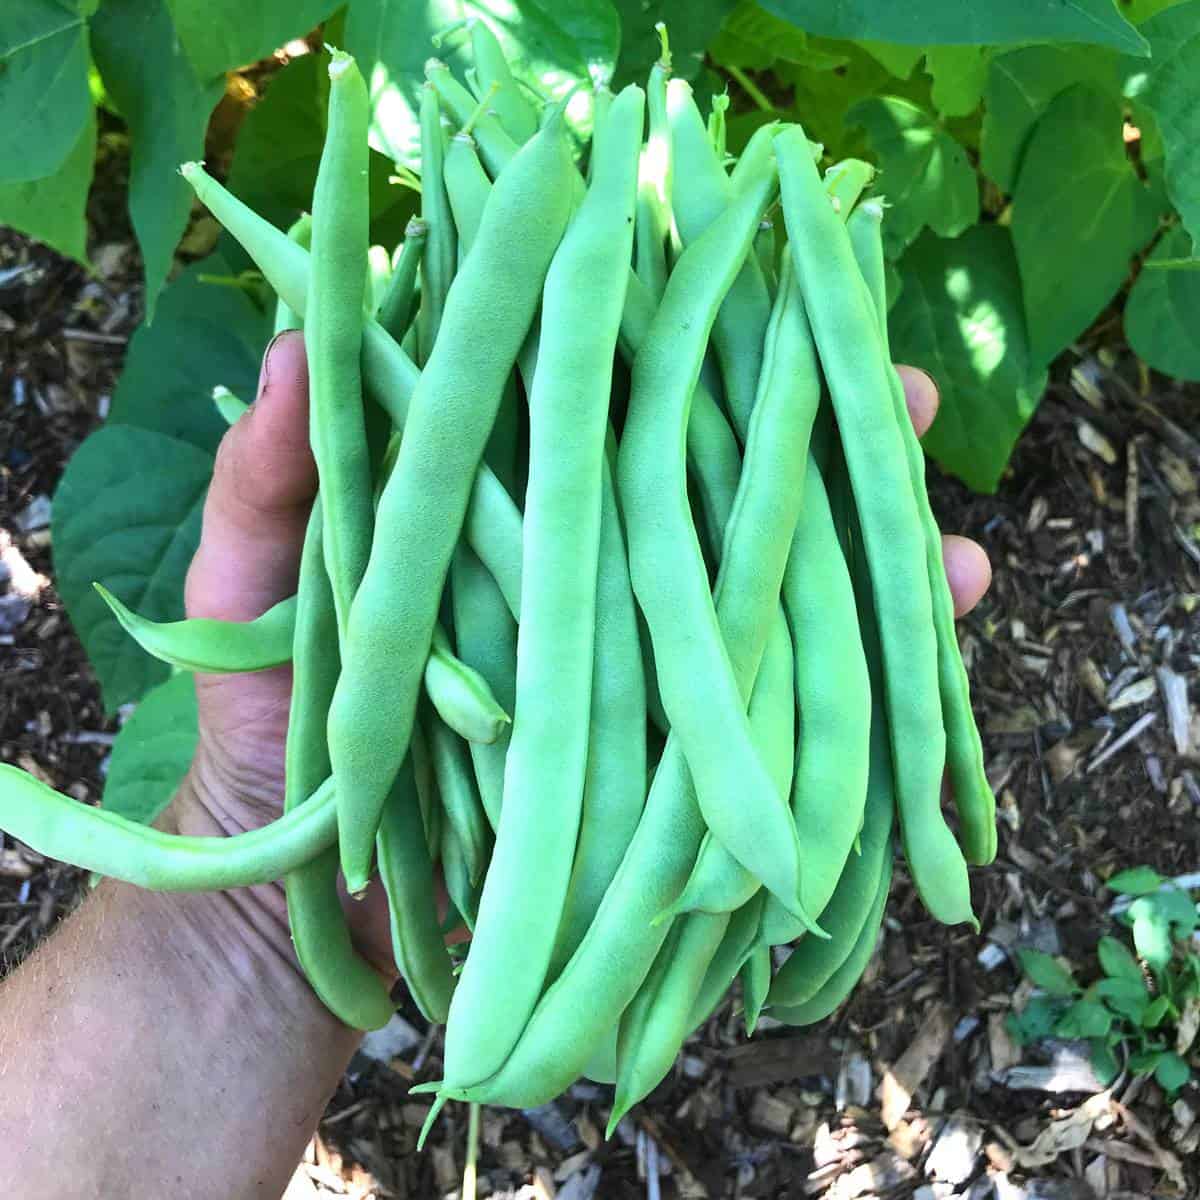
Choosing and Preparing Green Beans
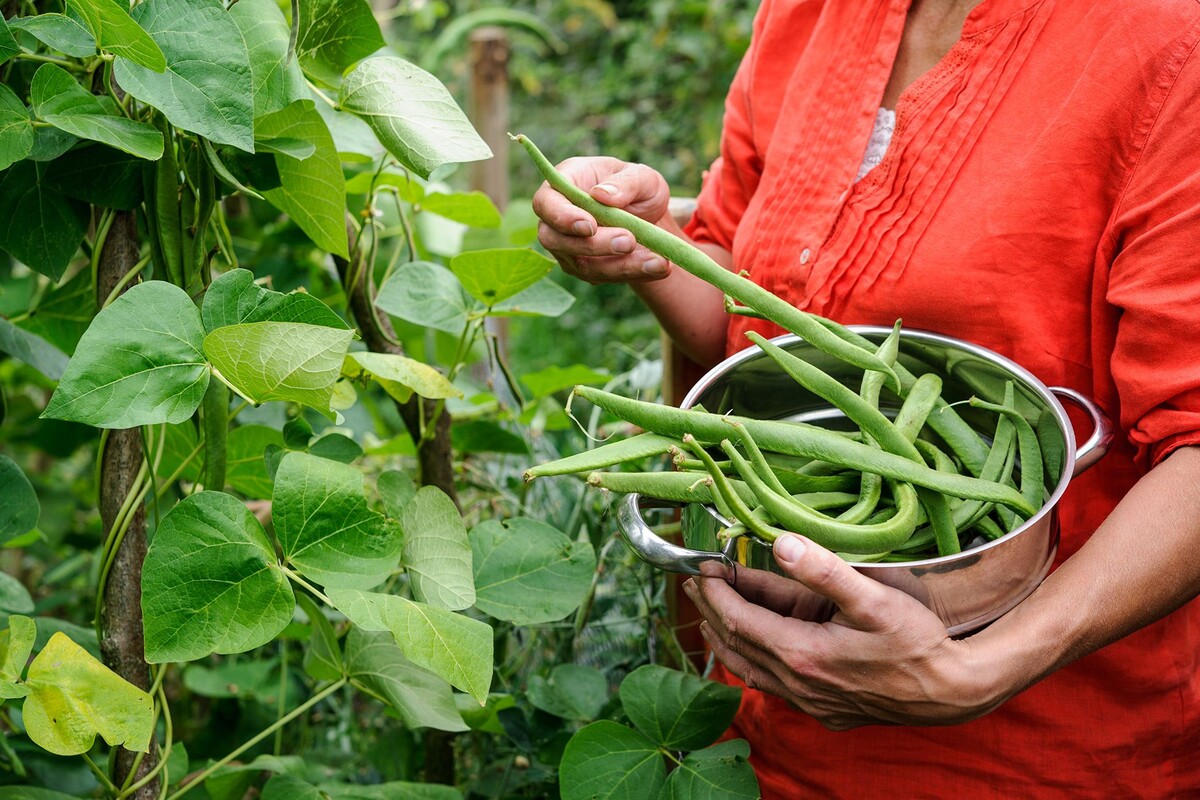
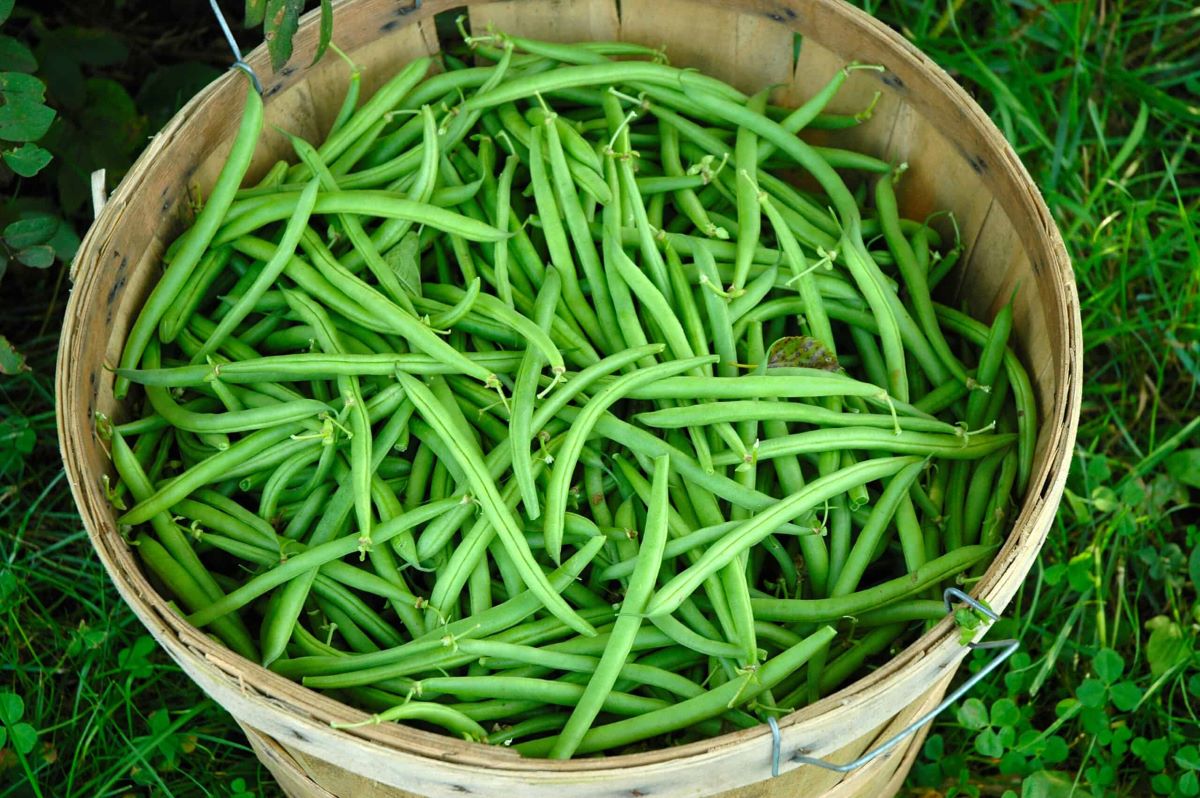
When it comes to selecting green beans, it’s important to choose those that are fresh and vibrant in color. Look for beans that are firm, crisp, and free from blemishes or discoloration. Avoid beans that appear wilted or have brown spots, as this may indicate age or damage.
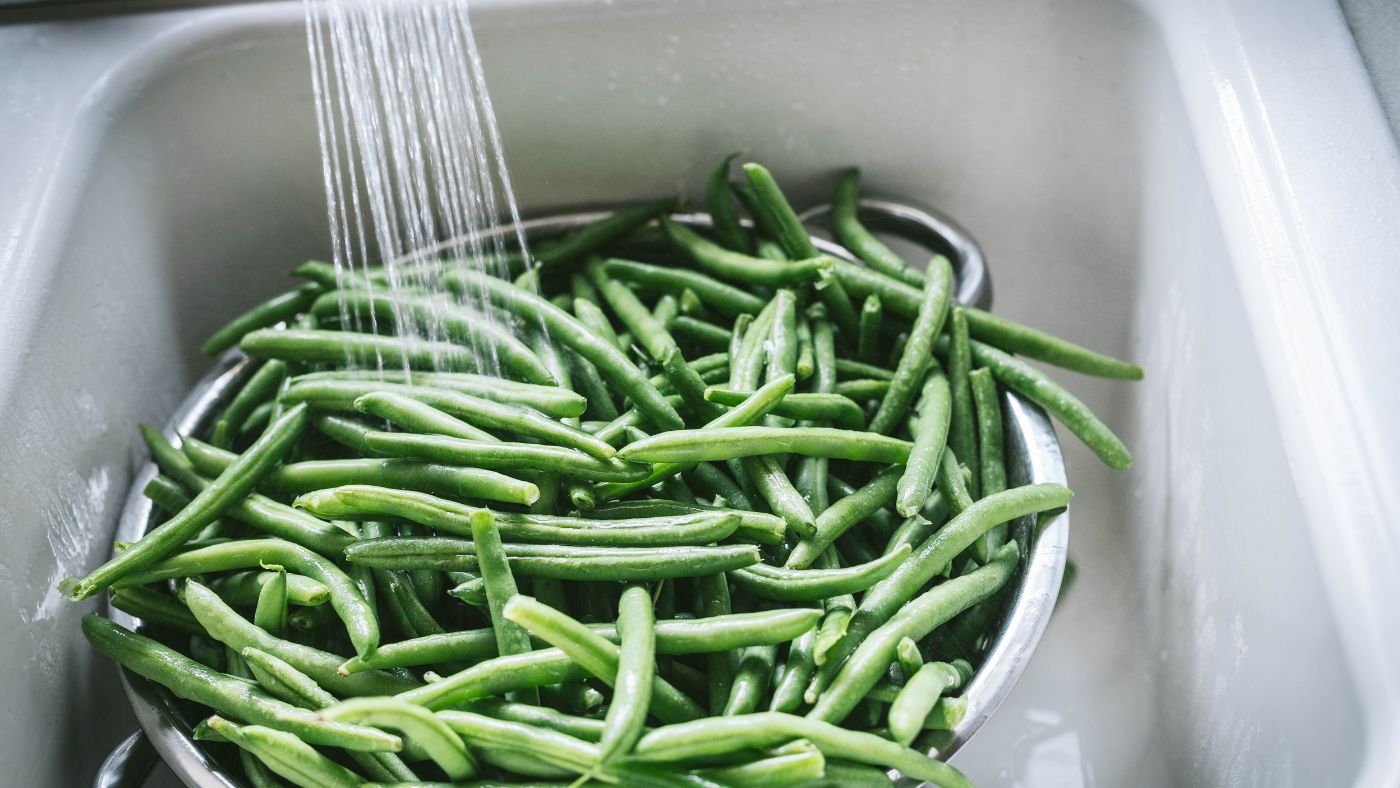
Once you have selected your green beans, it’s time to prepare them for storage. Start by washing them thoroughly under cool running water to remove any dirt or debris. You can also trim the ends of the beans if desired, though this is not necessary.
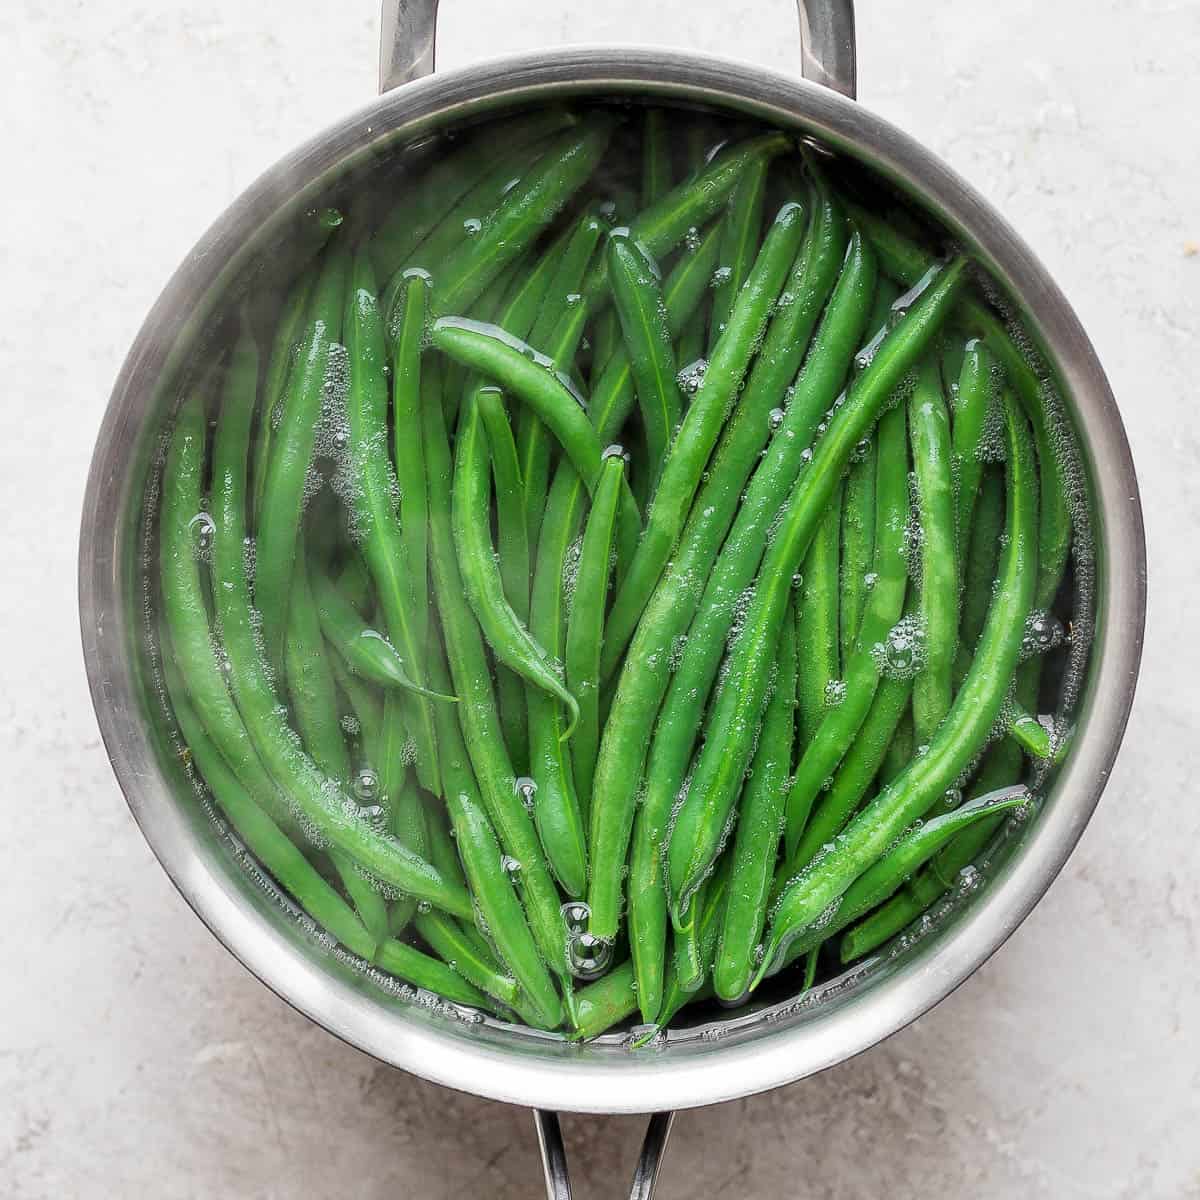
Some people prefer to blanch their green beans before storing them, as blanching helps to maintain their color and texture. To blanch, simply bring a pot of water to a boil and add the beans, cooking them for 2-3 minutes. Then, immediately transfer the beans to an ice bath to stop the cooking process. Blanching is optional, but it can help preserve the quality of your green beans.
If you choose not to blanch, make sure to thoroughly dry the beans before storing them. Excess moisture can lead to spoilage and mold growth, so ensure that they are completely dry before continuing with the storage process.
In the next sections, we will explore different storage methods for green beans, including freezing, canning, and refrigeration, so you can choose the method that suits your needs and preferences.
Storing Fresh Green Beans
If you plan on using your green beans within a few days, storing them in the refrigerator is the best option. Start by placing the beans in a perforated plastic bag or a container lined with a damp paper towel. This will help maintain the humidity levels and prevent the beans from drying out.
Store the green beans in the vegetable crisper drawer of your refrigerator, which is designed to maintain a slightly higher humidity level compared to the rest of the fridge. Make sure to keep the beans away from any ethylene-producing fruits, such as apples or bananas, as this can cause them to spoil faster.
Fresh green beans can typically be stored in the refrigerator for up to one week. However, it’s best to use them as soon as possible to enjoy the maximum flavor and crispness.
If you have a surplus of green beans and want to store them for longer periods, freezing is a great option to preserve their freshness and nutritional value.
Before freezing, it’s important to blanch the green beans to halt enzyme activity and preserve their color, flavor, and texture. To blanch, bring a large pot of water to a rolling boil and submerge the beans for 2-3 minutes. Then quickly transfer them to an ice bath to stop the cooking process.
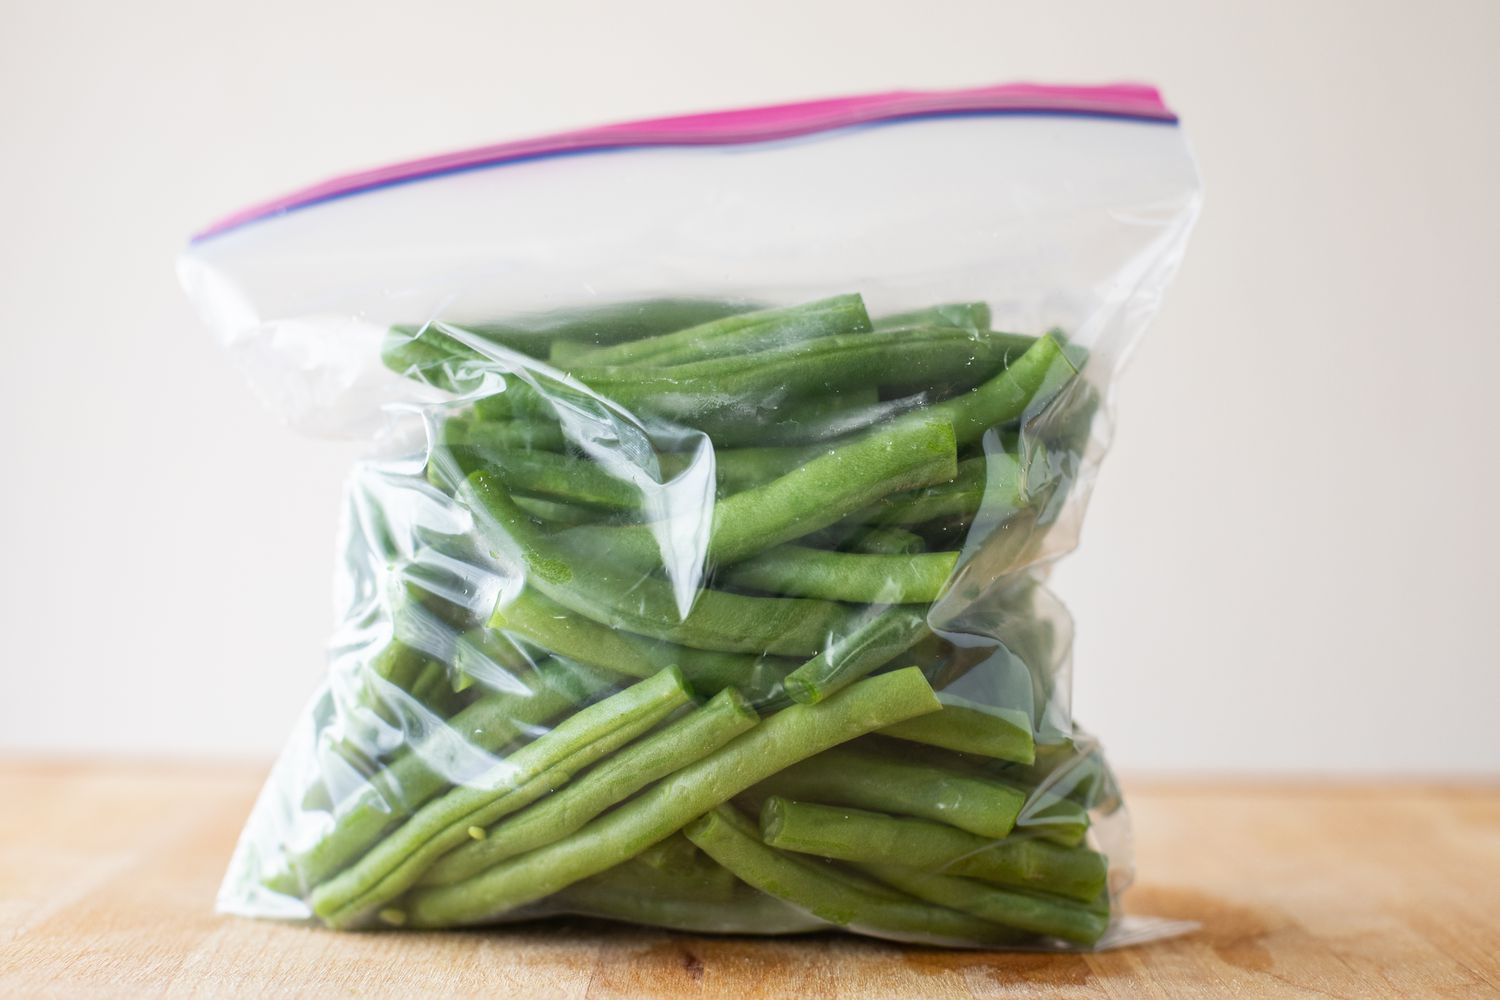
Once blanched, pat the green beans dry and divide them into portion sizes that you typically use for cooking. Place them in airtight freezer bags or containers, removing as much air as possible to prevent freezer burn. Label the bags with the date and store them in the freezer.
Frozen green beans can maintain their quality for up to 12 months. To use them, simply cook them directly from frozen, ensuring they are fully cooked before serving. This will help retain their flavor and texture.
Now that you know how to store fresh green beans in the refrigerator and freezer, you can enjoy the taste of your garden or market-fresh beans all year round.
Blanching Green Beans for Freezing
Blanching is a crucial step in the freezing process that helps to preserve the color, texture, and nutritional value of green beans. By blanching the beans, you can deactivate enzymes that can cause them to deteriorate over time.
To begin, start by preparing a large pot of boiling water. The general rule of thumb is to use 1 gallon of water for every pound of green beans.
While waiting for the water to boil, prepare an ice bath in a large bowl or sink by filling it with cold water and adding plenty of ice cubes. This will be used to quickly cool the beans after blanching.
Next, thoroughly wash the green beans and trim the ends if desired. You can leave the beans whole or cut them into smaller pieces, such as bite-sized sections or French cut style.
Once the water is boiling, carefully add the green beans. It’s important not to overcrowd the pot, so work in small batches if necessary.
Let the beans blanch in the boiling water for about 2-3 minutes. The precise timing may vary depending on the size and thickness of the beans, so it’s best to keep a close eye on them. Overcooking can lead to a loss of texture and flavor.
Using a slotted spoon or tongs, quickly transfer the blanched green beans into the ice bath to stop the cooking process. Leave them in the ice bath for the same amount of time that they were cooked in the boiling water.
Once the beans have cooled completely, drain them well and pat them dry with clean paper towels or a kitchen towel. Removing excess moisture is important to prevent ice crystals from forming during freezing.
At this point, the green beans are ready to be portioned and packed for freezing. Divide them into meal-sized portions or according to your preference. Use airtight freezer bags or containers, removing as much air as possible to minimize freezer burn.
Label the bags or containers with the date and contents, and place them in the freezer. Remember to use the oldest batches first to maintain the best quality.
Now you have blanched green beans ready for freezing. This blanching process will help to lock in their freshness and ensure that you can enjoy vibrant green beans even during the off-season.
Freezing Green Beans
Freezing green beans is a convenient way to preserve their freshness and enjoy them long after the harvest season has ended. The process of freezing green beans involves blanching them first to maintain their quality during storage.
Once you have blanched and cooled the green beans, it’s time to pack them for freezing. Here’s a step-by-step guide to freezing green beans:
- Ensure the green beans are completely dry after blanching. Excess moisture can cause ice crystals to form, leading to freezer burn.
- Divide the green beans into portion sizes that you typically use for cooking. This will make it easier to thaw and use them later.
- Place the green beans in airtight freezer bags or containers. Be sure to remove as much air as possible, as air can lead to freezer burn.
- Seal the bags or containers tightly, ensuring they are securely closed.
- Label the bags or containers with the date and contents. This will help you keep track of when the green beans were frozen and make it easier to retrieve them later.
- Place the bags or containers in the freezer. It’s best to store them in a single layer, allowing them to freeze quickly and evenly.
Frozen green beans can maintain their quality for up to 12 months. When you’re ready to use them, simply remove the desired amount from the freezer and thaw them. There are a few ways you can thaw frozen green beans:
- Thaw them in the refrigerator overnight. This slow thawing method helps maintain the texture and flavor of the beans.
- Cook them directly from frozen. This is convenient when you’re adding the beans to soups, stews, or stir-fries.
- Quickly thaw them in a microwave on the defrost setting. Be careful not to overcook the beans, as they can become mushy.
Once the green beans are thawed, you can use them in your favorite recipes, such as salads, casseroles, or side dishes. Remember to adjust the cooking time accordingly since frozen beans may take slightly longer to cook compared to fresh ones.
By following these steps, you can enjoy the taste of garden-fresh green beans even during the winter months, adding a burst of flavor and nutrition to your meals.
Read more: How To Store Green Beans
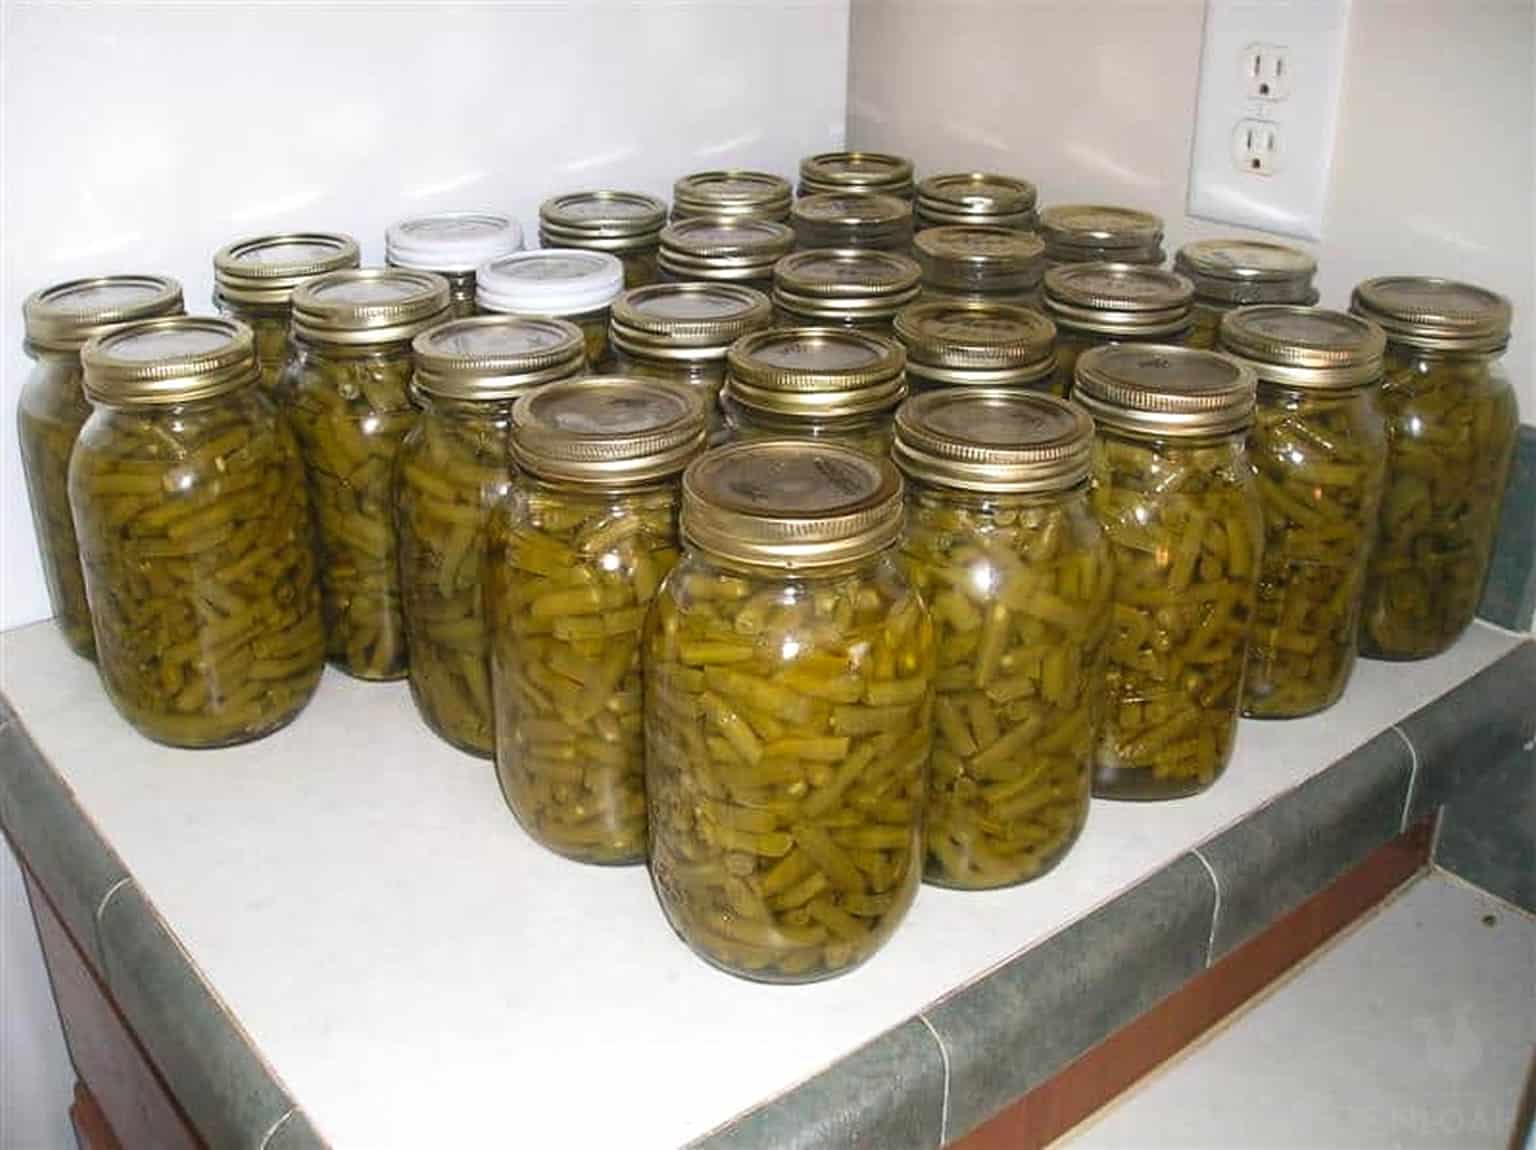
Storing Canned Green Beans
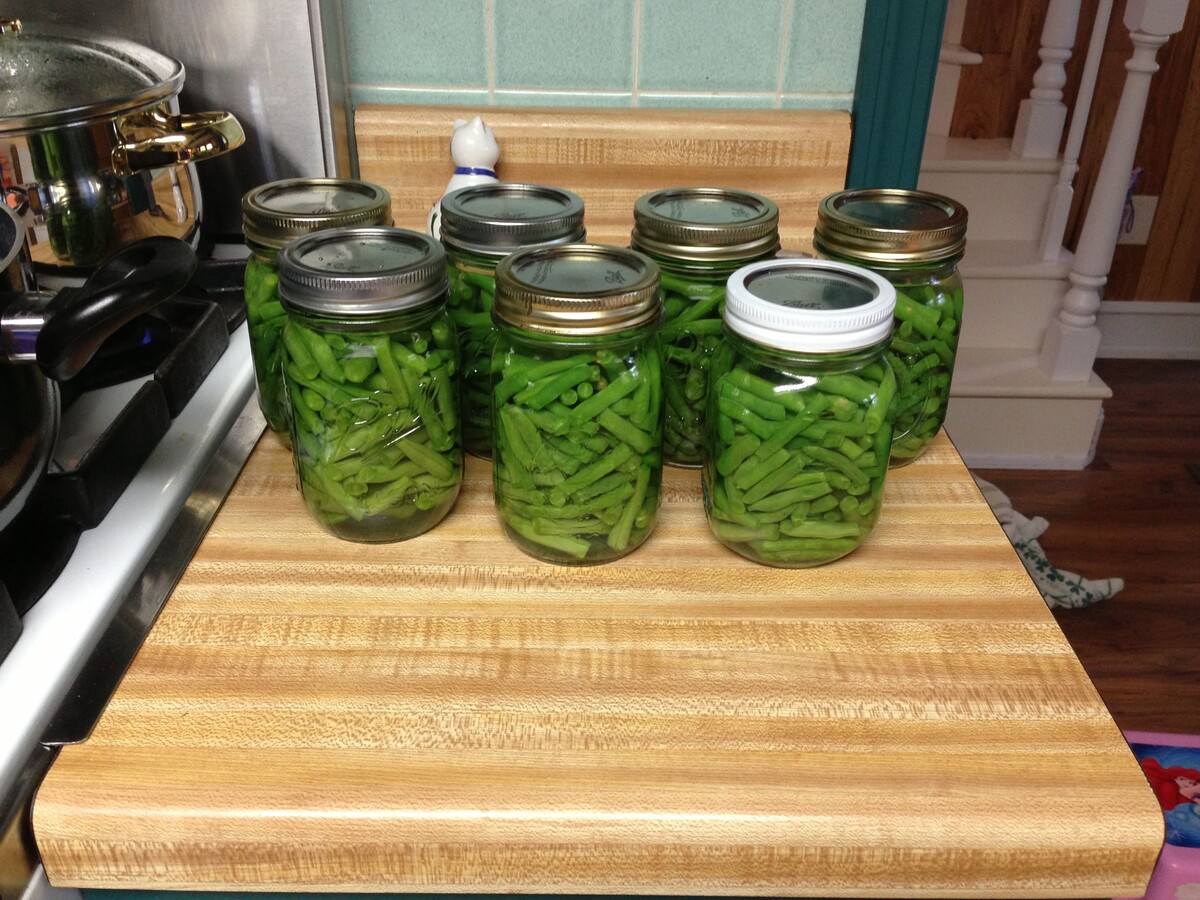
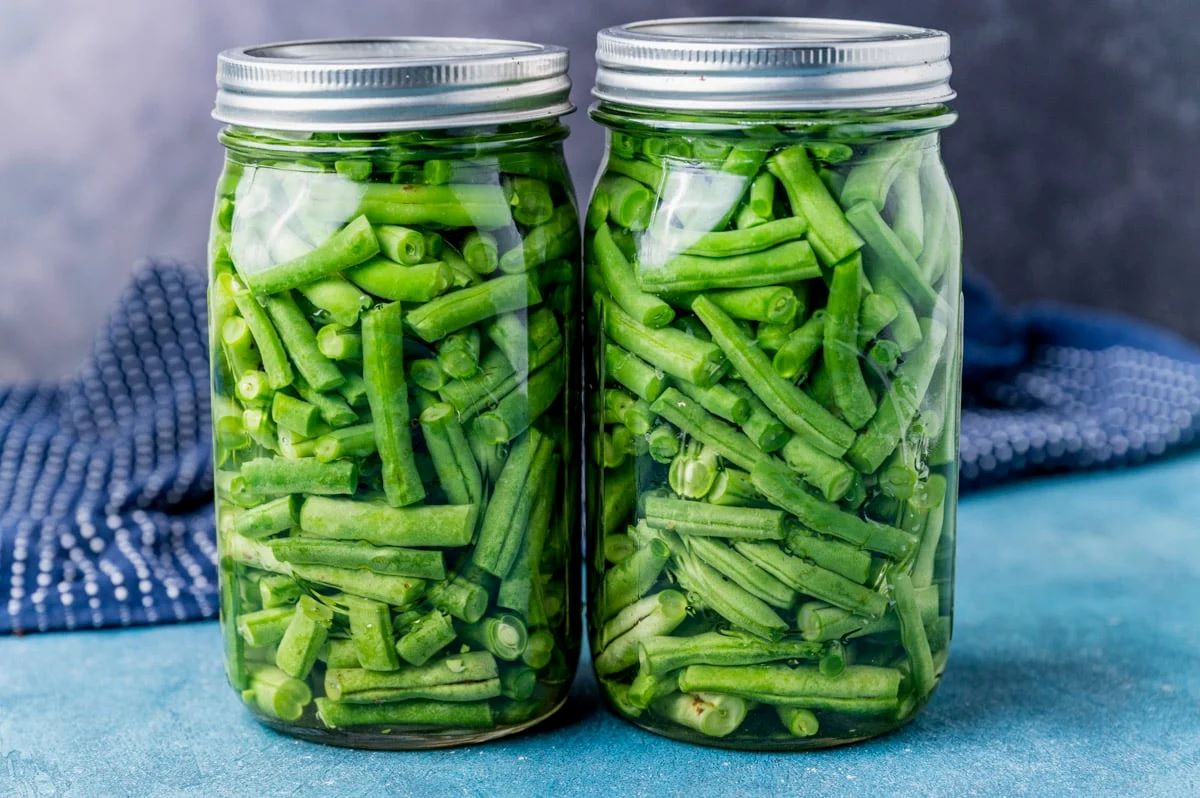
Canning green beans is a popular method of preserving their freshness for an extended period. Canned green beans can be stored in your pantry, providing a convenient option for quick and easy meal preparation.
When storing canned green beans, it’s important to check the seals on the jars to ensure they are properly sealed. The lids should be slightly concave and should not pop or move when pressed on the center. If any jars seem improperly sealed or have bulging lids, they should be discarded immediately.
Once you have confirmed the jars are properly sealed, store them in a cool, dark place, such as a pantry or cupboard. Avoid storing them in areas with direct sunlight or extreme temperature fluctuations, as this can affect the quality and safety of the canned beans.
It’s important to rotate your canned goods, using the first-in, first-out (FIFO) method. This means placing the newly canned green beans at the back of the storage area and using the older ones first. This helps ensure that you consume the oldest stock before it passes its optimal quality and flavor.
Properly canned green beans can last for up to 1-2 years in storage, although they are typically best consumed within the first year for the best flavor and texture. It’s essential to regularly check the cans for any signs of spoilage, such as bulging lids, off odors, or mold. If you notice any of these signs, it’s recommended to discard the cans immediately.
When you’re ready to use your canned green beans, open the jar and inspect them visually. Look for any signs of spoilage, discoloration, or off smells. If everything appears normal, drain and rinse the beans before cooking them, as this can help reduce the sodium content and improve their overall flavor.
Canned green beans can be a convenient addition to soups, stews, casseroles, or as a simple side dish. They provide a long-lasting option for having green beans available year-round, providing you with a quick and nutritious meal option whenever you need it.
Store garden green beans in a perforated plastic bag in the refrigerator crisper drawer. They will stay fresh for up to a week. Avoid washing them until ready to use.
Using Vacuum Sealing for Green Beans
Vacuum sealing is a popular method for storing green beans as it helps to extend their shelf life and maintain their freshness. Vacuum-sealed green beans are protected from exposure to air, which can cause oxidation and spoilage.
To start, ensure that your green beans are clean, dry, and free from any dirt or debris. Trim the ends if desired and divide them into portion sizes that you typically use for cooking.
Using a vacuum sealer, place the green beans in the designated bags or rolls. Make sure to leave enough space at the top of the bag or roll to accommodate the sealing process.
Seal the bags or rolls according to the vacuum sealer’s instructions. Many vacuum sealers have an automatic sealing function, which removes the air from the bag and creates an airtight seal.
Once sealed, label the bags with the date and contents for easy identification. This information will help you keep track of when the green beans were vacuum-sealed.
Store the vacuum-sealed green beans in a cool, dark place, such as a pantry or cupboard. Avoid exposing them to direct sunlight or extreme temperature fluctuations, as this can compromise the quality and freshness of the beans.
Vacuum-sealed green beans can be stored for a longer period compared to other methods, typically up to 2-3 years. However, it is still recommended to use them within the first year for optimal flavor and texture.
When you’re ready to use the vacuum-sealed green beans, open the bag and inspect them visually. Ensure there are no signs of spoilage, such as mold or off odors. If everything appears normal, you can proceed to cook the beans according to your desired recipe.
Whether you grow your own green beans or purchase them in bulk, vacuum sealing is an effective method for preserving their freshness and flavor. It allows you to enjoy the taste of garden-fresh green beans long after their harvest season has ended.
Storing Green Beans in the Refrigerator
When it comes to storing green beans, the refrigerator can be a suitable option to keep them fresh for a few days. However, it’s essential to store them properly to maintain their flavor and crispness.
To begin, start by washing the green beans under cool running water to remove any dirt or debris. Pat them dry with a clean kitchen towel or paper towels.
After drying, you have a couple of options for storing the green beans in the refrigerator:
- Option 1: Plastic Bag – Place the green beans in a perforated plastic bag or a plastic bag with a few small holes. The holes allow for some air circulation while retaining moisture. Make sure to seal the bag tightly.
- Option 2: Container with Damp Cloth – Alternatively, you can store the green beans in a container lined with a damp cloth or paper towel. This helps to maintain the humidity levels and prevent the beans from drying out.
Regardless of the option you choose, place the green beans in the vegetable crisper drawer of your refrigerator. This drawer is designed to help maintain a slightly higher humidity level, which is beneficial for preserving the freshness of the beans.
It’s important to keep the green beans away from any ethylene-producing fruits, such as apples or bananas. Ethylene can cause the beans to spoil faster, so it’s best to store them separately.
Fresh green beans can typically be stored in the refrigerator for up to one week. However, it’s recommended to use them as soon as possible to enjoy their maximum flavor and crispness.
Before using the refrigerated green beans, inspect them for any signs of spoilage, such as wilting, discoloration, or a slimy texture. If you notice any of these signs, it’s best to discard them to avoid any potential foodborne illness.
By following these steps, you can store your green beans in the refrigerator and extend their shelf life, ensuring they stay fresh and delicious for your upcoming meals.
Storing Green Beans in the Freezer
If you have a surplus of green beans or want to store them for an extended period, freezing is an excellent option to preserve their freshness and nutritional value. Freezing green beans is a simple and effective way to enjoy them throughout the year.
Before freezing green beans, it’s important to blanch them first. Blanching helps deactivate enzymes that can cause the beans to deteriorate over time and helps them retain their color and texture.
To blanch green beans for freezing, follow these steps:
- Start by bringing a large pot of water to a rolling boil.
- While the water is boiling, prepare a large bowl filled with ice water. This will be used to cool the blanched beans.
- Thoroughly wash the green beans and trim the ends if desired.
- Once the water is boiling, carefully add the green beans and let them blanch for about 2 minutes.
- Using a slotted spoon or tongs, transfer the blanched beans immediately to the ice water bath to stop the cooking process.
- Let the green beans cool in the ice water for the same amount of time they were blanched.
- Once cooled, drain the beans and pat them dry.
Now that you have blanched and dried the green beans, you can proceed with storing them in the freezer:
- Divide the beans into portion sizes that you typically use for cooking.
- Place the green beans in airtight freezer bags or containers.
- Try to remove as much air as possible from the bags or containers to prevent freezer burn.
- Label the bags or containers with the date and contents for easy identification.
- Store the green beans in the freezer, laying them flat in a single layer if possible to promote even freezing.
Frozen green beans can maintain their quality for up to 12 months. When you’re ready to use them, there’s no need to thaw. You can cook them directly from frozen by adding them to soups, stews, stir-fries, or boiling them as a side dish. Adjust the cooking time slightly to account for the frozen beans.
By following these steps, you can successfully store green beans in the freezer, ensuring you have a readily available supply of delicious and nutritious beans for your meals throughout the year.
Read more: How To Cook Green Beans From Garden
Tips for Maintaining Green Beans’ Freshness
Green beans are most enjoyable when they are fresh and full of flavor. To ensure that your green beans stay fresh for as long as possible, here are some tips to follow:
- Harvest at the right time: If you are growing green beans in your garden, harvest them when they are at their peak of ripeness. Avoid waiting too long, as overripe beans can quickly become tough and lose their freshness.
- Handle with care: Green beans are delicate and can easily bruise or break. Handle them gently to prevent any damage that can lead to spoilage.
- Store in optimal conditions: Whether you are storing green beans in the refrigerator or freezer, make sure to place them in the right environment. Keep them in the vegetable crisper drawer in the refrigerator or in airtight containers or bags in the freezer to maintain their freshness.
- Don’t wash before storing: It’s best to avoid washing green beans before storing them. Moisture can promote the growth of mold and spoilage. Wait to wash them just before using them.
- Remove air and moisture: When storing green beans in the freezer, ensure that there is no excess air in the bags or containers. This will help prevent freezer burn. Similarly, when storing in the refrigerator, use perforated bags or containers lined with a damp cloth to maintain the right level of humidity.
- Rotate your stock: Whether you’re storing canned, frozen, or fresh green beans, make sure to practice a first-in, first-out system. Consume the oldest stock first to ensure that you enjoy the highest quality and flavor.
- Check for signs of spoilage: Regularly inspect your green beans for any signs of spoilage, such as mold, discoloration, or a slimy texture. If you notice any of these signs, discard the beans to prevent the spread of bacteria or foodborne illness.
By following these tips, you can prolong the freshness and quality of your green beans, ensuring that they retain their vibrant color, firm texture, and delicious taste.
Remember, the key to maintaining green beans’ freshness is handling them with care, storing them in appropriate conditions, and being vigilant for any signs of spoilage. With these practices in place, you can enjoy the delightful flavors of green beans for an extended period.
Conclusion
Garden green beans are a versatile and delicious vegetable that can be enjoyed in various dishes. Knowing how to properly store green beans is essential to preserve their freshness, flavor, and nutritional value.
In this article, we have explored different storage methods for green beans, including refrigerating, freezing, canning, and vacuum sealing. Each method has its advantages and is suitable for different needs and preferences.
When refrigerating green beans, be sure to store them in the vegetable crisper drawer with proper moisture and away from ethylene-producing fruits. This will help maintain their crispness and prolong their shelf life for up to a week.
Freezing green beans is an excellent way to preserve their freshness for an extended period. Blanching the beans before freezing helps retain their color and texture. Properly packaged and labeled, frozen green beans can last up to 12 months in the freezer.
Canning green beans allows for long-term storage, and the correctly sealed jars can last up to 1-2 years. Make sure to check the seals and use the first-in, first-out method to ensure the best quality and safety.
Vacuum sealing green beans provides an airtight environment, preserving their freshness for an extended period. Stored in a cool, dark place, vacuum-sealed beans can be enjoyed for up to 2-3 years.
To maintain the freshness of your green beans, remember to follow additional tips such as handling them with care, not washing before storing, and regularly checking for signs of spoilage.
By employing these storage methods and guidelines, you can continue enjoying the delightful taste and nutritional benefits of green beans long after their harvest.
So whether you’re growing your own green beans or purchasing them, take the time to store them properly. With the right storage techniques, you can savor the flavors of green beans all year round.
Frequently Asked Questions about How To Store Garden Green Beans
Was this page helpful?
At Storables.com, we guarantee accurate and reliable information. Our content, validated by Expert Board Contributors, is crafted following stringent Editorial Policies. We're committed to providing you with well-researched, expert-backed insights for all your informational needs.


0 thoughts on “How To Store Garden Green Beans”