Articles
How To Store Green Beans From Garden
Modified: January 6, 2024
Looking for tips on how to store green beans from your garden? Check out our informative articles for expert advice and techniques to keep your beans fresh and delicious.
(Many of the links in this article redirect to a specific reviewed product. Your purchase of these products through affiliate links helps to generate commission for Storables.com, at no extra cost. Learn more)
Introduction
Green beans, also known as string beans or snap beans, are a popular vegetable grown in home gardens. They are not only delicious but also packed with essential nutrients. Whether you have a bountiful harvest or simply want to make the most of the green beans you have, storing them properly is crucial to maintain their freshness and flavor for an extended period.
In this article, we will guide you through the process of storing green beans from your garden. From harvesting and sorting to blanching and different methods of storage, we will cover all the necessary steps to ensure your green beans stay fresh and flavorful for as long as possible.
So, let’s dive into the world of green beans and discover how to store them effectively, allowing you to enjoy their vibrant taste throughout the year.
Key Takeaways:
- Preserve the Freshness: Harvest, blanch, and store green beans properly to maintain their vibrant color, flavor, and nutrients for year-round enjoyment.
- Versatile Storage Options: From refrigeration to canning and vacuum-sealing, choose the best method to store green beans based on your needs and preferences.
Read more: How To Cook Green Beans From Garden
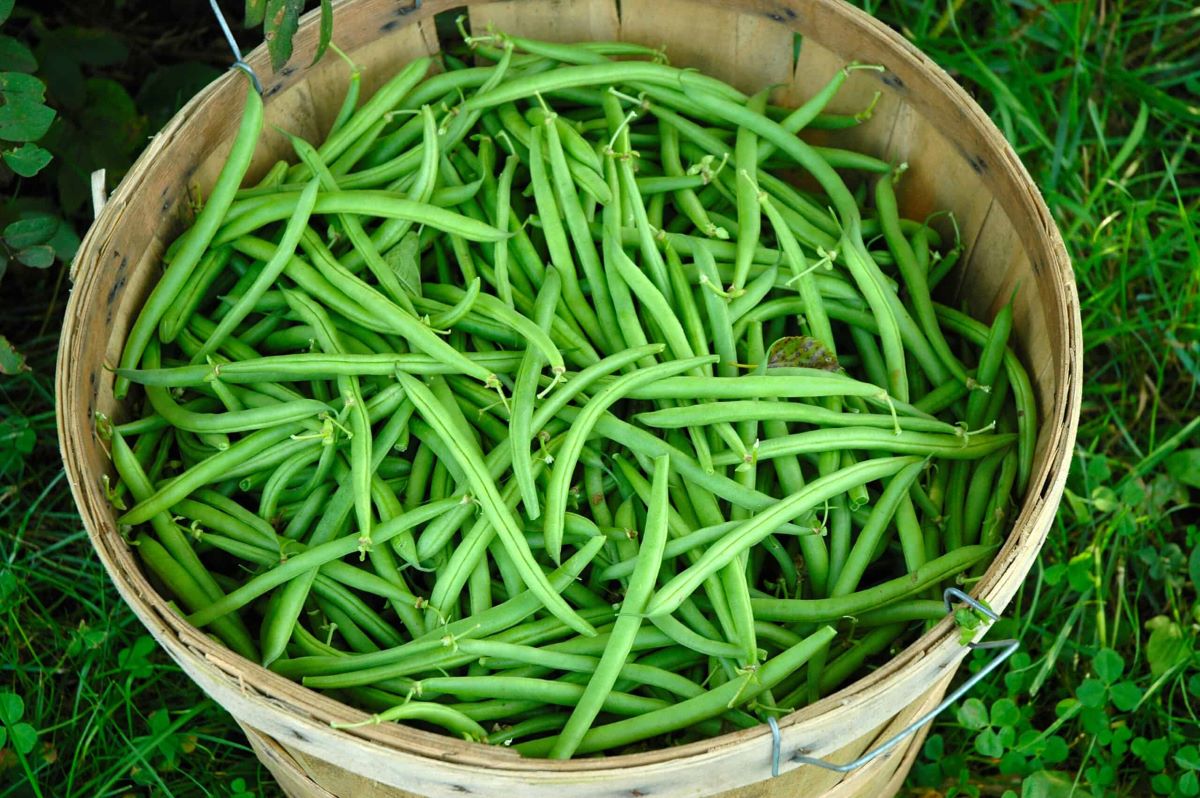
Harvesting Green Beans
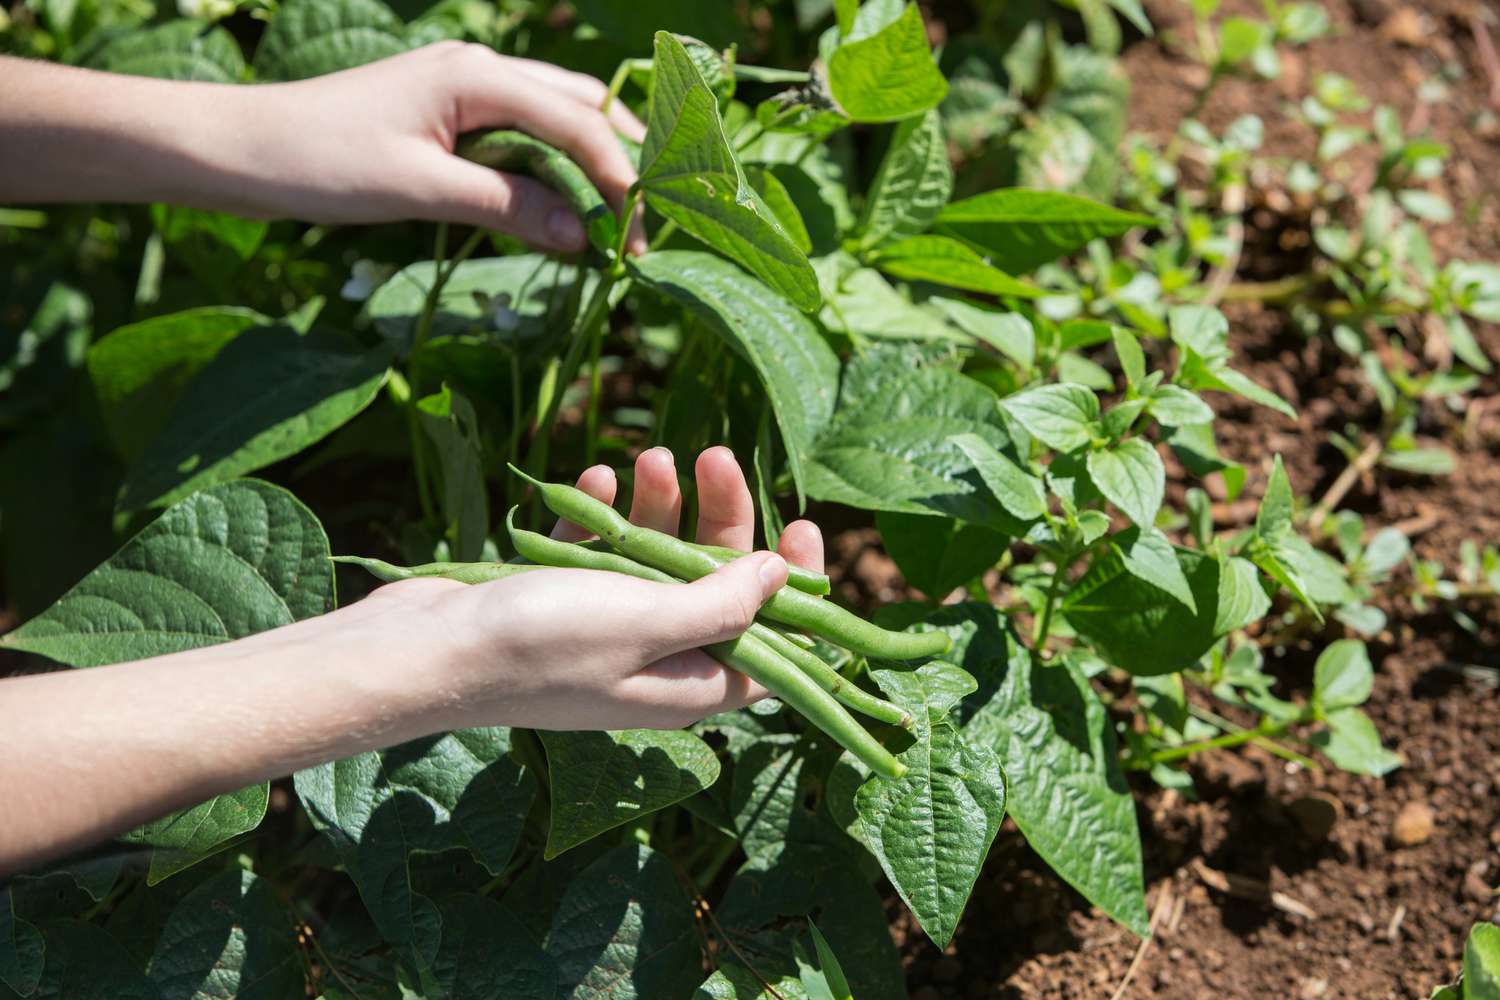
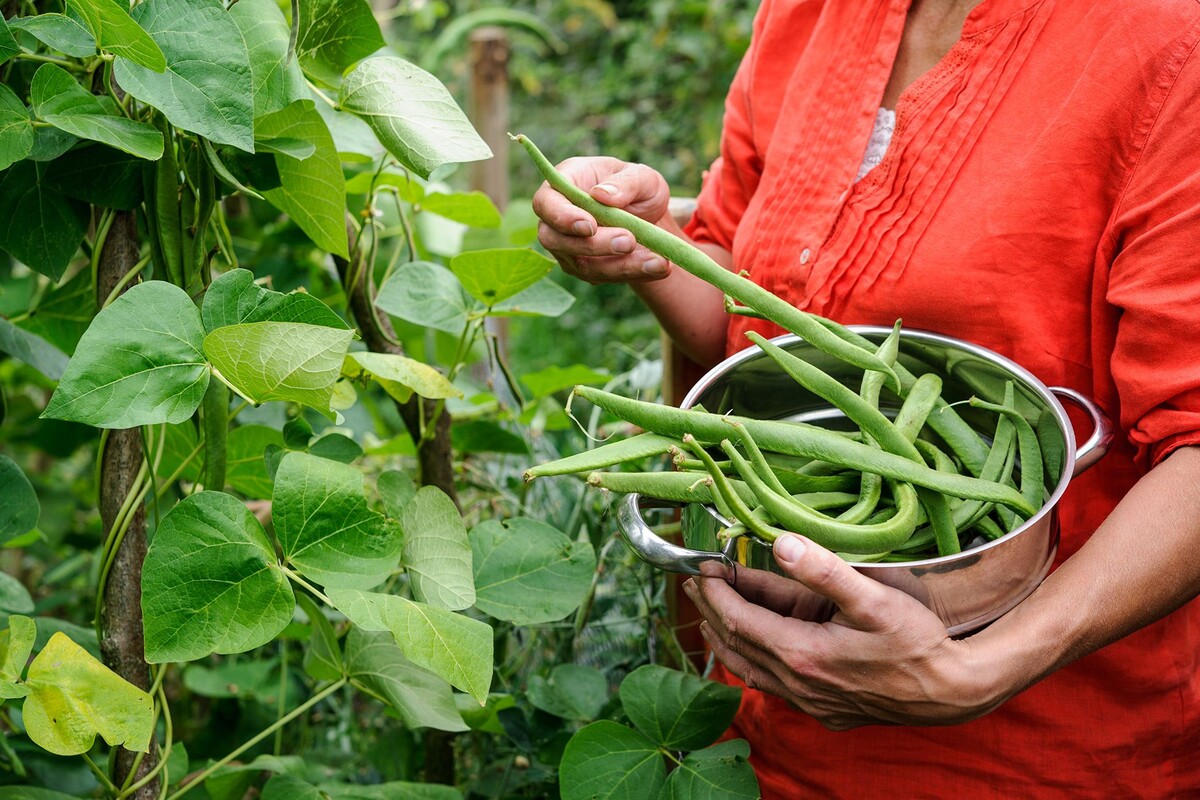
When it comes to harvesting green beans, timing is key. The best time to pick them is when they are young and tender, typically around 45-60 days after planting. At this stage, the beans are crisp and flavorful, ensuring a delightful dining experience.
To harvest green beans from your garden, look for the following signs:
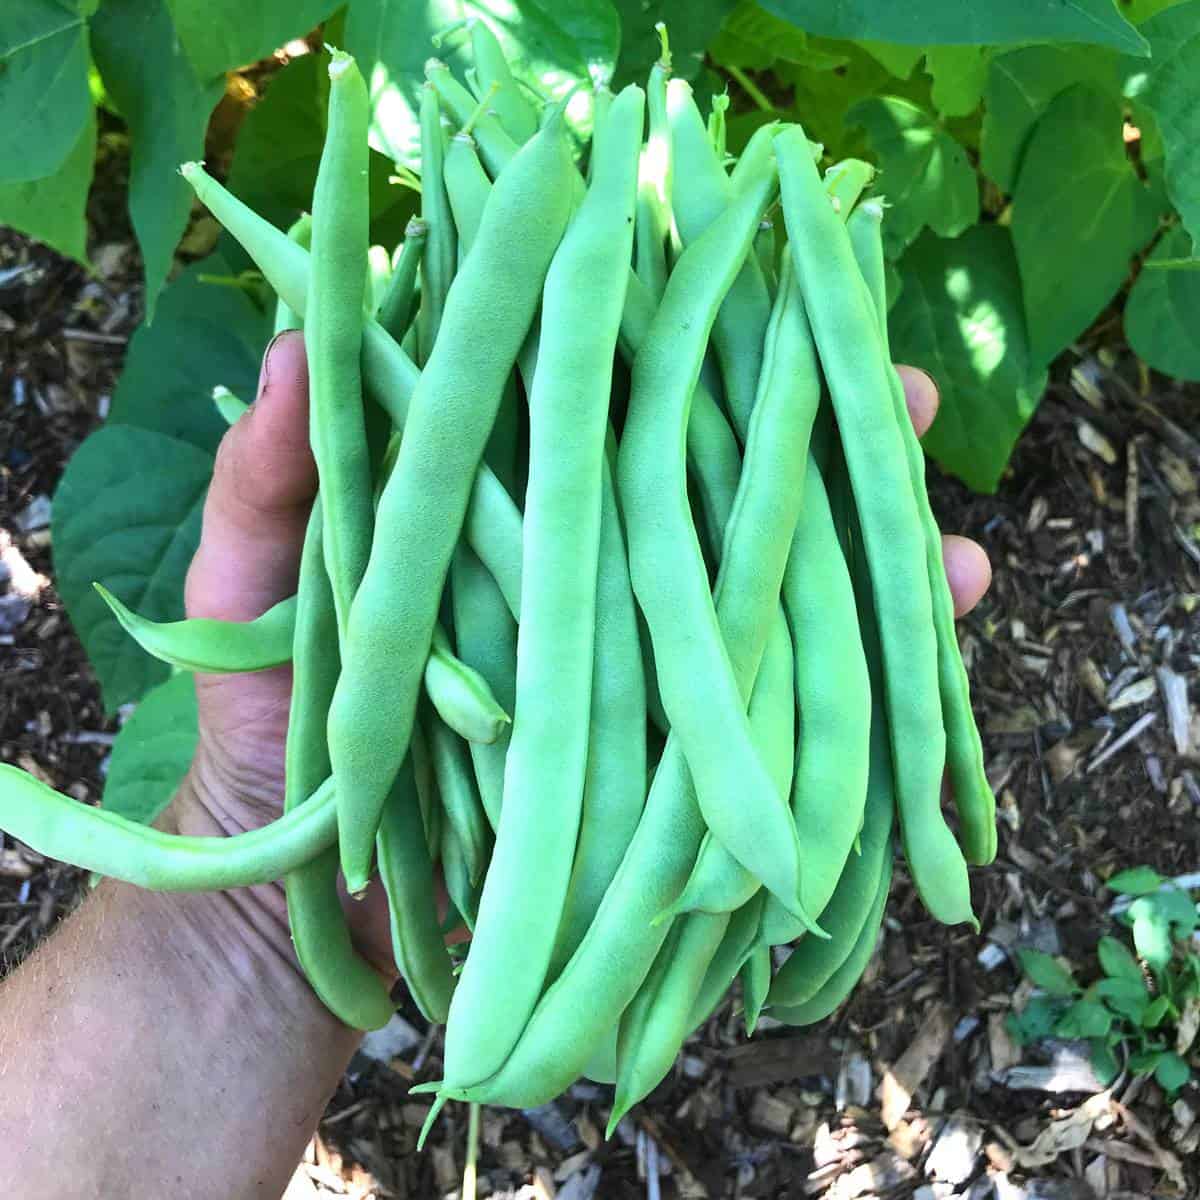
- The pods should be plump and elongated, with a bright green color.
- They should feel firm but not overly rigid.
- When the pods are snapped in half, they should break easily without any stringy fibers.
Using a pair of garden shears or scissors, cut the bean pods from the plant, taking care not to damage the remaining plant. Alternatively, you can gently twist or snap the pods off by hand.
It’s important to note that green beans should be harvested regularly to encourage new growth. Aim to harvest every two to three days, especially during peak growing periods. By harvesting consistently, you will prevent overripening and ensure a steady supply of fresh green beans throughout the growing season.
Once you have harvested your green beans, it’s time to move on to the next step: sorting and cleaning.
Sorting and Cleaning Green Beans
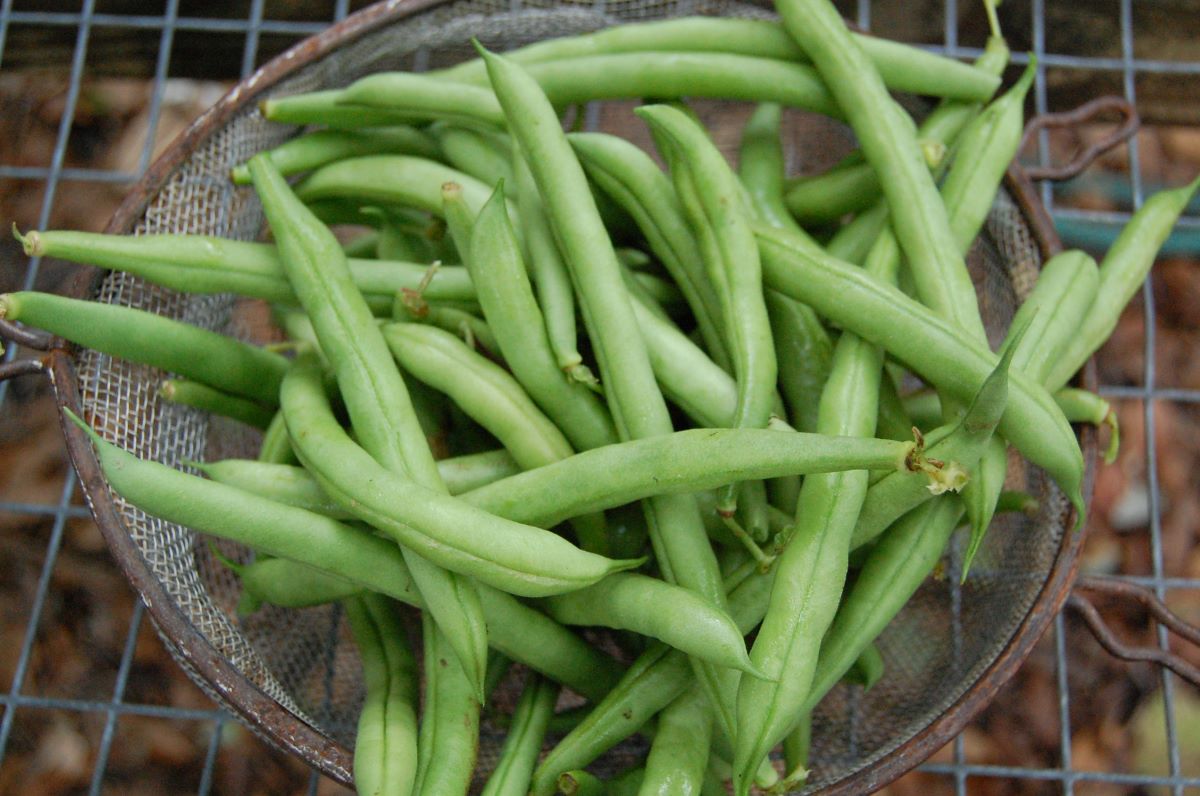
After harvesting your green beans, it’s essential to sort and clean them to remove any dirt, debris, or damaged beans. This step ensures that you store only the highest quality beans and extends their shelf life.
Start by sorting through the harvested green beans. Discard any beans that are discolored, blemished, or excessively damaged. Look out for beans with signs of mold or pest infestation and remove them from the batch.
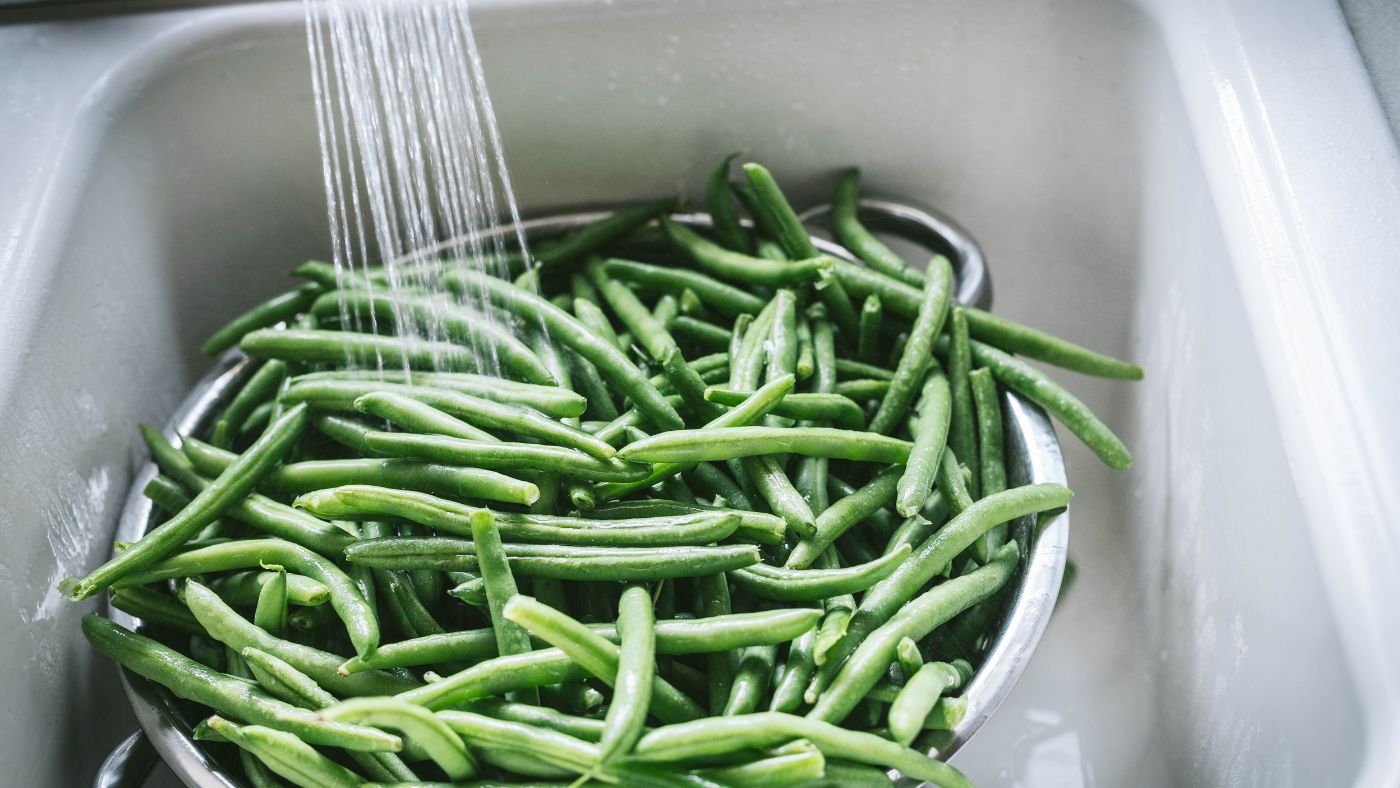
Next, rinse the green beans under cool, running water. Gently rub the beans with your hands to remove any dirt or residue. Make sure to pay extra attention to the stem and blossom ends, as they tend to harbor more dirt.
If the green beans are particularly dirty, you can soak them in a bowl of water for a few minutes to loosen any stubborn dirt or debris. However, do not soak them for too long, as it can cause the beans to become waterlogged and compromise their texture.
Once the green beans are clean, give them a final rinse and pat them dry with a clean kitchen towel or paper towels. It’s important to ensure that they are completely dry before moving on to the next step.
Sorting and cleaning your green beans not only removes impurities but also allows you to identify any damaged beans that may deteriorate quickly during storage. By taking the time to perform this step, you can ensure that only the best beans make it into storage, maximizing both their quality and longevity.
Blanching Green Beans
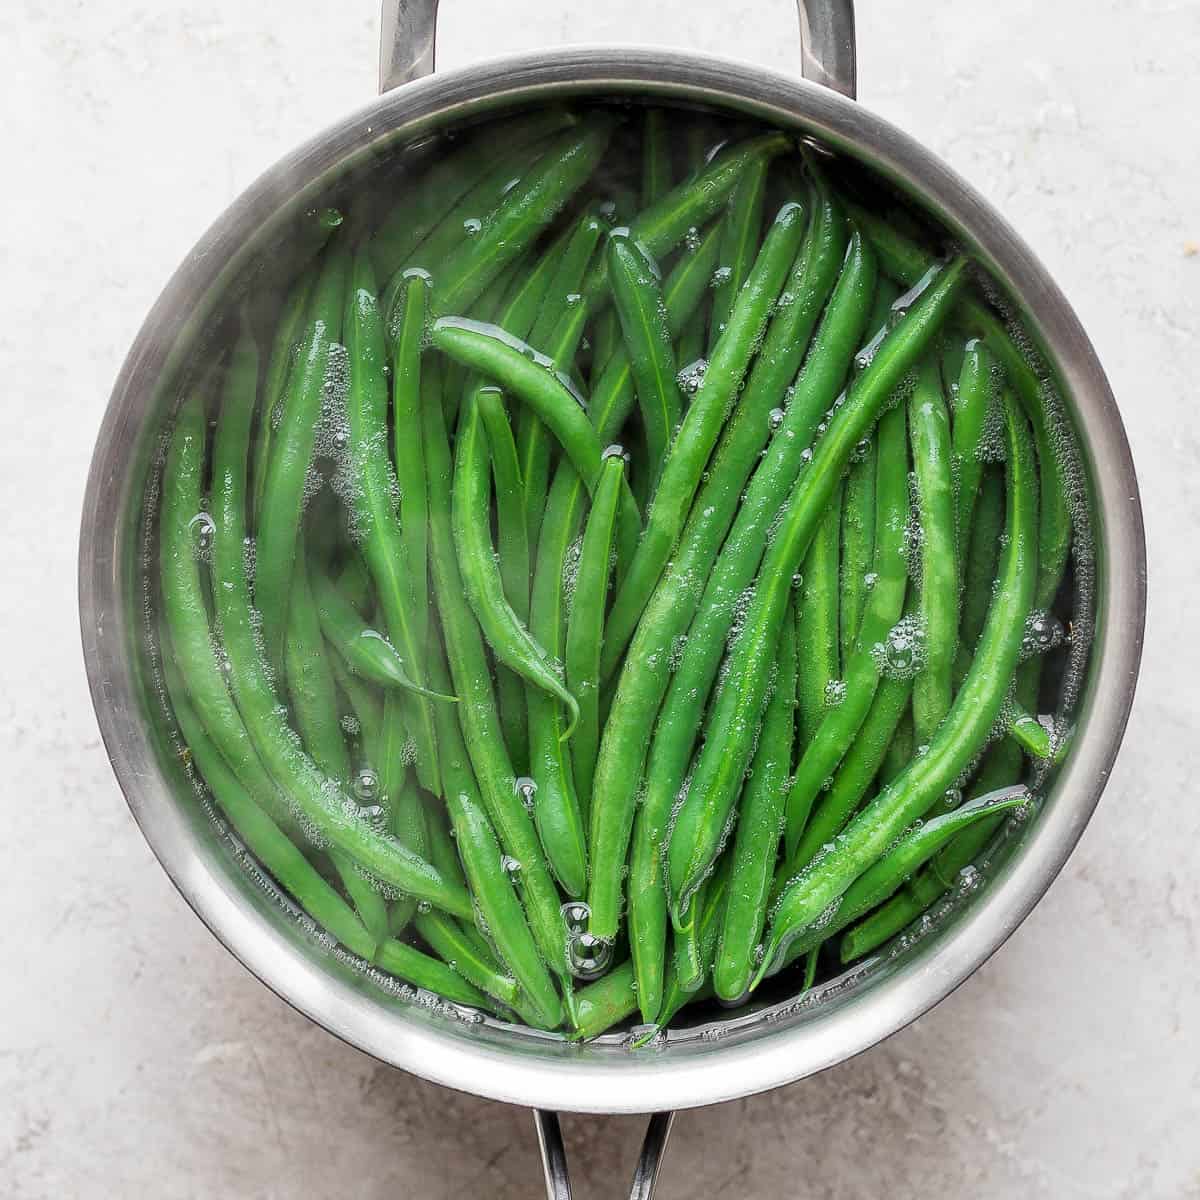
Blanching is an essential step in preparing green beans for storage. It involves briefly cooking the beans in boiling water and then rapidly cooling them in an ice bath. Blanching helps to preserve the color, texture, and nutrients of the green beans while also inhibiting enzyme activity that can cause flavor loss and spoilage.
To blanch green beans, start by filling a large pot with water and bringing it to a rolling boil. While waiting for the water to boil, prepare an ice bath in a separate bowl or sink by filling it with cold water and adding a generous amount of ice cubes.
Once the water is boiling, carefully add the green beans to the pot and let them cook for about 2-3 minutes. The exact timing may vary depending on the size and tenderness of the beans, so it’s crucial to monitor them closely. The goal is to blanch them until they turn bright green and become slightly tender.
After the blanching time is up, quickly remove the beans from the boiling water using a slotted spoon or tongs, and transfer them to the ice bath. This rapid cooling process, known as “shocking,” halts the cooking process and helps to preserve the vibrant green color.
Allow the green beans to sit in the ice bath for about 2-3 minutes, or until they are completely cooled. Once cooled, drain the beans and pat them dry gently with a kitchen towel or paper towels.
Blanching not only helps to retain the color and texture of the green beans but also serves as a pre-treatment step that helps to deactivate enzymes that can lead to nutrient loss and deterioration. By blanching your green beans prior to storage, you can significantly extend their shelf life and preserve their quality.
Preparing Green Beans for Storage
After blanching, it’s crucial to properly prepare your green beans for storage to ensure they remain fresh and flavorful. There are several methods you can choose from depending on your preference and available resources.
One popular method is to trim the ends of the green beans. Use a sharp knife or kitchen shears to remove the stem end and the tip of the bean. This step not only gives the beans a cleaner appearance but also helps to remove any potential tough or fibrous parts.
If you prefer to keep the beans whole, you can skip the trimming step. However, if you plan on using the green beans in recipes that require a certain length, it may be beneficial to trim them to a uniform size.
Another option to consider is cutting the green beans into smaller pieces. This is especially useful if you plan on using them in stir-fries, soups, or stews. To do this, simply cut the beans into bite-sized pieces, ensuring that they are evenly sized for more even cooking.
Regardless of the method you choose, it’s important to ensure that the green beans are dry before proceeding with storage. Any excess moisture can lead to the growth of bacteria or mold, compromising their quality.
Once your green beans are trimmed, whole, or cut into pieces and completely dry, you’re ready to move on to the storage phase. There are different storage methods you can utilize based on your needs and the available resources, which we will cover in the following sections.
By properly preparing your green beans for storage, you’re setting them up for success and ensuring their taste and texture are preserved for as long as possible.
Storing Green Beans in the Refrigerator
The refrigerator is an excellent option for short-term storage of green beans, allowing you to keep them fresh for up to a week. To store green beans in the refrigerator, follow these steps:
- Ensure that the green beans are clean, trimmed, and dry before storage.
- Wrap the green beans loosely in a slightly damp paper towel or place them in a perforated plastic bag. This helps to maintain the right level of humidity while preventing the beans from drying out.
- Store the wrapped or bagged green beans in the crisper drawer of your refrigerator. The cool and slightly humid environment helps to preserve their freshness.
- Avoid storing green beans near fruits such as apples, bananas, or tomatoes. These fruits emit ethylene gas, which can accelerate the ripening and spoilage of the green beans.
- Regularly check the green beans for any signs of spoilage, such as discoloration, mold, or an unpleasant odor. Remove any spoiled beans immediately to prevent the spread of spoilage to the rest.
Remember, storing green beans in the refrigerator is a short-term solution. If you want to store them for a longer period, you should consider other methods such as freezing or canning.
By following these storage guidelines, you can enjoy fresh and crispy green beans in your recipes for up to a week.
After harvesting, store green beans in a perforated plastic bag in the refrigerator. They will stay fresh for up to a week. Avoid washing until ready to use.
Storing Green Beans in the Freezer
If you have a surplus of green beans or want to store them for an extended period, freezing is an ideal method. Freezing green beans not only preserves their freshness but also retains their nutrients and flavor. Here’s how you can store green beans in the freezer:
- Clean the green beans thoroughly and blanch them as mentioned earlier. Blanching helps to maintain the color and texture of the beans during storage.
- After blanching, quickly cool the green beans by placing them in an ice bath. Once cooled, drain them and pat them dry to remove excess moisture.
- Spread the blanched and dried green beans in a single layer on a baking sheet or tray. This prevents them from sticking together during freezing and ensures quicker freezing.
- Place the baking sheet or tray with the green beans in the freezer and let them freeze for a couple of hours, or until they are firm and individually frozen.
- Transfer the individually frozen green beans into freezer-safe bags or airtight containers. Label the bags or containers with the date for easier identification and use within a recommended time frame of 8-12 months.
- Remove any excess air from the bags or containers before sealing them tightly. This helps to prevent freezer burn and maintain the quality of the green beans.
When you need to use the frozen green beans, simply take out the desired amount and thaw them in the refrigerator overnight or use them directly in your desired recipes without thawing.
By following these freezing guidelines, you can enjoy the taste of garden-fresh green beans all year long.
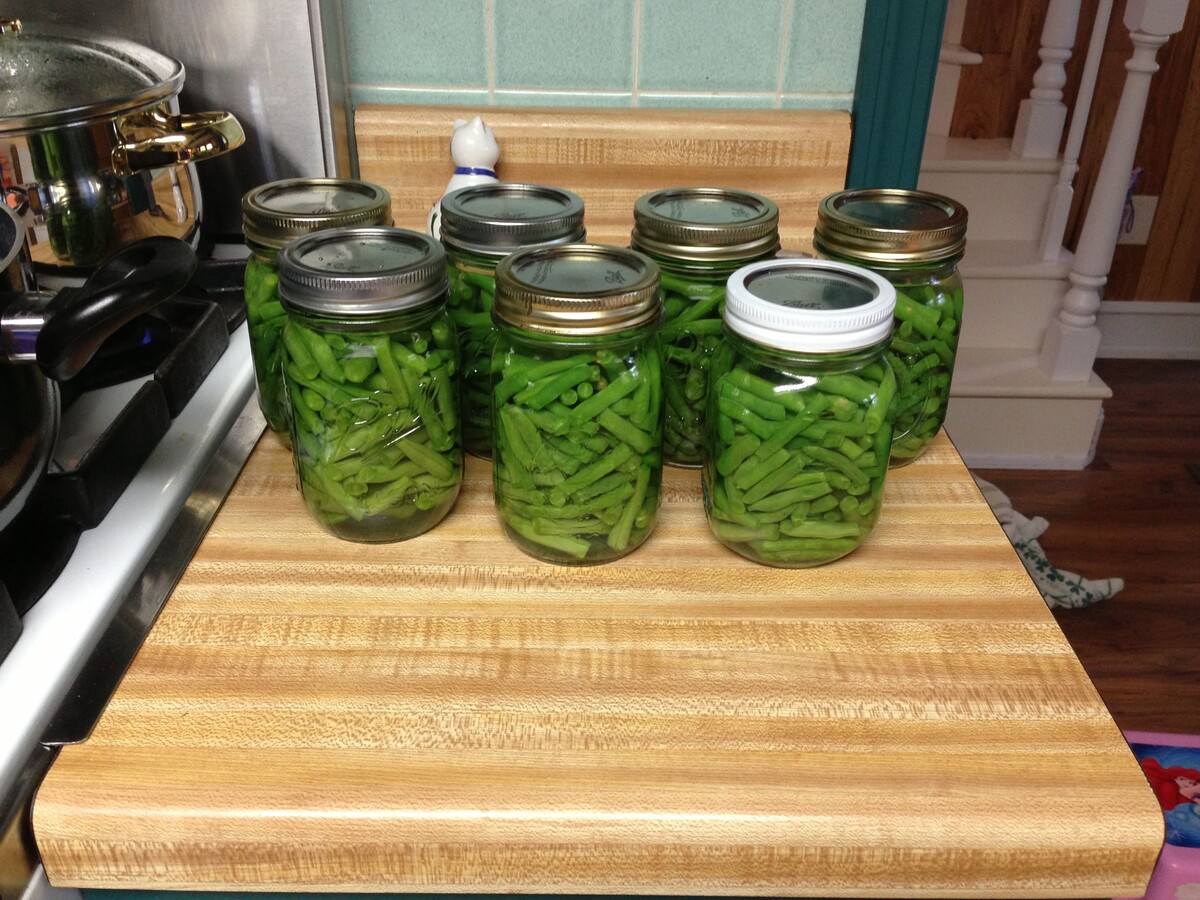
Storing Green Beans in Jars
If you prefer to store green beans without freezing, canning them in jars is a fantastic preservation method. Canning allows you to keep green beans for an extended period while maintaining their flavor and texture. Here’s how you can store green beans in jars:
- Start by washing the green beans thoroughly and trimming the ends.
- Prepare your canning jars by sterilizing them. You can do this by boiling the jars and their lids in a large pot of water for about 10 minutes. Remove them from the boiling water and place them on a clean towel to dry.
- While the jars are sterilizing, blanch the green beans as previously described. Once blanched, drain and cool them in an ice bath before draining again.
- Pack the blanched green beans tightly into the sterilized jars, leaving about an inch of headspace at the top.
- You can choose to add seasonings or flavorings to the jars, such as garlic cloves, dill, or red pepper flakes, to enhance the taste. However, this step is optional.
- Prepare a brine solution by dissolving salt in boiling water. Pour the brine into the jars, ensuring that all the green beans are submerged and the headspace is maintained.
- Wipe the rims of the jars clean to remove any brine or debris. Place the lids on the jars and tighten them securely.
- Process the jars in a water bath canner according to the recommended processing time for green beans, which is typically around 20-25 minutes.
- After processing, remove the jars from the canner and let them cool completely. Check for proper seals by pressing down on the center of the lids. If the lid does not pop back, it indicates a successful seal.
- Label the jars with the date and store them in a cool, dark pantry or cupboard. Properly sealed and processed jars can last for up to a year.
When you’re ready to enjoy the canned green beans, simply open a jar, drain the liquid, and cook them according to your preferred method.
By canning green beans in jars, you can savor the taste of your garden all year round and have a ready-to-use ingredient for your favorite recipes.
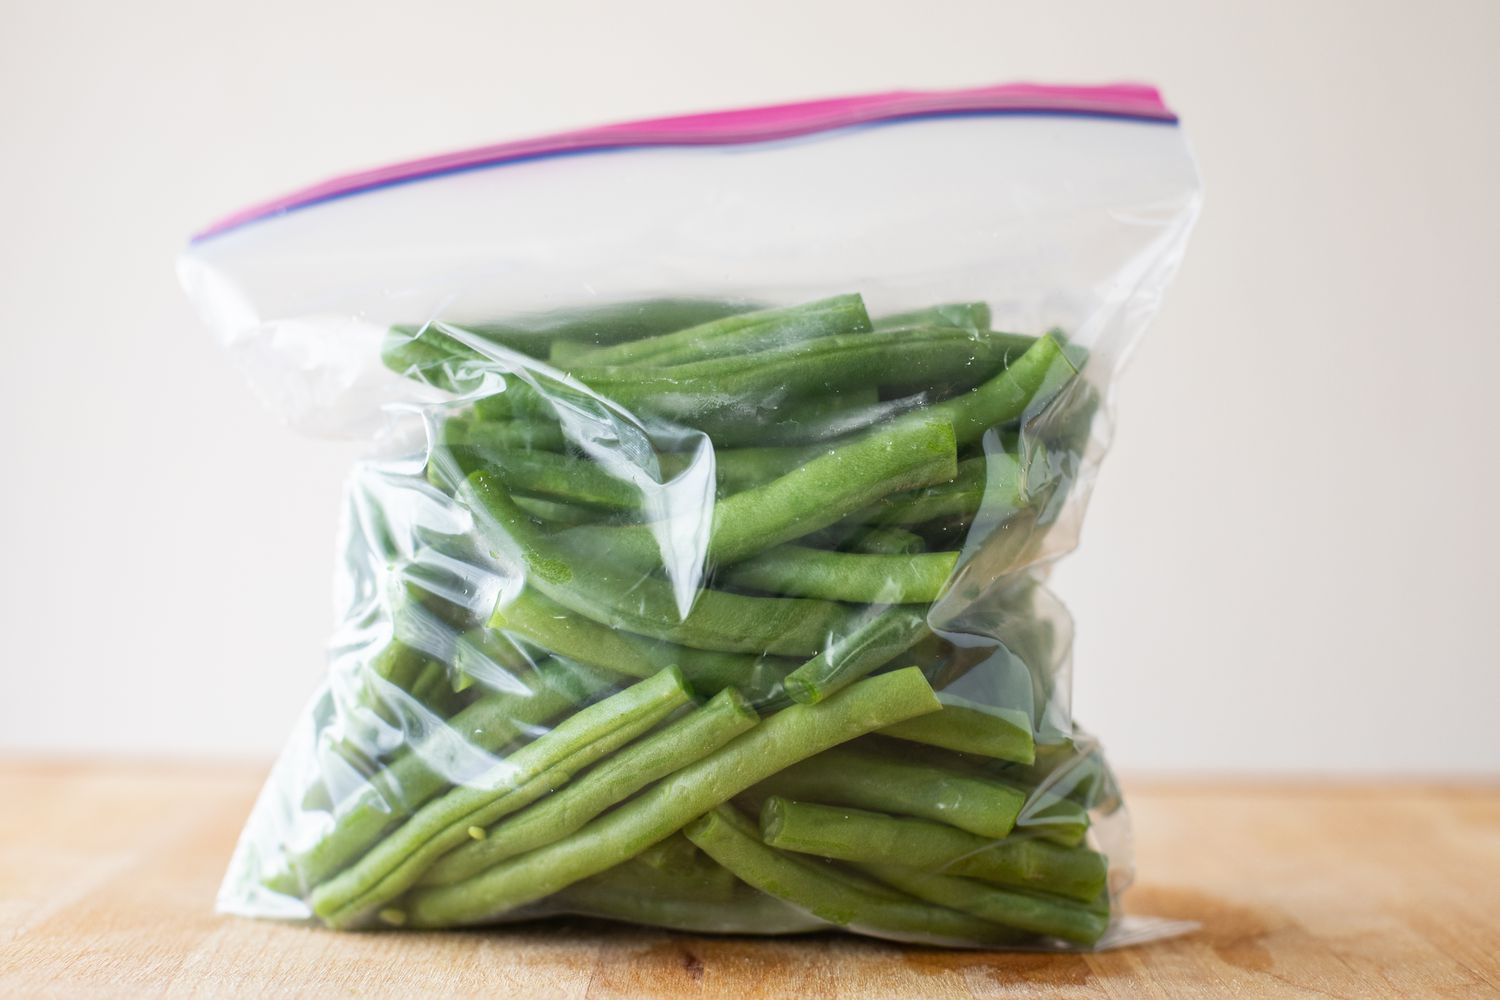
Storing Green Beans in Vacuum-sealed Bags
Another effective method for storing green beans is vacuum-sealing them in bags. Vacuum-sealing removes air from the bags, creating a tight seal that helps preserve the freshness and flavor of the beans. Here’s how you can store green beans in vacuum-sealed bags:
- Wash the green beans thoroughly and trim the ends.
- Blanch the green beans as mentioned earlier, then cool and dry them to remove excess moisture.
- Divide the green beans into portion sizes that you would typically use in one meal or recipe.
- Take a vacuum-sealable bag and place the portioned green beans inside. Spread them out in a single layer for even freezing and sealing.
- Seal one end of the bag using a vacuum-sealing machine or a vacuum-sealing hand pump. Follow the manufacturer’s instructions for your specific device.
- Once one end is sealed, carefully remove any excess air from the bag by pressing on the beans and smoothing out the bag. This step is crucial for achieving a tight seal.
- Seal the other end of the bag with the vacuum-sealing device, ensuring that it is completely sealed.
- Label the bags with the date and any additional information, such as portion sizes.
- Place the sealed bags of green beans in the freezer, making sure they are stored flat to maximize space.
When you need to use the vacuum-sealed green beans, simply remove the desired portion from the freezer and thaw them in the refrigerator or use them directly in your favorite recipes without thawing.
Vacuum-sealing green beans not only helps to extend their shelf life but also prevents freezer burn and maintains their quality. Enjoy the convenience of having readily accessible green beans whenever you need them!
Read more: How To Store Green Peppers From The Garden
Monitoring and Using Stored Green Beans
Once you have successfully stored your green beans using the method of your choice, it is important to monitor them periodically to ensure their quality and freshness. Here are a few tips for monitoring and using stored green beans:
- Regularly check stored green beans for any signs of spoilage, such as discoloration, mold, or an unpleasant odor. Remove any spoiled beans immediately to prevent the spread of spoilage to the rest of the batch.
- For green beans stored in the refrigerator, use them within a week for the best flavor and texture. Do not store them for too long, as they may start to lose their crispness and freshness.
- Frozen green beans can last for 8-12 months if properly stored. However, it is best to use them within the first 6 months to maximize their quality.
- When using frozen green beans, there is no need to thaw them before cooking. Simply add them directly to your recipes, whether it’s a stir-fry, soup, or casserole.
- If you have canned green beans, check the seals on the jars before using. Any jars with broken or compromised seals should be discarded. Once opened, store any leftover canned green beans in the refrigerator and consume within a few days.
- When cooking green beans, be mindful of the cooking time. Overcooked green beans can become mushy and lose their vibrant color and taste. Aim for a slightly crisp texture while retaining their bright green color.
- Experiment with different recipes and cooking methods to enjoy the versatility of green beans. Whether it’s steaming, sautéing, roasting, or adding them to salads or pasta dishes, green beans can be a delicious and nutritious addition to your meals.
By monitoring your stored green beans and using them in a timely manner, you can continue to enjoy their fresh flavors and benefits long after the harvest season.
Conclusion
Storing green beans from your garden is a wonderful way to extend their shelf life and enjoy their freshness throughout the year. By following proper storage methods, you can preserve the vibrant colors, flavors, and nutrients of these versatile vegetables.
From harvesting the beans at the right time to sorting, cleaning, blanching, and preparing them for storage, each step plays a crucial role in maintaining the quality of the green beans. Whether you choose to store them in the refrigerator, freezer, jars, or vacuum-sealed bags, each method offers its own advantages and allows you to tailor the storage to your specific needs.
Monitoring the stored green beans and using them within the recommended time frames ensures that you get the best taste and texture when incorporating them into your favorite recipes. Whether added to stir-fries, soups, stews, or enjoyed as a side dish, green beans can bring a burst of freshness and nutrients to your meals.
So, don’t let your bountiful harvest go to waste. Take the time to properly store your green beans and savor their flavors year-round. Whether you enjoy them from jars in the middle of winter or pull out bags from the freezer for a quick weeknight meal, you’ll be grateful to have the taste of your garden at your fingertips.
Remember, the key to successful green bean storage lies in proper preparation, storage methods, and regular monitoring. Enjoy the rewards of your gardening efforts and relish in the delight of fresh green beans whenever you desire!
Frequently Asked Questions about How To Store Green Beans From Garden
Was this page helpful?
At Storables.com, we guarantee accurate and reliable information. Our content, validated by Expert Board Contributors, is crafted following stringent Editorial Policies. We're committed to providing you with well-researched, expert-backed insights for all your informational needs.


0 thoughts on “How To Store Green Beans From Garden”