Articles
How To Store Cut Green Beans
Modified: January 6, 2024
Looking for articles on how to store cut green beans? Discover helpful tips and techniques for keeping your green beans fresh and flavorful for longer.
(Many of the links in this article redirect to a specific reviewed product. Your purchase of these products through affiliate links helps to generate commission for Storables.com, at no extra cost. Learn more)
Introduction
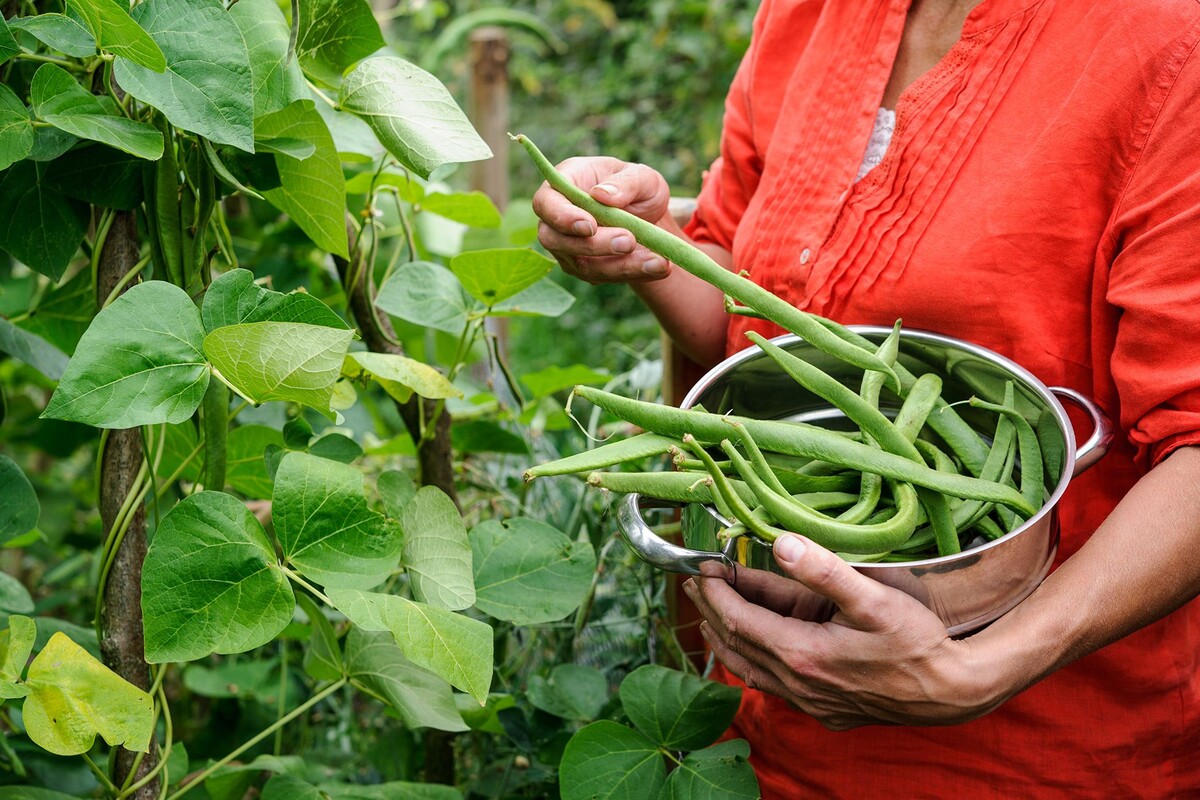
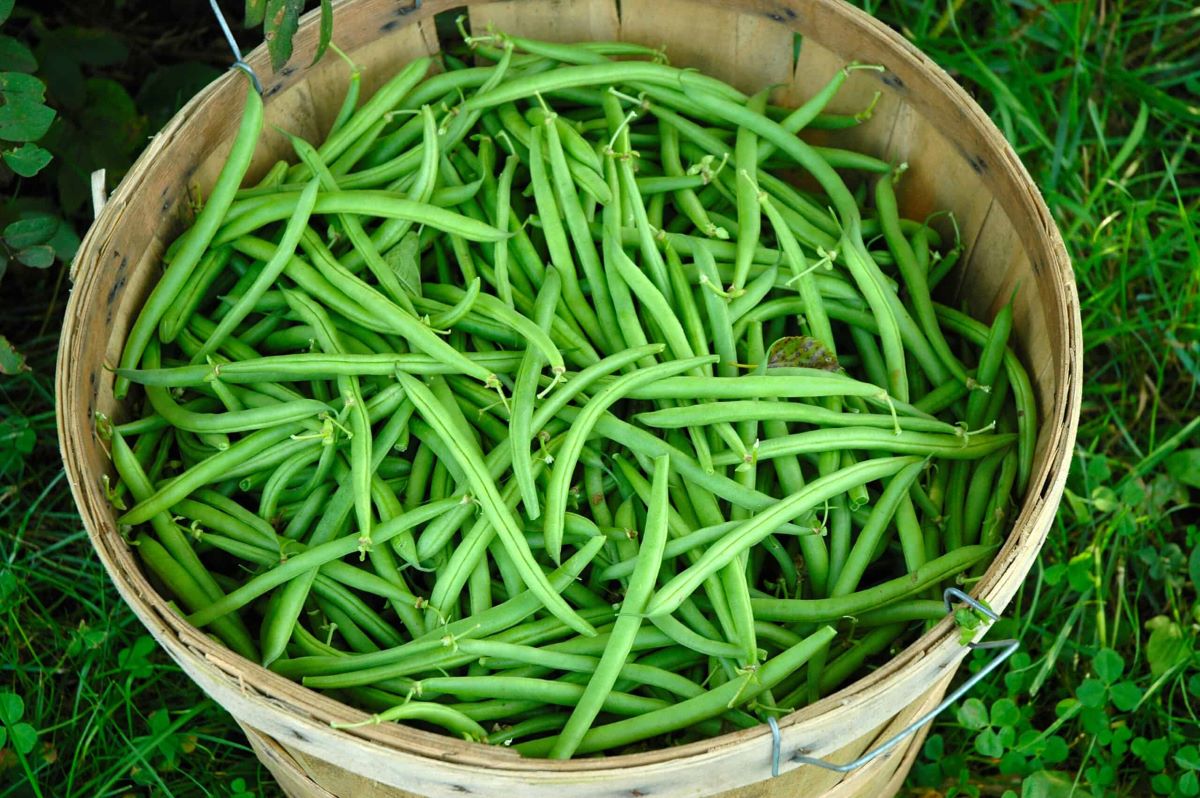
Green beans are a popular vegetable known for their versatility and nutritional value. They can be enjoyed in various dishes, such as salads, stir-fries, and casseroles. However, when you have an abundance of fresh green beans, it’s essential to know how to store them properly to maintain their quality and freshness.
Storing cut green beans can be a bit challenging, as they are prone to spoilage and moisture loss. If not stored correctly, they can quickly become wilted, mushy, and lose their vibrant color. Fortunately, with the right techniques and tools, you can extend the shelf life of cut green beans and enjoy their deliciousness for an extended period.
In this article, we will guide you through the step-by-step process of storing cut green beans to help you keep them fresh and flavorful. Whether you’ve harvested them from your garden or bought them from the grocery store, these tips will ensure that your green beans stay crisp and delicious for weeks to come.
Key Takeaways:
- Preserve the Freshness: Clean, blanch, and properly package cut green beans to maintain their vibrant color, texture, and nutritional value for up to 8-12 months in the freezer.
- Thaw with Care: When ready to use, thaw frozen green beans gradually to retain their taste and texture, and avoid refreezing for optimal enjoyment in your favorite dishes.
Read more: How To Store Green Beans
Tools and Materials Needed
Before you begin the process of storing cut green beans, it’s important to gather all the necessary tools and materials. Here is a list of what you’ll need:
- Sharp kitchen knife
- Cutting board
- Large bowl or sink
- Colander or strainer
- Large pot
- Ice water bath
- Paper towels or clean kitchen towels
- Airtight containers or freezer bags
- Permanent marker
Make sure you have all these items readily available before you start the process. Having everything prepared in advance will streamline the process and ensure that you can store the cut green beans efficiently.
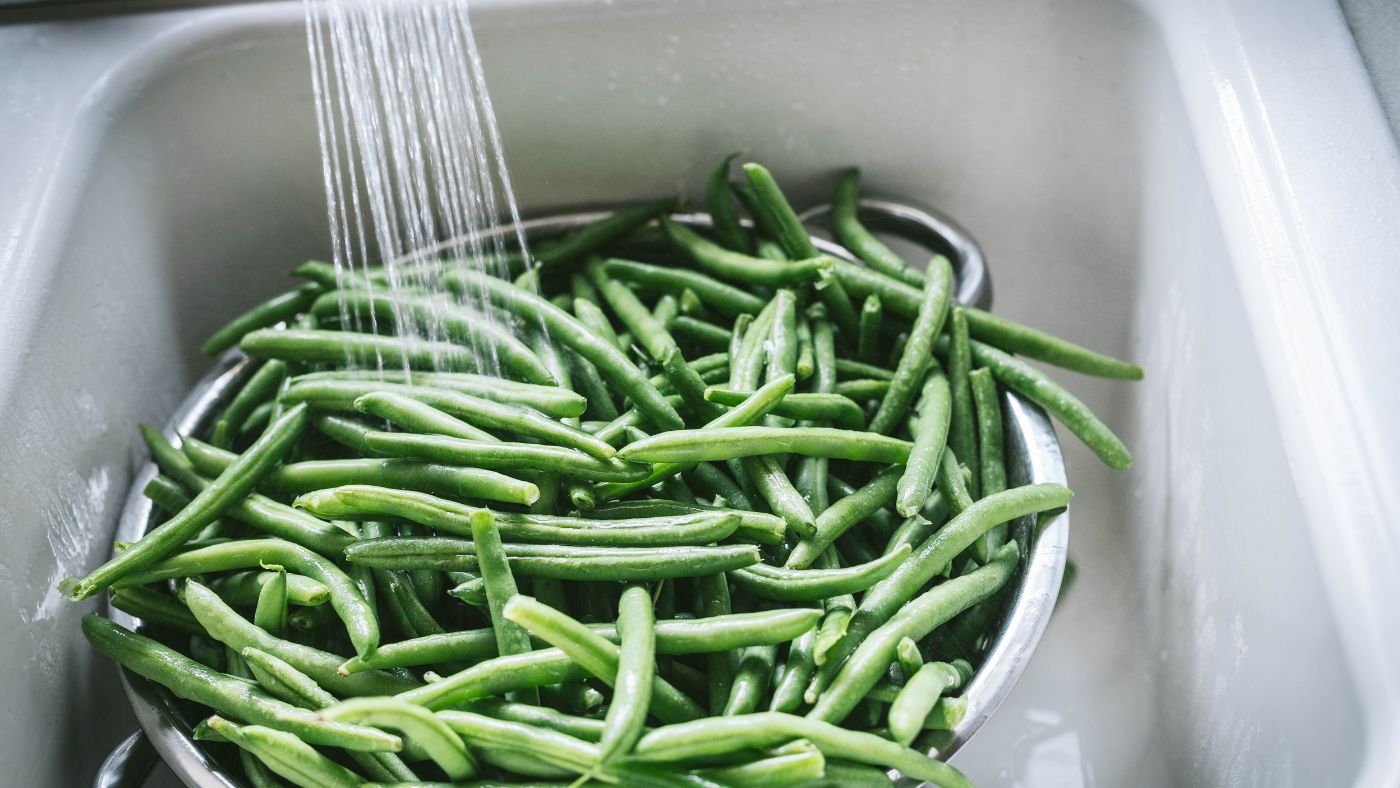
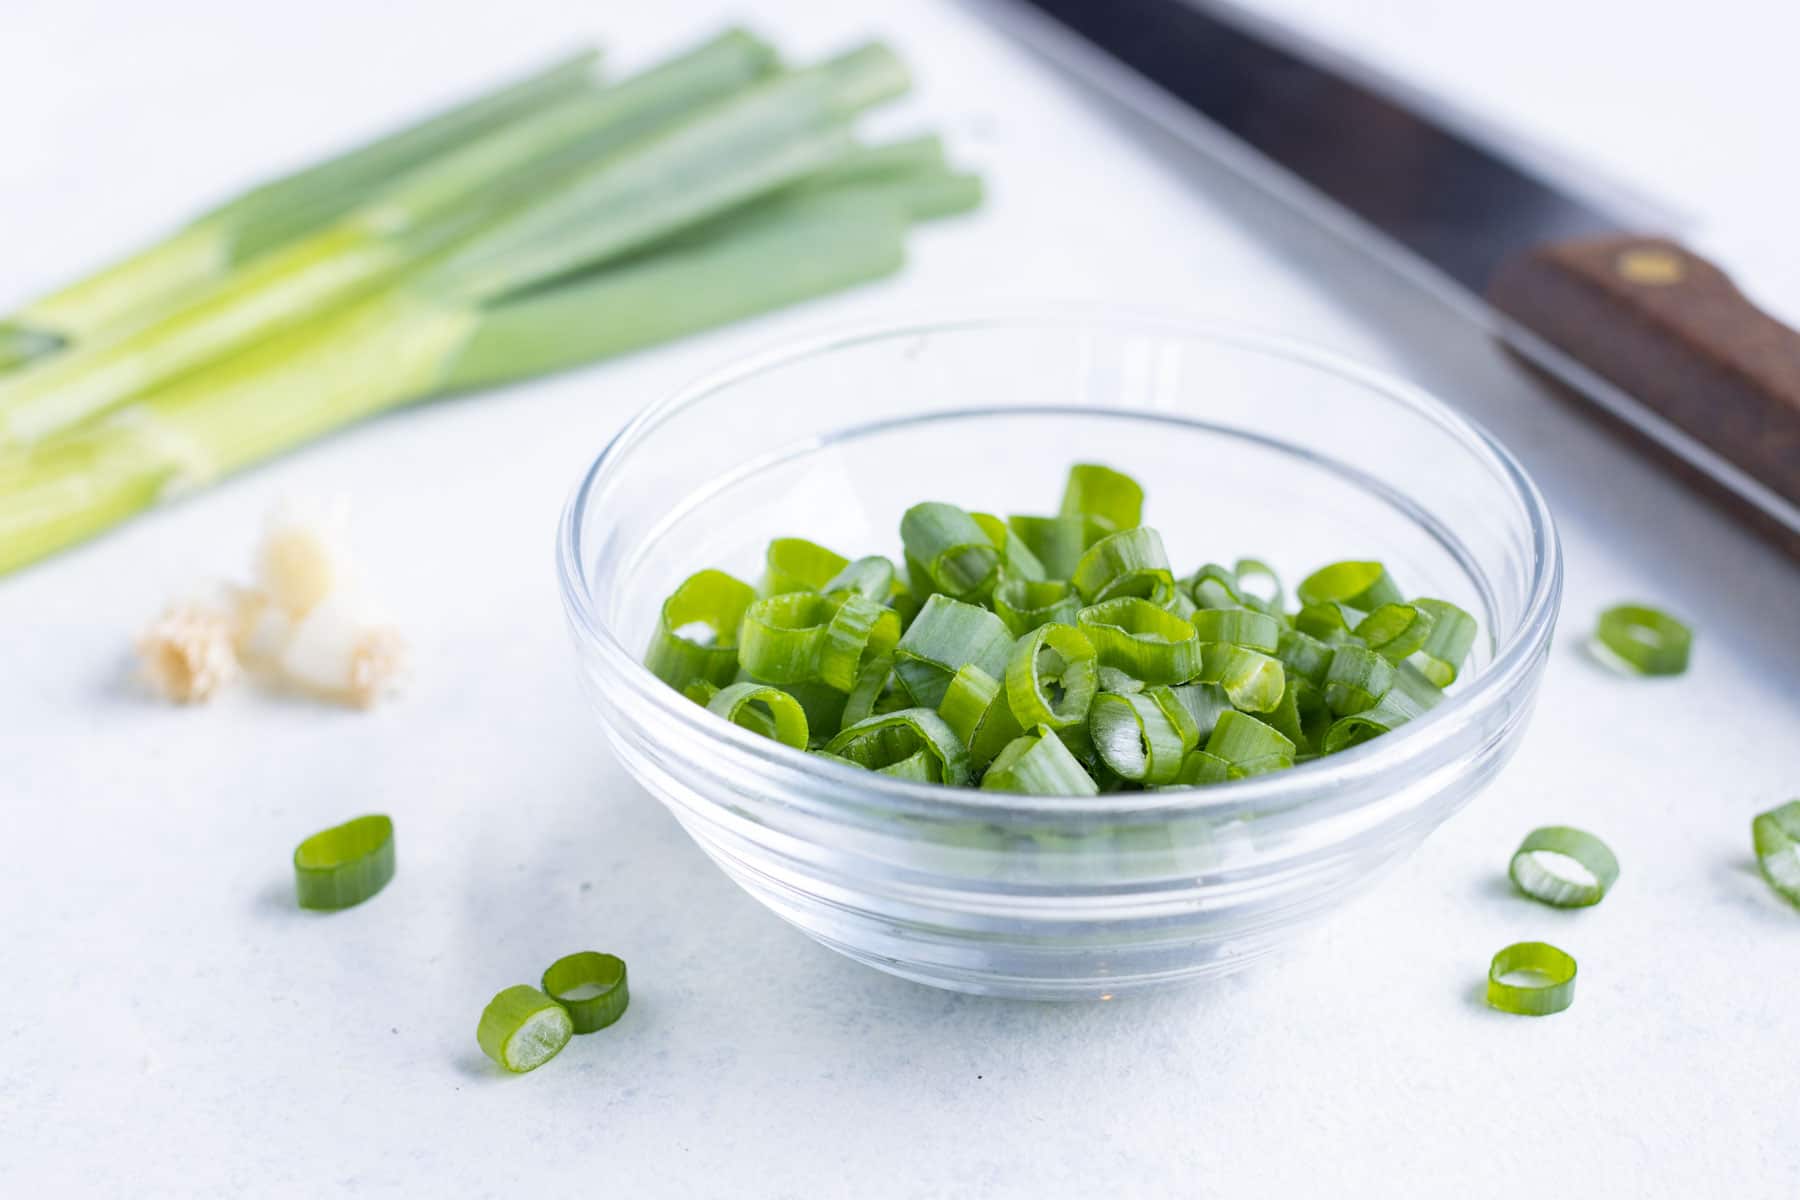
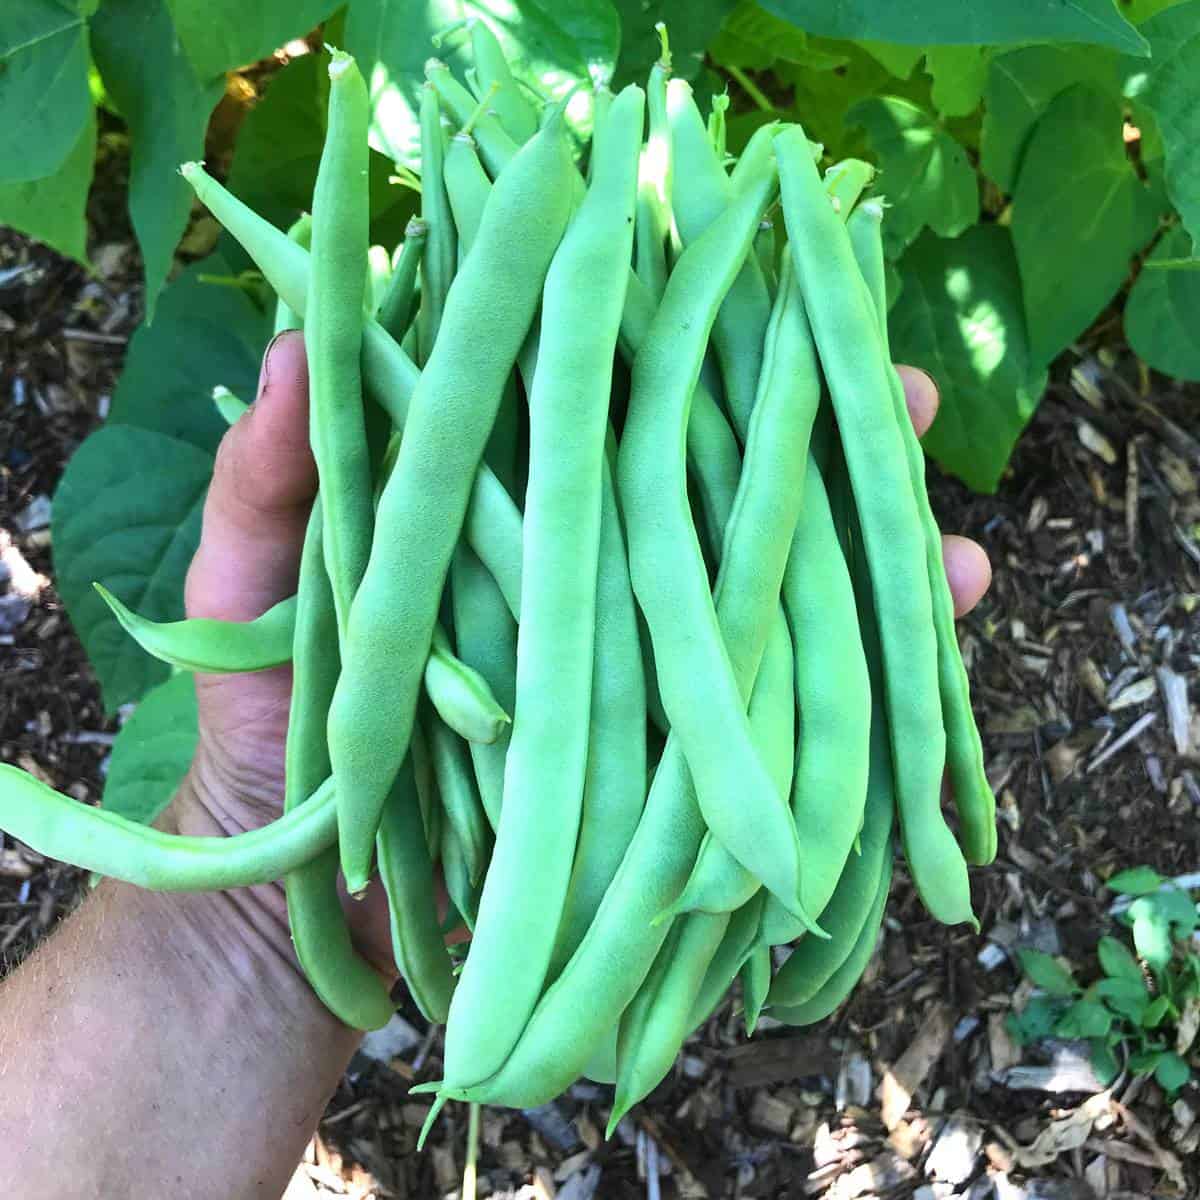
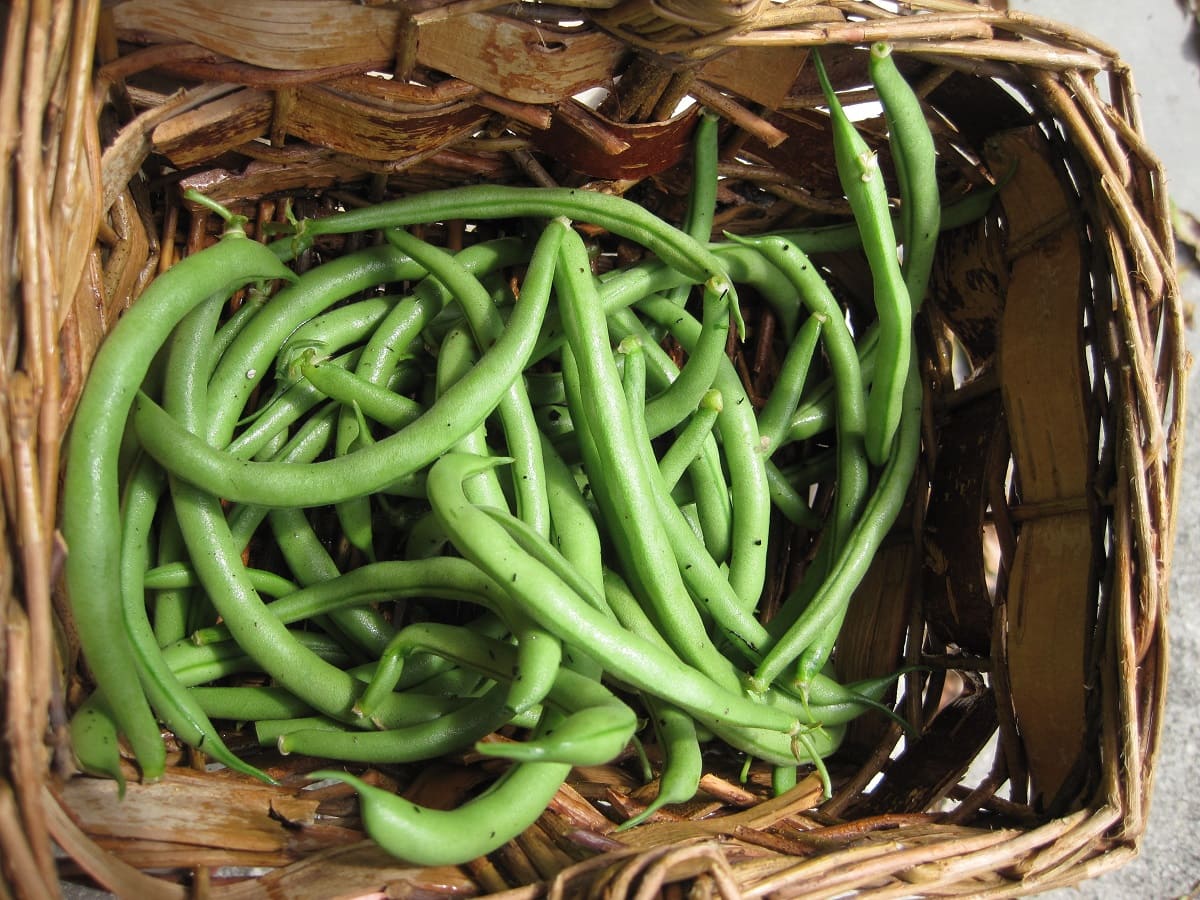
Step 1: Cleaning and Trimming the Green Beans
The first step in storing cut green beans is to ensure they are clean and properly trimmed. Follow these steps:
- Start by filling a large bowl or sink with cold water.
- Place the green beans in the water and swish them around to remove any dirt or debris.
- Inspect the green beans and discard any that are discolored or damaged.
- Using a sharp kitchen knife, trim off the ends of the green beans. You can simply cut off the stem ends or both ends, depending on your preference.
- Rinse the trimmed green beans under cold running water to remove any remaining dirt or particles.
By cleaning and trimming the green beans, you remove any impurities and ensure that you’re working with fresh and healthy produce. This step is crucial for maintaining the quality and flavor of the green beans during storage.
Step 2: Blanching the Green Beans
Blanching is an essential step in the process of storing cut green beans. Blanching involves briefly cooking the green beans in boiling water and then quickly cooling them in ice water. This helps preserve their color, texture, and nutritional value. Here’s how to blanch the green beans:
- Fill a large pot with water and bring it to a rolling boil.
- Add the cleaned and trimmed green beans to the boiling water.
- Allow the green beans to cook for about 2-3 minutes. Keep an eye on them to ensure they don’t overcook, as this can lead to a loss of flavor and texture.
- While the green beans are cooking, prepare an ice water bath in a large bowl or sink by filling it with cold water and ice cubes.
- Using a slotted spoon or tongs, transfer the cooked green beans from the boiling water and immediately place them into the ice water bath.
- Allow the green beans to sit in the ice water bath for 2-3 minutes to cool down and stop the cooking process.
- Once cooled, remove the green beans from the ice water bath and drain them in a colander or strainer.
Blanching the green beans helps to retain their vibrant color and crispness. It also helps to destroy enzymes that can cause the beans to deteriorate over time. This blanching process is a crucial step in preparing the green beans for storage.
Step 3: Cooling and Drying the Green Beans
After blanching the green beans, the next step is to cool them down thoroughly and ensure they are properly dried before storing. Follow these steps:
- Transfer the blanched green beans to a clean kitchen towel or paper towels to absorb any excess moisture.
- Gently pat the green beans dry, ensuring they are not dripping wet.
- Spread the green beans out in a single layer on a clean kitchen towel or paper towels to allow them to air dry for about 15-30 minutes.
- Make sure the green beans are completely dry before proceeding to the next step.
Properly cooling and drying the green beans is crucial to prevent them from becoming soggy or developing ice crystals during the storage process. Moisture can lead to freezer burn and deterioration of the bean’s texture and flavor.
After cutting green beans, store them in an airtight container or resealable plastic bag in the refrigerator. They will stay fresh for up to 5 days.
Read more: How To Store Blanched Green Beans
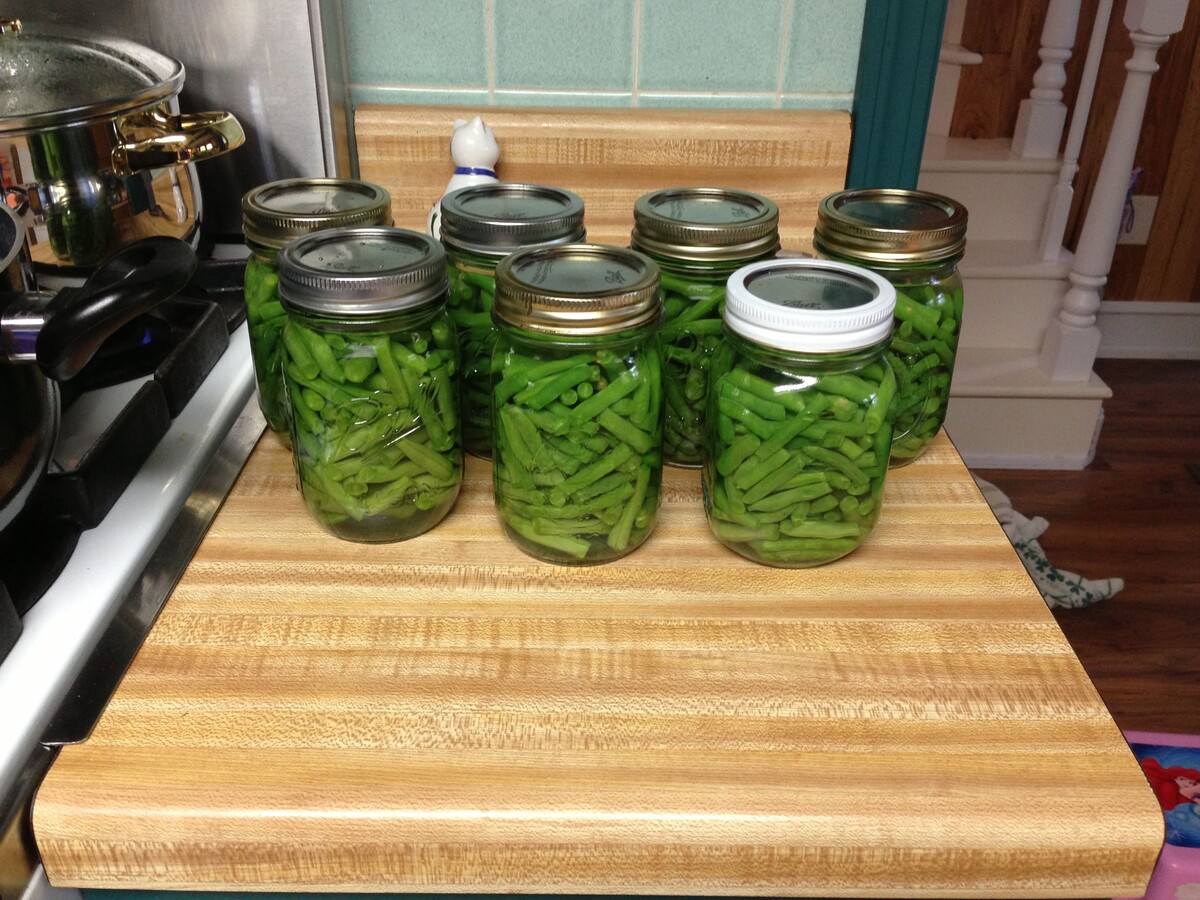
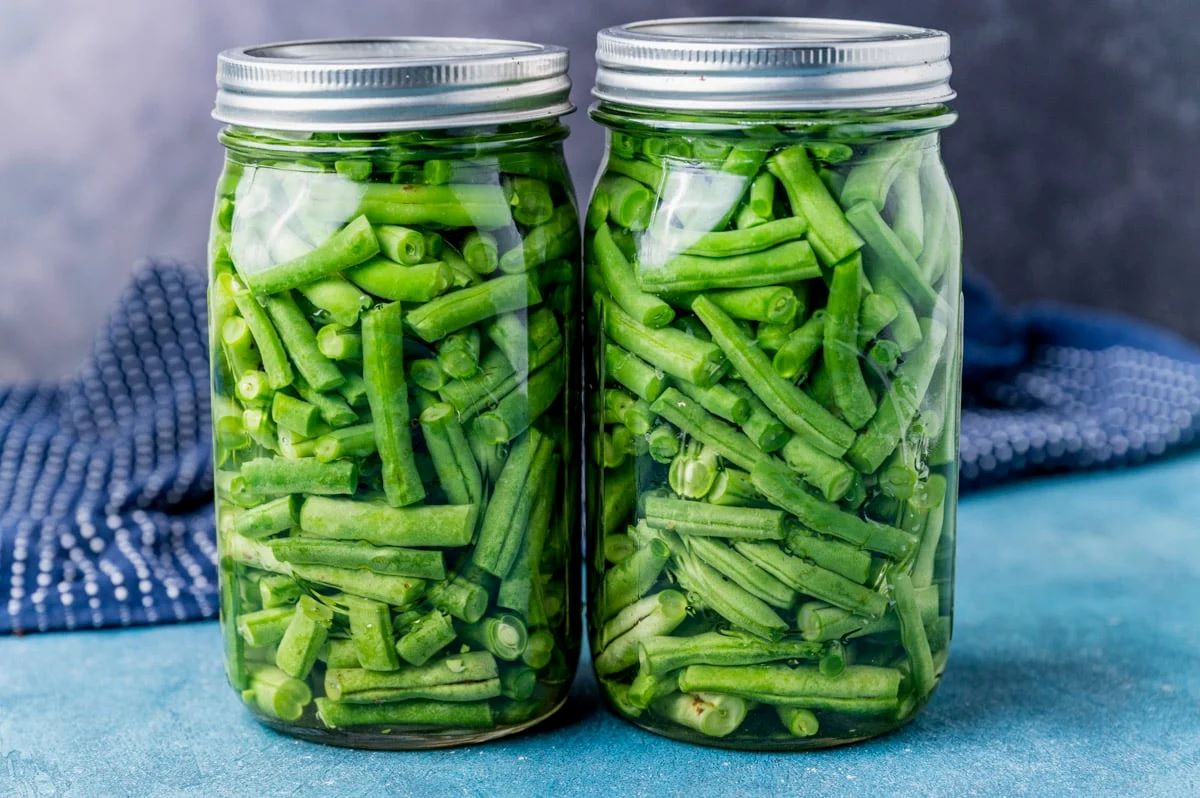
Step 4: Packaging and Storing the Green Beans
Once the green beans have been blanched, cooled, and dried, it’s time to package and store them properly to maintain their freshness. Follow these steps:
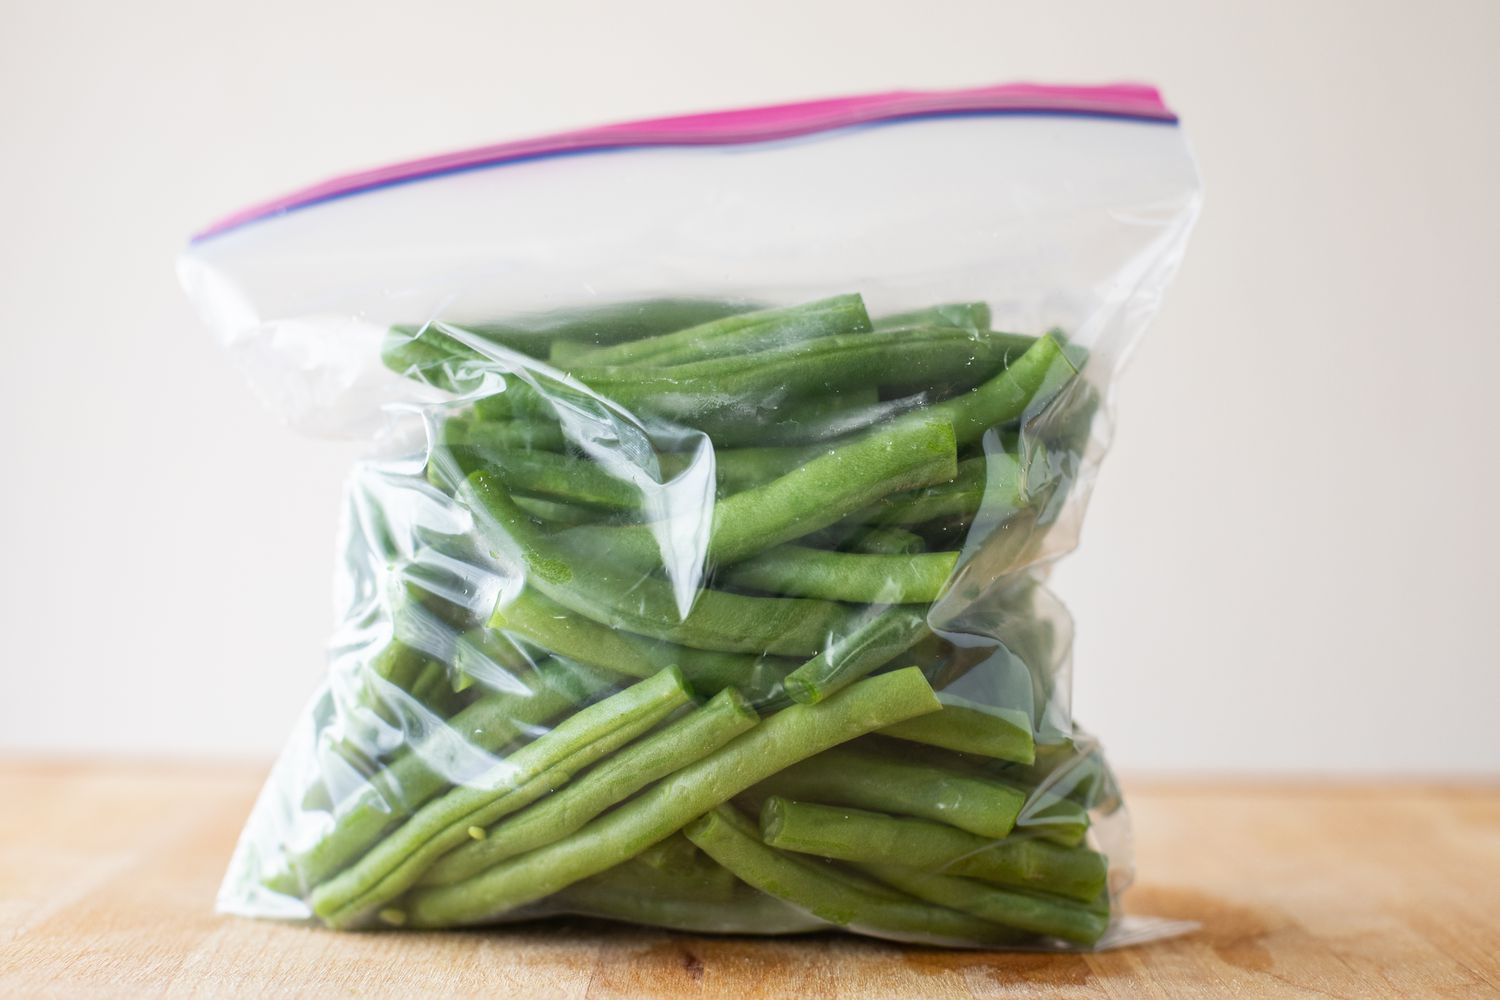
- Prepare airtight containers or freezer bags for storing the green beans.
- If using containers, ensure they are clean and dry. If using freezer bags, choose high-quality bags designed for freezing.
- Label the containers or bags with the current date using a permanent marker. This will help you keep track of the storage time.
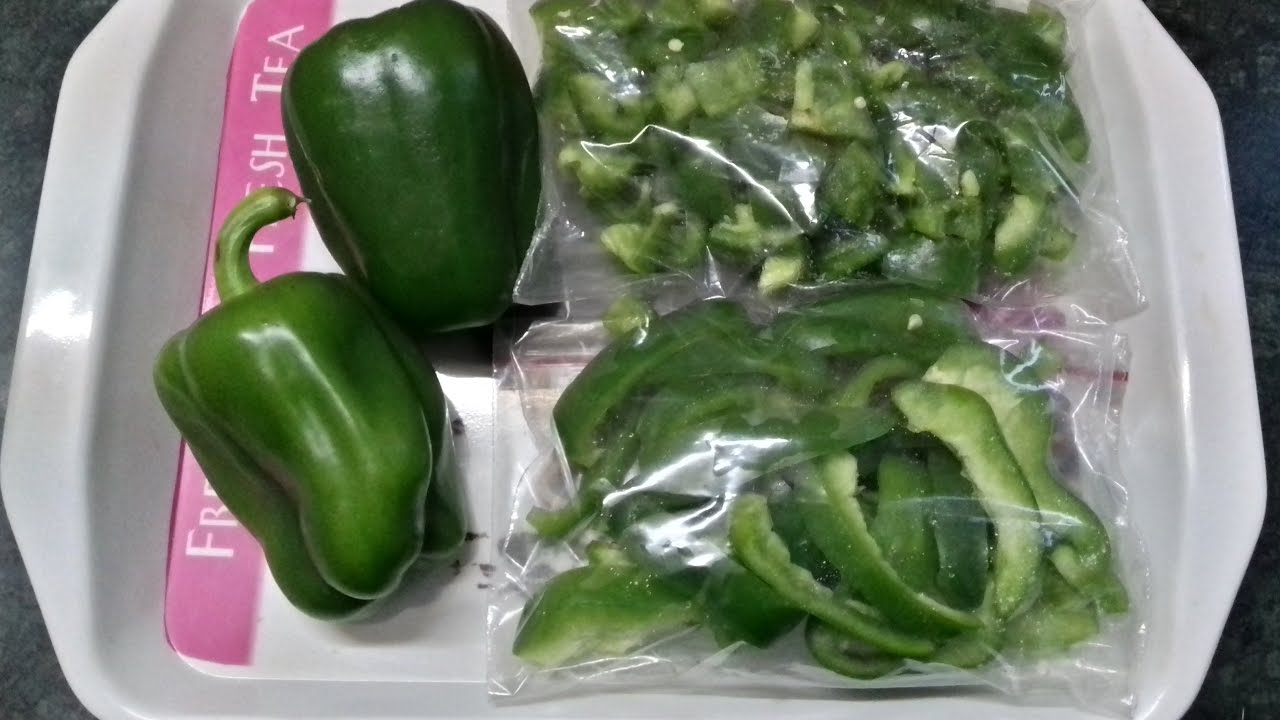
- Divide the green beans into small portions that you are likely to use in one go. This will minimize the need to thaw the entire batch every time.
- Place the green beans into the containers or bags, leaving a small amount of space at the top for expansion during freezing.
- Seal the containers or bags tightly, removing as much air as possible to prevent freezer burn.
- Place the packaged green beans in the freezer, making sure they are stored in a flat position to maximize space and prevent them from sticking together.
Proper packaging is crucial for maintaining the quality of the green beans during storage. By using airtight containers or freezer bags and removing excess air, you can prevent the beans from drying out and experiencing freezer burn.
It is important to note that the recommended storage time for frozen green beans is around 8-12 months. It is best to consume them within this time frame for maximum flavor and quality.
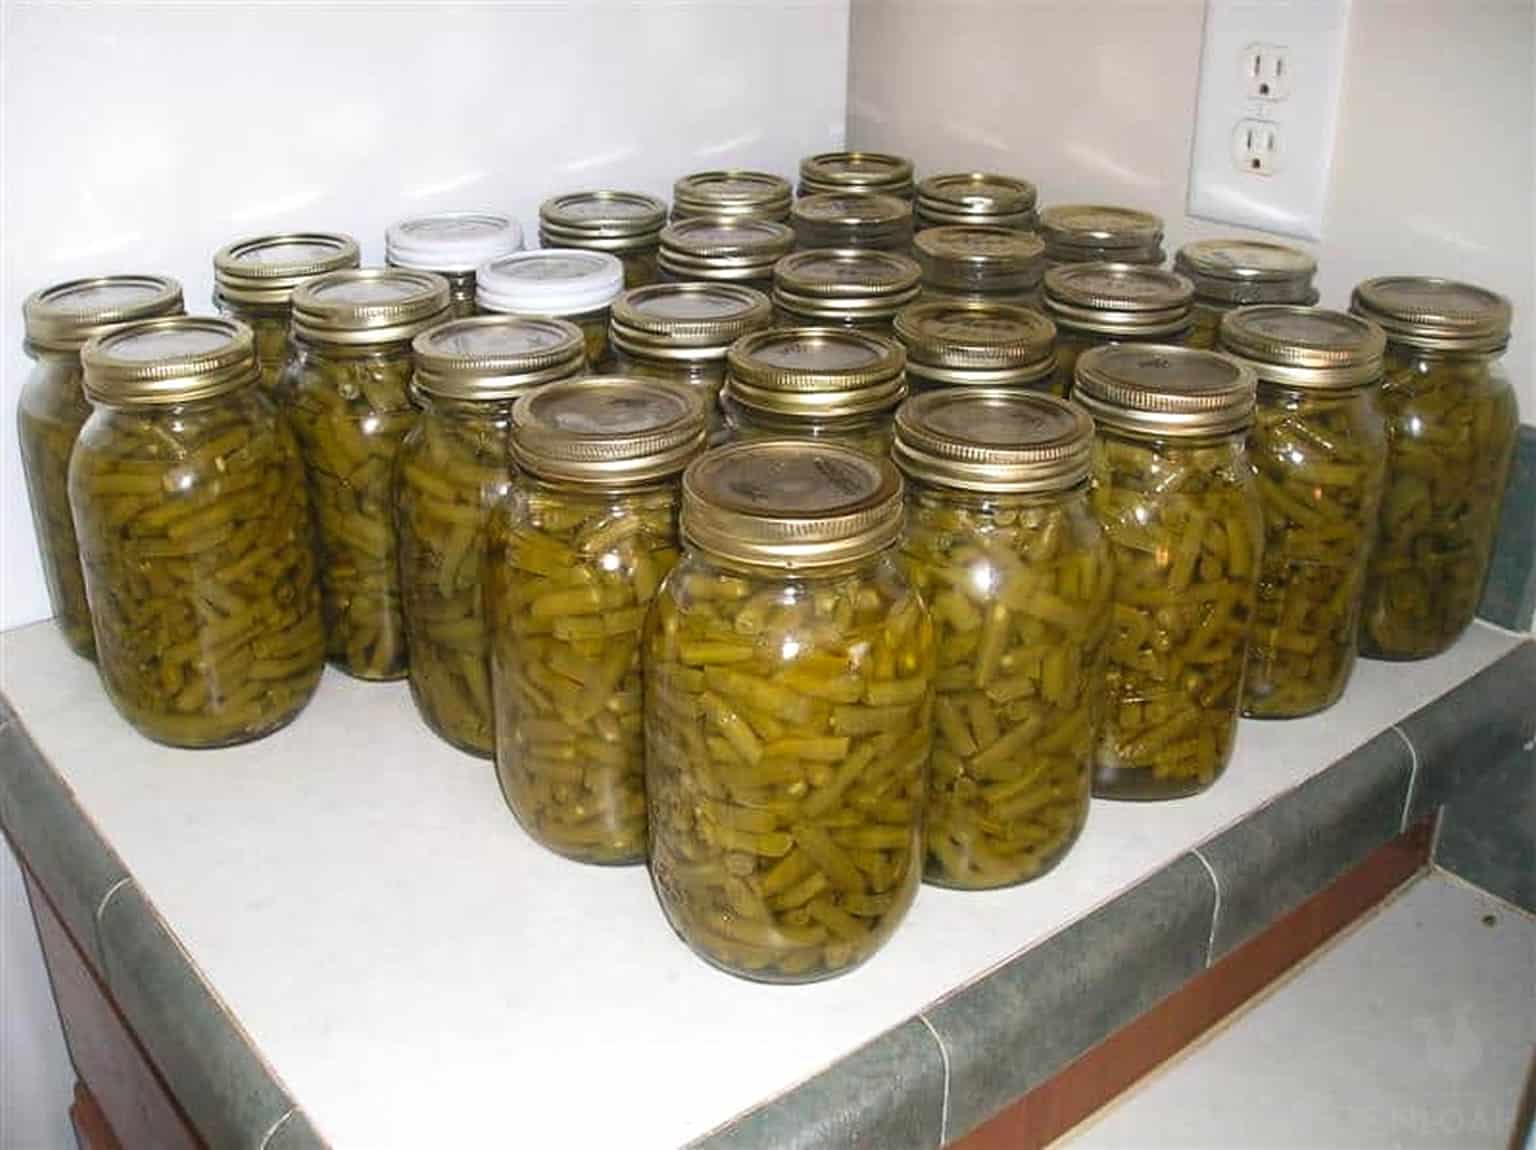
Step 5: Freezing the Green Beans
Now that the green beans are properly packaged, it’s time to freeze them to ensure long-term storage. Follow these steps:
- Place the packaged green beans in the coldest part of your freezer, ideally at a temperature of 0°F (-18°C) or below.
- Make sure the green beans are stored in a flat position to prevent them from shifting and getting damaged.
- Avoid overcrowding the freezer with too many items to allow for proper airflow and efficient freezing.
- Do not freeze warm or hot green beans, as this can lower the freezer temperature and affect the quality of other items in the freezer.
It is important to note that the freezing process preserves the quality of the green beans, but it does not completely stop the deterioration. Over time, frozen green beans may experience some loss of texture and flavor. Therefore, it is recommended to consume them within the recommended storage time for the best results.
By following these steps, you can ensure that your green beans stay fresh and retain their nutritional value for an extended period.
Step 6: Thawing and Using the Frozen Green Beans
When you’re ready to use the frozen green beans, it’s important to thaw them properly to maintain their texture and flavor. Follow these steps:
- Remove the desired portion of frozen green beans from the freezer.
- There are a few methods you can use to thaw the green beans:
- Refrigerator thawing: Place the frozen green beans in a container and thaw them in the refrigerator overnight. This is the easiest and safest method as it ensures a gradual thaw without compromising the quality.
- Water bath thawing: Seal the frozen green beans in a leak-proof bag and submerge them in cold water. Change the water every 30 minutes until the beans are thawed. This method is quicker than refrigerator thawing but requires more attention.
- Microwave thawing: Use the defrost setting on your microwave to thaw the green beans. Be careful not to overcook them, as it can result in a loss of texture.
- Once the green beans are thawed, drain any excess water.
- The thawed green beans can now be cooked according to your preference. You can use them in various recipes, such as stir-fries, soups, or casseroles.
It’s important to note that once the green beans have been thawed, it is not recommended to re-freeze them. This can affect their texture and quality.
By following these thawing methods, you can ensure that the frozen green beans retain their taste and texture, allowing you to enjoy them in your favorite dishes.
Conclusion
Storing cut green beans properly is essential to maintain their freshness, color, and texture. By following the steps outlined in this article, you can ensure that your green beans stay delicious and nutritious for an extended period.
Remember to start by cleaning and trimming the green beans, removing any dirt or damaged ends. Blanching the green beans helps preserve their color and nutritional value, while properly cooling and drying them prevents moisture-related issues during storage.
When packaging the green beans, use airtight containers or freezer bags to prevent freezer burn and maintain their quality. Freezing the green beans in a flat position and storing them in the coldest part of the freezer ensures maximum freshness.
When you’re ready to use the frozen green beans, follow the proper thawing methods to retain their texture and flavor. Whether you choose refrigerator thawing, water bath thawing, or microwave thawing, the goal is to thaw them gradually and safely.
By incorporating these steps into your green bean storage routine, you can enjoy the fresh taste of green beans even when they are out of season. Remember to label your containers or bags and consume your frozen green beans within the recommended storage time for the best results.
So the next time you have an abundance of green beans, don’t let them go to waste. Follow these steps to store them properly and enjoy their delightful flavor throughout the year.
Frequently Asked Questions about How To Store Cut Green Beans
Was this page helpful?
At Storables.com, we guarantee accurate and reliable information. Our content, validated by Expert Board Contributors, is crafted following stringent Editorial Policies. We're committed to providing you with well-researched, expert-backed insights for all your informational needs.


0 thoughts on “How To Store Cut Green Beans”