Articles
How To Store Green Beans In Mason Jars
Modified: December 7, 2023
Learn the best method to store green beans in mason jars with this informative article. Discover proper techniques for preserving freshness and flavor.
(Many of the links in this article redirect to a specific reviewed product. Your purchase of these products through affiliate links helps to generate commission for Storables.com, at no extra cost. Learn more)
Introduction
Green beans, also known as string beans or snap beans, are a popular vegetable that can be enjoyed throughout the year. Whether you grow them in your backyard garden or purchase them from a local farm, knowing how to properly store green beans is essential to preserve their freshness and flavor.
In this article, we will guide you through the process of storing green beans in mason jars, which is a convenient and efficient way to keep them fresh for an extended period. By following these simple steps, you can enjoy the taste of delicious green beans long after the harvesting season has ended.
Not only does storing green beans in mason jars help in preserving their quality, but it also allows you to avoid wastage and enjoy a bountiful supply of this nutritious vegetable all year round. So, let’s dive into the steps on how to store green beans in mason jars!
Key Takeaways:
- Preserve the freshness and flavor of green beans year-round by storing them in mason jars. Follow simple steps to harvest, clean, blanch, pack, seal, and store for convenient and nutritious culinary use.
- Enjoy the versatility of stored green beans in various dishes, from steaming and salads to pickling and soups. With proper storage, you can savor the taste and nutritional benefits throughout the year.
Read more: How To Store Cooked Beans In Mason Jars
Step 1: Harvesting and Cleaning Green Beans
The first step in storing green beans in mason jars is harvesting them at the right time. Green beans should be picked when they are at their peak ripeness, usually when they are bright green, crisp, and free from blemishes. Avoid picking green beans that are overly mature, as they tend to be tough and fibrous.
Once you have harvested your green beans, it is important to clean them thoroughly to remove any dirt, debris, or pests that may be clinging to the pods. Start by rinsing the green beans under cool running water to remove any loose dirt. Then, fill a large bowl or sink with water and add a tablespoon of salt. Swirl the beans around in the saltwater solution to help dislodge any stubborn dirt or insects.
After cleaning the green beans, give them a final rinse under running water to remove any salt residue. Next, pat them dry gently with a clean kitchen towel or paper towels. It is best to let the green beans air-dry for a few minutes before proceeding to the next step.
Properly harvesting and cleaning the green beans ensures that any dirt or pests are removed, reducing the risk of spoilage during storage. Now that your green beans are clean and ready, it’s time to move on to the next step: preparing the mason jars.
Step 2: Preparing the Mason Jars
Properly preparing the mason jars is crucial to ensure the freshness and longevity of your stored green beans. Here’s how to get your jars ready:
- Selecting the Right Jars: Start by choosing high-quality mason jars with airtight lids. Opt for jars that are specifically designed for canning to ensure proper sealing and preservation.
- Sterilizing the Jars: Before using the mason jars, it is important to sterilize them to prevent any bacterial contamination. You can sterilize the jars by either boiling them in a large pot of water for 10 minutes or by placing them in a preheated oven at 225°F (107°C) for about 10 minutes. Make sure to also sterilize the lids and rings.
- Drying the Jars: After sterilizing the jars, remove them from the boiling water or oven and let them air-dry completely. It’s important to ensure that the jars are dry before adding the green beans to prevent any moisture from compromising the quality and safety of the stored produce.
Once the mason jars are cleaned, sterilized, and dry, they are ready to be filled with your fresh green beans. Preparing the jars properly sets the foundation for successful long-term storage. Now that you have your jars ready, let’s move on to the next step: blanching the green beans.
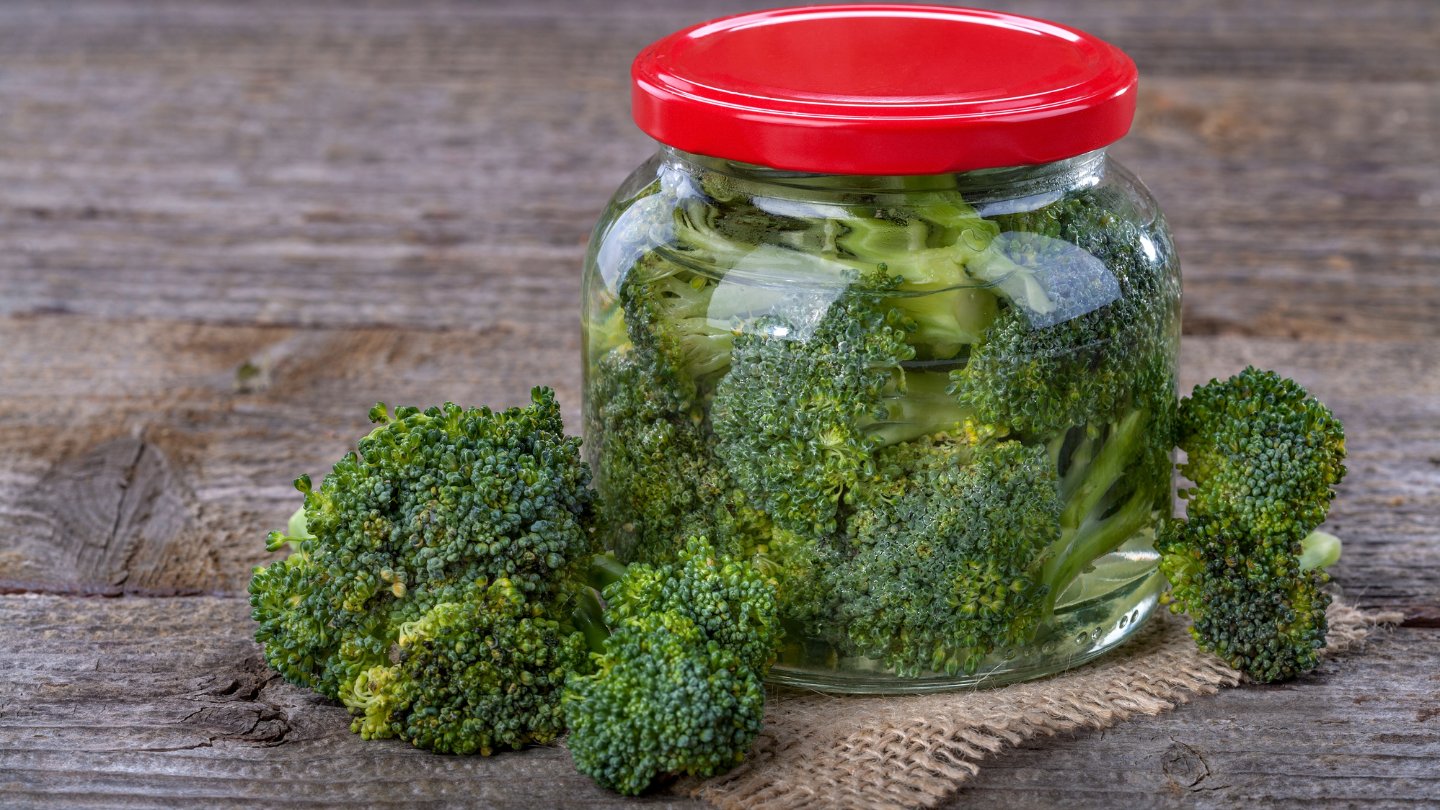
Step 3: Blanching Green Beans
Blanching is an essential step in the process of storing green beans in mason jars. It helps to preserve the color, texture, and nutritional content of the beans. Follow these steps to blanch your green beans:
- Trimming and Cutting: Start by trimming the ends of the green beans. Remove any stems or tough spots. You can also cut the beans into smaller pieces if desired.
- Boiling Water Bath: Bring a large pot of water to a rapid boil. Fill another bowl with ice water and keep it nearby.
- Blanching the Green Beans: Submerge the trimmed green beans in the boiling water and let them cook for 2-3 minutes. The exact time may vary based on the size and thickness of the beans. Blanch small beans for 2 minutes and larger ones for 3 minutes.
- Ice Water Bath: After the blanching time is up, quickly remove the green beans from the boiling water and transfer them to the bowl of ice water. This stops the cooking process and helps preserve the vibrant green color.
- Drain and Dry: Once the green beans have cooled down in the ice water bath, drain them thoroughly and gently pat them dry with a kitchen towel. Make sure that excess water is removed to prevent any moisture from affecting the quality of the beans during storage.
Blanching the green beans helps to retain their vibrant green color, texture, and nutrients. It also helps to delay enzymatic activity that can lead to spoilage. Now that your green beans are blanched and ready, let’s move on to the next step: packing them into the mason jars.
To store green beans in mason jars, blanch the beans in boiling water for 2-3 minutes, then transfer them to ice water to stop the cooking process. Pack the beans tightly into sterilized mason jars and cover with boiling water, leaving 1 inch of headspace. Process in a water bath canner for 20 minutes for pints or 25 minutes for quarts.
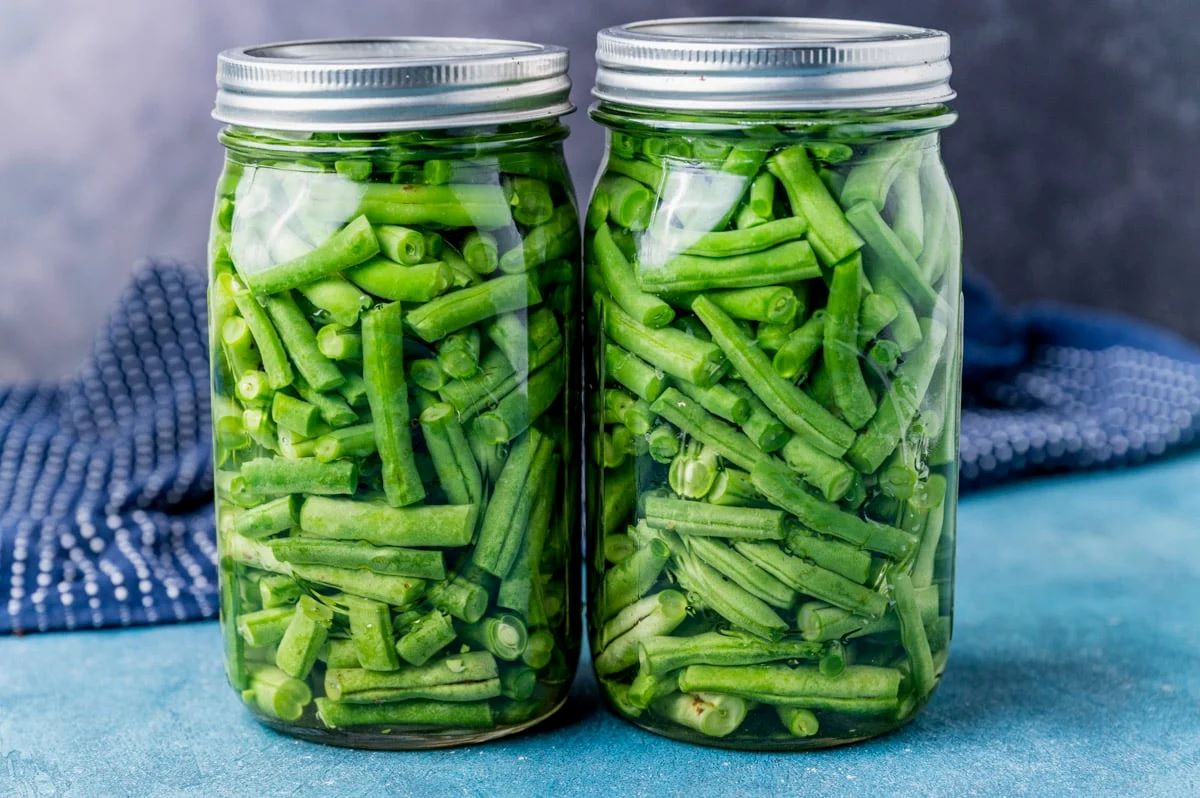
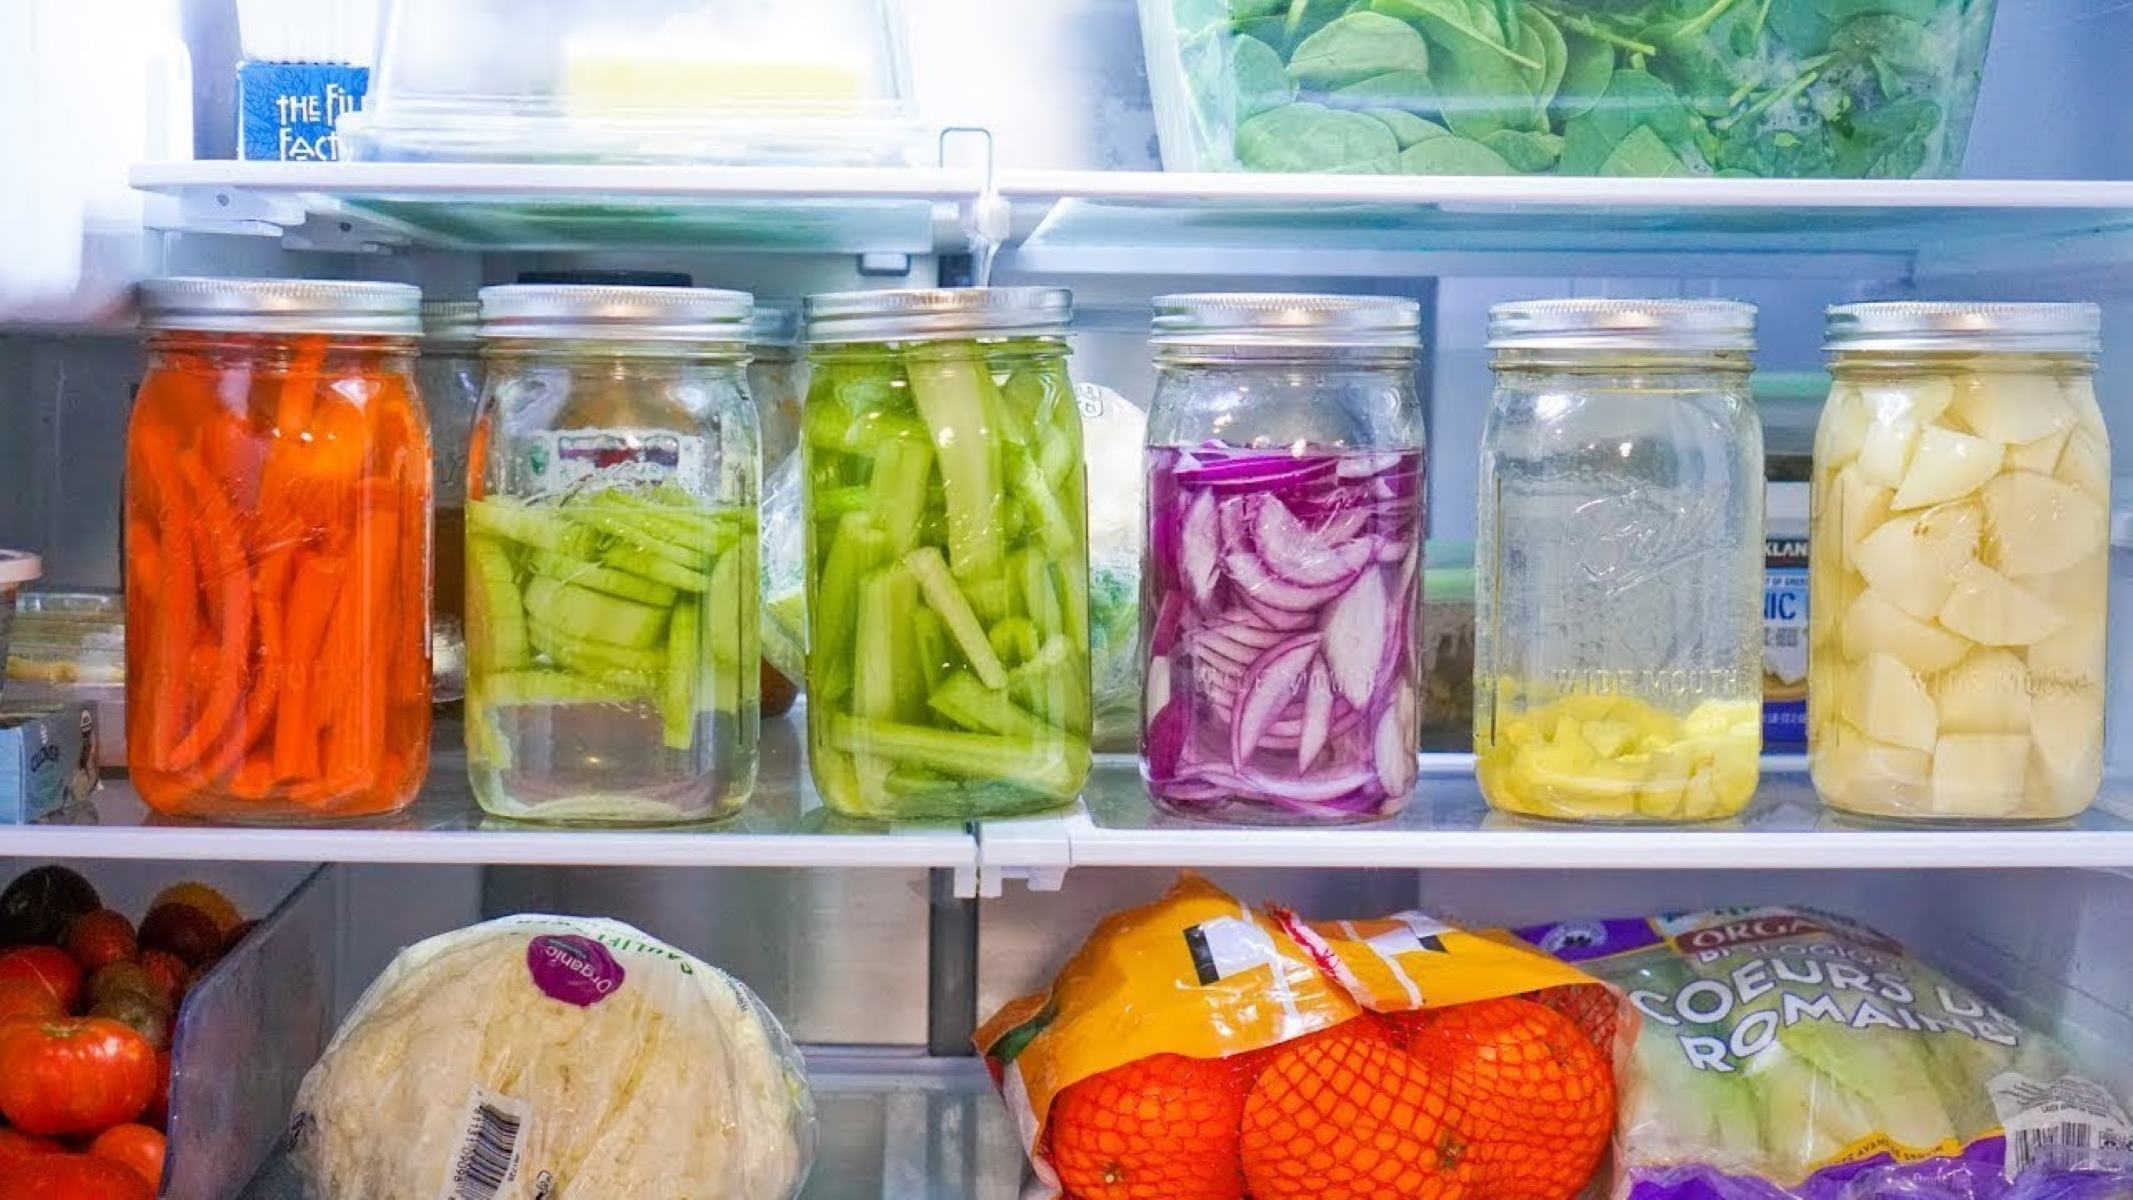
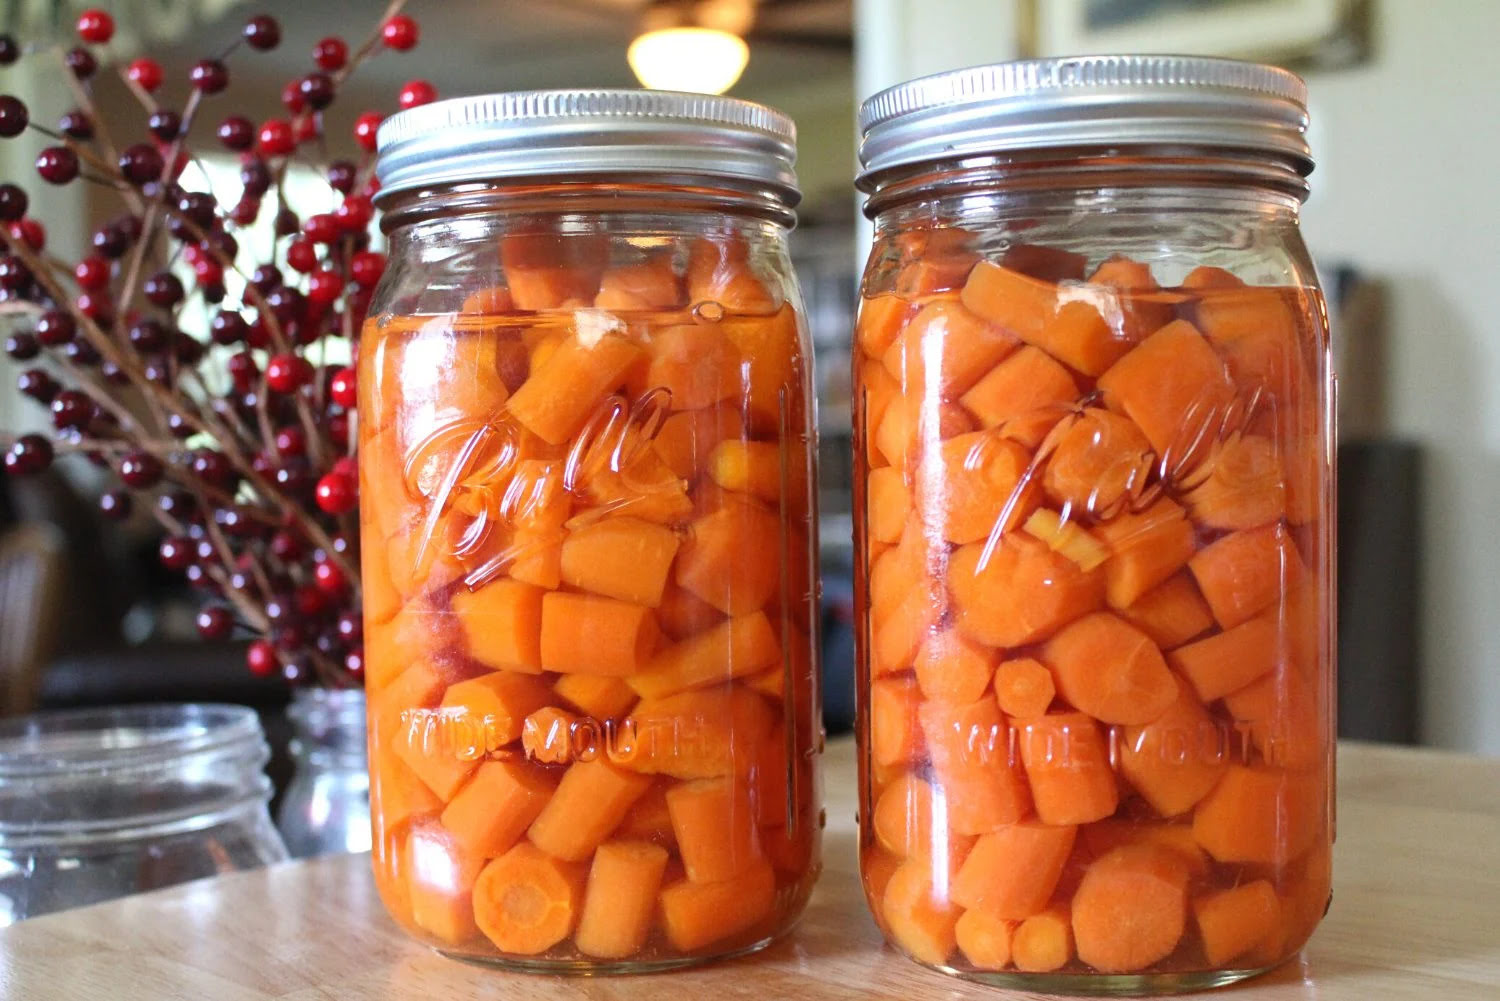
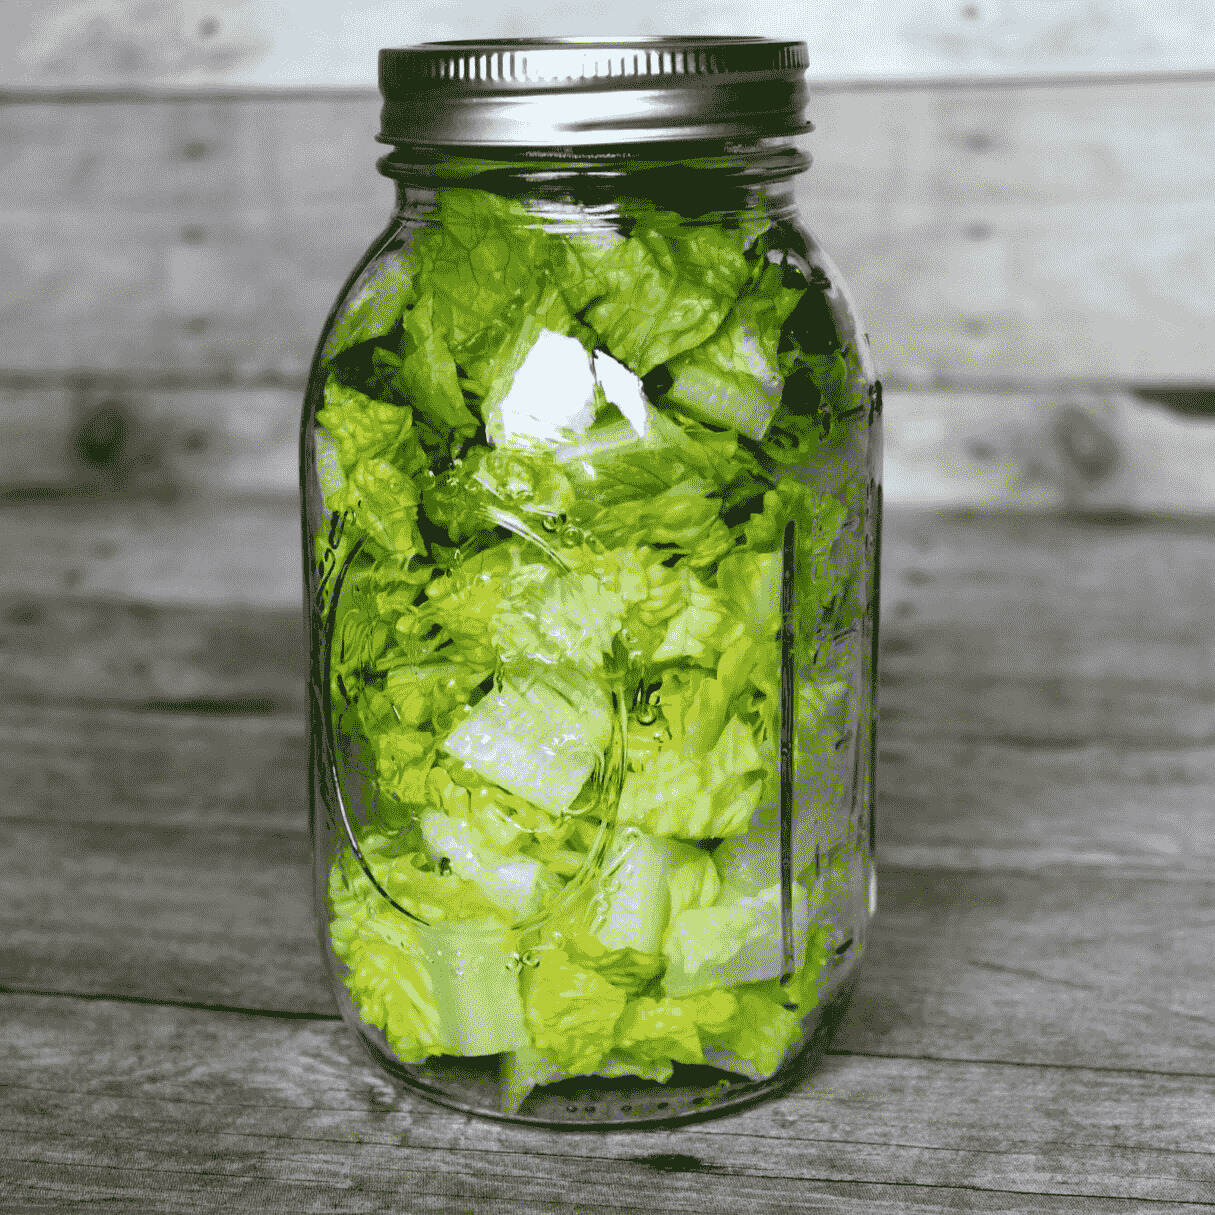
Step 4: Packing Green Beans into Mason Jars
Now that your green beans are blanched and prepped, it’s time to pack them into the mason jars for storage. Here’s how to do it:
- Pack in an Orderly Manner: Take a sterilized mason jar and start filling it with the blanched green beans. Arrange them in an orderly manner, leaving a slight gap at the top for expansion during the sealing process. Ensure that there are no air pockets or gaps between the beans.
- Fill with Liquid: Optional: You can fill the jar with a liquid such as water or brine. This can help to maintain the texture and flavor of the green beans during storage. Leave about ½ inch of headspace at the top to allow for expansion.
- Wipe the Jar Rim: After packing the green beans, use a clean, damp cloth or paper towel to wipe the rim of the jar to ensure a clean and proper seal.
- Secure the Lid: Place a sterilized lid on top of the jar and screw on the ring until it is tight but not overly so. This will create a secure and airtight seal for your mason jar.
Repeat this process for each mason jar until all of your green beans are packed. Properly packing the green beans into the mason jars helps to ensure the quality and shelf life of your stored produce. Now that your jars are filled and sealed, let’s move on to the next step: storing them correctly.
Read more: How To Store Dry Beans In Mason Jars
Step 5: Sealing and Storing Mason Jars
Once you have packed your green beans into the mason jars, it’s important to properly seal and store them to maintain their freshness. Follow these steps to seal and store your jars:
- Check for Proper Seal: Before storing the jars, check each lid to ensure that it is properly sealed. Press down on the center of each lid. If it pops back, it indicates that the seal is not secure, and the jar should not be stored. However, if the lid remains firm and flat, it means that the jar is properly sealed and ready for storage.
- Label and Date: Use a permanent marker to label each jar with the contents and the date of storage. This will help you keep track of the freshness and rotation of your stored green beans.
- Choose the Right Storage Location: Store the sealed mason jars of green beans in a cool, dark place away from direct sunlight. Ideally, a pantry or cellar with a temperature of around 50-70°F (10-21°C) is perfect for long-term storage.
- Rotate and Use Within a Year: While properly stored green beans can last up to a year, it is recommended to use them within 8-12 months for the best quality and flavor.
By following these sealing and storage steps, you can ensure the preservation of your green beans for an extended period. Now that your green beans are properly stored, let’s move on to the final step: utilizing these stored beans in various culinary creations.
Step 6: Using Stored Green Beans
Now that you have successfully stored your green beans in mason jars, it’s time to put them to good use in your culinary creations. Here are a few ideas on how to use your stored green beans:
- Steam or Saute: Steam or sauté the green beans as a side dish. Simply place them in a steamer basket or add them to a hot skillet with a bit of oil or butter. Cook until they reach the desired tenderness and season with your favorite herbs and spices.
- Add to Salads: Incorporate the green beans into your salads for added texture and flavor. You can blanch them briefly before adding to the salad or use them directly from the jar.
- Incorporate in Stir-Fries: Green beans make a delicious addition to stir-fries. Add them to your favorite stir-fry recipe along with other vegetables, proteins, and sauces for a quick and healthy meal.
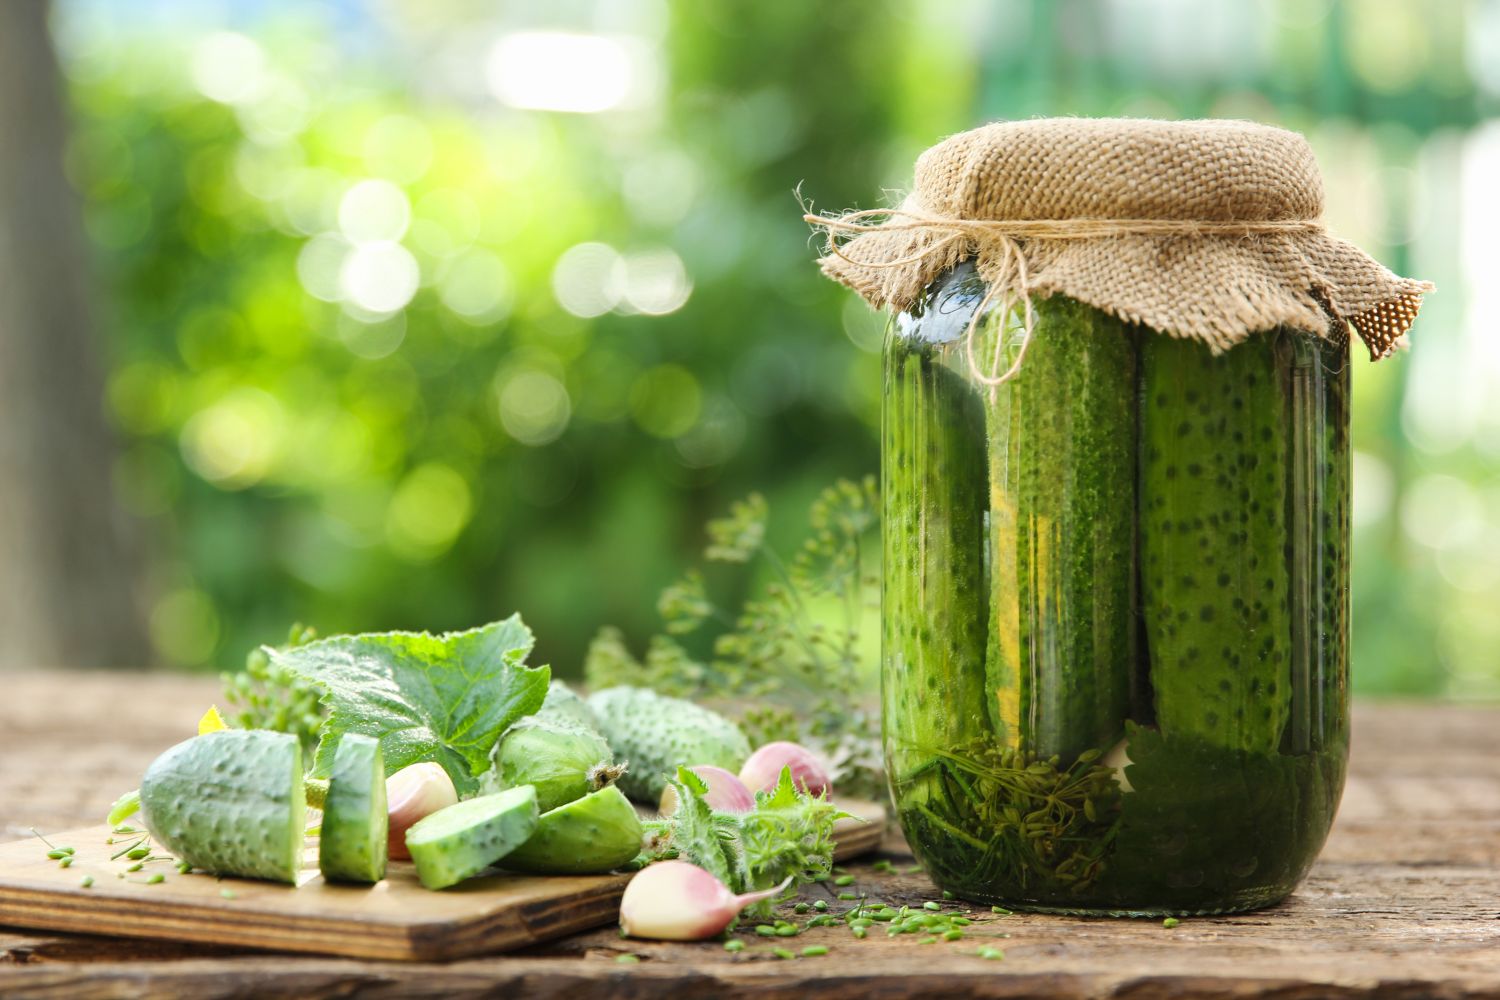
- Create Pickled Green Beans: If you enjoy tangy and crunchy flavors, try pickling your green beans. Follow a pickling recipe using vinegar, water, salt, and spices to create a delightful snack or addition to your charcuterie board.
- Blend into Soups and Stews: Green beans can be pureed and added to soups and stews for extra nutrition and a creamy texture. Simply blend the stored green beans with some broth or water and add them to your desired dish.
These are just a few ways to incorporate your stored green beans into your meals. Feel free to get creative and experiment with different recipes and cooking methods to make the most out of your preserved green beans.
By following the steps outlined in this article, you can store green beans in mason jars and have them readily available for culinary endeavors throughout the year. Enjoy the taste and nutritional benefits of your home-preserved green beans!
Now that you know how to use your stored green beans, it’s time to start cooking and enjoying the fruits (or rather, vegetables) of your labor!
Conclusion
Storing green beans in mason jars is a fantastic way to enjoy the freshness of this versatile vegetable all year round. By following the steps outlined in this article, you can properly harvest, clean, blanch, pack, seal, and store your green beans for optimal preservation.
Mason jars provide a convenient and efficient method of storage, allowing you to maintain the quality, flavor, and nutritional value of the green beans for an extended period. With proper organization and labeling, you can easily keep track of your stored green bean inventory and use them in various culinary creations.
Whether you enjoy them as a side dish, in salads, stir-fries, soups, or pickled, your stored green beans will add a burst of freshness and nutrients to your meals. The flexibility of these stored green beans allows you to explore your creativity in the kitchen and experiment with different flavors and recipes.
So why let your fresh green beans go to waste when you can store them in mason jars and enjoy the taste of summer all year long? With a little time and effort, you can preserve the bounty of your harvest or stock up on farm-fresh green beans from local markets and enjoy their goodness even in the off-season.
So, harvest those green beans, clean and blanch them, carefully pack them into mason jars, seal them tightly, and store them in a cool, dark place. Then, when the craving strikes or when you’re ready to cook up a storm, simply open a jar of your stored green beans and let the culinary adventures begin!
With the knowledge and steps shared in this article, you’re now equipped to store green beans in mason jars like a pro. Happy preserving and bon appétit!
Frequently Asked Questions about How To Store Green Beans In Mason Jars
Was this page helpful?
At Storables.com, we guarantee accurate and reliable information. Our content, validated by Expert Board Contributors, is crafted following stringent Editorial Policies. We're committed to providing you with well-researched, expert-backed insights for all your informational needs.


0 thoughts on “How To Store Green Beans In Mason Jars”