Articles
How To Store Blanched Green Beans
Modified: January 6, 2024
Learn the best methods for storing blanched green beans in this informative article. Discover tips and tricks to keep your beans fresh and ready to use whenever you need them.
(Many of the links in this article redirect to a specific reviewed product. Your purchase of these products through affiliate links helps to generate commission for Storables.com, at no extra cost. Learn more)
Introduction
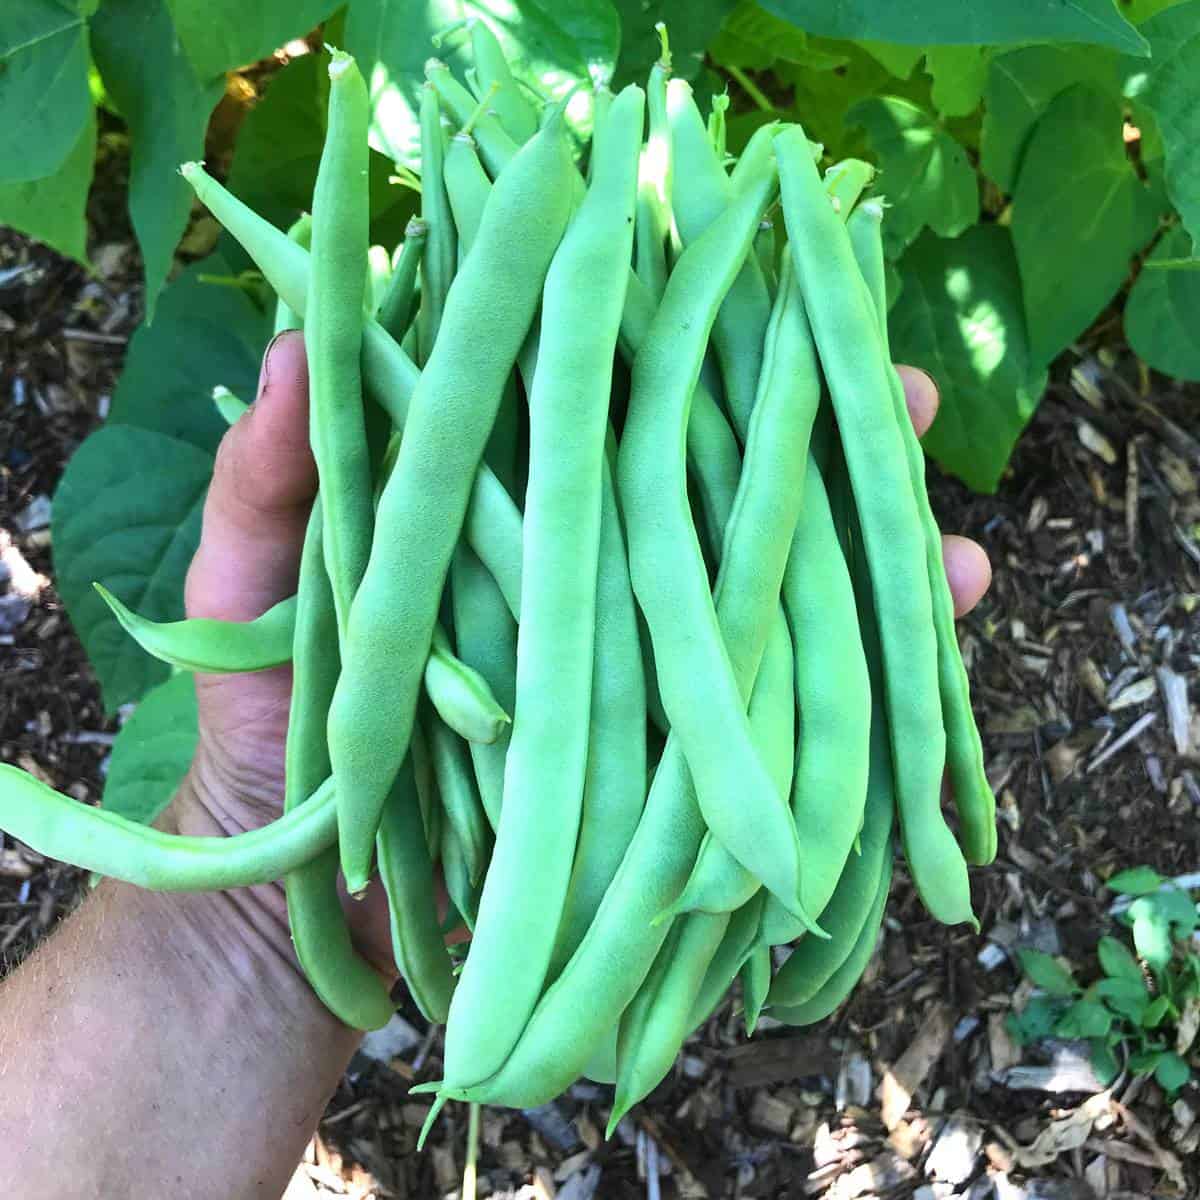
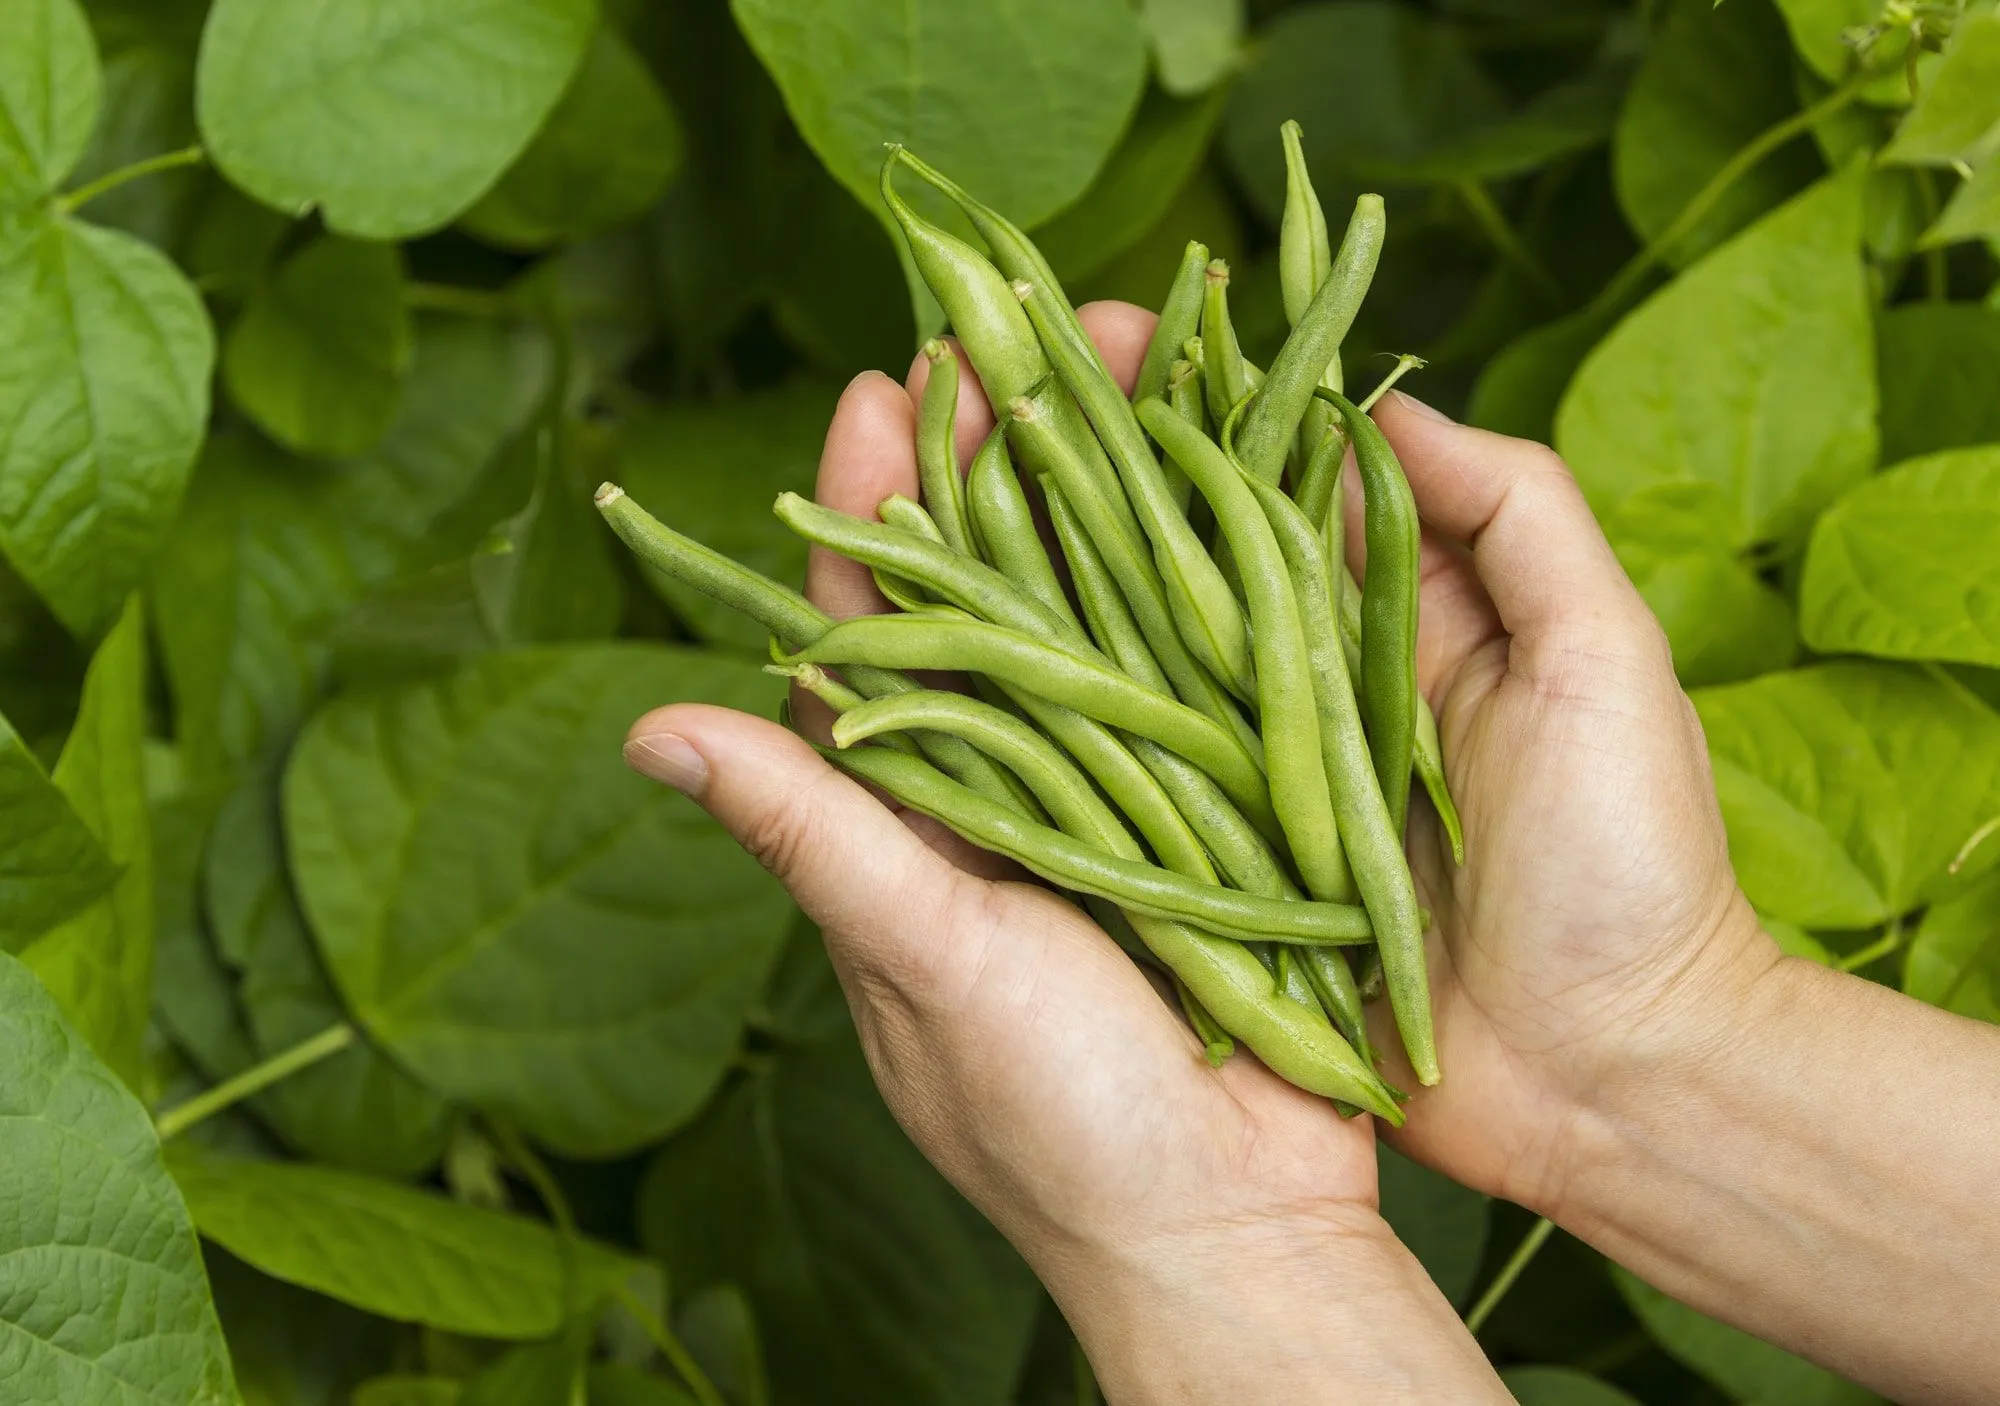
Welcome to the world of blanched green beans! Whether you grow your own fresh produce or purchase them from a local market, you might find yourself with an abundance of green beans that need to be preserved. Blanching is an excellent method for preparing green beans that not only retains their vibrant color but also helps to lock in their natural flavors and nutrients.
In this article, we will guide you through the process of blanching green beans and storing them properly to ensure their freshness and quality. So, let’s dive in and discover the art of preserving the taste of summer all year round!
Key Takeaways:
- Preserve the taste of summer by blanching and storing green beans to retain their vibrant color, crisp texture, and delicious taste for up to 12 months in the freezer.
- Enjoy the versatility of blanched green beans in a variety of recipes, from stir-fries to salads, soups to side dishes, and elevate your dishes with their vibrant color and flavor.
Read more: How To Store Green Beans
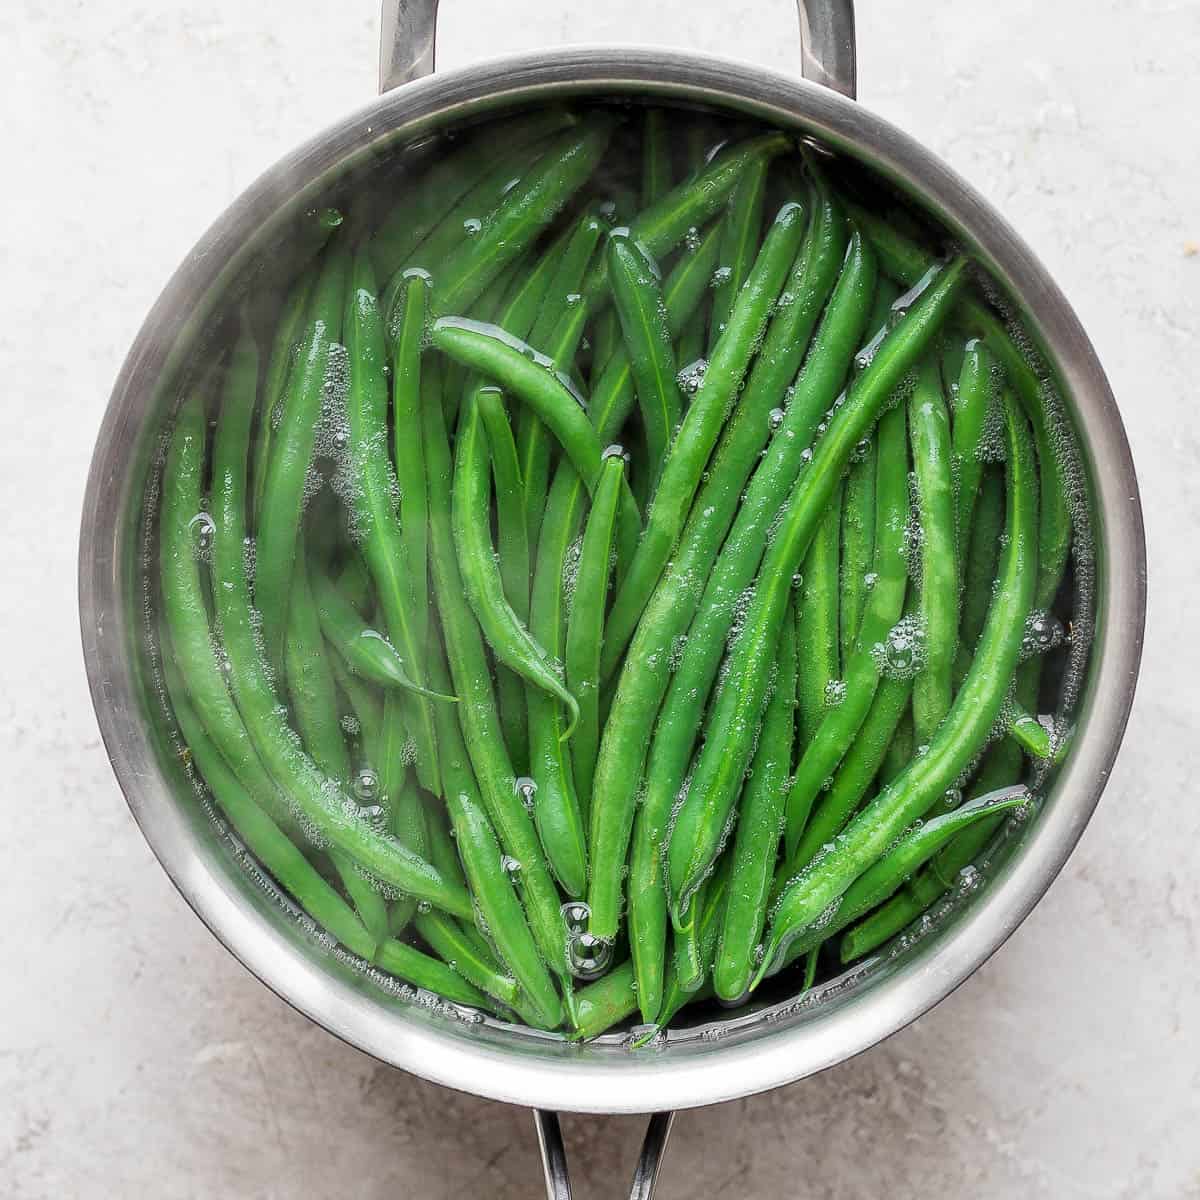
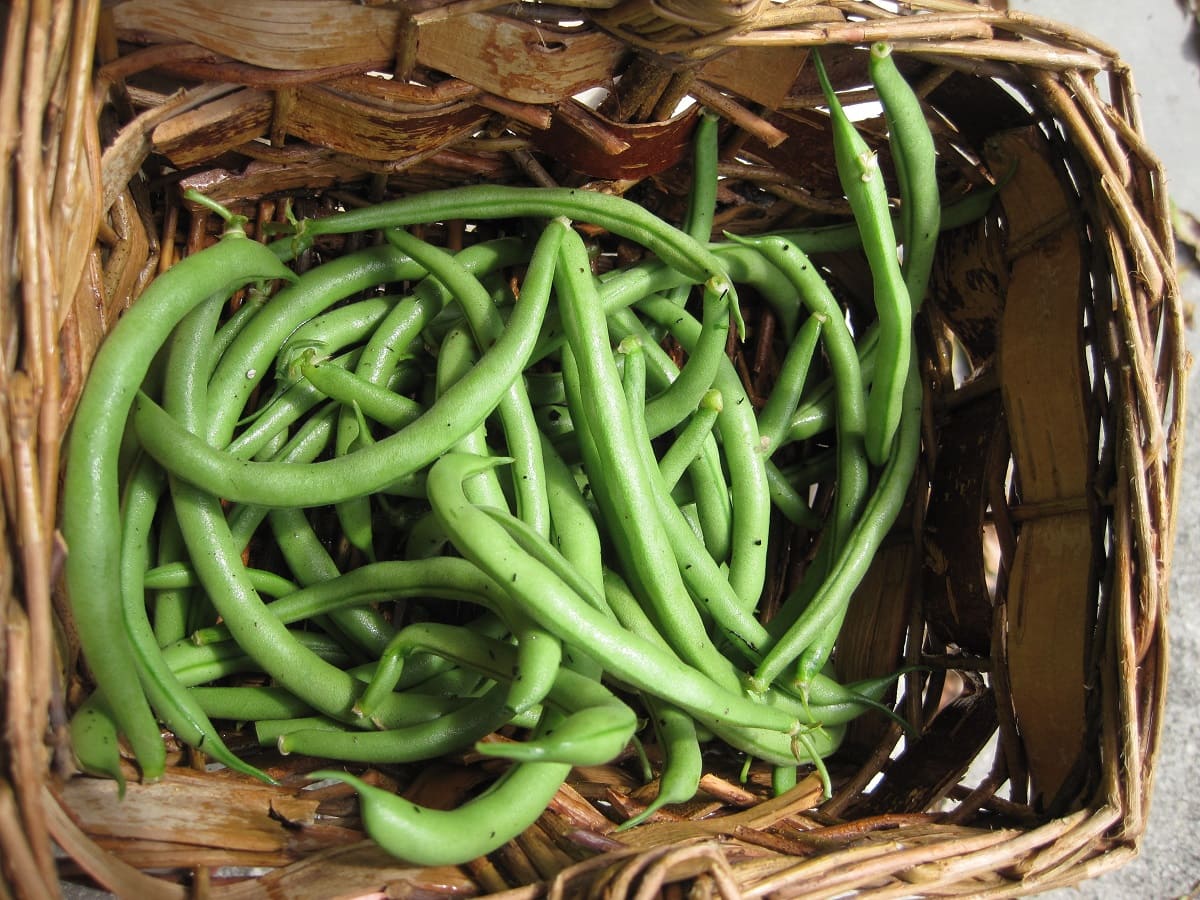
Step 1: Blanching Green Beans
Blanching is a simple and effective technique that involves briefly boiling the green beans before rapidly cooling them. This process helps to halt the enzymatic activity that can cause the beans to deteriorate and lose their vibrant color.
Here’s how to blanch green beans:
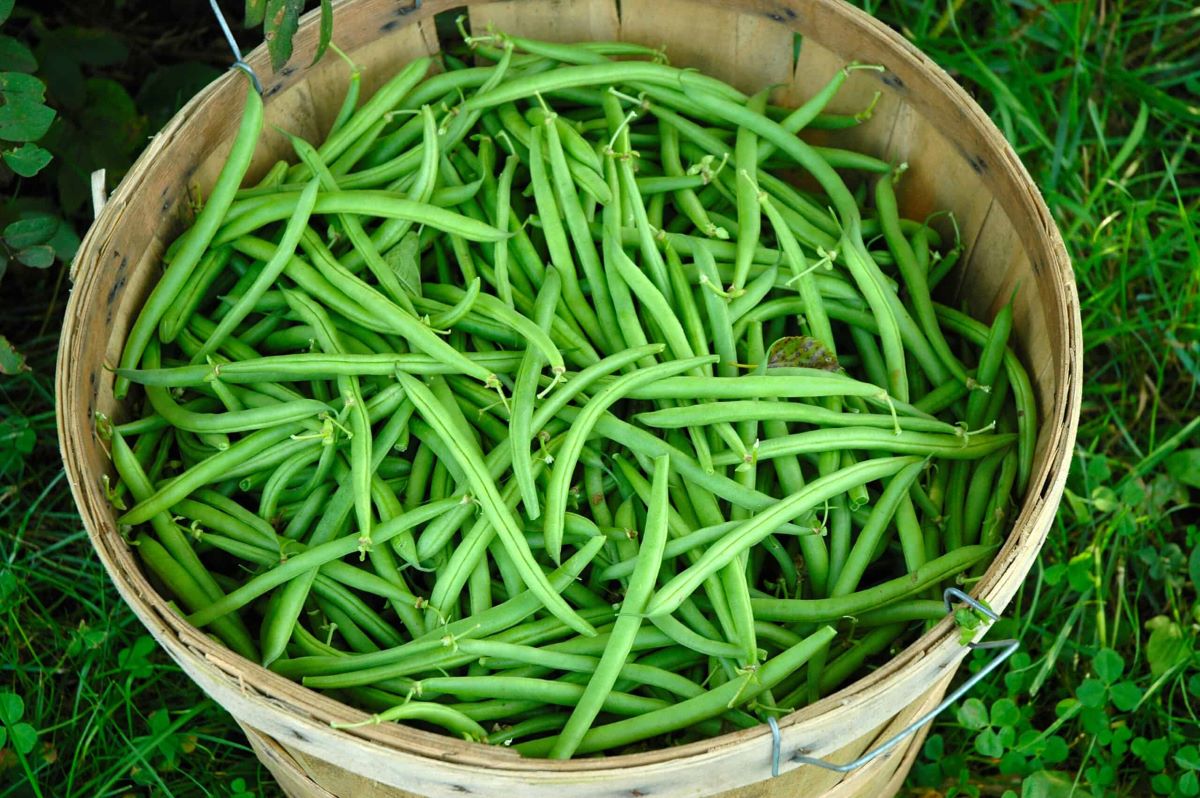
- Start by washing the green beans thoroughly under cold water to remove any dirt or debris. Trim off the ends if necessary.
- Bring a large pot of water to a rolling boil. For every pound of green beans, you will need about one gallon of water.
- Add a generous amount of salt to the boiling water. The salt not only enhances the flavor of the green beans but also helps to preserve their color and texture.
- Gently lower the green beans into the boiling water and let them cook for 2-3 minutes. Keep an eye on them, as you don’t want to overcook the beans.
- While the beans are boiling, prepare a large bowl filled with cold water and ice cubes.
- After the blanching time is up, quickly remove the green beans from the boiling water using a slotted spoon or tongs and transfer them immediately into the ice water bath. This will rapidly cool down the beans and stop the cooking process.
- Let the green beans sit in the ice water bath for about 3-4 minutes or until they are completely cooled.
- Once cooled, drain the green beans and pat them dry using a clean kitchen towel or paper towels. Now they are ready for packaging and storage!
Step 2: Cooling and Drying the Green Beans
After blanching, it’s important to properly cool and dry the green beans before packaging them for storage. This step ensures that excess moisture is removed, preventing the beans from becoming soggy or developing freezer burn.
Here’s how to cool and dry the blanched green beans:
- Once the green beans have been drained after the ice water bath, spread them out on a clean kitchen towel or a layer of paper towels.
- Gently pat the beans dry, absorbing any excess moisture. It’s important to remove as much moisture as possible to prevent freezer burn.
- Allow the green beans to air dry for about 10-15 minutes. This will further ensure that they are completely dry before packaging.
- If you’re in a rush or don’t have time to air dry, you can use a clean kitchen towel to gently blot the beans dry.
- Ensure that the green beans are completely dry before moving on to the next step. Moisture can lead to the formation of ice crystals and deteriorate the quality of the beans during storage.
Now that the green beans are cool and dry, we can move on to the next step: packaging them for storage.
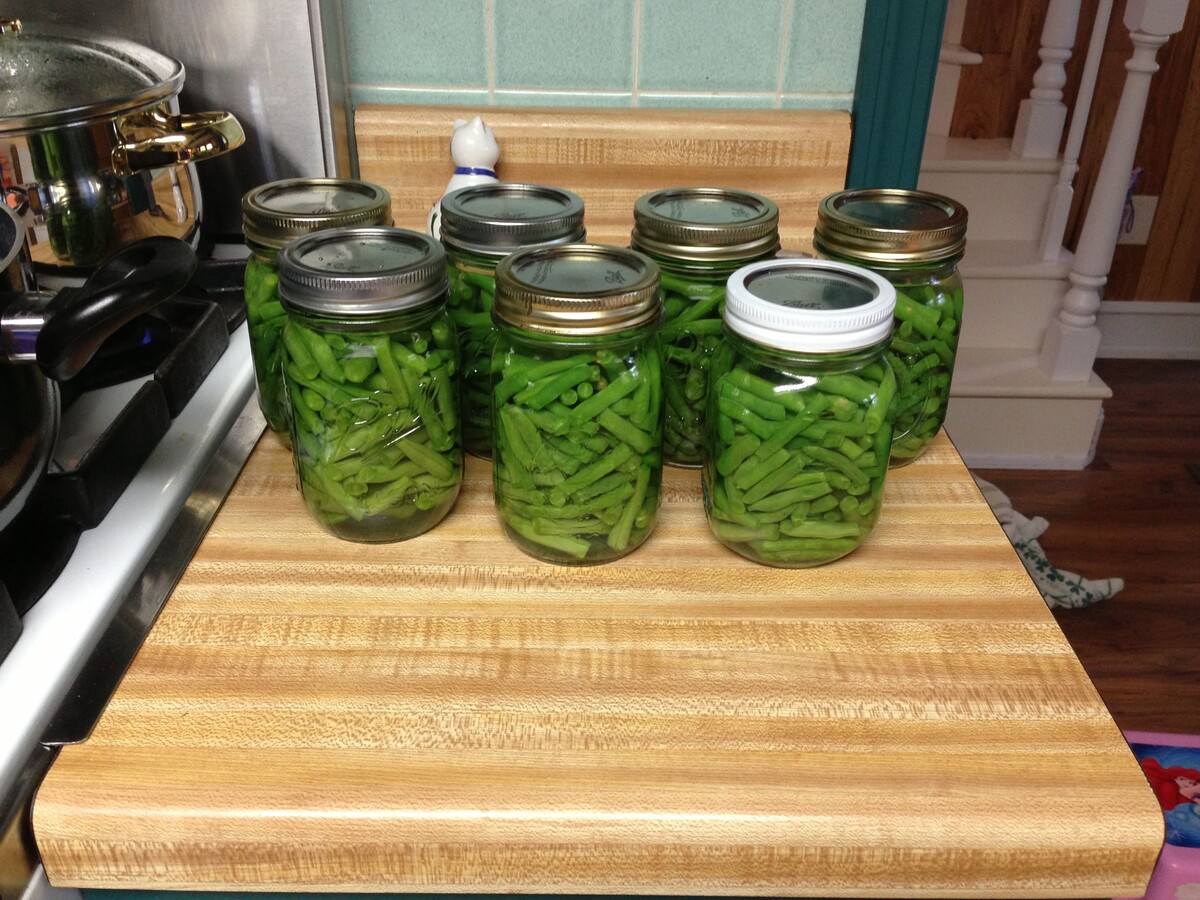
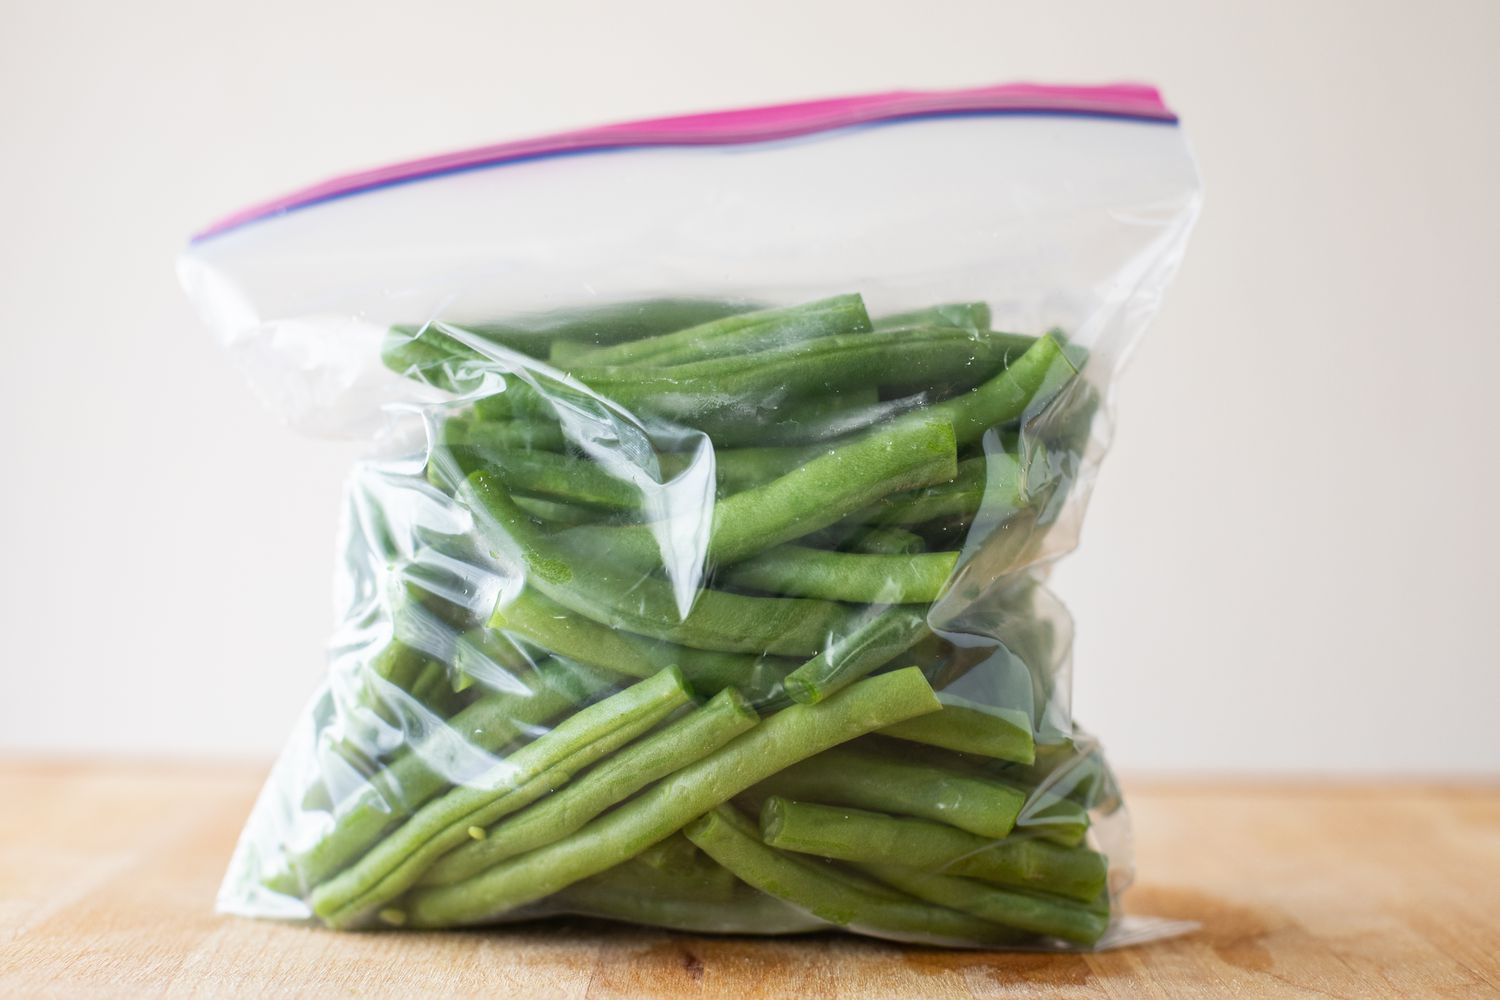
Step 3: Packaging the Blanched Green Beans
Proper packaging is crucial for maintaining the quality and freshness of blanched green beans during storage. The right packaging materials and methods help to prevent freezer burn and protect the beans from exposure to air and moisture.
Here’s how to package blanched green beans:
- Choose appropriate containers or bags for packaging. You can use airtight freezer bags, freezer-safe containers, or vacuum-sealed bags. Ensure that the packaging materials are designed for long-term freezer storage to maintain the quality of the beans.
- Divide the blanched green beans into small, manageable portions that you’re likely to use in one cooking session. This makes it easier to defrost and use the desired quantity without having to thaw the entire batch.
- If using bags, squeeze out as much air as possible from the bags before sealing them. This helps to minimize the chances of freezer burn and maintains the optimal quality of the beans.
- Label each container or bag with the date of blanching to keep track of their freshness.
Remember, proper packaging is essential to ensure the longevity of your blanched green beans while preserving their flavor, texture, and nutritional value.
In the next step, we will delve into the best practices for storing the blanched green beans to maintain their freshness for an extended period.
After blanching green beans, make sure to pat them dry with a paper towel before storing them in an airtight container or resealable plastic bag in the refrigerator. This will help prevent them from becoming soggy or developing mold.
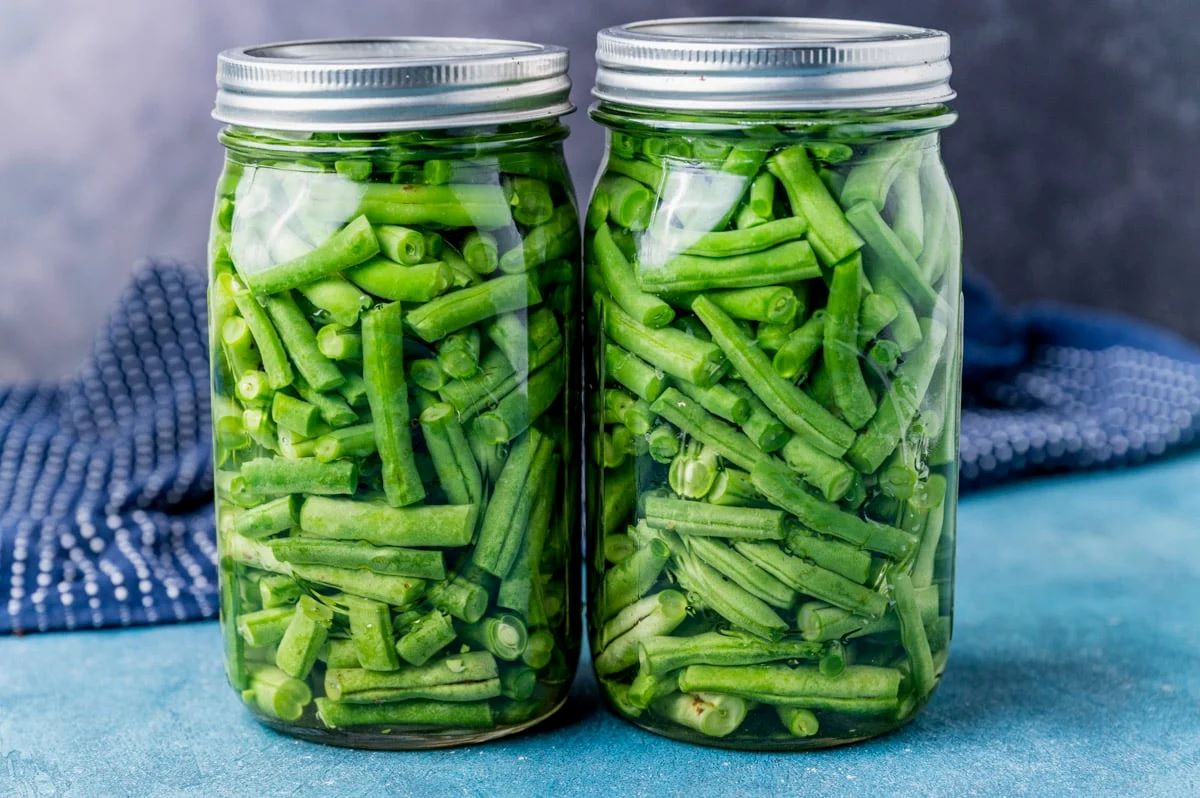
Step 4: Storing the Blanched Green Beans
Once the blanched green beans have been properly packaged, it’s time to store them in a freezer to maintain their freshness and quality. Correct storage conditions are vital to prevent spoilage and freezer burn.
Here’s how to store blanched green beans:
- Place the packaged green beans in the freezer as soon as possible after packaging. Avoid leaving them out at room temperature for an extended period.
- Ensure that the freezer maintains a temperature of 0°F (-18°C) or below. This preserves the quality of the beans and prevents the growth of harmful bacteria.
- Arrange the green bean packages in a single layer on the freezer shelves to allow for proper air circulation and even freezing.
- If you have limited freezer space, you can stack the packages, but make sure not to overload the freezer, as this can affect airflow and lead to uneven freezing.
- Avoid placing the green beans near the freezer door, as they may be exposed to temperature fluctuations that can compromise their quality.
By following these storage guidelines, you can keep your blanched green beans in the freezer for up to 12 months, while preserving their taste and texture.
In the next step, we will discuss how to use the blanched green beans effectively in your cooking.
Read more: How To Store Washed Green Beans
Step 5: Using the Blanched Green Beans
Now that you have blanched and stored your green beans, it’s time to make the most of their preserved flavor and texture in your recipes. Blanched green beans are incredibly versatile and can be used in a variety of dishes.
Here are some ideas for using blanched green beans:
- Add blanched green beans to stir-fries for a crisp and vibrant addition to your favorite Asian-inspired dishes.
- Toss blanched green beans into salads for a refreshing crunch and vibrant color.
- Steam or sauté blanched green beans with garlic and olive oil for a simple yet delicious side dish.
- Blend blanched green beans into soups or purees to add a nutritious boost and creamy texture.
- Incorporate blanched green beans into casseroles, pasta dishes, or vegetable medleys for an extra burst of flavor and color.
Remember to thaw the desired quantity of blanched green beans before using them in your recipes. You can simply defrost them in the refrigerator overnight or immerse the sealed bag or container in cold water to speed up the thawing process.
Now that you know how to blanch, store, and use green beans, you can enjoy their fresh taste and nutritional benefits all year round!
Tips for Successful Storage of Blanched Green Beans
To ensure the best results when storing blanched green beans, consider the following tips:
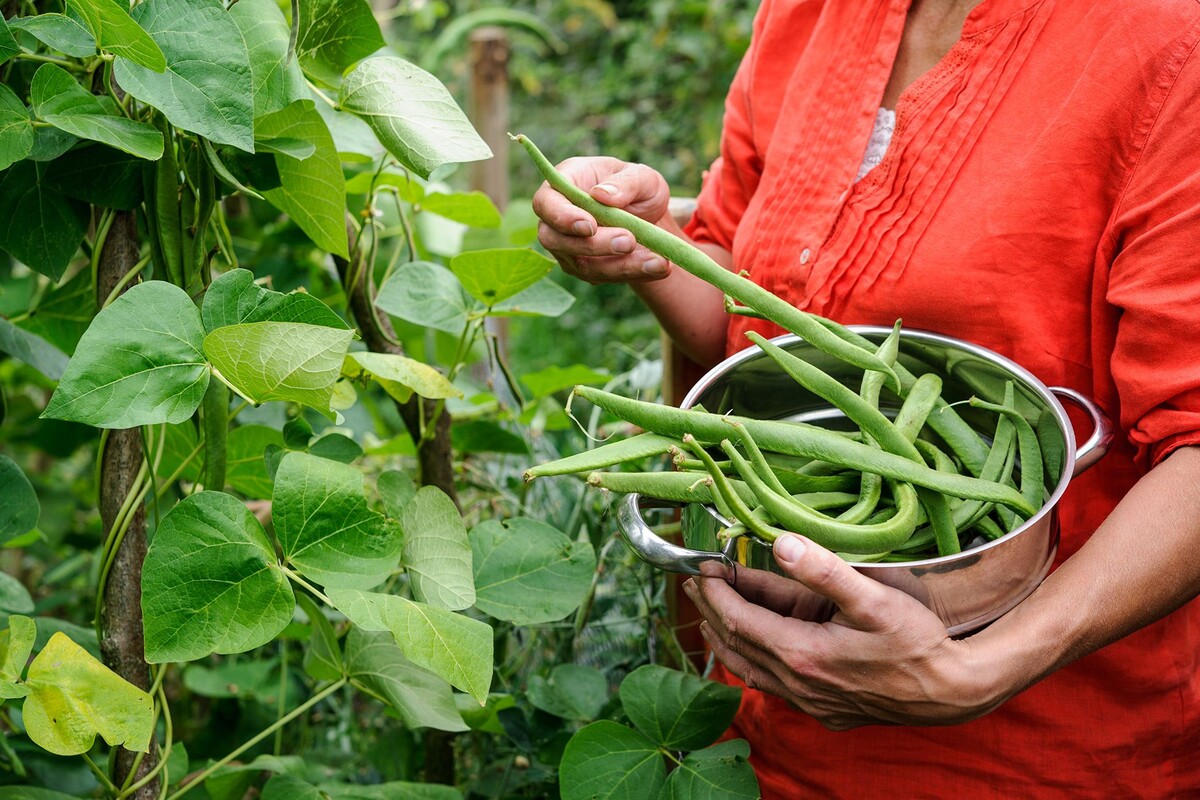
- Harvest or purchase fresh, high-quality green beans. The freshness of the beans before blanching is key to preserving their taste and nutritional value.
- Blanch the green beans as soon as possible after harvesting or purchasing them. This helps to retain their vibrant color and flavor.
- Ensure that the water you use for blanching is adequately salted. Salt helps to enhance the beans’ taste and preserve their texture.
- Properly cool and dry the blanched green beans before packaging them. Removing excess moisture reduces the risk of freezer burn and maintains the quality of the beans.
- Minimize air exposure during packaging. Squeeze out as much air as possible from the bags or containers to prevent oxidation and freezer burn.
- Label the packages with the date of blanching for easy reference. This allows you to keep track of the beans’ freshness and avoid consuming them past their recommended storage period.
- Store the blanched green beans in a freezer that maintains a consistent temperature of 0°F (-18°C) or lower. Fluctuations in temperature can affect the quality of the beans.
- Avoid overcrowding the freezer shelves to ensure proper airflow and even freezing. This helps to maintain the integrity of the beans during storage.
- Thaw the desired quantity of blanched green beans in the refrigerator or using the cold water method before using them in your recipes. This allows for even thawing and minimizes the risk of bacterial growth.
- Always use thawed blanched green beans within 24 hours for the best taste and texture. Avoid re-freezing thawed beans, as this can affect their quality.
Following these tips will help you successfully store blanched green beans and enjoy their flavors and nutrients throughout the year.
Conclusion
Preserving the freshness of green beans through blanching and proper storage is a wonderful way to enjoy their flavors and nutritional benefits long after the harvest season has passed. By following the steps outlined in this article, you can ensure that your blanched green beans retain their vibrant color, crisp texture, and delicious taste.
Blanching green beans not only helps to halt the enzymatic activity that can cause deterioration but also locks in their natural flavors and nutrients. Cooling and drying the blanched beans properly before packaging is important to remove excess moisture and prevent freezer burn. Packaging them in airtight containers or bags and storing them at the recommended freezer temperature of 0°F (-18°C) or lower ensures their longevity.
When it’s time to use your blanched green beans in recipes, remember to thaw them properly and incorporate them into your favorite dishes for added flavor, texture, and nutrition. From stir-fries to salads, soups to side dishes, blanched green beans can elevate a wide range of recipes with their vibrant color and vibrant taste.
By following the tips provided, such as using fresh beans, properly labeling packages, and avoiding the re-freezing of thawed beans, you can ensure the highest quality and best results when storing blanched green beans.
So, don’t let your bountiful green bean harvest go to waste. With the knowledge and techniques shared in this article, you can enjoy the taste of summer all year round, knowing that your blanched green beans are safely stored and ready to enhance your meals with their crispness and flavor.
Frequently Asked Questions about How To Store Blanched Green Beans
Was this page helpful?
At Storables.com, we guarantee accurate and reliable information. Our content, validated by Expert Board Contributors, is crafted following stringent Editorial Policies. We're committed to providing you with well-researched, expert-backed insights for all your informational needs.


0 thoughts on “How To Store Blanched Green Beans”