Articles
How To Store Baby Food
Modified: January 21, 2024
Learn how to store baby food properly with these helpful articles. Find tips, tricks, and guidelines for keeping your little one's meals fresh and safe.
(Many of the links in this article redirect to a specific reviewed product. Your purchase of these products through affiliate links helps to generate commission for Storables.com, at no extra cost. Learn more)
Introduction
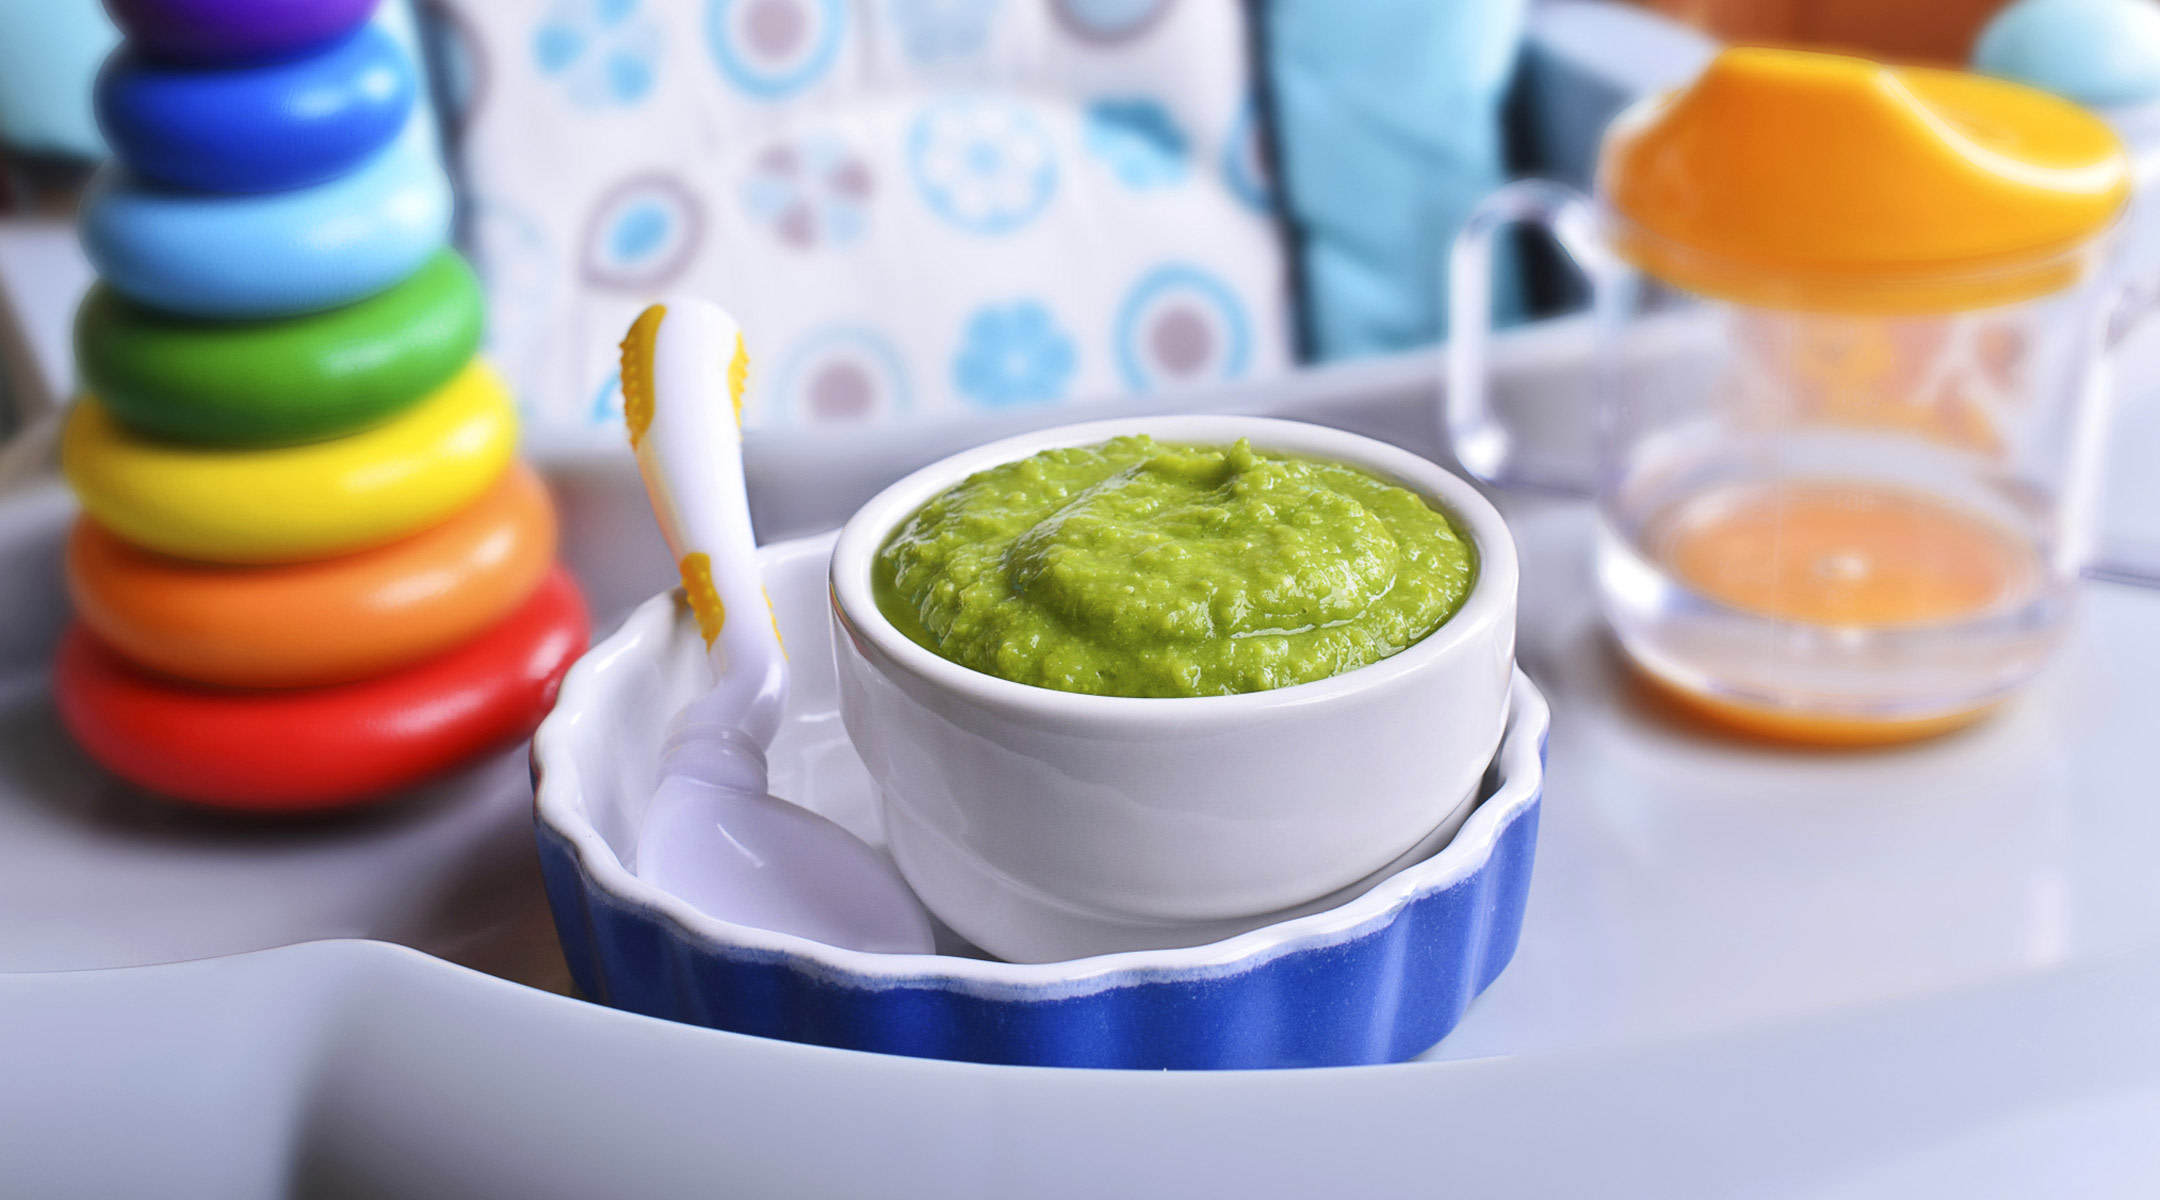
Welcome to the world of parenthood! As a new parent, you are taking on a myriad of responsibilities, including nourishing your baby with healthy and nutritious food. One important aspect of feeding your little one is making sure you have a reliable system in place for storing their food.
Storing baby food properly not only ensures its freshness but also helps you plan ahead and save time and effort. In this article, we will explore the benefits of storing baby food, safety guidelines to follow, suitable containers for storage, and tips for organizing your baby’s food stash.
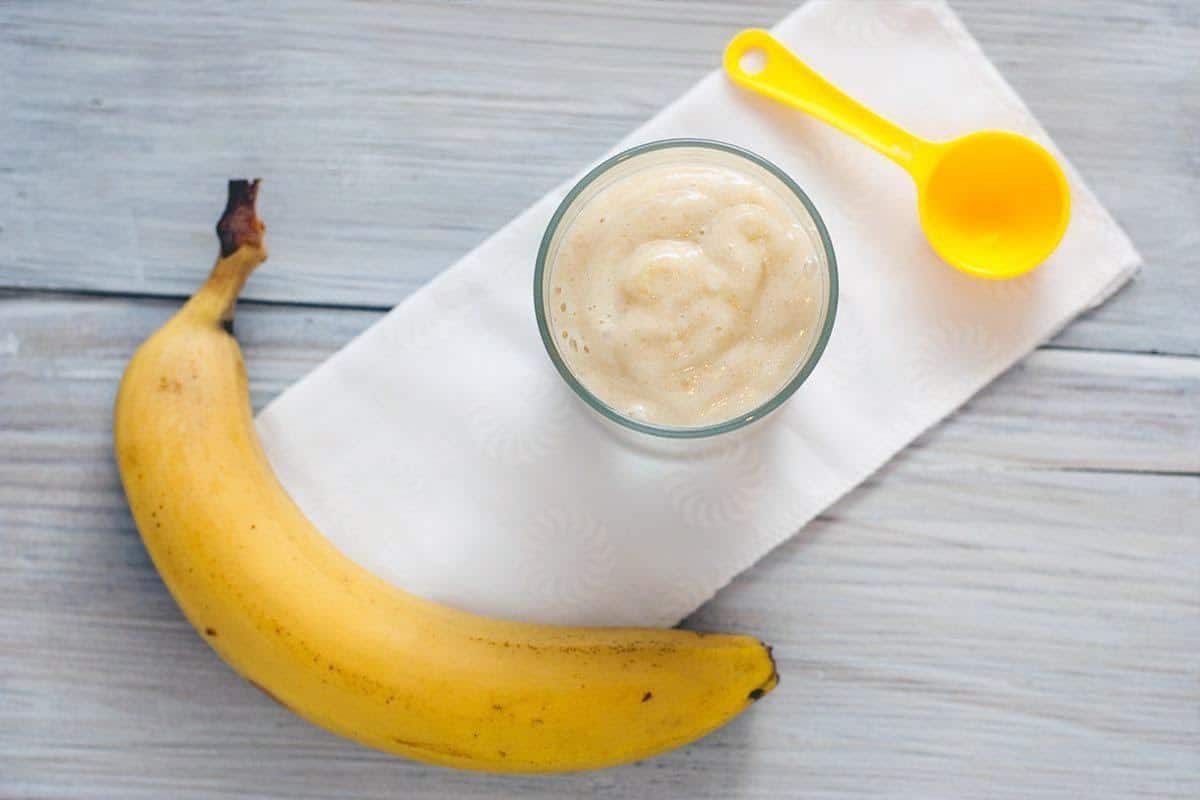
Whether you decide to make homemade purees or opt for store-bought varieties, having a well-organized system for storing baby food will make your life much easier. So let’s dive in and learn all about it!
Key Takeaways:
- Storing baby food properly ensures convenience, cost-effectiveness, and customization in your baby’s meals. Follow safety guidelines, choose suitable containers, and organize your storage for a seamless feeding experience.
- Refrigerating and freezing baby food allows for short-term and long-term storage, providing flexibility in meal planning. Thaw and heat baby food safely, and keep your storage organized for efficient mealtime preparation.
Read more: How To Store Baby Bella Mushrooms
Benefits of Storing Baby Food
Storing baby food has numerous benefits for both parents and their little ones. Let’s take a look at some of the key advantages:
- Convenience: Storing baby food allows you to have ready-to-eat meals on hand, making feeding time hassle-free. Whether you’re at home, on the go, or sending your baby to daycare, having pre-prepared meals ensures that your child receives wholesome nutrition without the need for time-consuming preparation.
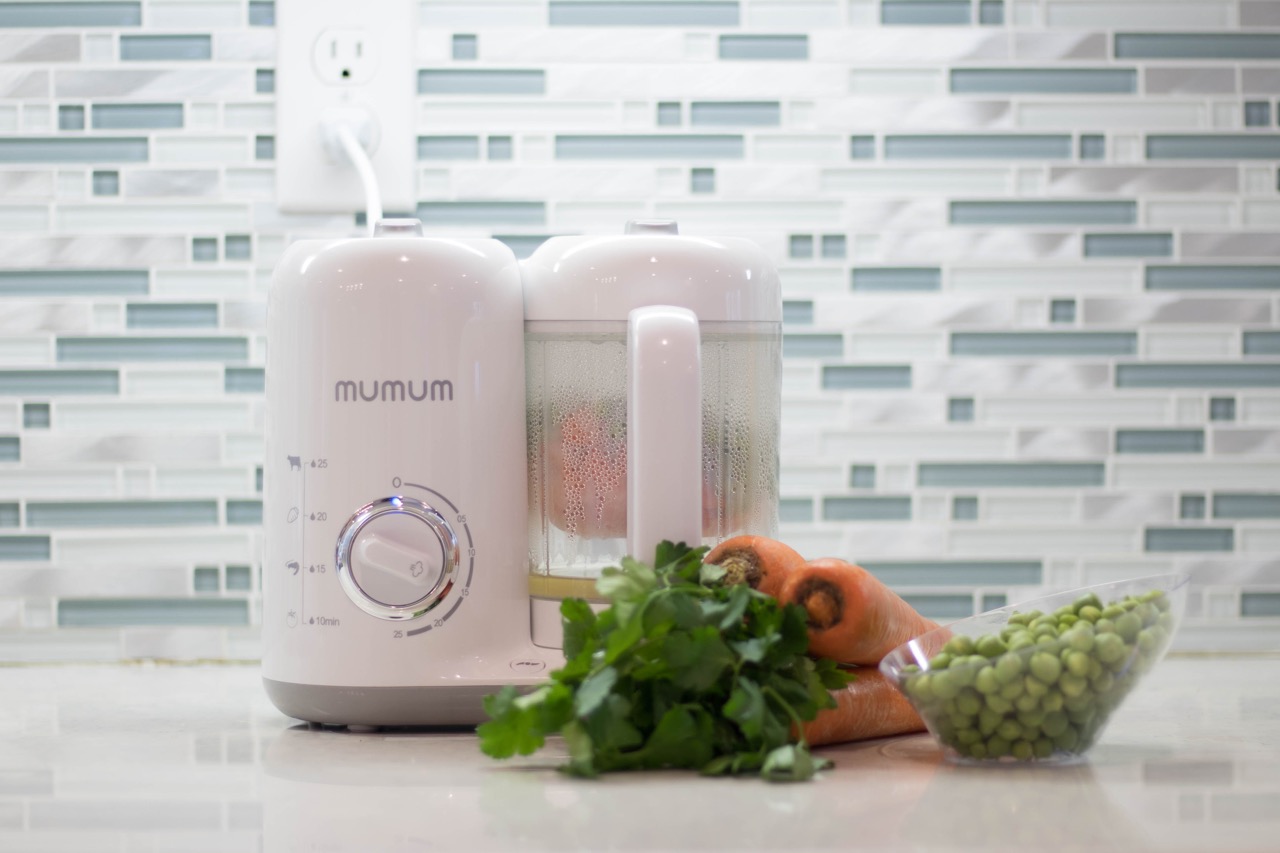
- Cost-effective: Making your own baby food and storing it can be more economical compared to buying pre-packaged options. By purchasing ingredients in bulk and utilizing seasonal produce, you can save money in the long run while providing your baby with nutritious meals.
- Customization: Storing baby food gives you complete control over what goes into your baby’s meals. You can tailor the flavors and textures to match your child’s preferences while ensuring they receive the necessary nutrients for their growth and development.
- Introduction to new flavors: Storing baby food allows you to gradually introduce your child to a variety of flavors and ingredients. By offering a diverse range of foods, you can expand their palate and foster healthy eating habits from an early age.
- Reduced food waste: Storing excess baby food reduces the chances of wasting leftover portions. Instead of discarding uneaten food, you can safely store it for future use, minimizing food waste and helping the environment.
By taking advantage of these benefits, you can simplify mealtime for your baby, save money, customize their meals, introduce new flavors, and contribute to reducing food waste. Now that we understand the advantages of storing baby food, let’s move on to the next section and explore the safety guidelines to follow.
Safety Guidelines for Storing Baby Food
Ensuring the safety of your baby’s food is of utmost importance. Follow these guidelines to keep their meals fresh and free from any harmful bacteria:
- Use clean and sanitized containers: Before storing baby food, make sure the containers are clean and sanitized. Wash them with hot, soapy water and rinse thoroughly. If using plastic containers, check that they are BPA-free and in good condition.
- Proper handling and storage temperatures: Handle and store the baby food with clean hands and in a clean environment. Refrigerated baby food should be stored at temperatures below 40°F (4°C) to prevent bacterial growth. Freezer-stored baby food should be kept at 0°F (-18°C) or below.
- Follow the FIFO rule: FIFO stands for “first in, first out.” When storing multiple batches of baby food, use the oldest ones first. Label each container with the date of preparation to ensure that you prioritize using the food that has been stored the longest.
- Avoid cross-contamination: Prevent cross-contamination by not reusing utensils without washing them between different foods. If you’re using a spoon to feed your baby directly from the jar, avoid putting the spoon back into the jar after it has been in contact with your baby’s mouth.
- Discard any spoiled or expired food: Regularly check for signs of spoilage, including foul odors, discoloration, mold, or an off taste. If any baby food shows these signs, discard it immediately and do not feed it to your baby.
- Thaw and heat safely: If you’re thawing frozen baby food, do so in the refrigerator or using the defrost function of your microwave. Only heat the portion you’ll be serving and make sure it reaches an internal temperature of 165°F (74°C) to eliminate any bacteria. Stir well and let it cool before feeding it to your baby.
By following these safety guidelines, you can ensure that your baby’s stored food remains safe and free from contamination. Now that we’ve covered the safety aspects, let’s discuss the suitable containers for storing baby food in the next section.
Proper Containers for Storing Baby Food
Choosing the right containers for storing baby food is crucial to maintain its freshness and ensure its safety. Here are some options to consider:
- Glass jars: Glass jars are a popular choice for storing baby food. They are sturdy, safe, and non-toxic. Look for jars with an airtight seal to keep the food fresh. Glass jars can be easily sterilized and are reusable, making them an eco-friendly option.
- BPA-free plastic containers: If you prefer plastic containers, make sure they are labeled as BPA-free to avoid any harmful chemicals leaching into the food. Choose containers with secure lids that create a tight seal to prevent leaks and maintain freshness.
- Silicone storage trays: Silicone storage trays with individual compartments are ideal for freezing small portions of baby food. These trays make it easy to portion out the food and have the added convenience of being freezer, microwave, and dishwasher safe.
- Reusable pouches: Reusable pouches are great for storing purees and snacks on the go. These pouches are easy to fill and clean, making them a convenient option for travel or busy days. Look for pouches that are BPA-free and have a secure zipper top.
Regardless of the type of containers you choose, ensure they are in good condition, clean, and airtight. Label each container with the date of preparation to keep track of freshness and prioritize using older batches of baby food first.
Remember, it’s important to avoid using containers made of materials that may leach harmful chemicals into the food, such as certain types of plastic. Always prioritize your baby’s safety when selecting containers for storing their food.
Now that we have covered the proper containers, let’s move on and explore the best practices for refrigerating baby food.
Refrigerating Baby Food
Refrigerating baby food is an excellent way to keep it fresh for short-term storage. Follow these guidelines to ensure the safety and quality of refrigerated baby food:
- Cool down before refrigeration: Allow freshly prepared baby food to cool down to room temperature before refrigerating it. Placing hot food directly into the refrigerator can raise the internal temperature, potentially compromising the safety of other perishable items.
- Transfer to airtight containers: Once cooled, transfer the baby food to clean, airtight containers that are suitable for refrigeration. Glass jars or BPA-free plastic containers with secure lids work well for this purpose.
- Label and date: Label each container with the type of food and the date of preparation. This allows you to easily identify the contents and prioritize using older batches first, following the FIFO rule.
- Store at the correct temperature: Refrigerate baby food at temperatures below 40°F (4°C). This helps to maintain the freshness and quality of the food, while also preventing the growth of harmful bacteria.
- Use within a few days: For optimal freshness and safety, it’s recommended to use refrigerated baby food within two to three days. Discard any leftovers that have been sitting in the refrigerator for longer than this time frame.
When it’s time to feed your baby, scoop out the desired amount of baby food from the refrigerated container and warm it up before serving. Avoid leaving the baby food out at room temperature for an extended period, as this can promote bacterial growth.
Refrigerating baby food is an excellent option when you need to store it for a few days while ensuring its freshness and safety. However, if you’re looking for longer-term storage, freezing baby food is the way to go, which we’ll explore in the next section.
Store baby food in airtight containers in the refrigerator for up to 3 days. For longer storage, freeze in ice cube trays and transfer to a freezer-safe bag or container for up to 3 months. Thaw in the refrigerator before serving.
Read more: How To Store Baby Formula Powder
Freezing Baby Food
Freezing baby food is a fantastic method for long-term storage, allowing you to have a variety of meals on hand whenever you need them. Follow these guidelines for freezing baby food effectively:
- Cool down before freezing: Similar to refrigerating, it’s important to allow freshly prepared baby food to cool down before freezing it. This helps to maintain the quality and texture of the food once thawed.
- Portion out the food: Divide the baby food into small, individual portions before freezing. This makes it easier to thaw only the amount you need for each feeding. Silicone storage trays with individual compartments are perfect for this purpose.
- Label and date: Clearly label each portioned container with the type of food and the date of preparation. This ensures that you use the oldest batches first, following the FIFO rule, and helps you keep track of the freshness of the frozen baby food.
- Wrap and protect: If you’re using freezer bags or pouches, ensure they are sealed tightly to prevent freezer burn. For containers, make sure they are airtight and free from any potential leaks. Wrapping the containers in a layer of plastic wrap or aluminum foil can provide extra protection.
- Store at the right temperature: Set your freezer to 0°F (-18°C) or below to maintain the quality and safety of the frozen baby food. Ensure that the temperature remains consistent to avoid any fluctuations that could compromise the food.
- Use within a few months: Frozen baby food is best consumed within two to three months to maintain its optimal taste and texture. While it may still be safe to eat beyond this timeframe, the quality may deteriorate over time.
When it’s time to serve the frozen baby food, there are a couple of methods for thawing and heating it. Let’s explore those in the next section.
By following these guidelines, you can effectively freeze baby food, ensuring it remains safe and nutritious for longer periods. Freezing allows you to stock up on a wide range of meals, providing convenience and flexibility in your baby’s feeding routine.
Thawing and Heating Baby Food
Thawing and heating baby food properly is key to ensuring that it is safe to consume and retains its nutritional value. Here’s how to thaw and heat baby food effectively:
- Thawing in the refrigerator: The safest method for thawing baby food is to transfer the frozen portion from the freezer to the refrigerator. Allow it to thaw slowly in the refrigerator overnight or for a few hours until completely thawed. This gradual thawing helps maintain the texture and flavor of the food.
- Thawing in warm water: If you need to thaw baby food quickly, you can opt for the warm water method. Place the frozen portion of food in a waterproof bag or container and submerge it in a bowl of warm (not hot) water. Replace the water every few minutes until the food is thawed. Be careful not to use hot water as it could partially cook the food or create hot spots.
-
Heating methods: Once the baby food is thawed, you can heat it using various methods:
- Stovetop: Transfer the thawed baby food to a small saucepan and heat it gently over low to medium heat. Stir constantly to distribute the heat evenly and prevent any hot spots. Make sure the food reaches an internal temperature of 165°F (74°C) to ensure it’s safe for your baby.
- Microwave: If using a microwave, transfer the thawed baby food to a microwave-safe dish. Heat it on low power and in short increments, stirring in between to prevent uneven heating. Always check the temperature before serving to ensure it’s not too hot for your baby.
- Cool and test: After heating, stir the baby food well to distribute the heat and ensure there are no hot spots. Let it cool to an appropriate temperature before testing it on the inside of your wrist to ensure it’s not too hot for your baby’s delicate mouth.
Remember, do not refreeze baby food that has been thawed and heated. It’s important to use only the amount you need for each feeding and discard any leftover portions. Practice proper hygiene by washing utensils and dishes after each use to prevent any potential contamination.
Now that you know how to safely thaw and heat baby food, let’s explore some tips for organizing your baby food storage in the next section.
Tips for Organizing Baby Food Storage
Keeping your baby food storage organized is essential for easy access and efficient meal planning. Here are some tips to help you stay organized:
- Use clear labeling: Label each container with the type of food and the date of preparation. This makes it easy to identify the contents and prioritize using older batches first. You can use labels or write directly on the containers with a waterproof marker.
- Create an inventory system: Keep track of the different types of baby food you have in stock. Maintain a list or spreadsheet to note down the types of food, quantities, and expiration dates. This will help you plan meals, ensure variety, and avoid wastage.
- Arrange food by category: Organize your baby food storage by grouping similar items together. For example, store purees in one section, finger foods in another, and snacks in a separate area. This makes it easier to locate specific items when you need them.
- Consider using storage bins or dividers: Utilize storage bins or dividers within your pantry or refrigerator to keep containers neatly arranged. This prevents them from toppling over and helps you maximize the available space.
- Rotate your stock: Follow the FIFO rule (first in, first out) to ensure that older batches of baby food are used first. Regularly check the expiration dates and prioritize using the items that will expire soonest.
- Keep feeding essentials nearby: Store feeding spoons, bowls, bibs, and other feeding accessories in close proximity to your baby food storage. This way, everything you need for mealtime will be easily accessible and within arm’s reach.
- Regularly assess and declutter: Periodically evaluate your baby food storage to remove any expired or spoiled items. Decluttering helps maintain an organized space and ensures you are using fresh, safe food for your little one.
By implementing these organizational tips, you’ll have a well-structured baby food storage system that saves you time, reduces waste, and makes meal planning a breeze.
Now that we’ve covered the various aspects of storing baby food and keeping it organized, let’s wrap up this article.
Conclusion
Storing baby food properly is a crucial aspect of providing healthy and nutritious meals for your little one. By understanding the benefits of storing baby food, adhering to safety guidelines, choosing suitable containers, and organizing your storage, you can ensure convenience, cost-effectiveness, and customization in your baby’s meals.
By taking the time to cool down and properly store baby food in clean and airtight containers, you can maintain its freshness and minimize the risk of contamination. Refrigerating baby food allows for short-term storage, while freezing baby food provides a long-term solution, allowing you to stock up on a variety of meals.
Thawing and heating baby food safely ensure that it maintains its nutritional value and is safe for your baby to consume. Proper organization of your baby food storage with clear labeling, inventory management, and systematic arrangement helps you stay organized, avoid waste, and make meal planning a breeze.
Remember, always follow safety guidelines, use suitable containers, and prioritize your baby’s well-being when storing and serving their food. With proper storage practices in place, you can provide your little one with nutritious meals conveniently and confidently.
So, embrace the world of storing baby food, and enjoy the journey of nourishing your baby as they grow and thrive!
Frequently Asked Questions about How To Store Baby Food
Was this page helpful?
At Storables.com, we guarantee accurate and reliable information. Our content, validated by Expert Board Contributors, is crafted following stringent Editorial Policies. We're committed to providing you with well-researched, expert-backed insights for all your informational needs.
0 thoughts on “How To Store Baby Food”