Articles
How To Store Homemade Biscotti
Modified: December 7, 2023
Looking for tips on how to store homemade biscotti? Check out our comprehensive articles for expert advice and best practices to keep your biscotti fresh and delicious.
(Many of the links in this article redirect to a specific reviewed product. Your purchase of these products through affiliate links helps to generate commission for Storables.com, at no extra cost. Learn more)
Introduction
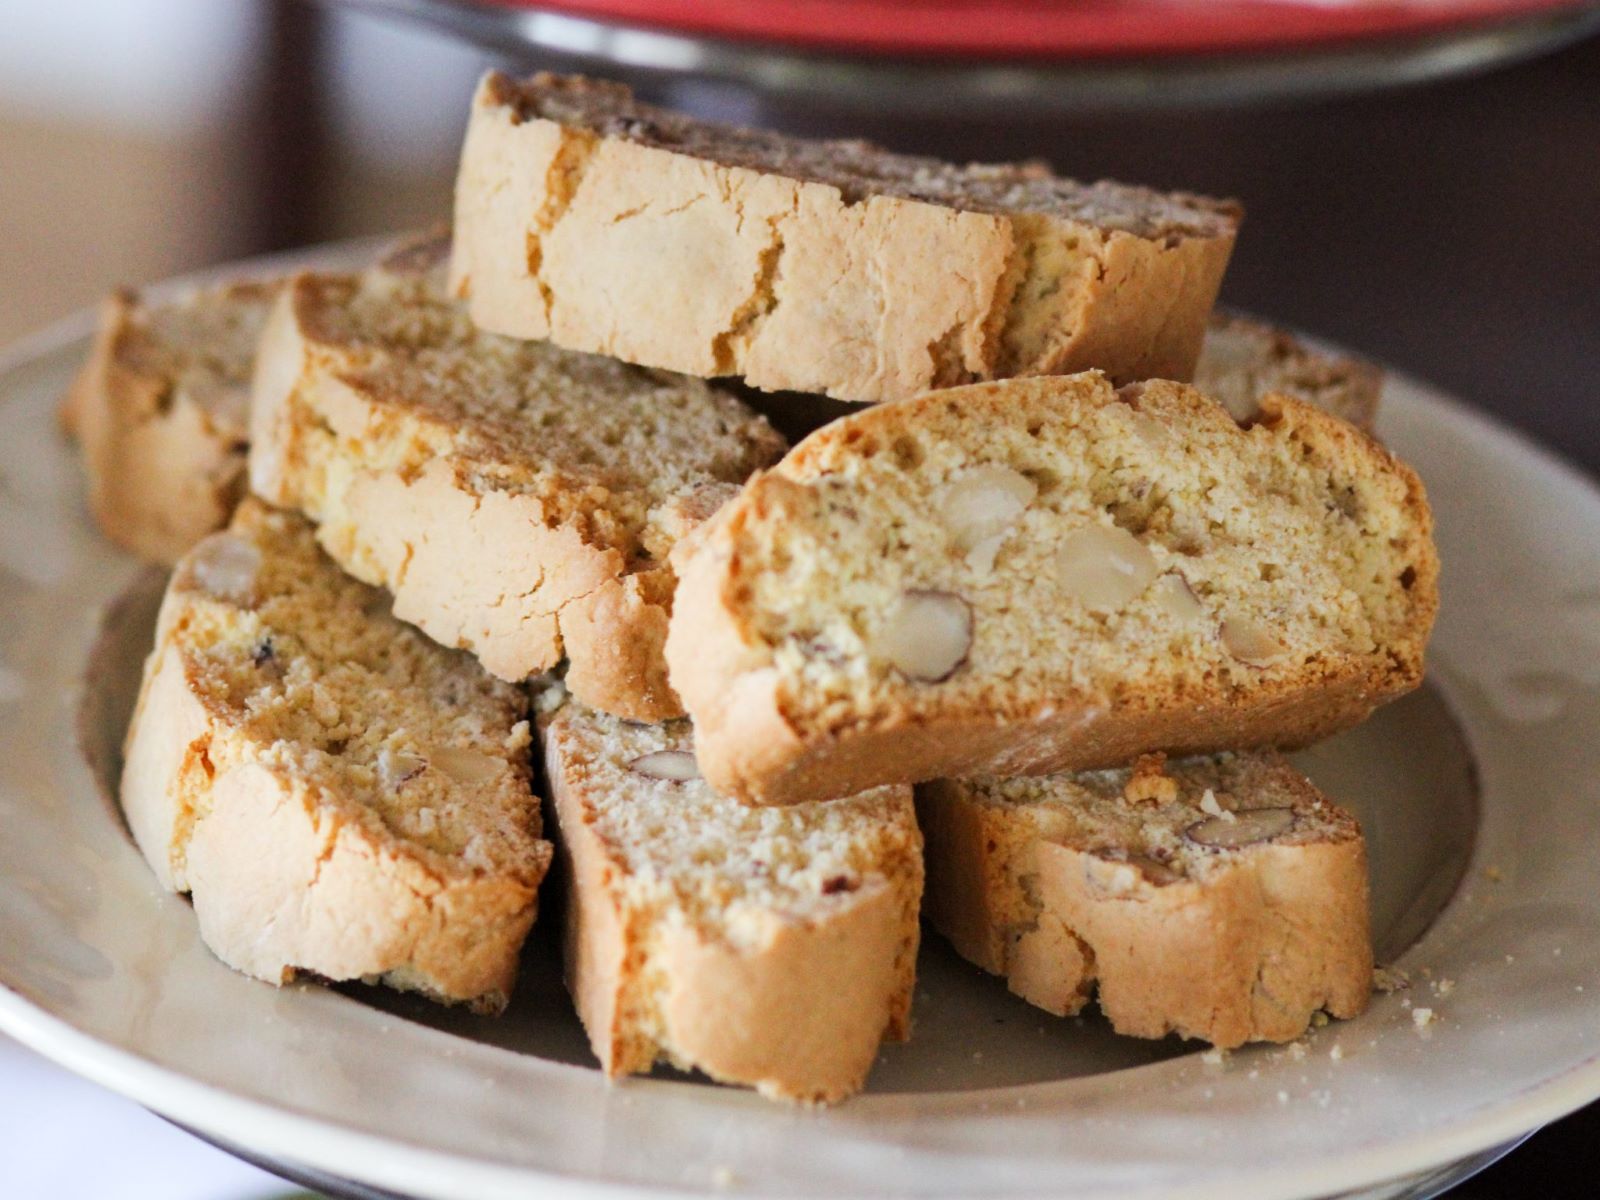
There’s nothing quite like the aroma of freshly baked biscotti wafting through the kitchen. Whether you enjoy these delectable treats with a cup of coffee in the morning or as an indulgent snack in the afternoon, homemade biscotti is sure to satisfy your cravings. But what do you do when you have a batch of biscotti and want to keep them fresh for as long as possible?
In this article, we will guide you on how to store homemade biscotti properly. By following these storage tips, you can ensure that your biscotti maintain their texture, flavor, and crispness for an extended period of time.
But first, let’s talk about the basic ingredients you’ll need to prepare your own mouthwatering biscotti.
Key Takeaways:
- Keep your homemade biscotti fresh by storing them in an airtight container, away from moisture and direct sunlight. Enjoy within a few weeks for the best flavor and texture.
- For extended storage, freeze your biscotti by wrapping them individually and placing them in an airtight container. Thaw at room temperature when ready to enjoy.
Read more: How To Store Biscotti
Ingredients
Baking homemade biscotti requires a handful of simple ingredients that come together to create a delightful treat. Here are the ingredients you’ll need:
- 2 cups all-purpose flour
- 1 cup granulated sugar
- 1 teaspoon baking powder
- 1/2 teaspoon salt
- 3 large eggs
- 2 teaspoons vanilla extract
- 1 cup almonds, chopped
- Optional: 1 cup chocolate chips, dried fruits, or any other mix-ins you prefer
With these ingredients in hand, you’ll be well on your way to creating a batch of delicious biscotti that can be stored for later enjoyment.
Equipment Needed
To successfully store your homemade biscotti, it’s helpful to have the right equipment on hand. Here are the essential tools you’ll need:
- Baking sheet: A sturdy, non-stick baking sheet will be the foundation for baking your biscotti.
- Parchment paper: This will prevent the biscotti from sticking to the baking sheet and make cleanup easier.
- Cooling rack: A cooling rack allows the biscotti to cool properly and ensures that air can circulate around them.
- Airtight container: To store the biscotti, you’ll need a container that provides an airtight seal to keep them fresh.
- Plastic wrap or aluminum foil: These can be used to individually wrap the biscotti before placing them in the airtight container.
- Marker or label: This will come in handy for indicating the date when the biscotti were made.
Having these tools at your disposal will make the storage process much more efficient and effective.
Step 1: Preparing the Dough
The first step in making biscotti is preparing the dough. Here’s how to do it:
- Start by preheating your oven to 350°F (175°C) and lining a baking sheet with parchment paper.
- In a mixing bowl, whisk together the all-purpose flour, granulated sugar, baking powder, and salt until well combined.
- In a separate bowl, lightly beat the eggs and vanilla extract together.
- Add the egg mixture to the dry ingredients and stir until a crumbly dough forms.
- If you’re using any mix-ins like chopped almonds, chocolate chips, or dried fruits, gently fold them into the dough.
- Dust your hands with flour and transfer the dough onto a floured surface.
- Knead the dough a few times until it comes together and is no longer crumbly.
Once your dough is ready, you can move on to shaping the biscotti!
Step 2: Shaping the Biscotti
Shaping the biscotti is an important step in creating their signature elongated shape. Follow these steps to shape the dough:
- Divide the dough into two equal portions.
- On a floured surface, shape each portion into a log, about 10-12 inches long and 2 inches wide.
- Make sure to leave enough space between the logs as they will spread slightly during baking.
- Press down gently on the logs to flatten them slightly.
Now that you have shaped the biscotti, it’s time to move on to baking them.
Store homemade biscotti in an airtight container at room temperature for up to 2 weeks. For longer storage, freeze in a resealable plastic bag for up to 3 months.
Read more: How To Store Homemade Jerky
Step 3: Baking the Biscotti
Baking the biscotti is the crucial step that gives them their characteristic crispy texture. Here’s how to bake them to perfection:
- Place the baking sheet with the shaped biscotti logs in the preheated oven.
- Bake for about 25-30 minutes or until the logs are golden brown and firm to the touch.
- Remove the baking sheet from the oven and let the biscotti cool for about 10 minutes.
- Using a sharp knife, carefully slice the logs into diagonal slices, about 1/2 inch thick.
- Arrange the sliced biscotti back on the baking sheet, cut side down.
- Return the baking sheet to the oven and bake for an additional 10-15 minutes. This will help further dry out the biscotti and make them crisp.
Once the biscotti have finished baking, it’s time to let them cool and prepare them for storage.
Step 4: Cooling and Storing the Biscotti
Properly cooling and storing the biscotti is essential to maintain their freshness and texture. Follow these steps to ensure that your homemade biscotti remain delicious:
- After baking, remove the baking sheet from the oven and let the biscotti cool completely on a cooling rack.
- Allowing the biscotti to cool completely is important as it helps them firm up and become crispy.
- Once the biscotti have cooled, you can now prepare them for storage. You have a couple of options:
- Option 1: Individually wrap the biscotti in plastic wrap or aluminum foil. This helps to preserve their crispness and prevents them from absorbing moisture.
- Option 2: Place the biscotti in an airtight container. Make sure the container is clean and dry. You can also layer the biscotti with parchment paper to prevent them from sticking together.
- Whichever option you choose, make sure to label the container or wrap with the date of preparation. This will help you keep track of their freshness.
- Store the biscotti in a cool, dry place. Avoid storing them in areas with high humidity as moisture can make the biscotti go stale faster.
Now that your biscotti are properly stored, you can enjoy them over the next few weeks by following the storage tips below.
Tips for Storage
To ensure that your homemade biscotti remain fresh and flavorful for as long as possible, consider these tips for proper storage:
- Airtight container: Use an airtight container to store your biscotti. This helps to prevent them from becoming stale and keeps them crispy.
- Absorb moisture: If you live in a humid environment, consider adding a packet of food-grade desiccant or a piece of bread to the storage container. These can help absorb excess moisture and maintain the crispness of the biscotti.
- Avoid direct sunlight: Keep the container of biscotti away from direct sunlight or heat sources as they can cause the cookies to become soft and lose their texture.
- No refrigeration needed: Biscotti do not need to be refrigerated. Storing them at room temperature is sufficient as long as they are properly sealed in an airtight container.
- Freezing: If you have a large batch of biscotti or want to save them for an extended period, you can freeze them. Wrap each biscotti individually in plastic wrap and place them in an airtight container or freezer bag. When you’re ready to enjoy them, simply thaw them at room temperature.
- Enjoy within a few weeks: Biscotti are at their best when consumed within a few weeks. Over time, their texture and flavor may degrade, so it’s recommended to enjoy them while they are still fresh.
By following these storage tips, you can savor the deliciousness of your homemade biscotti over an extended period.
Conclusion
Homemade biscotti is a delightful treat that can be enjoyed any time of the day. By properly storing your biscotti, you can ensure that they stay fresh, crispy, and delicious for as long as possible.
Remember to prepare the dough with the right ingredients and equipment, shape it into long logs, and bake them to perfection. Once the biscotti have cooled, take the necessary steps to store them properly. Whether you choose to individually wrap them or place them in an airtight container, make sure to keep them in a cool, dry place.
If stored correctly, your biscotti can last for a few weeks, maintaining their texture and flavor. Additionally, you have the option to freeze them for even longer storage.
So the next time you find yourself with a batch of homemade biscotti, use these tips to properly store them and enjoy their crispy goodness whenever you desire.
Happy baking and happy biscotti storage!
Frequently Asked Questions about How To Store Homemade Biscotti
Was this page helpful?
At Storables.com, we guarantee accurate and reliable information. Our content, validated by Expert Board Contributors, is crafted following stringent Editorial Policies. We're committed to providing you with well-researched, expert-backed insights for all your informational needs.


0 thoughts on “How To Store Homemade Biscotti”