Home>Garden Essentials>What Is In Cherry Seeds
Garden Essentials
What Is In Cherry Seeds
Modified: August 17, 2024
Discover the hidden treasures in garden cherry seeds. Learn what's inside and how to use them in your gardening endeavors. Unleash the potential of these seeds today!
(Many of the links in this article redirect to a specific reviewed product. Your purchase of these products through affiliate links helps to generate commission for Storables.com, at no extra cost. Learn more)
Introduction
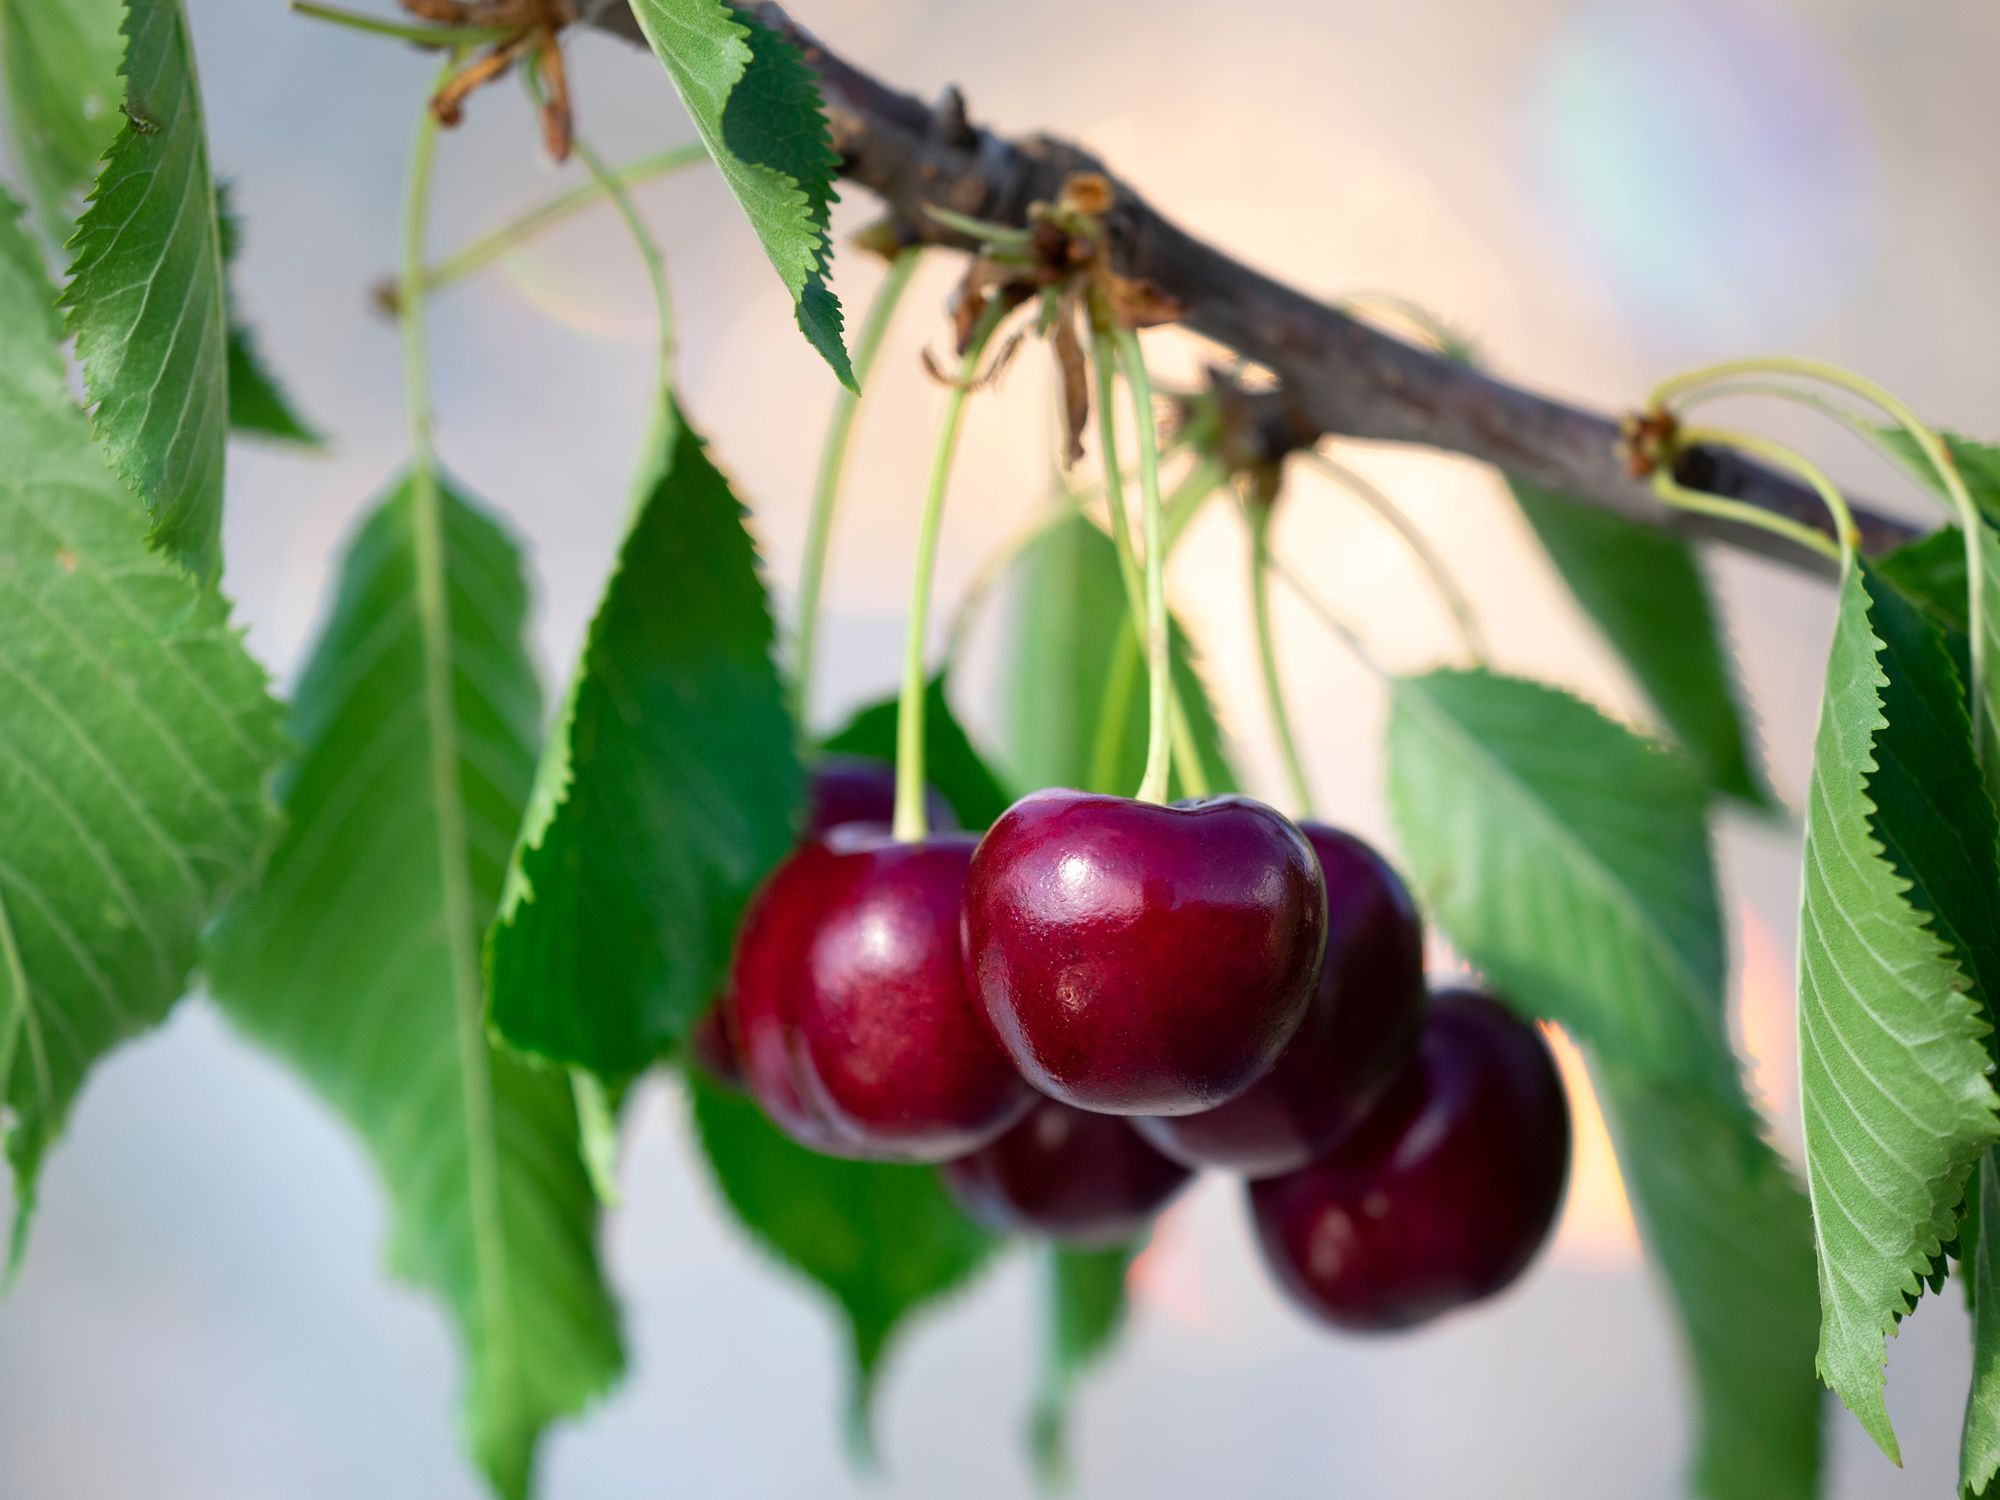
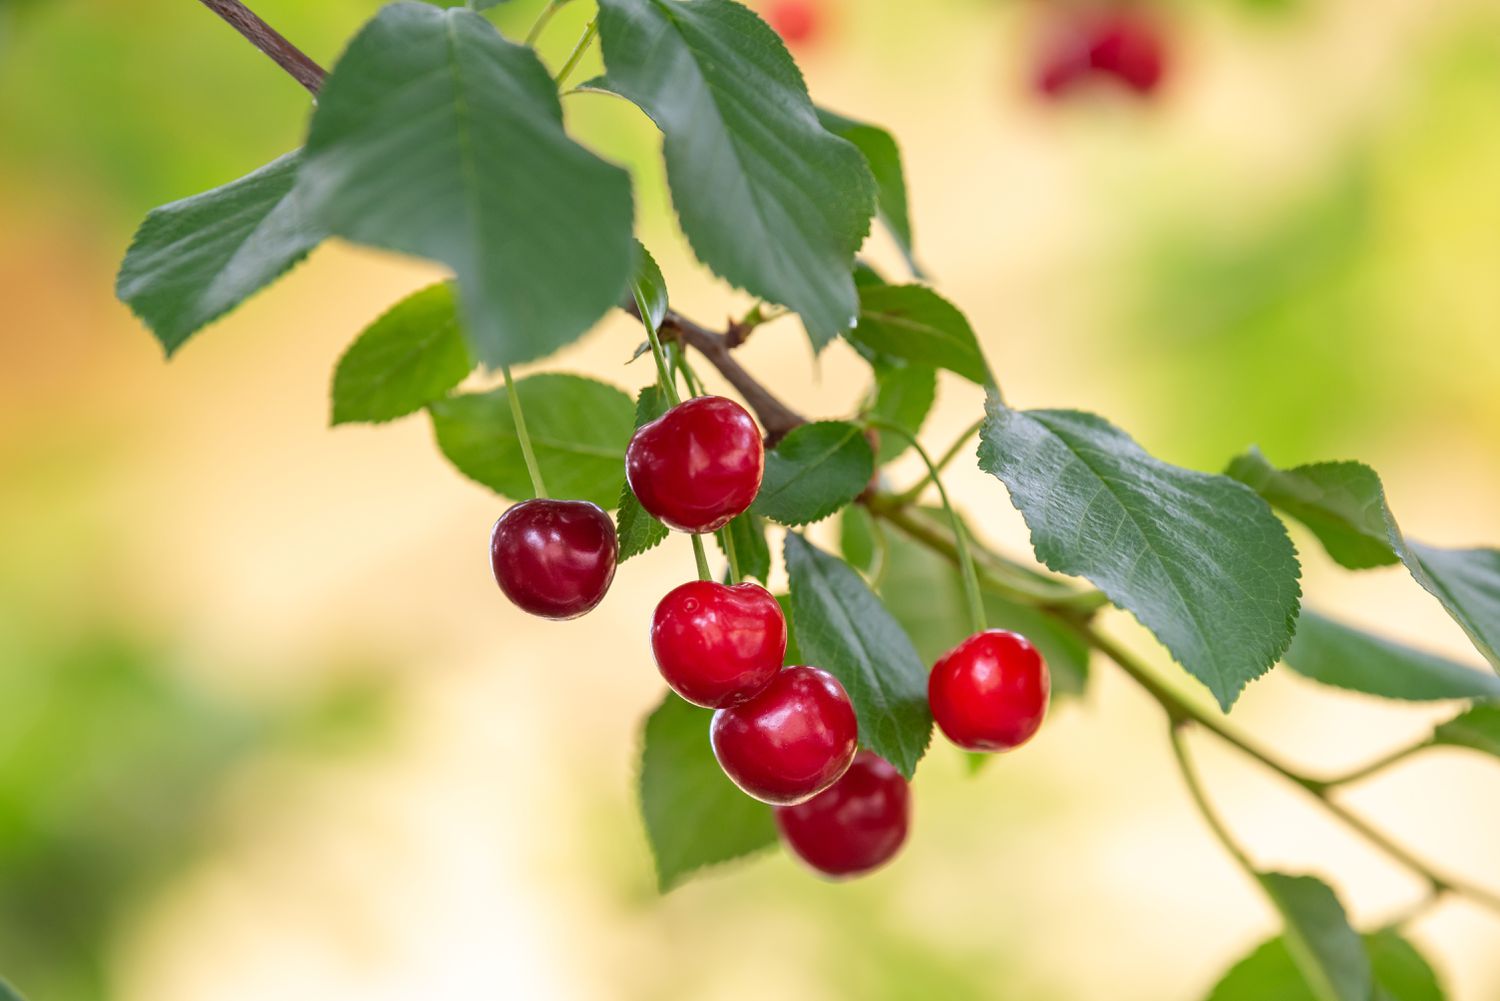
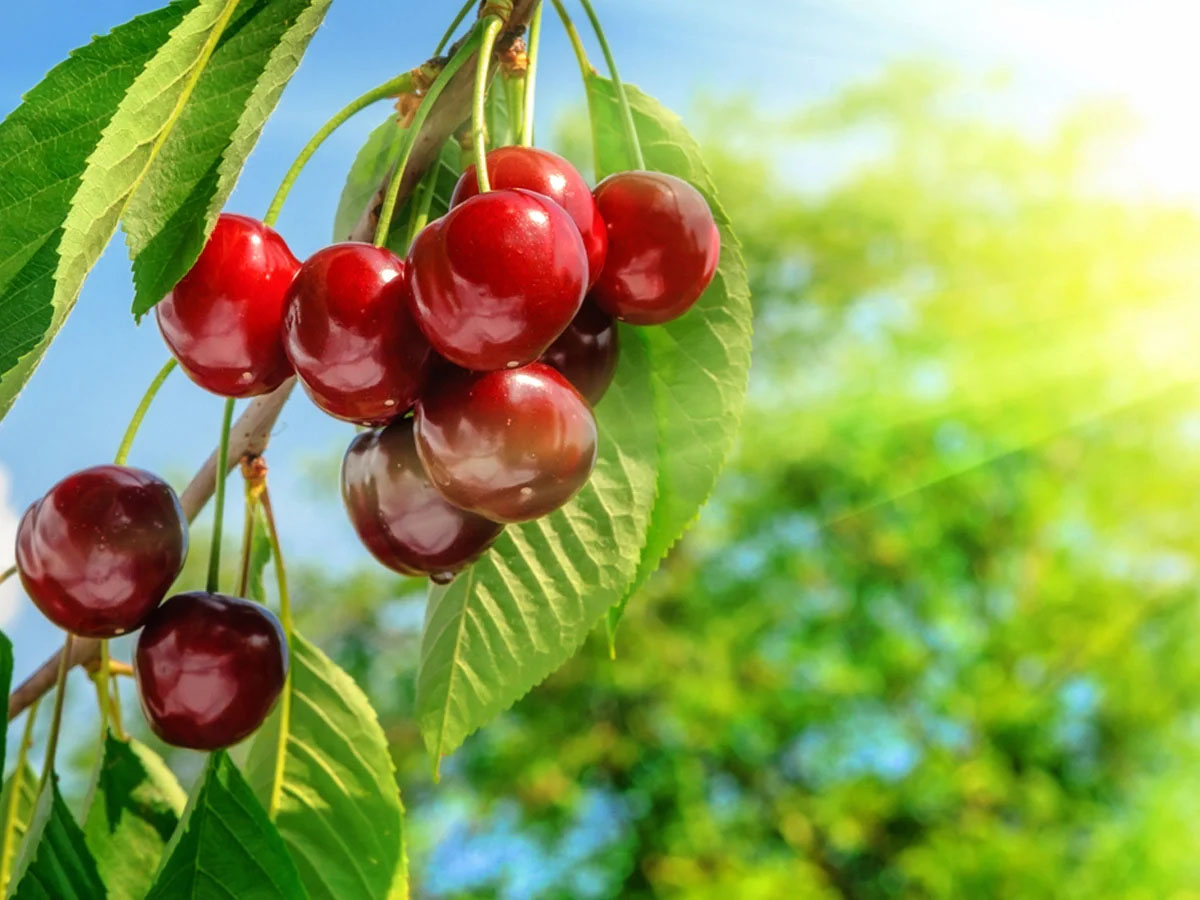
Cherry trees are well-known for their delicious and juicy fruits, but did you know that there’s more to cherries than just their tasty flesh? Inside those vibrant red fruits lie the often-overlooked secret – cherry seeds! While most people discard them without a second thought, cherry seeds actually possess their own unique set of properties and benefits.
In this article, we will delve into the fascinating world of cherry seeds. We will explore their nutritional content, potential health benefits, and even discuss some precautions to keep in mind. By the end, you will have a deeper understanding of what lies within those unassuming cherry pits and possibly even a newfound appreciation for their diverse potential.
So, let’s dig right in and discover the wonders that cherry seeds have to offer!
Key Takeaways:
- Cherry seeds are packed with nutrients like protein, fiber, vitamins, and minerals, offering potential health benefits such as antioxidant activity, heart support, skincare, and digestive health.
- While cherry seeds can be beneficial, it’s important to be cautious of their cyanide content, potential allergies, and bitter taste. Incorporate them into your diet through oil, capsules, teas, or skincare products.
Overview of Cherry Seeds
Cherry seeds, also known as cherry pits or stones, are the hard, woody structures found at the center of cherries. They are typically oval-shaped and range in color from light beige to dark brown. While small in size, these seeds contain a wealth of compounds that contribute to their unique properties.
Cherry seeds have a tough outer shell, which protects the kernel or the inner part of the seed. The kernel is characterized by its bitter taste and contains various bioactive compounds, including vitamins, minerals, antioxidants, and fatty acids.
It’s worth noting that not all cherry seeds are equal. Different cherry varieties may have slightly different properties and composition in their seeds. However, they generally share similar characteristics and can be utilized in similar ways. The most common cherry varieties that produce seeds suitable for consumption include black cherries, Bing cherries, and sour cherries.
When it comes to culinary uses, cherry seeds are not commonly eaten on their own due to their bitter taste and tough texture. However, they serve as a valuable ingredient in various traditional medicines, herbal remedies, and cosmetic products.
The next section will explore the nutritional content of cherry seeds, shedding light on the beneficial compounds that make them worth exploring.
Nutritional Content of Cherry Seeds
Although small in size, cherry seeds pack a nutritional punch. They contain a range of essential nutrients that contribute to their potential health benefits.
One of the key components of cherry seeds is protein. They are rich in amino acids, the building blocks of protein, which play a vital role in muscle growth and repair. Additionally, cherry seeds contain dietary fiber, which aids in digestion and helps to maintain a healthy digestive system.
Cherry seeds are also a good source of vitamins and minerals. They contain vitamin A, vitamin C, vitamin E, and various B vitamins such as thiamin, riboflavin, and niacin. These vitamins contribute to overall health and well-being, supporting immune function, antioxidant activity, and energy production.
In terms of minerals, cherry seeds contain potassium, magnesium, calcium, phosphorus, and iron. These minerals play important roles in maintaining healthy bones, regulating blood pressure, and supporting various bodily functions.
Furthermore, cherry seeds are abundant in antioxidants. Antioxidants are compounds that help protect the body against oxidative stress and damage caused by harmful free radicals. Some of the antioxidant compounds found in cherry seeds include anthocyanins, flavonoids, and phenolic acids.
It’s important to note that the nutritional content of cherry seeds may vary depending on factors such as the cherry variety, growing conditions, and processing methods. However, they generally provide a range of beneficial nutrients that can contribute to a balanced and healthy diet.
In the following section, we will explore the potential health benefits that cherry seeds may offer.
Potential Health Benefits of Cherry Seeds
While cherry seeds may not be as commonly consumed as the juicy fruit itself, they offer several potential health benefits. Let’s take a closer look at some of the ways cherry seeds may contribute to overall well-being:
- Antioxidant activity: Cherry seeds are rich in antioxidants, which help protect the body against oxidative stress and inflammation. The presence of anthocyanins, flavonoids, and phenolic acids in cherry seeds may contribute to their antioxidant activity.
- Cardiovascular health: The antioxidants and beneficial compounds found in cherry seeds may help support heart health. Research suggests that these compounds may help reduce inflammation, lower blood pressure, and improve blood circulation, all of which can contribute to a healthy cardiovascular system.
- Skin health: The antioxidants present in cherry seeds may also have benefits for the skin. Antioxidants help fight against free radicals, which can cause premature aging and damage to the skin. Incorporating cherry seed oil or extracts into skincare products may help promote a youthful and radiant complexion.
- Anti-inflammatory effects: Cherry seeds are believed to possess anti-inflammatory properties, which can help alleviate inflammation in the body. This could be beneficial for individuals with conditions such as arthritis or inflammatory bowel disease.
- Digestive health: The dietary fiber content in cherry seeds can contribute to a healthy digestive system. Fiber helps promote regular bowel movements, prevent constipation, and maintain the health of the gut microbiome.
- Bone health: The minerals present in cherry seeds, such as calcium and phosphorus, play a crucial role in maintaining strong and healthy bones. Including cherry seeds in your diet may provide a natural source of these essential minerals.
While these potential health benefits are promising, it’s important to note that more research is needed to fully understand the extent and mechanisms of cherry seeds’ effects on human health. Additionally, individual results may vary, and it’s always wise to consult with a healthcare professional before making any significant changes to your diet or lifestyle.
In the next section, we will discuss some concerns and precautions regarding cherry seeds to ensure their safe consumption.
Cherry seeds contain amygdalin, a compound that can release cyanide when metabolized. Avoid consuming large amounts of cherry seeds to prevent potential cyanide poisoning.
Concerns and Precautions
While cherry seeds offer potential health benefits, it’s essential to be aware of certain concerns and take necessary precautions before incorporating them into your diet or using them for any other purposes:
- Cyanide content: Cherry seeds contain a compound called amygdalin, which can release cyanide when metabolized. While the cyanide levels in cherry seeds are generally low and considered safe when consumed in small quantities, it’s crucial to avoid excessive consumption or crushing the seeds to prevent releasing the compounds. It’s best to exercise caution and moderation.
- Allergies: Some individuals may be allergic to cherry seeds or develop an allergic reaction upon contact. If you have a known allergy to cherries or other stone fruits, it’s wise to avoid cherry seeds altogether.
- Bitter taste and tough texture: Cherry seeds have a bitter taste and a tough texture, which can make them unappetizing to consume on their own. It’s important to find creative ways to incorporate them into your diet or opt for cherry seed extracts or oils if you’re interested in reaping their potential benefits.
- Sourcing and processing: When using cherry seeds or cherry seed products, it’s crucial to ensure that they are sourced from reputable sources and processed in a safe and hygienic manner. This helps guarantee their quality and minimize potential risks.
- Consultation with a healthcare professional: If you have any underlying health conditions or are taking medications, it’s advisable to consult with a healthcare professional before incorporating cherry seeds into your diet or using them for therapeutic purposes. They can provide personalized advice based on your specific situation.
By being aware of these concerns and taking appropriate precautions, you can enjoy the potential benefits of cherry seeds while prioritizing your well-being and safety.
In the next section, we will explore how to consume cherry seeds to make the most of their properties.
Read more: How Long For Ground Cherries To Germinate
How to Consume Cherry Seeds
While cherry seeds are not commonly consumed on their own due to their bitter taste and tough texture, there are a few ways you can incorporate them into your diet or make the most of their potential benefits:
- Cherry seed oil: Cherry seed oil is extracted from cherry seeds and is often used in culinary and cosmetic applications. It can be used as a salad dressing, added to smoothies, or used as a moisturizer for the skin.
- Cherry seed extract capsules: Cherry seed extract capsules are available as a dietary supplement. They provide a convenient and concentrated form of cherry seed compounds. Always follow the recommended dosage instructions on the packaging and consult with a healthcare professional before adding any new supplements to your routine.
- Infusions and teas: Cherry seed infusions or teas can be made by steeping crushed or ground cherry seeds in hot water. This allows you to extract some of the beneficial compounds and enjoy them in a beverage form. Sweeten with honey or other natural sweeteners to offset the bitterness if desired.
- Topical applications: Cherry seed oil or extracts can be used topically to moisturize the skin or as an ingredient in homemade skincare products such as lotions, creams, or serums. Ensure that you are using a high-quality, reputable product or consult with a skincare professional for guidance.
- Herbal remedies: In traditional medicine, cherry seeds have been used in various herbal remedies for their potential therapeutic properties. However, it’s crucial to approach herbal remedies with caution and consult with a qualified herbalist or healthcare professional before using them.
Remember to use cherry seeds or cherry seed products in moderation and be mindful of any potential allergic reactions or sensitivities. If you have any concerns or questions, it’s best to consult with a healthcare professional for personalized guidance.
Now that you have a better understanding of how to incorporate cherry seeds into your routine, let’s wrap up our exploration of these fascinating seeds.
Conclusion
Cherry seeds, often overlooked and discarded, hold a world of potential within them. While their bitter taste and tough texture may deter some from consuming them directly, exploring the diverse benefits of cherry seeds can open up new possibilities for health and wellness.
We have discovered that cherry seeds contain a rich array of nutrients, including protein, fiber, vitamins, minerals, and antioxidants. These components contribute to potential health benefits such as antioxidant activity, cardiovascular support, skincare, anti-inflammatory effects, and digestive health.
It is important to exercise caution and take certain precautions when it comes to cherry seeds. Their amygdalin content poses a concern, as it can release cyanide when consumed in excessive amounts. It is also advisable to be mindful of potential allergies, the bitter taste, and the need for proper sourcing and processing.
Fortunately, there are various ways to incorporate cherry seeds into your routine. From cherry seed oil and capsules to infusions, teas, and topical applications in skincare, you can explore what suits your preferences and needs. Remember to consult with healthcare professionals or herbalists if you have any concerns or questions.
As you continue your journey of discovering the wonders of plants and their hidden treasures, remember to approach cherry seeds with curiosity, respect, and moderation. Cherish the possibilities they offer, but always prioritize your safety and well-being.
So, the next time you enjoy a juicy cherry, take a moment to appreciate the potential lying within its seeds. They are a testament to the beauty and complexity of nature, waiting to be explored and appreciated.
By delving into the world of cherry seeds, you open yourself up to a realm of possibilities, enriching your understanding of the natural wonders that surround us.
Frequently Asked Questions about What Is In Cherry Seeds
Was this page helpful?
At Storables.com, we guarantee accurate and reliable information. Our content, validated by Expert Board Contributors, is crafted following stringent Editorial Policies. We're committed to providing you with well-researched, expert-backed insights for all your informational needs.


0 thoughts on “What Is In Cherry Seeds”