Articles
How To Store Solo Stove
Modified: August 25, 2024
Learn how to properly store and maintain your Solo Stove with our helpful articles. Keep your outdoor cooking experience hassle-free and long-lasting.
(Many of the links in this article redirect to a specific reviewed product. Your purchase of these products through affiliate links helps to generate commission for Storables.com, at no extra cost. Learn more)
Introduction
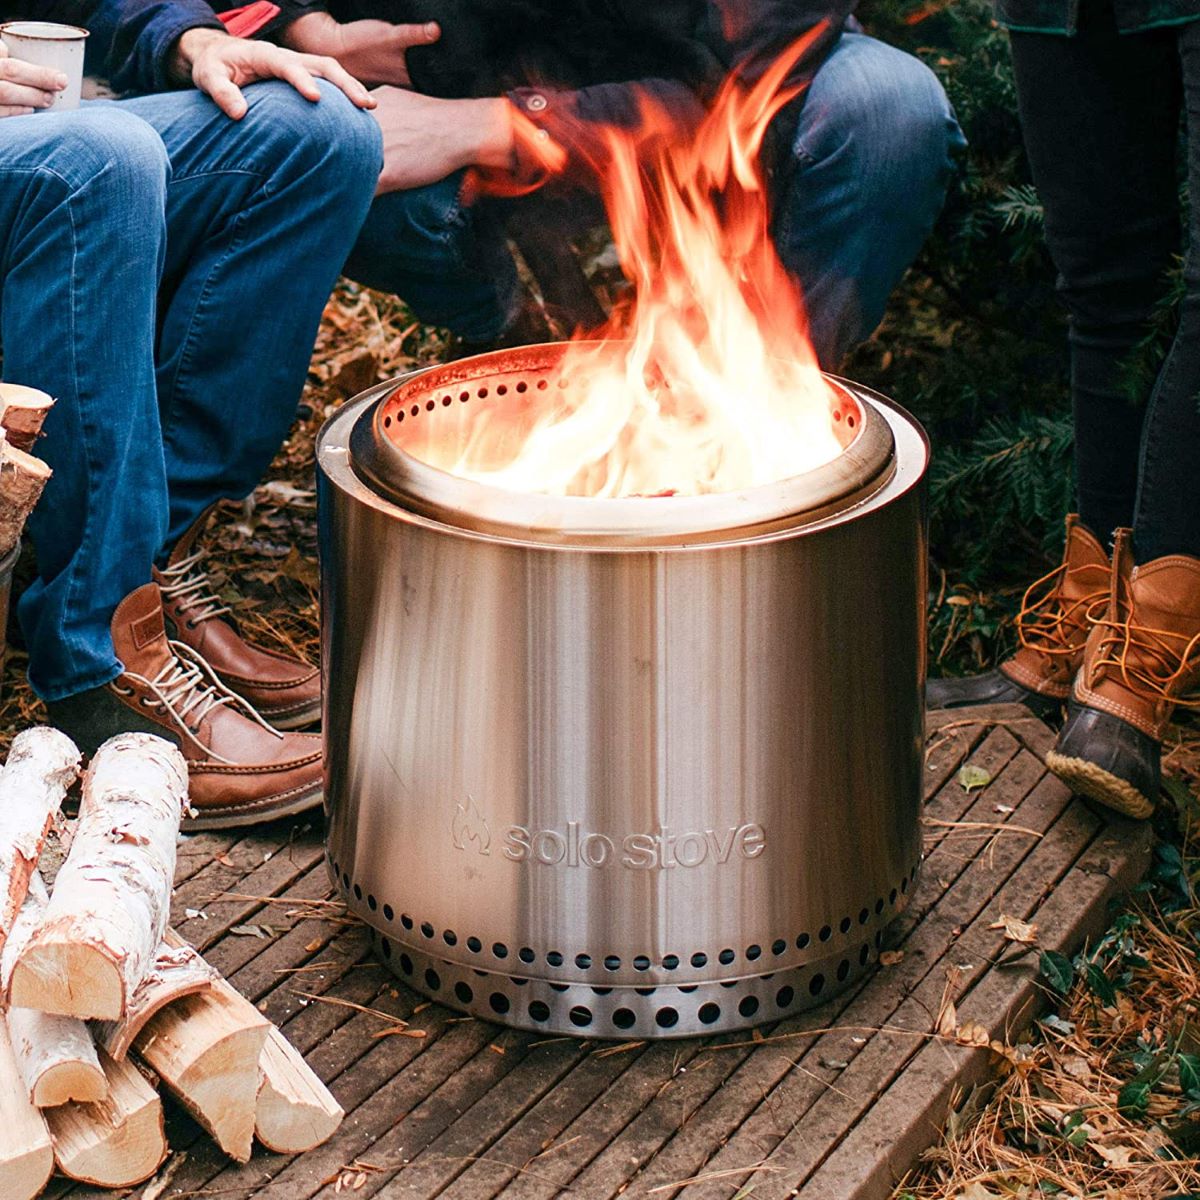
The Solo Stove is a portable and efficient camping stove that has gained popularity among outdoor enthusiasts. With its lightweight design and smokeless technology, it provides a convenient way to cook meals and enjoy the warmth of a campfire. However, when the camping season comes to an end or you simply want to store it for a while, it’s important to know how to properly store your Solo Stove.
Storing your Solo Stove correctly not only ensures its longevity but also protects it from damage caused by exposure to the elements. In this article, we will explore the benefits of proper Solo Stove storage, guide you in choosing the right storage location, provide tips on cleaning the stove before storage, and offer guidance on disassembling and storing the stove components. Additionally, we will discuss the use of protective covers and share some additional tips to keep your Solo Stove in great condition throughout its storage period.
By following these guidelines, you can ensure that your Solo Stove remains in optimal condition and ready for your next camping adventure.
Key Takeaways:
- Properly storing your Solo Stove is crucial to protect it from the elements, prevent damage, and maintain its functionality. Follow the guidelines to ensure it remains in optimal shape for your next outdoor adventure.
- Using a protective cover for your Solo Stove shields it from dust, moisture, and environmental elements, ensuring it’s always ready for your next camping or outdoor adventure.
Read more: How Does A Solo Fire Pit Work
Benefits of Proper Solo Stove Storage
Proper storage of your Solo Stove offers a range of benefits that can prolong its lifespan and keep it in optimal condition. Here are some key advantages of storing your Solo Stove correctly:
- Protection from the elements: Storing your Solo Stove in a dry and protected location helps prevent rust, corrosion, and damage caused by exposure to moisture, rain, or extreme temperatures. This is particularly important if you plan to store your stove for an extended period.
- Prevention of dirt and debris buildup: By storing your Solo Stove in a clean and dust-free area, you can avoid the accumulation of dirt, leaves, or other debris that may clog the stove’s components. This helps maintain optimal performance when you decide to use it again.
- Minimization of fire hazards: Proper storage reduces the risk of accidental fires. It ensures that any remaining embers or ashes are safely extinguished before storing the stove, minimizing the potential for ignition of nearby flammable materials.
- Space optimization: Storing your Solo Stove efficiently frees up valuable space in your camping gear storage area. This allows you to keep your camping equipment organized and accessible, making it easier to locate and retrieve your stove when needed.
- Longevity and durability: By following the correct storage procedures, you can extend the lifespan of your Solo Stove. The components will remain in good condition, and the stove will be ready for use whenever you want to embark on your next camping adventure.
By recognizing the benefits of proper Solo Stove storage, you can take the necessary steps to protect your investment, ensuring that you get the most out of your camping stove for years to come.
Choosing the Right Storage Location
When it comes to storing your Solo Stove, selecting the right location is crucial to maintaining its condition. Here are some factors to consider when choosing the storage location:
- Indoor vs. outdoor storage: Whenever possible, it is recommended to store your Solo Stove indoors. This helps protect it from exposure to rain, sun, and other harsh weather conditions that can cause damage. If indoor storage is not possible, choose an outdoor area that is sheltered, such as a covered patio or shed.
- Temperature and humidity: It’s important to store your Solo Stove in a location with stable temperature and humidity levels. Extreme temperatures and high humidity can promote corrosion and other forms of damage. Avoid storing it in areas prone to excessive heat, cold, or humidity, such as a damp basement or an unventilated attic.
- Ventilation: Ensure that the storage area is well-ventilated to prevent the buildup of stagnant air. Adequate airflow helps prevent the growth of mold or mildew and keeps the stove components dry and free from condensation.
- Protection from pests: Take measures to protect your Solo Stove from potential pest infestations. Seal any openings or gaps in the storage area that might allow insects or rodents to access the stove. Consider using pest deterrents such as traps or repellents, if necessary.
- Accessibility: Choose a storage location that is easily accessible. This makes it convenient to retrieve your Solo Stove when you are ready to use it again. Avoid storing it in areas where it may be difficult to reach or require moving heavy objects.
By considering these factors, you can select the optimal storage location for your Solo Stove, ensuring that it remains in great condition and ready for your next camping adventure.
Cleaning the Solo Stove before Storage
Before storing your Solo Stove, it is essential to properly clean it to remove any residue or buildup that may have accumulated during use. Follow these steps to ensure a thorough cleaning:
- Allow the stove to cool down: Before cleaning your Solo Stove, make sure it has completely cooled down. Attempting to clean a hot stove can be dangerous and may cause burns. Allow it to cool for at least an hour after use.
- Empty the ash and debris: Start by emptying the ash and debris from the stove. Gently remove the cooking ring and the ash pan. Dispose of the ash in a proper waste container.
- Brush off loose debris: Use a soft-bristle brush or a cloth to gently brush off any loose debris from the stove’s components. Pay close attention to the burner holes and the inside of the stove where ashes may have settled.
- Use a mild detergent if needed: If there are stubborn stains or residue on the stove’s surface, you can use a mild detergent diluted in warm water. Dampen a soft cloth or sponge with the soapy water and gently scrub the affected areas. Avoid using abrasive cleaners or steel wool, as they can scratch the surface of the stove.
- Rinse and dry thoroughly: After cleaning, rinse the stove components with clean water to remove any residual soap. Ensure that all the soap residue is thoroughly removed. Then, dry the stove components completely before proceeding to the storage phase. This helps prevent the formation of rust or corrosion.
By following these steps, you can effectively clean your Solo Stove, removing any dirt, ash, or residue that may have accumulated during use. This ensures that the stove is ready for storage and remains in optimal condition until your next outdoor adventure.
Disassembling the Solo Stove
Disassembling your Solo Stove prior to storage is an important step to ensure that all components are protected and stored efficiently. Follow these steps to disassemble your Solo Stove:
- Remove the cooking ring: Gently lift the cooking ring off the stove, taking care not to force it. The cooking ring is typically held in place by gravity and can be easily removed with a gentle upward motion.
- Remove the ash pan: The ash pan is located beneath the cooking ring. Slide it out from under the stove and carefully set it aside.
- Separate the stove sections: Depending on the model, the Solo Stove may consist of multiple sections that can be separated for storage. These sections may include a base, a body, and a top section. Carefully twist or unscrew the sections to separate them.
- Inspect and clean the individual components: Once the Solo Stove is disassembled, take the opportunity to inspect each component for any damage or signs of wear. Clean any residual ash or debris from each piece using a soft brush or cloth.
- Organize and store the components: Keep all the stove components together in a designated storage container or bag. This will help you keep track of all the parts and ensure that they are protected from dust and other contaminants.
By following these steps to disassemble your Solo Stove, you can ensure that all components are properly stored and protected. This will make it easier to assemble the stove when you’re ready to use it again and minimize the risk of any damage during storage.
When storing your Solo Stove, make sure it is completely cool and clean. Store it in a dry, well-ventilated area to prevent rust and corrosion. Consider using a cover or carrying case to protect it from the elements.
Read more: How To Clean A Solo Stove Fire Pit
Storing the Solo Stove Components
Proper storage of the individual components of your Solo Stove is vital to ensure their longevity and ease of use in the future. Here are some tips to help you store your Solo Stove components effectively:
- Store in a clean and dry container: Use a designated storage container or bag to keep all the Solo Stove components together. Ensure that the container is clean, dry, and free from any dirt or moisture that could cause damage during storage.
- Protect delicate components: If your Solo Stove includes fragile components, such as a cooking ring or a fire pan, consider wrapping them in a soft cloth or placing them in a protective case. This will prevent scratches or other forms of damage that may occur during storage.
- Organize the components: Arrange the components in a logical and organized manner within the storage container. This will make it easier to locate and retrieve specific parts when you need to assemble the stove again.
- Label the container: To further enhance organizational efficiency, label the storage container or bag with the name or logo of the Solo Stove. This will help you quickly identify it among your camping gear and prevent confusion.
- Keep out of reach of children and pets: Store the Solo Stove components in a location that is inaccessible to children or pets. This will prevent accidents or damage that could occur if they come into contact with the stove or its components.
- Avoid excessive weight: Do not stack heavy objects on top of the storage container or bag containing the Solo Stove components. This can help prevent any unnecessary pressure or stress on the components, especially if they are made of delicate materials.
By following these storage tips, you can ensure that your Solo Stove components are adequately protected and ready for use when you’re ready to embark on your next outdoor adventure.
Using a Protective Cover
Using a protective cover for your Solo Stove is an excellent way to shield it from dust, moisture, and other environmental elements when it’s not in use. Here are some key points to consider when using a protective cover:
- Choose the right cover: Make sure to select a cover that is specifically designed for your Solo Stove model. A well-fitting cover will provide optimal protection and ensure a snug fit, preventing debris from entering and potentially damaging the stove.
- Quality material: Look for a cover made of durable and weather-resistant material, such as polyester or nylon. These materials are typically waterproof and can withstand exposure to rain, sun, and other outdoor elements.
- Easy to clean: Opt for a cover that is easy to clean and maintain. Look for one that can be wiped clean with a cloth or washed with mild detergent to remove any dirt or stains that may accumulate over time.
- Secure fastening: Ensure that the cover has a secure fastening mechanism, such as a drawstring or straps, to keep it in place even in windy conditions. This will provide added protection and prevent the cover from becoming loose or blowing away.
- Proper ventilation: A good cover should allow for proper ventilation to prevent the buildup of condensation or moisture inside the cover. This will help prevent the growth of mold or mildew and keep the stove components dry and free from damage.
- Regular maintenance: Periodically inspect the cover for any signs of damage or wear. Replace the cover if necessary to ensure continual protection for your Solo Stove.
- Storage with the cover: When storing your Solo Stove with the protective cover, ensure that the stove and its components are clean and dry before covering them. This will help prevent any moisture or dirt from being trapped inside the cover during storage.
By using a protective cover, you can safeguard your Solo Stove from the elements and maintain its condition for extended periods of storage. This will ensure that your stove is always ready for use whenever you’re ready to embark on your next camping or outdoor adventure.
Additional Tips for Solo Stove Storage
In addition to the steps mentioned earlier, here are some extra tips to consider for storing your Solo Stove:
- Remove fuel: Before storing your Solo Stove, ensure that you have removed any remaining fuel. Empty the fuel canister and properly dispose of it according to local regulations. This will prevent any potential leaks or hazards during storage.
- Inspect for damage: Before storing your Solo Stove, take a few moments to inspect all the components for any signs of damage, such as cracks or loose fittings. Address any necessary repairs before storage to ensure that your stove is in good working condition when you’re ready to use it again.
- Maintain airflow: When storing your Solo Stove, ensure that there is proper airflow around the components. This helps prevent the buildup of moisture and condensation, which can lead to rust or corrosion. Consider using a storage area with good ventilation or placing the components on a raised platform.
- Keep away from flammable materials: Store your Solo Stove away from any flammable materials, such as gasoline, propane tanks, or other camping equipment. This will minimize the risk of accidental fires in the storage area.
- Regularly check and rotate: Even during storage, it is important to periodically check on your Solo Stove and rotate the components. This will help prevent any long-term pressure or stress on specific areas and ensure that all parts remain in good condition.
- Follow manufacturer’s instructions: Always consult the manufacturer’s instructions for specific guidelines on storing your Solo Stove. Different models may have unique requirements or recommendations that are important to follow to maintain the stove’s warranty and optimal performance.
By implementing these additional tips, you can further protect your Solo Stove during storage, ensuring that it remains in excellent condition for many camping seasons to come.
ConclusionProperly storing your Solo Stove is essential to maintain its longevity, performance, and overall condition. By following the guidelines outlined in this article, you can ensure that your Solo Stove remains in optimal shape and ready for your next outdoor adventure.
By choosing the right storage location, cleaning the stove before storage, disassembling the components, and organizing them in a designated container, you can protect your Solo Stove from the elements, prevent damage, and maintain its functionality. Using a protective cover adds an extra layer of protection, keeping dust and moisture away from the stove.
It’s also important to follow any specific instructions provided by the manufacturer for your Solo Stove model, as they may have tailored recommendations for proper storage. Regular maintenance and periodic inspections will allow you to address any issues or repairs before storing the stove, ensuring that it remains in excellent condition throughout its storage period.
Remember to remove any remaining fuel and keep the stove away from flammable materials during storage. Maintaining proper airflow and periodically checking on the components will further enhance the longevity of your Solo Stove.
By following these tips and taking proactive measures to store your Solo Stove correctly, you can be confident that it will be in great shape when you’re ready to take it out on your next camping trip. So, enjoy the convenience and satisfaction of owning a Solo Stove, knowing that you are taking the necessary steps to keep it in excellent condition for many outdoor adventures to come!
Frequently Asked Questions about How To Store Solo Stove
Was this page helpful?
At Storables.com, we guarantee accurate and reliable information. Our content, validated by Expert Board Contributors, is crafted following stringent Editorial Policies. We're committed to providing you with well-researched, expert-backed insights for all your informational needs.


0 thoughts on “How To Store Solo Stove”