Articles
How To Test AC CapACitor With Multimeter
Modified: February 25, 2024
Learn how to test AC capacitor with a multimeter in this informative article. Gain valuable knowledge and troubleshooting tips.
(Many of the links in this article redirect to a specific reviewed product. Your purchase of these products through affiliate links helps to generate commission for Storables.com, at no extra cost. Learn more)
Introduction
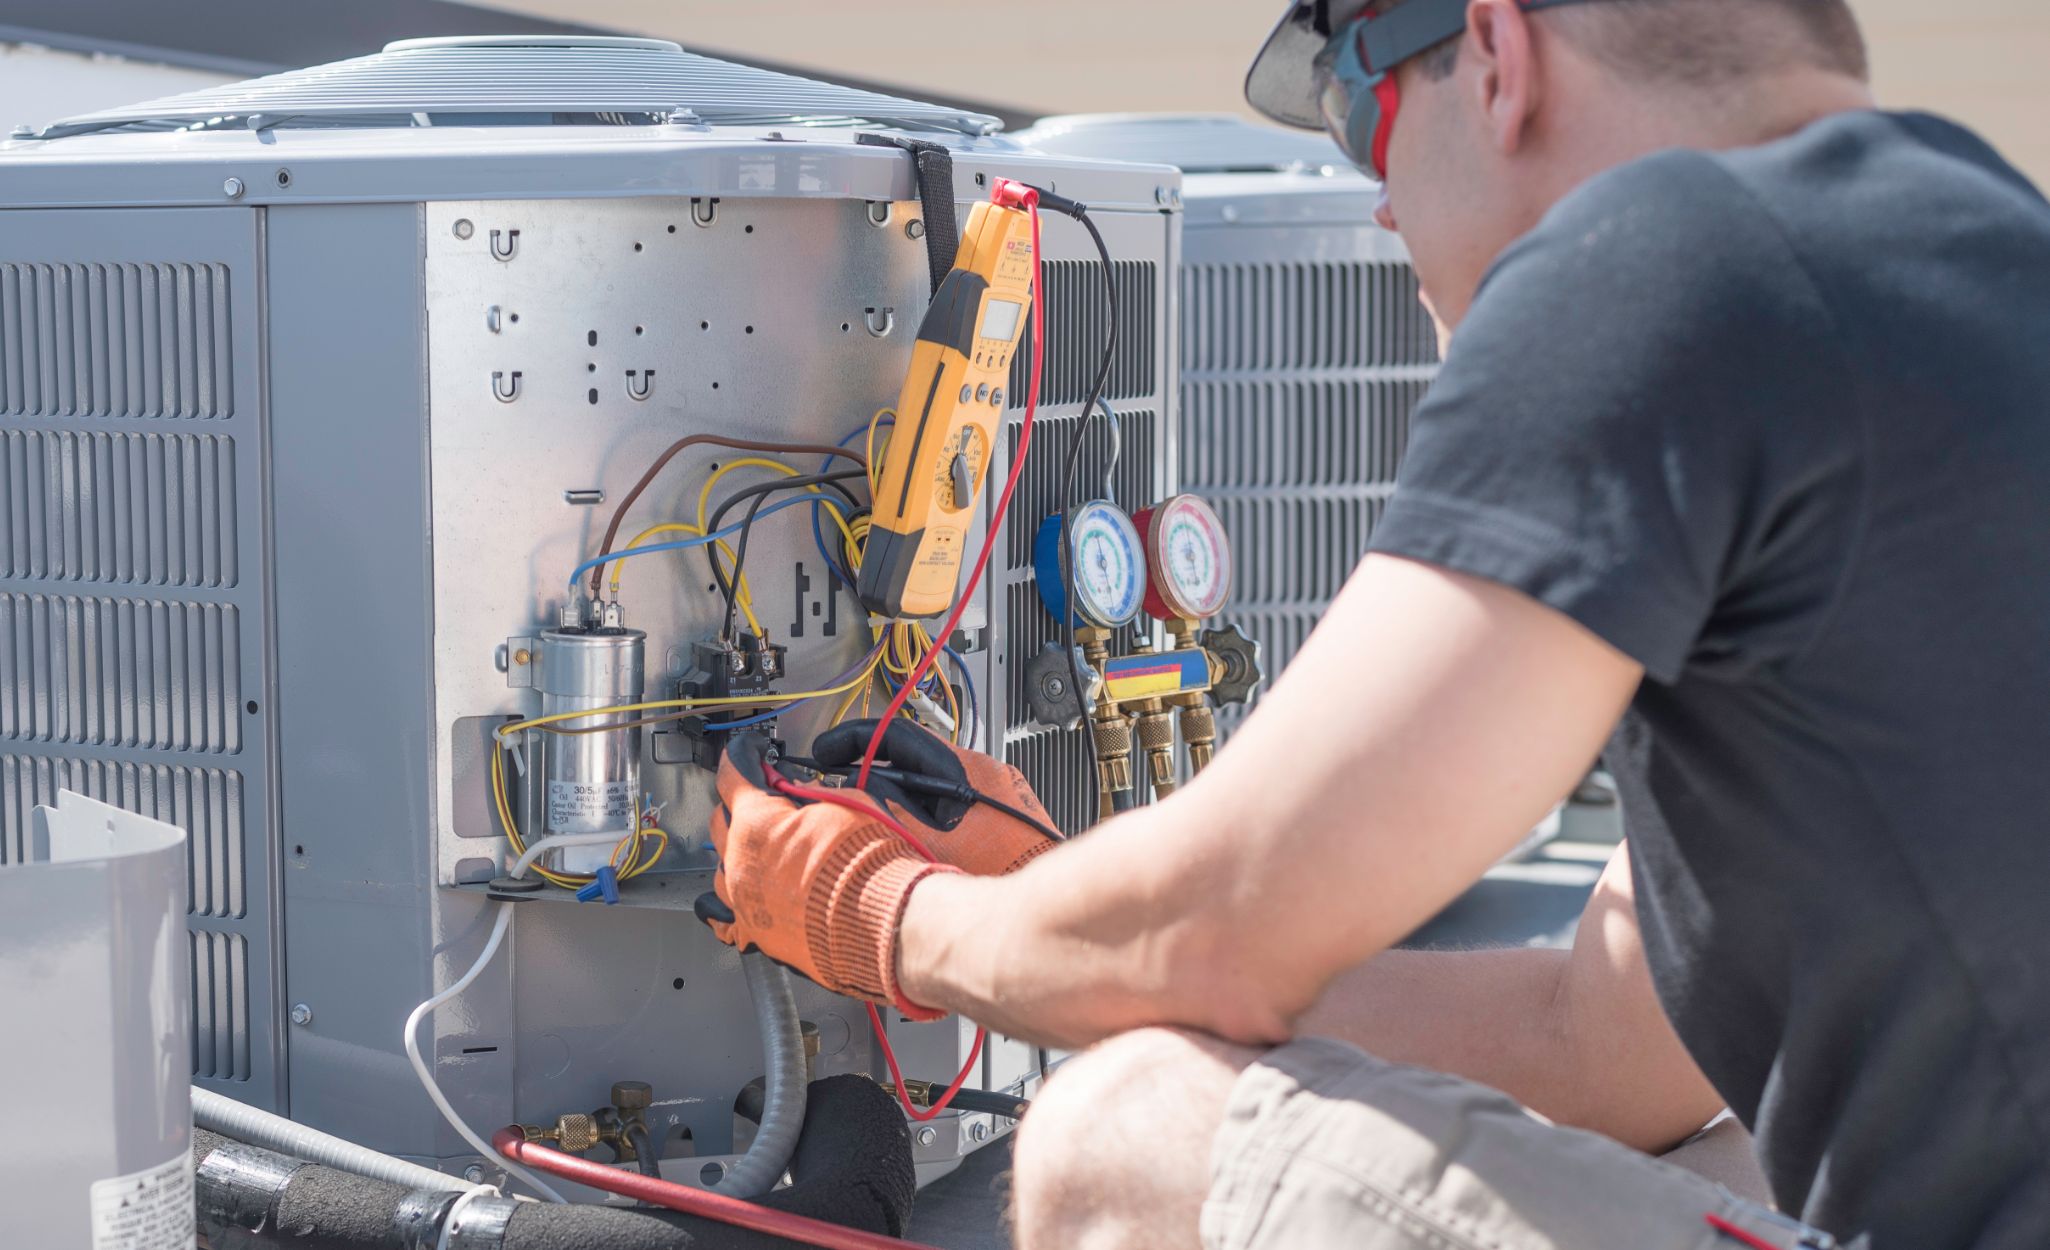
AC capacitors play a crucial role in the operation of air conditioning systems. They store electrical energy and help regulate the flow of current, ensuring smooth and efficient operation. Over time, AC capacitors can become faulty or damaged, leading to issues such as motor failure, overheating, or a decrease in overall performance.
When facing AC issues, it is essential to accurately diagnose the problem before attempting any repairs or replacements. One of the most effective ways to determine if an AC capacitor is defective is by performing a test using a multimeter. A multimeter is a versatile tool that can measure various electrical properties, including continuity and capacitance.
In this article, we will guide you through the step-by-step process of testing an AC capacitor with a multimeter. By following these instructions, you will be able to identify any capacitor-related issues and make informed decisions regarding repairs or replacements.
Key Takeaways:
- Testing an AC capacitor with a multimeter is crucial for diagnosing potential issues and ensuring optimal air conditioning system performance. Safety precautions, accurate multimeter setup, and interpretation of readings are key to successful testing.
- Replacing a faulty capacitor involves identifying, purchasing, and installing a compatible replacement. Prioritize safety, monitor system performance, and seek professional help if needed. Regular maintenance and timely replacements extend the system’s lifespan and prevent costly repairs.
Read more: How To Test HVAC Capacitor
Background Information on AC Capacitors
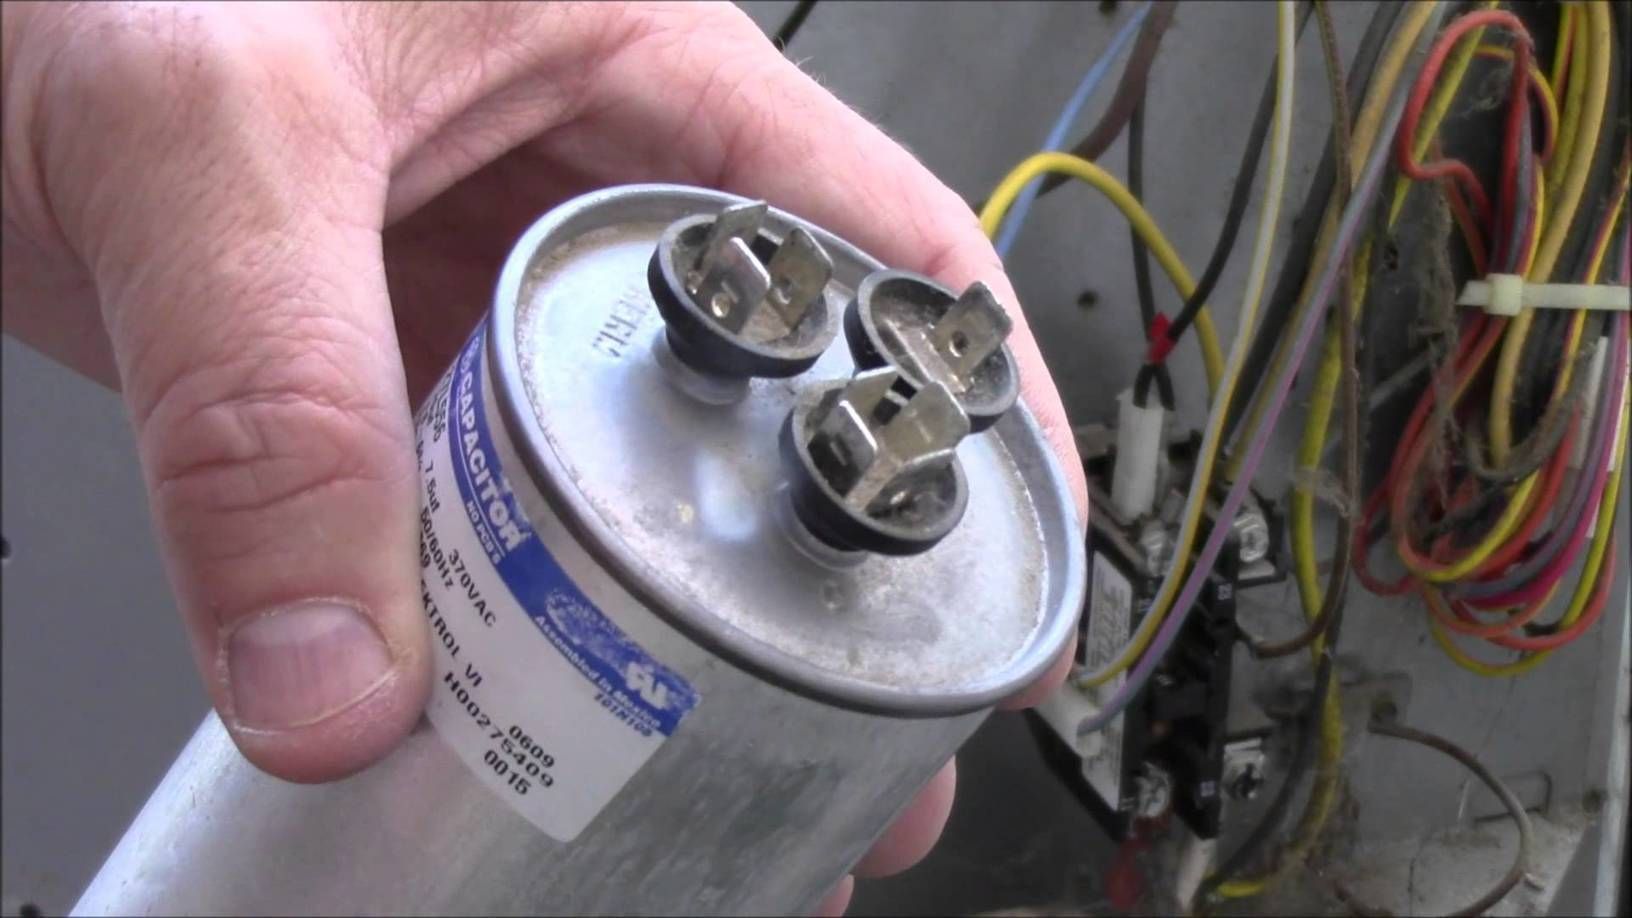
Before delving into the testing process, it is important to understand the role and function of AC capacitors in air conditioning systems. AC capacitors are cylindrical or rectangular-shaped devices that store electrical energy in the form of an electrical charge. They are typically made up of two metal plates separated by a dielectric material.
AC capacitors are used in air conditioners to provide the necessary startup energy to the compressor motor. They help the motor overcome the initial inertia and ensure that it smoothly transitions from a stationary state to a rotating state. This is crucial for the proper functioning of the cooling system.
There are two main types of AC capacitors: start capacitors and run capacitors. Start capacitors are responsible for providing the high amount of energy needed to start the compressor motor. Once the motor is running, the start capacitor is disconnected from the circuit. Run capacitors, on the other hand, assist the motor throughout its operation by maintaining a steady flow of current and improving overall efficiency.
Over time, AC capacitors can degrade due to factors such as high temperatures, voltage fluctuations, or general wear and tear. This can lead to a decrease in capacitance or the development of internal shorts or open circuits. When a capacitor becomes faulty, it can cause a range of issues including motor overheating, frequent system breakdowns, or the inability of the air conditioner to cool effectively.
By understanding the role of AC capacitors and the potential problems associated with them, you will be able to identify the symptoms of a capacitor issue and conduct the necessary tests to diagnose the problem accurately.
Tools and Materials Needed
Before you begin testing an AC capacitor with a multimeter, it is important to gather the necessary tools and materials. Here is a list of items you will need:
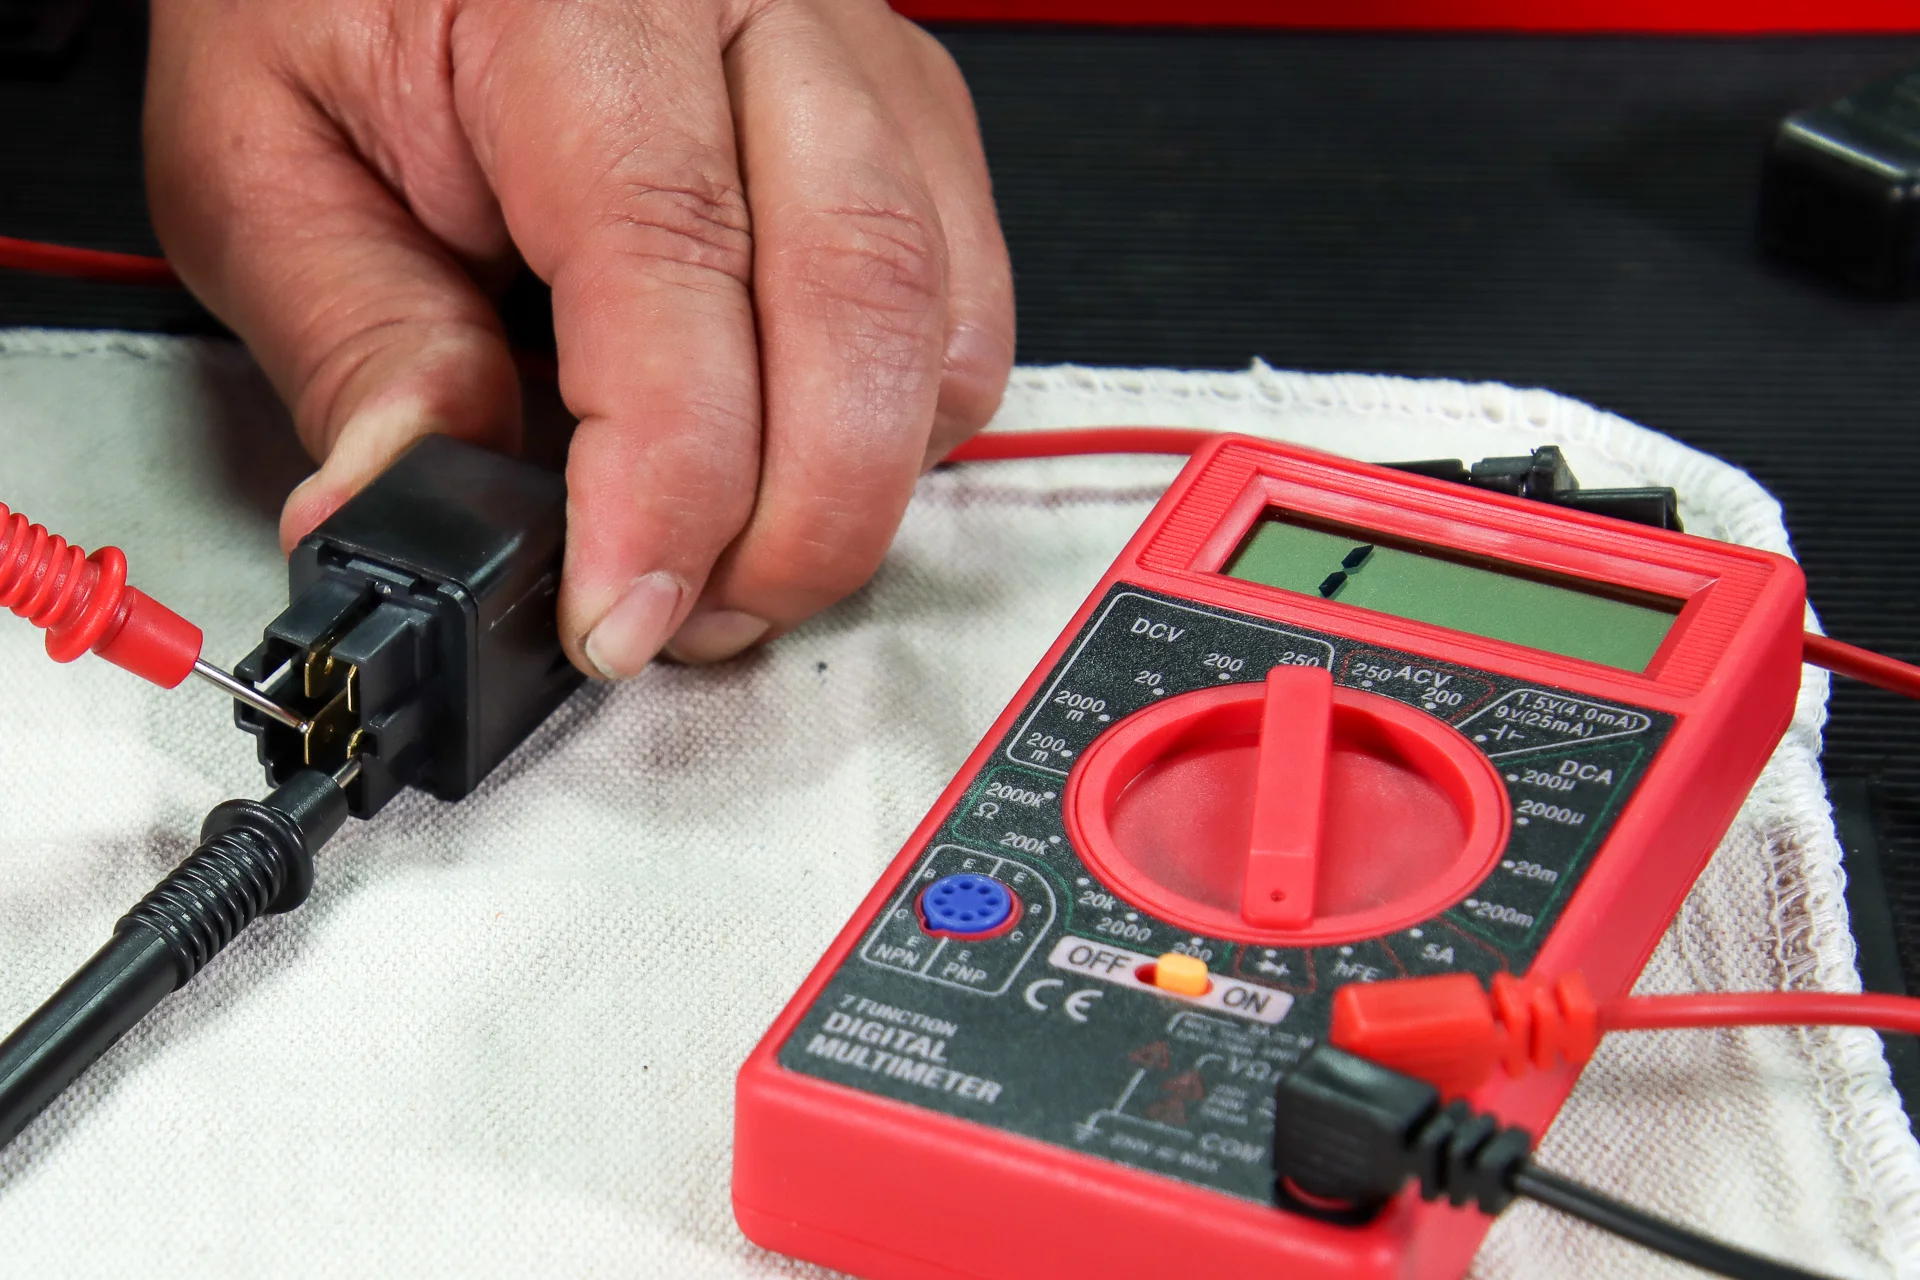
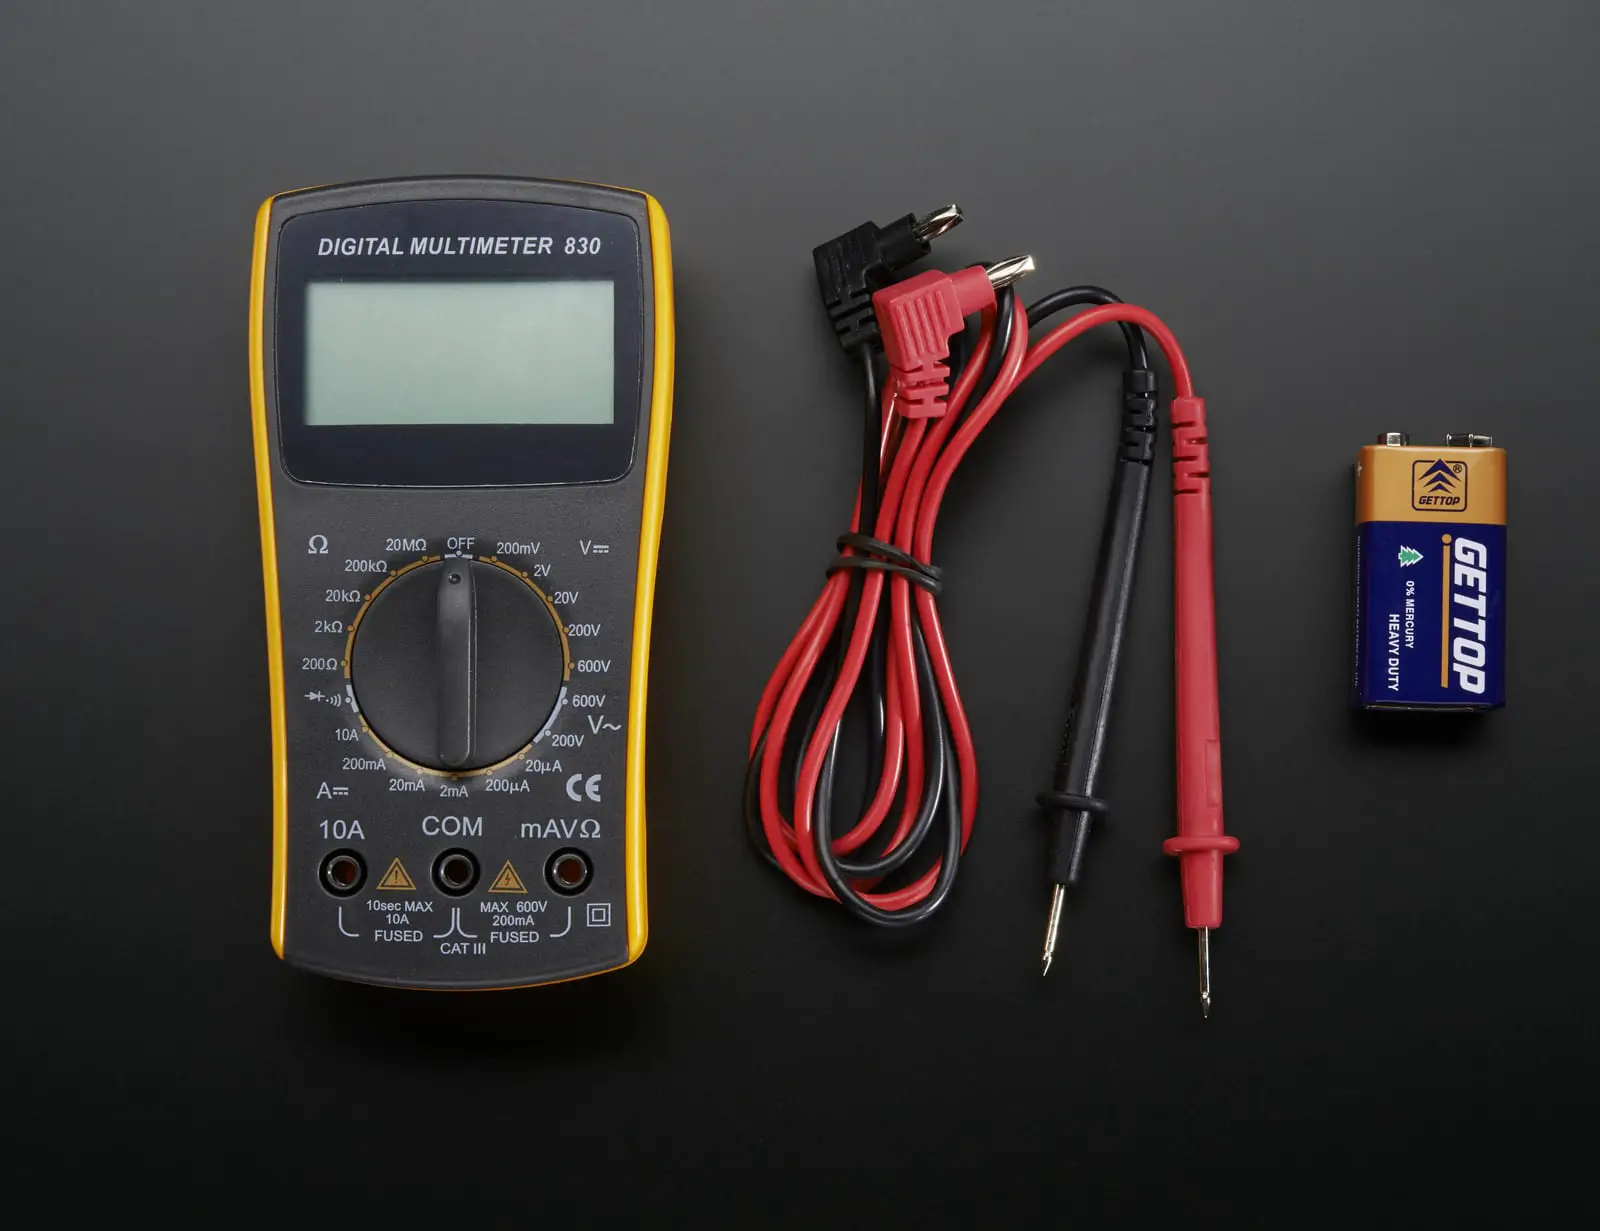
- Multimeter: This is the primary tool required for testing the capacitor. Choose a digital multimeter capable of measuring capacitance and continuity.
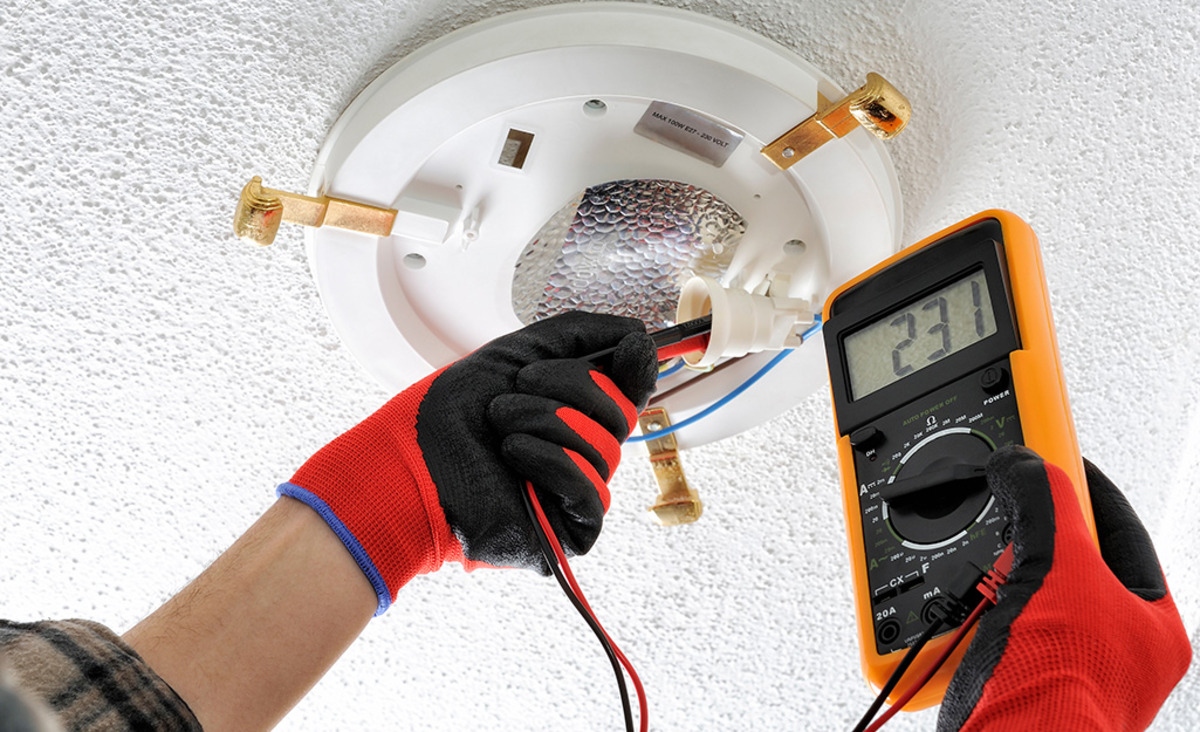
- Safety Gloves and Goggles: It is essential to prioritize safety during any electrical work. Wear insulated gloves and protective goggles to protect yourself from potential hazards.
- Screwdriver: You may need a screwdriver to access the capacitor and other components of the air conditioning system. Choose the appropriate size and type for your specific unit.
- Alligator Clips: Alligator clips can be useful for securely connecting the multimeter probes to the capacitor terminals, especially if you need to keep your hands free during testing.
- Discharge Probe: A discharge probe is a specialized tool that allows you to safely discharge the capacitor before testing. This prevents any residual charge from potentially causing harm.
It is worth noting that the specific tools required may vary depending on the make and model of your air conditioning system. Always refer to the manufacturer’s instructions and consult a professional if you are unsure about any aspect of the testing process.
By ensuring that you have all the necessary tools and materials before starting the testing procedure, you can work efficiently and safely, minimizing any potential risks or complications.
Step 1: Safety Precautions
Before proceeding with any electrical testing, it is crucial to prioritize safety to prevent accidents or injuries. Follow these safety precautions before you begin testing an AC capacitor:
- Disconnect the Power: Turn off the power supply to the air conditioning unit at the main circuit breaker. This will ensure that there is no electricity flowing to the system and minimize the risk of electrical shocks.
- Wear Protective Gear: Put on safety gloves and goggles to protect yourself from potential electrical hazards. These safety measures will shield your hands and eyes from accidental contact with live wires or capacitor terminals.
- Allow Capacitor Discharge: Capacitors store electrical charge even when the power is turned off. Before testing, it is essential to discharge the capacitor to prevent any residual charge from causing harm. Use a discharge probe or a suitable tool to discharge the capacitor safely. Refer to the manufacturer’s instructions for specific guidance.
- Inspect for Damaged Wires or Terminals: Before touching any components, visually inspect the wires and terminals for any signs of damage or wear. If you notice any frayed wires, loose connections, or corroded terminals, it is best to address those issues before proceeding with the testing.
- Check for Excessive Moisture: Moisture and electricity do not mix well. Ensure that there is no excessive moisture or water accumulation around the air conditioning unit. If you notice any leaks or moisture, it is important to address the issue promptly and dry the area before continuing.
By following these safety precautions, you can minimize the risk of accidents or injuries while testing the AC capacitor. Remember to always prioritize your safety and if you are unfamiliar with electrical work, it is advisable to seek the assistance of a qualified professional.
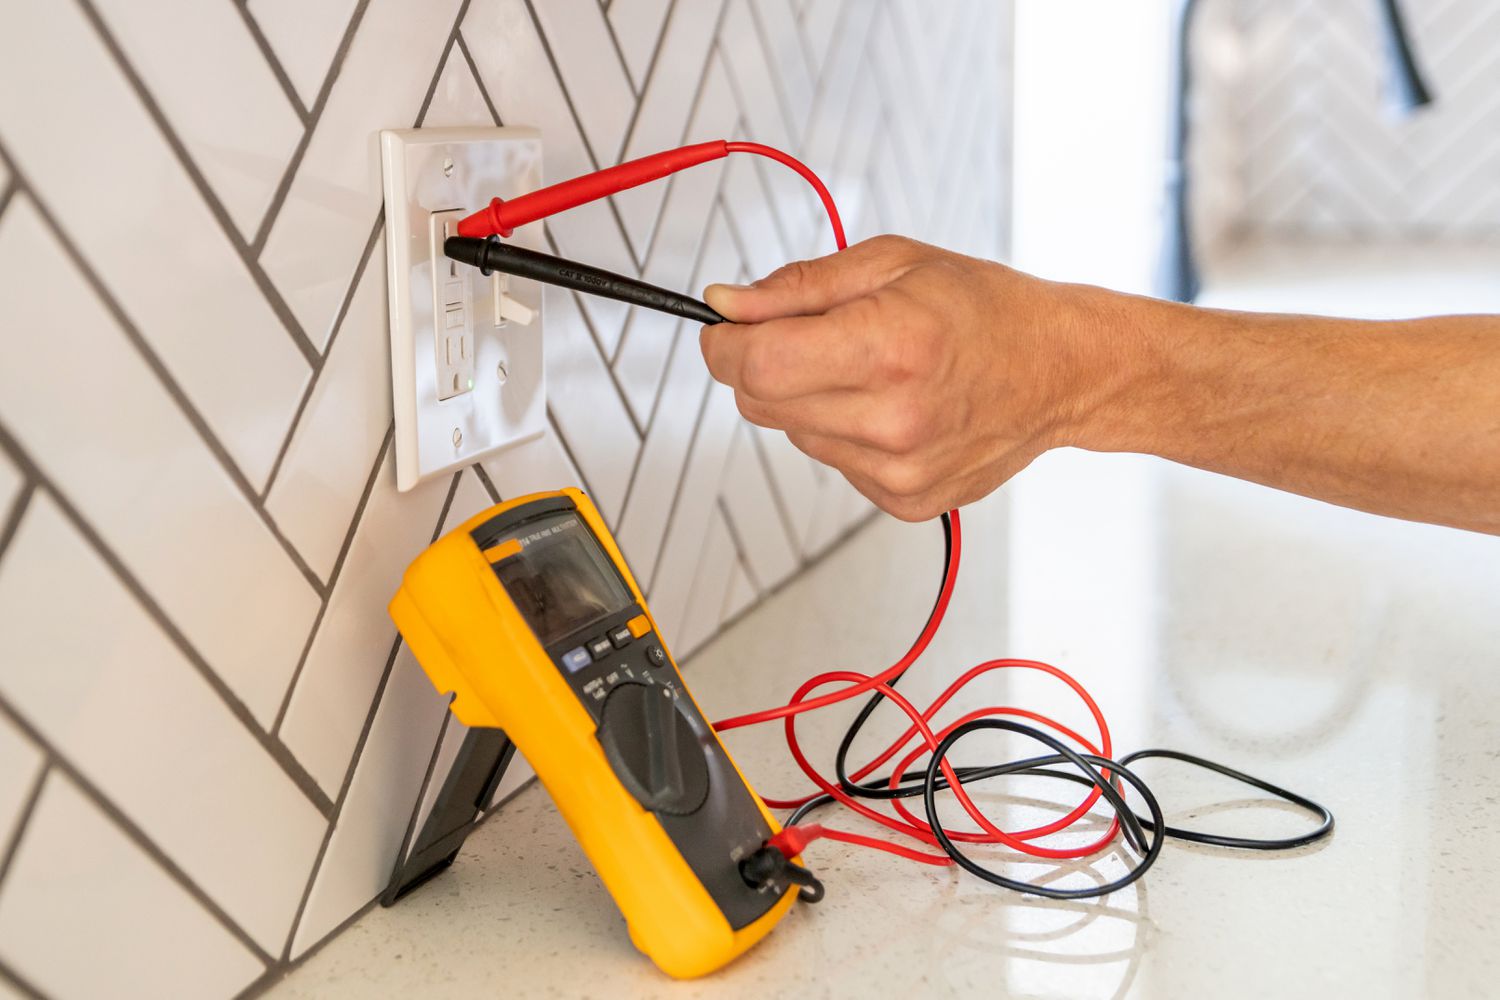
Step 2: Multimeter Setup
Once you have taken the necessary safety precautions, you can proceed with setting up your multimeter for testing the AC capacitor. Follow these steps to prepare your multimeter:
- Select the Correct Function: Set your multimeter to the capacitance testing function. This setting may vary depending on the model of your multimeter, so refer to the user manual for specific instructions on how to switch to the capacitance mode.
- Choose the Range: For more accurate readings, select the appropriate range on the multimeter. If you are unsure about the capacitance value of the capacitor, it is recommended to start with the highest range available and then adjust it accordingly based on the initial readings.
- Prepare the Probes: Attach the multimeter probes to the correct terminals. The red probe should be connected to the positive terminal of the capacitor, and the black probe should be connected to the negative terminal.
- Zero out the Multimeter: If your multimeter has a zeroing or nulling function, use it to nullify any residual capacitance or resistance present in the leads of the multimeter. This will ensure that you get accurate readings when testing the capacitor.
- Set the Multimeter to Continuity Mode: If you plan to test the continuity of the capacitor along with its capacitance, switch your multimeter to the continuity testing mode. This will allow you to check whether the capacitor has any breaks or open circuits.
By setting up your multimeter correctly, you will be ready to conduct accurate and reliable tests on the AC capacitor. Double-check that all connections are secure, and the multimeter is functioning properly before moving on to the next step.
Read more: How To Test A Fan Capacitor
Step 3: Discharging the Capacitor
Prior to testing the AC capacitor, it is essential to discharge it completely to ensure your safety. Capacitors store electrical charge even when the power is turned off, and if not discharged properly, they can potentially cause electrical shocks. Follow these steps to discharge the capacitor:
- Turn Off the Power: Make sure the power supply to the air conditioning unit is turned off at the main circuit breaker. This will prevent any electricity from flowing to the capacitor during the discharging process.
- Verify Power Disconnection: Double-check that the power is indeed turned off by attempting to operate the air conditioner. If the system does not turn on, it is a good indication that the power has been successfully disconnected.
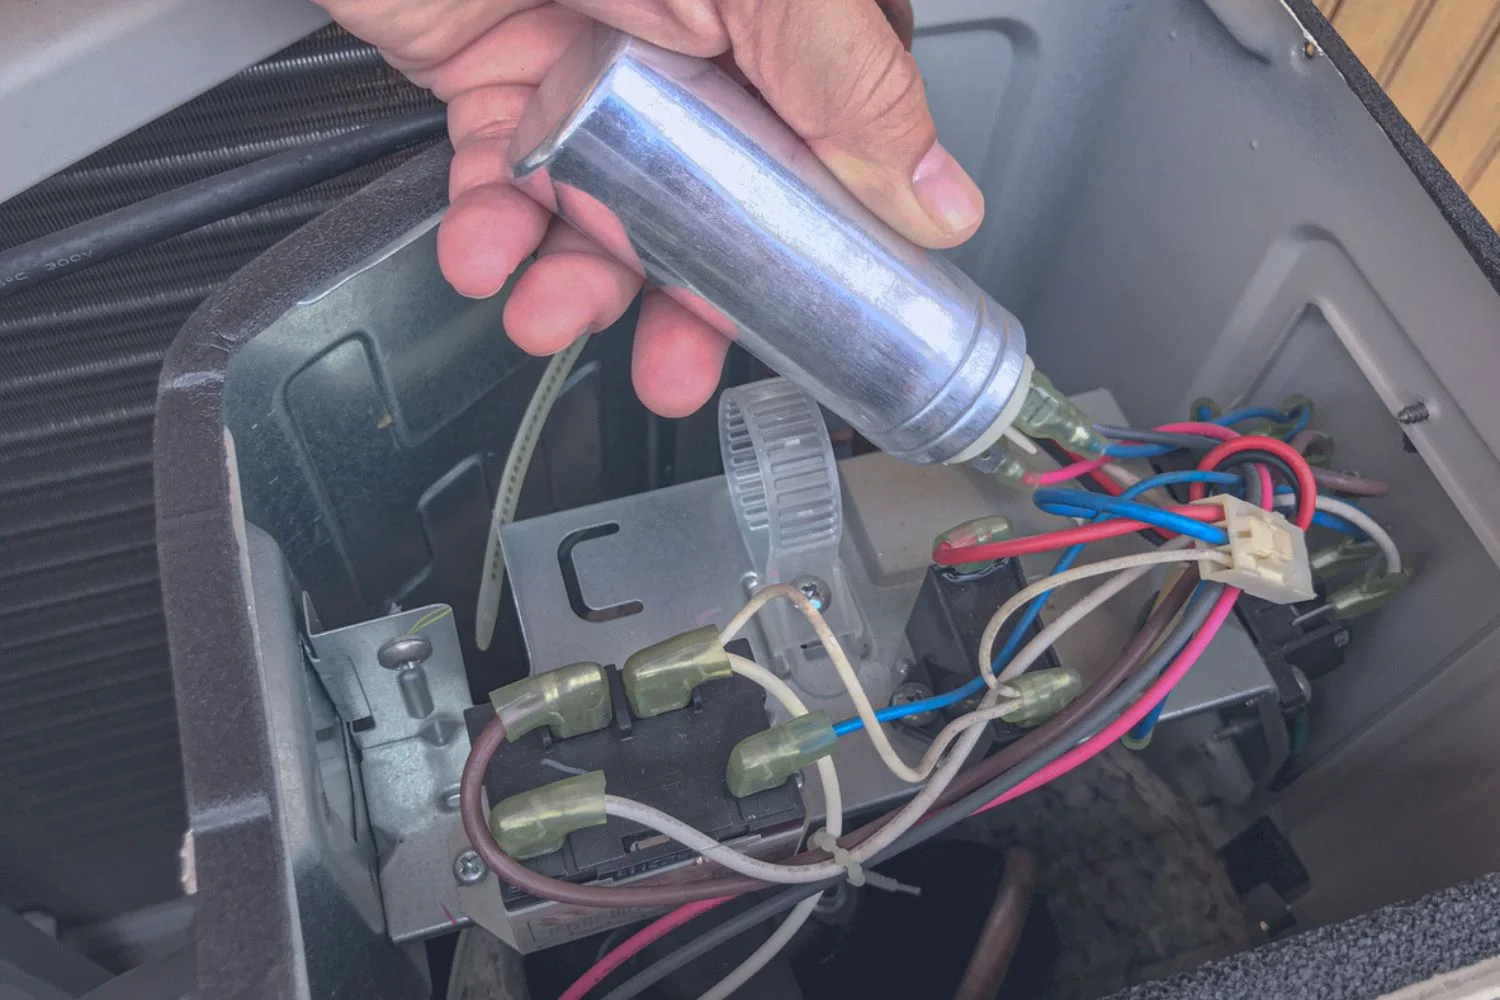
- Locate the Capacitor: Identify the location of the capacitor within the air conditioning unit. It is typically found near the compressor or the air handler. Refer to the manufacturer’s instructions or consult a professional if you are unsure about its placement.
- Discharge the Capacitor: Using a discharge probe or a well-insulated screwdriver with a plastic handle, bridge the contacts of the capacitor terminals. Gently touch the metal portion of the discharge probe or the insulated screwdriver between the terminals. Hold it in place for a few seconds to ensure that any residual charge is completely discharged.
- Test for Discharge: Once you have discharged the capacitor, you can use a voltage detector or a non-contact voltage tester to verify that there is no electrical charge remaining. Hold the voltage detector near the capacitor terminals and ensure that it does not indicate the presence of voltage.
By successfully discharging the AC capacitor, you eliminate the risk of electrical shocks during the testing process. Remember to handle the capacitor with caution and avoid touching the terminals with your bare hands to prevent any accidental contact with residual charge.
Step 4: Selecting the Correct Multimeter Setting
Before proceeding with the actual testing of the AC capacitor, it is important to select the correct multimeter setting to ensure accurate measurements. Follow these steps to choose the appropriate setting on your multimeter:
- Identify the Capacitance Range: Determine the capacitance range of the capacitor you are testing. This information is usually labeled on the capacitor itself or can be found in the manufacturer’s documentation. The capacitance value is measured in farads (F) or microfarads (µF).
- Select the Range on the Multimeter: Set your multimeter’s capacitance range to a value that is higher than the expected capacitance of the capacitor. If you are unsure of the exact capacitance value, start with the highest range available on your multimeter and then gradually decrease it if needed.
- Adjust the Digits Displayed: Depending on the multimeter, you may need to adjust the digits displayed for the capacitance value. This is usually done using a switch or button labeled “D”/”DEC” or “N”/”NAN”. Refer to your multimeter’s user manual for specific instructions on how to adjust the digits.
- Zero Out the Multimeter: If your multimeter has a zeroing or nulling function, use it to nullify any residual capacitance that might be present in the multimeter’s leads. This will ensure more accurate readings during testing.
By selecting the correct multimeter setting, you will obtain precise measurements of the AC capacitor’s capacitance. This will enable you to assess whether the capacitor is functioning within the expected range or if it needs to be replaced.
When testing an AC capacitor with a multimeter, set the multimeter to the capacitance setting and discharge the capacitor before testing to ensure safety.
Step 5: Testing the Capacitor for Continuity
In addition to measuring the capacitance, it is also important to test the AC capacitor for continuity. Continuity testing helps determine whether the capacitor has any breaks or open circuits, which can indicate a fault in its internal structure. Follow these steps to test the capacitor’s continuity:
- Set your multimeter to the continuity testing mode. This mode allows the multimeter to indicate whether there is a continuous flow of electrical current through the capacitor.
- Ensure that the power to the air conditioning unit is turned off to prevent any accidental electrical shocks.
- Place the multimeter probes on the respective terminals of the capacitor. The red probe should be connected to the positive terminal, and the black probe should be connected to the negative terminal.
- Observe the digital display or listen for an audible beep on the multimeter. If the continuity test indicates a “beep” or a “short circuit” symbol on the display, it means that current is flowing through the capacitor, indicating continuity.
- If the multimeter does not indicate continuity, it means there is a break or open circuit in the capacitor. This suggests a fault with the capacitor, and it will likely need to be replaced.
Testing the capacitor’s continuity is important to ensure that it is functioning properly and free from any internal faults. If the continuity test indicates a break or open circuit, it is a strong indication that the capacitor is faulty and needs to be replaced.
Step 6: Testing the Capacitor for Proper Capacitance
After testing the capacitor for continuity, the next step is to measure its actual capacitance value. This will determine if the capacitor is functioning within the expected range. Follow these steps to test the capacitor’s capacitance:
- Ensure that the power to the air conditioning unit is turned off to avoid any electrical hazards during the testing process.
- Set your multimeter to the capacitance testing mode and select an appropriate range. If you know the approximate capacitance value of the capacitor, start with the range that is closest to the expected value.
- Connect the multimeter probes to the respective terminals of the capacitor, with the red probe on the positive terminal and the black probe on the negative terminal.
- Observe the multimeter display and wait for it to stabilize. The display should indicate the capacitance value of the capacitor in either farads (F) or microfarads (µF).
- Compare the measured capacitance value with the expected capacitance range specified by the manufacturer. If the measured value is within this range, it indicates that the capacitor is functioning correctly.
- If the measured capacitance value is significantly lower or higher than the expected range, it suggests that the capacitor is faulty and may need to be replaced.
Testing the capacitor for its actual capacitance value is crucial to ensure that it is functioning within the expected range. Capacitors that deviate significantly from the expected range may not perform effectively and can lead to issues with the air conditioning system.
Read more: How To Test An LED Bulb With A Multimeter
Step 7: Interpreting the Multimeter Readings
Once you have conducted the tests for continuity and capacitance on the AC capacitor using a multimeter, it is important to interpret the readings correctly. This will help you determine the condition of the capacitor and whether it needs to be replaced. Here’s how to interpret the multimeter readings:
- Continuity Test: If the multimeter indicates continuity with a “beep” or a “short circuit” symbol, it means there is a continuous flow of electrical current through the capacitor. This indicates that the capacitor has no breaks or open circuits and is functioning properly.
- Capacitance Test: The multimeter will display a capacitance value in either farads (F) or microfarads (µF). Compare this measured value with the expected range provided by the manufacturer. If the measured value falls within the expected range, it indicates that the capacitor is working properly. However, if the measured value is significantly higher or lower than the expected range, it suggests that the capacitor is faulty and requires replacement.
It is important to note that capacitor values can change due to temperature or other external factors. If the measured capacitance value is slightly outside the expected range, it may still function adequately. However, large discrepancies may affect the performance of the capacitor and the overall operation of the air conditioning system.
Additionally, it is important to consider other factors such as the age of the capacitor, any visible signs of damage, or the overall performance of the air conditioning system. Sometimes, even if the readings appear normal, it may still be advisable to replace the capacitor if other factors suggest that it is likely to fail soon.
By accurately interpreting the multimeter readings, you can make informed decisions regarding the condition of the capacitor and take appropriate actions to ensure the efficient functioning of your air conditioning system.
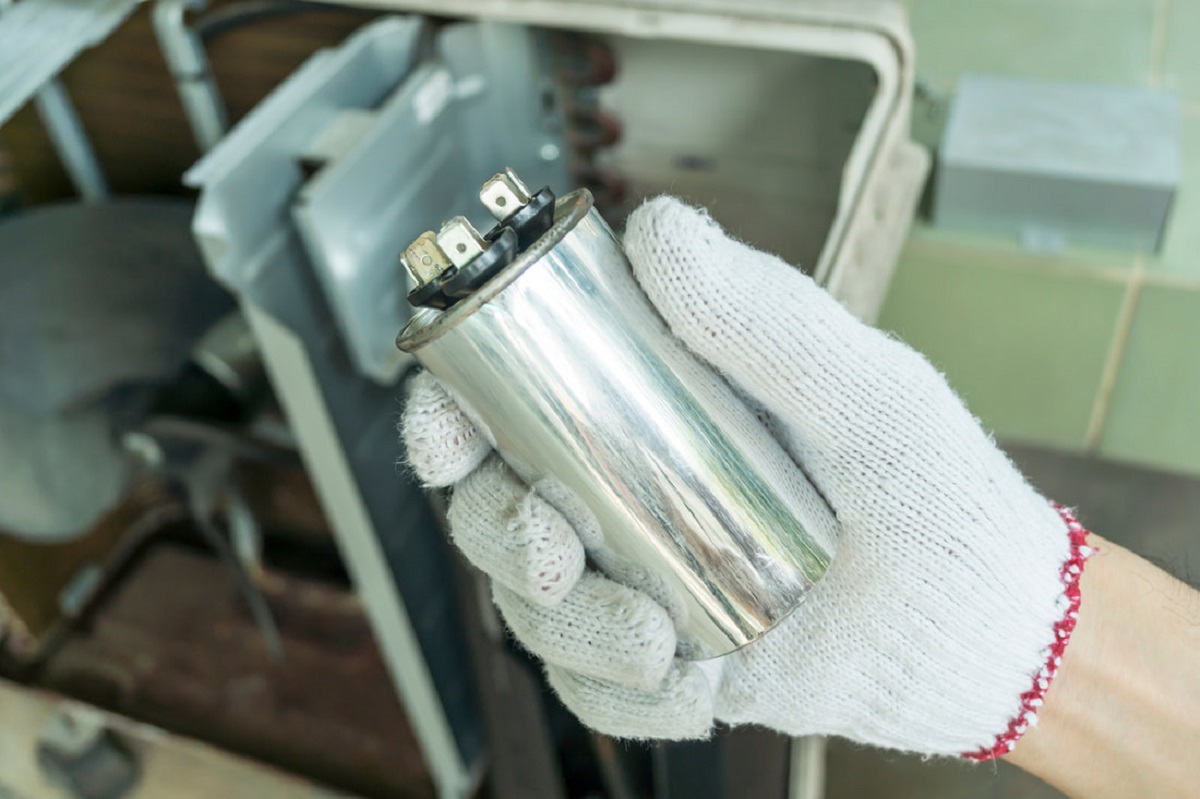
Step 8: Replacing a Faulty Capacitor
If the multimeter tests indicate that the AC capacitor is faulty or out of the expected range, it is crucial to replace the capacitor to avoid further issues with the air conditioning system. Here are the steps to follow when replacing a faulty capacitor:
- Ensure Safety: Before starting any replacement work, make sure the power supply to the air conditioning unit is turned off. This will prevent any electrical shocks or accidents during the replacement process.
- Identify the Capacitor: Locate the faulty capacitor within the air conditioning unit. Note its physical shape, size, and electrical ratings, including capacitance and voltage.
- Purchase a Replacement Capacitor: Purchase a new capacitor with the same electrical ratings as the faulty one. This will ensure compatibility and proper functioning of the air conditioning system.
- Remove Wires and Connections: Take note of the wiring connections to the faulty capacitor and carefully remove them. Use a screwdriver or pliers to loosen any terminals or clips holding the capacitor in place.
- Install the New Capacitor: Install the new capacitor in the same position as the faulty one. Make sure it is securely fastened and the wiring connections are properly attached. Refer to any manufacturer instructions or diagrams for guidance.
- Reconnect Wires and Test: Carefully reconnect the wiring connections to the corresponding terminals of the new capacitor. Double-check that all connections are secure and properly seated. Once done, turn on the power and test the air conditioning system to ensure it operates smoothly.
- Monitor Performance: After replacing the faulty capacitor, keep an eye on the performance of the air conditioning system. Verify that it cools the space effectively and operates without any unusual noises or issues. If any problems persist, it may be necessary to seek professional assistance.
Replacing a faulty capacitor is essential for the proper functioning of the air conditioning system. By following these steps carefully and ensuring the correct installation of the new capacitor, you can restore the system’s performance and eliminate any related issues.
Conclusion
Testing an AC capacitor with a multimeter is an effective way to diagnose any potential issues and ensure the proper functioning of your air conditioning system. By following the step-by-step process outlined in this article, you can accurately assess the continuity and capacitance of the capacitor, helping you make informed decisions about repair or replacement.
Remember to always prioritize safety when working with electrical components. Take the necessary precautions, such as disconnecting the power, wearing protective gear, and discharging the capacitor, to minimize any risks of electrical shocks or accidents.
Interpreting the multimeter readings correctly is crucial in determining the condition of the capacitor. If the readings indicate a faulty capacitor or one that is outside the expected range, it is advisable to replace it to maintain the optimal performance of your air conditioning system.
Replacing a faulty capacitor involves identifying the capacitor, purchasing a compatible replacement, removing the old capacitor, and installing the new one. Don’t forget to reconnect the wiring connections correctly and monitor the system’s performance after replacement.
If you are unsure about any aspect of testing or replacing the AC capacitor, it is always best to consult a professional HVAC technician. They have the expertise and experience to safely diagnose and address any issues that may arise.
By following the guidelines provided in this article and seeking expert help when needed, you can ensure that your air conditioning system operates efficiently and cools your space effectively, especially during hot summer months.
Remember that regular maintenance and timely replacement of faulty components such as capacitors can extend the lifespan of your air conditioning system and save you from costly repairs in the long run.
Additional Resources
For further information and resources on testing AC capacitors with a multimeter and maintaining your air conditioning system, consider exploring the following sources:
- Manufacturer’s Documentation: Refer to the documentation provided by the manufacturer of your air conditioning system. They often include specific instructions and guidelines for testing and replacing capacitors.
- Online Tutorials and Videos: Search for online tutorials and videos that demonstrate the testing process for AC capacitors. Websites like YouTube often have helpful videos that visually guide you through the steps.
- HVAC Forums and Communities: Join online forums or communities dedicated to HVAC systems. These platforms are great for asking questions, sharing experiences, and receiving advice from professionals and fellow homeowners.
- HVAC Repair Guides: Look for comprehensive HVAC repair guides that cover various components, including capacitors. These guides provide detailed information on testing, diagnosing, and replacing specific parts of your air conditioning system.
- Professional HVAC Technicians: When in doubt or facing complex issues, it is always wise to consult with a qualified HVAC technician. They have the expertise and experience to accurately test and diagnose problems with your air conditioning system.
Remember, when dealing with electrical components and systems, safety should be the top priority. If you are unsure or uncomfortable performing tests or repairs yourself, it is best to seek professional assistance.
By utilizing these additional resources, you can expand your knowledge and improve your understanding of AC capacitors, multimeter testing, and overall air conditioning system maintenance.
Now that you've mastered testing AC capacitors with a multimeter, why stop there? Keep your cooling system in top shape by diving into our detailed guide on AC repair. From quick fixes to comprehensive maintenance strategies, this guide provides all you need for keeping your air conditioning running smoothly. Don't let a faulty AC spoil your summer comfort!
Frequently Asked Questions about How To Test AC CapACitor With Multimeter
Was this page helpful?
At Storables.com, we guarantee accurate and reliable information. Our content, validated by Expert Board Contributors, is crafted following stringent Editorial Policies. We're committed to providing you with well-researched, expert-backed insights for all your informational needs.


0 thoughts on “How To Test AC CapACitor With Multimeter”