Articles
How To Turn Off A Wired Smoke Detector
Modified: February 24, 2024
Learn how to turn off a wired smoke detector with step-by-step instructions in this informative article. Ensure the safety of your home with these helpful tips.
(Many of the links in this article redirect to a specific reviewed product. Your purchase of these products through affiliate links helps to generate commission for Storables.com, at no extra cost. Learn more)
Introduction
Welcome to our guide on how to turn off a wired smoke detector. Smoke detectors are an essential safety feature in any home or building, as they alert us to the presence of smoke and potential fire hazards. While these devices are crucial for our safety, there may be occasions when it becomes necessary to temporarily disable a wired smoke detector, such as during renovations, maintenance, or false alarms. In this article, we will provide you with a step-by-step guide on how to safely and effectively turn off a wired smoke detector.
Before we proceed, it is important to note that disabling a smoke detector should only be done temporarily, and it is crucial to reactivate it once the reason for disabling it has been resolved. Remember, your safety should always be the top priority, and functioning smoke detectors are a vital component in ensuring that.
Please ensure that you follow all safety precautions, read the manufacturer’s instructions, and consult a professional electrician if you are unsure about any step of this process. With that said, let’s dive into the steps of turning off a wired smoke detector.
Key Takeaways:
- Safely turning off a wired smoke detector involves gathering materials, identifying wiring, disconnecting power, and reassembling components. Prioritize safety, follow instructions, and test the detector for proper functionality after reactivation.
- Regular testing and maintenance of smoke detectors are crucial for ensuring reliable fire detection. Remember to replace batteries annually and follow manufacturer guidelines for optimal safety.
Read more: How To Turn Off A Smoke Detector
Step 1: Gather materials
Before you start, it’s important to gather the necessary materials to ensure a hassle-free process. Here’s a list of items you’ll need:
- Step ladder: A step ladder will help you reach the smoke detector safely if it’s mounted on a high ceiling or a wall.
- Electrical tape: Electrical tape is used to secure and insulate the wires after disconnecting them.
- Screwdriver: Depending on the type of mounting bracket on your smoke detector, you may need a flathead or Phillips screwdriver to remove it.
- Wire cutters/strippers: These tools are necessary for cutting or stripping the wires, depending on the type of connection.
- Optional: A voltage tester: If you want to be extra cautious, you can use a voltage tester to confirm that the power has been successfully disconnected.
Make sure you have all the necessary materials readily available before you proceed with turning off the wired smoke detector. This will save you time and ensure a smooth and efficient process.
Step 2: Locate the smoke detector
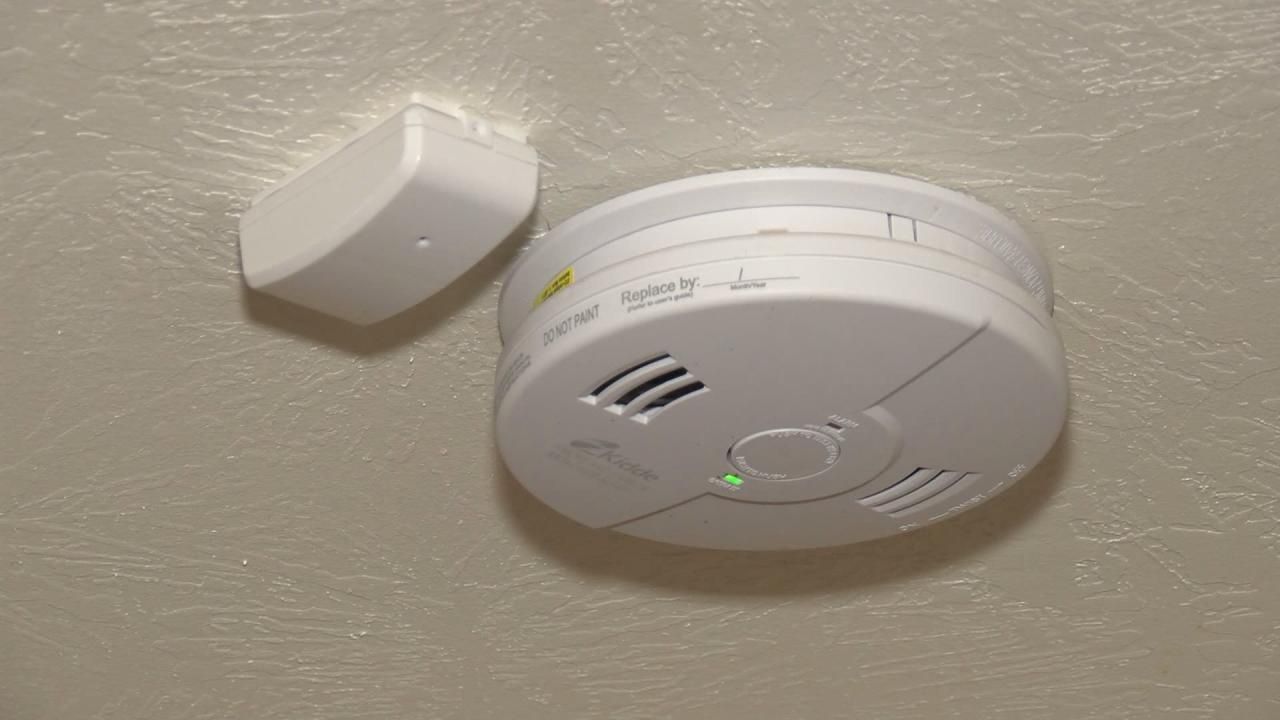
Once you have gathered all the required materials, the next step is to locate the smoke detector in your home or building. Smoke detectors are typically installed in common areas such as hallways, bedrooms, or living rooms. They are often mounted on the ceiling or high up on the walls.
Start by visually inspecting the rooms in your home to identify the areas where the smoke detectors are installed. Look for small, round devices attached to the ceiling or walls. In some cases, they may be located in a protective housing or cover.
If you have multiple smoke detectors in your home, it’s important to identify the specific one you want to turn off. This is especially important if you have interconnected smoke detectors, as turning off one may deactivate the entire system.
If you are having trouble locating the smoke detector, you can refer to the floor plan or building blueprint, or consult the user manual that came with the smoke detector for guidance.
Once you have located the smoke detector, you are ready to proceed to the next step.
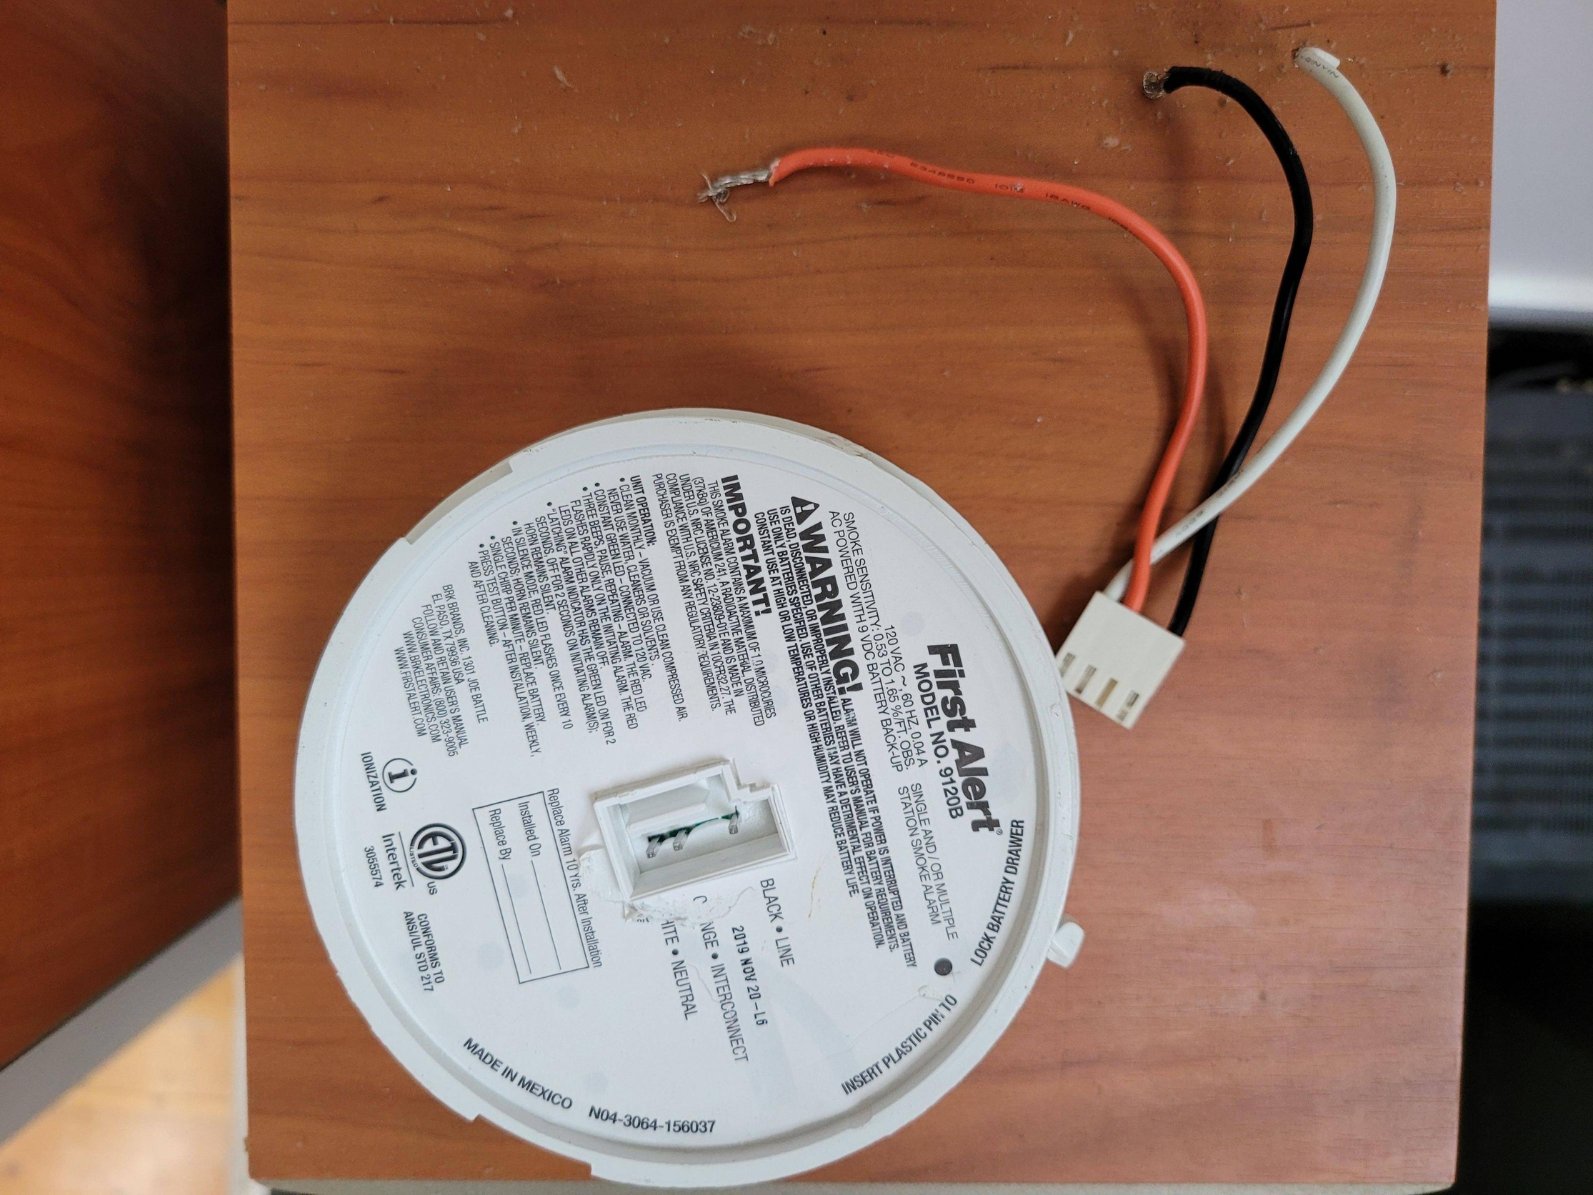
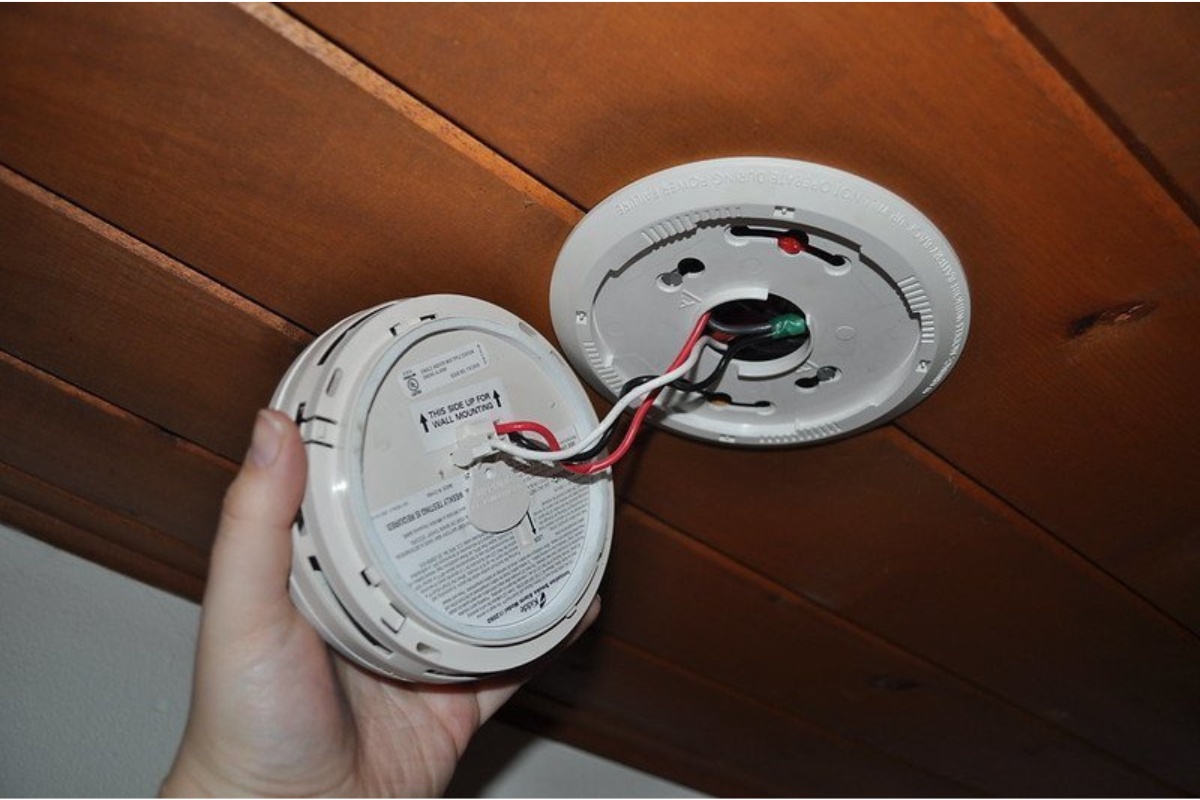
Step 3: Identify the wiring
Before you can safely turn off a wired smoke detector, it’s crucial to identify the wiring connections. Understanding the wiring will help you disconnect the smoke detector from its power source without causing any damage or harm.
Start by examining the smoke detector to locate the wiring terminals. Depending on the model and manufacturer, the wiring terminals may be marked with letters or colors. Common labeling includes “L” for Line and “N” for Neutral.
If the wiring terminals are not clearly labeled, you may need to refer to the manufacturer’s manual or consult an electrician for assistance. It’s important to have a clear understanding of which wires are connected to the power source to ensure a safe disconnection.
Additionally, you should also check if there are any additional wires connected to the smoke detector. Some models may have interconnected wiring with other smoke detectors in the building. In such cases, it’s important to take note of these connections and ensure you don’t accidentally disconnect any interlinked smoke detectors.
By identifying the wiring connections, you will be able to proceed with the next steps of safely turning off the smoke detector without causing any unnecessary disruptions or potential damage to the electrical system.
Step 4: Disconnect the power source
Once you have identified the wiring connections, it’s time to disconnect the power source to the smoke detector. This step is crucial for ensuring your safety and preventing any electrical accidents during the process.
Before proceeding, it’s important to emphasize the importance of safety precautions. Make sure to turn off the power supply to the smoke detector before handling any electrical components. Locate the breaker or fuse for the smoke detector circuit in your electrical panel and switch it off.
Once the power supply is turned off, you can begin disconnecting the wires from the smoke detector’s wiring terminals. Use a screwdriver or appropriate tool to loosen the screws or clips that secure the wires in place.
Starting with the “L” or Line terminal, carefully disconnect the wire by pulling it out from the terminal. Be gentle to avoid damaging or pulling the wire completely out of its insulation. Repeat this process for the “N” or Neutral terminal. If there are any additional wires connected to the smoke detector, disconnect them as well.
It’s important to note that some smoke detectors may have additional wires for interconnection with other smoke detectors or for auxiliary features such as a back-up battery. Take care to disconnect only the wires that are directly connected to the power source.
After disconnecting the wires, it’s a good idea to use electrical tape to cover the exposed wire ends. This helps prevent accidental contact and ensures safety during the period when the smoke detector is temporarily turned off.
With the power source successfully disconnected, you can now proceed to the next steps of removing the smoke detector from its mounting bracket and further disconnecting any backup batteries if applicable.
Read more: How To Turn Off A Smoke Detector In Hotel
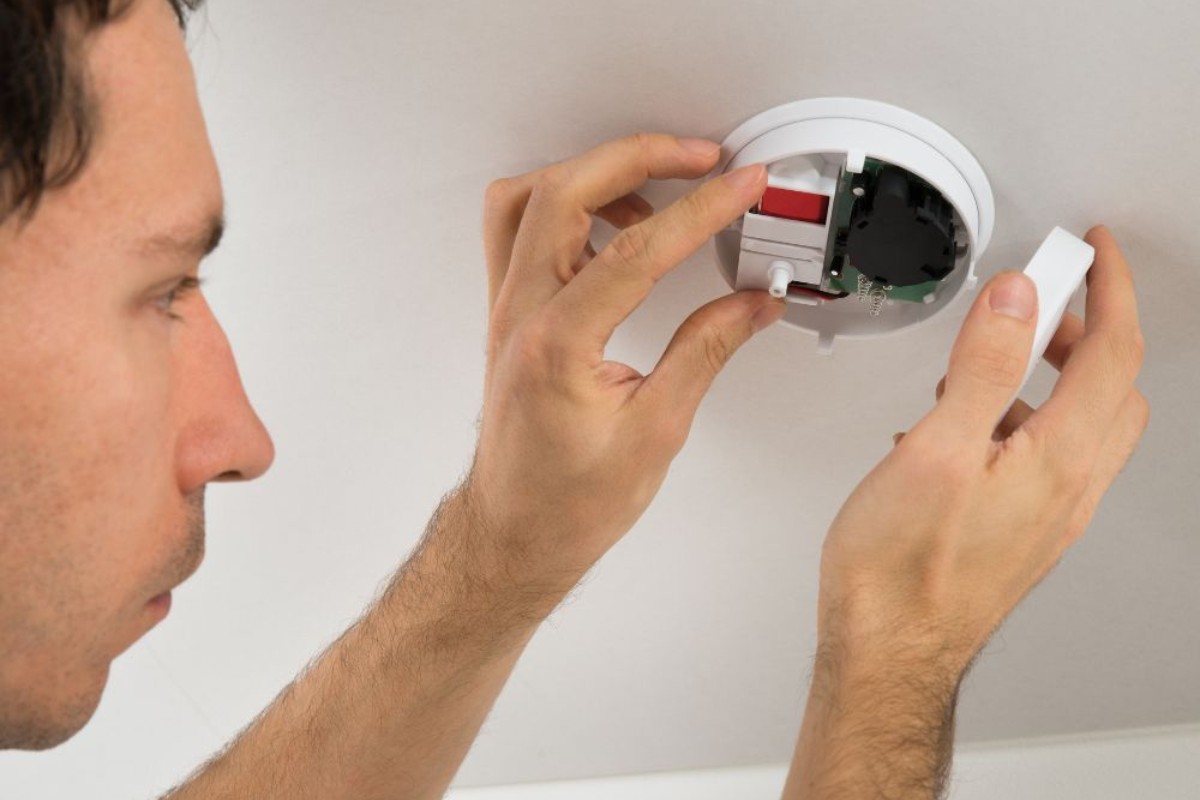
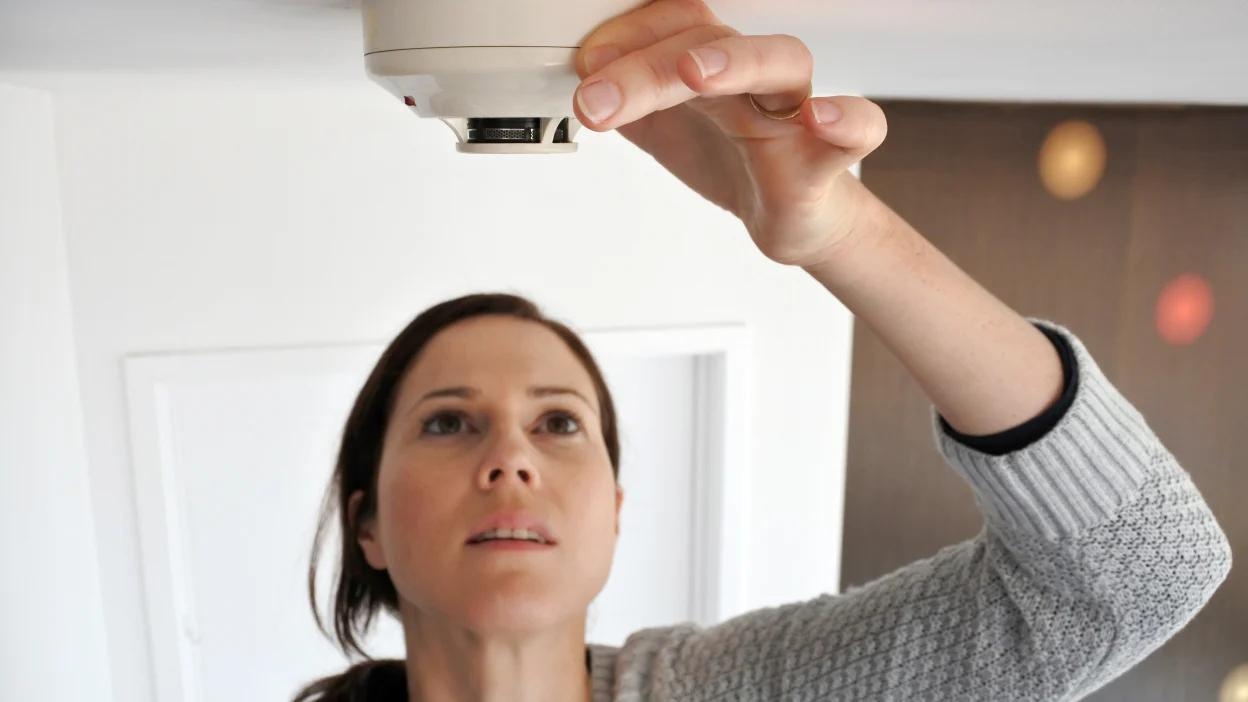
Step 5: Remove the smoke detector from the mounting bracket
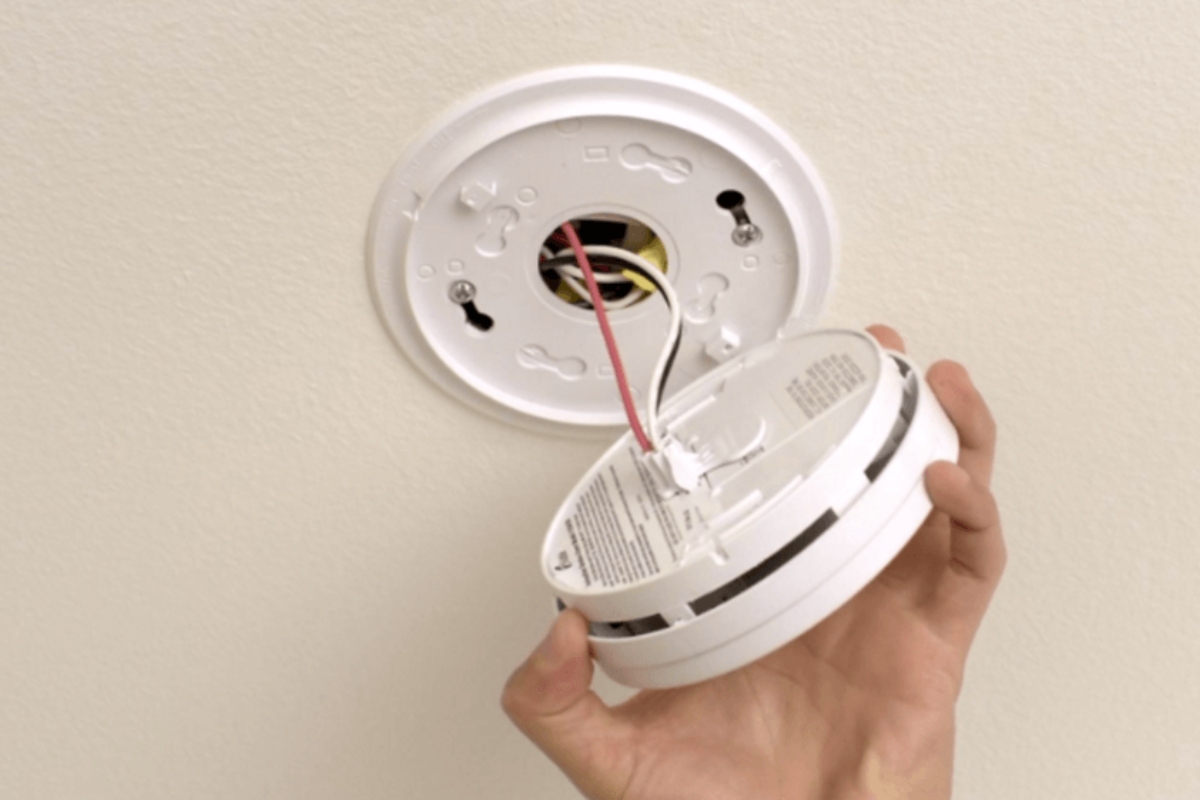
With the power source disconnected, it’s time to remove the smoke detector from its mounting bracket. This step will allow you to gain better access to the wires and ensure a safer disconnection process.
Start by inspecting the smoke detector to determine how it is attached to the mounting bracket. Some detectors may have twist-on or slide-on mechanisms, while others may require you to remove screws or clips.
Using a screwdriver or the appropriate tool, detach the smoke detector from the mounting bracket by loosening the screws or releasing the locking mechanism. Be cautious to support the detector while removing it to prevent it from falling or getting damaged.
If the smoke detector is hardwired, it may have a plug connection to the mounting bracket. In this case, carefully disconnect the plug from the bracket, ensuring not to damage the wires or the connector.
Once the smoke detector is detached from the mounting bracket, place it in a safe and accessible location. This will allow you to continue with the remaining steps of disconnecting the wires and, if applicable, temporarily deactivating any backup batteries.
Remember, throughout the process, handle the smoke detector with care to avoid any unnecessary damage or unintentional triggering.
Now that the smoke detector is removed from the mounting bracket, let’s move on to the next step of disconnecting the wires.
Before attempting to turn off a wired smoke detector, make sure to locate the reset button or power source. Use a ladder if needed and follow the manufacturer’s instructions to safely disable the detector.
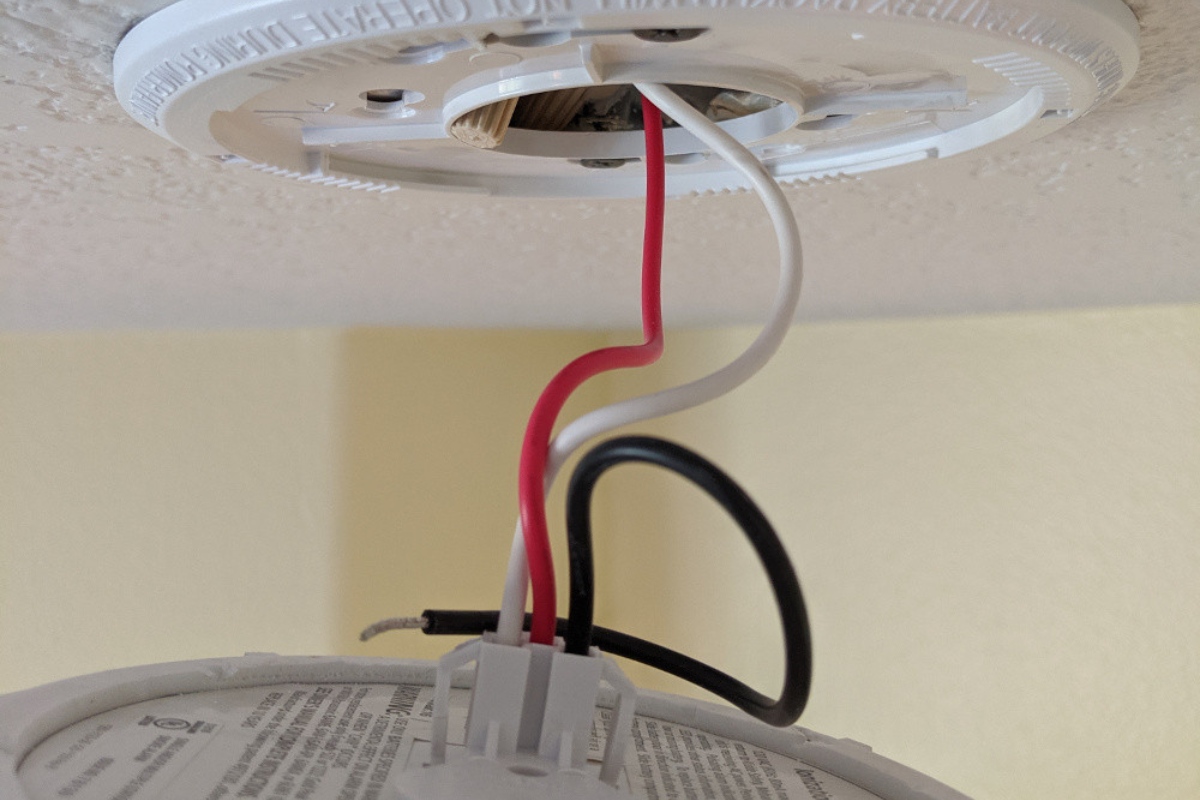
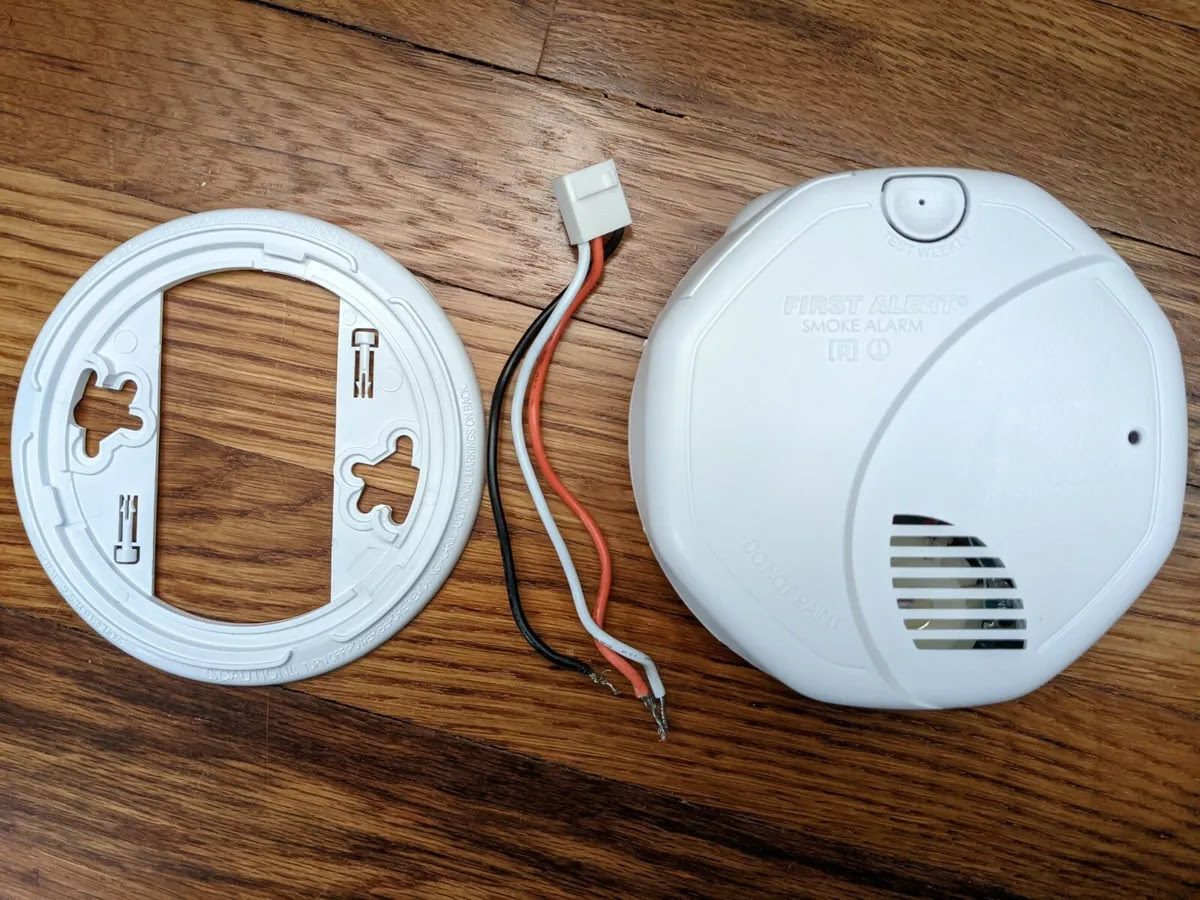
Step 6: Disconnect the wires
Now that the smoke detector is removed from the mounting bracket, it’s time to disconnect the wires. This step will completely separate the smoke detector from the electrical system in your home or building.
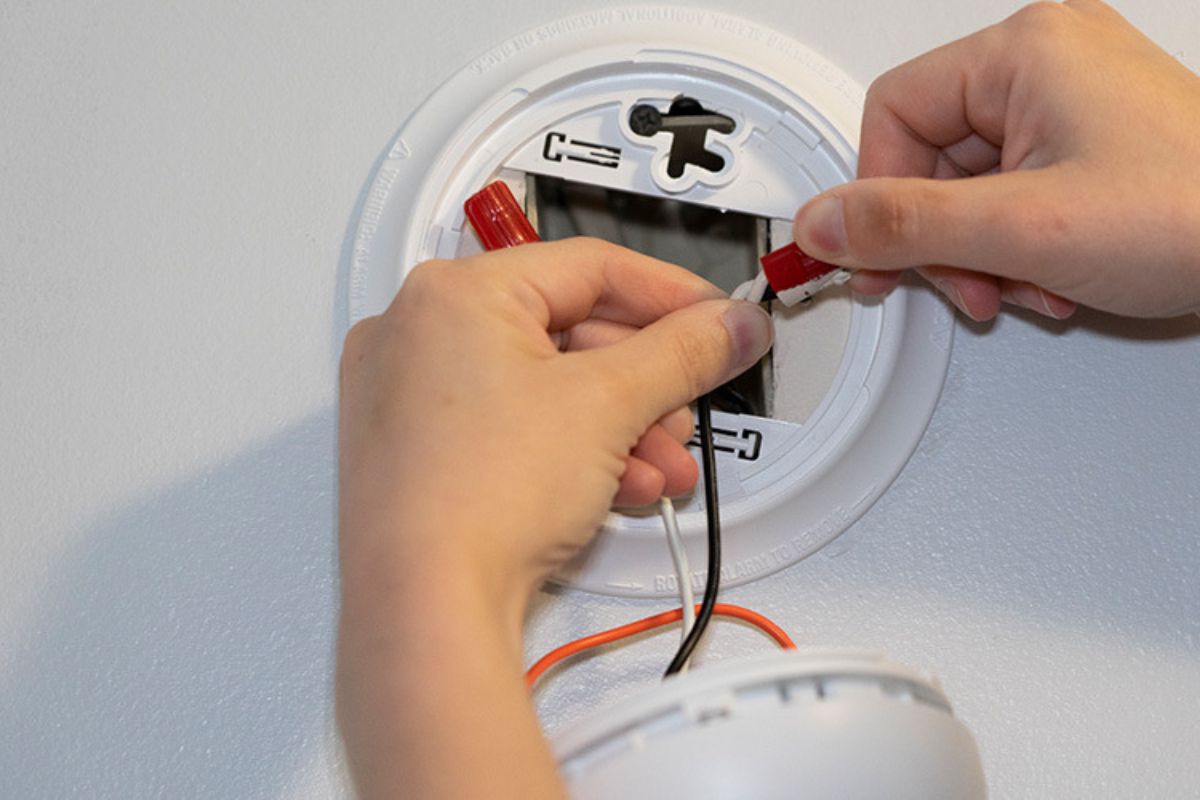
Take a moment to inspect the wires and identify the type of connection. Depending on the model and installation, there are usually two types of wiring: pigtail or individual wires.
If you have a pigtail wiring configuration, you’ll find a group of wires connected with wire nuts or connectors. Use your wire cutters to carefully snip off the connectors and separate the individual wires.
If you have individual wires, these will likely be connected to the smoke detector using screws or clips. Use your screwdriver or appropriate tool to loosen and remove the wires from their respective terminals.
When disconnecting the wires, be cautious not to damage or fray the ends of the wires. If needed, you can trim the wires to remove any damaged sections before reconnecting them in the future.
As you disconnect each wire, it’s a good practice to use electrical tape to cover the exposed ends of the wires. This will help prevent any accidental contact or short circuits when the smoke detector is not in use.
Once all the wires are detached and properly insulated, you can move on to the next step of temporarily disconnecting any backup batteries, if applicable.
Remember, if you are unsure about any step during the disconnection of the wires, it’s always best to consult a professional electrician to ensure a safe and proper disconnection of the smoke detector.
Now that the wires are disconnected, we can proceed to the next step of temporarily disconnecting the backup batteries, if applicable.
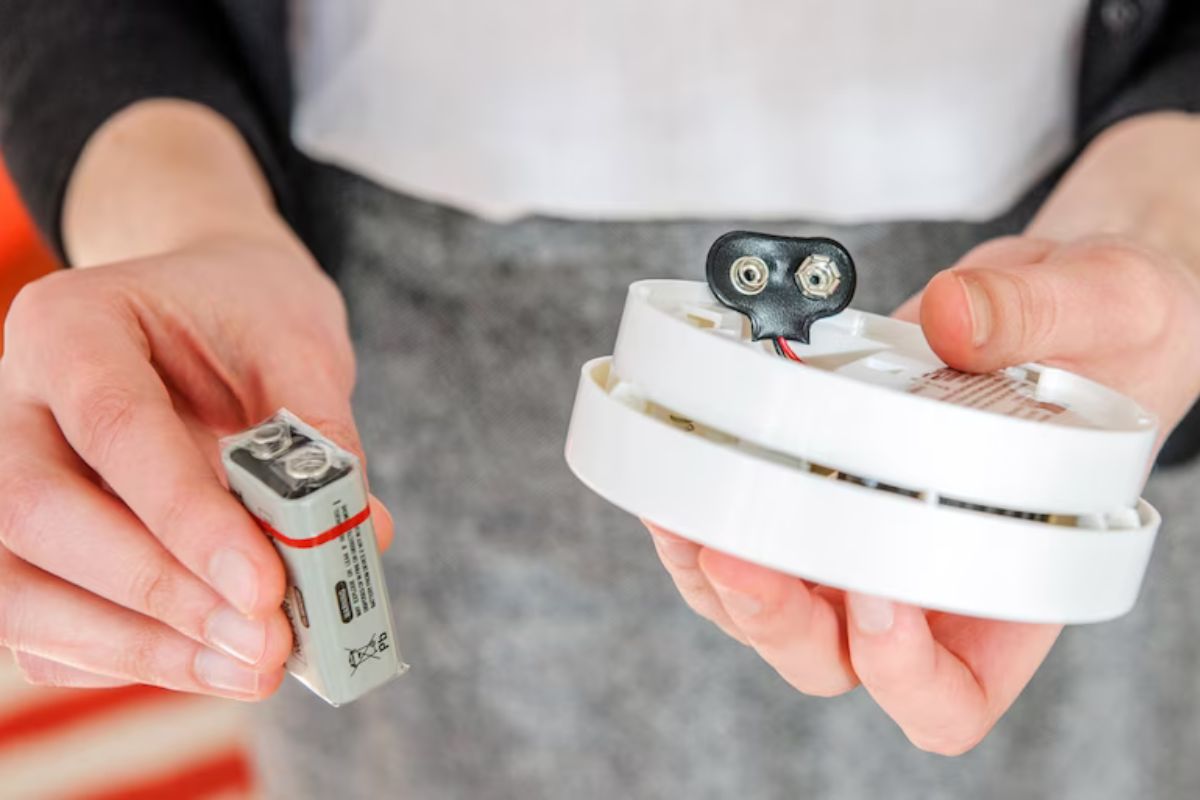
Step 7: Temporarily disconnect the battery (if applicable)
In addition to being connected to the electrical system, some smoke detectors also have a backup battery. It’s important to disconnect this battery to ensure that the smoke detector is completely turned off during maintenance, renovations, or when it is no longer necessary.
Check the smoke detector to determine if it has a battery compartment. This is usually located on the back or side of the detector and can be opened by sliding or unlatching a panel.
If there is a battery present, carefully remove it from the compartment. Pay attention to the battery polarity to ensure that you insert it correctly when you reactivate the smoke detector in the future.
It’s essential to examine the battery condition and replace it if necessary. An old or weak battery can potentially interfere with the proper functioning of the smoke detector, so it’s always a good idea to use fresh batteries when you reactivate it.
Once the battery is removed, place it in a safe location and take note of when it was removed. This will help you keep track of how long the smoke detector has been without power.
Remember, the battery serves as a backup power source, and removing it ensures that the smoke detector is completely disconnected from any power supply.
With the battery disconnected, you have successfully completed the necessary steps to temporarily turn off the smoke detector. However, it’s important to reactivate the smoke detector as soon as possible for your safety.
In the next step, we will discuss how to reassemble the wiring and mounting bracket once you are ready to reactivate the smoke detector.
Step 8: Reassemble the wiring and mounting brackets
Once you have completed the necessary steps to temporarily turn off the smoke detector, it’s important to reassemble the wiring and mounting brackets when you are ready to reactivate it. This ensures that the smoke detector is securely and correctly installed for proper functionality.
To begin, if you have disconnected multiple wires during the disconnection process, identify each wire and match it to its corresponding terminal. Ensure that the wires are properly inserted into the respective terminals and securely tightened using a screwdriver or appropriate tool.
If you had a pigtail wiring configuration, twist the corresponding wires together with wire nuts or connectors to reestablish the electrical connection. Make sure the wire nuts or connectors are tight and properly insulated with electrical tape.
Next, carefully place the smoke detector back onto the mounting bracket. Align the detector with the bracket and ensure that it fits snugly and securely. Depending on the type of mounting bracket, you may need to slide it onto the bracket or reinstall screws or clips to hold it in place.
Once the smoke detector is securely in place, double-check that all connections are properly reassembled and tightened. This will ensure a safe and reliable connection to the electrical system.
If you had removed the backup battery, now is the time to carefully insert a fresh battery into the compartment. Ensure that the battery is inserted with the correct polarity, following the manufacturer’s instructions.
With all the connections in place and the smoke detector properly reassembled, it’s time to activate the power supply. Return to the electrical panel and switch on the breaker or fuse for the smoke detector circuit. This will restore power to the smoke detector.
Take a moment to test the smoke detector to ensure that it is functioning correctly. Press the test button or use a can of smoke aerosol designed for testing smoke detectors to verify that it triggers the alarm properly.
If the smoke detector doesn’t sound or function as expected, double-check the wiring connections and battery insertion. If you encounter any issues or the smoke detector still doesn’t work, consult the manufacturer’s manual or seek assistance from a professional electrician.
By reassembling the wiring and mounting brackets correctly, you have successfully prepared the smoke detector for reactivation. In the next step, we will discuss how to test the smoke detector to ensure its proper functioning.
Read more: How To Turn Off A Beeping Smoke Detector
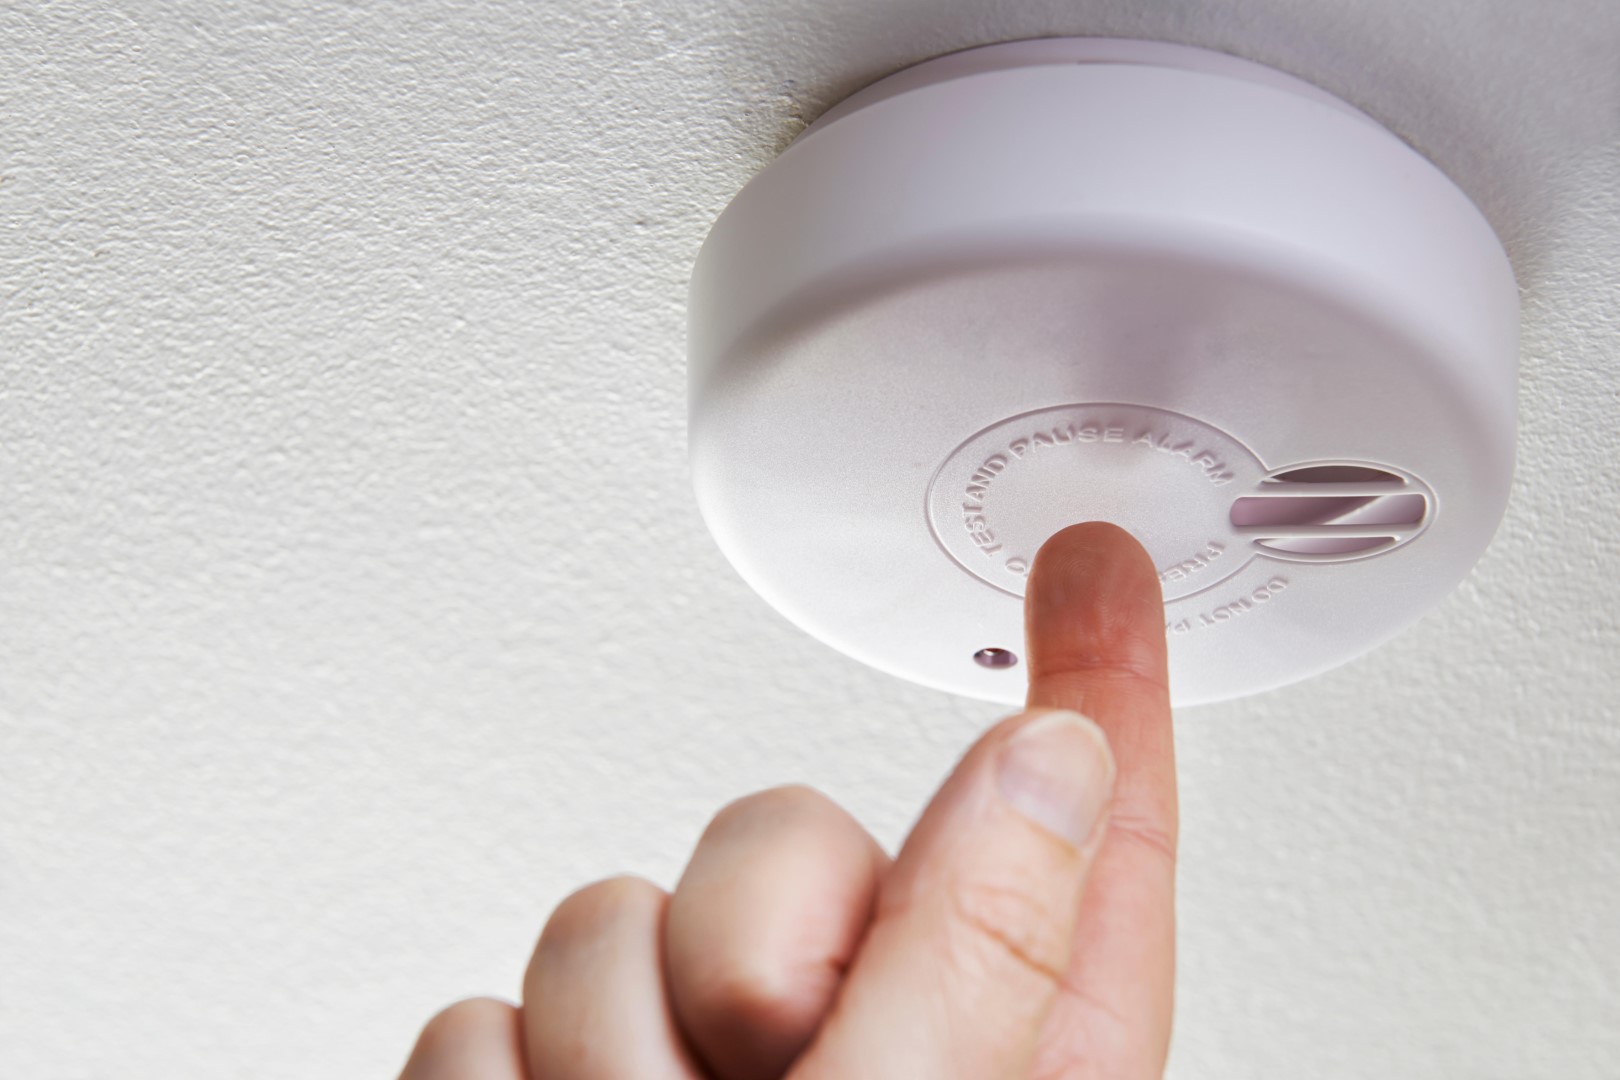
Step 9: Test the smoke detector
After reassembling the wiring and mounting brackets, it is crucial to test the smoke detector to ensure it is functioning properly. This final step ensures that the smoke detector is ready to alert you in case of a fire or smoke hazard.
To begin, make sure the power supply is fully restored by checking that the breaker or fuse for the smoke detector circuit is switched on. Once you have verified the power, allow a few minutes for the smoke detector to initialize and self-check.
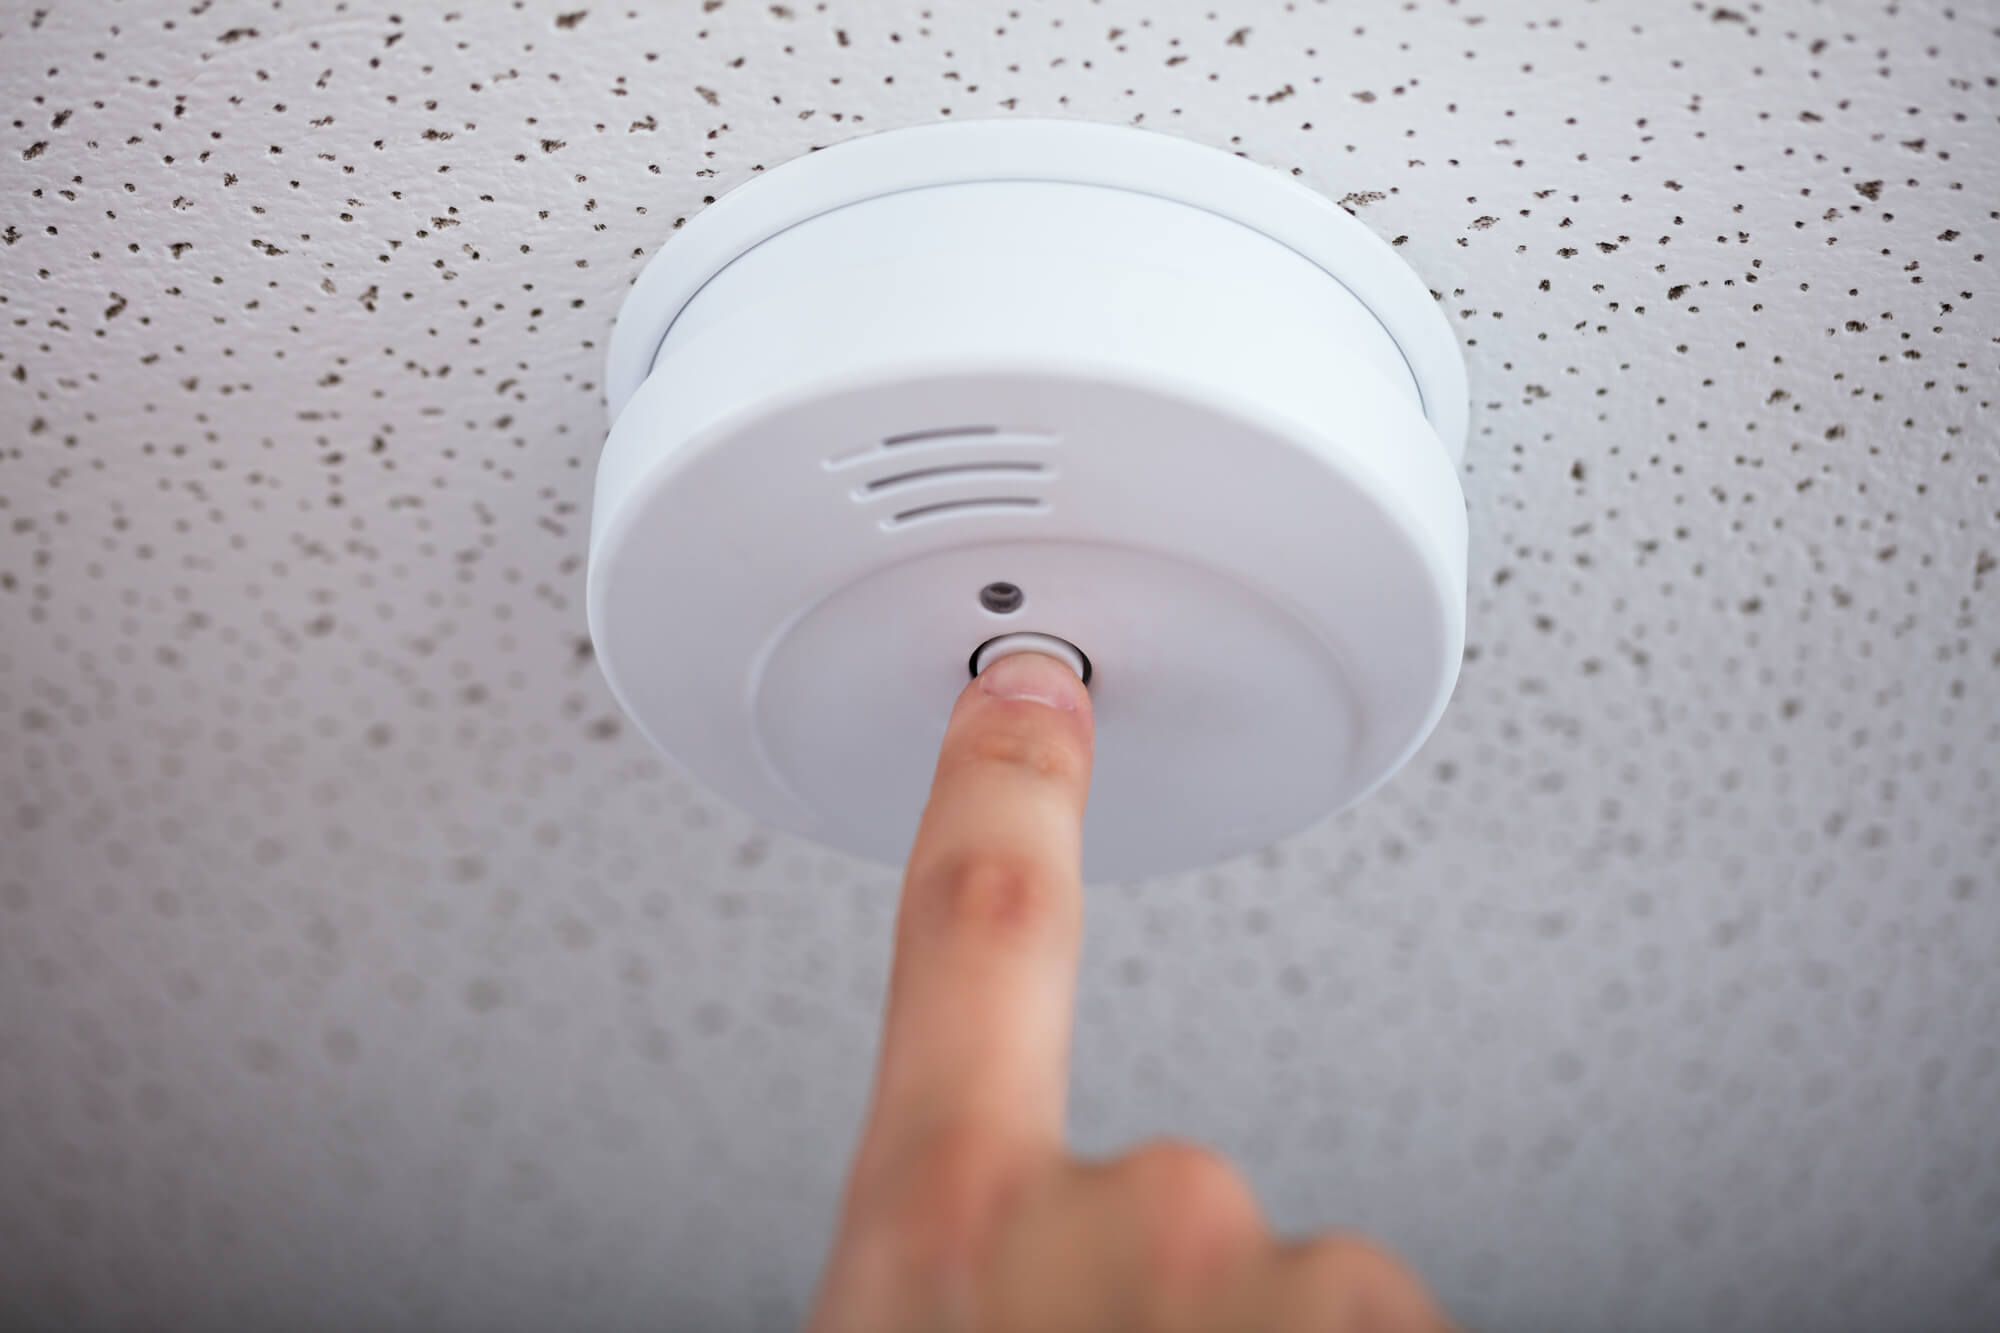
Once the smoke detector is ready, locate the test button usually located on the surface of the detector. Press and hold the test button for a few seconds. You should hear a loud alarm sound, indicating that the smoke detector is working correctly.
If the smoke detector doesn’t alarm, try pressing the test button again. If there is still no response, check that the power supply is properly connected, and the battery (if applicable) is inserted correctly.
If the smoke detector continues to malfunction or does not sound the alarm during testing, refer to the manufacturer’s manual for troubleshooting steps. It’s essential to address any issues promptly to ensure the safety of your home or building.
Remember, testing the smoke detector regularly is vital to maintain its reliability. It is recommended to test your smoke detector once a month and replace the batteries at least once a year.
Regular testing and maintenance of your smoke detector will help you ensure that it is in proper working condition and will provide you with early warning in the event of a fire.
Congratulations! By successfully testing the smoke detector, you have completed all the necessary steps to turn off and reactivate a wired smoke detector. Your home or building is now equipped with a functional and reliable smoke detection system.
Remember to keep the smoke detector properly maintained and regularly test and replace batteries to ensure continuous protection from fire hazards.
We hope that this guide has been informative and helpful in assisting you with turning off and reactivating your wired smoke detector. Stay safe!
Conclusion
Turning off a wired smoke detector may become necessary for various reasons, such as renovations, maintenance, or false alarms. However, it is important to approach this process with caution and prioritize safety at all times.
In this guide, we provided a comprehensive step-by-step approach to safely and effectively turn off a wired smoke detector. We emphasized the importance of gathering the necessary materials, locating the smoke detector, identifying the wiring, disconnecting the power source, removing the smoke detector from the mounting bracket, disconnecting the wires, temporarily disconnecting the battery (if applicable), reassembling the wiring and mounting brackets, testing the smoke detector, and ensuring proper functionality.
Throughout the process, we emphasized the importance of following safety precautions, consulting the manufacturer’s instructions, and seeking professional assistance if needed. Safety should always be the top priority when dealing with electrical components.
Remember, turning off a smoke detector should only be done temporarily. It is essential to reactivate the smoke detector once the reason for disabling it has been resolved. Working smoke detectors are critical for the safety of your home or building.
We recommend regularly testing your smoke detectors, replacing batteries at least once a year, and following the manufacturer’s guidelines for maintenance. These proactive measures will ensure that your smoke detection system remains reliable and effective.
Thank you for taking the time to read our guide on how to turn off a wired smoke detector. We hope that the information provided has been helpful and that you have gained a better understanding of the necessary steps involved in the process. Stay safe and take proactive measures to protect yourself and your loved ones from potential fire hazards.
Frequently Asked Questions about How To Turn Off A Wired Smoke Detector
Was this page helpful?
At Storables.com, we guarantee accurate and reliable information. Our content, validated by Expert Board Contributors, is crafted following stringent Editorial Policies. We're committed to providing you with well-researched, expert-backed insights for all your informational needs.


0 thoughts on “How To Turn Off A Wired Smoke Detector”