Home>Articles>How To Change The Battery In A Hard-Wired Smoke Detector

Articles
How To Change The Battery In A Hard-Wired Smoke Detector
Modified: August 23, 2024
Looking for articles on how to change the battery in a hard-wired smoke detector? Find step-by-step instructions and expert tips here.
(Many of the links in this article redirect to a specific reviewed product. Your purchase of these products through affiliate links helps to generate commission for Storables.com, at no extra cost. Learn more)
Introduction
Smoke detectors are an essential part of any home’s safety system, providing early warning in the event of a fire. While most smoke detectors are designed to be hard-wired into the electrical system of a home, they often have a backup battery in case of power outages. These batteries need to be replaced periodically to ensure the smoke detector functions properly.
Changing the battery in a hard-wired smoke detector is a relatively simple process that can be done by homeowners with only a few basic tools. However, it’s important to follow the proper safety precautions to prevent any accidents or injuries. In this article, we will guide you through each step of the process to change the battery in a hard-wired smoke detector, ensuring the continued safety and peace of mind for you and your loved ones.
Before we begin, let’s quickly go over some important safety precautions to keep in mind:
- Always turn off the power to the smoke detector before attempting to replace the battery. This will minimize the risk of electric shock.
- Use a sturdy ladder or step stool to reach the detector, ensuring stability and preventing falls.
- Handle the smoke detector with care to avoid damaging any components.
- If you encounter any difficulties or are unsure about any step, it is always best to consult a professional electrician.
Now that we’ve covered the safety precautions, let’s move on to the tools and materials you will need for the battery replacement process.
Key Takeaways:
- Ensure safety by following proper precautions, turning off power, and using the correct battery type when changing the battery in a hard-wired smoke detector. Regular maintenance is crucial for continued home safety.
- By following step-by-step instructions, you can confidently change the battery in your hard-wired smoke detector, ensuring early fire detection and the safety of your loved ones. Prioritize safety, use the right tools, and test the detector for proper functionality.
Read more: How To Replace A Hard-Wired Smoke Detector
Safety Precautions
When it comes to working with electrical systems, safety should always be the top priority. Before attempting to change the battery in a hard-wired smoke detector, it’s crucial to follow a few essential safety precautions:
- Turn off the power: Before you start, locate the circuit breaker that controls the smoke detector and turn it off. This will eliminate the risk of electric shock while you work.
- Use protective gear: It’s a good practice to wear safety goggles and gloves to protect your eyes and hands from any potential hazards.
- Choose the right ladder: When accessing the smoke detector, use a sturdy ladder or step stool that is appropriate for your height. Ensure it is stable and placed on a level surface to prevent falls and accidents.
- Handle with care: Smoke detectors contain delicate components, so be gentle when removing and reinstalling them. Avoid excessive force or rough handling to prevent any damage.
- Replace with the correct battery: Use the manufacturer-recommended battery type for your smoke detector. Using the wrong battery could lead to malfunctions or reduced performance.
- Dispose of old batteries properly: Once you remove the old battery, dispose of it according to your local regulations for safe battery disposal. Many areas have designated collection points for hazardous waste.
- Follow manufacturer instructions: Every smoke detector model can have specific instructions for battery replacement. Consult the user manual provided by the manufacturer to ensure you follow the correct procedure.
- Ask for professional help if needed: If you encounter any difficulties or are unsure about any step, it is always best to seek assistance from a qualified electrician. They have the expertise to handle any electrical issues safely.
By following these safety precautions, you can ensure a smooth and secure process while changing the battery in your hard-wired smoke detector. Now, let’s move on to the tools and materials you will need for the task.
Tools and Materials Needed
Before you start replacing the battery in a hard-wired smoke detector, gather the following tools and materials:
- Screwdriver: Depending on the type of mounting bracket used for your smoke detector, you may need a Phillips or flathead screwdriver to remove it.
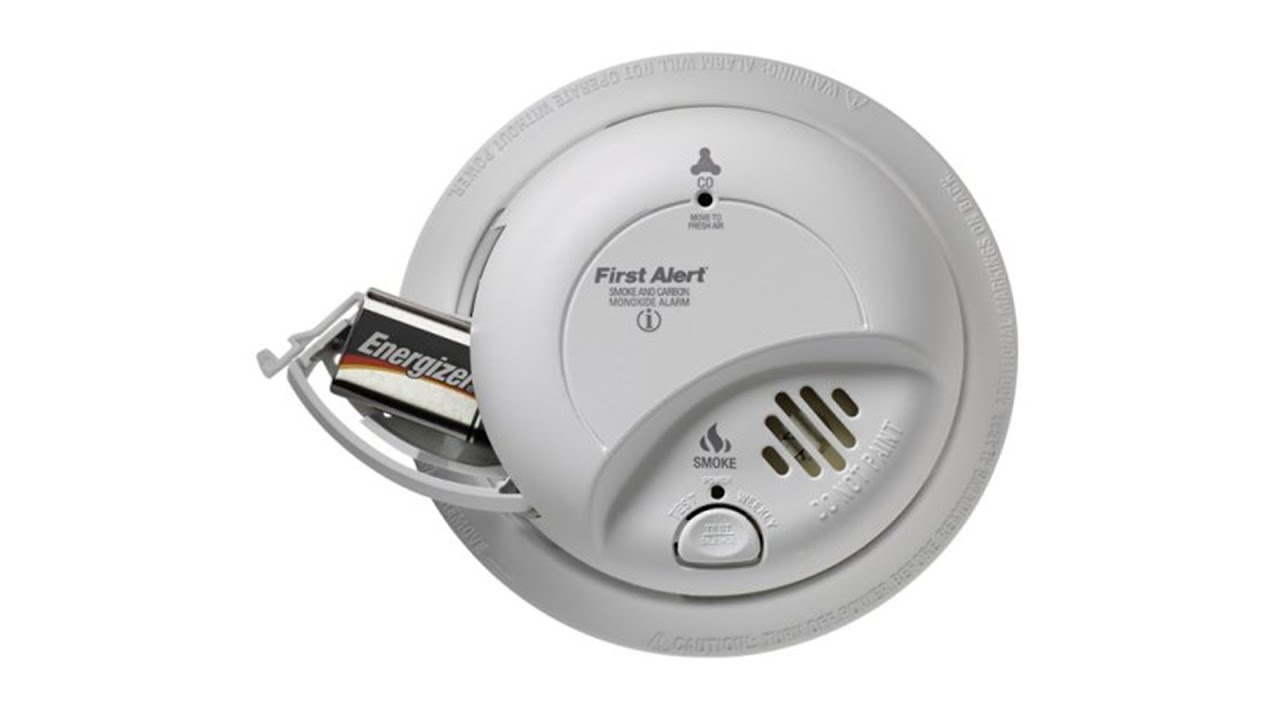
- New Battery: Purchase a new battery that is compatible with your smoke detector. Most hard-wired smoke detectors use a 9V battery, but consult the manufacturer’s guidelines to ensure you get the right type.
- Ladder or Step Stool: Choose a sturdy ladder or step stool that allows you to safely reach the smoke detector without straining or risking a fall.
- Safety Gloves and Safety Goggles: Wear protective gloves and goggles to protect your hands and eyes from any potential hazards during the battery replacement process.
It’s essential to have these tools and materials handy before starting the battery replacement. Making sure you have the right equipment will help you complete the task smoothly and safely. Once you have everything ready, you can proceed to the step-by-step process of changing the battery in a hard-wired smoke detector.
Step 1: Prepare the Area
Before you begin the process of changing the battery in a hard-wired smoke detector, it’s important to prepare the area to ensure your safety and make the task easier. Follow these steps to prepare the area:
- Gather your tools and materials: Ensure you have all the necessary tools and materials mentioned in the previous section. Having everything ready will save you time and prevent any interruptions during the process.
- Turn off the power: Locate the circuit breaker or fuse box that controls the power to the smoke detector. Turn off the corresponding switch or remove the fuse to cut off the electricity supply to the detector. This step is crucial to avoid any electrical shocks while working on the device.
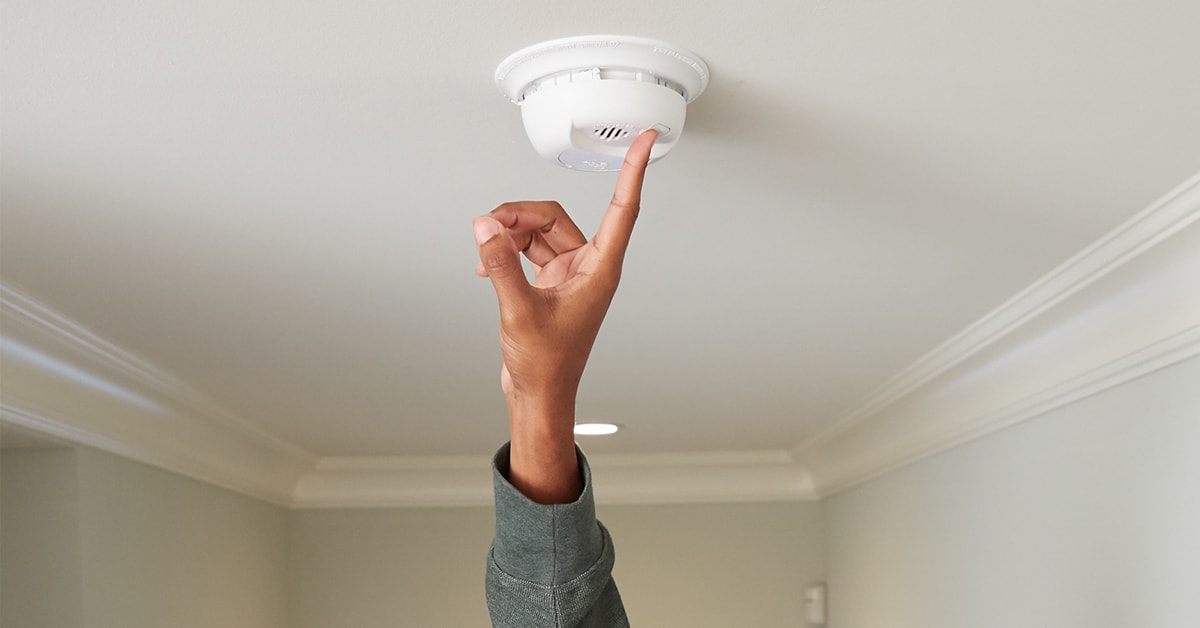
- Verify the power is off: To double-check that the power is indeed off, press the test button on the smoke detector. If it does not produce a sound or flash any lights, you can be confident that the power is successfully turned off.
- Inform family members: Let your family members or anyone else in the house know that you will be working on the smoke detector. This way, they will avoid entering the area or tampering with the detector while it is disconnected.
- Prepare your work area: Clear any obstacles or clutter around the smoke detector to ensure unobstructed access. Lay down a protective covering, such as a cloth or tarp, to catch any dust or debris that may fall during the process and make the cleanup easier.
- Organize your tools and materials: Keep your tools and materials near the work area, so they are easily accessible throughout the battery replacement process.
By following these steps, you will create a safe and organized environment for changing the battery in your hard-wired smoke detector. Once the area is prepared, you can proceed to the next step of locating the smoke detector.
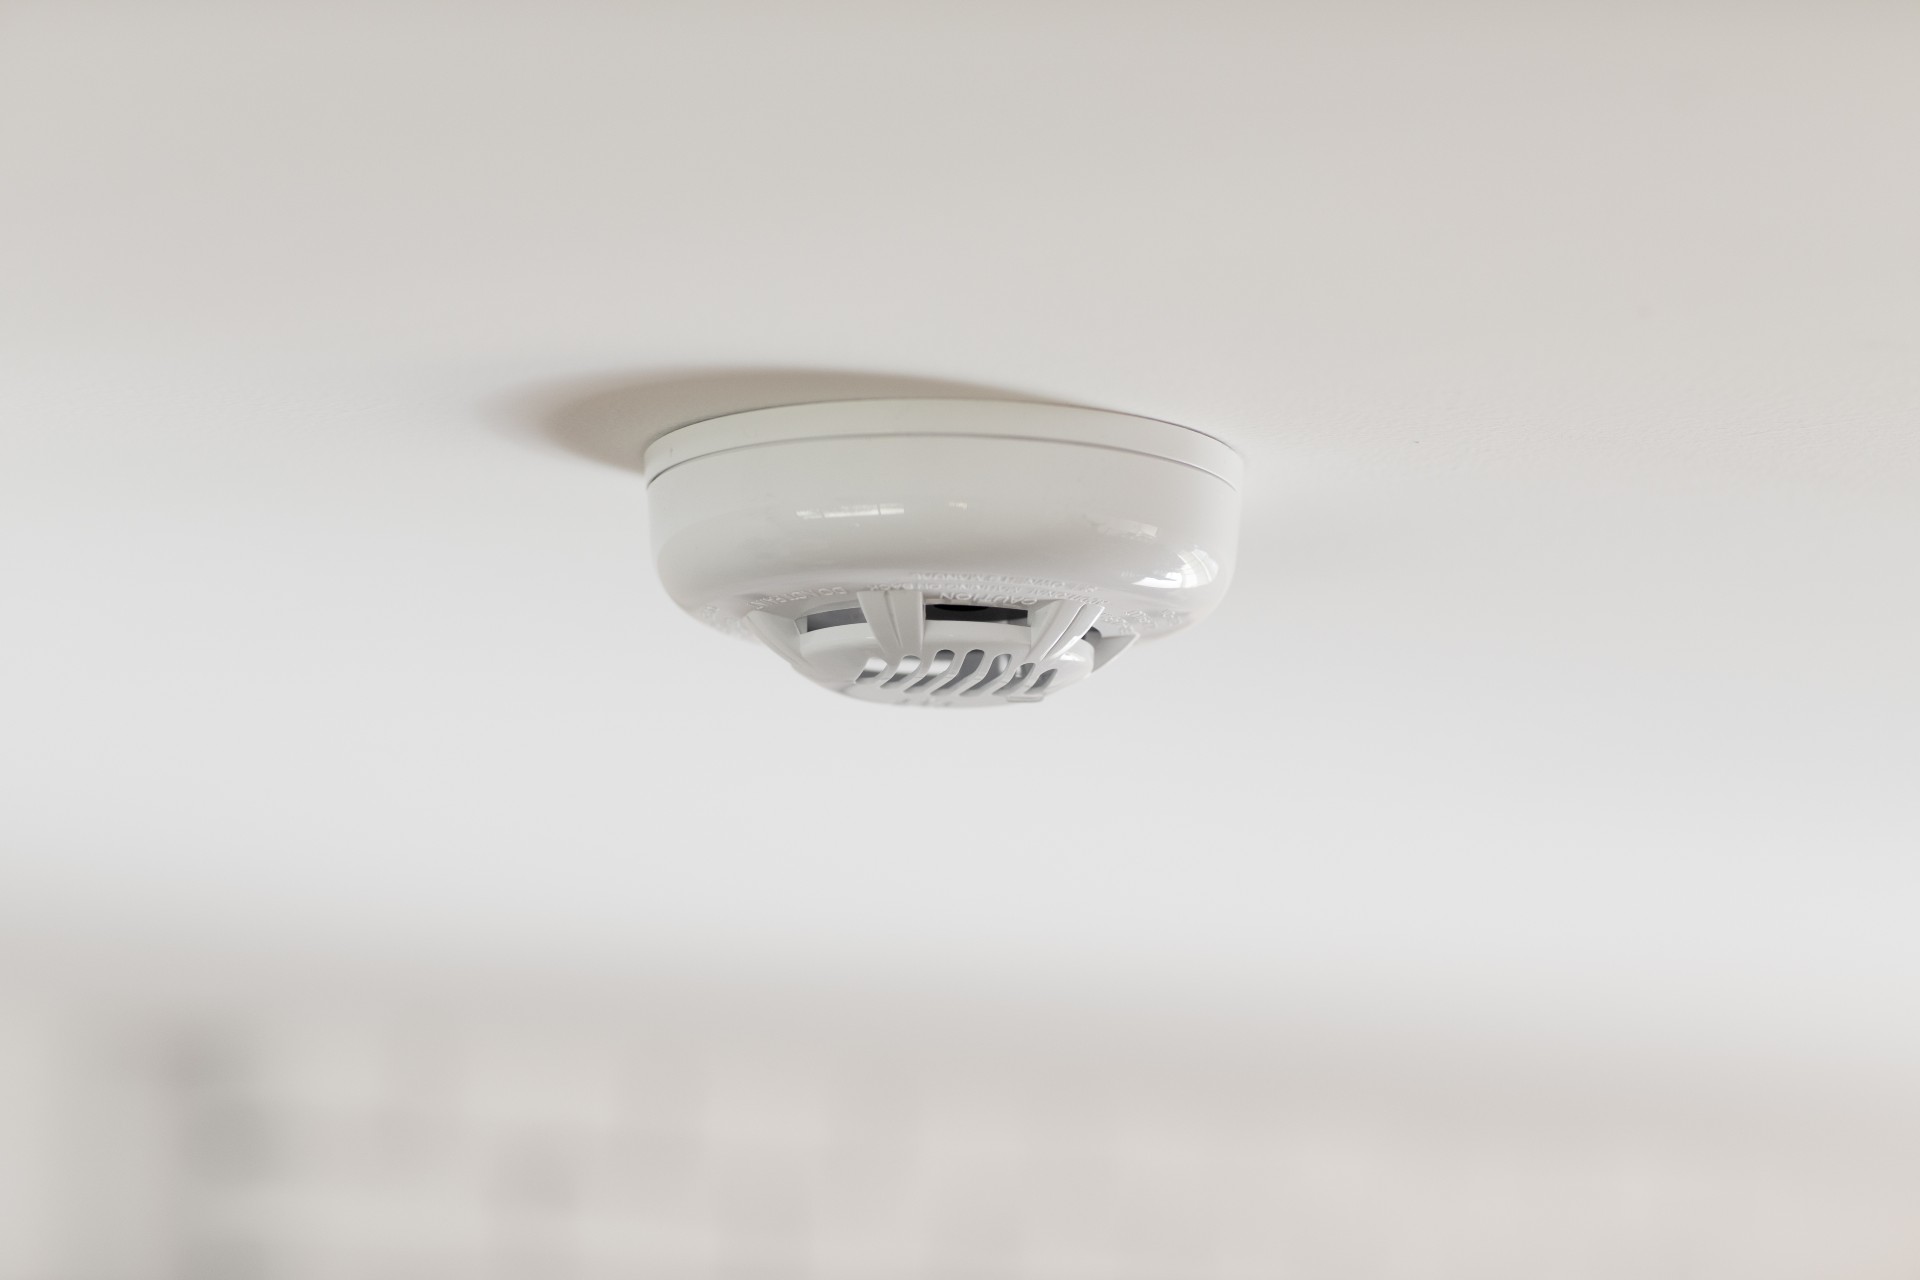
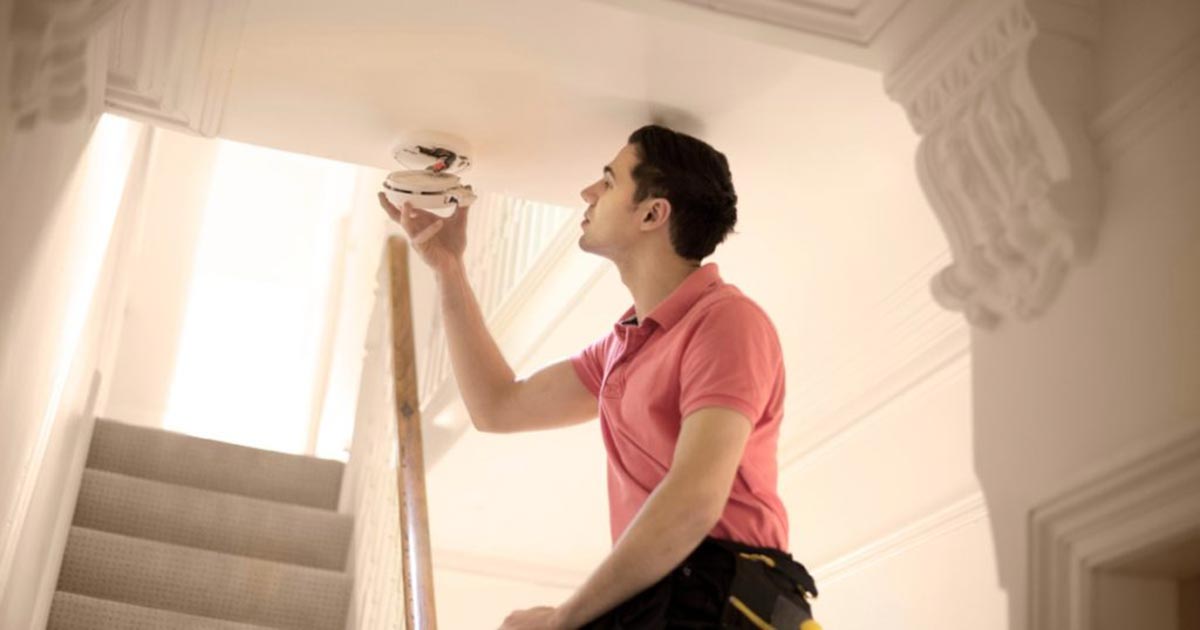
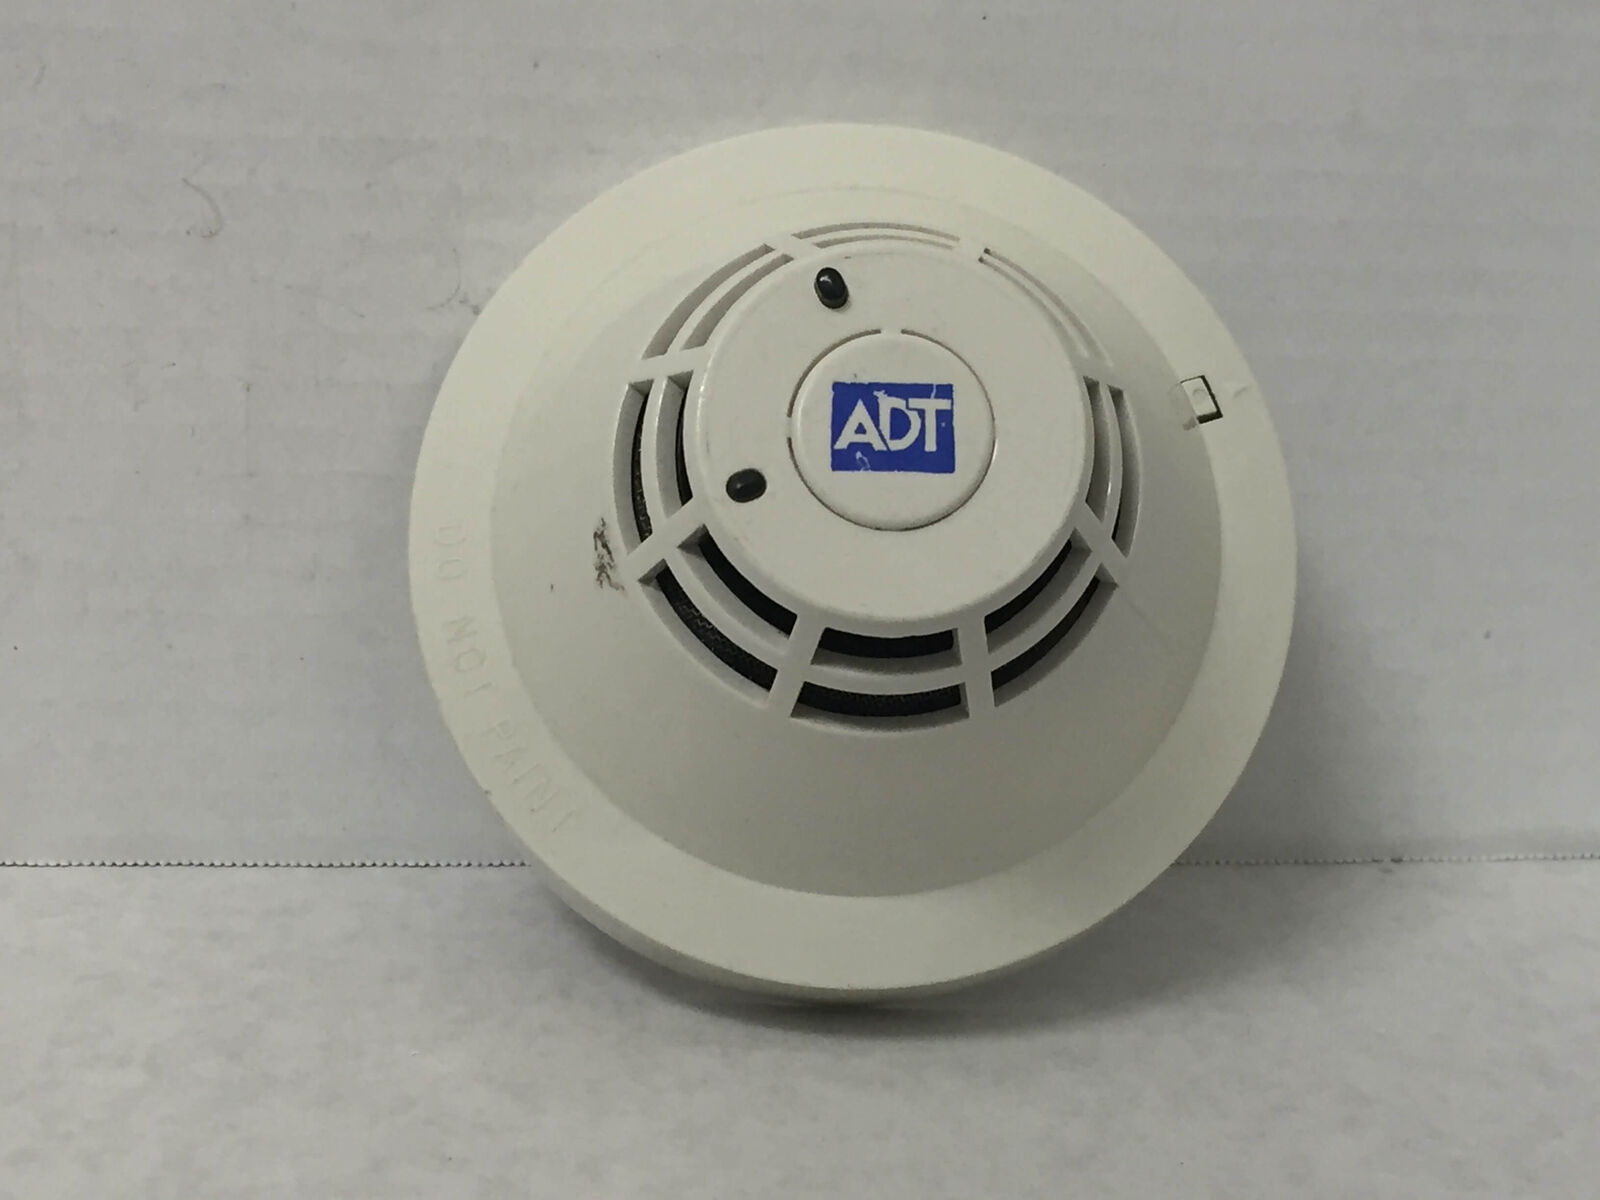
Step 2: Locate the Smoke Detector
Once you have prepared the area and ensured your safety, the next step is to locate the smoke detector in your home. Follow these steps to find the smoke detector:
- Check common areas: Start by checking common areas where smoke detectors are typically installed. These areas include bedrooms, hallways, living rooms, and kitchens.
- Look for visible indicators: Smoke detectors are usually mounted on the ceiling or high on the walls. Look for a small, round or rectangular device with vents or a grille on its surface.
- Consider interconnected detectors: If your home has interconnected smoke detectors, triggering one detector will cause them all to sound an alarm. Therefore, if you find one smoke detector in your home, it’s likely that others are present as well.
- Use the user manual: If you are unsure about the location of your smoke detector or need specific instructions, consult the user manual provided by the manufacturer. It should contain detailed information about where the device is installed in your home.
It’s important to locate all the smoke detectors in your home, as you may need to replace the battery in each one individually. Once you have identified the smoke detector you plan to work on, you can proceed to the next step of turning off the power.
Read more: How To Remove A Hard-Wired Smoke Detector
Step 3: Turn off the Power
Before you begin working on the smoke detector, it is crucial to turn off the power to ensure your safety. Follow these steps to turn off the power:
- Locate the circuit breaker: Identify the circuit breaker that controls the power supply to the smoke detector. The circuit breaker panel is usually located in a basement, utility room, or garage. If you are unsure which breaker controls the smoke detector, you can turn off the main power switch to ensure the entire electrical system is off.
- Open the circuit breaker panel: Use a screwdriver or your fingers to remove the panel cover and gain access to the circuit breakers.
- Find the correct breaker: Look for a breaker labeled “smoke detector” or “fire alarm.” If you cannot find a specific label, you might need to refer to the circuit diagram provided by the builder or consult an electrician for assistance.
- Switch off the power: Carefully push the switch of the smoke detector breaker to the “off” position. You should feel or hear a click, indicating that the power is now turned off.
- Verify the power is off: To ensure the power is completely off, go back to the smoke detector and press the test button. If no alarm sounds or lights flash, you can be confident that the power is successfully turned off.
By following these steps, you have successfully turned off the power to the smoke detector, minimizing the risk of electric shock during the battery replacement process. Now that the power is off, you can proceed to the next step of removing the smoke detector from its mounting bracket.
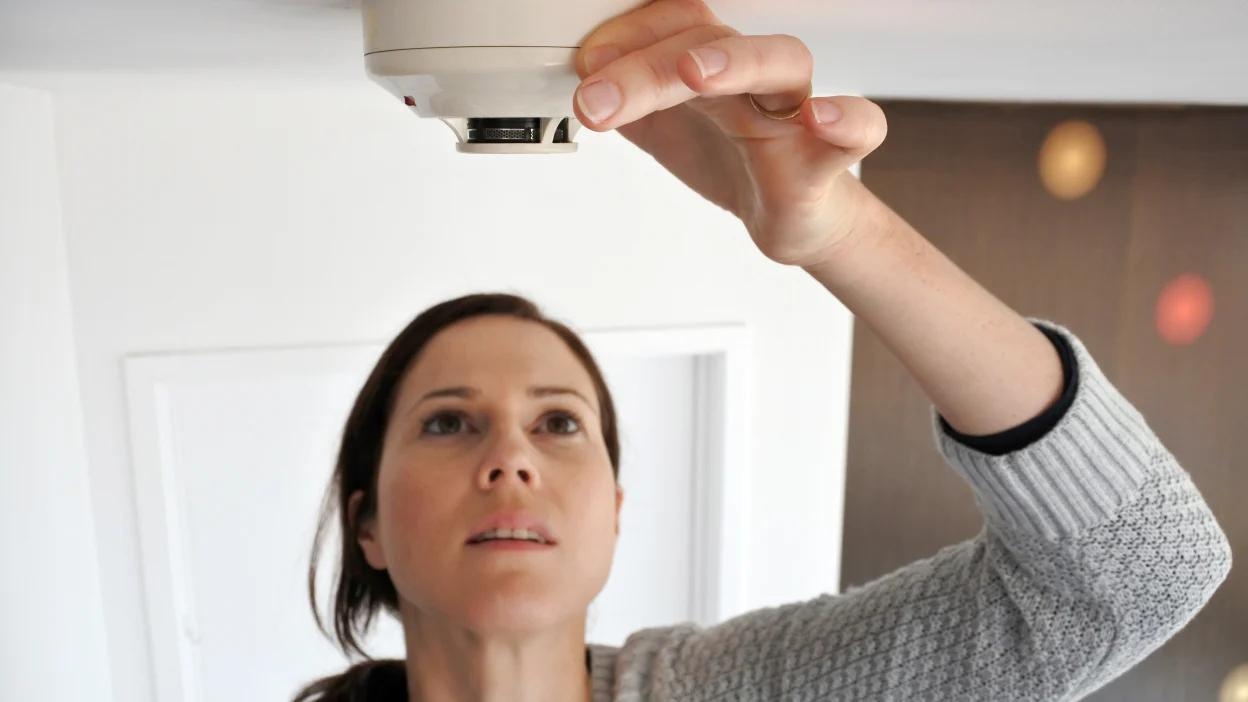
Step 4: Remove the Detector from the Mounting Bracket
With the power turned off, you are now ready to remove the smoke detector from its mounting bracket. Follow these steps to safely remove the detector:
- Identify the mounting bracket: Look for a small, plastic or metal bracket that holds the smoke detector in place. The bracket is typically attached to the ceiling or wall.
- Determine the type of mounting: There are two common types of mounting brackets: twist-off and slide-off. Determine which type you have, as the removal process will differ slightly.
- For twist-off brackets:
- Turn the smoke detector counterclockwise to release it from the bracket.
- Gently pull the detector away from the bracket, ensuring not to damage any wiring connected to it.
- For slide-off brackets:
- Locate the release tab or latch on the side of the bracket.
- Press or slide the latch to release the smoke detector from the bracket.
- Slowly slide the detector out of the bracket, being cautious not to tug or strain the wiring.
- Place the detector on a secure surface: Once removed from the mounting bracket, place the smoke detector on a stable surface nearby. This will ensure it doesn’t get dropped or damaged during the battery replacement.
By following these steps, you have successfully removed the smoke detector from its mounting bracket. Now you can proceed to the next step of disconnecting the wiring to access the battery.
Before changing the battery in a hard-wired smoke detector, make sure to turn off the power at the circuit breaker to avoid any electrical hazards.
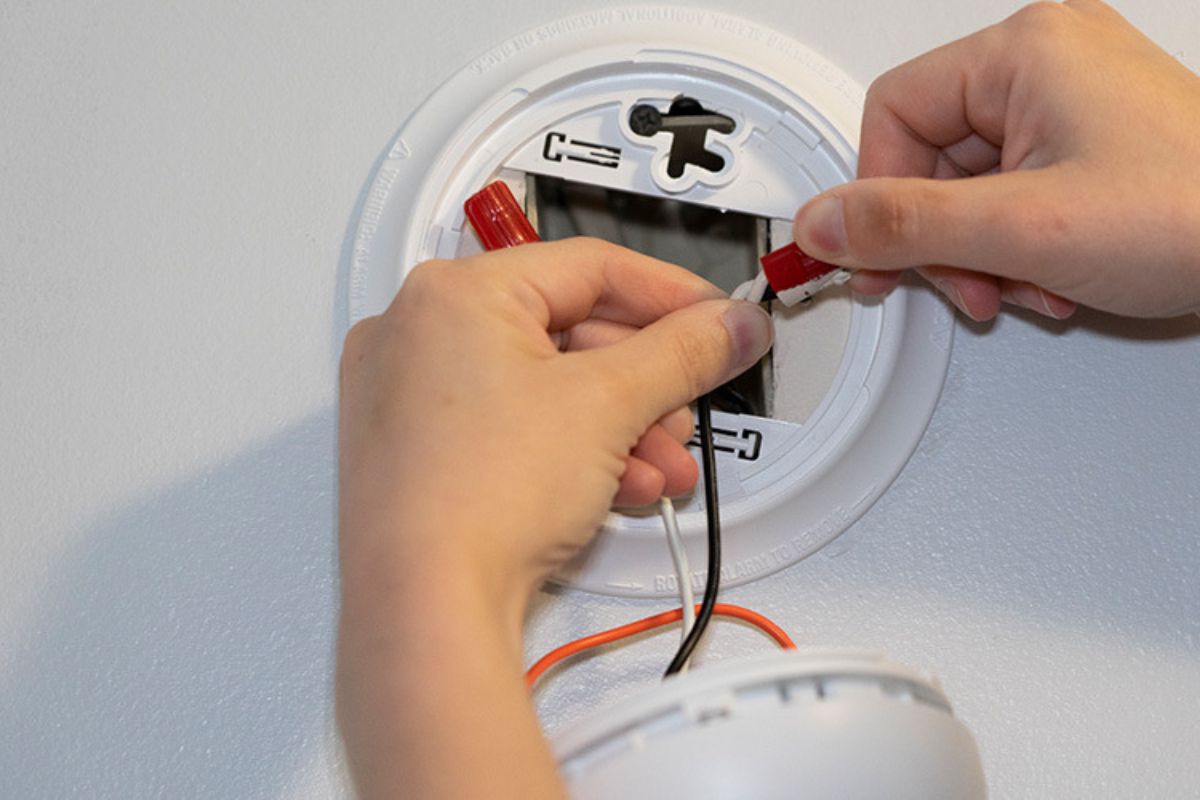
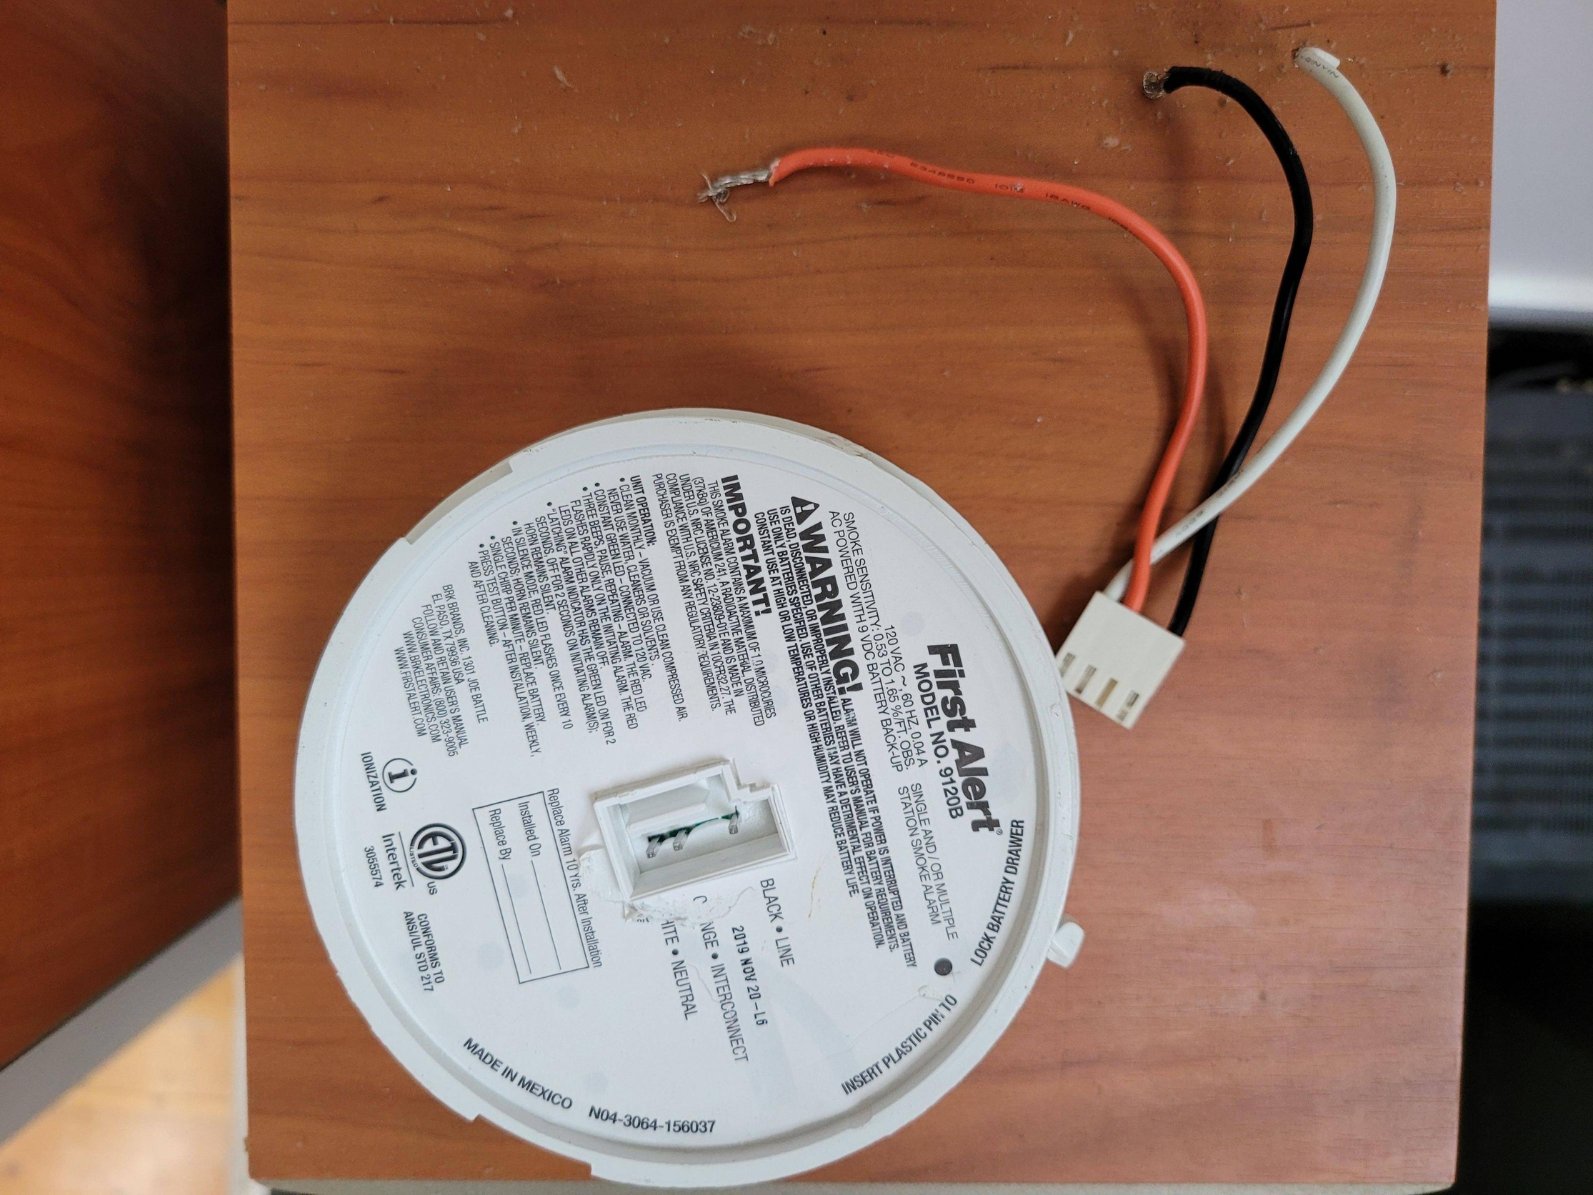
Step 5: Disconnect the Wiring
With the smoke detector removed from its mounting bracket, the next step is to disconnect the wiring to access the battery compartment. Follow these steps to safely disconnect the wiring:
- Locate the wiring harness: Look for a small plastic connector or wiring harness that connects the smoke detector to the electrical wiring in your home.
- Inspect the wiring: Take a moment to inspect the wiring and ensure there are no signs of damage or loose connections. If you notice any issues, it may be best to consult a professional electrician for assistance.
- Disconnect the wiring: Carefully disconnect the wiring harness by either pressing a release tab or gently pulling the connector apart. If the connection feels tight, wiggle it slightly while pulling to help loosen it.
- Keep wires separated: Once the wiring is disconnected, ensure that the individual wires remain separated and do not touch each other or any metal surfaces.
By following these steps, you have safely disconnected the wiring from the smoke detector. Now you can proceed to the next step of removing the old battery from the smoke detector.
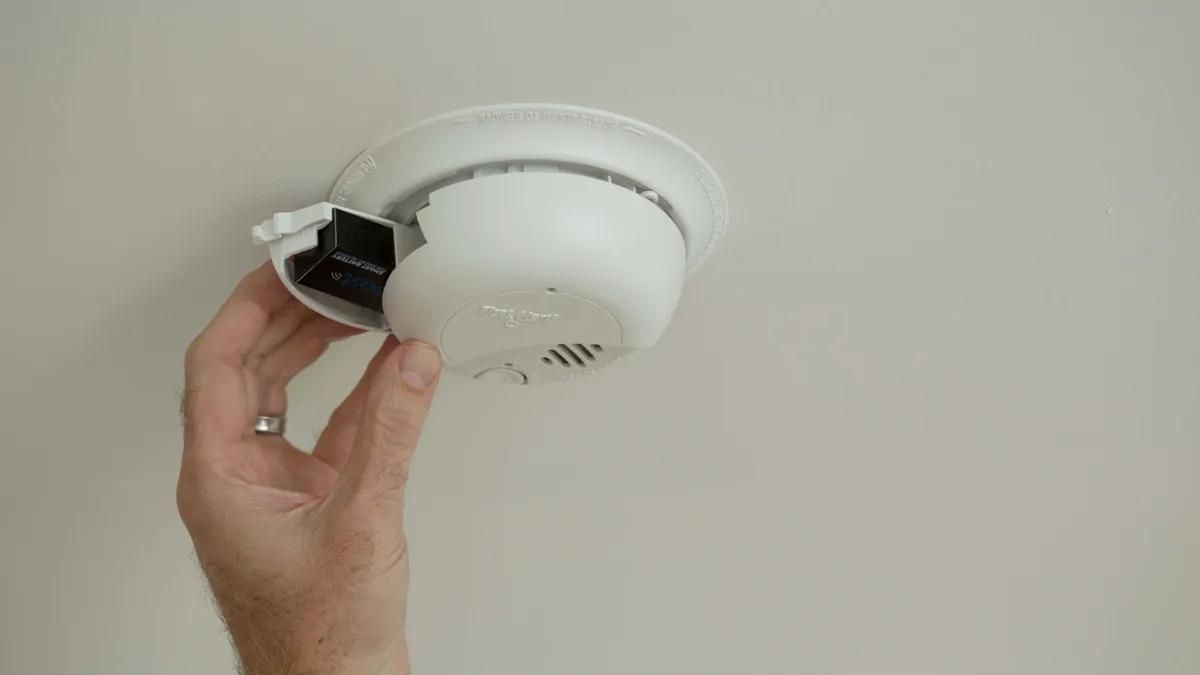
Step 6: Remove the Old Battery
With the wiring disconnected, you can now proceed to remove the old battery from the smoke detector. Follow these steps to safely remove the old battery:
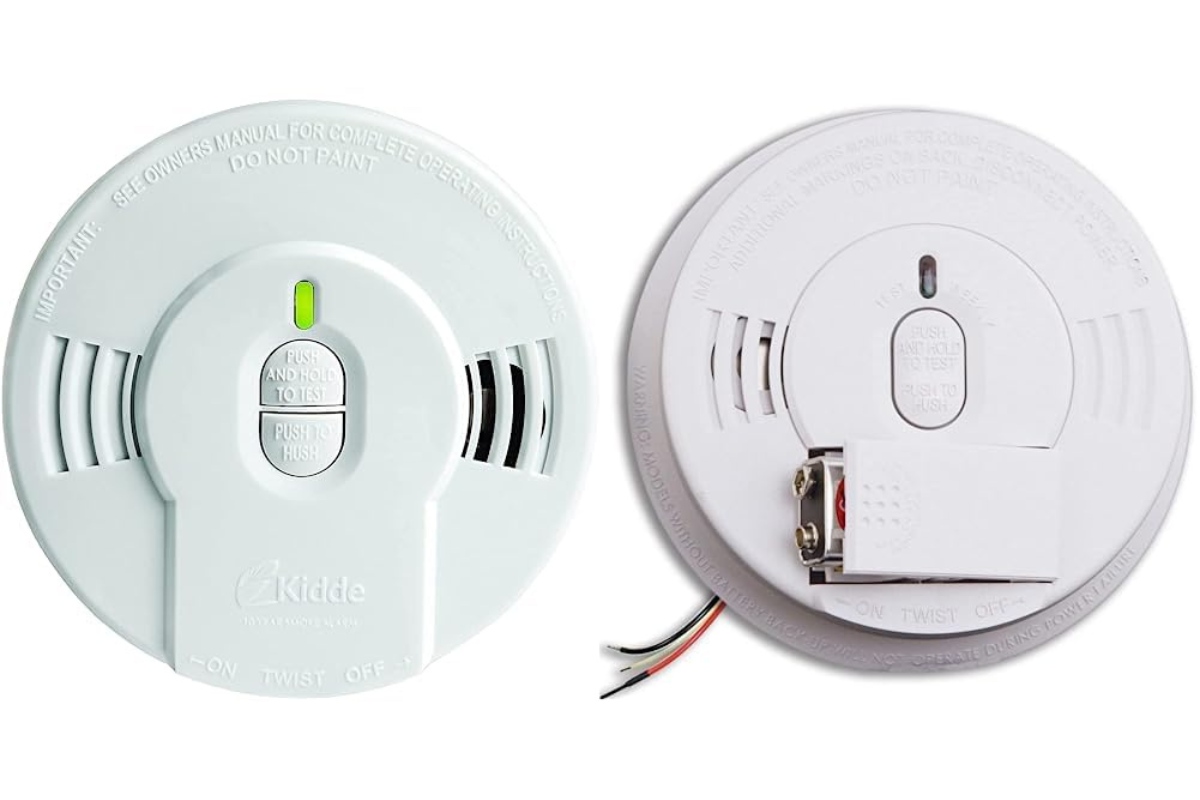
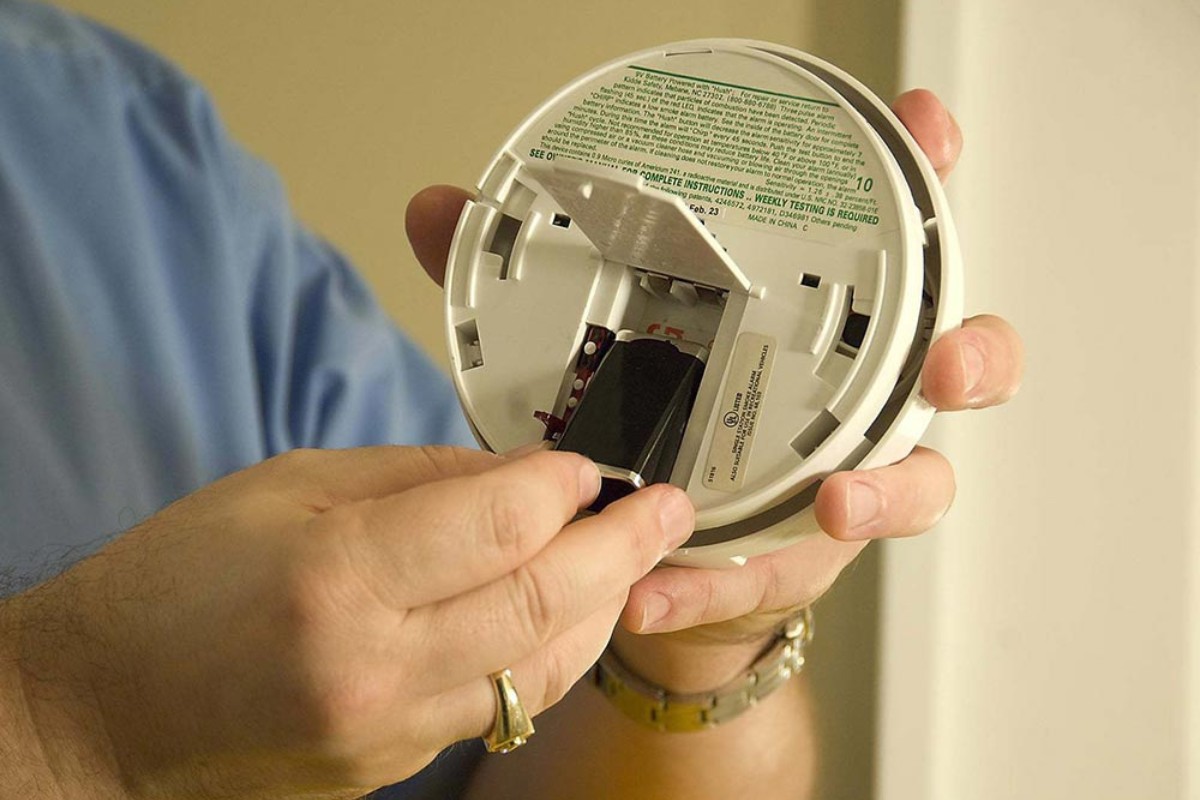
- Locate the battery compartment: Look for a small door or panel on the back or side of the smoke detector. This is where the battery is housed.
- Open the battery compartment: Depending on the model of your smoke detector, you may need to slide, push, or lift a latch to open the battery compartment door.
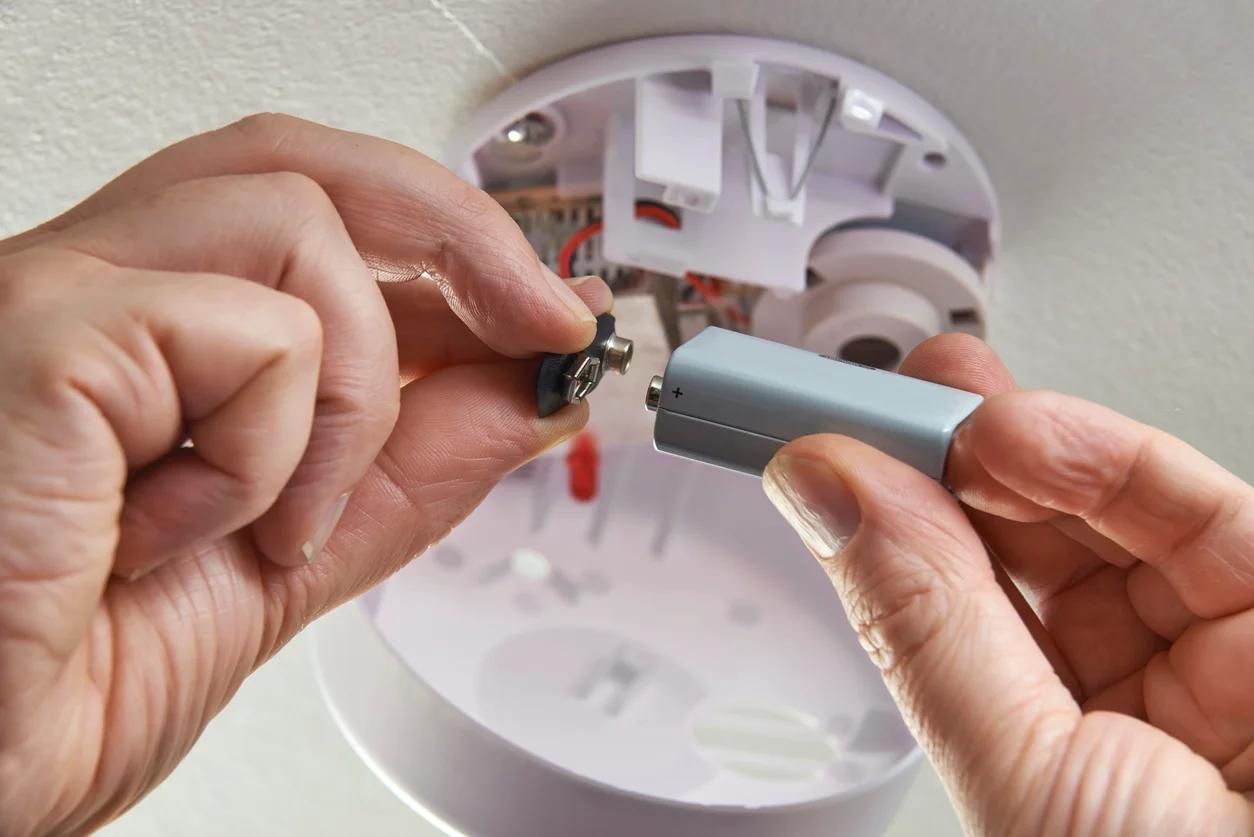
- Identify the type of battery: Take note of the type and orientation of the battery in the compartment. It is important to replace it with the correct battery to ensure proper functioning of the smoke detector.
- Remove the old battery: Using your fingers or a small tool, carefully lift the old battery out of the compartment. Pay attention to any spring clips or tabs that may be holding the battery in place and gently release them if necessary.
- Dispose of the old battery properly: Once the old battery is removed, place it in a designated battery recycling container or follow your local regulations for proper disposal.
By following these steps, you have successfully removed the old battery from the smoke detector. Now you can proceed to the next step of inserting and connecting the new battery.
Read more: How To Clean A Hard Wired Smoke Detector
Step 7: Insert and Connect the New Battery
With the old battery removed, it’s time to insert and connect the new battery into the smoke detector. Follow these steps to properly insert and connect the new battery:
- Check the battery type: Before inserting the new battery, double-check that it is the correct type recommended by the manufacturer. Refer to the user manual or the markings on the smoke detector to ensure compatibility.
- Orient the battery correctly: Take note of the battery’s polarity markings (+ and -). Align the new battery correctly, ensuring that the positive (+) terminal aligns with the positive contact in the battery compartment.
- Insert the new battery: Gently slide or push the new battery into the compartment, making sure it is snugly placed. If there are any spring clips or tabs, make sure they properly secure the battery in place.
- Connect the wiring harness: Reconnect the wiring harness by aligning the connector and securing it in place. You may need to press or slide the connector until it snaps into position.
- Close the battery compartment: If the battery compartment has a door or panel, close it securely to ensure it is tightly sealed. This will prevent any dust or debris from entering the compartment.
By following these steps, you have successfully inserted and connected the new battery into the smoke detector. Now you can proceed to the next step of reattaching the detector to the mounting bracket.
Step 8: Reattach the Detector to the Mounting Bracket
With the new battery in place, it’s time to reattach the smoke detector to its mounting bracket. Follow these steps to securely reattach the detector:
- Align the detector: Position the smoke detector so that it lines up with the mounting bracket. Ensure that any screw holes or alignment tabs are properly aligned.
- For twist-off brackets:
- Gently position the detector over the bracket and align it with the twist-lock mechanism.
- Rotate the detector clockwise until it locks into place. You should feel or hear a click when it is securely attached.
- For slide-off brackets:
- Position the detector over the bracket, making sure the alignment tabs fit into the corresponding slots.
- Slide the detector onto the bracket until it clicks or snaps into place.
- Test the attachment: Gently tug the smoke detector to ensure it is firmly attached to the mounting bracket. It should not move or come loose.
By following these steps, you have successfully reattached the smoke detector to its mounting bracket. Now you can proceed to the next step of turning the power back on.
Step 9: Turn the Power Back On
With the smoke detector securely reattached, it’s time to restore power to the device. Follow these steps to turn the power back on:
- Locate the circuit breaker panel: Return to the circuit breaker panel and locate the breaker you previously turned off.
- Flip the breaker to the “on” position: Carefully push the switch of the smoke detector breaker back to the “on” position.
- Verify power restoration: Head back to the smoke detector and press the test button. If the smoke detector sounds an alarm or flashes lights, it means the power has been successfully restored.
- Listen for the alarm: Stand by the smoke detector and listen for the test alarm to ensure it is functioning correctly. If the alarm does not sound, check the battery connection or consult the user manual for troubleshooting steps.
- Ensure proper functionality: Test the smoke detector by using a smoke test spray or by blowing out a candle near the unit. The smoke detector should quickly respond and sound an alarm.
By following these steps, you have successfully turned the power back on to the smoke detector. Take a moment to verify its proper functioning and ensure that it is adequately detecting smoke or fire. Congratulations on successfully changing the battery in your hard-wired smoke detector!
Remember to periodically test your smoke detector and replace the battery as recommended by the manufacturer to ensure continuous safety in your home. If you encounter any issues or have concerns about your smoke detector, it is always best to consult a professional electrician for assistance.
Now that you have completed the battery replacement process, you can rest assured knowing that your smoke detector is properly powered and ready to provide early detection in the event of a fire.
Conclusion
Changing the battery in a hard-wired smoke detector is a simple yet essential task that ensures the continued safety of your home and loved ones. By following the step-by-step instructions outlined in this guide, you have successfully completed the process with ease.
Throughout the battery replacement process, it is crucial to prioritize safety. Always remember to turn off the power, use protective gear, and handle the smoke detector and wiring with care. Additionally, ensure that you are using the correct battery type recommended by the manufacturer to maintain the detector’s optimal performance.
Regular maintenance of your smoke detectors, including battery replacement, is crucial to keep them functioning effectively. We recommend testing your smoke detectors regularly by using the test button and conducting smoke or fire tests to ensure their proper operation.
By taking the time to change the battery in your hard-wired smoke detector, you have taken a proactive step towards maintaining a safe living environment. Early detection and warning provided by these devices can save lives and prevent property damage in the event of a fire.
If you encounter any difficulties during the battery replacement process or have any concerns about your smoke detector, do not hesitate to seek the assistance of a qualified electrician. They have the expertise and knowledge to handle electrical systems safely and effectively.
Remember to follow the manufacturer’s guidelines and consult the user manual specific to your smoke detector model for any specific instructions or troubleshooting steps. Properly maintaining your smoke detectors ensures their reliability and ensures that they will continue to protect you and your family for years to come.
Frequently Asked Questions about How To Change The Battery In A Hard-Wired Smoke Detector
Was this page helpful?
At Storables.com, we guarantee accurate and reliable information. Our content, validated by Expert Board Contributors, is crafted following stringent Editorial Policies. We're committed to providing you with well-researched, expert-backed insights for all your informational needs.

0 thoughts on “How To Change The Battery In A Hard-Wired Smoke Detector”