Articles
How To Install A Wired Smoke Detector
Modified: February 24, 2024
Learn how to install a wired smoke detector with our comprehensive articles. Ensure the safety of your home with step-by-step instructions and expert tips.
(Many of the links in this article redirect to a specific reviewed product. Your purchase of these products through affiliate links helps to generate commission for Storables.com, at no extra cost. Learn more)
Introduction
Smoke detectors are crucial for ensuring the safety of your home or office. Whether you’re a homeowner or a tenant, installing a wired smoke detector is a smart investment that can potentially save lives. While wireless smoke detectors have gained popularity in recent years, wired smoke detectors offer a reliable and permanent solution that is directly connected to the power supply of your home.
In this guide, we will walk you through the step-by-step process of installing a wired smoke detector. We will cover everything from gathering the necessary tools and materials to testing the detector to ensure it is functioning correctly. By following these instructions, you can have peace of mind knowing that you have taken an important step towards fire safety.
Note: Before beginning the installation, it’s important to consult your local building codes and regulations to ensure compliance. Additionally, if you are unsure about electrical work, it is recommended to hire a licensed electrician to assist you with the installation.
Key Takeaways:
- Ensure optimal fire safety by following the step-by-step guide to install a wired smoke detector. From gathering tools to testing functionality, each detail is crucial for protecting your home and loved ones.
- Prioritize fire safety with a proactive approach. Regularly test and maintain your smoke detector to create a secure environment for you and your loved ones.
Read more: How To Install A Kidde Wired Smoke Detector
Step 1: Gather the necessary tools and materials
Before you start the installation process, it’s important to gather all the required tools and materials. By doing this beforehand, you can ensure a smooth and efficient installation without any interruptions. Here’s a list of the tools and materials you will need:
- Wired smoke detector – Choose a smoke detector that meets the required safety certifications and is suitable for your specific needs.
- Mounting bracket – This will be used to securely fasten the smoke detector to the wall or ceiling.
- Screwdriver – A Phillips screwdriver is typically needed to attach the mounting bracket and secure the wires.
- Wire strippers – These will be used to strip the outer coating of the wires, allowing you to connect them properly.
- Electrical tape – Use electrical tape to secure and insulate the connected wires.
- Wire nuts – These connectors are used to join the wires securely together.
- Backup battery – Most wired smoke detectors have a backup battery option for times when the power goes out.
- Power drill (if needed) – Depending on the mounting location, you may need a power drill to create holes for the mounting bracket.
Once you have gathered all the necessary tools and materials, you can proceed to the next step of the installation process.
Step 2: Choose the installation location
Choosing the right location to install your wired smoke detector is crucial for its effectiveness. It’s important to select a spot that gives the detector optimal coverage and allows for early detection of smoke or fire. Here are a few key factors to consider when choosing the installation location:
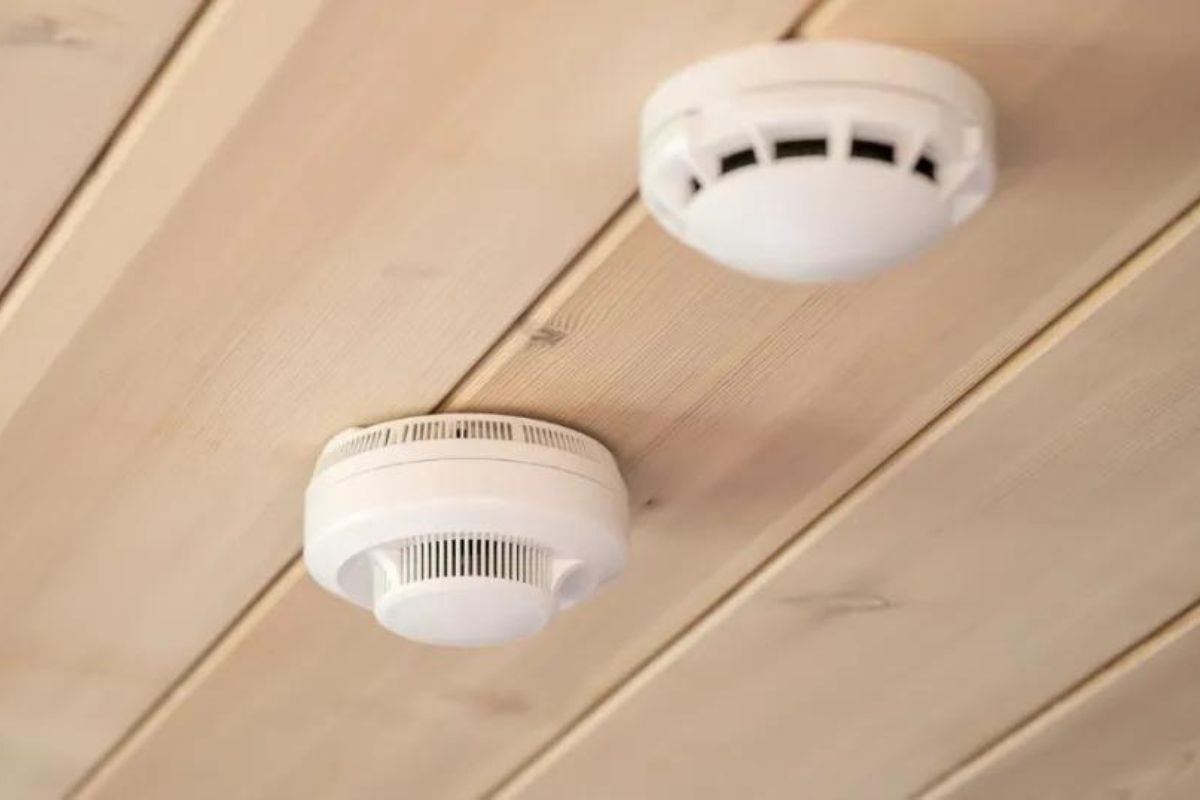
- Placement on the ceiling: Smoke detectors are typically installed on the ceiling, as smoke rises and the detector will be able to detect it more quickly. Make sure to choose a central location in the room for maximum coverage.
- Avoid corners: Avoid installing the detector in corners or near walls, as this can impede its effectiveness. Smoke can accumulate in these areas, delaying the detection process.
- Proximity to bedrooms: If you’re installing the smoke detector in a residential setting, it’s advisable to place one near each bedroom. This ensures that everyone in the house can hear the alarm and respond quickly.
- Keep it away from ventilation: Make sure the smoke detector is installed away from vents, fans, or windows that may affect its performance by circulating air or interfering with its sensors.
- Consider multiple detectors: For larger homes or multi-story buildings, it’s recommended to install multiple detectors to ensure comprehensive coverage. Place detectors on each level of the building to provide early warning throughout the premises.
Take the time to carefully consider these factors before finalizing the installation location. It’s essential to choose a position that ensures the smoke detector operates optimally, protecting you and your property in the event of a fire.
Step 3: Turn off power to the area
Before you begin the actual installation of the wired smoke detector, it’s crucial to ensure the power to the area where you will be working is turned off. This step is essential for your safety and to prevent any potential electrical hazards during the installation process. Follow these steps to turn off the power:
- Locate the electrical panel or circuit breaker box in your home or building.
- Open the electrical panel door and locate the circuit breaker corresponding to the area where you will be installing the smoke detector. It may be labeled with the room or area name.
- Flip the switch of the circuit breaker to the “Off” position. This will cut off power supply to the specific area or room.
- To ensure maximum safety, it’s recommended to use a voltage tester to double-check that the power is truly turned off in the area where you’ll be working. Follow the instructions provided with the voltage tester to safely test for the presence of electricity.
- Ensure that all the lights and appliances in the area are no longer functioning. This will confirm that power has been successfully cut off.
Turning off the power is a crucial step to eliminate the risk of electrical shock while you handle the wiring. It’s important to take your time, be cautious, and ensure that power remains off until the installation is complete.
Step 4: Mount the smoke detector on the wall or ceiling
Mounting the smoke detector properly is essential to ensure it functions effectively. Follow these steps to securely mount the smoke detector on the wall or ceiling:
- Refer to the manufacturer’s instructions for the specific mounting requirements of your smoke detector model.
- Using a pencil, mark the desired location for the mounting bracket on the wall or ceiling. Ensure it meets the recommended guidelines for height and proximity to obstructions.
- If necessary, use a power drill to create holes at the marked locations. Be cautious and follow the appropriate safety precautions while drilling.
- Place the mounting bracket over the holes and align it with the markings. Use screws to securely attach the bracket to the wall or ceiling.
- Double-check that the mounting bracket is stable and level. If it is not level, adjust it as needed.
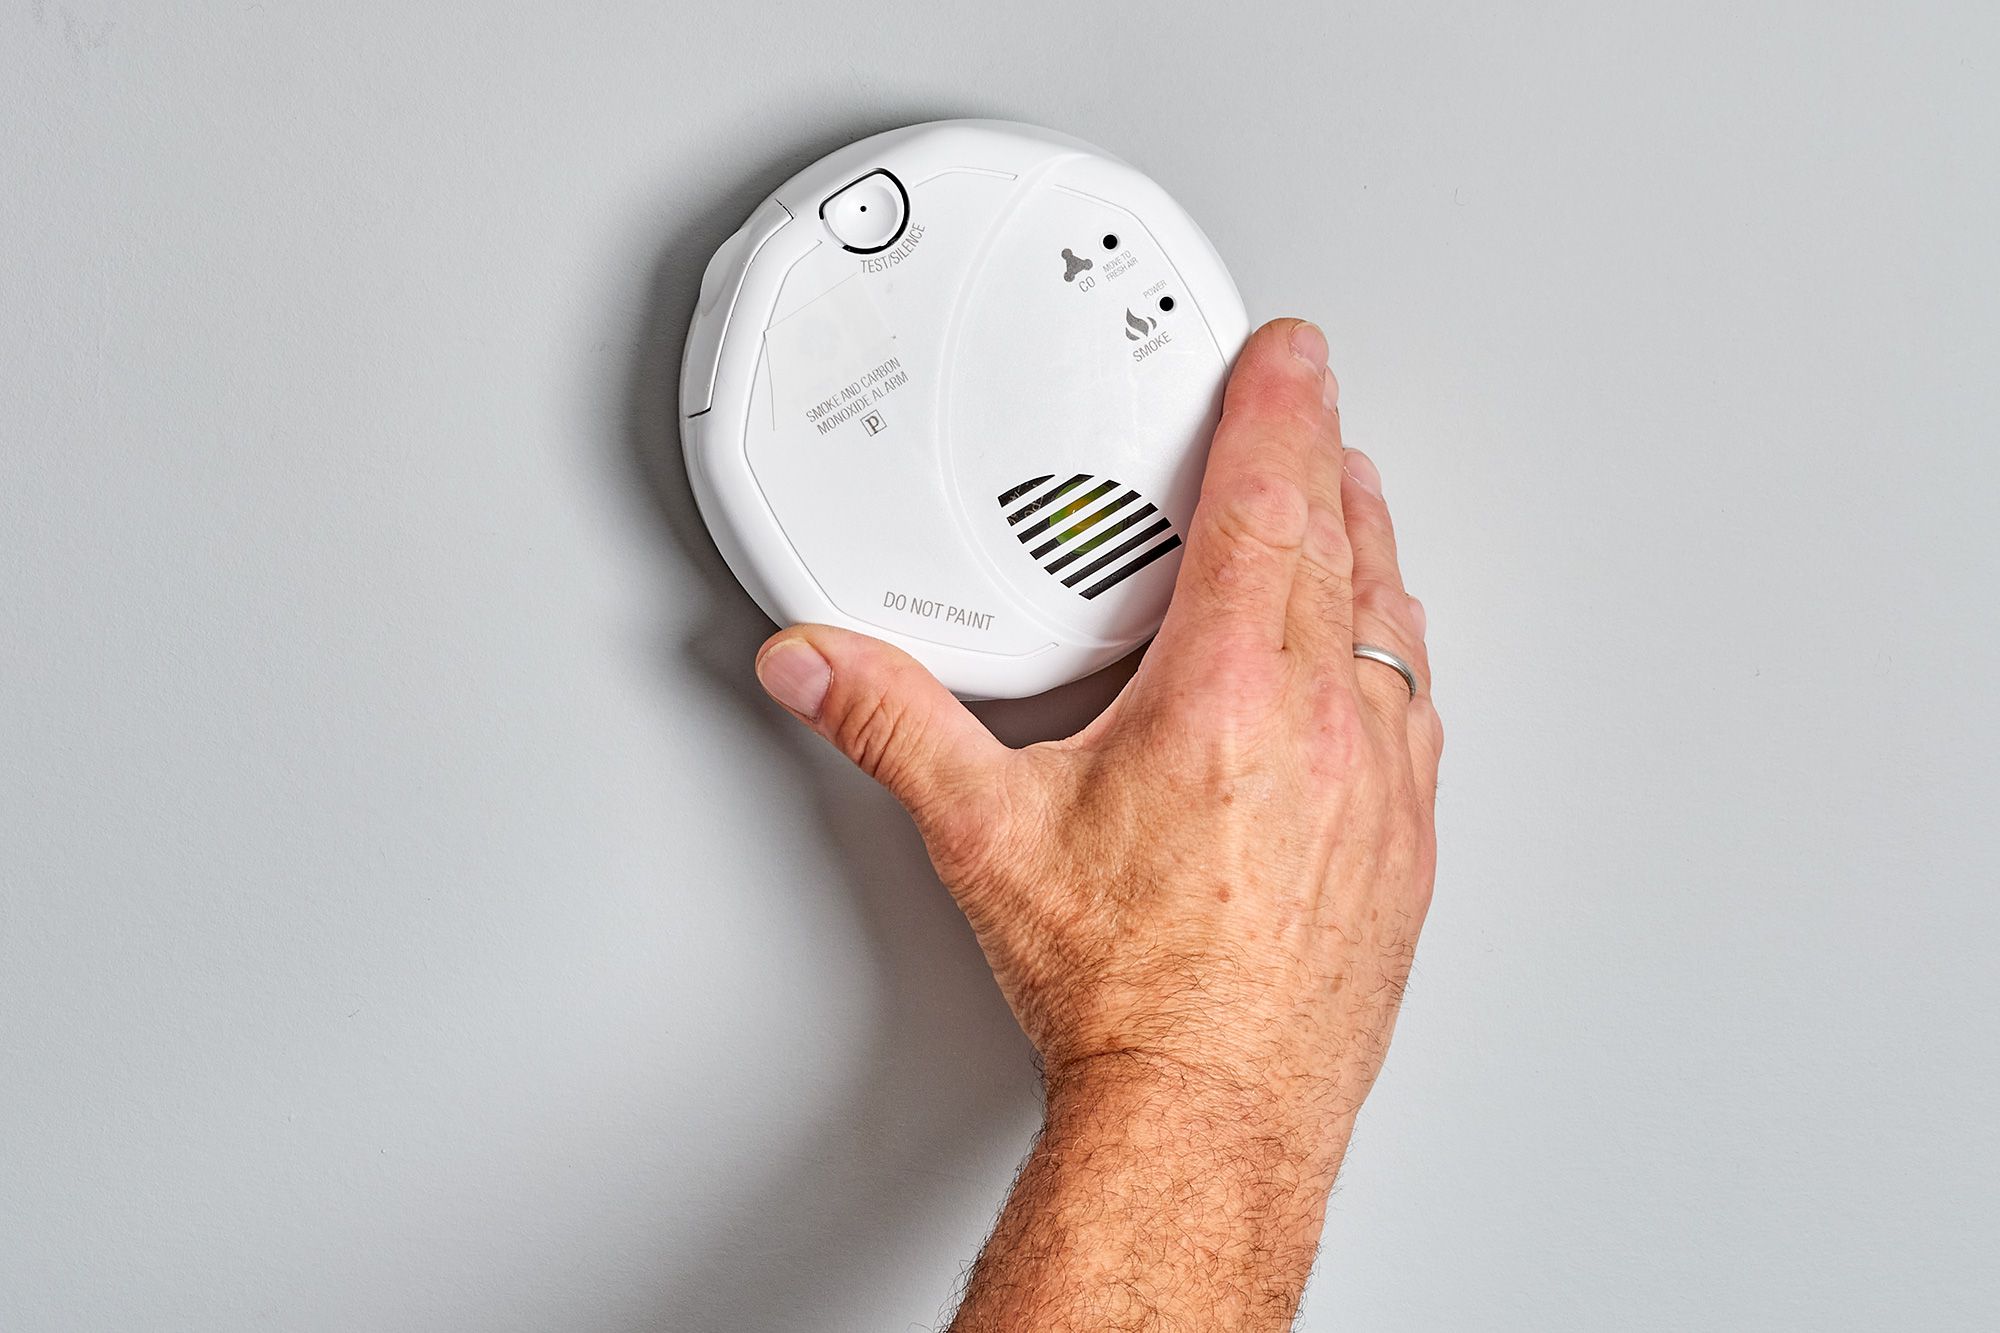
- Gently twist the smoke detector onto the mounting bracket. Ensure it is securely fastened and properly aligned.
- Hold the detector to confirm that it is secure and does not wobble.
By following these steps, you can properly install and mount the smoke detector in the desired location. A securely mounted smoke detector is crucial for optimal performance, as it will be able to detect smoke and fire more effectively.
When installing a wired smoke detector, make sure to turn off the power to the circuit before connecting the wires. This will ensure your safety and prevent any electrical accidents.
Read more: How To Unplug A Wired Smoke Detector
Step 5: Connect the wires to the detector
Now that the smoke detector is securely mounted, the next step is to connect the wires to the detector. Follow these steps to ensure a proper connection:
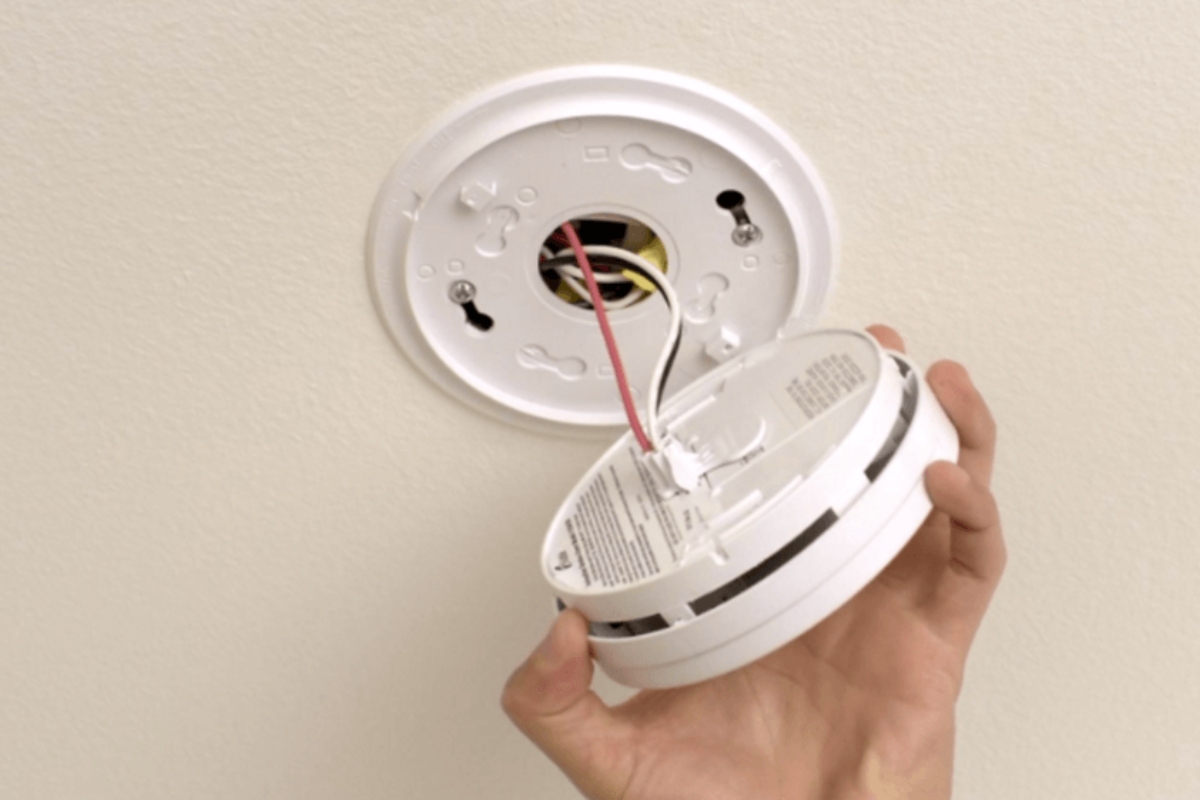
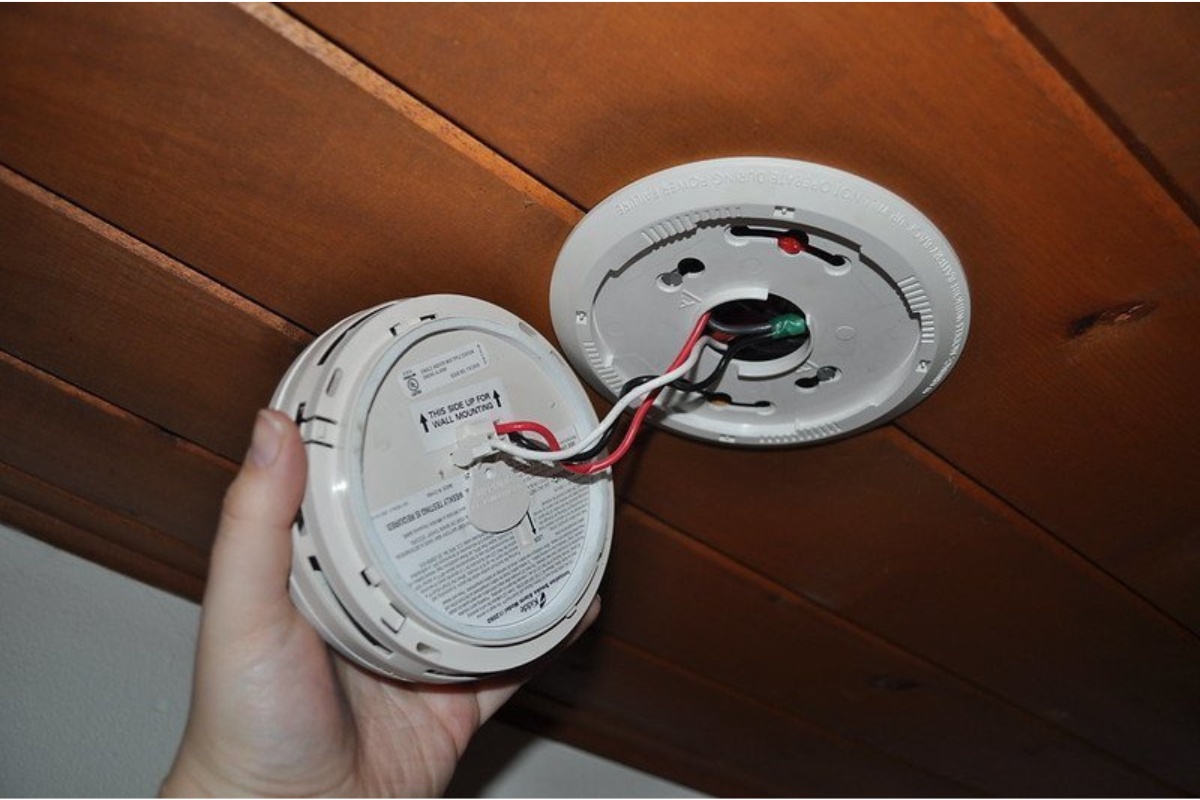
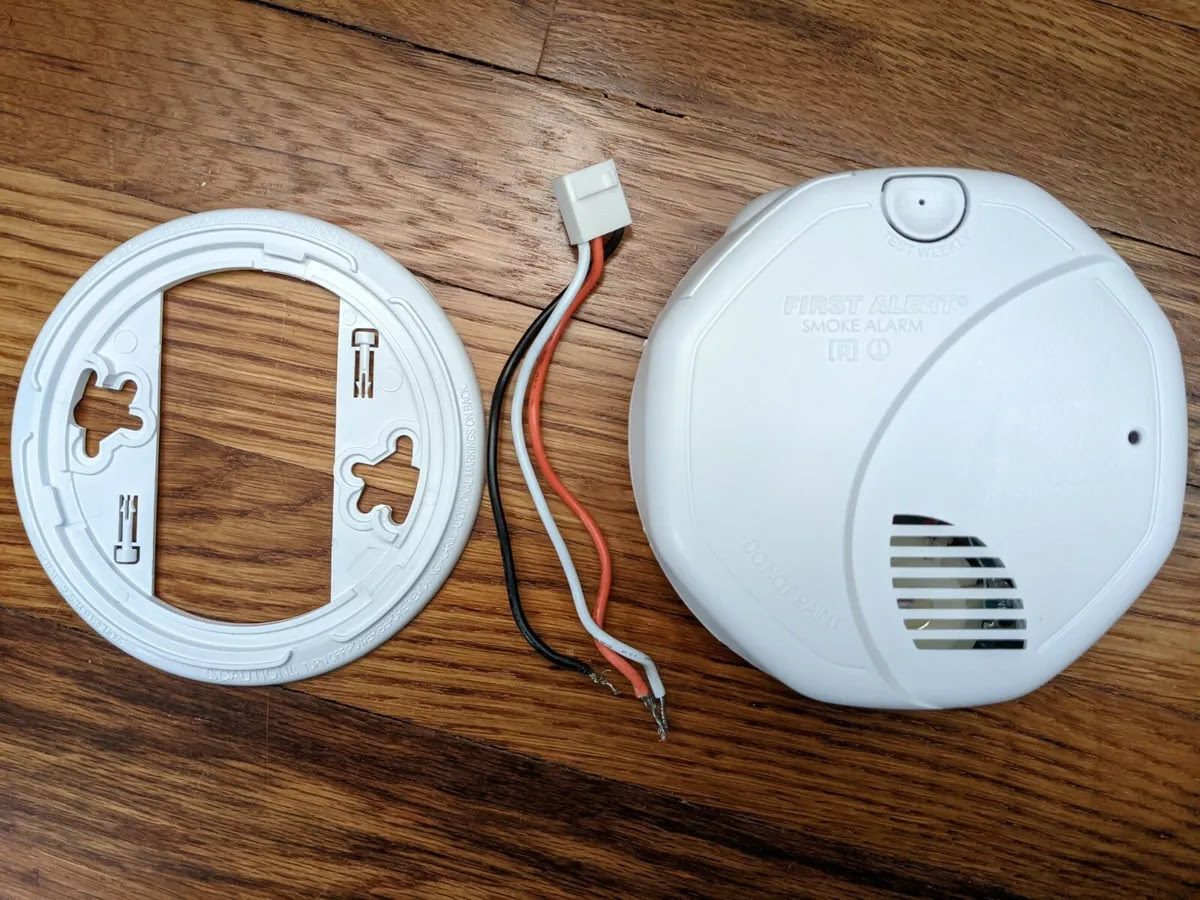
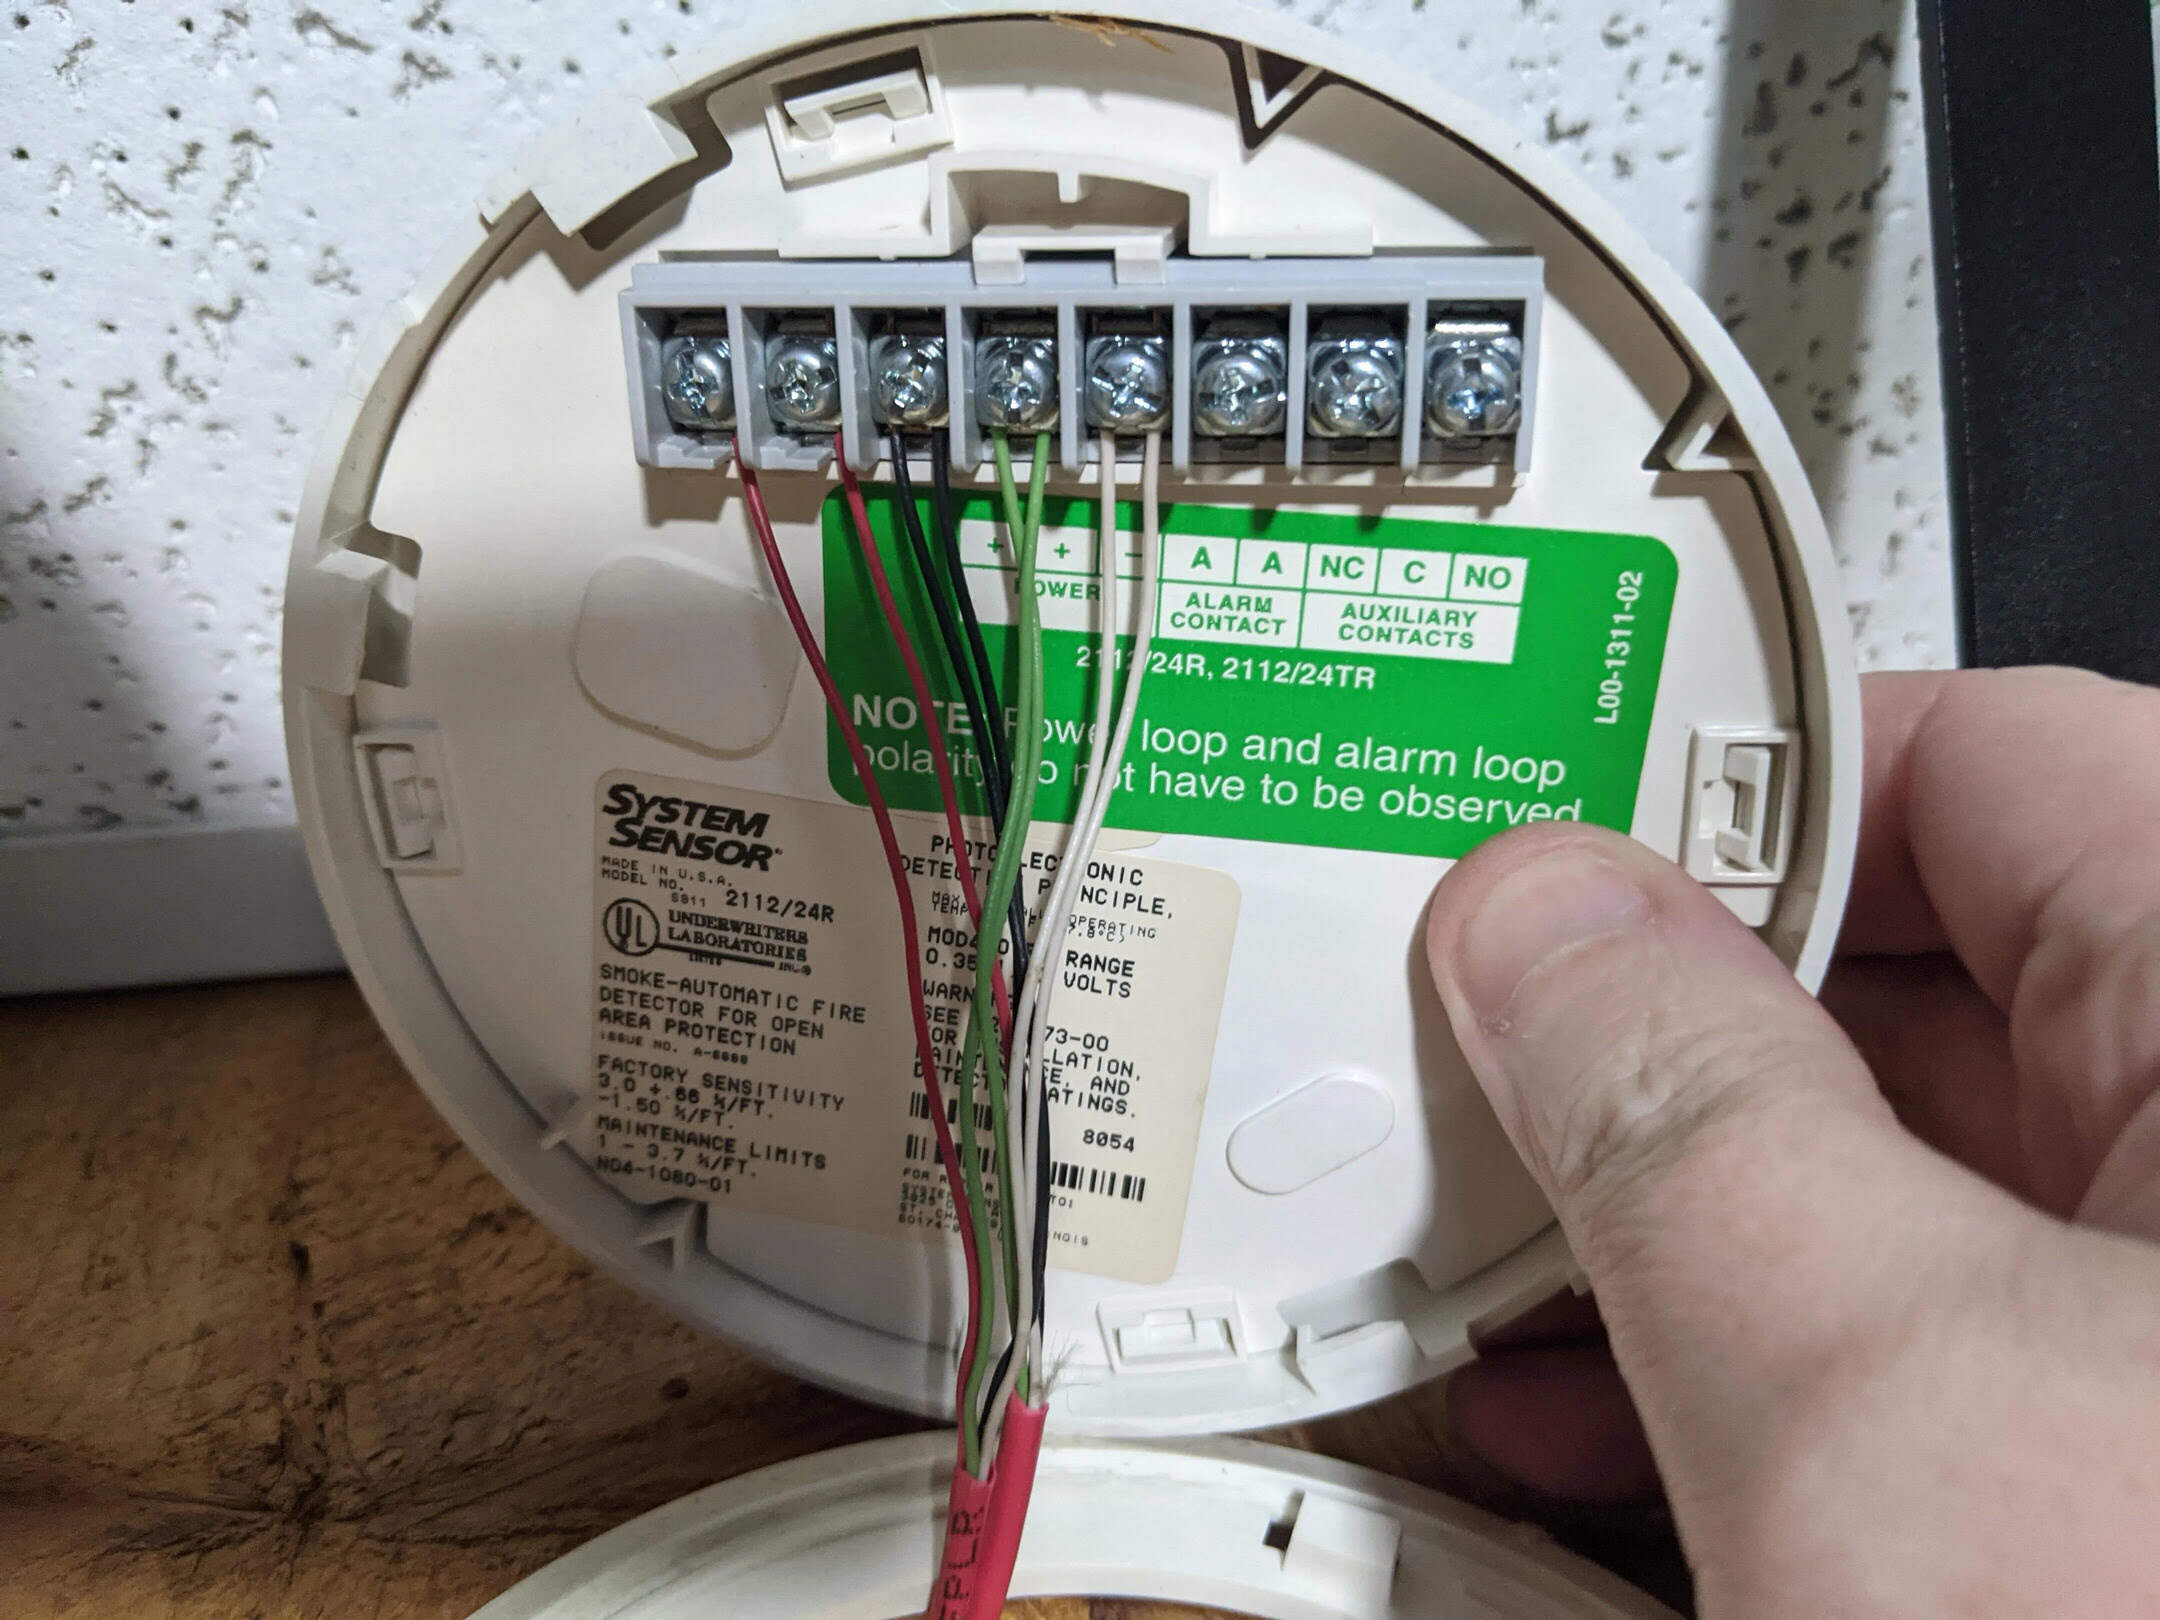
- Start by carefully removing the smoke detector cover to reveal the wiring compartment.
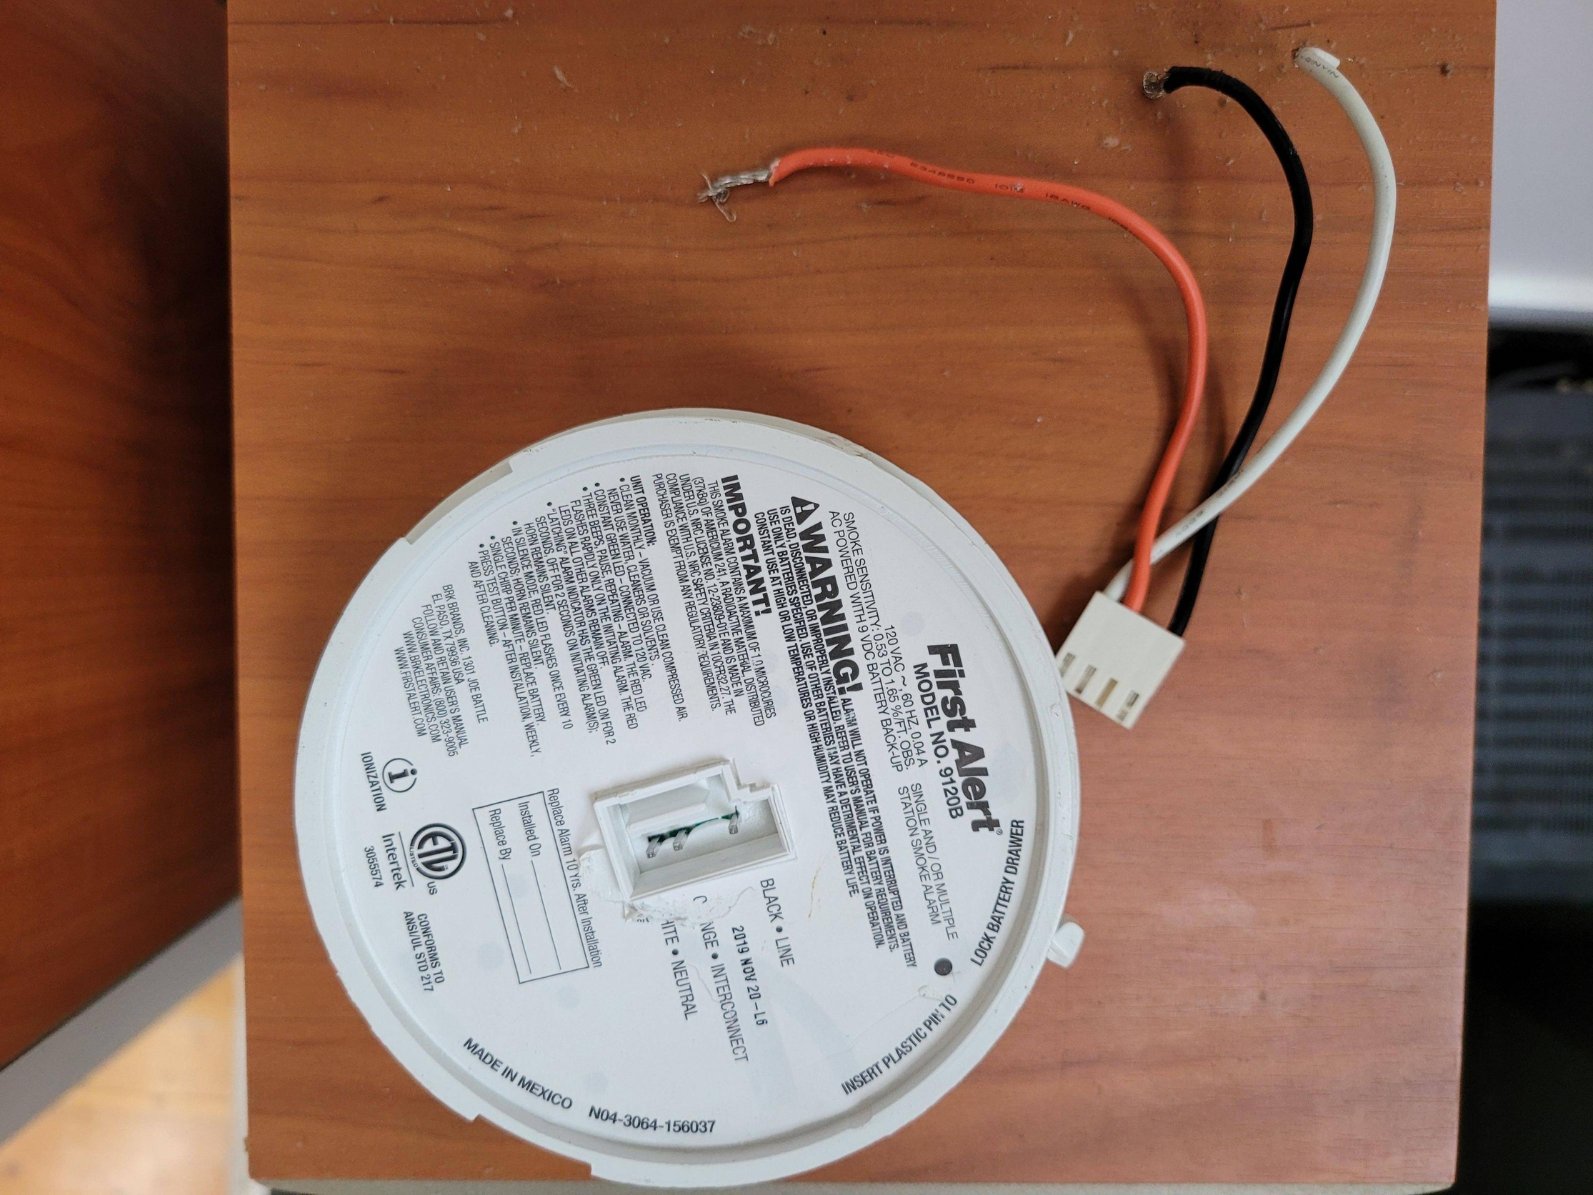
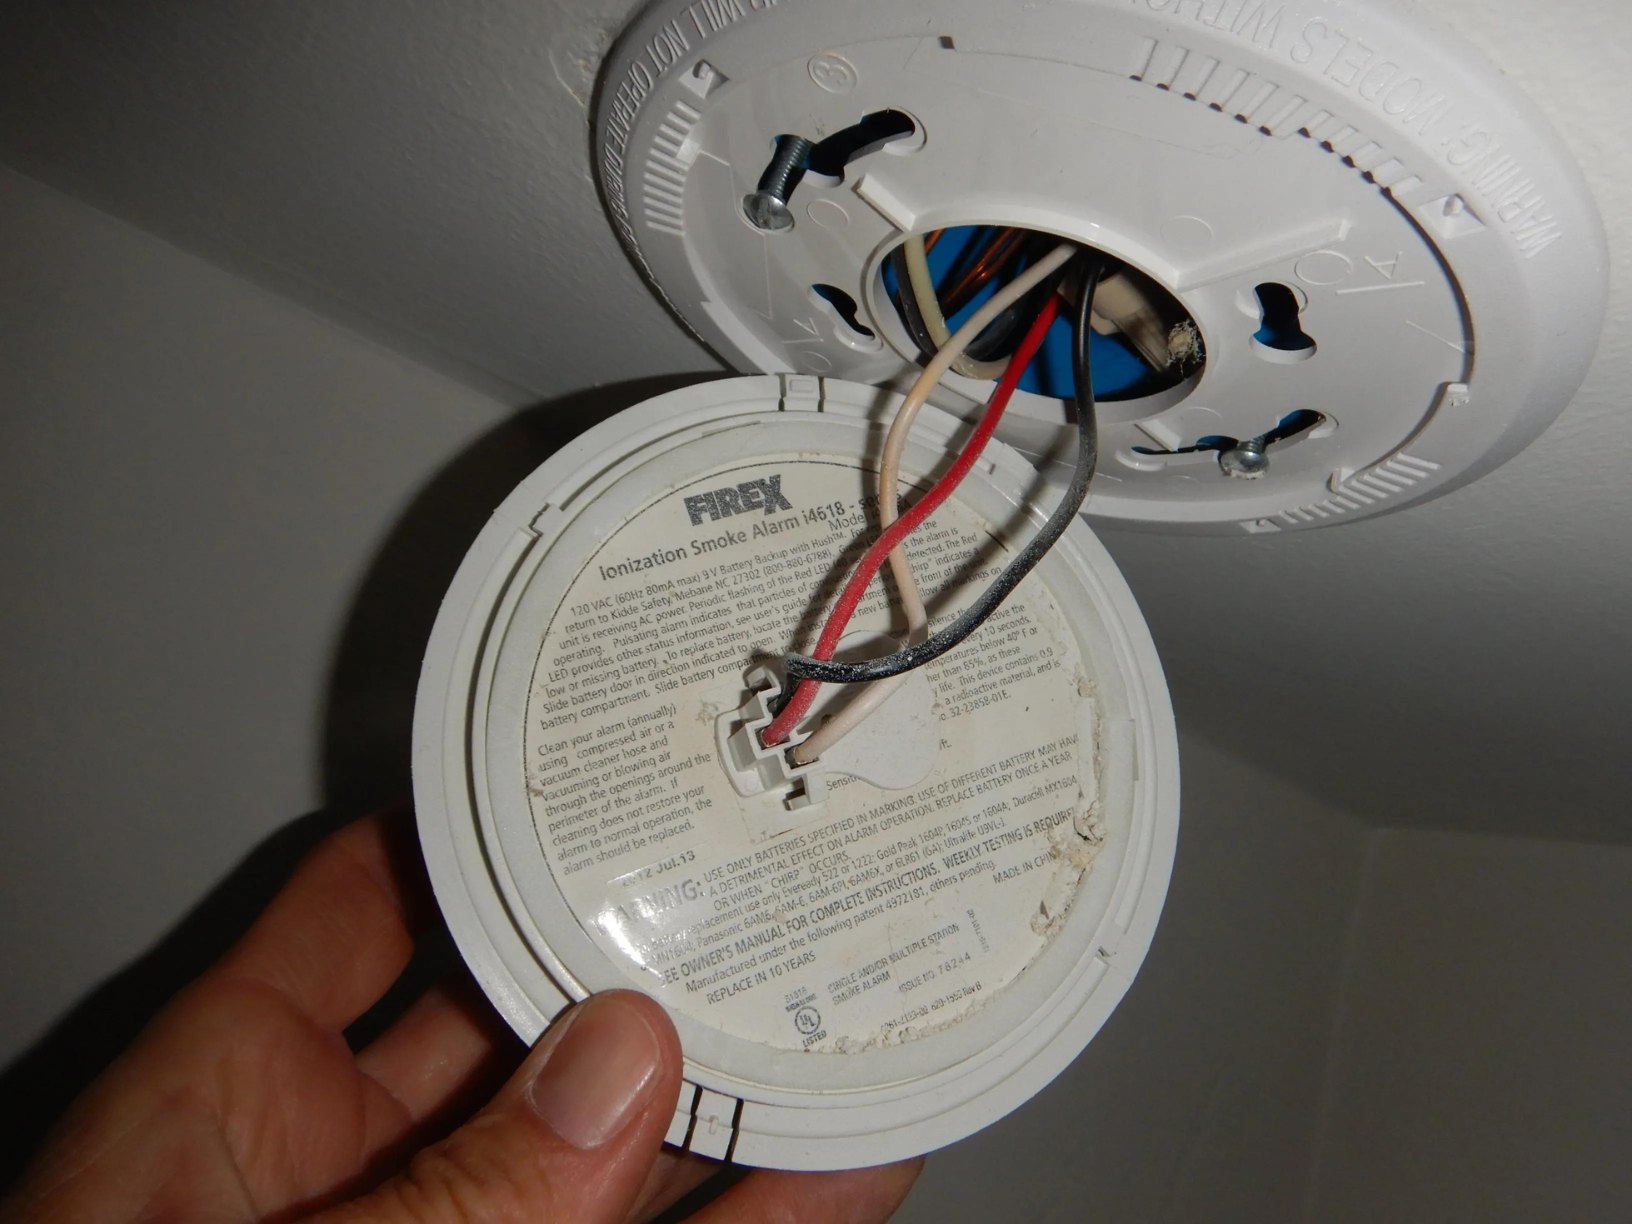
- Locate the wires coming out of the wall or ceiling. Typically, there will be three wires: black (hot), white (neutral), and green or bare (ground).
- Using wire strippers, carefully strip the outer coating of the wires, exposing about half an inch of the copper conductor.
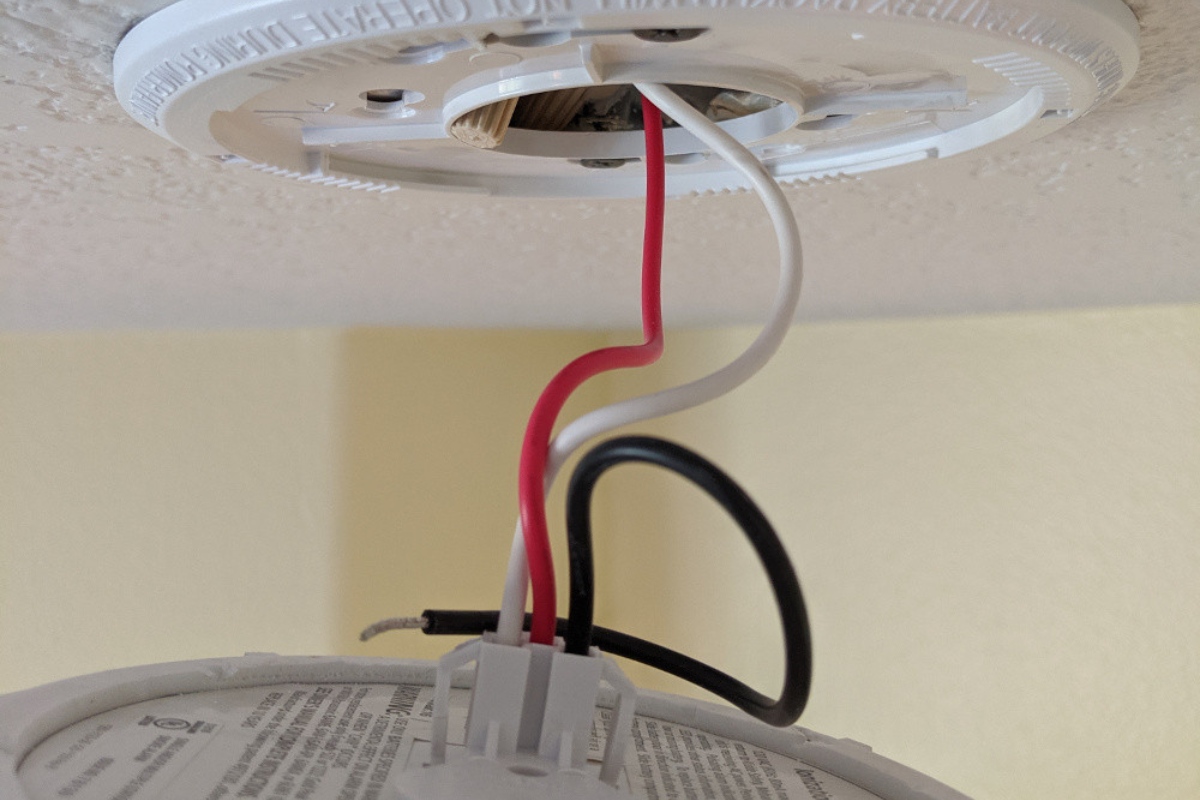
- Insert the exposed end of the black wire (hot) into the hot terminal on the smoke detector. This terminal is usually labeled “H” or “Hot.”
- Insert the exposed end of the white wire (neutral) into the neutral terminal on the smoke detector. This terminal is usually labeled “N” or “Neutral.”
- If there is a green or bare wire (ground), attach it to the ground terminal on the smoke detector. This terminal is usually labeled with the symbol for ground.
- Tighten the terminals on the smoke detector to ensure a secure connection. Refer to the manufacturer’s instructions for specific torque requirements.
- Once the wires are securely connected, carefully tuck them into the wiring compartment of the smoke detector.
It’s important to ensure that the wires are properly connected and secured to the smoke detector. Loose connections can lead to unreliable operation or false alarms. Take extra care to follow these steps and check your connections before proceeding to the next step.
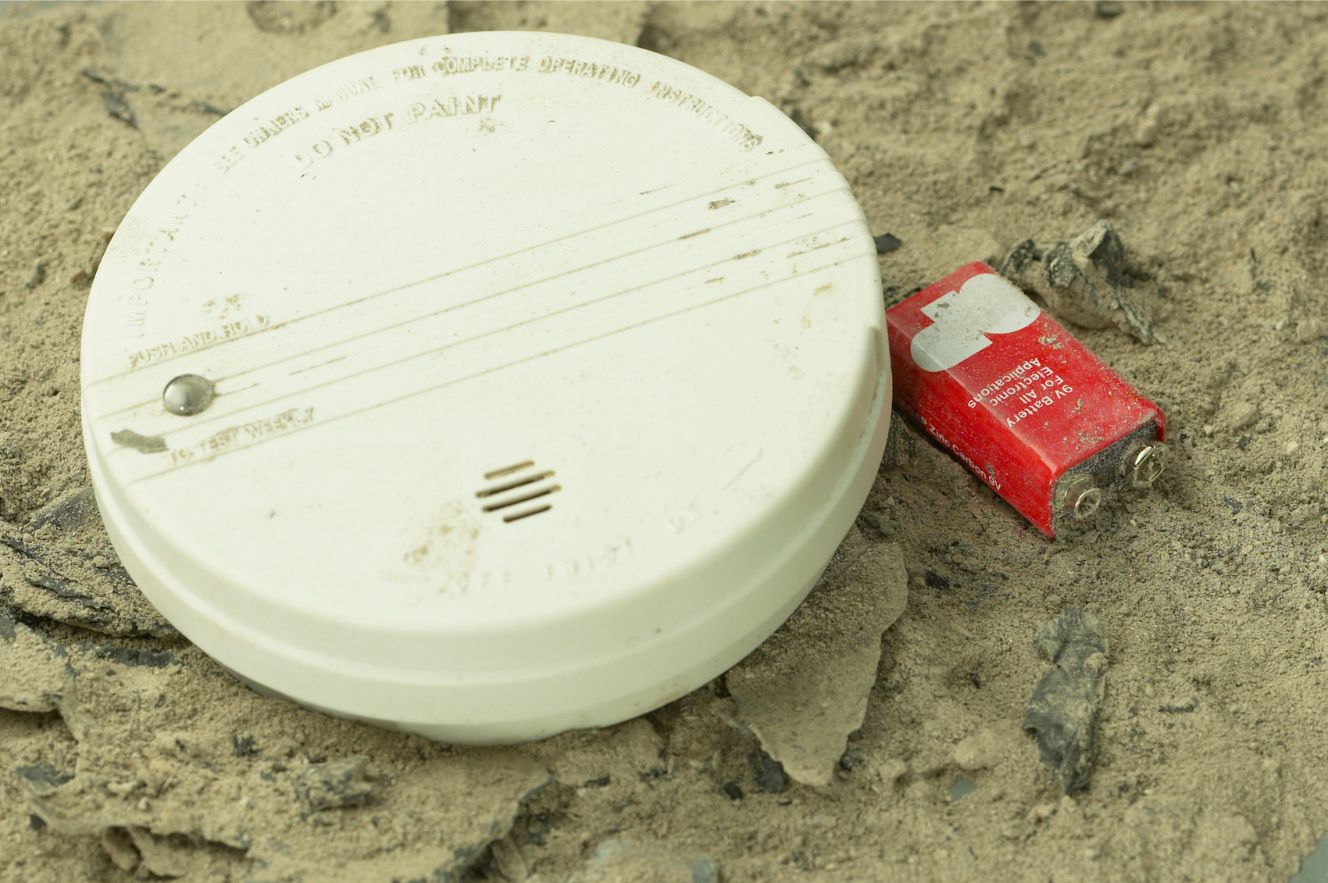
Step 6: Install the backup battery
Installing a backup battery in your wired smoke detector ensures that it continues to function even during a power outage. Here are the steps to install the backup battery:
- Locate the battery compartment on the smoke detector. This is usually on the back or side of the unit.
- Open the battery compartment, following the instructions provided by the manufacturer.
- Insert the backup battery into the compartment, matching the polarity markings. Typically, the positive (+) and negative (-) symbols are indicated.
- Ensure the battery is securely in place and that the compartment is closed properly. This will prevent the battery from dislodging or falling out.
- Refer to the manufacturer’s instructions to determine how often the battery should be replaced. It is generally recommended to replace the battery annually or as indicated.
Installing a backup battery is crucial to ensure that your smoke detector remains operational even if the power goes out. Be sure to use the recommended type and size of the battery specified by the manufacturer for compatibility and optimal performance.
Step 7: Test the smoke detector
Once the wired smoke detector is installed and the backup battery is in place, it’s important to test its functionality to ensure it is working properly. Follow these steps to test the smoke detector:
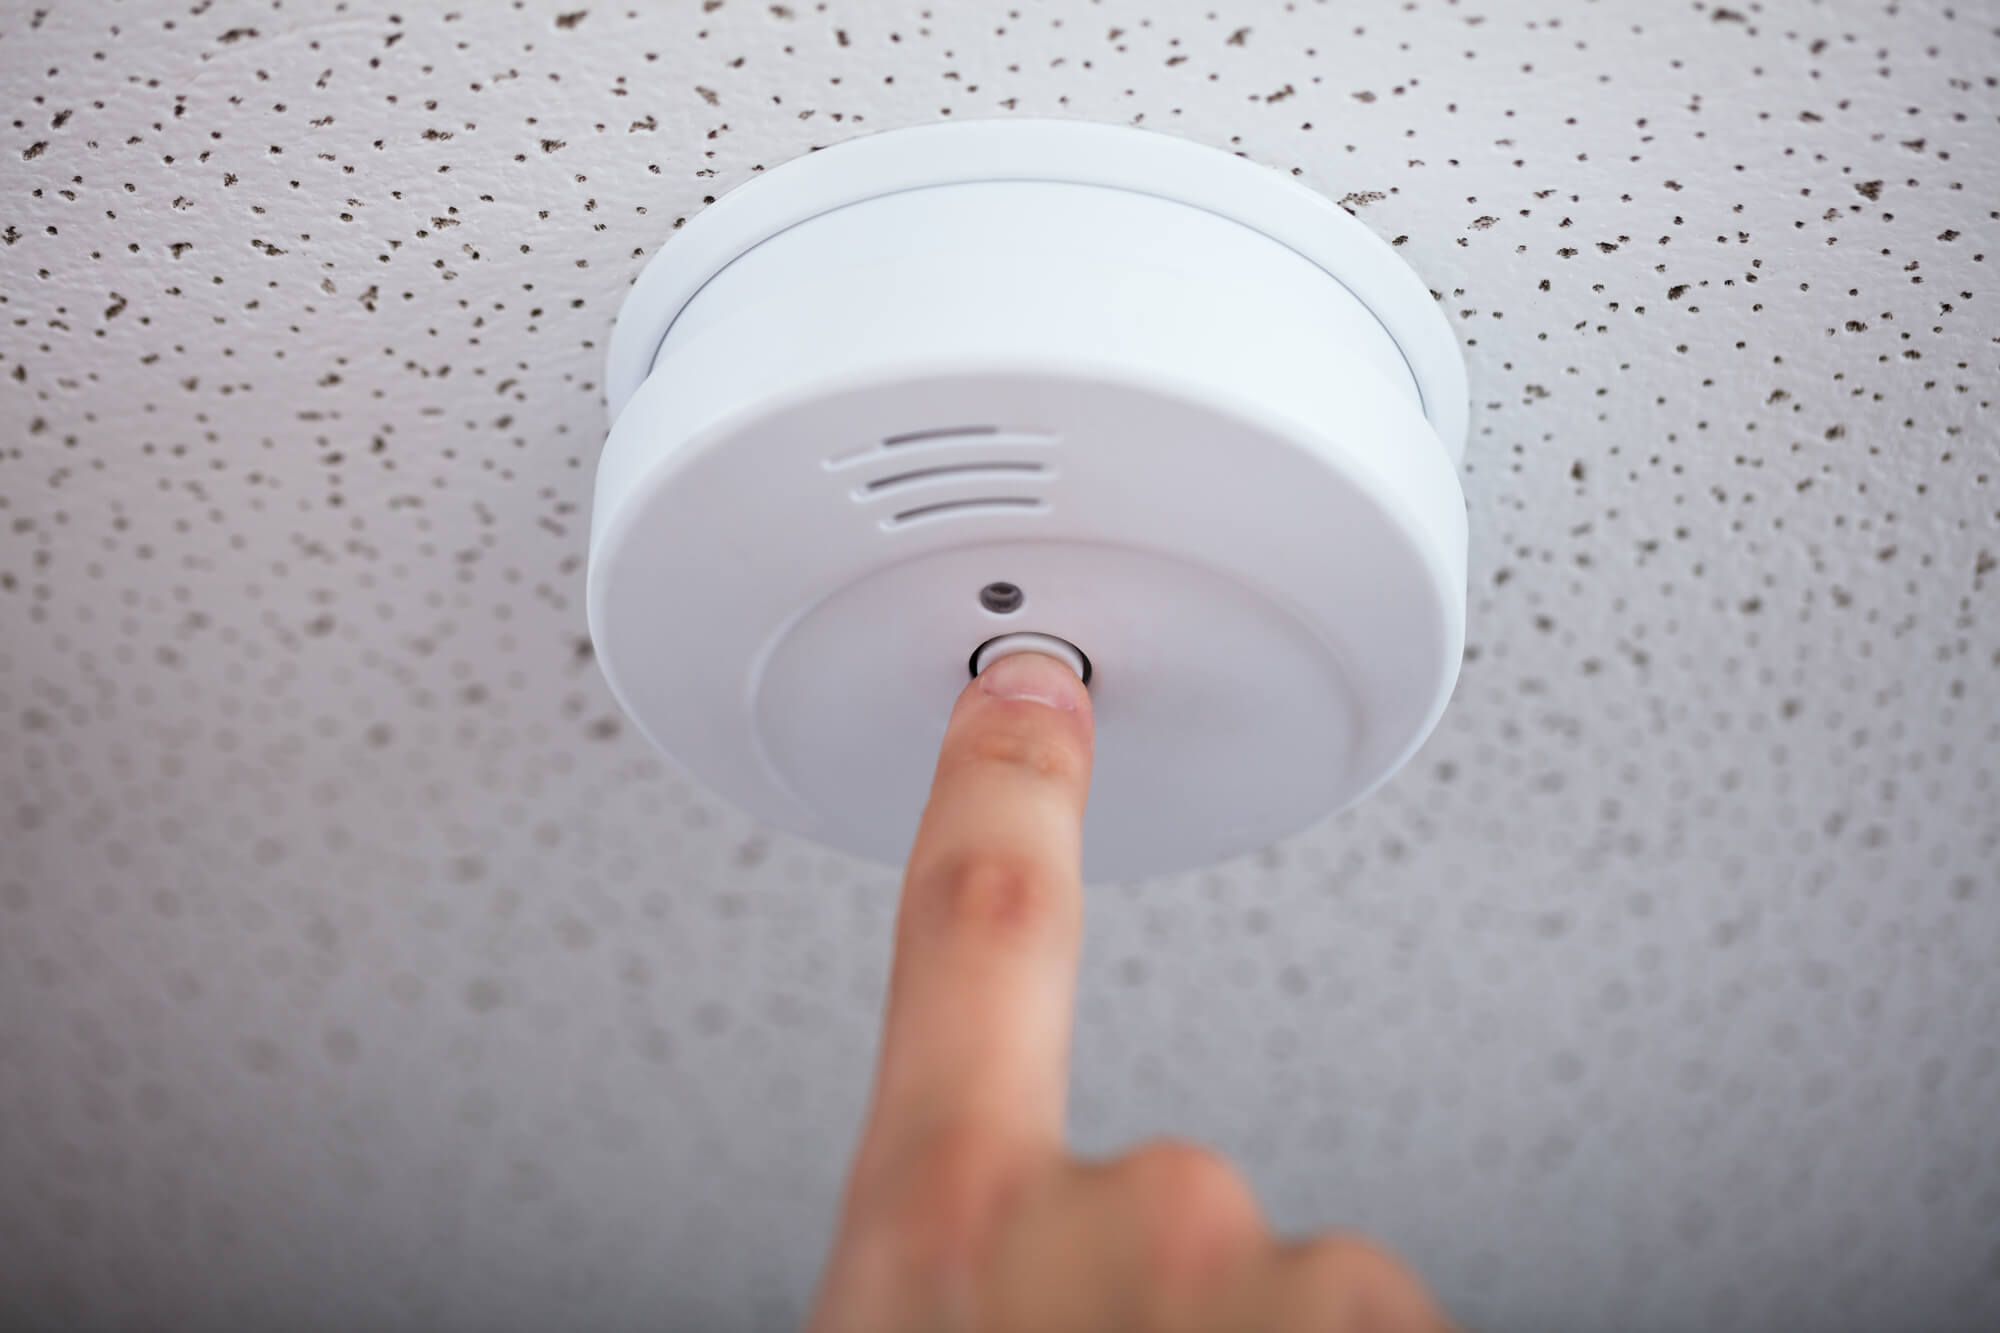
- Locate the test button on the smoke detector. This is usually a small button labeled “Test” or a similar designation.
- Press and hold the test button for a few seconds.
- You should hear a loud alarm sound indicating that the smoke detector is functioning correctly.
- If the alarm does not sound, check the battery connection and ensure the backup battery is properly inserted. Replace the battery if necessary.
- If the alarm still does not sound after replacing the battery, review the installation steps to ensure the wires are securely connected and that the power supply is functioning properly.
- After testing the smoke detector, silence the alarm by pressing the designated button or by following the instructions provided by the manufacturer.
- Perform a regular test of the smoke detector at least once a month to confirm its ongoing reliability.
Regular testing of the smoke detector is crucial for early detection of smoke or fire. It ensures that the alarm system is working correctly and provides peace of mind that you and your loved ones are protected in the event of an emergency.
Step 8: Restore power and complete setup
With the smoke detector installed, wires connected, battery installed, and functionality tested, you are now ready to restore power and complete the setup. Follow these final steps:
- Return to the electrical panel or circuit breaker box.
- Locate the circuit breaker corresponding to the area where you installed the smoke detector.
- Flip the switch of the circuit breaker back to the “On” position, restoring power to the area.
- Ensure that power is restored by checking the lights and appliances in the vicinity to verify that they are functioning.
- Double-check the smoke detector to ensure it is receiving power and functioning correctly. Look for any indicator lights or signals that indicate power and proper operation.
- Replace the smoke detector cover, securely fastening it to protect the internal components.
- Take note of the recommended maintenance schedule for the smoke detector. This may include regular cleaning, battery replacement, and professional inspection.
Congratulations! You have successfully installed a wired smoke detector and completed the setup process. Regularly check and maintain your smoke detector to ensure it functions optimally when it is needed most in the event of a fire.
Read more: How To Connect A Wired Smoke Detector
Conclusion
Installing a wired smoke detector is an important step in safeguarding your home or office against the potential dangers of fire. By following the step-by-step process outlined in this guide, you can ensure that your smoke detector is properly installed and functioning optimally.
From gathering the necessary tools and materials to testing the smoke detector, each step is crucial for a successful installation. By selecting the right location, turning off the power, mounting the detector securely, connecting the wires properly, installing the backup battery, and testing the functionality, you can have peace of mind knowing that you have taken the necessary measures to protect yourself, your loved ones, and your property.
Remember to regularly test and maintain your smoke detector to ensure it continues to operate efficiently. Replace the backup battery as recommended, and perform monthly tests to confirm proper functioning. It’s also essential to familiarize yourself with the manufacturer’s guidelines and maintenance recommendations for your specific smoke detector model.
Fire safety is a responsibility that should not be taken lightly. By investing the time and effort to install a wired smoke detector, you are taking a proactive approach towards protecting your home and ensuring the safety of everyone inside. Stay vigilant and prioritize fire safety to create a secure and protected environment for you and your loved ones.
Frequently Asked Questions about How To Install A Wired Smoke Detector
Was this page helpful?
At Storables.com, we guarantee accurate and reliable information. Our content, validated by Expert Board Contributors, is crafted following stringent Editorial Policies. We're committed to providing you with well-researched, expert-backed insights for all your informational needs.


0 thoughts on “How To Install A Wired Smoke Detector”