Home>Furniture & Design>Bathroom Accessories>How Unclog Bathtub Drain
Bathroom Accessories
How Unclog Bathtub Drain
Modified: March 2, 2024
Learn effective ways to unclog your bathtub drain using simple bathroom accessories. Keep your drains clear and flowing smoothly.
(Many of the links in this article redirect to a specific reviewed product. Your purchase of these products through affiliate links helps to generate commission for Storables.com, at no extra cost. Learn more)
Introduction
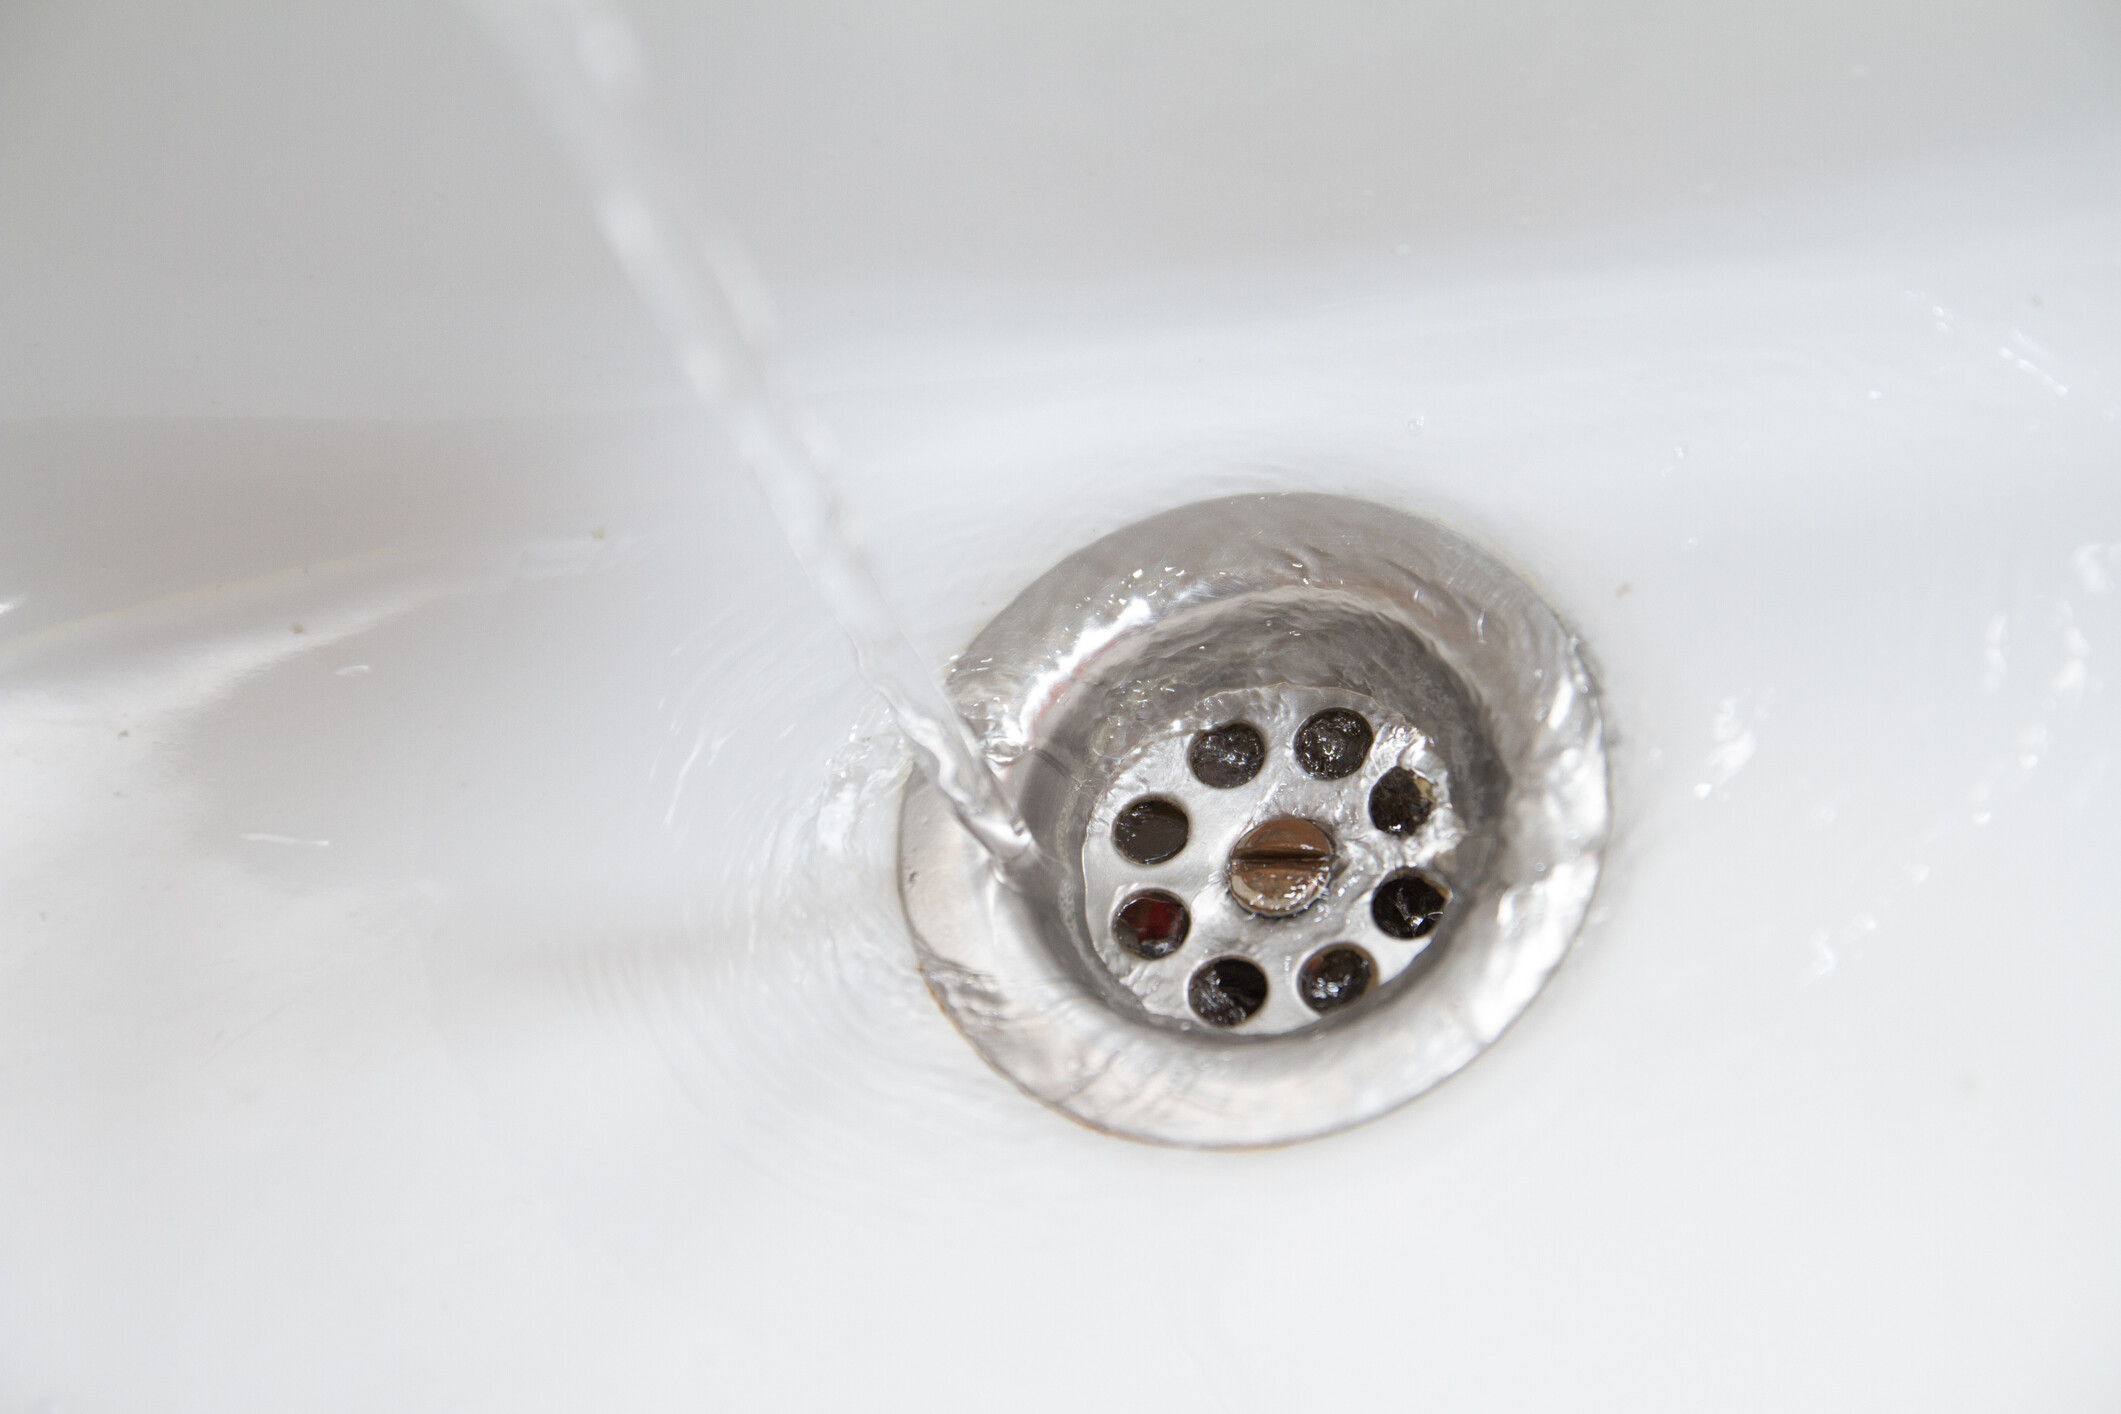
A clogged bathtub drain can be a major inconvenience, disrupting your daily routine and causing frustration. Whether it's due to a buildup of hair, soap scum, or other debris, a clogged drain can lead to slow drainage or standing water in the tub. Fortunately, with the right tools and a bit of know-how, you can tackle this common household issue and restore your bathtub's drainage to its optimal state.
In this comprehensive guide, we will walk you through the step-by-step process of unclogging a bathtub drain. From removing the drain cover to using a plumbing snake, we'll cover various methods to help you effectively clear the obstruction and get your drain flowing smoothly once again. By following these instructions, you can save time and money by addressing the issue yourself, without the need to call a professional plumber.
Whether you're a seasoned DIY enthusiast or a novice homeowner looking to tackle your first plumbing challenge, this guide is designed to provide clear and actionable steps that anyone can follow. With a proactive approach and the right techniques, you can successfully unclog your bathtub drain and prevent future blockages, ensuring that your bathroom remains a functional and comfortable space for you and your family.
So, roll up your sleeves, gather your tools, and let's dive into the process of unclogging your bathtub drain. With a bit of patience and determination, you'll soon be enjoying a smoothly flowing drain and the satisfaction of a job well done.
Key Takeaways:
- Say goodbye to clogged drains! With simple tools like a plunger and a plumbing snake, you can clear hair and debris to keep your bathtub flowing smoothly. No need to call a plumber!
- Keep your bathtub drain happy by using a drain strainer and flushing with hot water regularly. With a little DIY know-how, you can prevent clogs and enjoy a hassle-free bathing experience.
Read more: How To Unclog A Bathtub Drain With Bleach?
Tools and Materials Needed
When it comes to unclogging a bathtub drain, having the right tools and materials at your disposal is essential for a successful outcome. Before you begin the unclogging process, it's important to gather the following items:
-
Plunger: A standard cup plunger is a versatile tool that can be used to create suction and dislodge clogs in the drain. Ensure that the plunger's rubber cup is in good condition to form a tight seal over the drain opening.
-
Plumbing Snake: Also known as a drain auger, a plumbing snake is a flexible, coiled wire tool designed to navigate through the drain and break up or retrieve obstructions. Opt for a snake with a length suitable for reaching the depth of your bathtub drain.
-
Rubber Gloves: Protect your hands from coming into direct contact with debris and chemicals by wearing durable rubber gloves throughout the unclogging process.
-
Bucket: Keep a bucket on hand to collect any standing water that may need to be removed from the bathtub before working on the drain.
-
Old Towels or Rags: Have a supply of old towels or rags available to wipe up any spills and to provide a barrier between the bathtub surface and your tools.
-
Chemical Drain Cleaner (Optional): If traditional methods prove ineffective, a chemical drain cleaner can be used as a last resort. Choose a product specifically formulated for bathtub drains and follow the manufacturer's instructions carefully.
-
Safety Goggles (Optional): If you opt to use a chemical drain cleaner, protect your eyes from potential splashes or fumes by wearing safety goggles.
By ensuring that you have these tools and materials on hand, you'll be well-prepared to tackle the task of unclogging your bathtub drain effectively. With the right equipment at your disposal, you can approach each step of the unclogging process with confidence, knowing that you have everything you need to address the issue and restore proper drainage to your bathtub.
Step 1: Remove the Drain Cover
Removing the drain cover is the first crucial step in unclogging a bathtub drain. The cover, often held in place by screws or a simple friction fit, provides access to the underlying components of the drain, allowing you to effectively address the blockage. Here's a detailed guide on how to remove the drain cover and gain access to the drain:
-
Locate the Drain Cover: Depending on the design of your bathtub, the drain cover may be situated in the center of the tub or along the perimeter. Look for a visible opening with a cover that may be flat or have a central screw.
-
Use a Screwdriver (if applicable): If the drain cover is secured with screws, use a suitable screwdriver to carefully loosen and remove them. Place the screws in a safe location to prevent misplacement.
-
Apply Lubricant (if necessary): In some cases, drain covers may become stuck due to accumulated grime or mineral deposits. If the cover seems difficult to remove, applying a small amount of lubricant around the edges can help loosen it.
-
Utilize a Flat Tool: If the drain cover is a simple friction fit without screws, you can use a flat tool, such as a putty knife or flathead screwdriver, to carefully pry it up. Exercise caution to avoid damaging the cover or the surrounding area.
-
Lift and Remove the Cover: Once the cover is loosened, lift it gently to reveal the drain opening. Set the cover aside in a secure location, ensuring that it is placed away from the work area to prevent any accidental damage.
By successfully removing the drain cover, you have now gained access to the interior of the drain, setting the stage for the subsequent steps in the unclogging process. With the cover removed, you can proceed to address the underlying cause of the blockage, whether it's hair, soap scum, or other debris that has accumulated within the drain. This initial step is essential for facilitating thorough cleaning and effective unclogging, allowing you to proceed with confidence as you work to restore proper drainage to your bathtub.
Remember to handle the drain cover and any associated screws with care to prevent misplacement or damage. With the cover removed, you are now ready to move on to the next steps in the unclogging process, equipped with access to the interior of the drain and the ability to address the obstruction effectively.
Step 2: Clear the Hair and Debris
Once the drain cover has been removed, the next critical step in unclogging a bathtub drain is to clear the accumulated hair and debris that may be obstructing the flow of water. Hair, soap scum, and other particles can gradually build up within the drain, leading to blockages that impede proper drainage. By effectively clearing these obstructions, you can restore the drain's functionality and prevent future clogs.
Here's a detailed guide on how to clear the hair and debris from the bathtub drain:
-
Inspect the Drain: Take a close look into the drain opening to assess the extent of the blockage. Use a flashlight if necessary to illuminate the interior of the drain and identify any visible hair or debris that may be causing the obstruction.
-
Use a Bent Wire Hanger: Straighten out a wire coat hanger and create a small hook at one end. Carefully insert the hooked end into the drain and maneuver it to capture and pull out any hair or debris that is within reach. Dispose of the extracted material in a trash receptacle.
-
Employ a Drain Claw Tool: A drain claw tool, designed specifically for removing hair from drains, can be highly effective in capturing and extracting tangled hair strands. Insert the tool into the drain and rotate it to entangle and retrieve the trapped hair.
-
Consider a Zip-It Tool: Alternatively, a zip-it tool, featuring barbed edges, can be inserted into the drain to catch and pull out accumulated hair and debris. Gently maneuver the tool within the drain to dislodge and extract the obstructions.
-
Flush with Hot Water: After removing as much hair and debris as possible, flush the drain with hot water to help dislodge any remaining particles and clear the pathway. The hot water can help dissolve soap scum and facilitate the removal of residual obstructions.
By effectively clearing the hair and debris from the bathtub drain, you have taken a significant step toward restoring proper drainage and addressing the underlying cause of the clog. This proactive approach can help prevent future blockages and ensure that your bathtub remains free from obstructions, allowing for smooth and efficient water flow during each use. With the hair and debris cleared, you are now ready to proceed to the subsequent steps in the unclogging process, equipped with a clearer pathway for addressing the blockage effectively.
Step 3: Use a Plunger
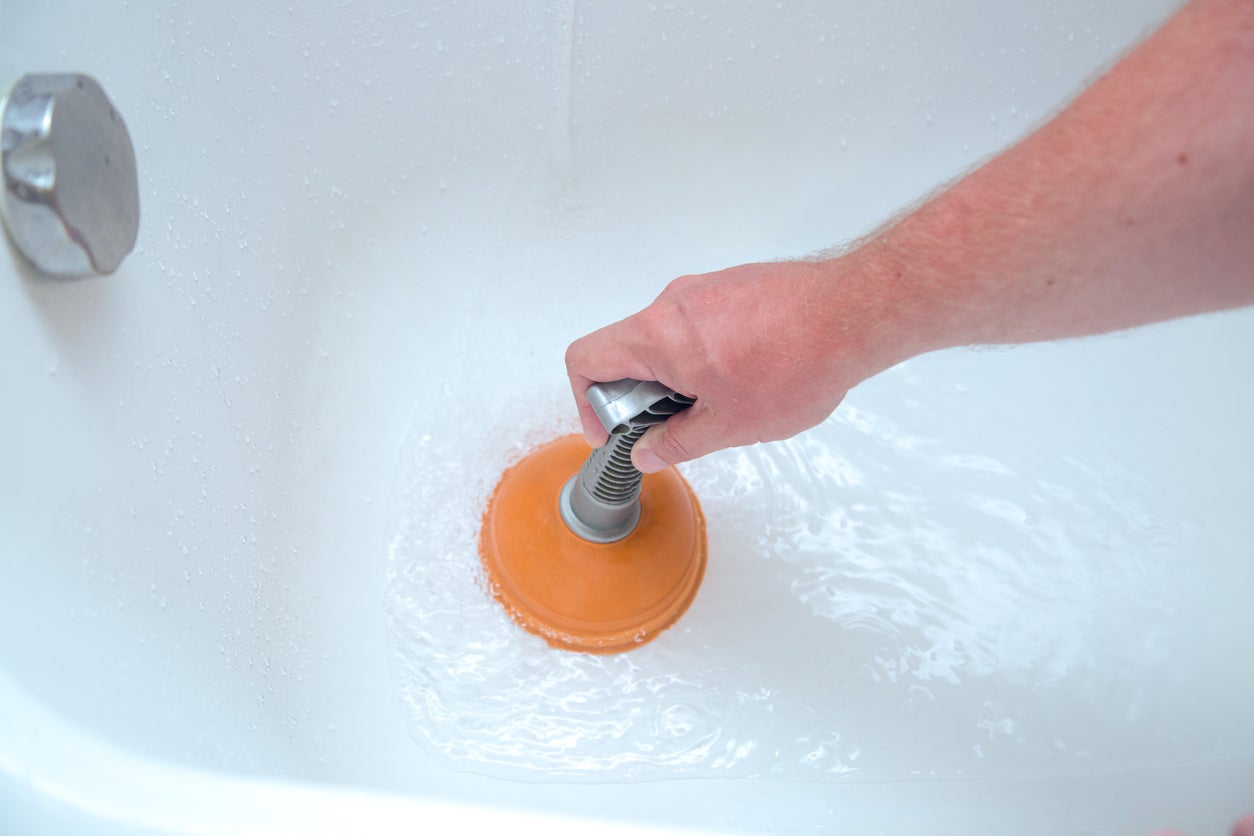
Using a plunger is a tried-and-true method for unclogging a bathtub drain. This versatile tool creates suction and pressure to dislodge obstructions, making it an effective option for addressing minor to moderate blockages. Here's a detailed guide on how to use a plunger to clear your bathtub drain:
-
Prepare the Plunger: Ensure that the cup of the plunger is clean and free from any debris. If the plunger has a removable flange, make sure it is in the extended position to create a better seal over the drain opening.
-
Create a Seal: Position the plunger over the drain opening, ensuring that it forms a tight seal. The rim of the plunger cup should be in contact with the surrounding surface of the bathtub to maximize suction.
-
Apply Firm Pressure: With the plunger in place, press down firmly to create a seal and then begin to push and pull in a rhythmic motion. This action helps to generate suction and pressure within the drain, dislodging the obstruction.
-
Repeat the Process: Continue plunging for several minutes, maintaining a consistent and vigorous motion. The goal is to create enough force to break up the clog and allow water to flow freely through the drain.
-
Test the Drain: After plunging, run water into the bathtub to test the drainage. If the water flows smoothly, the plunger has likely dislodged the obstruction. If the drain is still slow, repeat the plunging process to further clear the blockage.
Using a plunger can be an effective initial step in unclogging a bathtub drain, especially for minor blockages caused by hair and soap scum. By creating suction and pressure, the plunger helps to dislodge obstructions and restore proper drainage. If the plunger proves successful in clearing the drain, you can proceed to the next steps in the unclogging process with the satisfaction of having addressed the issue using a simple yet effective tool.
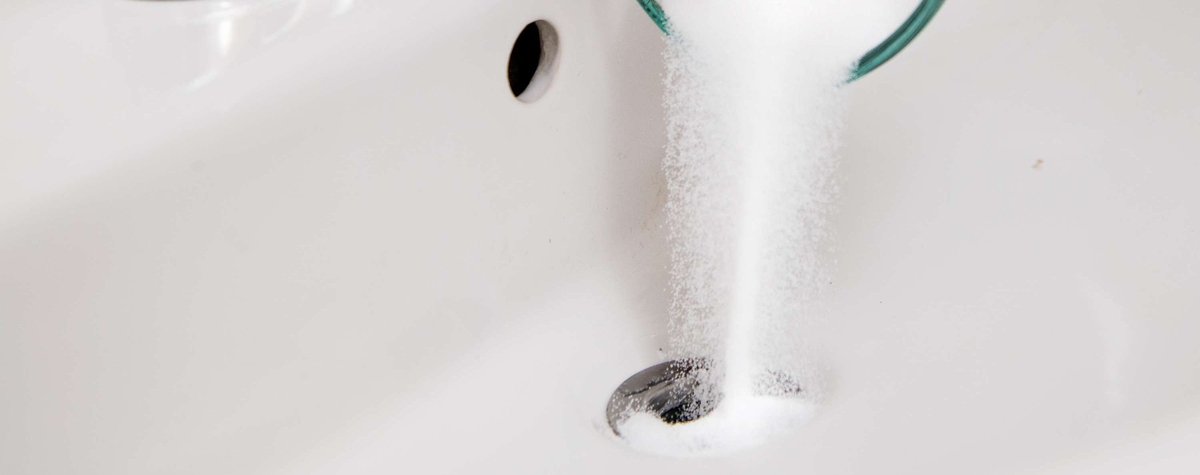
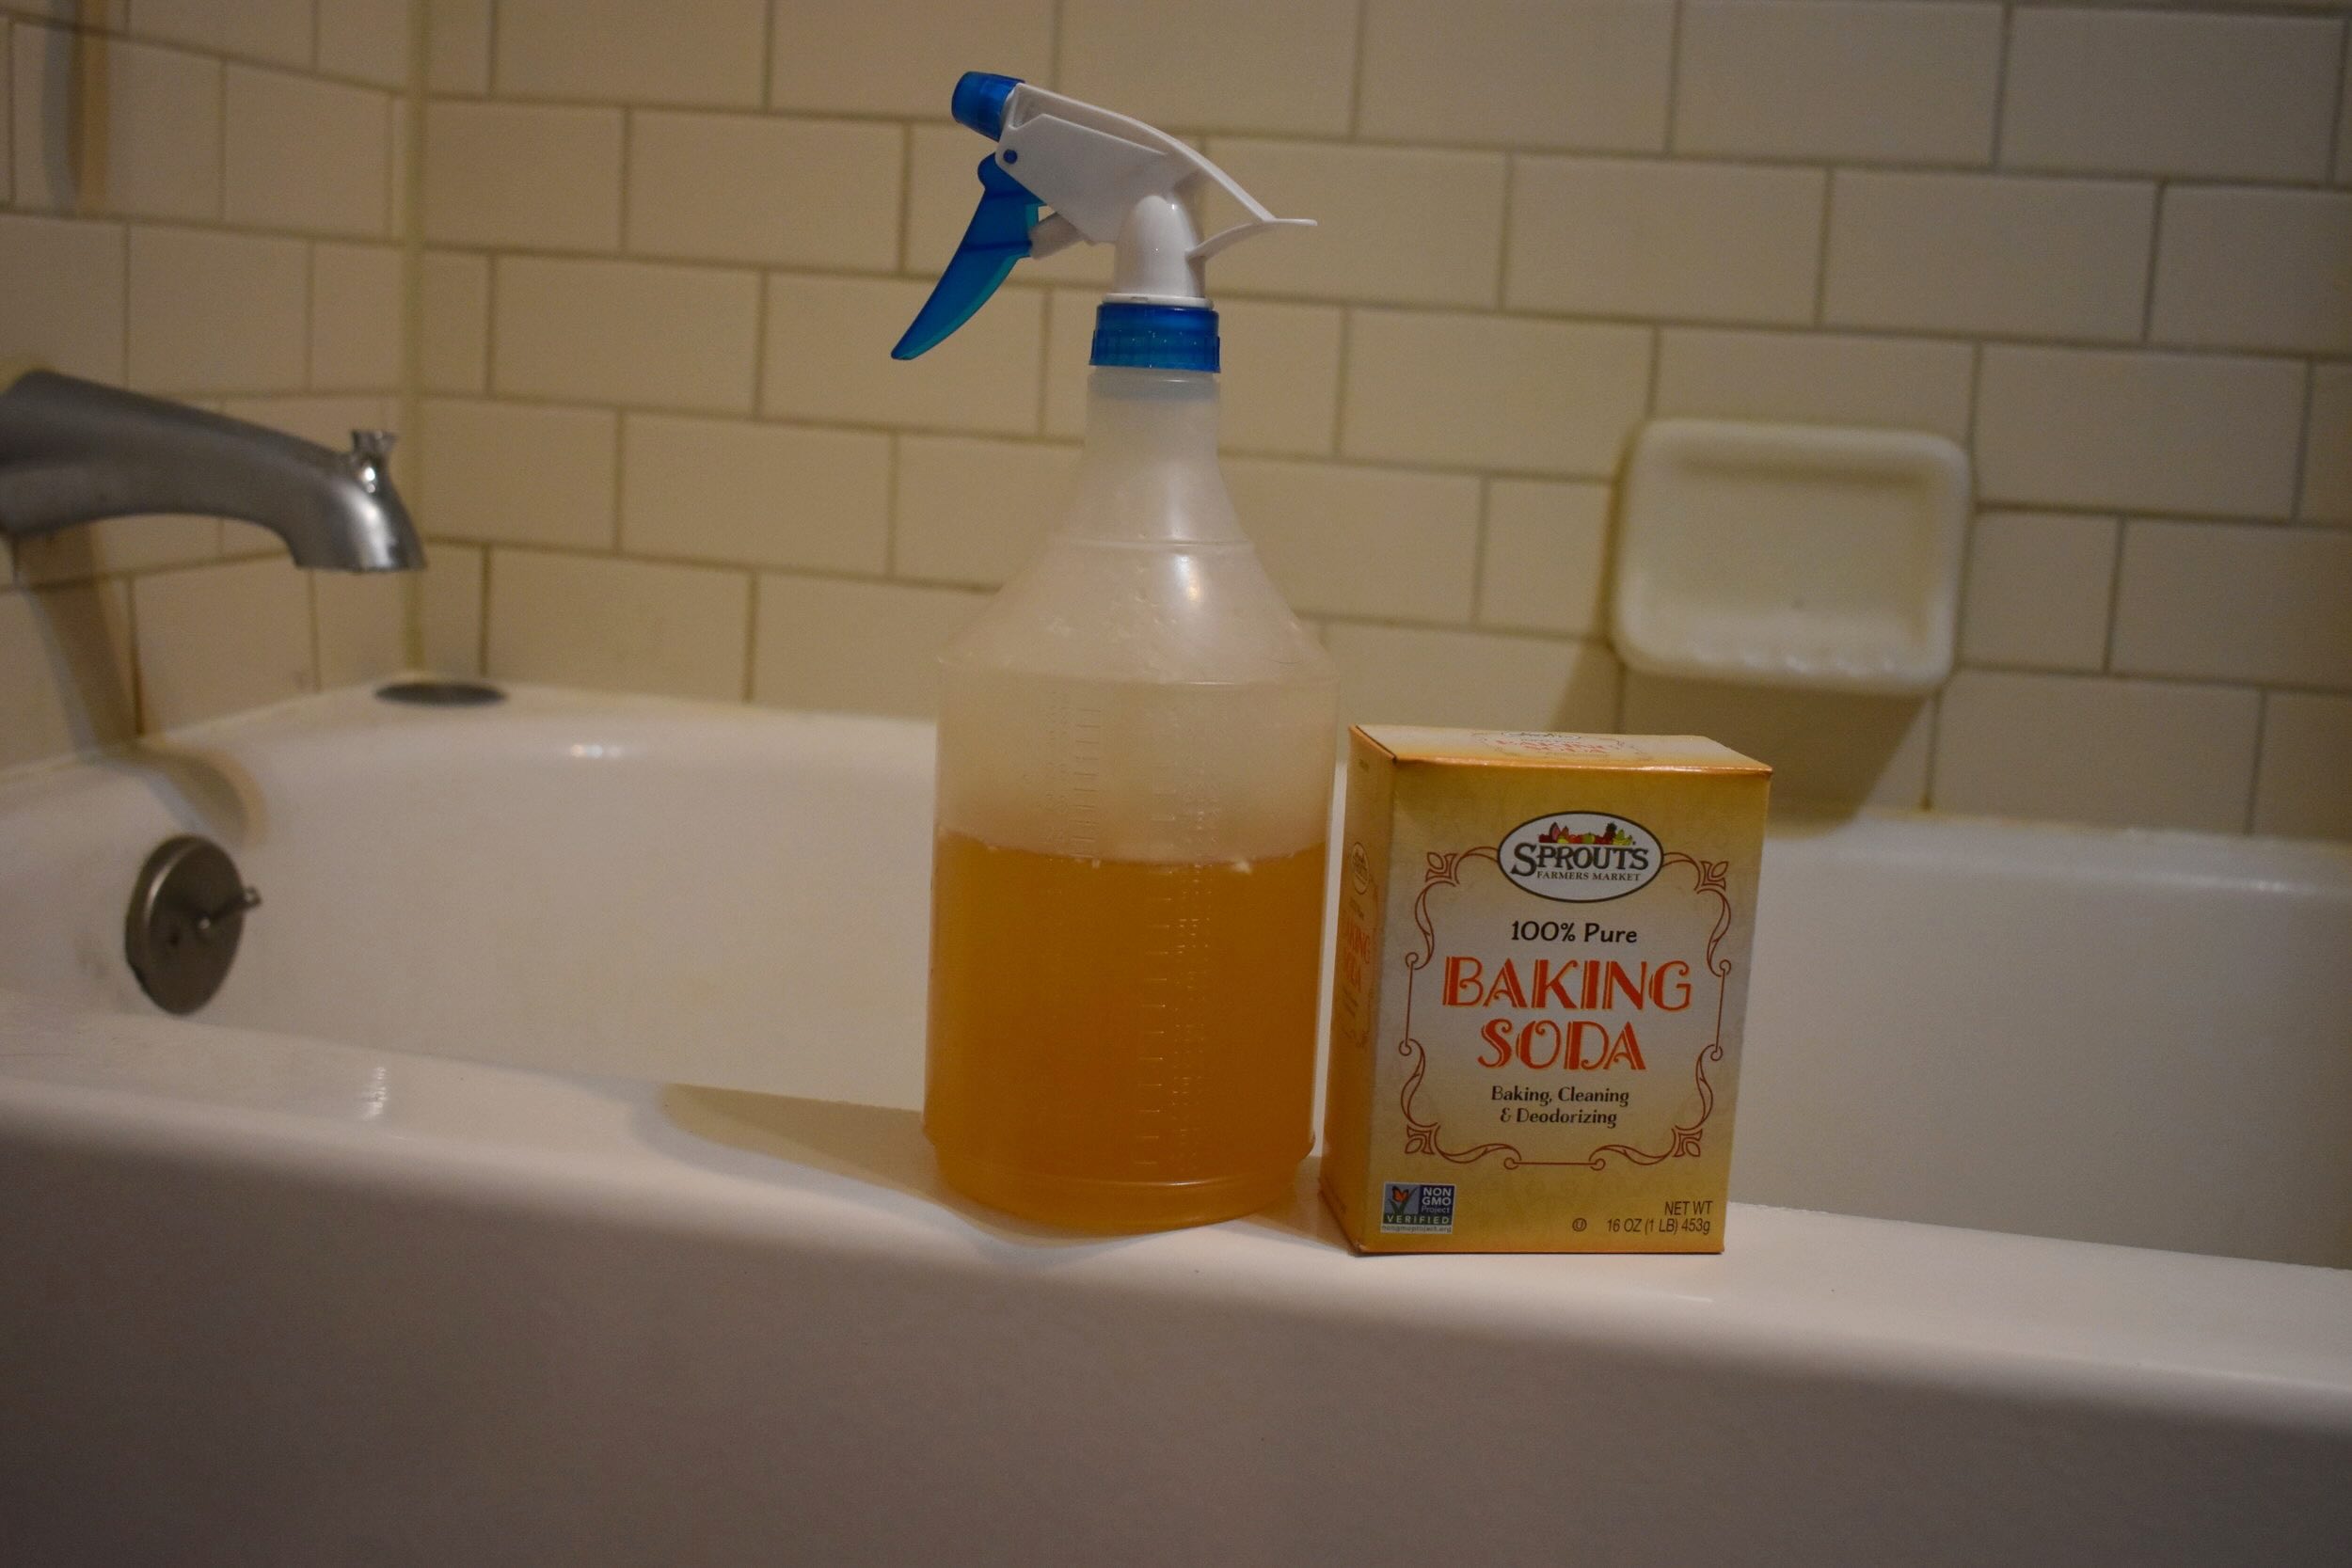
Use a mixture of baking soda and vinegar to unclog a bathtub drain. Pour the baking soda down the drain, followed by the vinegar. Let it sit for 15 minutes, then flush with hot water. Repeat if necessary.
Step 4: Try a Chemical Drain Cleaner
When traditional methods such as plunging and manual removal of debris prove ineffective in unclogging a bathtub drain, using a chemical drain cleaner can be considered as a next step. Chemical drain cleaners are formulated to dissolve organic matter, such as hair and soap scum, that may be contributing to the blockage. It's important to note that chemical drain cleaners contain powerful ingredients and should be used with caution, following the manufacturer's instructions carefully.
Here's a detailed guide on how to use a chemical drain cleaner to address a stubborn bathtub drain clog:
-
Select a Suitable Product: Choose a chemical drain cleaner specifically designed for clearing bathtub drains. These products are formulated to target the types of obstructions commonly found in bathroom drains, making them effective for addressing hair and soap scum buildup.
-
Read and Follow Instructions: Before using the chemical drain cleaner, carefully read the instructions provided by the manufacturer. Pay close attention to safety precautions, application guidelines, and recommended wait times. It's essential to follow the instructions to ensure safe and effective use of the product.
-
Protective Gear: Prior to applying the chemical drain cleaner, put on a pair of rubber gloves and, if recommended by the manufacturer, wear safety goggles to protect your skin and eyes from potential contact with the product.
-
Application: Pour the recommended amount of the chemical drain cleaner directly into the bathtub drain. Ensure that the product is applied as directed, and avoid splashing or spilling onto surrounding surfaces. It's important to use the appropriate quantity to allow the cleaner to effectively reach and dissolve the obstruction.
-
Wait and Rinse: Allow the chemical drain cleaner to work for the specified duration, as indicated in the instructions. During this time, it's advisable to keep the bathroom well-ventilated. Once the recommended wait time has elapsed, flush the drain with hot water to help wash away the dissolved debris and residual cleaner.
-
Monitor and Repeat if Necessary: After applying the chemical drain cleaner, observe the drainage to determine if the blockage has been cleared. If the drain is still slow or obstructed, consider repeating the application process, following the manufacturer's guidelines for additional treatments.
Using a chemical drain cleaner can be an effective solution for addressing persistent bathtub drain clogs caused by organic matter. However, it's important to exercise caution and use these products responsibly, following the provided instructions and safety precautions. If the chemical drain cleaner successfully clears the blockage, you can proceed with confidence, knowing that you have effectively addressed the issue and restored proper drainage to your bathtub.
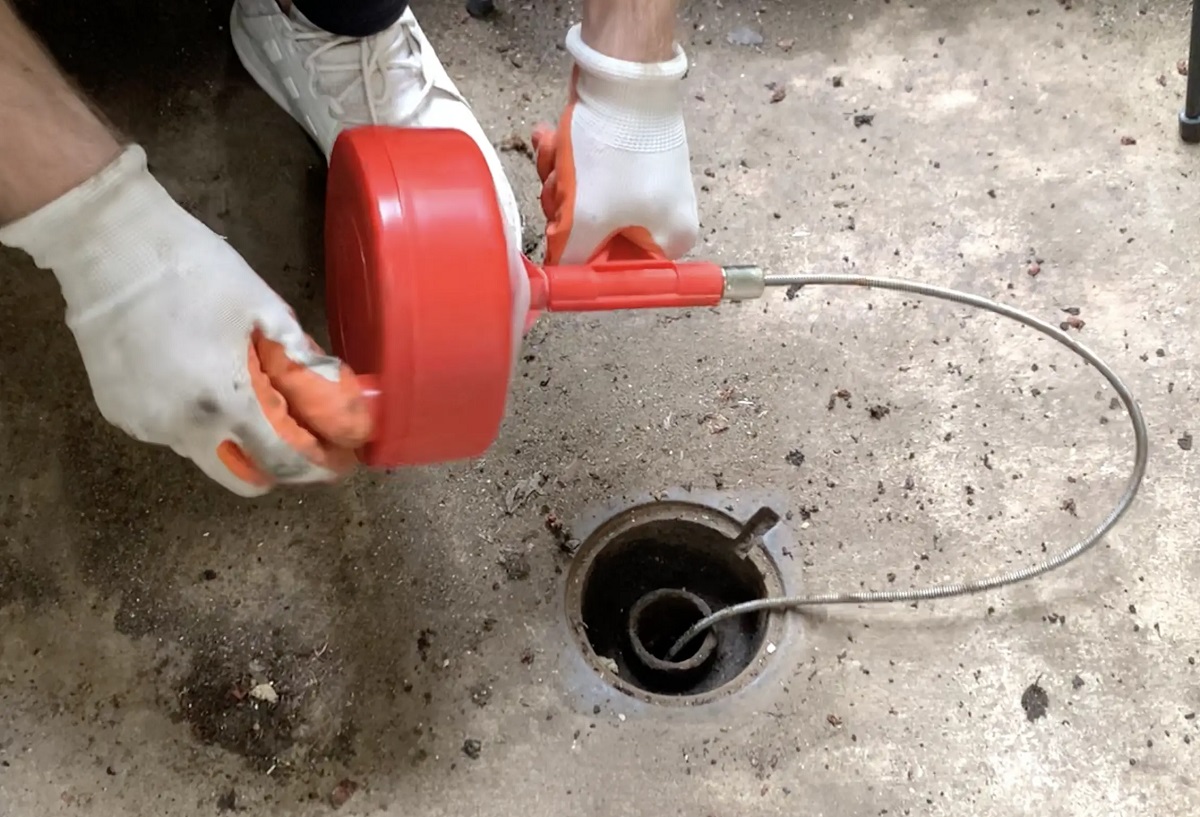
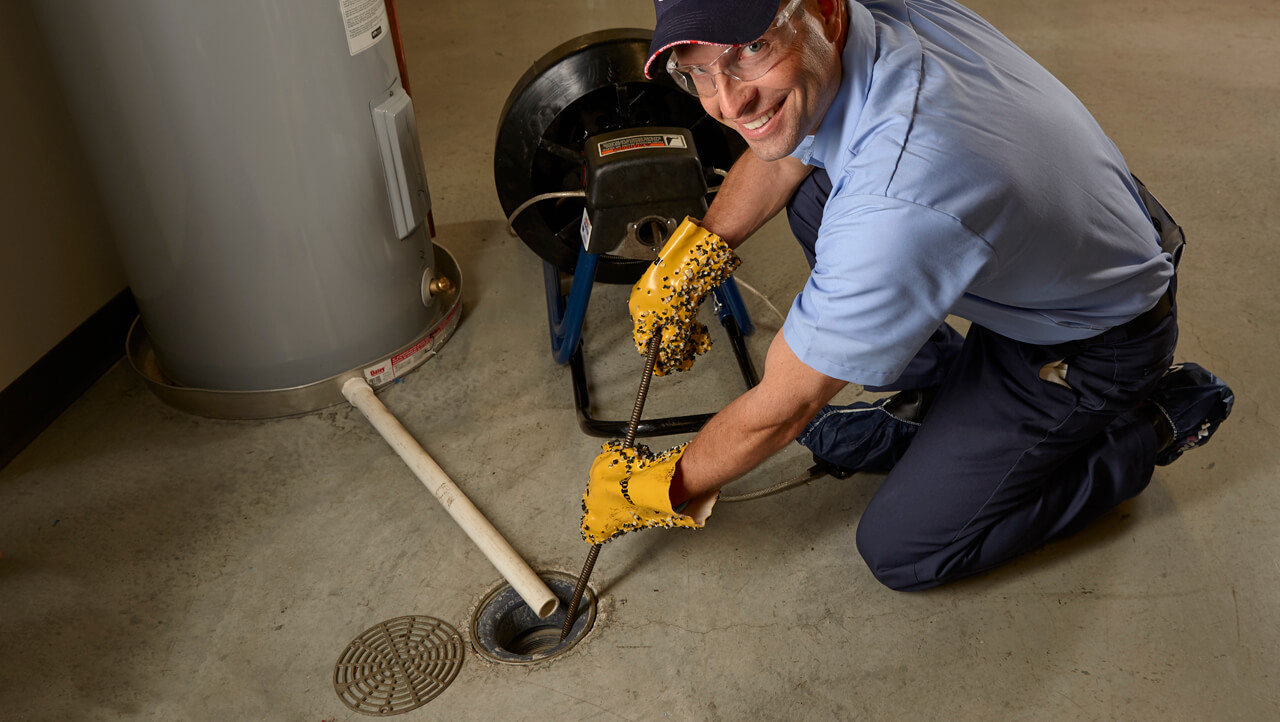
Step 5: Use a Plumbing Snake
When traditional methods such as plunging and chemical drain cleaners fail to clear a stubborn bathtub drain clog, using a plumbing snake, also known as a drain auger, can be an effective next step. This flexible, coiled wire tool is designed to navigate through the drain and break up or retrieve obstructions that may be causing the blockage. Here's a detailed guide on how to use a plumbing snake to address a persistent bathtub drain clog:
-
Prepare the Plumbing Snake: Before using the plumbing snake, extend the coil to its full length, ensuring that it is long enough to reach the depth of the bathtub drain. If the snake has a handle, ensure that it is securely attached and ready for operation.
-
Insert the Snake into the Drain: Carefully guide the end of the plumbing snake into the bathtub drain opening, ensuring that it advances smoothly without causing damage to the drain or surrounding surfaces. Slowly feed the snake into the drain, maintaining a steady and controlled movement.
-
Rotate and Maneuver the Snake: Once the snake has been inserted into the drain, begin to rotate and maneuver it using the handle or crank mechanism. This action helps the snake to navigate through the drain, encountering and breaking up any obstructions that may be causing the clog.
-
Encounter and Break Up Obstructions: As the plumbing snake advances through the drain, it may encounter resistance or obstacles. Continue to rotate and maneuver the snake to effectively break up or retrieve the obstructions, allowing the pathway to be cleared for proper water flow.
-
Retrieve the Snake and Obstructions: After navigating the snake through the drain, carefully retract it, ensuring that any dislodged obstructions are brought back up through the drain opening. Dispose of the extracted debris in a suitable manner, such as placing it in a trash receptacle.
-
Flush the Drain: Once the plumbing snake has been used to address the blockage, flush the drain with hot water to help clear any remaining debris and ensure that the pathway is fully open for water flow.
Using a plumbing snake can be an effective method for addressing persistent bathtub drain clogs, especially when traditional approaches have proven ineffective. By navigating through the drain and breaking up or retrieving obstructions, the plumbing snake helps to restore proper drainage and prevent future blockages. If the plumbing snake successfully clears the blockage, you can proceed with confidence, knowing that you have effectively addressed the issue and restored optimal functionality to your bathtub drain.
Step 6: Test the Drain
After employing various methods to unclog your bathtub drain, it's crucial to test the drain to ensure that the blockage has been effectively cleared. Testing the drain allows you to verify that water flows freely and that the obstruction has been successfully addressed. Here's a detailed guide on how to test the drain and confirm that your efforts have yielded positive results:
-
Run Hot Water: Start by running hot water into the bathtub to observe the drainage. The hot water helps to flush out any remaining debris and provides a clear indication of the drain's functionality. As the water flows, pay attention to the speed and consistency of drainage, noting any signs of lingering blockages.
-
Observe the Flow: Watch the water as it drains from the bathtub. Ideally, it should flow smoothly and steadily without backing up or pooling around the drain. Observe the rate at which the water empties from the tub, looking for any signs of slow or impeded drainage.
-
Listen for Gurgling: While the water is draining, listen for any gurgling or unusual sounds emanating from the drain. Gurgling noises can indicate the presence of residual obstructions or air pockets within the plumbing system, signaling that further attention may be needed to fully clear the drain.
-
Check for Standing Water: Once the water has fully drained from the bathtub, inspect the drain and surrounding area for any signs of standing water. Standing water can indicate incomplete drainage and may suggest that the blockage has not been fully resolved.
-
Repeat if Necessary: If the initial test reveals lingering issues with drainage, consider repeating the unclogging process using the previously mentioned methods. Address any remaining obstructions or blockages to ensure that the drain functions optimally.
By testing the drain after attempting to unclog it, you can confirm the success of your efforts and address any remaining issues that may impede proper drainage. A thorough and effective unclogging process ensures that your bathtub drain functions as intended, allowing for a seamless and enjoyable bathing experience. With the drain successfully tested and any lingering blockages addressed, you can rest assured that your bathtub is ready for regular use, free from the inconvenience of clogs and slow drainage.
Conclusion
In conclusion, successfully unclogging a bathtub drain is a rewarding accomplishment that restores functionality to an essential fixture in your home. By following the comprehensive steps outlined in this guide, you have gained valuable insights into the methods and tools used to address common bathtub drain blockages. From removing the drain cover to testing the drain after unclogging, each step plays a crucial role in restoring optimal drainage and preventing future clogs.
Throughout the unclogging process, you have demonstrated resourcefulness and determination, utilizing a range of techniques to address the obstruction. Whether it was clearing hair and debris, using a plunger, employing a chemical drain cleaner, or navigating the drain with a plumbing snake, your proactive approach has led to a successful outcome. By testing the drain and ensuring that water flows freely, you have confirmed the effectiveness of your efforts, allowing you to enjoy a fully functional bathtub once again.
It's important to note that regular maintenance and preventive measures can help minimize the occurrence of future drain clogs. Simple practices such as using a drain strainer to catch hair and debris, periodically flushing the drain with hot water, and avoiding the buildup of soap scum can contribute to the long-term health of your bathtub drain. By incorporating these preventive measures into your routine, you can reduce the likelihood of encountering stubborn clogs and maintain optimal drainage in your bathroom.
As you reflect on your successful unclogging endeavor, take pride in your ability to address a common household challenge with confidence and skill. Your proactive approach has not only resolved the immediate issue but has also equipped you with valuable knowledge and experience for future maintenance tasks. By taking ownership of your home's plumbing maintenance, you can save time and resources while ensuring that your living spaces remain comfortable and functional.
With a clear understanding of the unclogging process and the tools at your disposal, you are well-prepared to tackle similar challenges in the future, should they arise. By maintaining a proactive and informed approach to home maintenance, you can continue to enjoy the comfort and convenience of a well-functioning bathroom, free from the disruptions caused by drain blockages.
In closing, the successful unclogging of your bathtub drain is a testament to your resourcefulness and determination. By following the steps outlined in this guide and embracing preventive measures, you have taken proactive steps to maintain the functionality of an essential fixture in your home. With your newfound knowledge and skills, you are well-equipped to address similar challenges and ensure the ongoing efficiency of your plumbing systems.
Frequently Asked Questions about How Unclog Bathtub Drain
Was this page helpful?
At Storables.com, we guarantee accurate and reliable information. Our content, validated by Expert Board Contributors, is crafted following stringent Editorial Policies. We're committed to providing you with well-researched, expert-backed insights for all your informational needs.


0 thoughts on “How Unclog Bathtub Drain”