Articles
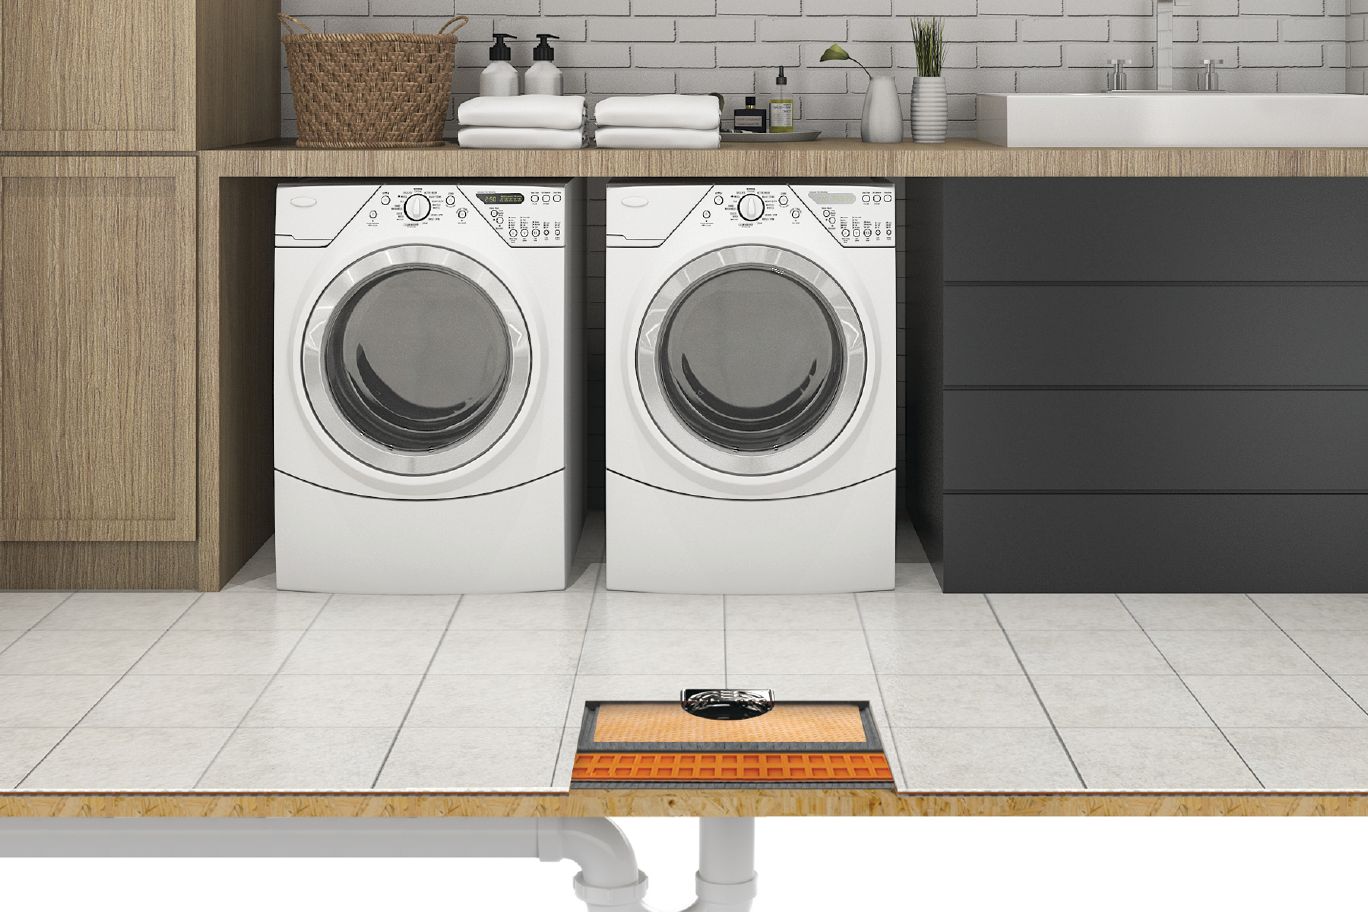
How To Unclog A Floor Drain
Modified: October 19, 2024
Learn the step-by-step process of unclogging a floor drain with our informative articles. Find effective solutions and helpful tips to keep your drains clean and flowing smoothly.
(Many of the links in this article redirect to a specific reviewed product. Your purchase of these products through affiliate links helps to generate commission for Storables.com, at no extra cost. Learn more)
Introduction
Dealing with a clogged floor drain can be a frustrating and unpleasant experience. A clogged drain not only prevents proper water drainage but can also cause unpleasant odors and potential damage to your home. Fortunately, with a few simple tools and some troubleshooting techniques, you can easily unclog a floor drain and restore its functionality.
In this article, we will guide you through the step-by-step process of unclogging a floor drain. From identifying the cause of the clog to using the right tools, we will provide you with the necessary information to tackle this common household issue.
Before we begin, it’s important to note that safety should always be your top priority. Ensure you wear gloves and take necessary precautions to protect yourself from any potential hazards, especially if you will be dealing with standing water or using chemicals.
So, let’s dive in and learn how to unclog a floor drain effectively!
Key Takeaways:
- Don’t let a clogged floor drain ruin your day! With the right tools and techniques, you can easily unclog it using a plunger, drain snake, and simple household items like vinegar and baking soda.
- Regular maintenance and periodic cleaning are key to preventing future clogs in your floor drain. Keep it clear by removing debris from the drain cover and flushing it with hot water.
Read more: How To Unclog Freezer Drain
Tools and Materials Needed
Before you start unclogging a floor drain, it’s important to gather the necessary tools and materials. Having the right equipment on hand will help make the process smoother and more efficient. Here’s a list of tools and materials you will need:
- A pair of rubber gloves: Protect your hands from any dirt, grime, or chemicals.
- A bucket: Use a bucket to collect any standing water or debris that you remove from the drain.
- A plunger: A plunger is a versatile tool that can help dislodge minor clogs by creating suction.
- A drain snake: Also known as a drain auger, this tool is used to break up and remove stubborn clogs that a plunger cannot handle.
- A screwdriver: You may need a screwdriver to remove the drain cover or access the drain trap.
- A flashlight: A flashlight will come in handy to help you see into the drain and identify any potential obstructions.
- A wire brush or pipe brush: Use a wire brush or pipe brush to clean the drain trap and remove any accumulated debris.
- White vinegar and baking soda: These household items can be used as a natural alternative to chemical drain cleaners.
Having these tools and materials readily available will ensure that you are adequately equipped to handle any type of floor drain clog.
Step 1: Determine the Cause of the Clog
Before you can effectively unclog a floor drain, it’s important to identify the underlying cause of the blockage. This step will help you determine the most appropriate method for unclogging the drain. Here’s how you can determine the cause of the clog:
- Observe the drainage: Start by checking if the floor drain is the only drain that is experiencing slow drainage or if multiple drains in your home are affected. If the problem is isolated to the floor drain, it’s likely that the clog is located in the drain pipe, trap, or immediate vicinity.
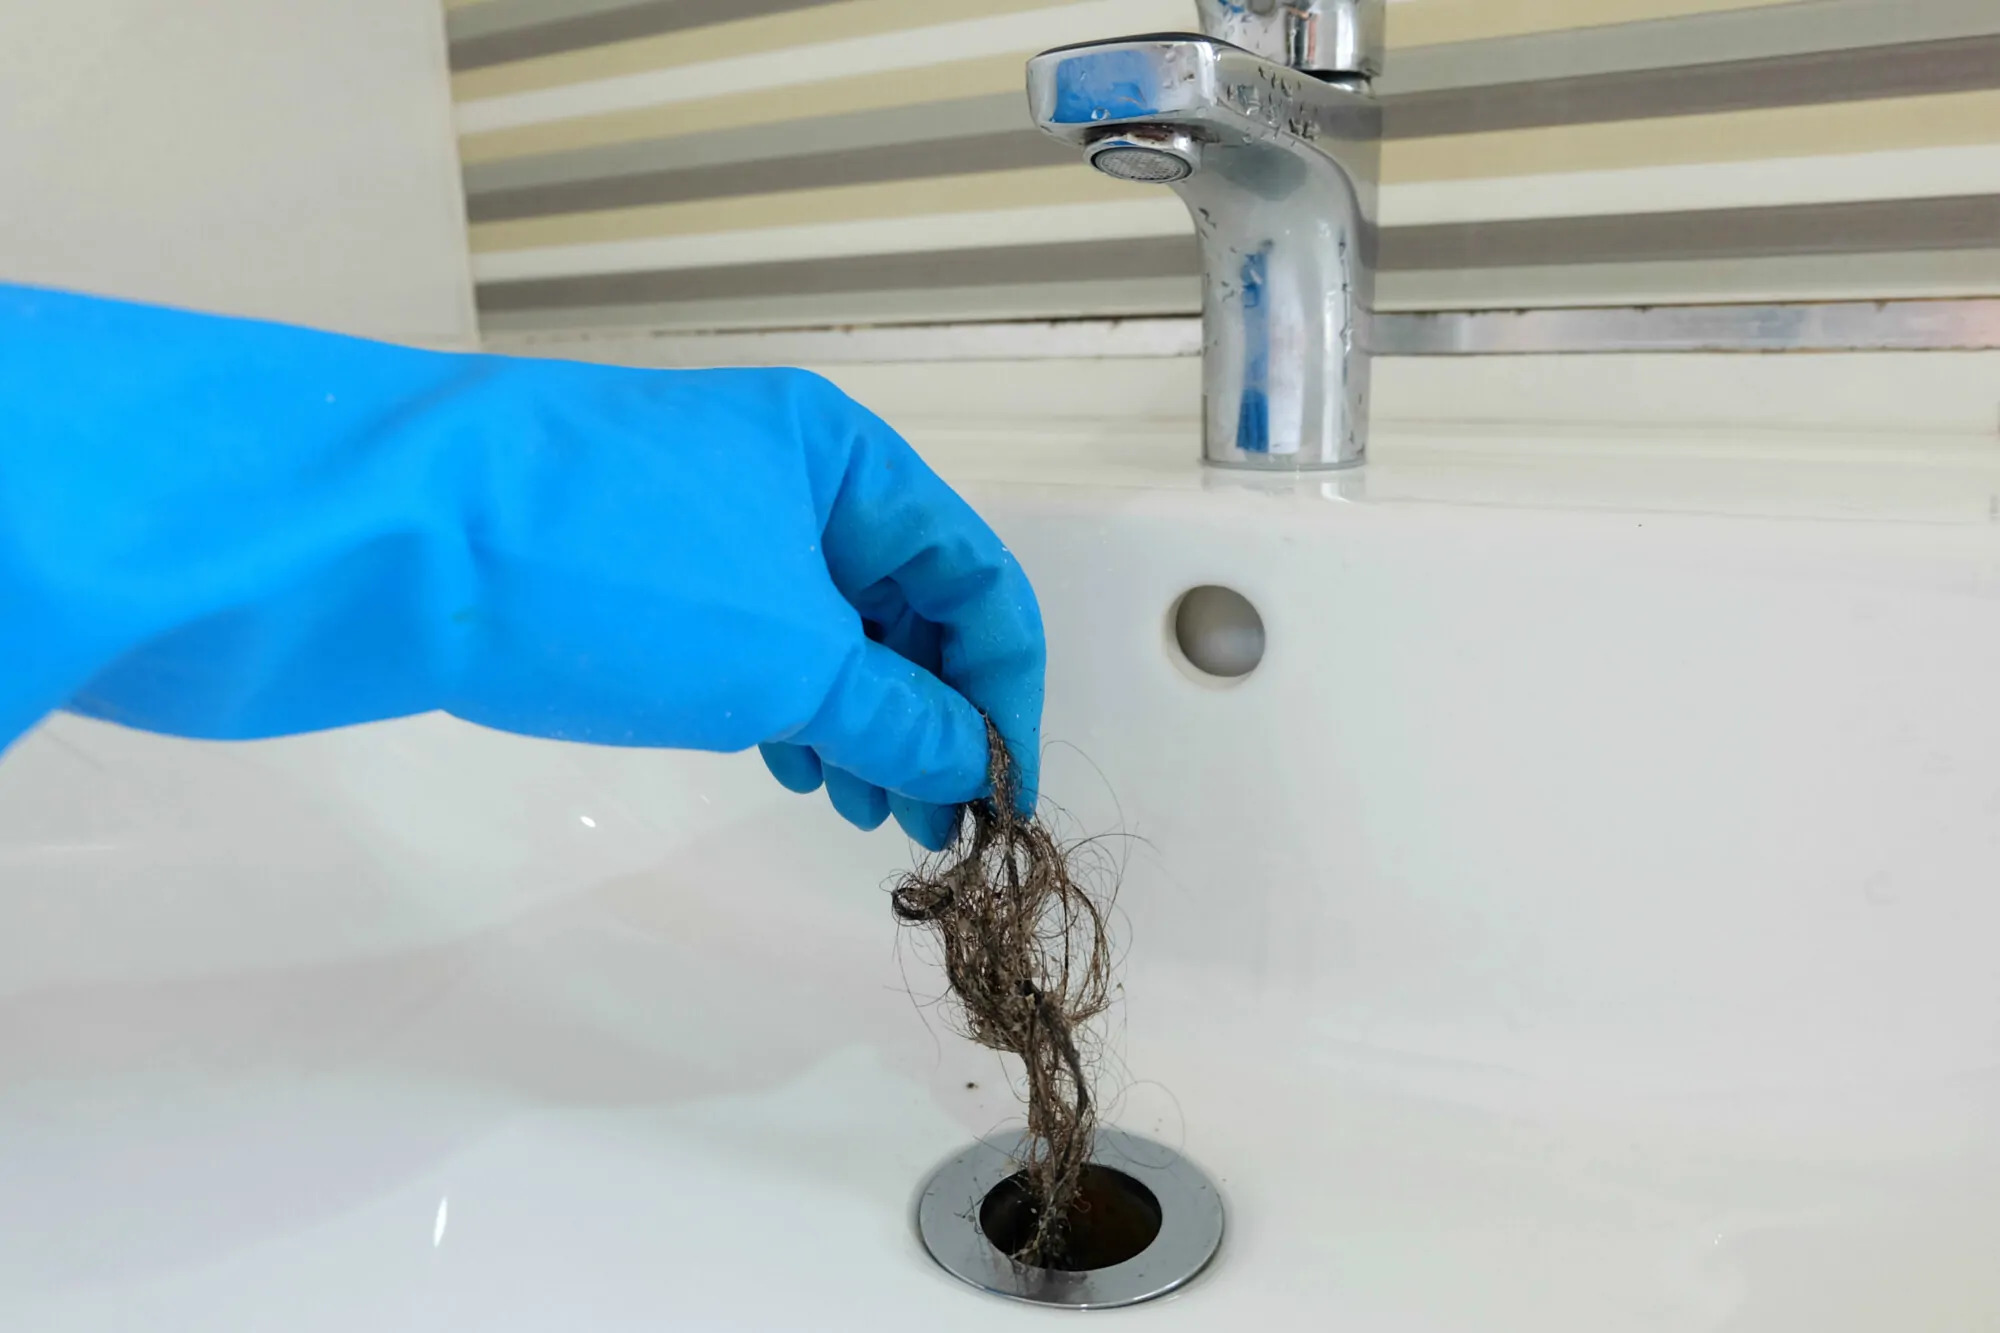
- Inspect the drain cover: Remove the drain cover and visually inspect it for any hair, debris, or other visible obstructions. Sometimes, these items can accumulate around the edges of the drain cover, causing partial blockage.
- Check for standing water: If there is standing water in the drain, it suggests that the clog is more severe and may require additional steps to remove.
- Listen for gurgling sounds: If you hear gurgling sounds when water is draining from other fixtures in your home, it may be an indication of a venting issue. A venting issue can cause slow drainage or complete blockage in your floor drain.
- Consider recent activities: Think about any recent activities that may have contributed to the clog. For example, if you have recently done any renovations or if there has been a lot of hair or debris washed down the drain, it can help you narrow down the cause of the clog.
By taking the time to determine the cause of the clog, you can better understand the nature of the blockage and select the appropriate method to unclog your floor drain. In the next step, we will discuss how to remove any standing water from the drain.
Step 2: Remove Standing Water
Before you can effectively unclog a floor drain, it’s important to remove any standing water from the drain. Standing water can make it difficult to assess the extent of the clog and can also cause additional complications. Here’s how you can remove standing water from your floor drain:
- Put on a pair of rubber gloves to protect your hands from any debris or potential contaminants in the water.
- Place a bucket or container beneath the drain to catch any water that is about to overflow.
- If the water level is low, you can simply use a cup or a small container to scoop out the water and transfer it to the bucket.
- If the water level is high, you may need to use a wet-dry vacuum to suck out the water. Insert the vacuum hose into the drain and turn on the vacuum to remove the water.
- Once the standing water has been removed, dispose of it appropriately, following your local regulations.
Removing the standing water will make it easier to access the clog and prevent any potential mess while you work on unclogging the drain. Now that the standing water has been taken care of, let’s move on to the next step of the process: removing the drain cover.
Step 3: Remove the Drain Cover
Once the standing water has been removed, it’s time to remove the drain cover. Removing the drain cover will provide you with better access to the drainpipe and allow you to inspect and unclog the drain more effectively. Here’s how you can remove the drain cover:
- Inspect the drain cover: Take a close look at the drain cover and check for any screws or fasteners holding it in place. Some drain covers may have visible screws that need to be unscrewed, while others may be held in place by pressure or latches.
- If there are screws, use a screwdriver to loosen and remove them. Place the screws in a safe place where they won’t get lost.
- If the drain cover is held in place by pressure or latches, insert a flathead screwdriver or a similar tool into the slots or grooves around the edges of the cover. Gently pry the cover up until it comes loose.
- Once the drain cover is loose, lift it out of the drain opening and set it aside. Be cautious as some drain covers may be heavy or have sharp edges.
With the drain cover removed, you now have a clear view of the drainpipe and can proceed with the next steps to unclog the floor drain. In the next step, we will discuss the use of a plunger to dislodge the clog.
Read more: How To Unclog Dishwasher Drain
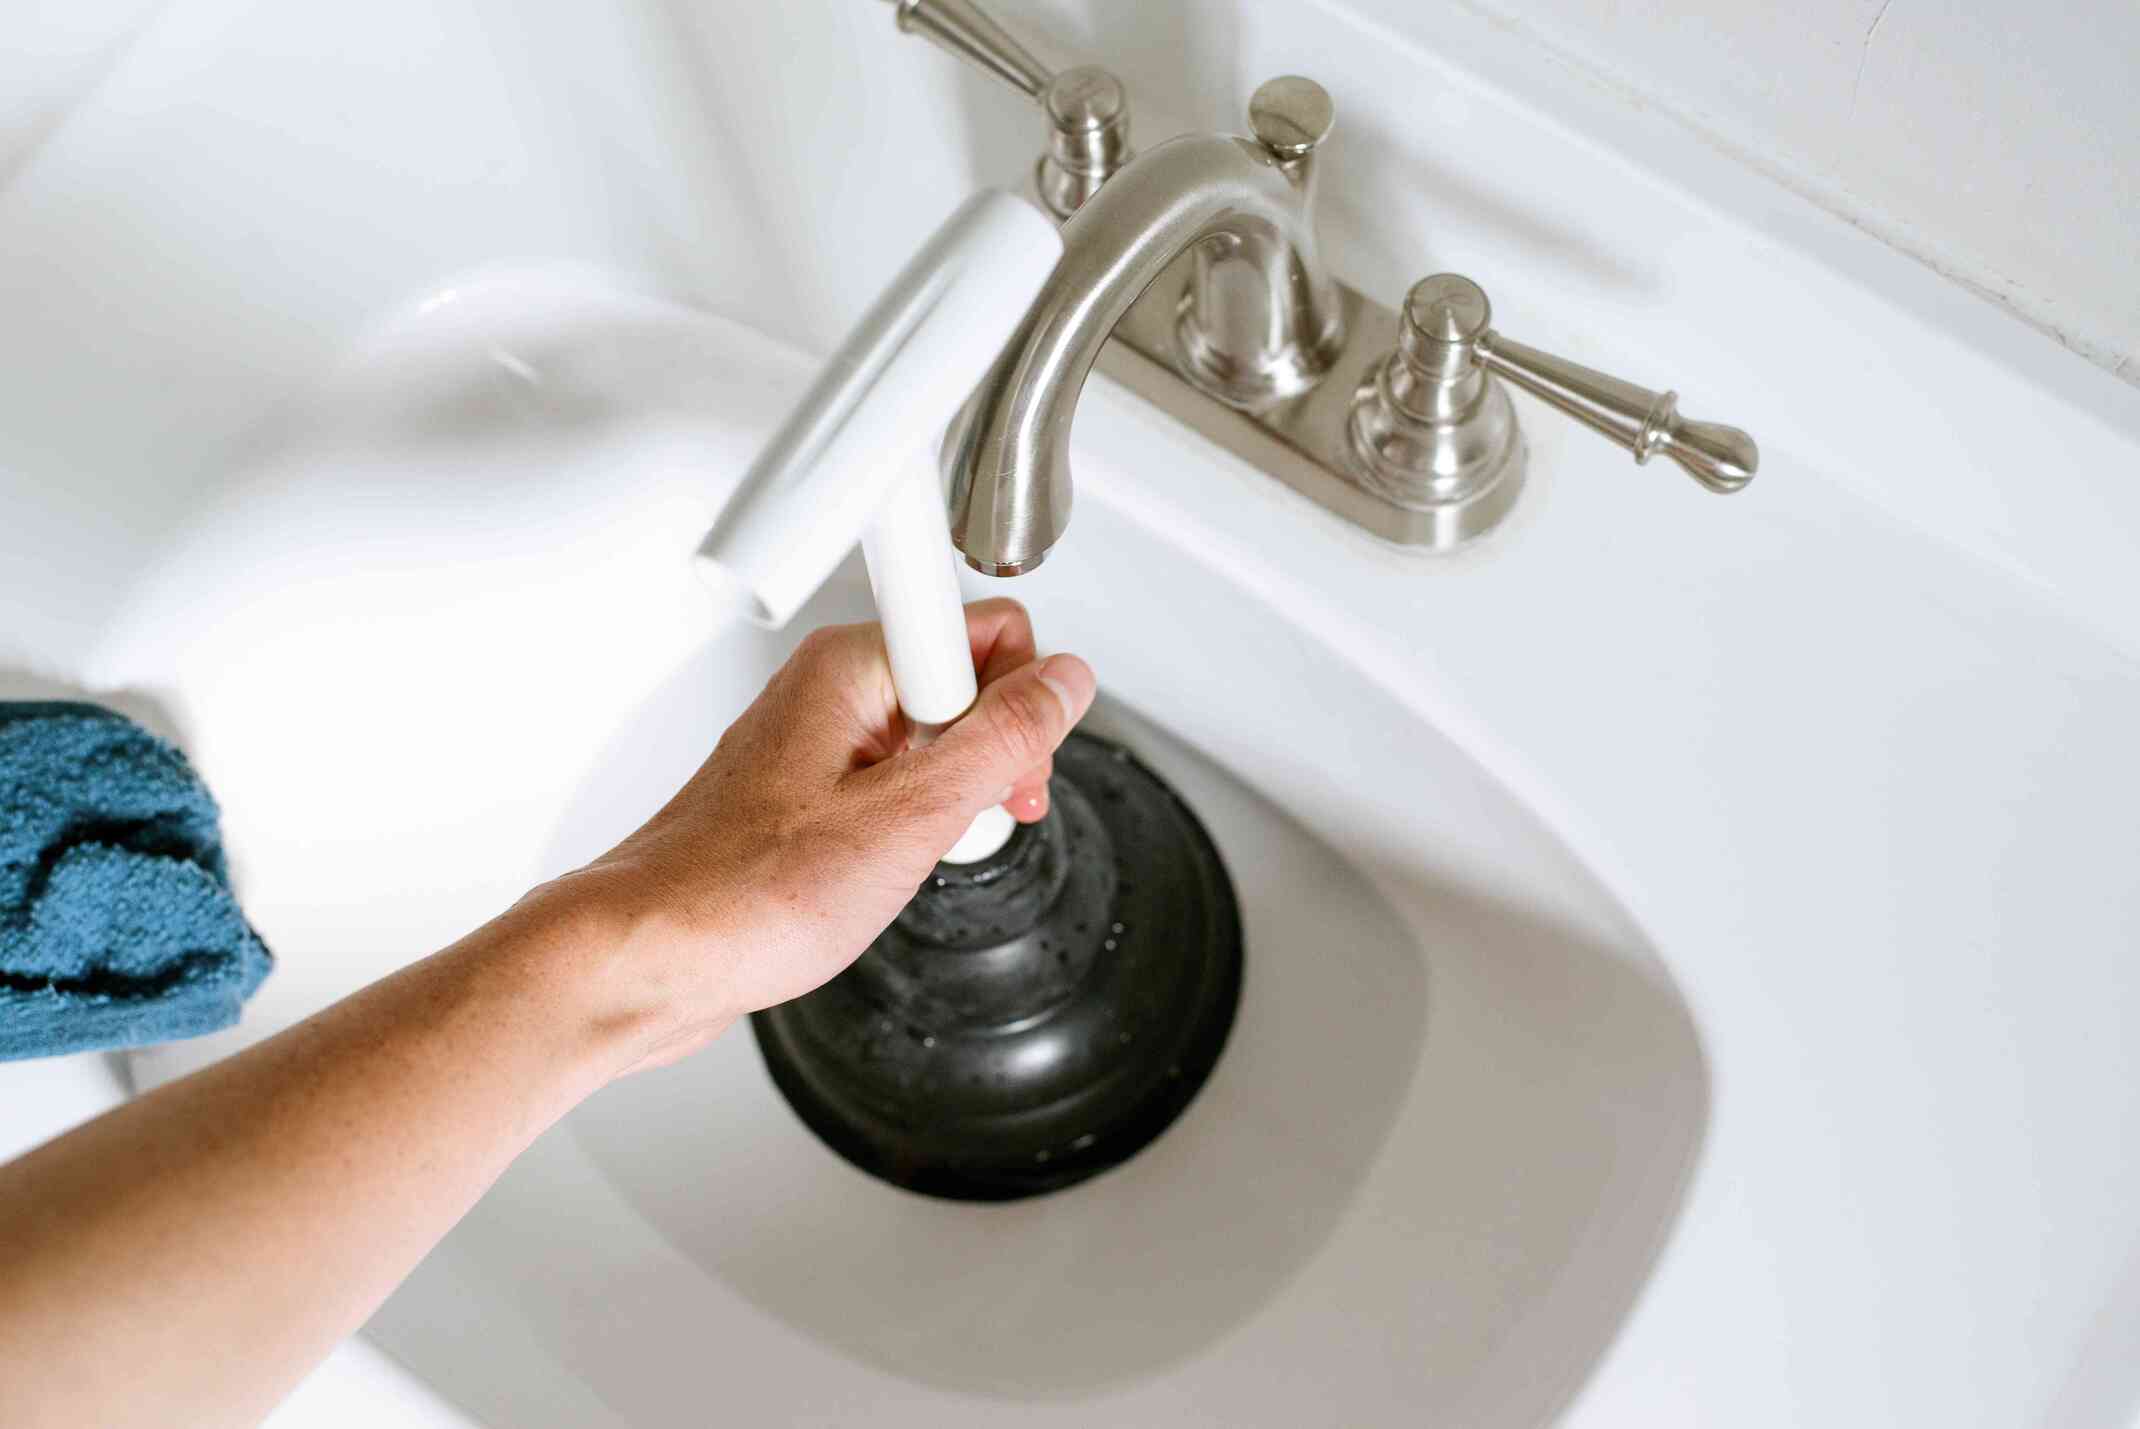
Step 4: Use a Plunger
Using a plunger is a tried-and-true method for unclogging drains, and it can be particularly effective for smaller clogs in floor drains. The suction created by the plunger can help dislodge the obstruction and restore normal drainage. Here’s how you can use a plunger to unclog a floor drain:
- Ensure there is enough water in the drain to create a seal. If the drain is completely dry, pour some water into the drain to cover the bottom.
- Place the plunger over the drain opening and ensure that it covers the entire surface, creating a complete seal.
- With one hand, hold the plunger’s handle firmly, and with the other hand, apply downward pressure and start plunging vigorously. Use a push-and-pull motion, keeping the plunger in contact with the drain opening at all times.
- Plunge for about 20-30 seconds, then quickly pull the plunger up to break the suction. Repeat the plunging motion several times to create a strong force that can dislodge the clog.
- After a few minutes of plunging, remove the plunger and check if the water starts draining properly. If the drain is still clogged, proceed to the next step.
If the plunger doesn’t effectively clear the clog or if the water is not draining at all, it’s time to move on to the next method – using a drain snake. In the following step, we will explain how to use a drain snake to tackle more stubborn clogs.
Use a plunger to try and dislodge the clog in the floor drain. Make sure to cover any nearby drains to create a strong seal, and then plunge vigorously to help clear the blockage.
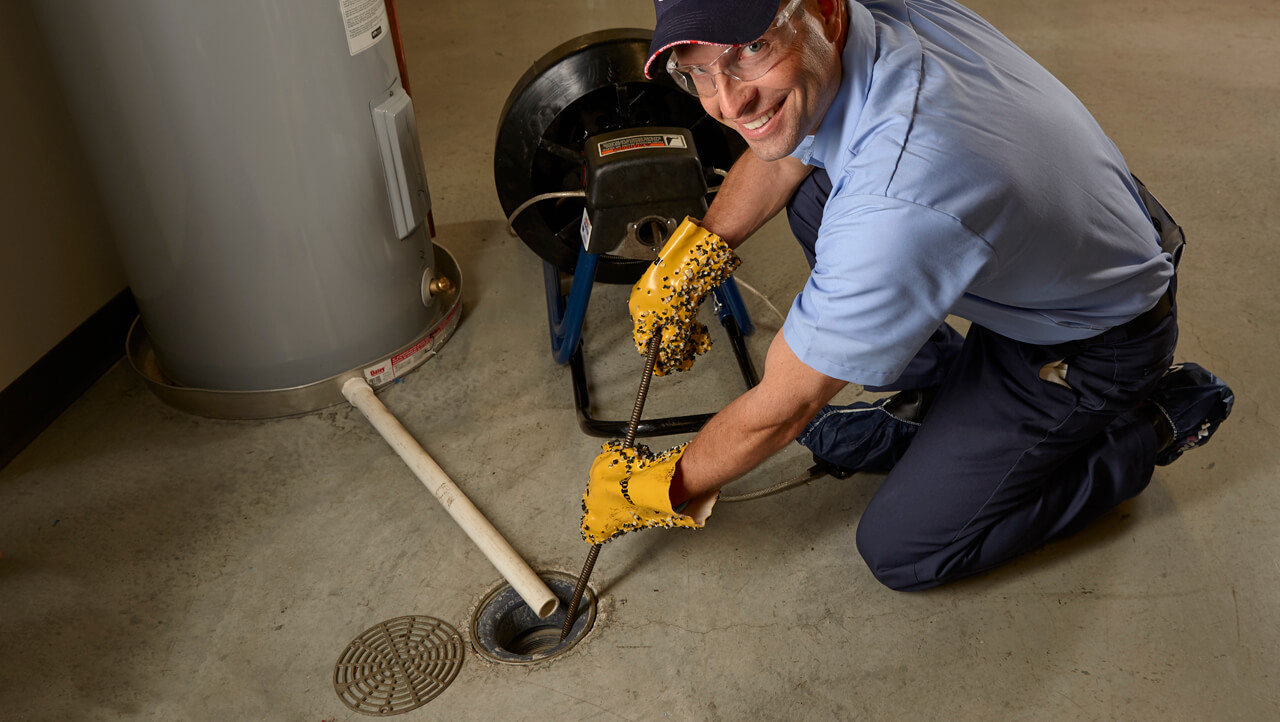
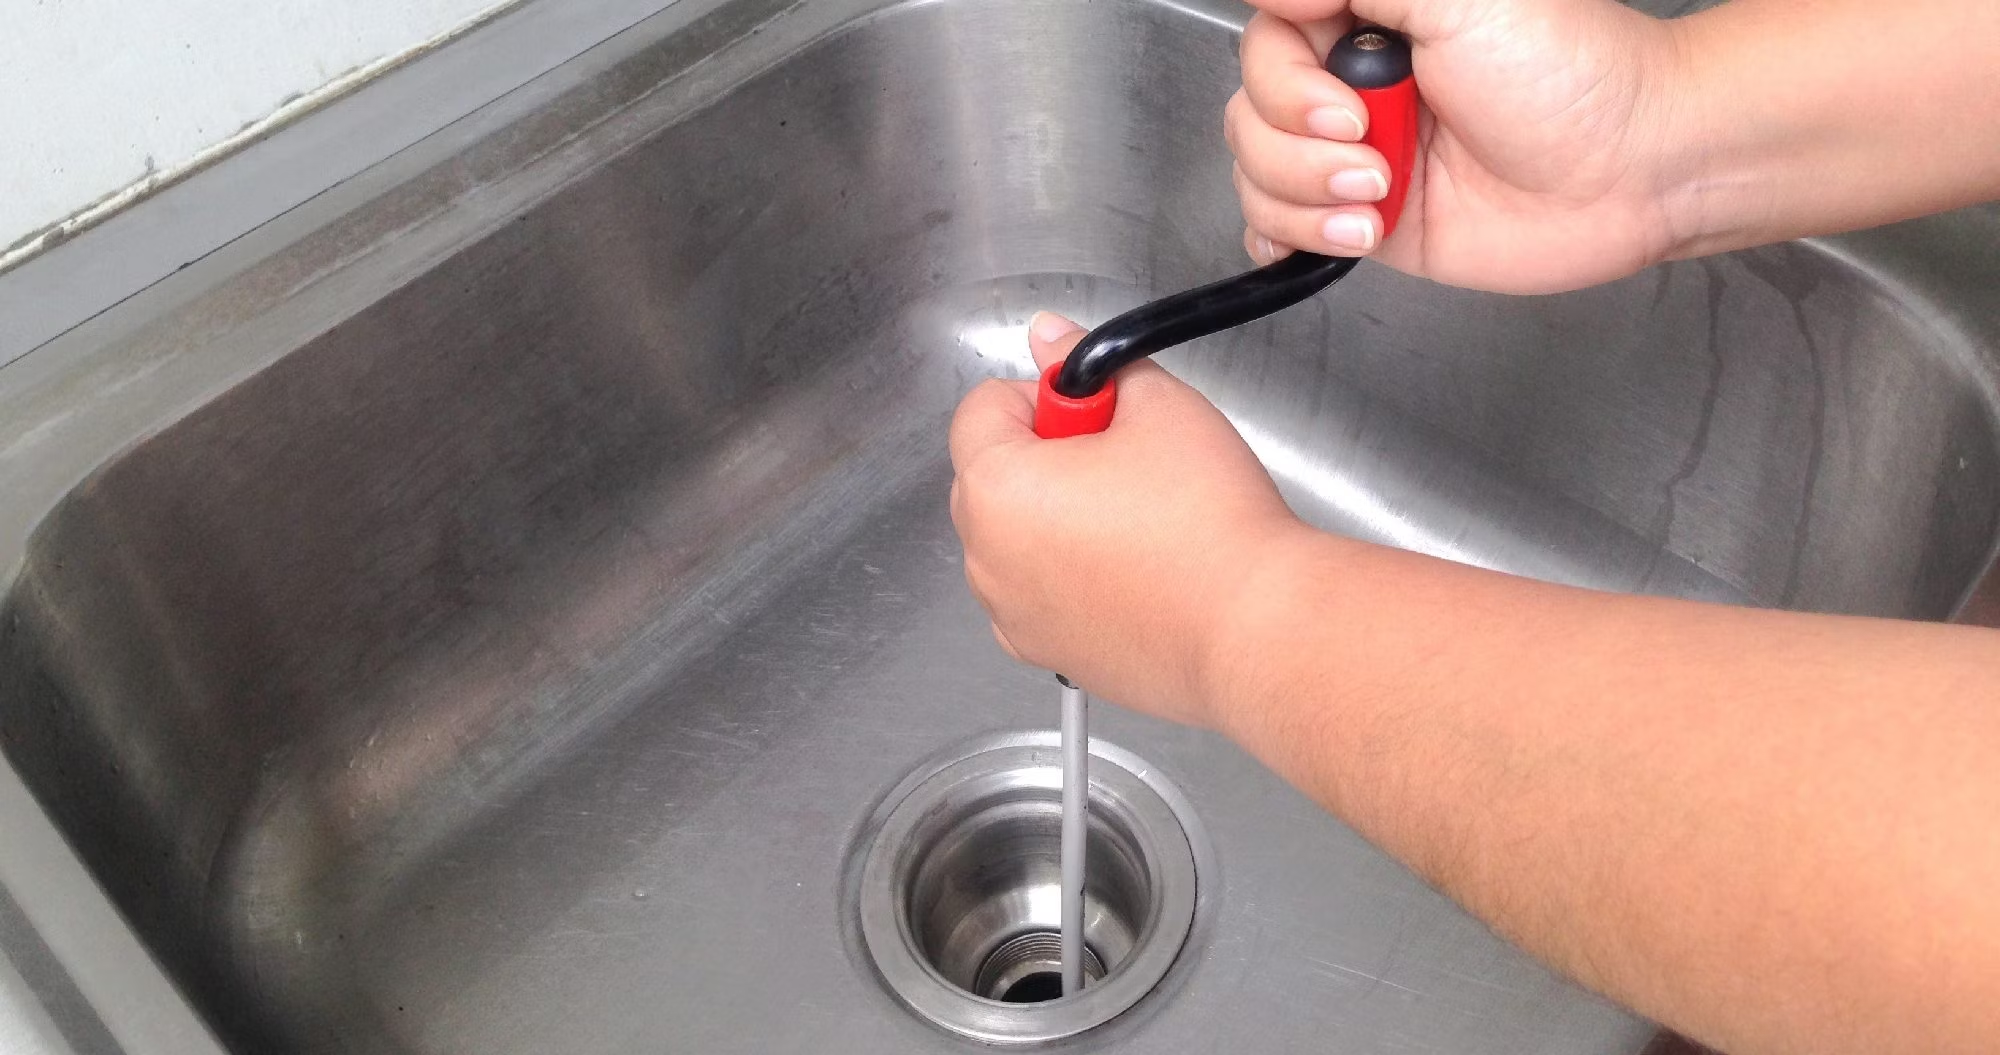
Step 5: Try a Drain Snake
If a plunger fails to clear the clog in your floor drain, it’s time to try a drain snake. A drain snake, also known as a drain auger, is a long, flexible tool that can reach deep into the drainpipe and break up or remove stubborn clogs. Here’s how you can use a drain snake to unclog your floor drain:
- Insert the drain snake into the drain opening. Gently push it down while rotating the handle in a clockwise motion.
- Continue to push the drain snake farther into the drainpipe until you feel resistance or until you can’t push it any further.
- If you encounter a clog, rotate the handle of the drain snake in a back-and-forth or up-and-down motion to break up the obstruction.
- If the drain snake becomes difficult to push or if you can’t break up the clog, slowly pull it out of the drain while rotating the handle. This may help retrieve the clog or expose it for easier removal.
- Inspect the end of the drain snake for any debris or hair that you may have pulled out. Dispose of it in a trash bag or container.
- Repeat the process of inserting the drain snake and rotating it until you no longer encounter any resistance or until the water starts to drain freely.
If the drain snake doesn’t completely remove the clog, or if you’re unable to effectively use the tool, it may be time to move on to the next step and clean the drain trap. We’ll cover that in the following step.
Step 6: Clean the Drain Trap
If the previous methods haven’t resolved the clog in your floor drain, the next step is to clean the drain trap. The drain trap is a bend in the pipe located just below the floor drain. It is designed to trap debris and prevent it from flowing further down the drain. Here’s how you can clean the drain trap to unclog your floor drain:
- Place a bucket or container beneath the drain trap to catch any water or debris that may come out.
- Using a screwdriver, loosen the slip nuts on both ends of the drain trap. Turn them counterclockwise to loosen and remove them.
- Once the slip nuts are removed, carefully detach the drain trap from the drain pipe and lift it out.
- Inspect the drain trap for any accumulated debris, hair, or other obstructions. Use a wire brush or pipe brush to clean the trap, removing any buildup.
- Thoroughly rinse the drain trap with water to ensure it is clean and free from any residual debris.
- Reattach the drain trap to the drain pipe, ensuring that the slip nuts are tightened securely but not too tight. Over-tightening can cause damage to the fittings.
By cleaning the drain trap, you can effectively remove any debris or buildup that may have been causing the clog. Once the drain trap is cleaned and reattached, it’s time to move on to the next step and flush the drain.
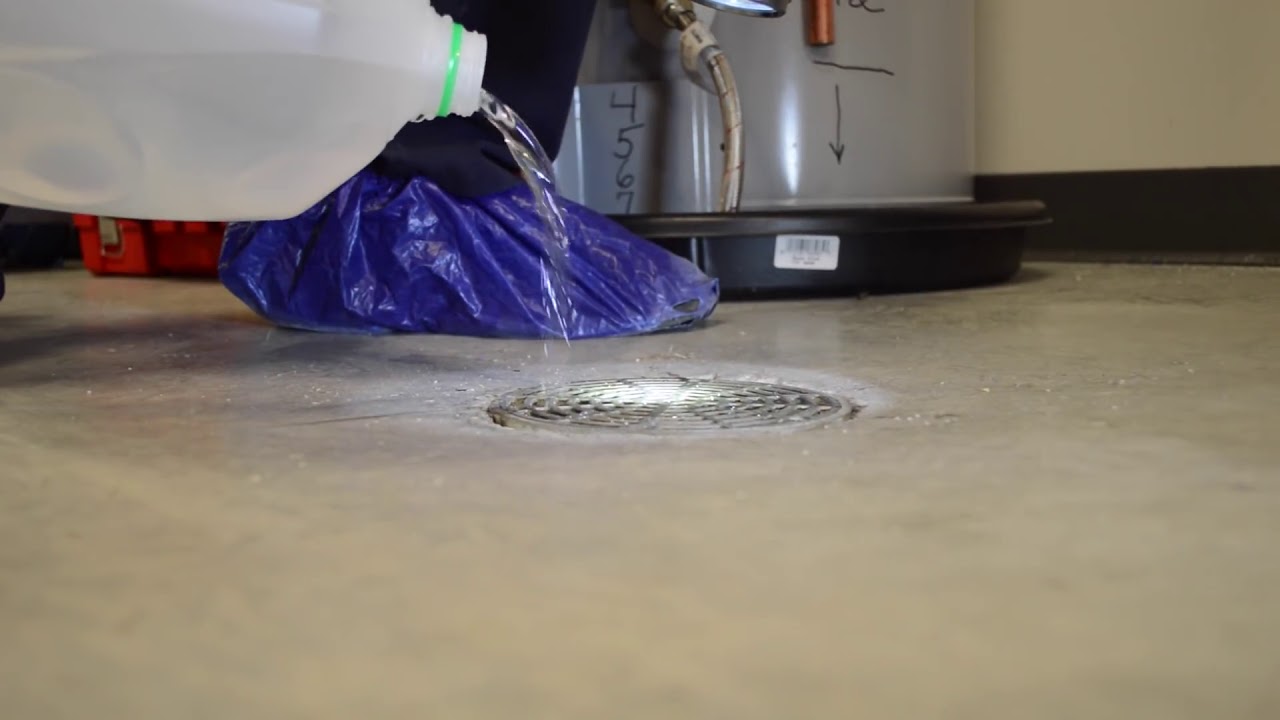
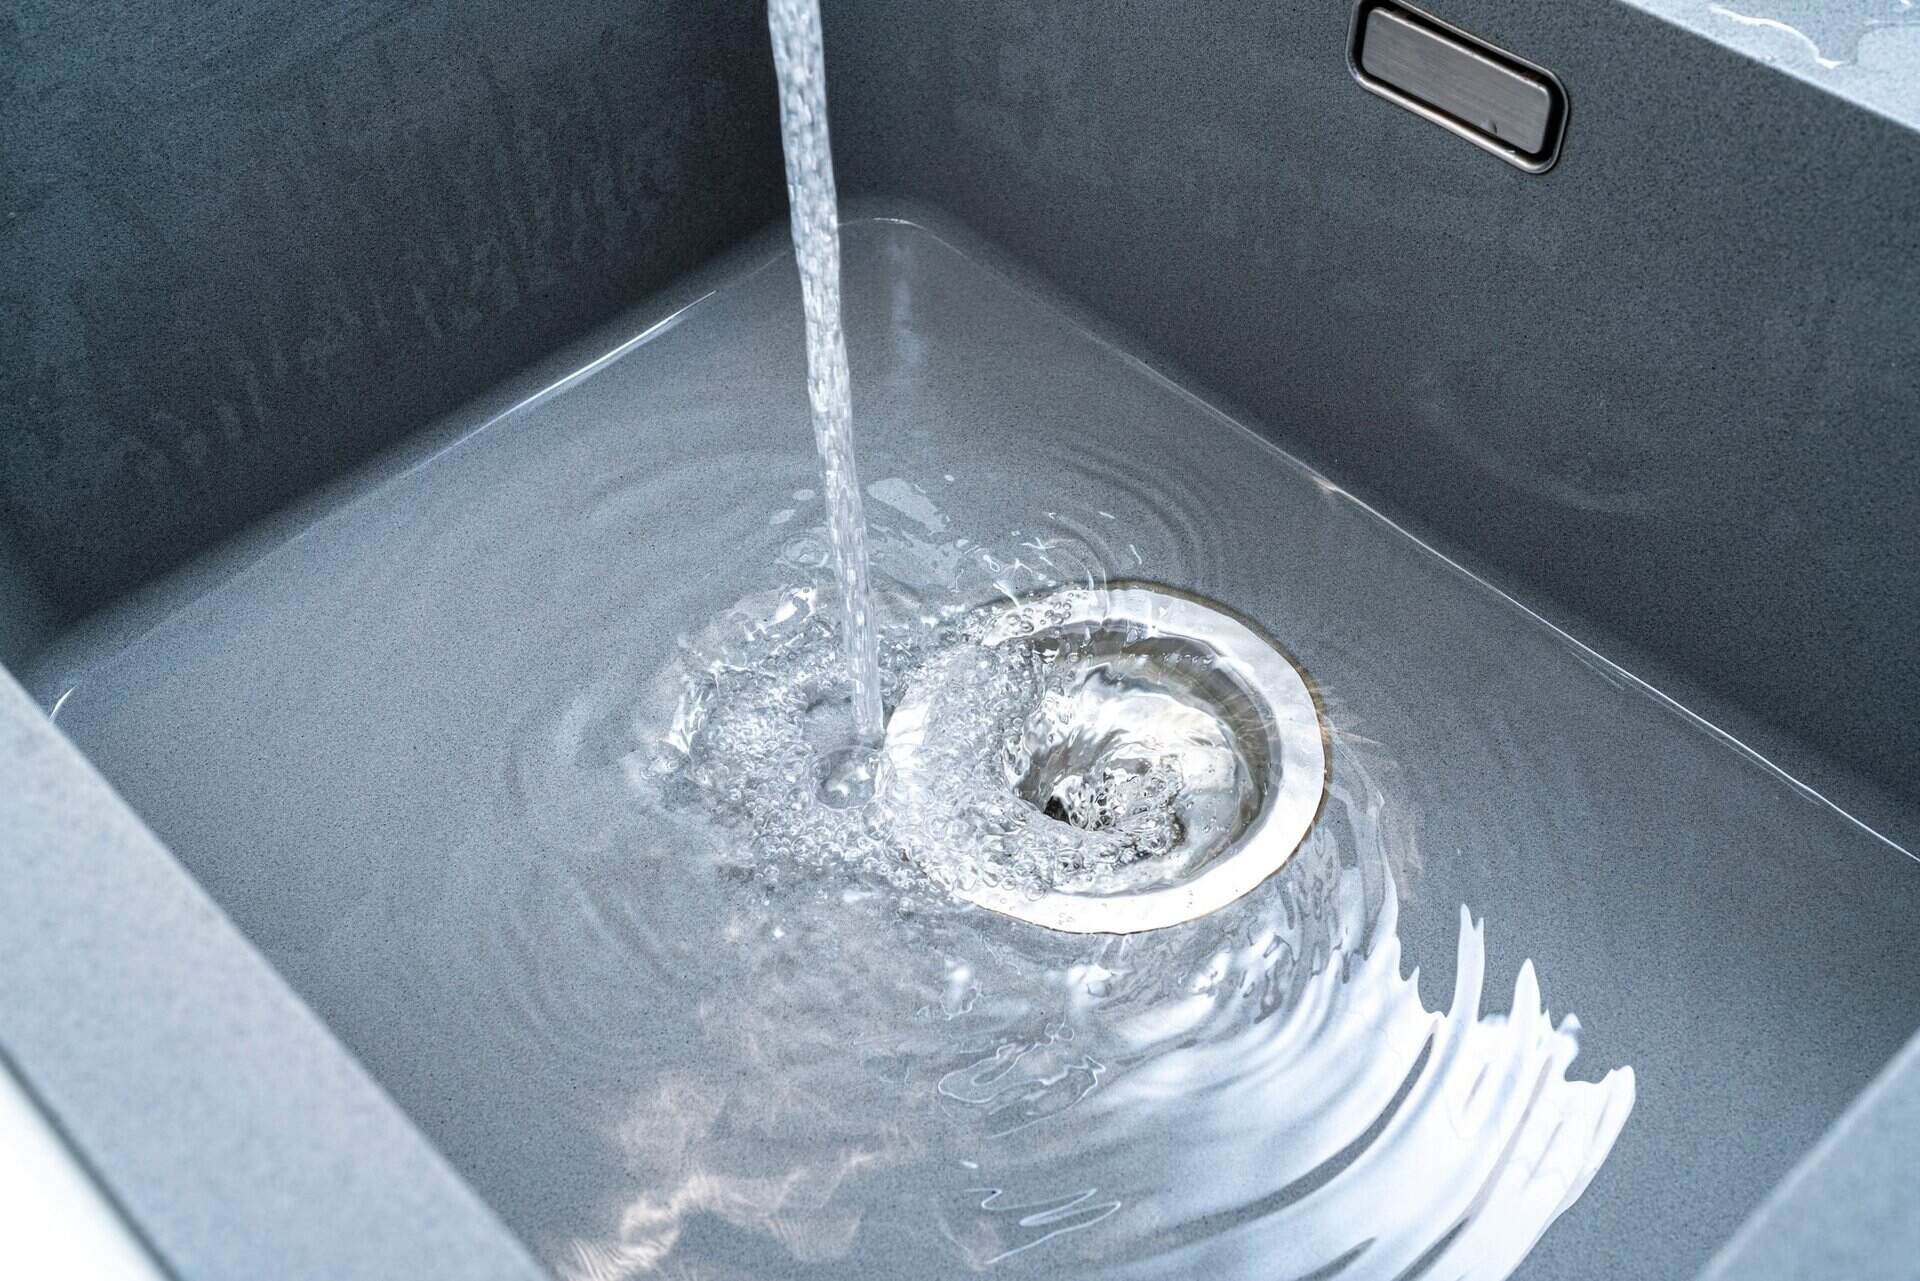
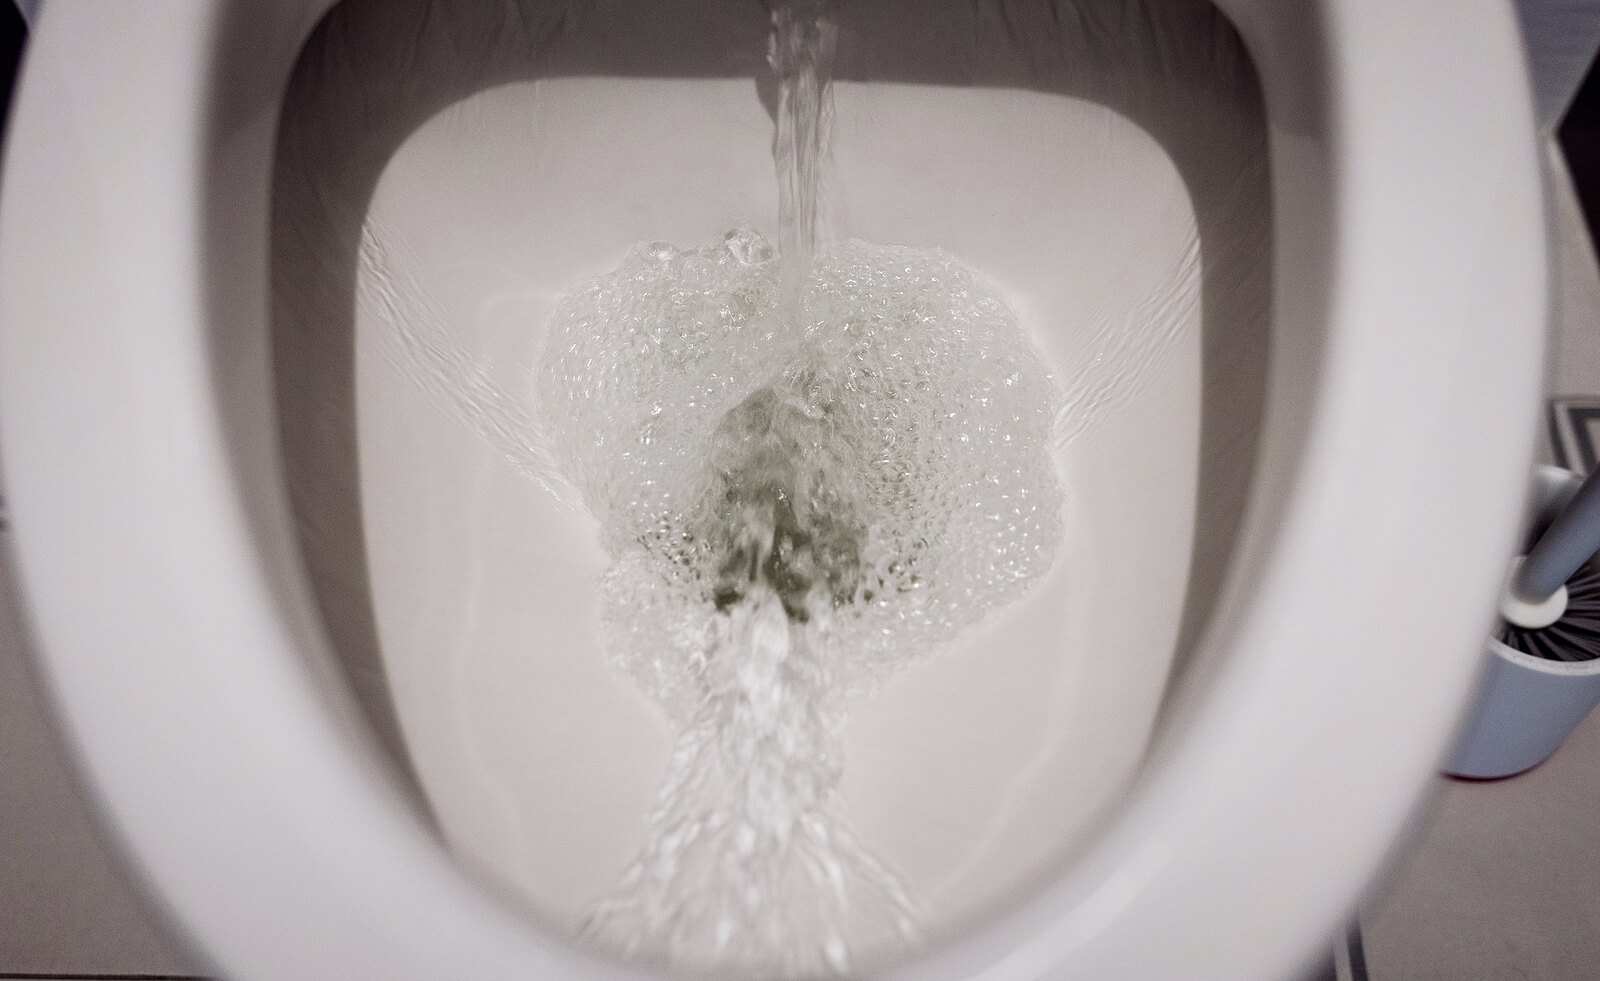
Step 7: Flush the Drain
After cleaning the drain trap, it’s important to flush the drain to ensure that any remaining debris or loosened clog particles are washed away. Flushing the drain will help clear out the system and restore proper flow. Here’s how you can flush your floor drain:
- Fill a bucket with hot water. The water should be hot but not boiling.
- Pour the hot water directly into the floor drain. You want to create enough pressure to help dislodge any remaining clog material.
- If the clog persists or the water continues to drain slowly, you can try using a mixture of white vinegar and baking soda. Pour about half a cup of baking soda down the drain, followed by half a cup of white vinegar. Let the mixture sit for a few minutes to allow it to react and break up any remaining residue.
- After allowing the vinegar and baking soda mixture to work, pour more hot water down the drain to flush it out.
- Repeat the flushing process a few times until the water drains freely and there are no signs of clogs or slow drainage.
Flushing the drain with hot water and using the vinegar and baking soda mixture can help dislodge any remaining debris or buildup. This step is crucial for ensuring a thorough cleaning of your floor drain. With the drain flushed, it’s time to move on to the final step: replacing the drain cover.
Step 8: Replace the Drain Cover
After completing the unclogging process and ensuring that your floor drain is free from any obstructions, it’s time to replace the drain cover. Replacing the drain cover is essential to keep the drain functioning properly, prevent any debris from entering, and maintain the overall aesthetics of your space. Here’s how you can replace the drain cover:
- Inspect the drain cover for any damage or wear. If the drain cover is broken or in poor condition, consider replacing it with a new one.
- Ensure that the drain opening is clean and free from any debris or residue remaining from the unclogging process.
- Align the drain cover with the drain opening, ensuring that it sits evenly and securely.
- If the drain cover has screws, insert them into the holes and tighten them using a screwdriver.
- If the drain cover is held in place by pressure or latches, press it down firmly until you hear or feel it snap into place.
- Gently apply pressure to the drain cover to ensure that it is secure and doesn’t move or shift.
Replacing the drain cover not only completes the unclogging process but also helps prevent future clogs by keeping debris and foreign objects out of the drain. With the drain cover securely in place, your floor drain is now ready for regular use.
Remember, consistent maintenance and periodic cleaning can help prevent future clogs in your floor drain. Regularly remove any visible debris from the drain cover and periodically flush the drain with hot water to keep it clear and functioning optimally.
Congratulations! You have successfully unclogged your floor drain and restored its functionality. By following these steps and taking preventative measures, you can keep your floor drain clear and avoid any potential issues in the future.
Conclusion
Dealing with a clogged floor drain can be a frustrating and inconvenient problem. However, with the right tools, techniques, and a little bit of patience, you can successfully unclog your floor drain and restore proper drainage. Here’s a summary of the steps we covered:
- Determine the cause of the clog by observing drainage, inspecting the drain cover, and listening for gurgling sounds.
- Remove any standing water to create a clear workspace.
- Remove the drain cover to gain access to the drainpipe.
- Use a plunger to create suction and dislodge minor clogs.
- If necessary, try using a drain snake to break up and remove stubborn clogs.
- Clean the drain trap to remove any debris or buildup causing the clog.
- Flush the drain with hot water and a vinegar and baking soda mixture to clear out any remaining residue.
- Finally, replace the drain cover to ensure proper functioning and prevent debris from entering the drainpipe.
By following these steps, you can effectively unclog your floor drain and maintain its cleanliness and functionality. Remember, prevention is key, so be mindful of what goes down your drain and perform regular maintenance to avoid future clogs. And if the clog persists or if you’re unsure about handling the situation, don’t hesitate to seek professional assistance.
Now that you have the knowledge and tools to unclog a floor drain, you can confidently tackle this common household issue whenever it arises. So, roll up your sleeves, put on those rubber gloves, and get ready to unclog your floor drain with ease!
Frequently Asked Questions about How To Unclog A Floor Drain
Was this page helpful?
At Storables.com, we guarantee accurate and reliable information. Our content, validated by Expert Board Contributors, is crafted following stringent Editorial Policies. We're committed to providing you with well-researched, expert-backed insights for all your informational needs.


0 thoughts on “How To Unclog A Floor Drain”