Articles
How To Unclog Freezer Drain
Modified: August 24, 2024
Learn effective methods to unclog the freezer drain in this informative article. Get expert tips and tricks to keep your freezer clean and running smoothly.
(Many of the links in this article redirect to a specific reviewed product. Your purchase of these products through affiliate links helps to generate commission for Storables.com, at no extra cost. Learn more)
Introduction
A clogged freezer drain can be a frustrating issue to deal with. Not only does it prevent your freezer from functioning efficiently, but it can also lead to water leaks and potential damage to your appliance. Understanding why the freezer drain gets clogged and knowing how to unclog it can save you time, money, and the stress of a malfunctioning freezer.
In this article, we will guide you through the process of unclogging a freezer drain step by step. We will also discuss the signs of a clogged freezer drain and provide tips on how to prevent future clogs. So, let’s dive in and get your freezer drain flowing smoothly again!
Key Takeaways:
- Understanding the signs of a clogged freezer drain, gathering the necessary materials, and properly preparing the freezer are crucial steps in effectively unclogging the drain and preventing potential damage to your appliance.
- Implementing preventative measures such as regular cleaning, proper food disposal, and regular defrosting can significantly reduce the risk of future clogs in the freezer drain, ensuring the optimal functioning of your appliance and saving you from costly repairs.
Read more: How To Unclog Dishwasher Drain
Understanding the Freezer Drain
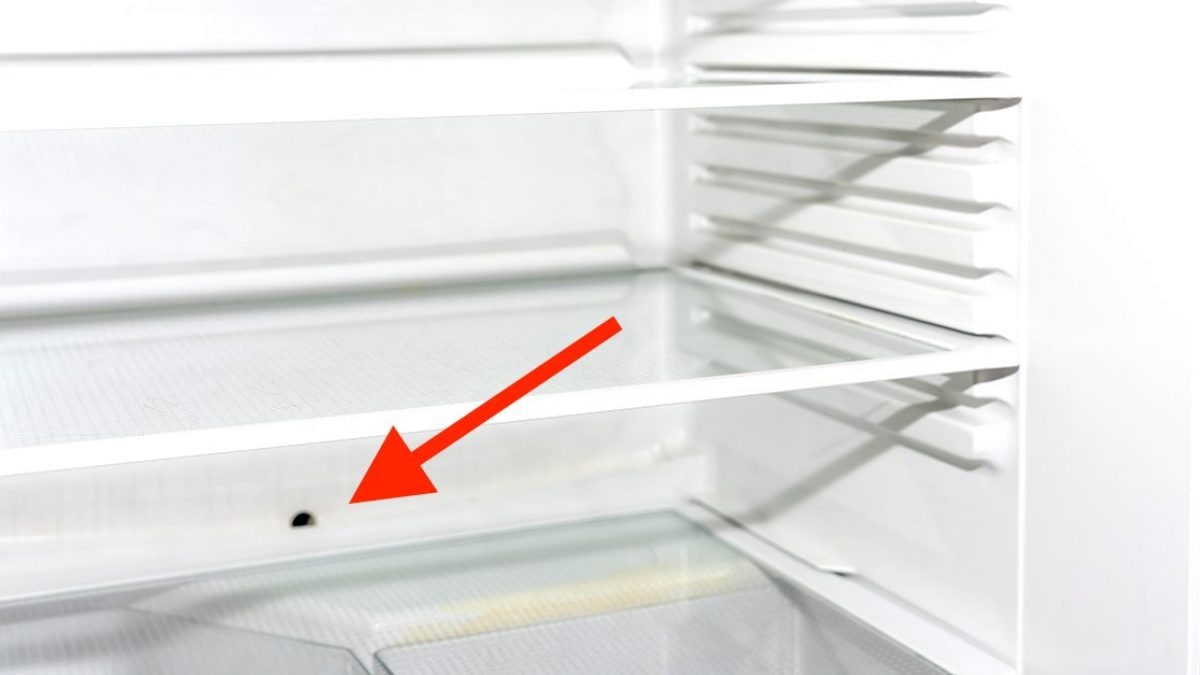
Before we delve into how to unclog a freezer drain, let’s first understand what the freezer drain is and why it can become clogged. The freezer drain is a small opening located at the bottom of your freezer that allows the water produced during the defrosting process to drain out.
As your freezer cools, the moisture in the air freezes and forms ice on the evaporator coils. During the defrost cycle, this ice melts, and the water flows down into the drain pan through the freezer drain. From there, the water is evaporated by the condenser fan or drained out through a tube.
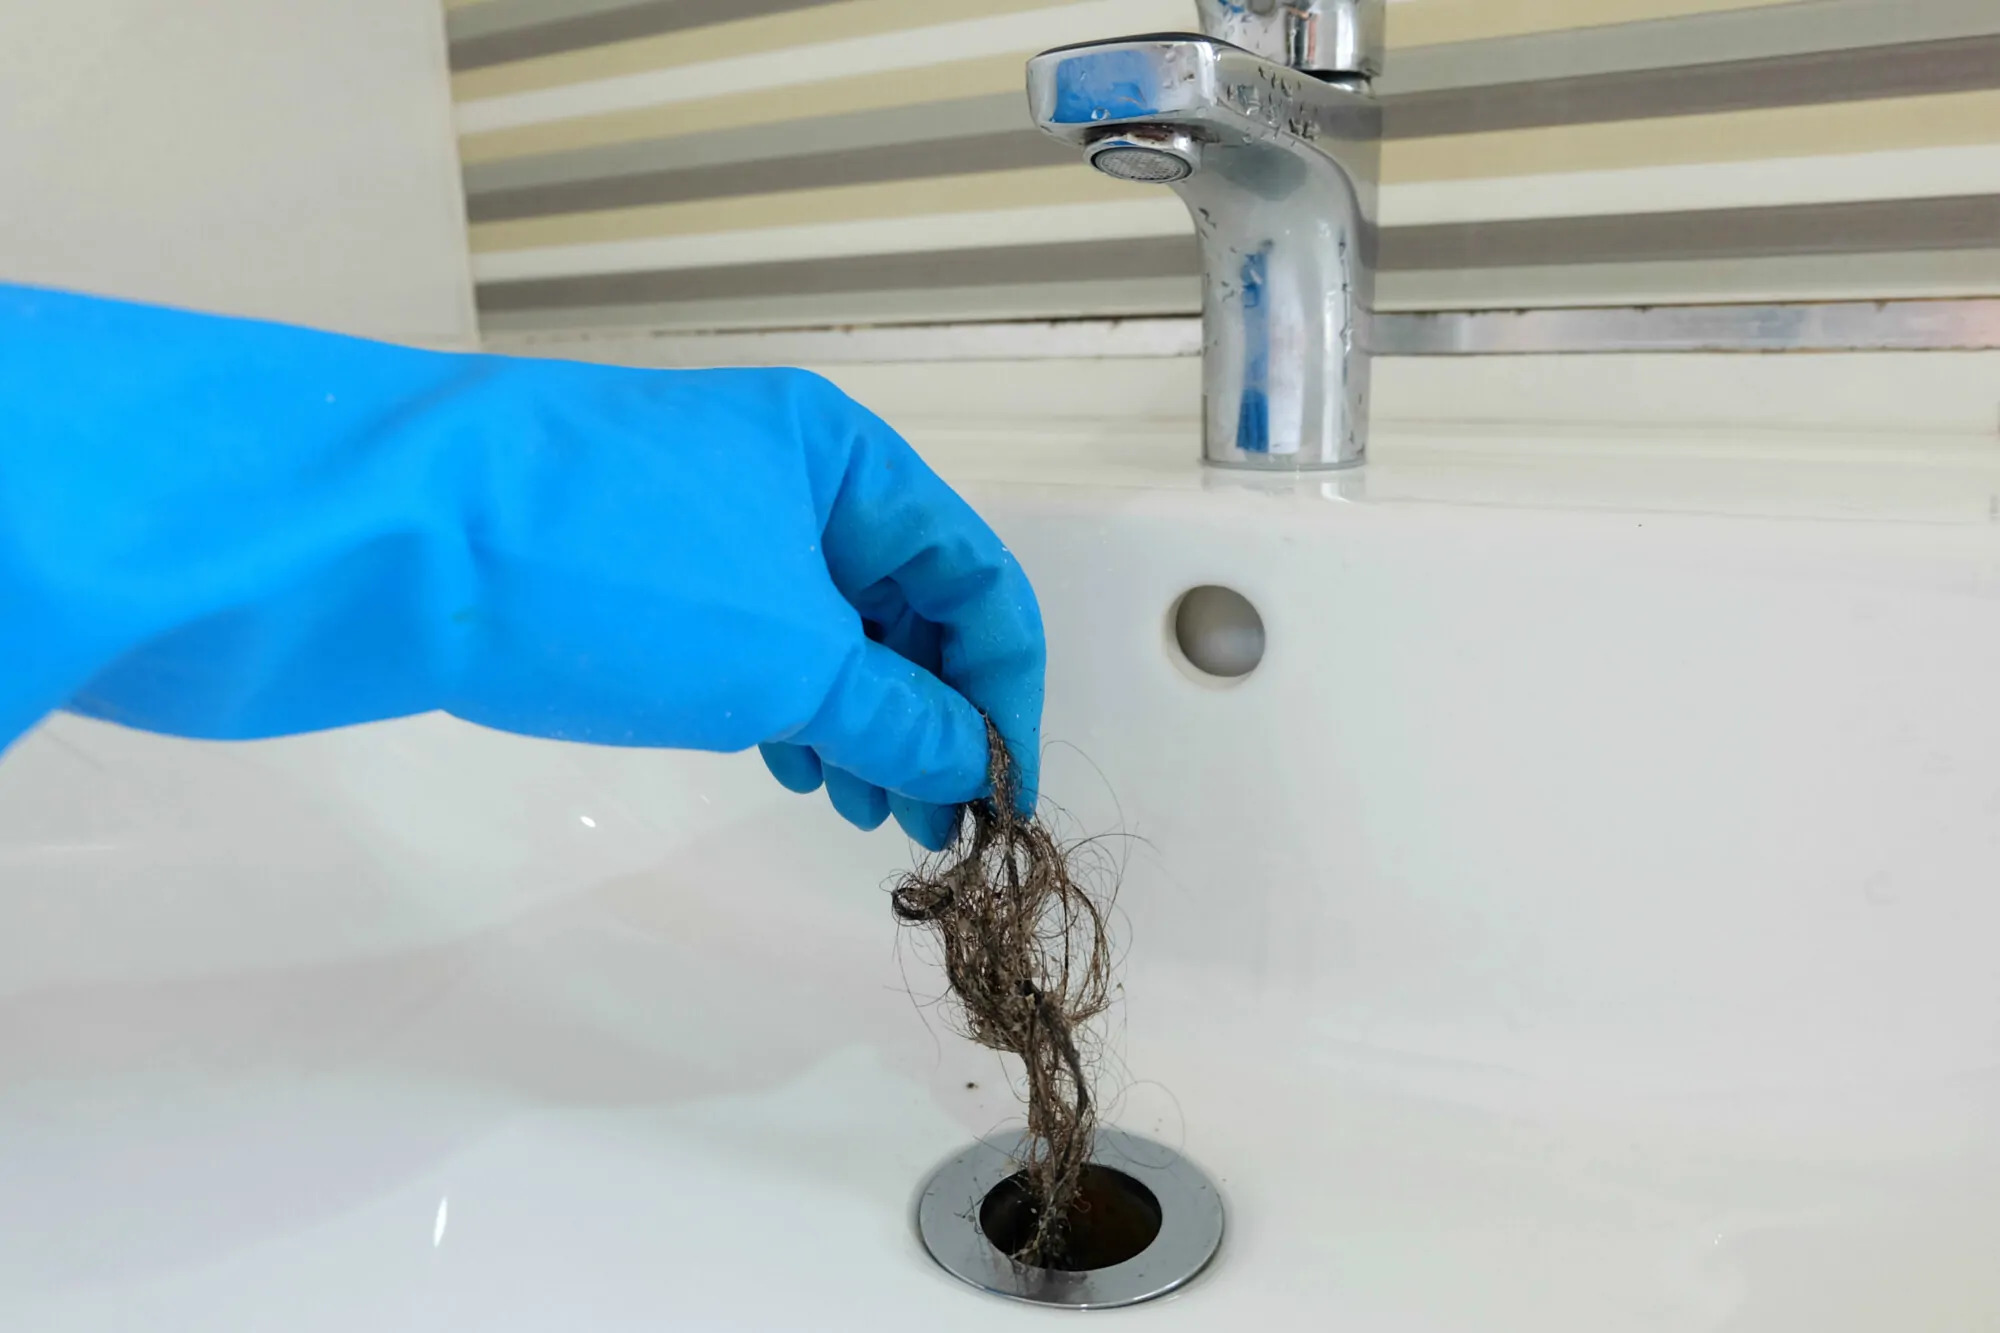
However, over time, the freezer drain can become clogged due to various reasons. Food particles, debris, and ice can accumulate in the drain, obstructing the flow of water. When the drain gets clogged, the water has nowhere to go and can back up, leading to leaks or pooling water in your freezer.
Understanding the mechanism and potential causes of a clogged freezer drain will help you tackle the issue more effectively. Now, let’s move on to identifying the signs of a clogged freezer drain.
Signs of a Clogged Freezer Drain
Identifying the signs of a clogged freezer drain early on can save you from potential headaches and costly repairs. Here are some common signs that indicate your freezer drain may be clogged:
- Water pooling in the bottom of the freezer: If you notice water accumulating at the bottom of your freezer, it is a clear indication that the drain is blocked and the water is unable to flow out.
- Leaking water outside the freezer: A clogged drain can cause water to overflow from the freezer and leak onto your kitchen floor. If you find water pooling near your freezer, it’s likely that the drain needs to be unclogged.
- Frost buildup in the freezer: When the drain is clogged, the water from the defrost cycle cannot properly drain away. This can lead to excessive frost buildup on the walls or shelves of the freezer.
- Unpleasant odor: When water gets trapped in the drain and cannot flow out, it may start to develop a stagnant smell. If you notice a foul odor coming from your freezer, it’s a sign that the drain needs attention.
It’s important to keep an eye out for these signs and take prompt action to unclog the drain. Neglecting a clogged freezer drain can lead to further issues, such as mold growth, damaged food, or even permanent damage to your freezer.
Gather the Materials
Before you begin the process of unclogging your freezer drain, it’s important to gather the necessary materials. Having everything on hand will make the process smoother and more efficient. Here are the materials you’ll need:
- Warm water: You’ll need warm water to flush out the clog in the drain. Make sure it’s not too hot to avoid damaging any components of your freezer.
- Baking soda: Baking soda is a natural cleaning agent that can help break down any organic matter causing the clog.
- Vinegar: Vinegar is another effective natural cleaner that can help dissolve the clog and eliminate any unpleasant odor.
- Bucket or towels: To catch any water that may spill during the unclogging process, have a bucket or towels ready to prevent messes.
- Flexible wire or pipe cleaner: You’ll need a flexible wire or pipe cleaner to physically remove any stubborn debris blocking the drain.
- Safety gloves and goggles: To protect your hands and eyes during the unclogging process, it’s advisable to wear safety gloves and goggles.
By having these materials prepared beforehand, you can ensure a smooth and hassle-free experience when it’s time to unclog your freezer drain. Now that you have everything you need, let’s move on to preparing the freezer for the unclogging process.
Prepare the Freezer
Before you proceed with unclogging the freezer drain, it’s important to properly prepare the freezer to ensure safety and efficiency. Follow these steps to prepare your freezer:
- Empty the freezer: Start by removing all the food items from your freezer and storing them in a cooler or another freezer if available. This will prevent any perishable items from spoiling during the unclogging process.
- Unplug the freezer: Disconnect the power supply to your freezer by unplugging it from the electrical outlet. This step is crucial to avoid any electric shock or accidents while working on the drain.
- Allow the freezer to defrost: Let your freezer defrost completely before attempting to unclog the drain. This may take a few hours or overnight, depending on the level of frost buildup. Place towels or a tray under the freezer to catch any water that may drip during the defrosting process.
- Clean the interior: While the freezer is defrosting, take the opportunity to clean the interior walls, shelves, and drawers with a mild detergent or a mixture of water and vinegar. This will remove any dirt, debris, or unpleasant odors.
Preparing your freezer properly will ensure a safer and more effective unclogging process. Once your freezer is defrosted and cleaned, you’re ready to locate the freezer drain and begin the unclogging process. We’ll cover that in the next section.
Use a mixture of hot water and vinegar to flush out the freezer drain. Pour it down the drain and let it sit for a few minutes before flushing with hot water. This will help dissolve any built-up ice or debris.
Defrost the Freezer
Defrosting your freezer is a crucial step in unclogging the freezer drain. Follow these steps to defrost your freezer effectively:
- Turn off the freezer: Ensure that the freezer is unplugged from the power source.
- Remove all items: Take out all the food items from the freezer and store them in a cooler or another freezer to prevent them from thawing.
- Open the freezer door: Keep the freezer door wide open to allow the warm air to circulate and speed up the defrosting process.
- Place towels or trays: Place towels or trays at the bottom and on the shelves of the freezer to catch any melting ice or water.
- Use a fan (optional): To accelerate the defrosting process, you can place a fan near the open freezer door. The circulating air will help melt the ice faster.
- Be patient: Give the freezer enough time to completely defrost. This can take several hours depending on the thickness of the ice buildup.
- Dispose of water: As the ice melts, empty the trays or towels when they become full to prevent overflow.
- Clean the interior: Once the freezer is fully defrosted, clean the interior with a solution of warm water and mild detergent to remove any remaining ice or residue.
- Dry the freezer: Ensure that the interior of the freezer is completely dry before proceeding to the next step.
Defrosting the freezer is a necessary step as it allows you to access the freezer drain and effectively remove the clog. Once your freezer is fully defrosted and cleaned, you can move on to locating the freezer drain in the next section.
Locate the Freezer Drain
Knowing the exact location of the freezer drain is essential to effectively unclog it. Here’s how to locate the freezer drain:
- Check the back panel: In most freezers, the drain is located at the bottom of the back panel. Remove the panel by unscrewing the screws or gently pulling it off to expose the drain.
- Inspect the bottom: If you can’t find the drain at the back panel, check the bottom of the freezer. Look for a small opening or a groove that leads to the drain.
- Refer to the manual: If you’re having trouble locating the drain, consult your freezer’s manual. It should include a diagram or instructions on where to find the drain.
- Use a flashlight: If the drain is not clearly visible, use a flashlight to illuminate the area and locate the opening.
Once you have located the freezer drain, you are ready to proceed with unclogging it. In the next section, we will guide you through the process of clearing the freezer drain and restoring proper drainage.
Clearing the Freezer Drain
Now that you have located the freezer drain, it’s time to clear the clog and restore proper drainage. Follow these steps to effectively clear the freezer drain:
- Start with hot water: Boil some water and carefully pour it down the freezer drain. The hot water will help melt the ice or debris causing the clog.
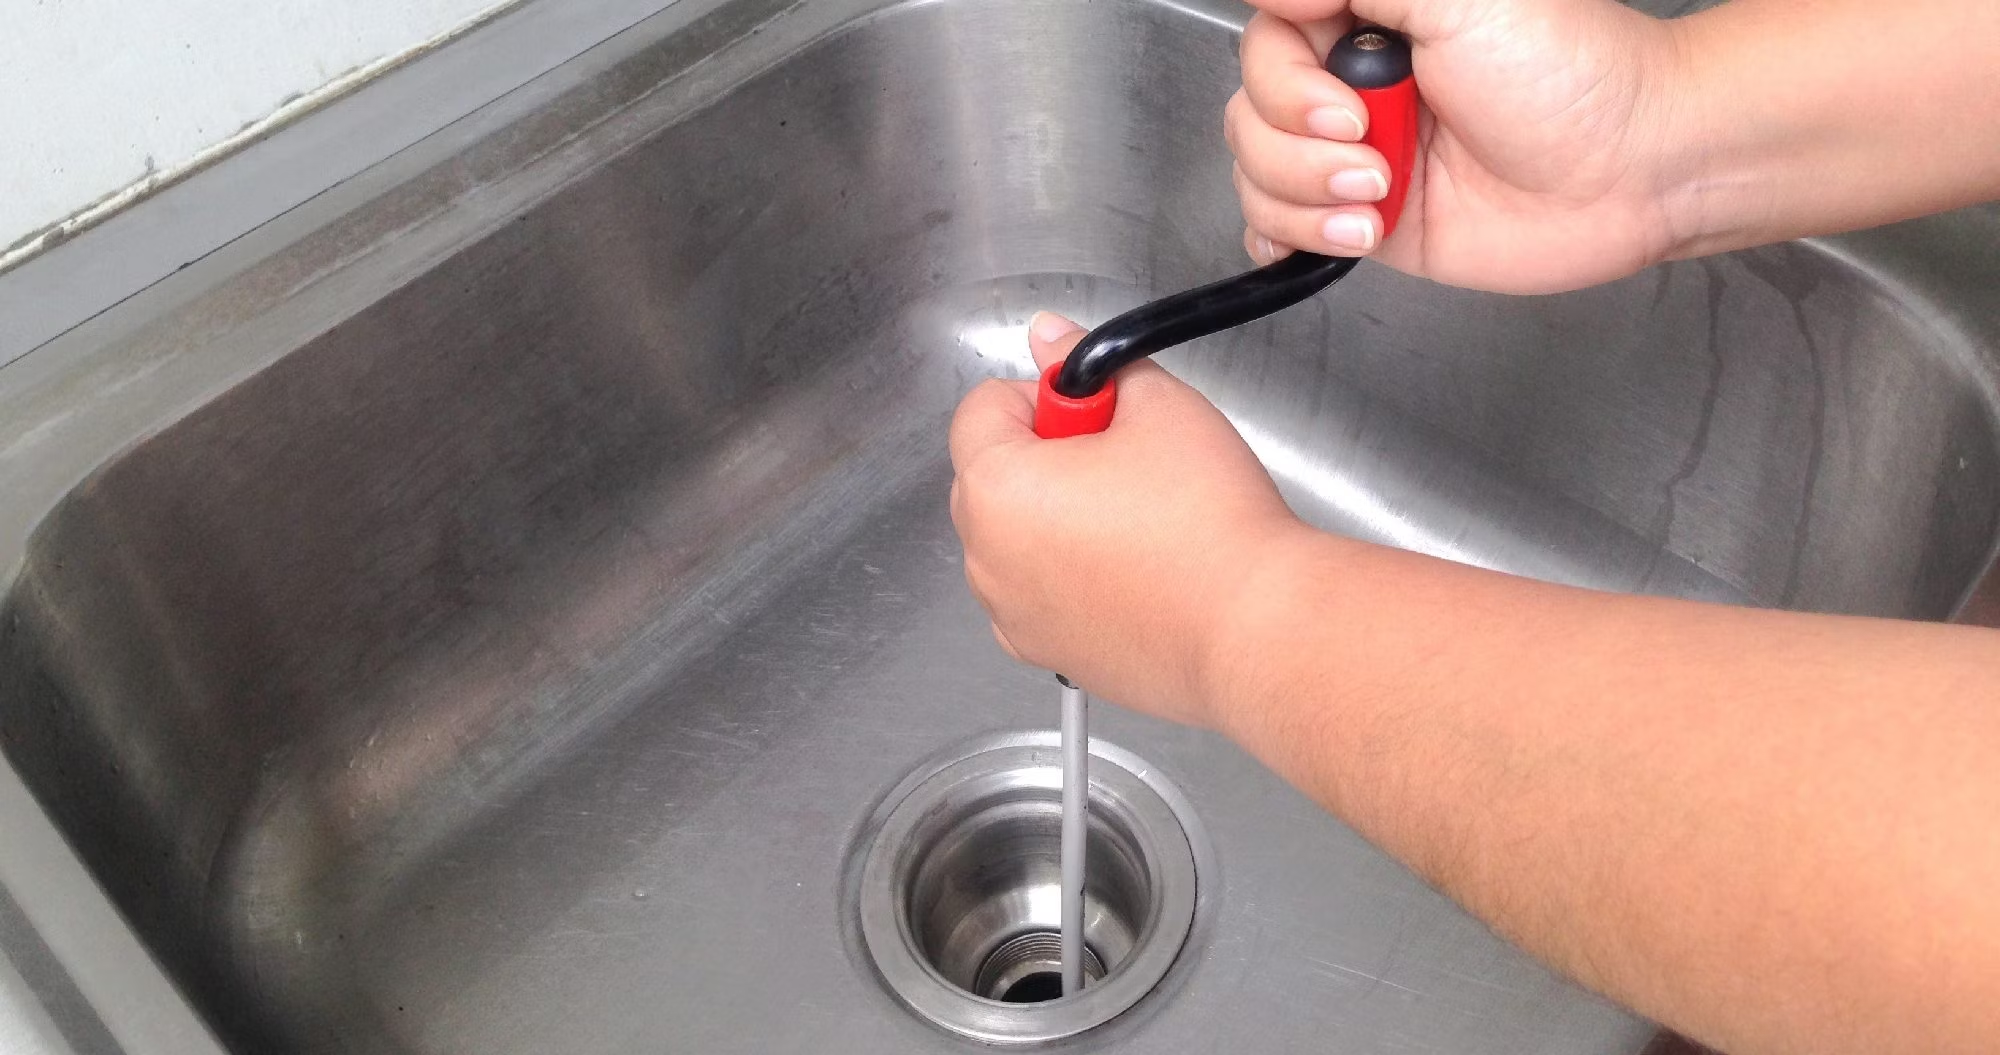
- Use a pipe cleaner or wire: Insert a flexible wire or pipe cleaner into the drain to physically remove any stubborn debris. Gently push and pull the wire to dislodge the clog. Be careful not to be too forceful as it may damage the drain.
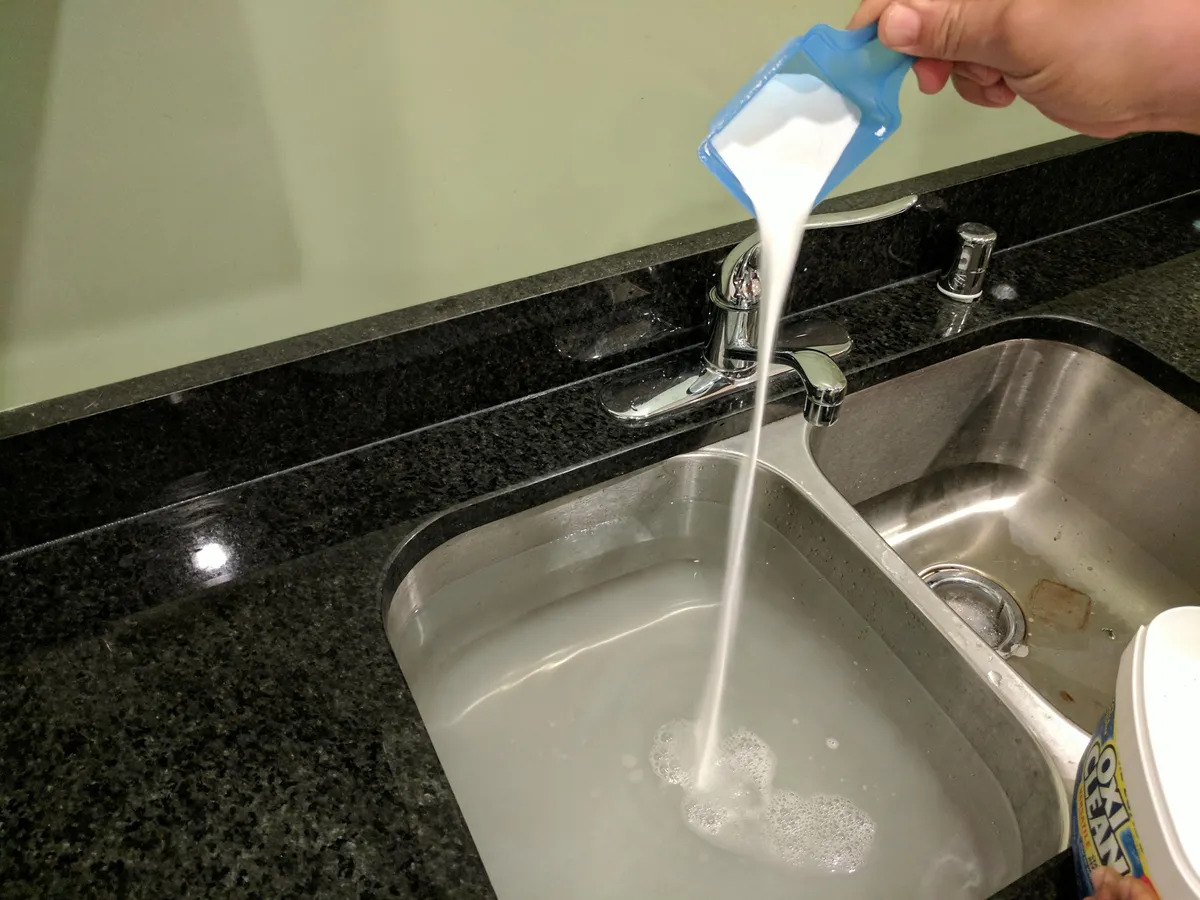
- Create a cleaning solution: Mix equal parts warm water and vinegar or warm water and baking soda to create a cleaning solution. Pour this solution down the drain to help dissolve any remaining debris and eliminate any odor.
- Rinse with hot water: After a few minutes, flush the drain with hot water to ensure all the debris and cleaning solution are thoroughly rinsed away.
- Reassemble the freezer: Once the drain is clear, reassemble the freezer by replacing the back panel or any parts you may have removed during the process.
After clearing the freezer drain, it’s a good practice to run a test to ensure proper drainage. Plug in the freezer, allow it to cool down, and monitor the drain for any signs of water flowing freely.
Remember, prevention is key to avoiding future clogs. Let’s explore some preventative measures in the next section.
Preventing Future Clogs
Now that you have successfully unclogged your freezer drain, it’s important to take steps to prevent future clogs. Here are some preventative measures you can implement:
- Regularly clean your freezer: Regularly cleaning your freezer, including wiping down the interior and removing any spillages or debris, can help prevent buildup in the drain.
- Avoid overpacking the freezer: Overpacking your freezer can restrict airflow and lead to excess moisture and ice buildup. Make sure there is proper circulation of air to prevent clogs.
- Dispose of food waste properly: Avoid disposing of large food particles or grease down the kitchen sink or garbage disposal. Use a strainer in your sink to catch any food waste and dispose of it in the trash.
- Regularly defrost your freezer: Regularly defrosting your freezer will minimize ice buildup and reduce the chances of the drain getting clogged. Follow the manufacturer’s recommended defrosting schedule.
- Keep the drain opening clear: Ensure that the drain opening is clear of any obstructions, such as ice or debris. Regularly check and clear the drain to maintain proper drainage.
- Inspect the drain pan: Occasionally check the drain pan located underneath the freezer to make sure it is not damaged or overflowing. Empty and clean the pan as needed.
By practicing these preventative measures, you can significantly reduce the risk of future clogs and maintain the optimal functioning of your freezer. Remember, regular maintenance is key to preventing costly repairs and prolonging the lifespan of your appliance.
Now that you are equipped with the knowledge to unclog and prevent future clogs in your freezer drain, you can enjoy a hassle-free freezing experience. Remember to stay proactive in maintaining your freezer and address any issues promptly to avoid further complications. Happy freezing!
Conclusion
Dealing with a clogged freezer drain can be frustrating, but with the right knowledge and steps, you can easily unclog it and prevent future issues. By understanding the freezer drain, recognizing the signs of a clog, and gathering the necessary materials, you can effectively tackle the problem head-on. Preparing your freezer, defrosting it, and locating the drain are vital steps in the unclogging process. Clearing the clog with hot water, using a pipe cleaner or wire, and cleaning the drain with a solution of vinegar or baking soda will help restore proper drainage.
Preventative measures such as regular cleaning, avoiding overpacking, proper disposal of food waste, and regular defrosting can help prevent future clogs in the freezer drain. By staying proactive and implementing these preventative measures, you can maintain the optimal functioning of your freezer and avoid costly repairs.
Remember, a well-maintained freezer not only ensures efficient cooling and food preservation but also saves you the hassle of dealing with water leaks and potential damage to your appliance. By following the steps outlined in this article, you can confidently tackle a clogged freezer drain and keep your freezer running smoothly.
So, the next time you encounter a clogged freezer drain, don’t panic. Armed with the knowledge and know-how, you can confidently take action and restore proper drainage. Take care of your freezer, and it will take care of your frozen goods for years to come.
Frequently Asked Questions about How To Unclog Freezer Drain
Was this page helpful?
At Storables.com, we guarantee accurate and reliable information. Our content, validated by Expert Board Contributors, is crafted following stringent Editorial Policies. We're committed to providing you with well-researched, expert-backed insights for all your informational needs.


0 thoughts on “How To Unclog Freezer Drain”