Home>Storage Ideas>Bathroom Storage>How To Unclog A Shower Drain
Bathroom Storage
How To Unclog A Shower Drain
Modified: January 6, 2024
Learn how to unclog your shower drain with these simple bathroom storage solutions. Keep your bathroom organized and prevent clogs with these easy tips.
(Many of the links in this article redirect to a specific reviewed product. Your purchase of these products through affiliate links helps to generate commission for Storables.com, at no extra cost. Learn more)
Introduction
Welcome to the world of bathroom storage! Keeping your bathroom organized and clutter-free can be a challenging task, especially when it comes to finding space for all your toiletries, towels, and cleaning supplies. Fortunately, there are plenty of creative and efficient bathroom storage solutions available that can help you maximize the space in your bathroom and create a functional and stylish environment.
In this article, we will explore various bathroom storage ideas and tips to help you make the most of the available space. From space-saving cabinets and shelves to innovative organizers and clever hacks, we will cover it all. Whether you have a small powder room or a spacious master bathroom, these storage solutions can be customized to suit your needs.
When it comes to bathroom storage, it is important to consider both style and functionality. You want your bathroom to look visually appealing while also providing easy access to your essentials. Additionally, keeping your bathroom tidy and organized can help reduce stress and make your daily routine more efficient.
Before we dive into the various storage options, it’s important to assess your needs and identify the items you use most frequently. This will help you determine the best storage solutions for your specific requirements. Once you have a clear idea of what needs to be stored, you can begin exploring the different options available.
From cabinets and drawers to floating shelves and hanging organizers, there are countless ways to optimize your bathroom storage. Consider utilizing vertical space, utilizing the area above your toilet or under your sink. If you have a spacious vanity, take advantage of the drawers and cabinets to keep your toiletries neatly organized.
For smaller bathrooms, clever storage solutions like mirror cabinets, wall-mounted baskets, and over-the-toilet shelving can help create additional space. Utilize the back of your bathroom door with an over-the-door organizer for storing toiletries or towels. Utilize modular storage units that can be stacked or rearranged to fit in tight corners or under your sink.
Key Takeaways:
- Keep your bathroom organized and clutter-free with creative storage solutions like space-saving cabinets, floating shelves, and over-the-door organizers. Maximize vertical space and utilize modular storage units for small bathrooms.
- Unclog your shower drain with simple DIY methods like removing visible debris, using a plunger, and trying a homemade drain cleaner. If all else fails, don’t hesitate to call a professional plumber to save time and prevent further damage.
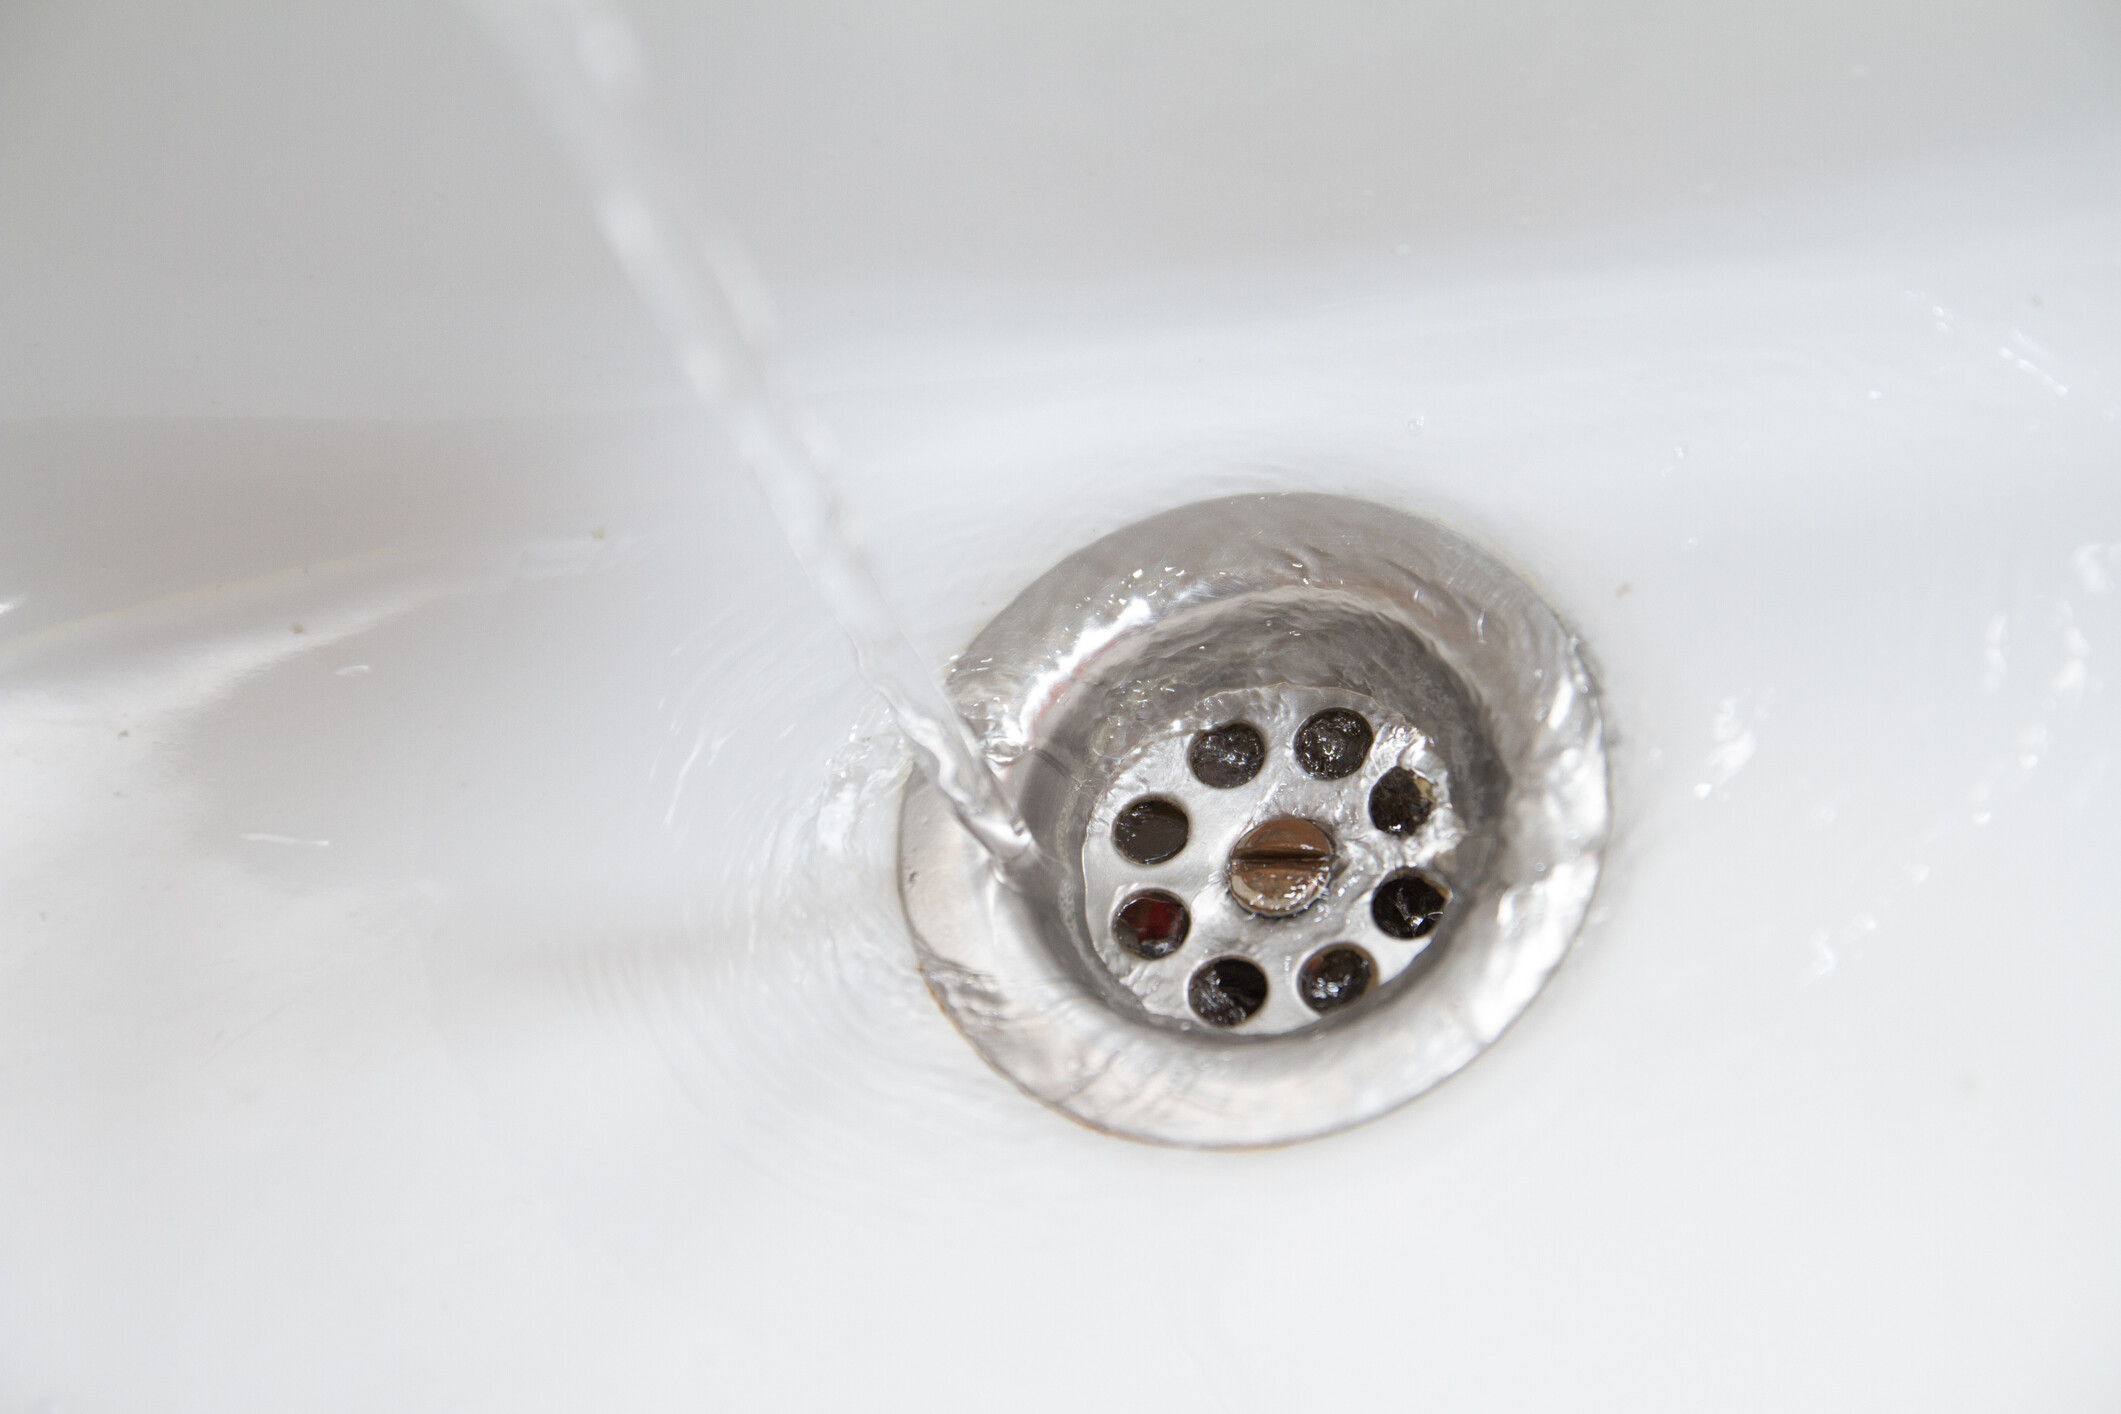
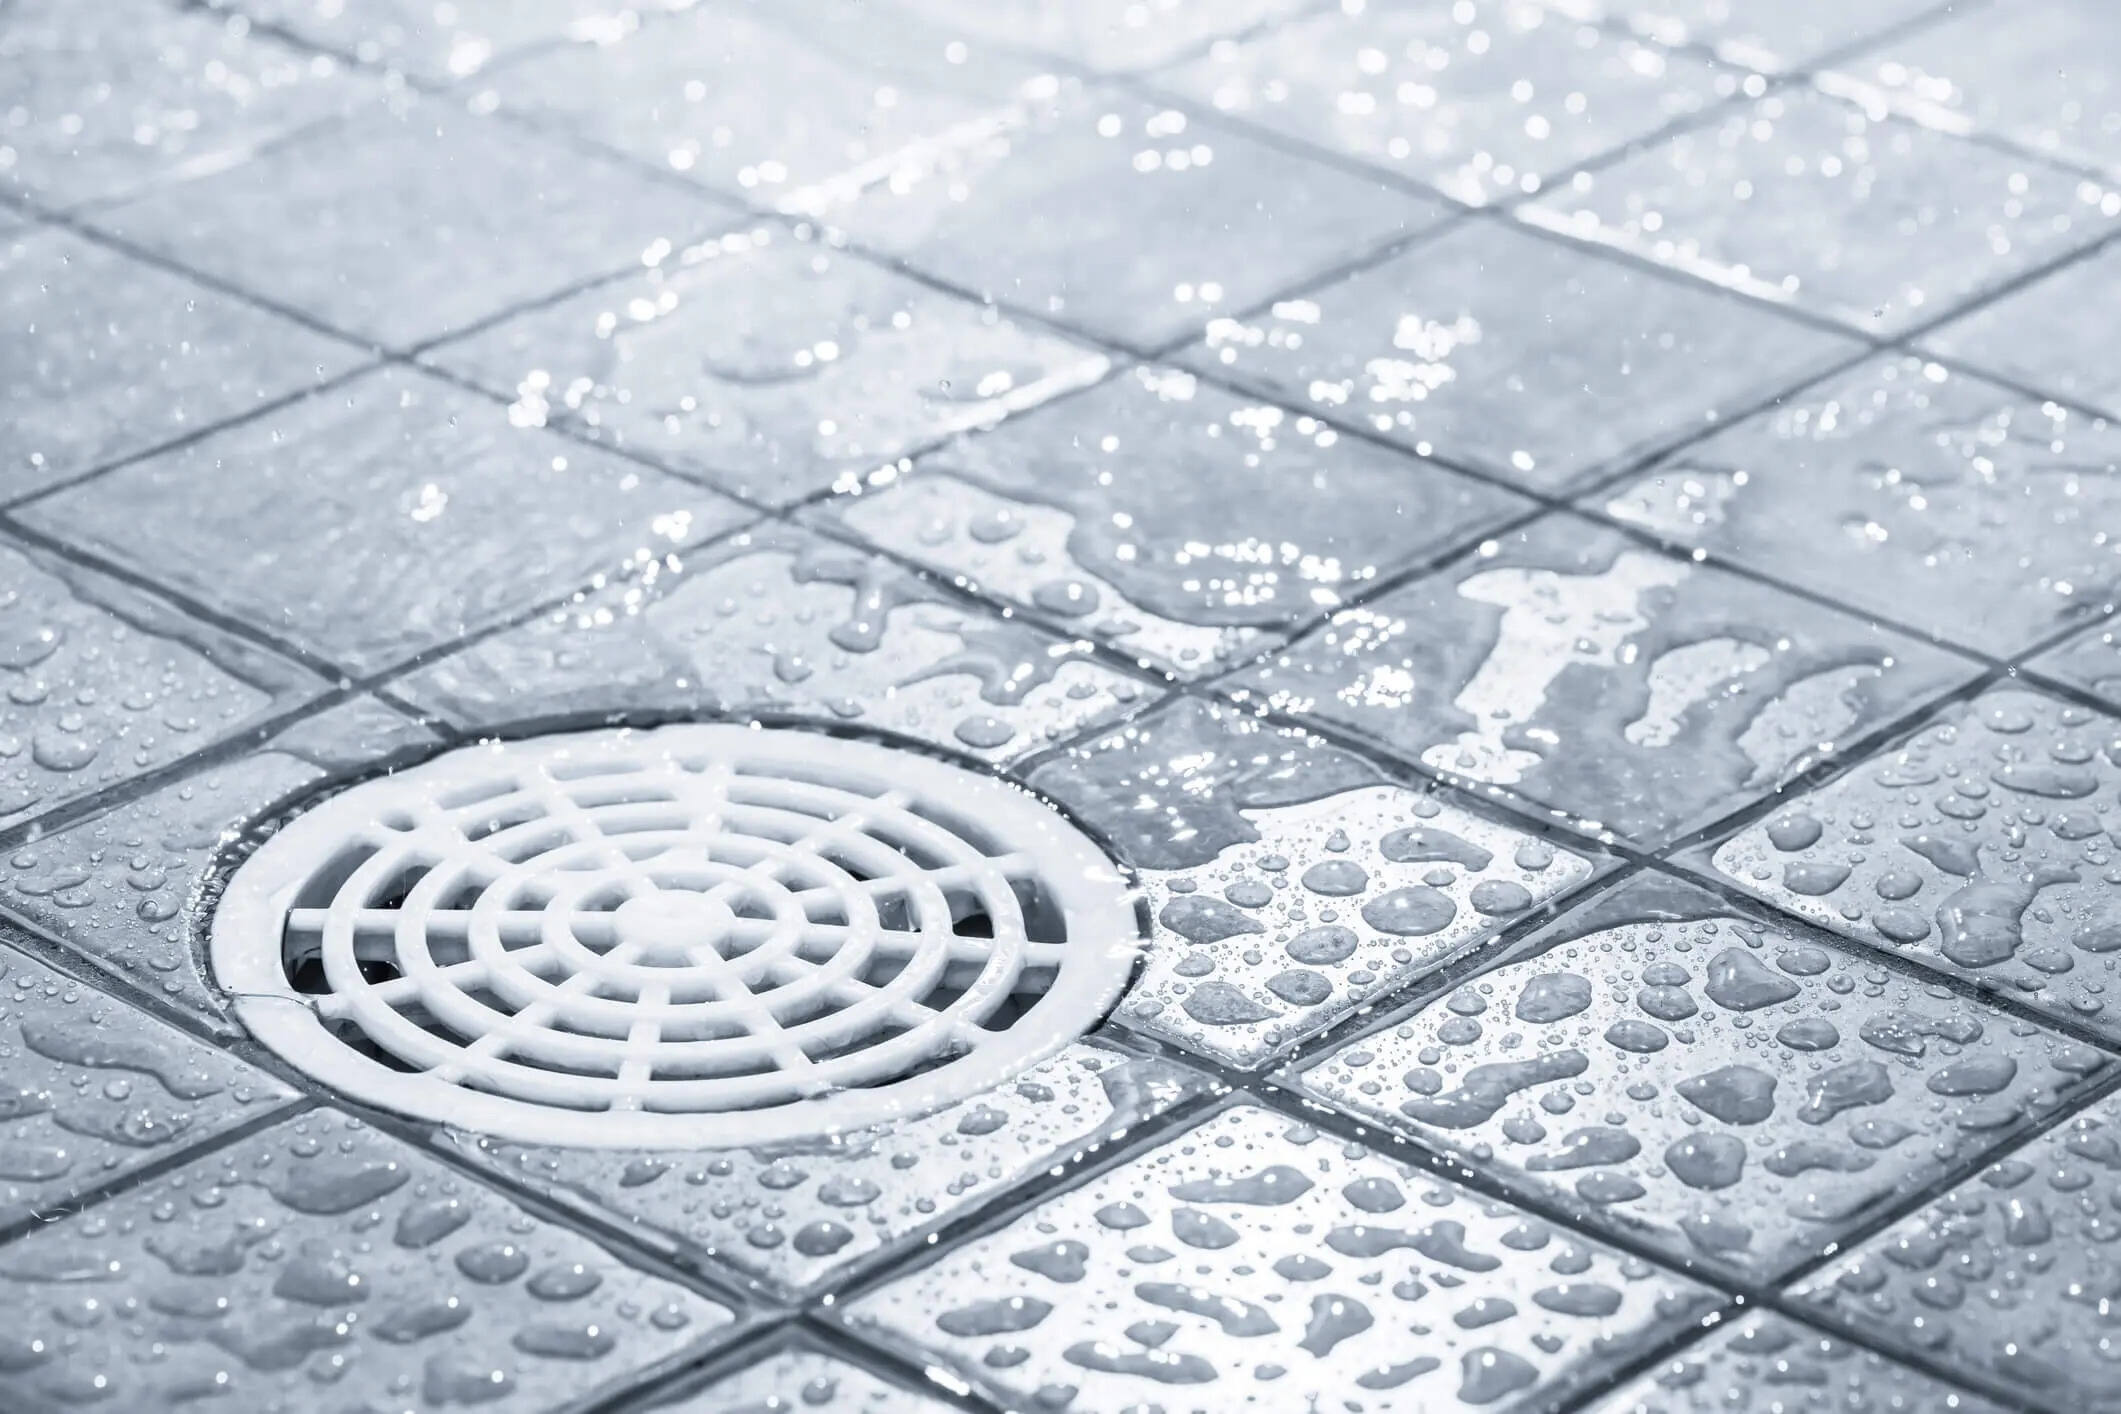
Step 1: Remove the Drain Cover
When dealing with a clogged shower drain, the first step is to remove the drain cover. This will give you access to the clog and allow you to remove it more effectively. Follow these simple steps to remove the drain cover:
- Locate the drain cover in your shower. It is usually located in the center or towards one end of the shower floor.
- Inspect the drain cover to see if it has screws holding it in place. If it does, use a screwdriver to unscrew them and remove the cover. If there are no screws, the cover may be secured by clips or simply lift off.
- If the drain cover is difficult to remove with your hands, use a pair of pliers to grip the edges and gently pull it off. Be careful not to damage the cover or hurt yourself in the process.
- Once the drain cover is removed, set it aside in a safe place. You may need to clean it later before putting it back.
Removing the drain cover will expose the drain opening, allowing you to see if there is any visible debris causing the clog. If you can’t see anything blocking the drain, proceed to the next step to clear out any hidden debris.
Note: If you are unable to remove the drain cover or if it seems damaged, it may be best to seek professional help from a plumber. They have the right tools and experience to safely remove and replace the drain cover without causing any damage.
Step 2: Clear out Visible Debris
Now that you have removed the drain cover, it’s time to clear out any visible debris that may be causing the clog. The following steps will guide you through the process:
- Put on a pair of protective gloves to protect your hands from any sharp objects or bacteria that may be present in the drain.
- Inspect the drain opening and look for any hair, soap scum, or other debris that may be causing the clog.
- Use your fingers or a pair of tweezers to carefully pull out any visible debris from the drain. Take your time and be thorough in removing all the gunk that is within reach.
- If the debris is tightly packed and difficult to remove, you can use a small brush or toothbrush to loosen it up before pulling it out.
- Dispose of the debris in a trash bag or bin. Avoid flushing it down the toilet or throwing it in the sink, as it can cause further plumbing issues.
Clearing out visible debris is often a simple and effective way to unclog a shower drain. Hair is a common culprit for drain clogs, especially in households with long-haired individuals. Regularly removing hair and other debris from the drain can help prevent clogs from occurring in the future.
If you have cleared out the visible debris and the drain is still clogged, it’s time to move on to the next step: using a plunger.
Note: It’s important to only clear out visible debris that you can easily reach without putting too much pressure on the drain. Avoid using excessive force or pushing objects further into the drain, as this can worsen the clog or damage the plumbing system.
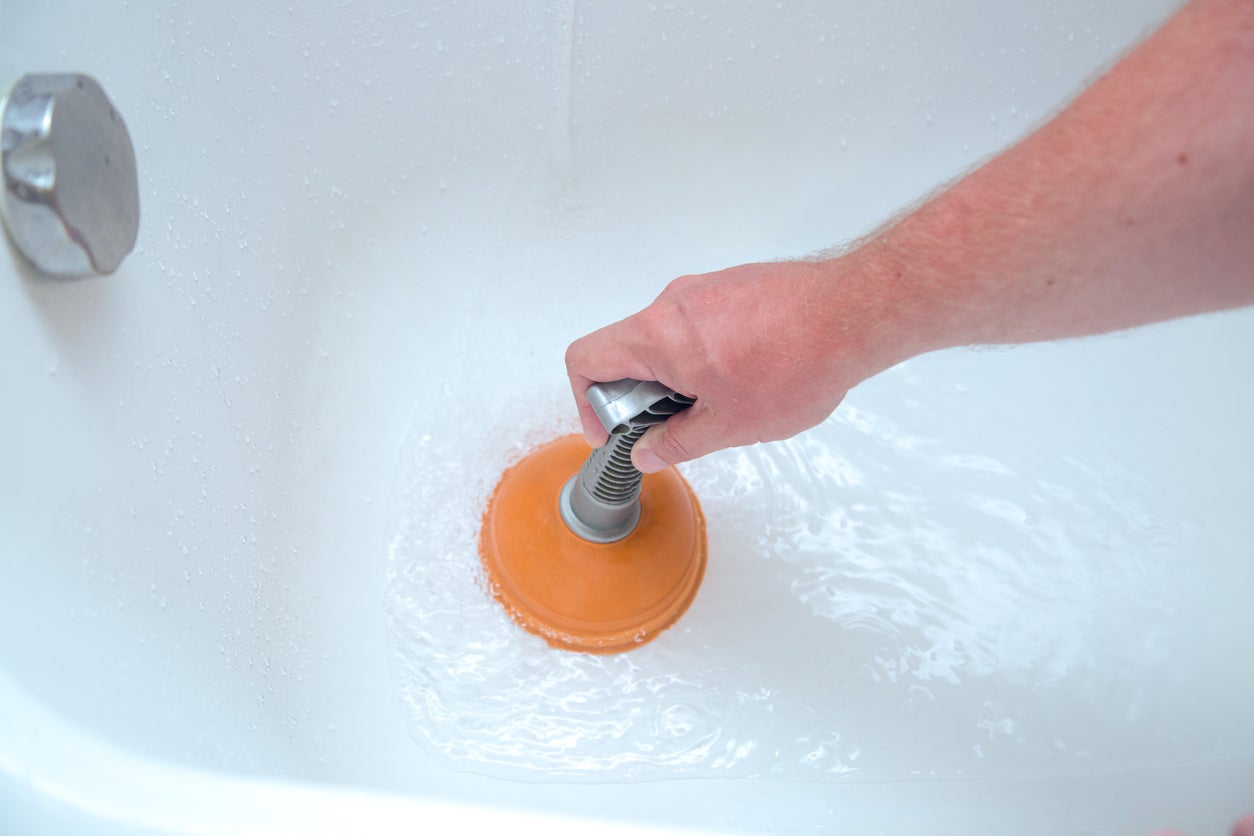
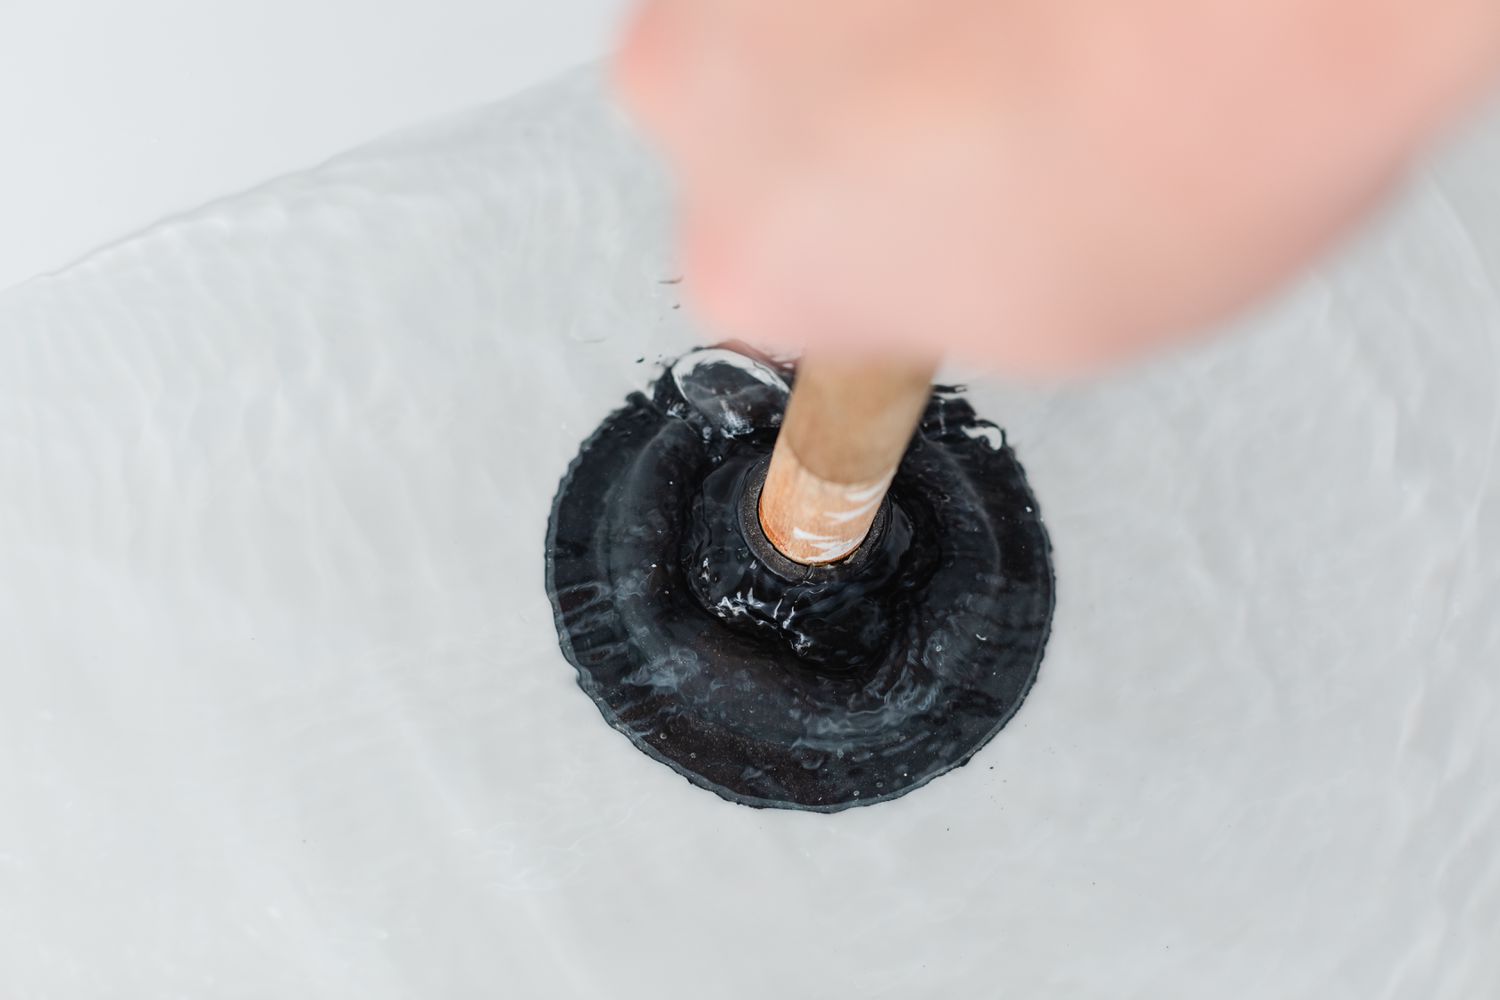
Step 3: Use a Plunger
If clearing out visible debris didn’t solve the clog, it’s time to bring out the trusty plunger. This handy tool can create suction and pressure to dislodge stubborn clogs. Follow these steps to effectively use a plunger:
- Make sure the drain area is wet. If it’s not already wet, pour some water into the shower to create a seal for the plunger.
- Place the plunger over the drain, ensuring a tight seal. If the plunger has a flange, ensure that it is partially filled with water to create additional suction.
- Hold the plunger’s handle with both hands and begin to push and pull it in a vigorous motion. The goal is to create suction and pressure to dislodge the clog.
- Continue plunging for about a minute, or until you feel the resistance diminish. This indicates that the clog has been cleared.
- Remove the plunger and test the water flow by running the shower. If the water drains properly, the clog has been successfully cleared.
Using a plunger is often an effective method for clearing minor clogs in shower drains. The suction and pressure created by the plunger can help dislodge the clog and restore proper drainage. However, if the clog persists, you may need to try other methods or tools.
Remember to clean and disinfect the plunger after use to maintain hygiene and prevent the spread of bacteria.
If the plunger doesn’t solve the issue, it’s time to move on to the next step: trying a homemade drain cleaner.
Note: Avoid using the plunger if you have recently poured a chemical drain cleaner down the drain, as the mixture may splash back and cause harm. In such cases, it’s best to wait for the recommended time period mentioned on the drain cleaner product before attempting to plunge.
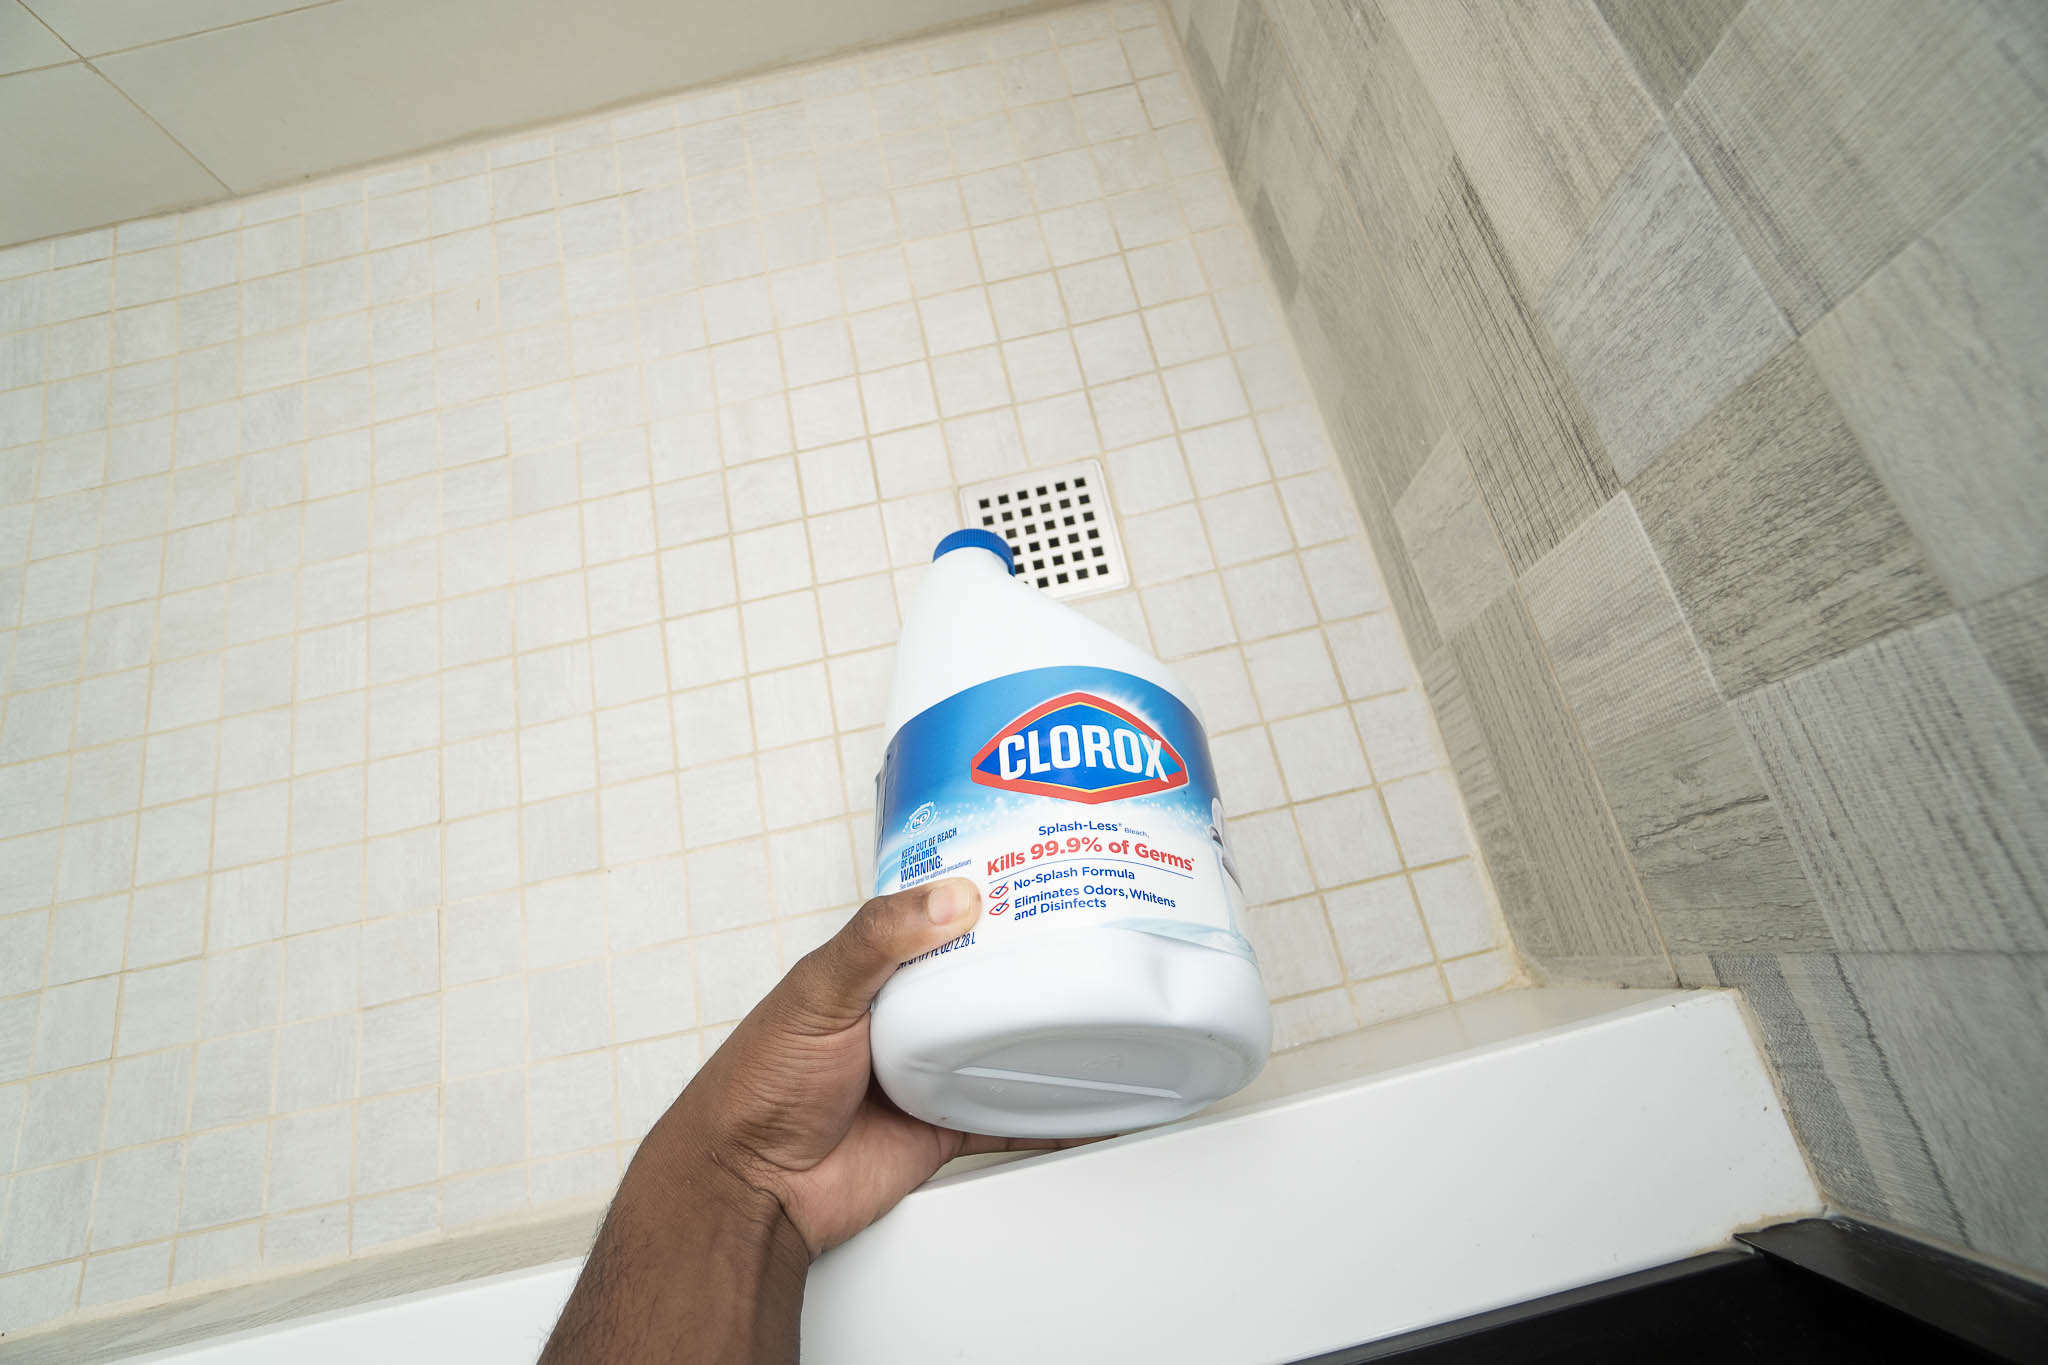
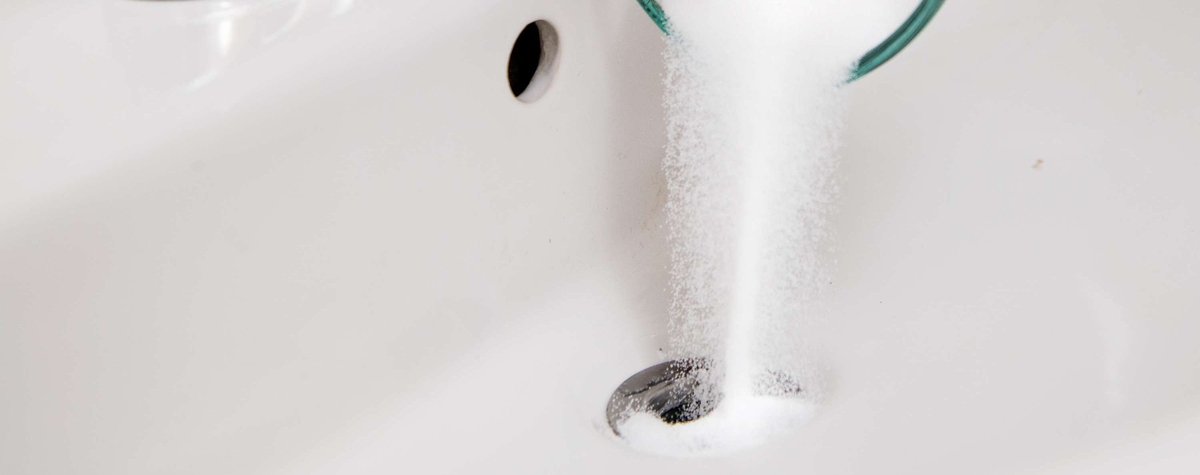
Step 4: Try a Homemade Drain Cleaner
If the plunger didn’t successfully clear the clog in your shower drain, it’s time to try a homemade drain cleaner. These natural solutions can help break down organic matter and reduce blockages. Follow these steps to create and use a homemade drain cleaner:
- Mix equal parts of baking soda and vinegar in a small bowl. For example, you can start with 1/2 cup of each.
- Pour the mixture down the drain slowly and let it sit for about 15-20 minutes. The combination of baking soda and vinegar will create a foaming action that helps break down the clog.
- After the waiting period, pour hot water down the drain to help flush out the dissolved debris.
- Test the water flow by running the shower. If the clog has cleared, the water should drain properly. If not, you may need to repeat the process or try a different approach.
Baking soda and vinegar are commonly found household ingredients that can be used to create an effective and safe drain cleaner. The foaming action helps dislodge and break down organic matter, allowing it to be flushed away more easily.
If the homemade drain cleaner doesn’t solve the clog, it’s time to move on to the next step: using a plumbing snake.
Note: Avoid using chemical drain cleaners after using a homemade drain cleaner, as the two substances can react and potentially cause harmful fumes or damage to your plumbing system. If the clog persists or you are unsure about the best course of action, it’s recommended to consult a professional plumber.
Pour a mixture of 1 cup of baking soda and 1 cup of vinegar down the drain, followed by hot water. Let it sit for 15 minutes, then flush with hot water to unclog the shower drain.
Read more: How To Unclog Freezer Drain
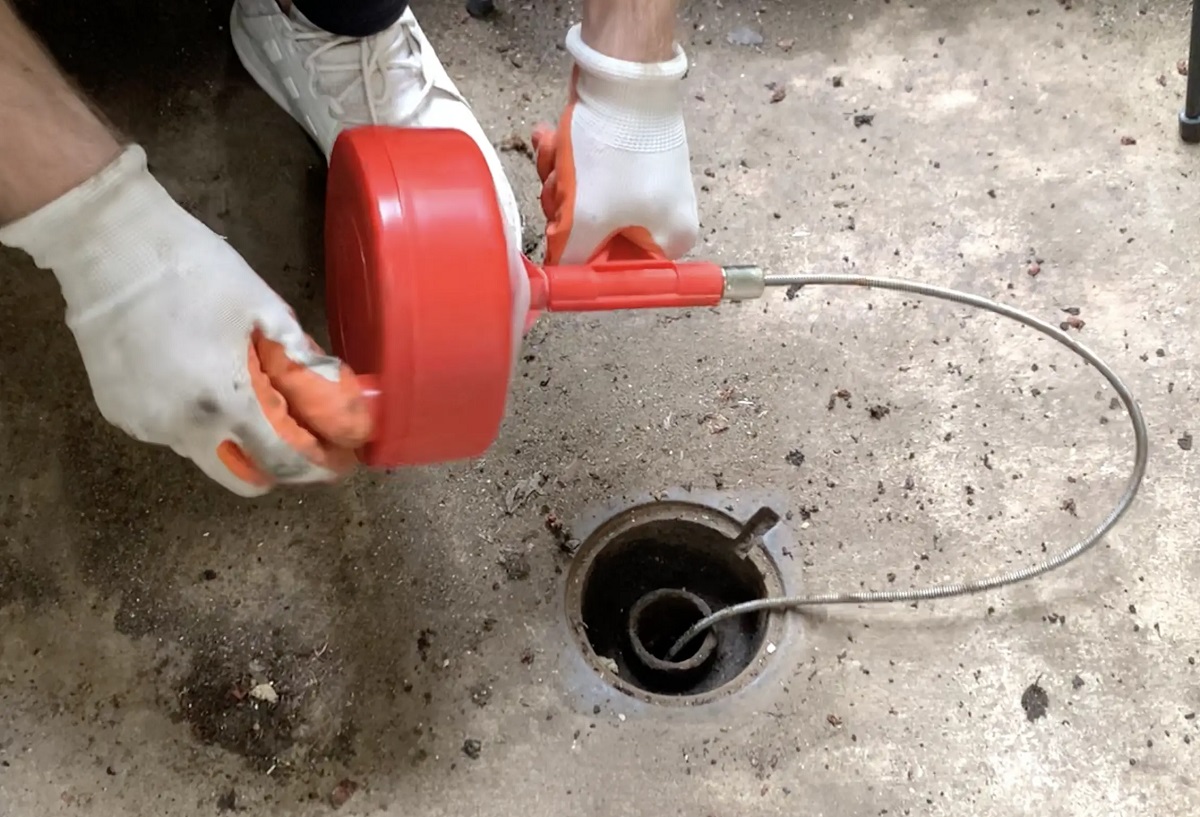
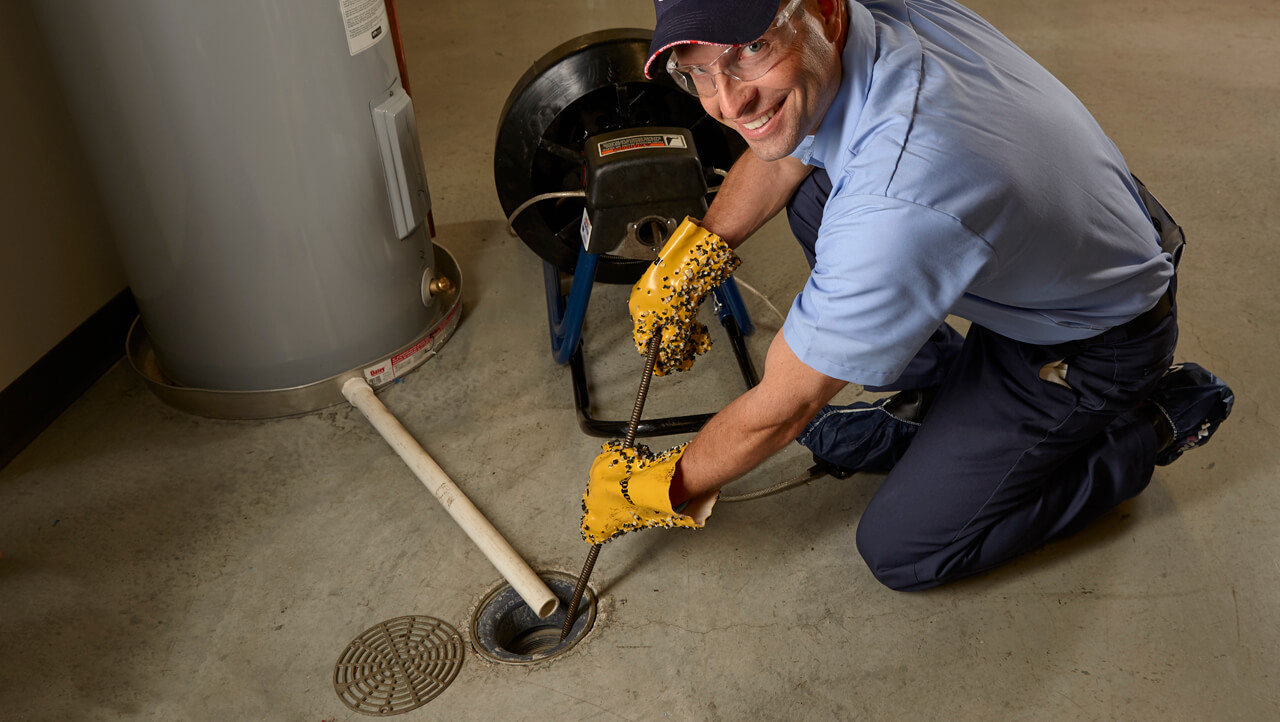
Step 5: Use a Plumbing Snake
If the clog in your shower drain remains stubborn even after trying a homemade drain cleaner, it’s time to bring out the heavy-duty equipment: a plumbing snake, also known as a drain auger. This tool is designed to navigate through pipes and break up clogs that are more difficult to reach. Follow these steps to use a plumbing snake:
- Find a plumbing snake that is suitable for your shower drain size and type. These can be purchased or rented from most home improvement stores.
- Insert the end of the snake into the drain opening and begin rotating it clockwise. This action helps the snake navigate through the pipe and break up the clog.
- Continue pushing the snake further into the drain until you feel resistance. This indicates that the snake has reached the clog.
- Once you reach the clog, rotate the snake counterclockwise to help dislodge and break it up. You may feel some resistance as the clog is being cleared.
- Slowly retract the snake from the drain, being careful not to scratch or damage the pipes.
- Run water into the drain to check if the clog has been successfully cleared. If not, you may need to repeat the process or seek professional help.
A plumbing snake is a useful tool for tackling more challenging and deeper clogs. It allows you to physically break up the blockage and clear the drain. However, be cautious when using a plumbing snake, as excessive force or improper usage can cause damage to the pipes.
If using a plumbing snake doesn’t resolve the clog, it’s time to consider cleaning the P-trap, which is the next step in our unclogging process.
Note: If you are unsure about using a plumbing snake or are not comfortable with the process, it is recommended to seek the assistance of a professional plumber.
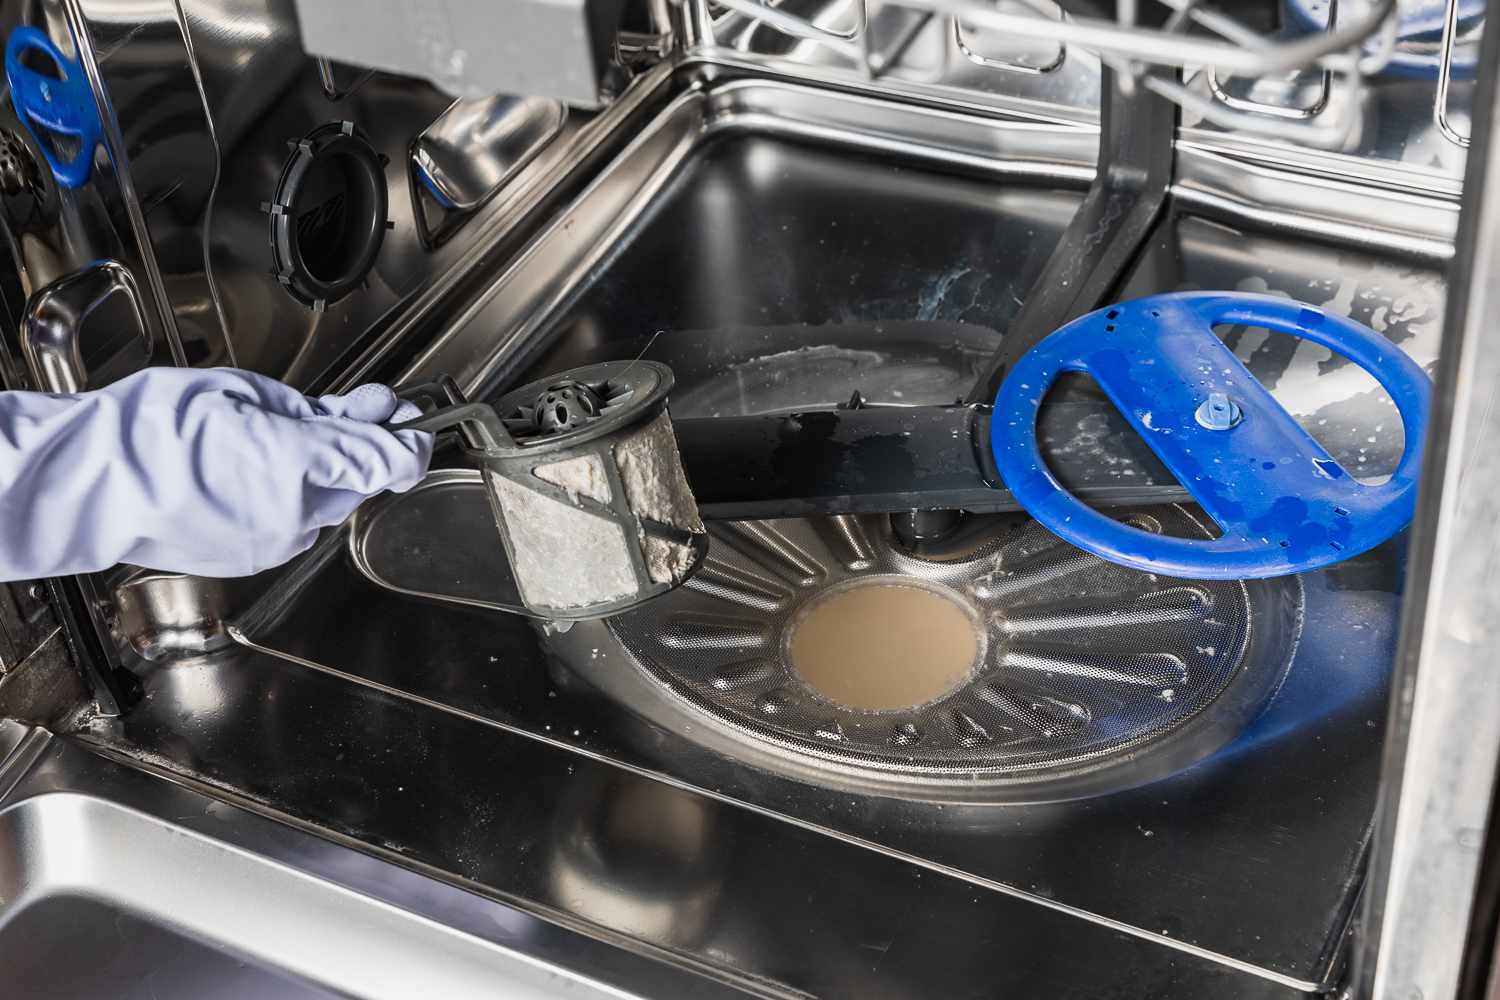
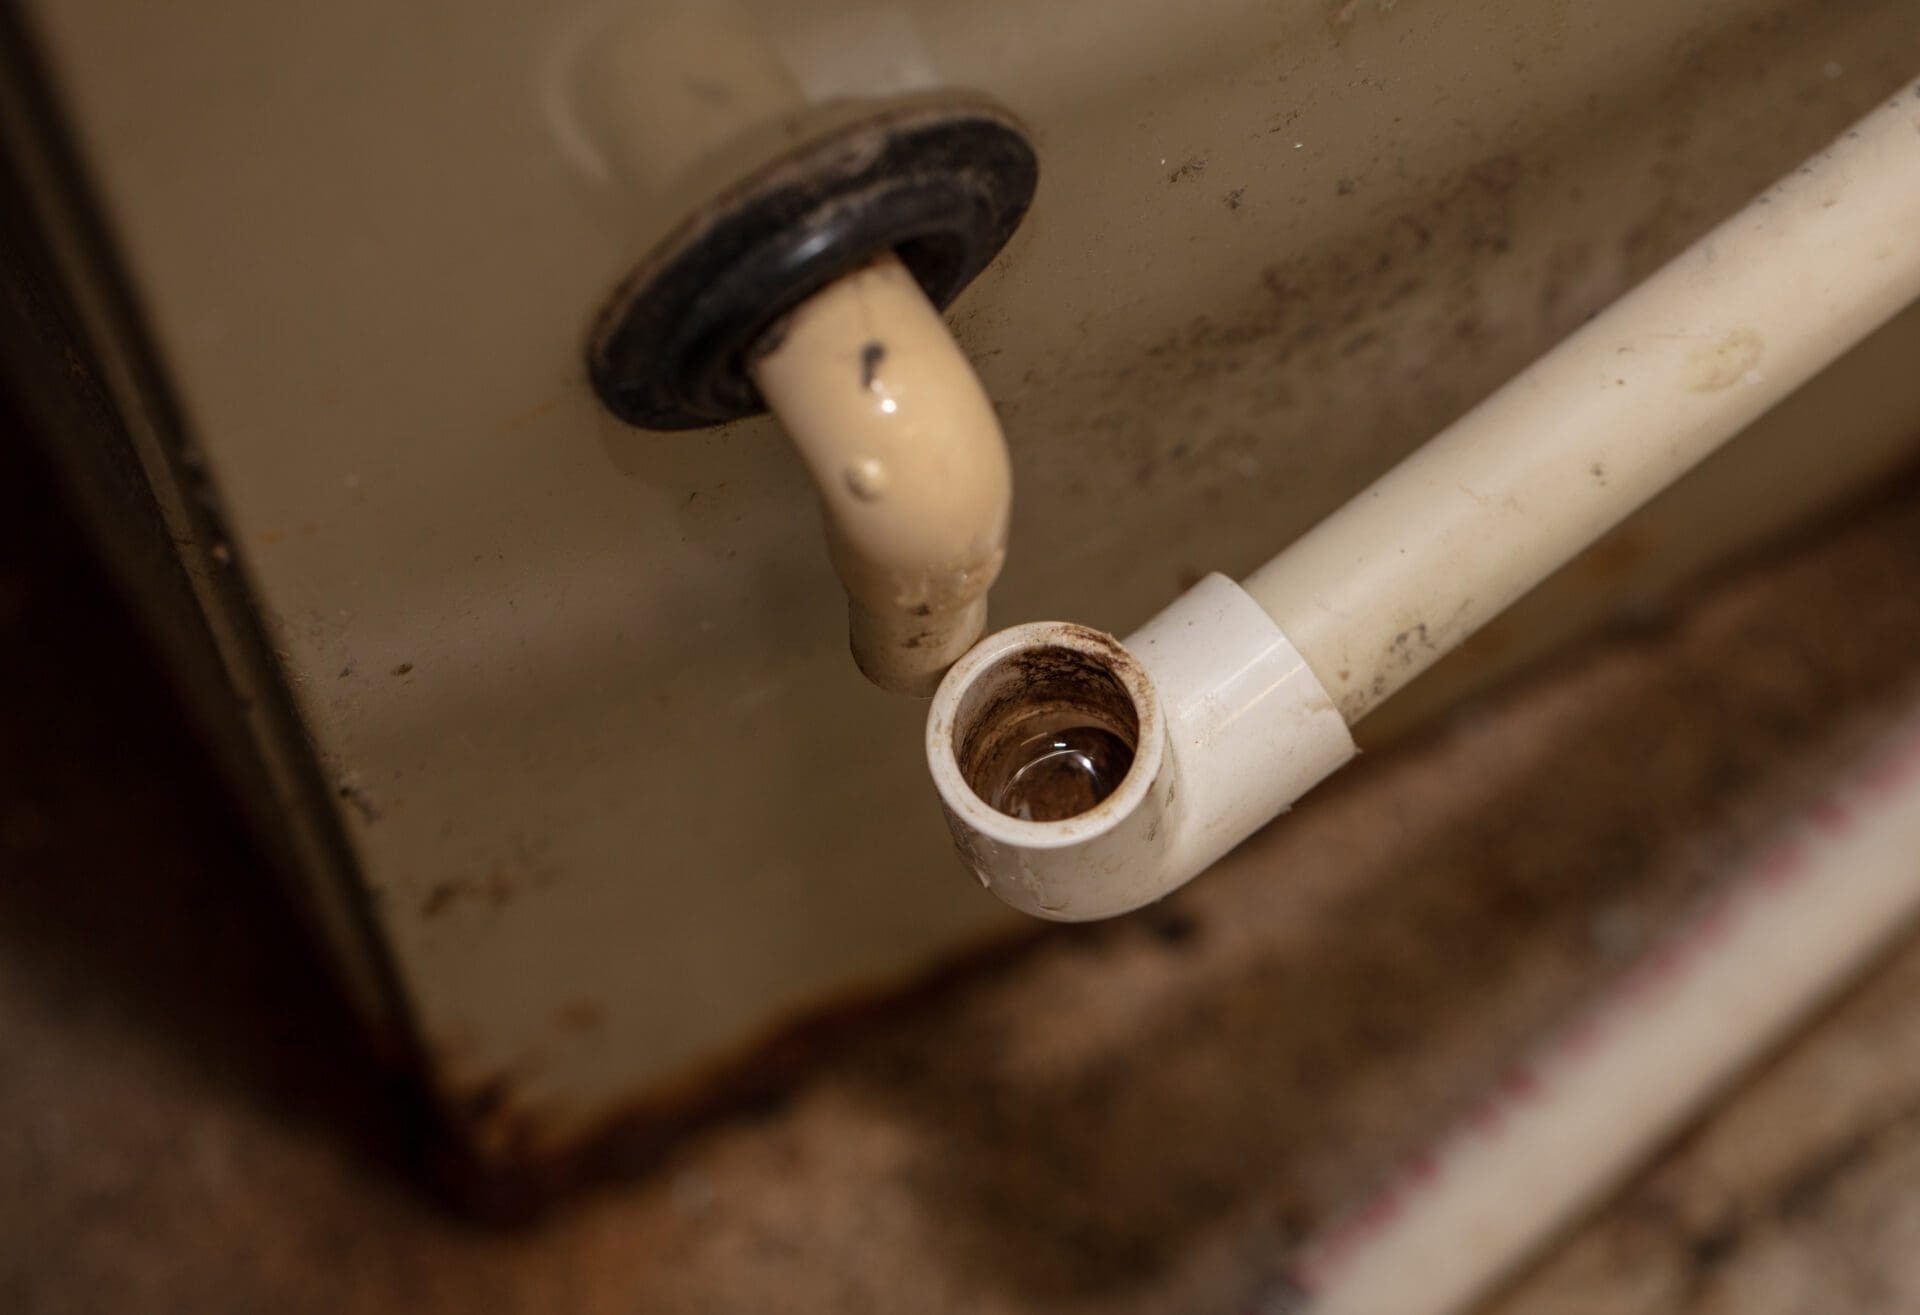
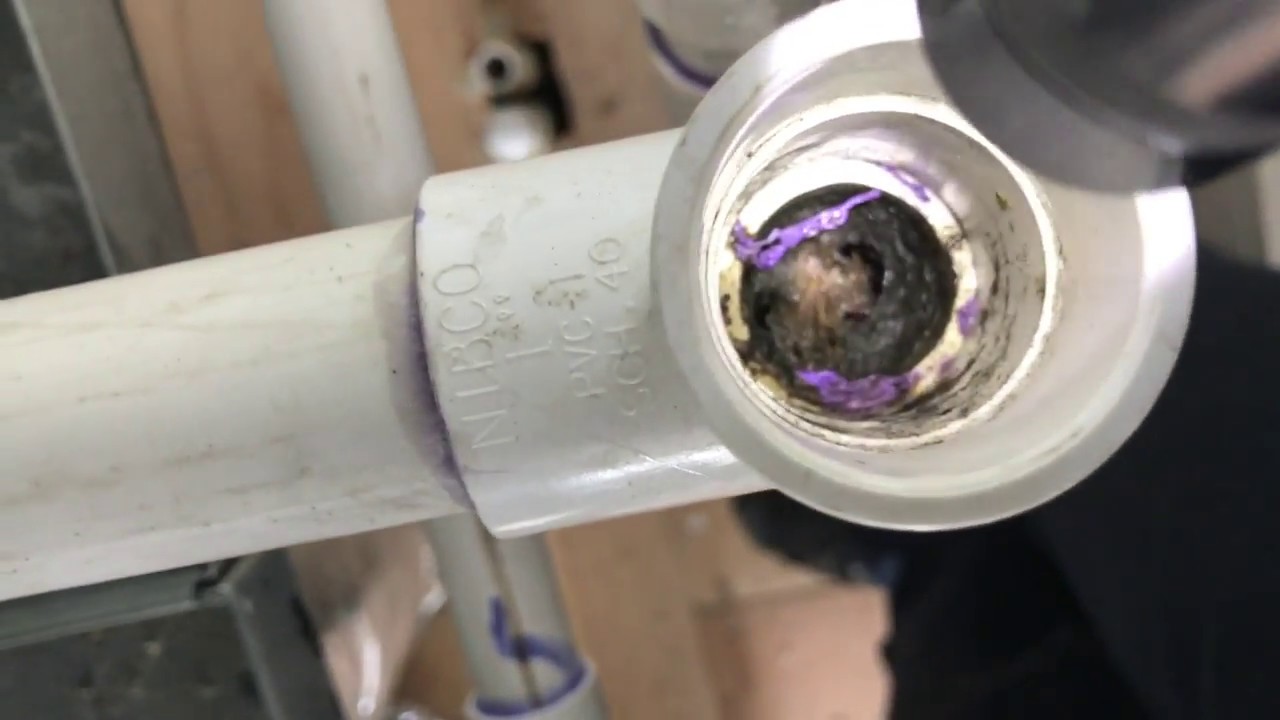
Step 6: Clean the P-Trap
If previous methods haven’t been successful in unclogging your shower drain, it’s time to clean the P-trap. The P-trap is a curved section of pipe located beneath your sink or shower drain that is designed to trap debris, preventing it from entering the main plumbing system. Follow these steps to clean the P-trap:
- Start by placing a bucket or container beneath the P-trap to catch any water or debris that may come out.
- Using a wrench or pliers, carefully loosen and remove the slip nuts that connect the P-trap to the pipes. There should be one on each end of the trap.
- Once the slip nuts are loosened, carefully twist and remove the P-trap from the drain pipes. Be prepared for some water and debris to drain out into the bucket.
- Inspect the P-trap for any visible clogs or debris. If you can see a blockage, remove it by hand or use a small brush to dislodge and clear it.
- Rinse the P-trap with water to ensure it is clean and free from any remaining debris.
- Reconnect the P-trap by tightening the slip nuts securely. Make sure they are snug, but be careful not to overtighten and damage the pipes.
- Run water into the drain to test if the clog has been cleared.
Cleaning the P-trap can often resolve clogs that are trapped within this section of pipe. Hair, soap scum, and other debris can accumulate in the P-trap over time, leading to blockages. By removing and cleaning the P-trap, you can effectively clear out any trapped debris.
If cleaning the P-trap doesn’t solve the clog, it may be time to consider seeking professional help from a plumber who can assess the situation and provide the necessary expertise.
Note: Before attempting to clean the P-trap, ensure that you have turned off the water supply to the shower to prevent any leaks or further water damage.
Step 7: Call a Professional Plumber if Necessary
If you have tried all the previous steps and your shower drain is still clogged, it may be time to call in a professional plumber. Plumbing issues can sometimes be complex, requiring specialized tools and expertise to resolve. Here’s why you should consider hiring a plumber:
- Experience and Expertise: Professional plumbers have years of experience dealing with various plumbing problems, including stubborn clogs. They have the knowledge and skills to assess the situation, identify the underlying cause of the clog, and provide an effective solution.
- Specialized Tools and Equipment: Plumbers have access to specialized tools and equipment that can be used to tackle even the most challenging clogs. These tools, such as drain cameras and high-pressure water jets, can be essential in diagnosing and clearing clogs that are deep within the plumbing system.
- Potential Underlying Issues: A persistently clogged shower drain could be a sign of a more significant plumbing issue, such as a damaged or collapsed pipe. A professional plumber can properly diagnose the problem and address any underlying issues, ensuring a long-term solution rather than a temporary fix.
- Time and Convenience: Hiring a plumber saves you time and effort spent trying various methods to unclog the drain yourself. Plumbers can provide quick and efficient solutions, allowing you to resume your normal routine without the hassle of dealing with a clogged drain.
- Prevent Further Damage: Attempting to fix a stubborn clog without proper knowledge or tools can potentially cause further damage to your plumbing system. Calling a professional plumber can help prevent any costly mistakes and ensure the problem is resolved safely and effectively.
If you have exhausted all the DIY methods and the clog persists or is recurring, it’s best to seek the assistance of a professional plumber. They have the expertise and resources to assess and address the issue, saving you time, money, and frustration in the long run.
Remember, it’s always better to be safe than sorry when it comes to your plumbing system. So don’t hesitate to contact a professional plumber if needed.
Conclusion
Having a clogged shower drain can be a frustrating and inconvenient issue to deal with. However, with the right knowledge and methods, you can effectively unclog your drain and restore proper water flow in your bathroom. By following the steps outlined in this article, you can tackle minor to moderate clogs and improve the functionality of your shower drain.
Remember to start with the simplest solutions, such as removing visible debris and using a plunger. These methods often work well for common clogs caused by hair, soap scum, and other small objects. If these methods don’t resolve the issue, try using a homemade drain cleaner or a plumbing snake to tackle more stubborn clogs.
In some cases, cleaning the P-trap may be necessary to clear out trapped debris. However, if you have tried all these steps without success, it’s best to call a professional plumber. They have the expertise, specialized tools, and knowledge to handle complex clogs and address any underlying issues that may be contributing to the problem.
Remember, prevention is always better than cure when it comes to keeping your shower drain unclogged. Regularly cleaning your drain, using hair catchers, and avoiding pouring harmful substances down the drain can go a long way in maintaining a healthy and efficient plumbing system.
With the right maintenance and care, you can keep your shower drain flowing smoothly and enjoy a clutter-free and functional bathroom. By implementing the tips and techniques discussed in this article, you can tackle clogs and maximize your bathroom storage space to create a clean and organized environment.
So don’t let a clogged shower drain dampen your mood. Take action today, and enjoy the benefits of a well-maintained and functional bathroom!
Frequently Asked Questions about How To Unclog A Shower Drain
Was this page helpful?
At Storables.com, we guarantee accurate and reliable information. Our content, validated by Expert Board Contributors, is crafted following stringent Editorial Policies. We're committed to providing you with well-researched, expert-backed insights for all your informational needs.


0 thoughts on “How To Unclog A Shower Drain”