Home>Home Appliances>Laundry Appliances>How To Unclog A Drain Pipe In A Washing Machine
Laundry Appliances
How To Unclog A Drain Pipe In A Washing Machine
Modified: October 20, 2024
Learn how to effectively unclog a drain pipe in your washing machine with our expert tips and tricks. Keep your laundry appliances running smoothly with our easy-to-follow guide.
(Many of the links in this article redirect to a specific reviewed product. Your purchase of these products through affiliate links helps to generate commission for Storables.com, at no extra cost. Learn more)
Introduction
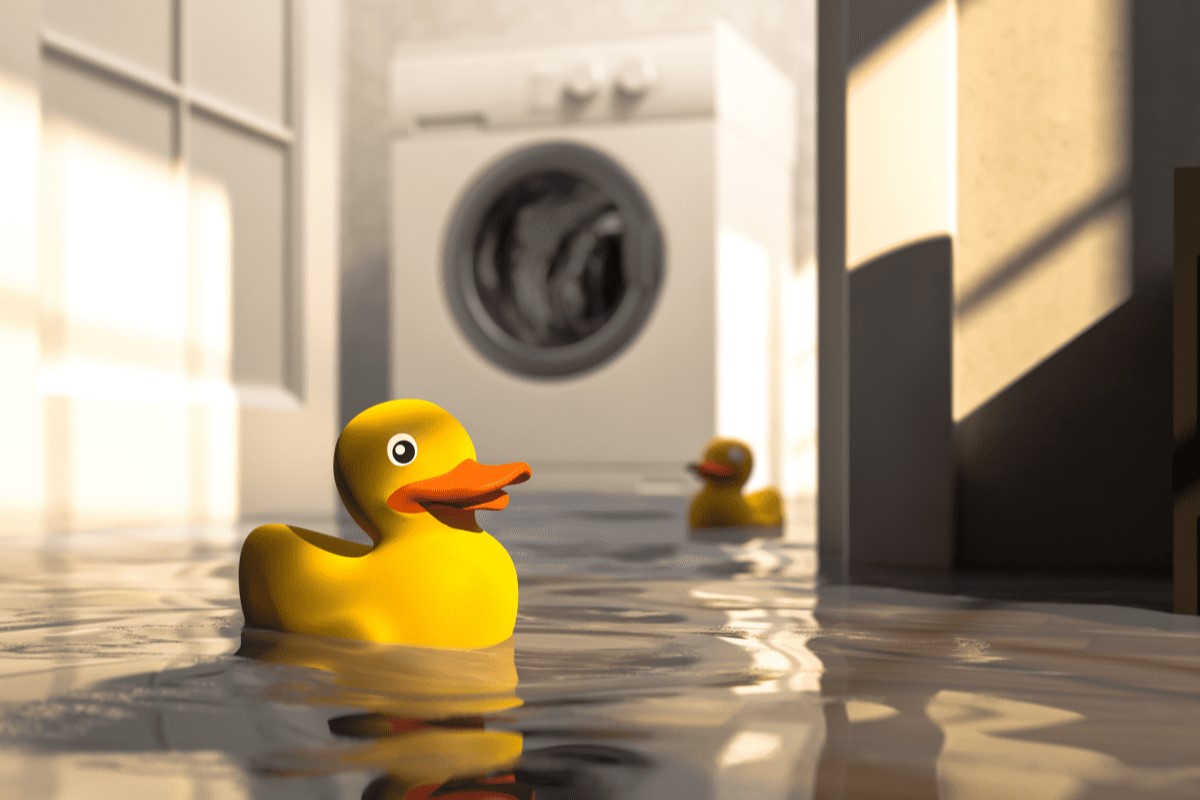
A clogged drain pipe in a washing machine can be a frustrating and inconvenient issue to deal with. When the drain pipe becomes obstructed, it can lead to water backing up in the machine, causing potential damage and disrupting the laundry routine. However, with the right knowledge and tools, unclogging a drain pipe in a washing machine can be a manageable task.
In this comprehensive guide, we will walk you through the step-by-step process of unclogging a drain pipe in your washing machine. By following these instructions, you can restore proper drainage and ensure the smooth operation of your appliance. Whether you are a seasoned DIY enthusiast or a novice in home maintenance, this guide will equip you with the essential information to tackle this common household issue.
By understanding the underlying causes of drain pipe clogs and learning the proper techniques for addressing them, you can save time and money by avoiding the need for professional assistance. With a proactive approach to maintenance and repair, you can extend the lifespan of your washing machine and maintain its optimal performance.
Now, let's gather the necessary tools and materials and embark on the journey to unclog the drain pipe in your washing machine. With a bit of patience and determination, you can overcome this challenge and restore your appliance to its full functionality.
Key Takeaways:
- Don’t let a clogged drain pipe ruin your laundry day! With the right tools and know-how, you can unclog it yourself using vinegar, baking soda, and hot water. Keep your washing machine running smoothly and save money on professional help.
- After cleaning the drain pipe, reassemble it carefully and test your washing machine to make sure the clog is gone. By following these steps, you can fix the issue and keep your appliance working like new.
Read more: What Size Pipe For Washer Drain
Tools and Materials Needed
Before embarking on the task of unclogging the drain pipe in your washing machine, it's essential to gather the necessary tools and materials to ensure a smooth and efficient process. Here's a comprehensive list of items you will need:
Tools:
- Adjustable Wrench: This versatile tool will be essential for loosening and tightening various fittings and connections within the washing machine.
- Bucket: A sturdy bucket will come in handy for catching any excess water that may spill out during the unclogging process.
- Pipe Brush or Pipe Snake: These tools are designed to reach into the drain pipe and dislodge any debris or buildup that may be causing the clog.
- Screwdriver: Depending on the type of fasteners used in your washing machine, a screwdriver may be necessary for disassembly.
- Safety Gloves and Goggles: It's important to protect your hands and eyes from any potential debris or cleaning agents that may be encountered during the unclogging process.
Materials:
- Vinegar and Baking Soda: This natural and environmentally friendly combination can help break down organic matter and residue within the drain pipe.
- Hot Water: Boiling water can be used to flush the drain pipe and help dislodge any stubborn clogs.
- Cleaning Solution: A mild cleaning solution or detergent can be used to remove any residual grime or buildup within the drain pipe.
- Replacement Washers: In case any washers or seals are damaged during disassembly, having replacements on hand can prevent delays in the repair process.
- Towels or Rags: These will be useful for wiping up any spills and keeping the work area clean and dry.
By ensuring that you have these tools and materials readily available, you can proceed with confidence and address the clogged drain pipe in your washing machine effectively. With the right equipment at your disposal, you'll be well-prepared to tackle each step of the unclogging process and restore proper drainage to your appliance.
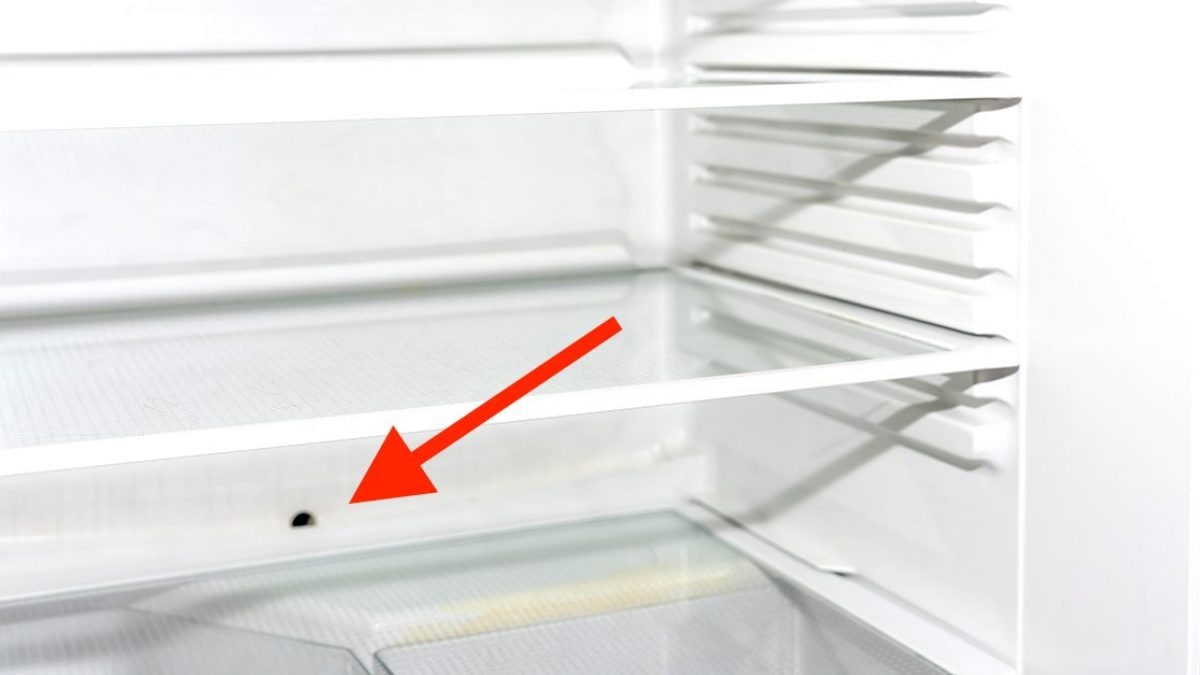
Step 1: Locate the Drain Pipe
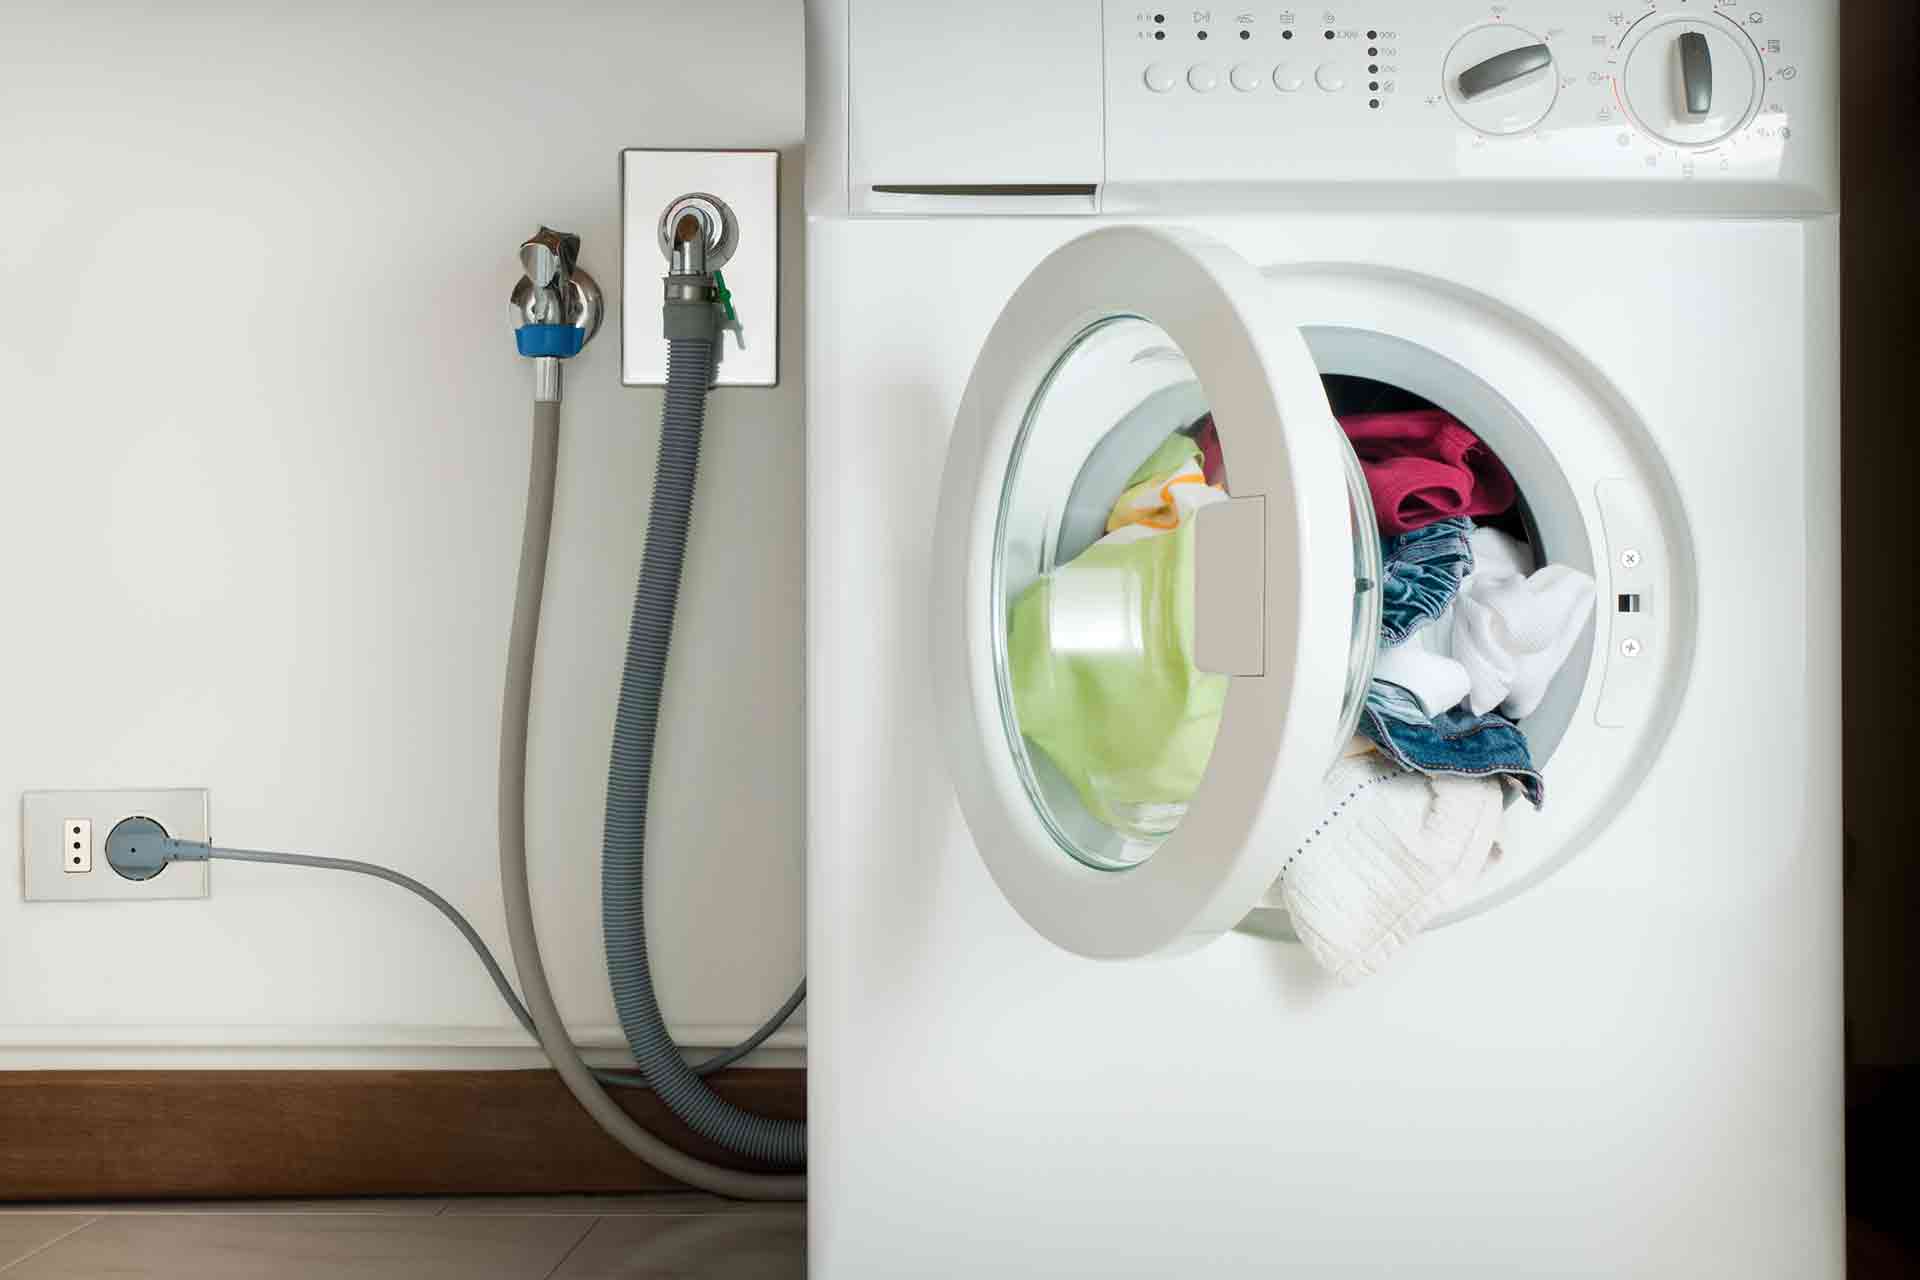
The first step in unclogging a drain pipe in a washing machine is to locate the position of the drain pipe. The drain pipe is a crucial component responsible for carrying wastewater away from the washing machine during the drainage cycle. It is typically connected to the back of the washing machine and extends to a drainage point, such as a utility sink, standpipe, or floor drain.
To begin, it's important to familiarize yourself with the layout of your washing machine and identify the area where the drain pipe is situated. In most cases, the drain pipe is located at the rear of the machine, often near the bottom. It is commonly secured in place with clips or brackets to ensure stability during operation.
Once you have located the drain pipe, take note of its positioning and any visible connections to the washing machine and the drainage point. It's essential to have a clear understanding of how the drain pipe is integrated into the appliance's design to facilitate its removal and subsequent unclogging.
In some washing machine models, the drain pipe may be concealed behind a removable panel or cover. If this is the case, carefully remove the panel using a screwdriver or the appropriate tool to access the drain pipe. Additionally, refer to the manufacturer's manual or online resources for specific guidance on locating and accessing the drain pipe for your particular washing machine model.
As you inspect the drain pipe, be mindful of any signs of damage, such as cracks, leaks, or corrosion. Identifying and addressing any structural issues with the drain pipe during the unclogging process can prevent future complications and ensure the long-term functionality of your washing machine.
By taking the time to accurately pinpoint the location of the drain pipe and familiarize yourself with its configuration, you will set the stage for a systematic and effective approach to unclogging the drain pipe in your washing machine. With this foundational knowledge in place, you can confidently proceed to the next steps of the unclogging process, equipped with a clear understanding of the drain pipe's role within the appliance.
Read more: How To Vent A Washing Machine Drain Pipe
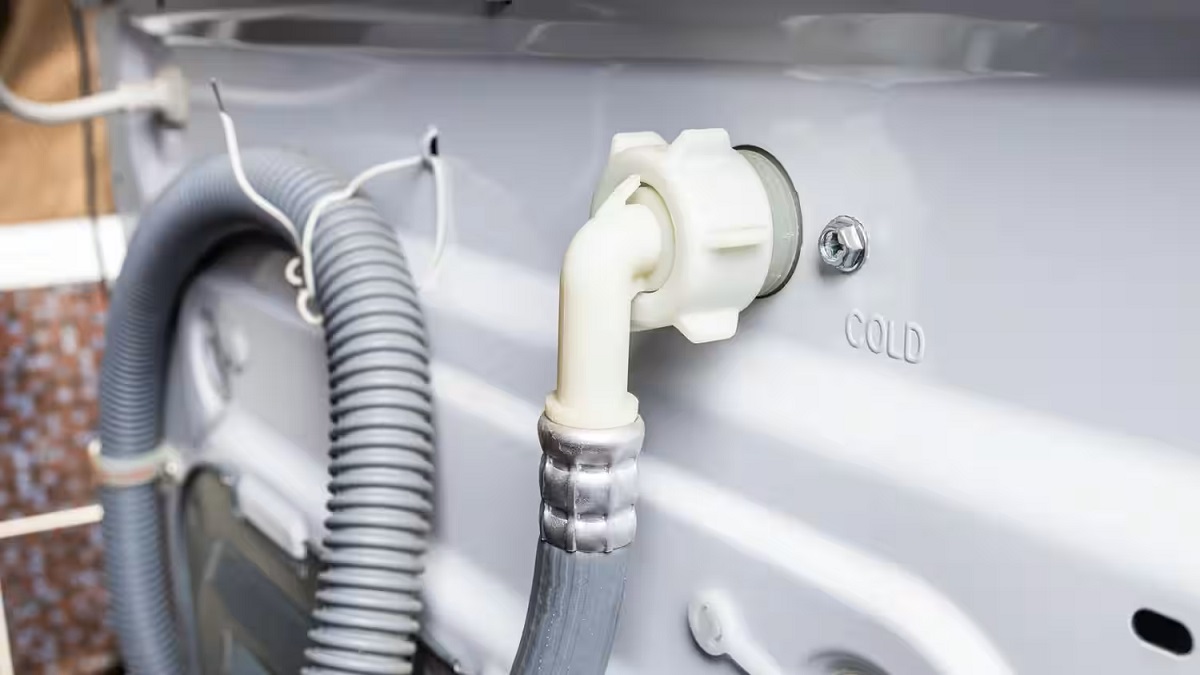
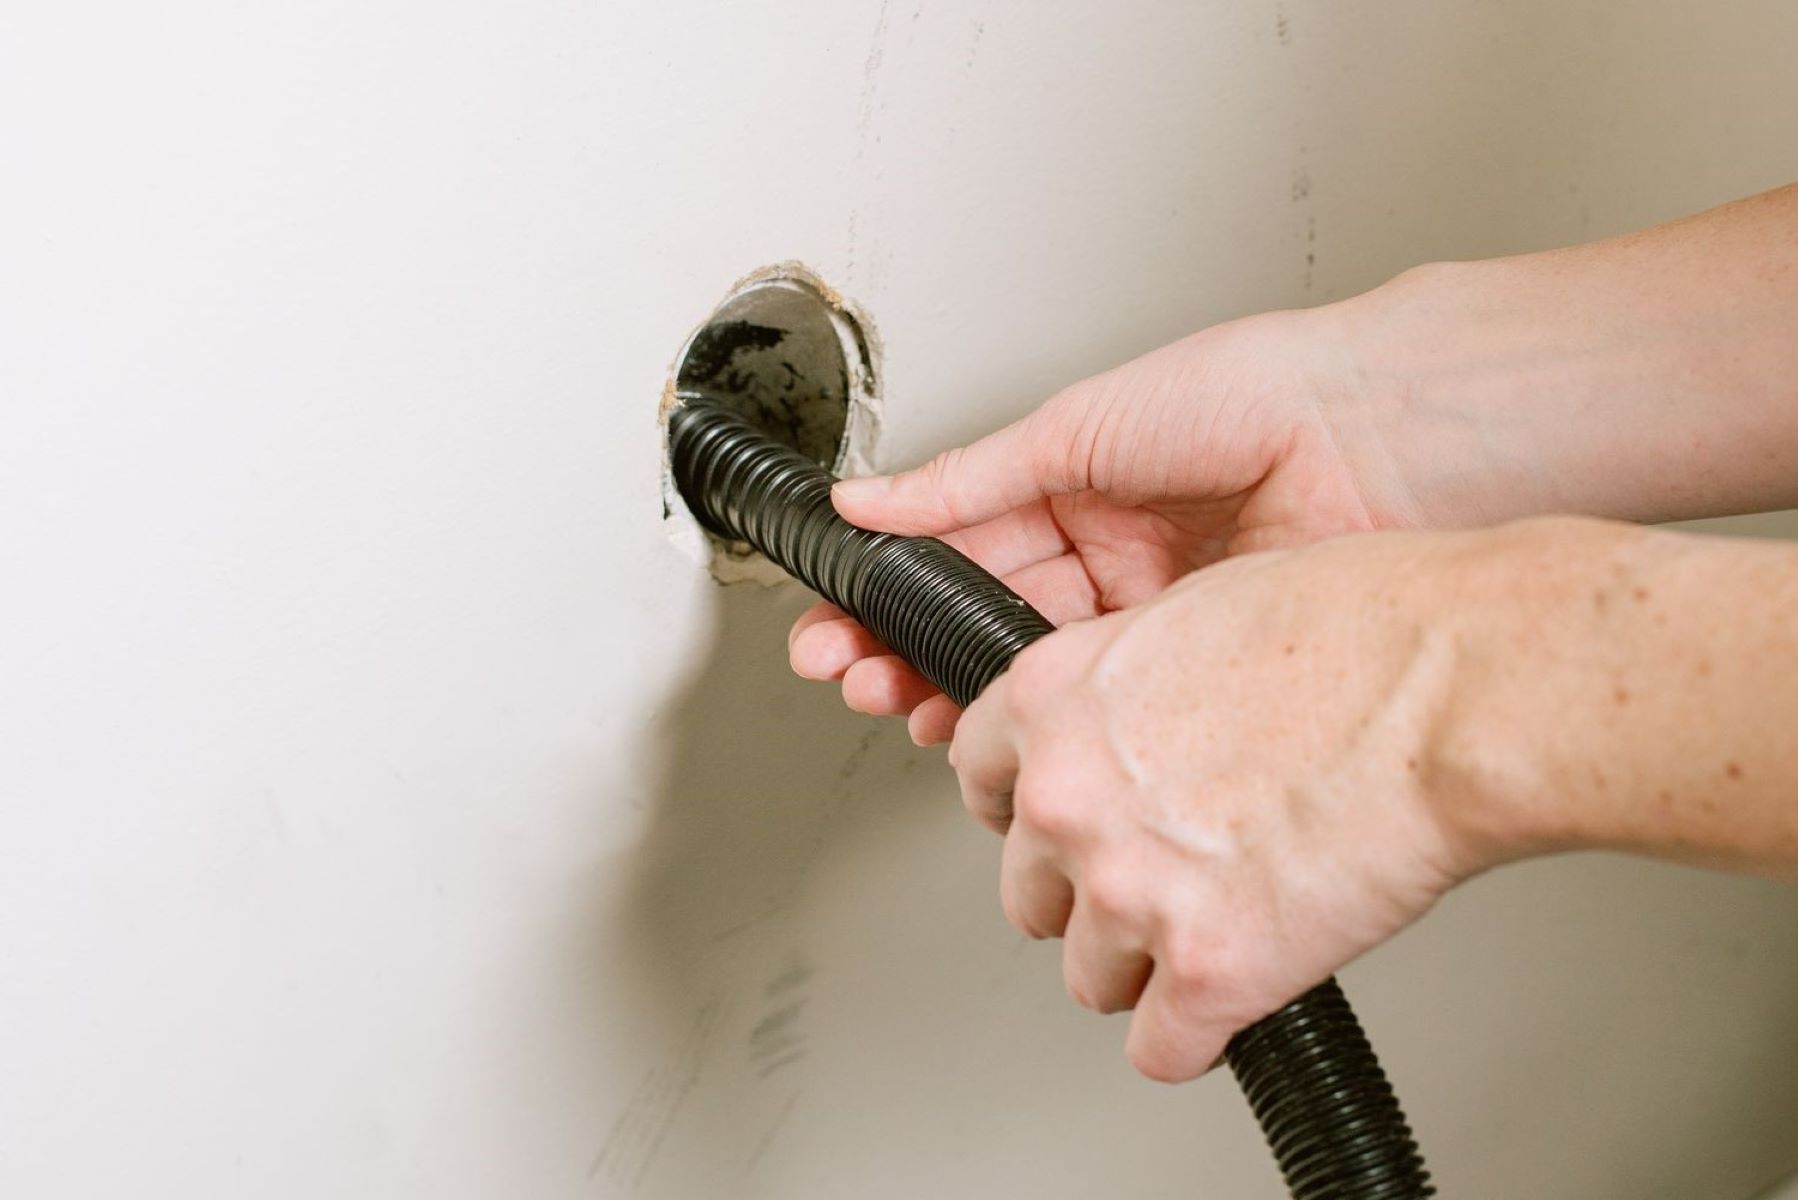
Step 2: Remove the Drain Pipe
With the location of the drain pipe identified, the next crucial step in unclogging a washing machine's drain pipe is to remove the pipe from its connections. This process allows for thorough access to the interior of the drain pipe, enabling the effective removal of any accumulated debris or blockages.
Before proceeding with the removal, it's essential to ensure that the washing machine is completely disconnected from the power source and that the water supply is turned off. This precautionary measure minimizes the risk of electrical hazards and prevents water from entering the machine during the unclogging process.
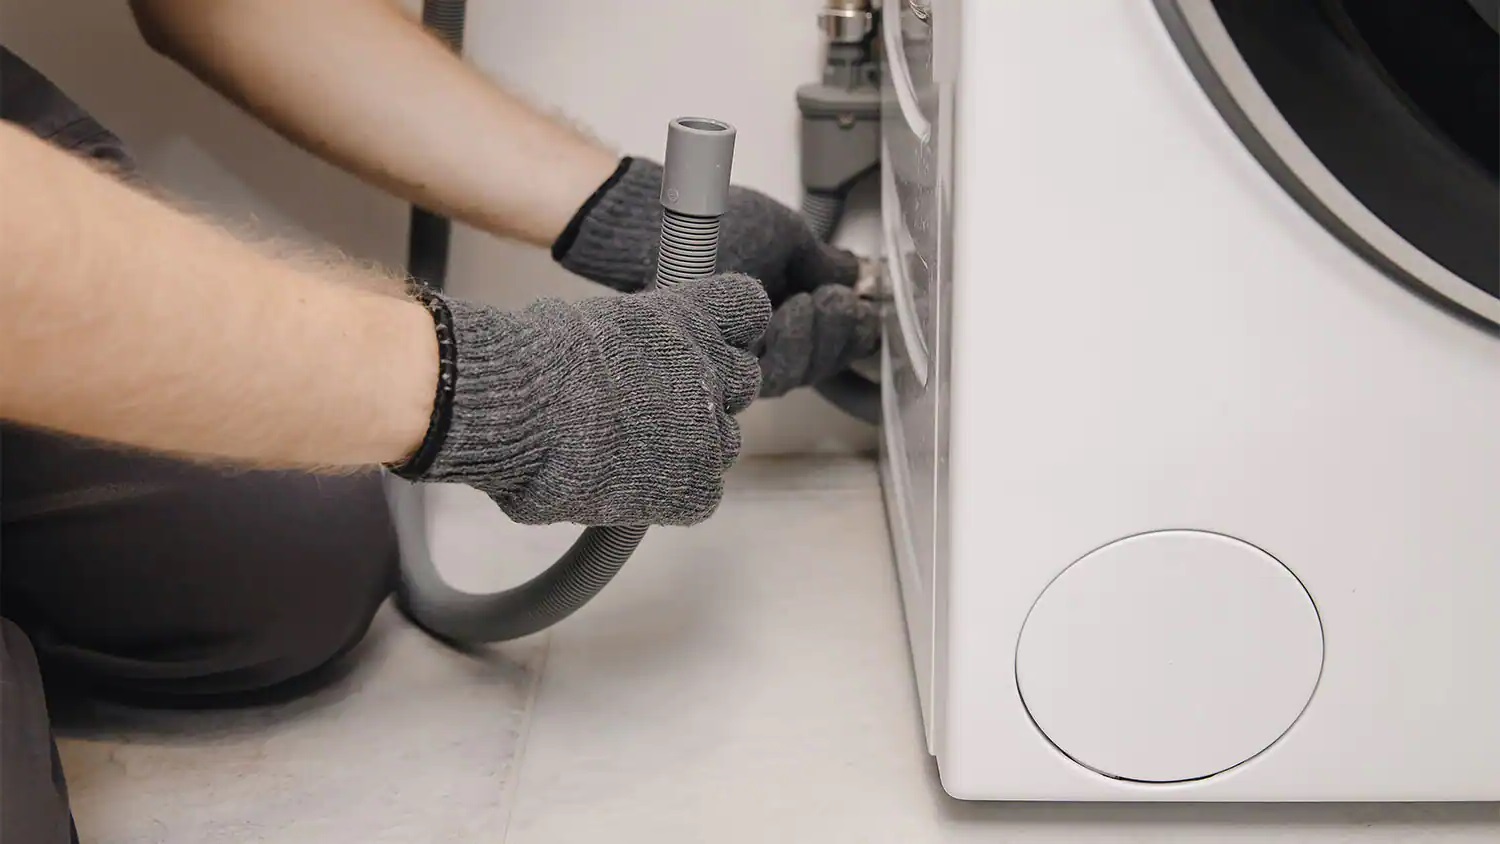
Using an adjustable wrench, carefully loosen the hose clamps or fasteners that secure the drain pipe to the washing machine and the drainage point. As you work, be mindful of any residual water that may be trapped within the pipe and have a bucket or towels ready to capture any spills.
Once the hose clamps are loosened, gently detach the drain pipe from the connections, taking care not to force or damage the fittings. Depending on the design of the washing machine, there may be additional clips or brackets securing the drain pipe in place. If so, carefully release these attachments to facilitate the removal of the pipe.
As you remove the drain pipe, inspect the exterior for any visible signs of damage, such as cracks or deterioration. Additionally, take note of the condition of the hose clamps and fittings, as these components play a critical role in maintaining a secure and leak-free connection.
With the drain pipe successfully detached, set it aside in a safe and accessible location for the subsequent cleaning process. It's important to handle the pipe with care to avoid causing any further damage or compromising its structural integrity.
By methodically removing the drain pipe from its connections, you have laid the groundwork for the thorough cleaning and unclogging of the interior components. This deliberate approach sets the stage for a systematic and effective resolution of the drainage issue, ensuring that the washing machine can be restored to optimal functionality.
With the drain pipe now removed, the subsequent steps will focus on cleaning the interior of the pipe and addressing any obstructions that may be impeding proper drainage. This meticulous process will pave the way for the successful restoration of the washing machine's functionality, allowing for seamless operation during future laundry cycles.
Step 3: Clean the Drain Pipe
With the drain pipe removed from the washing machine, the next critical step is to thoroughly clean the interior of the pipe to eliminate any accumulated debris, residue, or clogs that may be impeding proper drainage. A systematic and meticulous approach to cleaning the drain pipe is essential to ensure the restoration of optimal functionality and prevent future issues.
Begin by visually inspecting the interior of the drain pipe for any visible obstructions or buildup. Using a flashlight, carefully examine the walls of the pipe to identify any signs of blockages, such as lint, soap scum, or mineral deposits. Additionally, check for the presence of any foreign objects that may have inadvertently entered the pipe and contributed to the clog.
Once any visible obstructions have been identified, it's time to initiate the cleaning process. One effective method involves using a pipe brush or pipe snake to dislodge and remove the accumulated debris. Insert the brush or snake into the drain pipe and gently maneuver it back and forth to break up the clog and dislodge any stubborn residue. This mechanical agitation helps to restore the natural flow within the pipe and facilitates the removal of blockages.
In cases where organic matter or residue is contributing to the clog, a natural cleaning solution can be employed to break down and dissolve the buildup. A combination of vinegar and baking soda can serve as an environmentally friendly and effective cleaning agent. Begin by pouring a cup of baking soda into the drain pipe, followed by a generous amount of vinegar. The resulting chemical reaction will help dislodge organic matter and neutralize odors, contributing to a thorough cleaning of the pipe.
After allowing the cleaning solution to work its magic for a few minutes, flush the drain pipe with hot water to rinse away the loosened debris and residue. Boiling water can be particularly effective in dislodging stubborn clogs and ensuring that the interior of the pipe is thoroughly cleansed. Carefully pour the hot water into the drain pipe, allowing it to flow through and carry away the dislodged particles.
In situations where the clog persists or the cleaning process does not yield the desired results, it may be necessary to repeat the cleaning steps or employ a commercial drain cleaning product. However, exercise caution when using chemical cleaners, as they can be harsh and may damage certain types of piping materials.
By diligently cleaning the drain pipe and addressing any obstructions or buildup, you are taking proactive measures to restore proper drainage and ensure the optimal functionality of your washing machine. This thorough cleaning process sets the stage for the subsequent reassembly of the drain pipe and the testing of the washing machine, allowing you to verify the successful resolution of the clogging issue.
With the drain pipe now thoroughly cleaned, the subsequent step will focus on reassembling the components and restoring the connection to the washing machine and the drainage point. This pivotal stage in the unclogging process will bring you closer to the successful resolution of the drainage issue, paving the way for the seamless operation of your washing machine during future laundry cycles.
To unclog a drain pipe in a washing machine, start by removing any visible debris from the drain filter. Then, use a mixture of hot water, baking soda, and vinegar to break up and flush out the clog. If the clog persists, consider using a plumbing snake to physically remove the blockage.
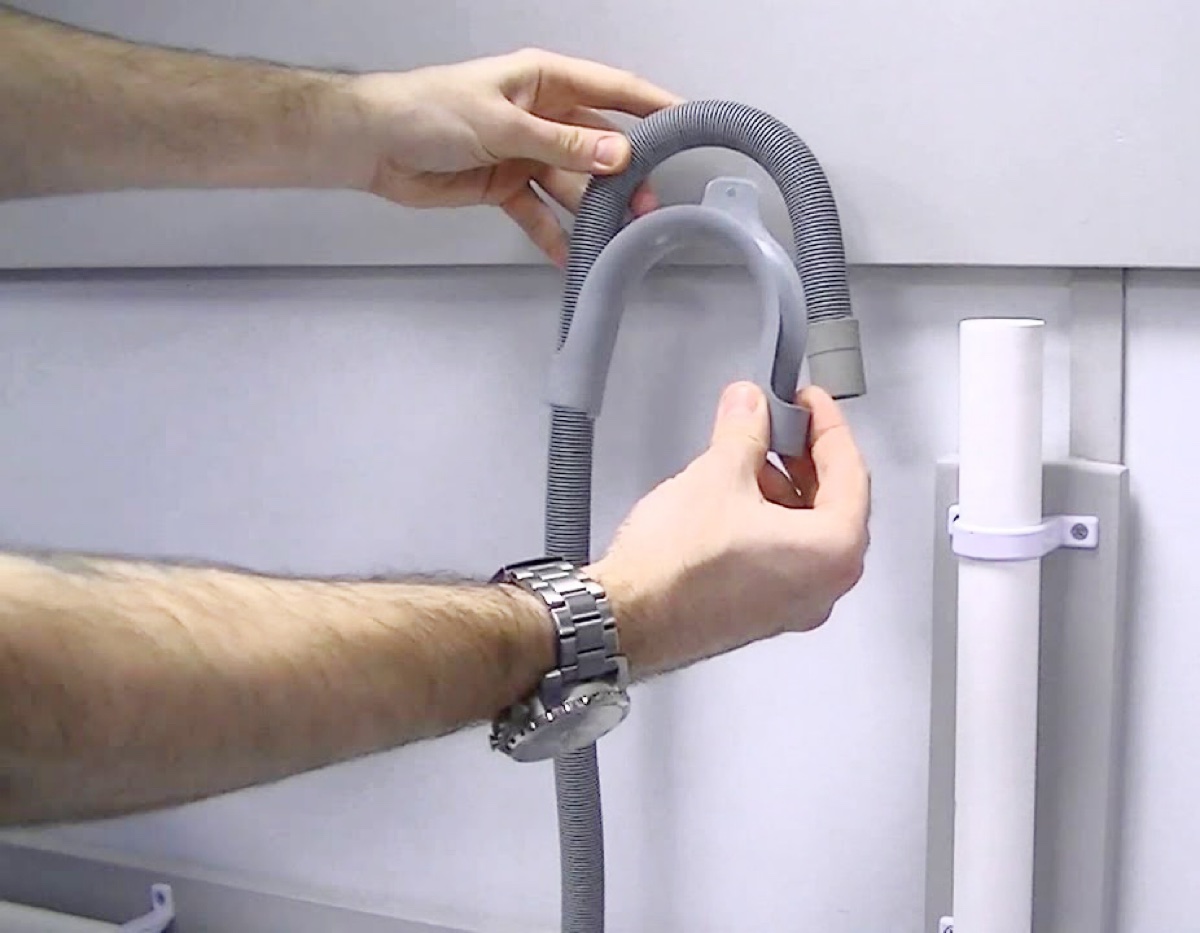
Step 4: Reassemble the Drain Pipe
With the drain pipe thoroughly cleaned and any obstructions removed, the next crucial step is to reassemble the drain pipe and restore its connection to the washing machine and the drainage point. This meticulous process of reassembly is essential to ensure a secure and leak-free integration, allowing for the seamless operation of the washing machine during future laundry cycles.
Begin by carefully inspecting the fittings and connections on both the drain pipe and the washing machine. Ensure that the hose clamps, washers, and seals are in good condition and free from damage. If any components show signs of wear or deterioration, it is advisable to replace them with new, compatible parts to maintain the integrity of the connections.
Next, align the drain pipe with the respective connections on the washing machine and the drainage point. Take care to position the pipe securely, ensuring that it sits flush and straight to facilitate a proper seal. Once the alignment is achieved, use an adjustable wrench to tighten the hose clamps and secure the fittings, taking care not to over-tighten, which could lead to damage or leaks.
As you reassemble the drain pipe, periodically check for any potential leaks or drips at the connections. It's essential to verify that the fittings are secure and that the connections are watertight. If any leaks are detected, promptly address them by adjusting the fittings and tightening the hose clamps as needed.
After confirming the secure reassembly of the drain pipe, carefully inspect the surrounding area for any residual water or spills. Wipe down the connections and the exterior of the drain pipe to ensure a clean and dry finish, minimizing the risk of water damage and maintaining a tidy work environment.
With the drain pipe successfully reassembled and the connections secured, the final step in the unclogging process is to test the washing machine to verify the restoration of proper drainage. Reconnect the power supply and water source to the machine, and initiate a test cycle to observe the drainage performance.
During the test cycle, monitor the drainage process closely to ensure that water flows freely through the drain pipe without any signs of backup or obstruction. Additionally, check for any leaks at the connections and confirm that the washing machine operates as expected, with efficient water expulsion during the drainage phase.
By meticulously reassembling the drain pipe and conducting a thorough testing process, you can confirm the successful resolution of the clogging issue and the restoration of optimal functionality to your washing machine. This systematic approach to reassembly and testing ensures that the appliance is ready to resume its essential role in the household, providing reliable and efficient laundry capabilities.
With the drain pipe securely reassembled and the washing machine successfully tested, you have effectively addressed the clogging issue and restored proper drainage to the appliance. This proactive maintenance and repair effort not only resolve the immediate concern but also contribute to the long-term performance and longevity of your washing machine, allowing you to enjoy uninterrupted laundry convenience with confidence.
Step 5: Test the Washing Machine
After meticulously reassembling the drain pipe and ensuring secure connections, the final and pivotal step in the unclogging process is to thoroughly test the washing machine. This critical phase allows for the verification of the successful restoration of proper drainage and the seamless operation of the appliance during a test cycle.
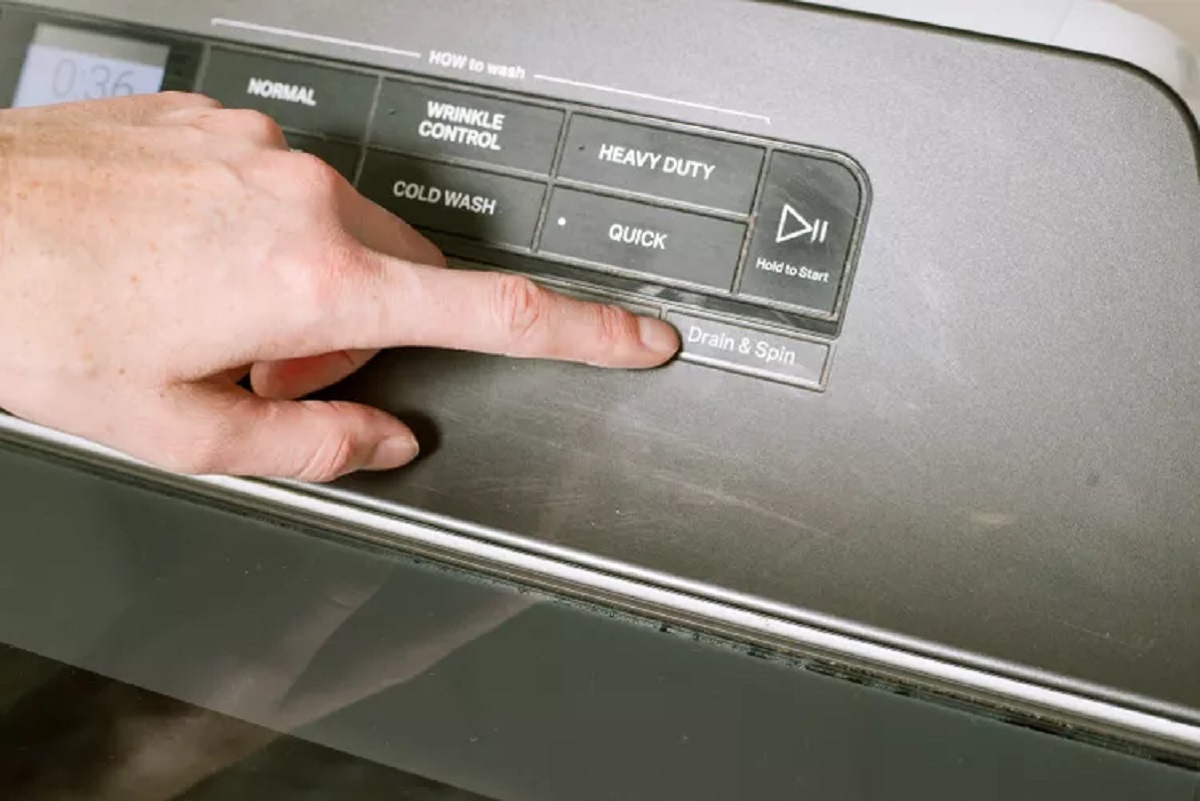
To initiate the testing process, reconnect the power supply and water source to the washing machine, ensuring that all connections are secure and the appliance is ready for operation. With the necessary preparations in place, select a test cycle on the washing machine that includes a drainage phase, such as a regular or quick wash setting.
As the test cycle commences, closely monitor the drainage performance of the washing machine. Observe the flow of water through the drain pipe, ensuring that it exits the appliance smoothly and without any signs of backup or obstruction. Additionally, pay attention to the drainage point, such as a utility sink or floor drain, to confirm that the wastewater is being expelled effectively.
During the test cycle, listen for any unusual noises or vibrations that may indicate potential issues with the drainage system. A properly functioning drain pipe should facilitate the smooth and quiet expulsion of water from the washing machine, without causing disruptive sounds or disturbances.
As the test cycle progresses, take note of the overall performance of the washing machine, including its ability to complete the drainage phase within the expected timeframe. Confirm that the appliance operates as expected, with efficient water expulsion and the absence of any leaks or drips at the connections.
Upon the completion of the test cycle, conduct a visual inspection of the drain pipe and its connections to verify that they remain secure and leak-free. Additionally, check the surrounding area for any signs of water accumulation or spills, ensuring that the workspace remains clean and dry.
By meticulously testing the washing machine after unclogging the drain pipe, you can confirm the successful resolution of the drainage issue and the restoration of optimal functionality to the appliance. This comprehensive testing process provides assurance that the washing machine is ready to resume its essential role in the household, delivering reliable and efficient laundry capabilities.
With the completion of the testing phase, you have effectively addressed the clogging issue and verified the proper drainage performance of your washing machine. This meticulous approach to testing ensures that the appliance is fully operational and ready to meet the demands of everyday laundry needs, providing peace of mind and convenience for household tasks.
Frequently Asked Questions about How To Unclog A Drain Pipe In A Washing Machine
Was this page helpful?
At Storables.com, we guarantee accurate and reliable information. Our content, validated by Expert Board Contributors, is crafted following stringent Editorial Policies. We're committed to providing you with well-researched, expert-backed insights for all your informational needs.


0 thoughts on “How To Unclog A Drain Pipe In A Washing Machine”