Articles
How To Install Floor Drain
Modified: December 7, 2023
Learn how to install a floor drain with our comprehensive articles. Get step-by-step instructions, tips, and expert advice for a successful installation.
(Many of the links in this article redirect to a specific reviewed product. Your purchase of these products through affiliate links helps to generate commission for Storables.com, at no extra cost. Learn more)
Introduction
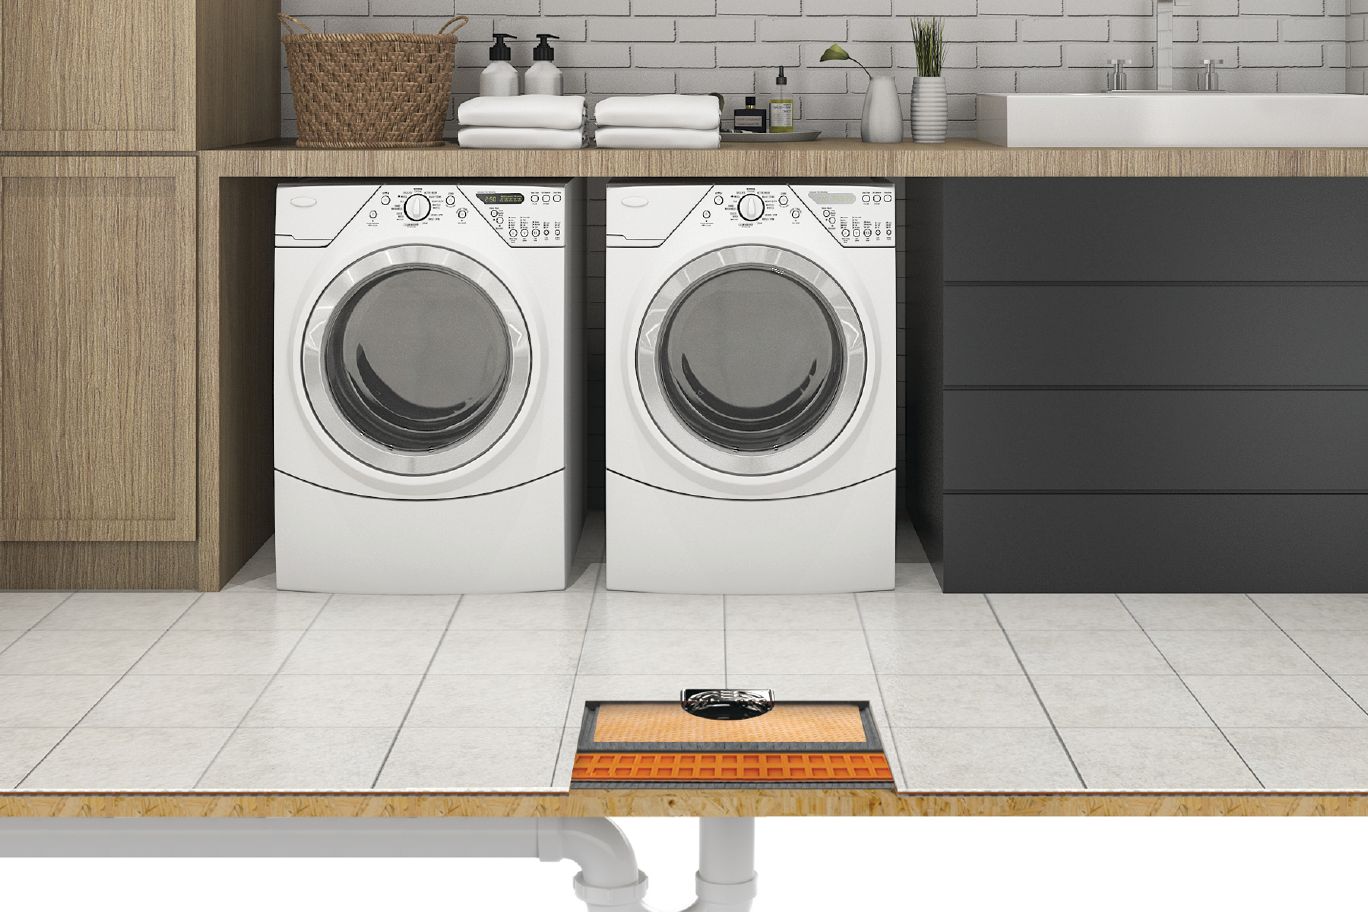
Welcome to our comprehensive guide on how to install a floor drain. Floor drains are an essential component in homes and commercial buildings, providing an efficient way to remove excess water and prevent flooding. Whether you’re looking to install a floor drain in your basement, bathroom, or laundry room, this step-by-step guide will walk you through the process.
Installing a floor drain may seem like a daunting task, but with the right tools, materials, and a little know-how, you can successfully complete the project. In this article, we’ll cover everything you need to know to install a floor drain, from preparing the area to connecting it to the plumbing system.
Before we dive into the installation process, let’s briefly touch on the importance of having a floor drain. Floor drains are designed to quickly remove water and other liquids from the floor, preventing damage and potential hazards. They are commonly found in areas prone to water accumulation, such as basements, garages, laundry rooms, and bathrooms.
Aside from preventing flooding, floor drains also play a crucial role in maintaining proper drainage and preventing foul odors. By directing water towards the drain, they help keep your floors dry and reduce the risk of mold and mildew growth. Additionally, floor drains can be connected to the main plumbing system, allowing wastewater to flow out of your home efficiently.
Now that you understand the importance of a floor drain, let’s move on to the tools and materials you’ll need for the installation process.
Key Takeaways:
- Proper preparation is crucial for installing a floor drain, from clearing the area to choosing the right drain type and size. Attention to detail and careful measurements set the foundation for a successful installation.
- Regular maintenance, such as cleaning the drain and inspecting for damage, is essential for ensuring the optimal performance of a floor drain. By following these steps, you can enjoy a dry and secure environment free from water damage and flooding.
Tools and Materials Needed
Before you begin installing a floor drain, it’s essential to gather all the necessary tools and materials. Here’s a list of items you’ll need:
- Tape measure
- Pencil or marker
- Hammer
- Chisel
- Utility knife
- Adjustable wrench
- Pipe wrench
- Teflon tape
- PVC glue
- Plumber’s putty
- Bucket and sponge
- Level
- Drill
- Hacksaw
- PVC pipe and fittings
- Threaded pipe and fittings
- Floor drain assembly
- Grate cover
Having these tools and materials ready will ensure a smooth installation process and save you time and effort. Make sure to double-check that you have everything on the list before starting.
It’s also important to note that the specific tools and materials needed may vary depending on the type of floor drain you choose and the existing plumbing system. Therefore, it’s recommended to consult the manufacturer’s instructions or seek professional advice for specific requirements.
Now that you have all the necessary tools and materials, let’s move on to the first step: preparing the area.
Step 1: Preparing the Area
Before you can install a floor drain, it’s crucial to properly prepare the area where the drain will be installed. Here are the steps to follow:
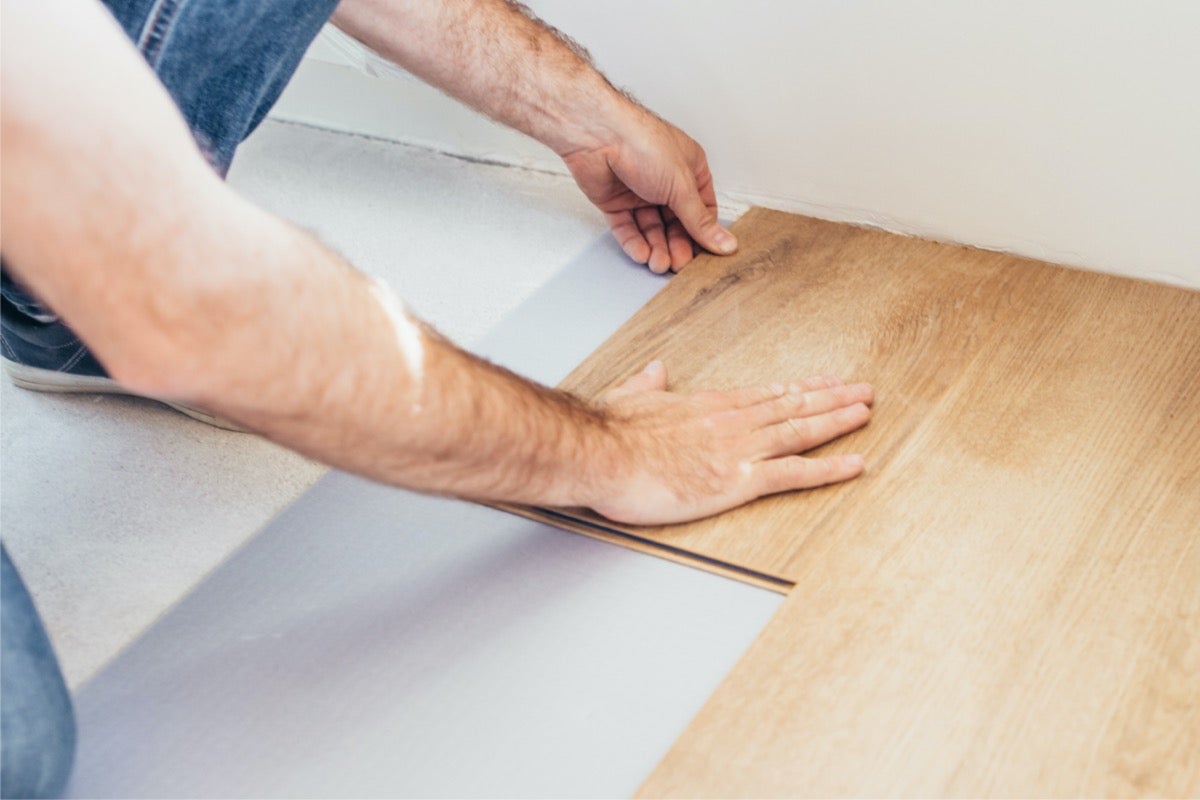
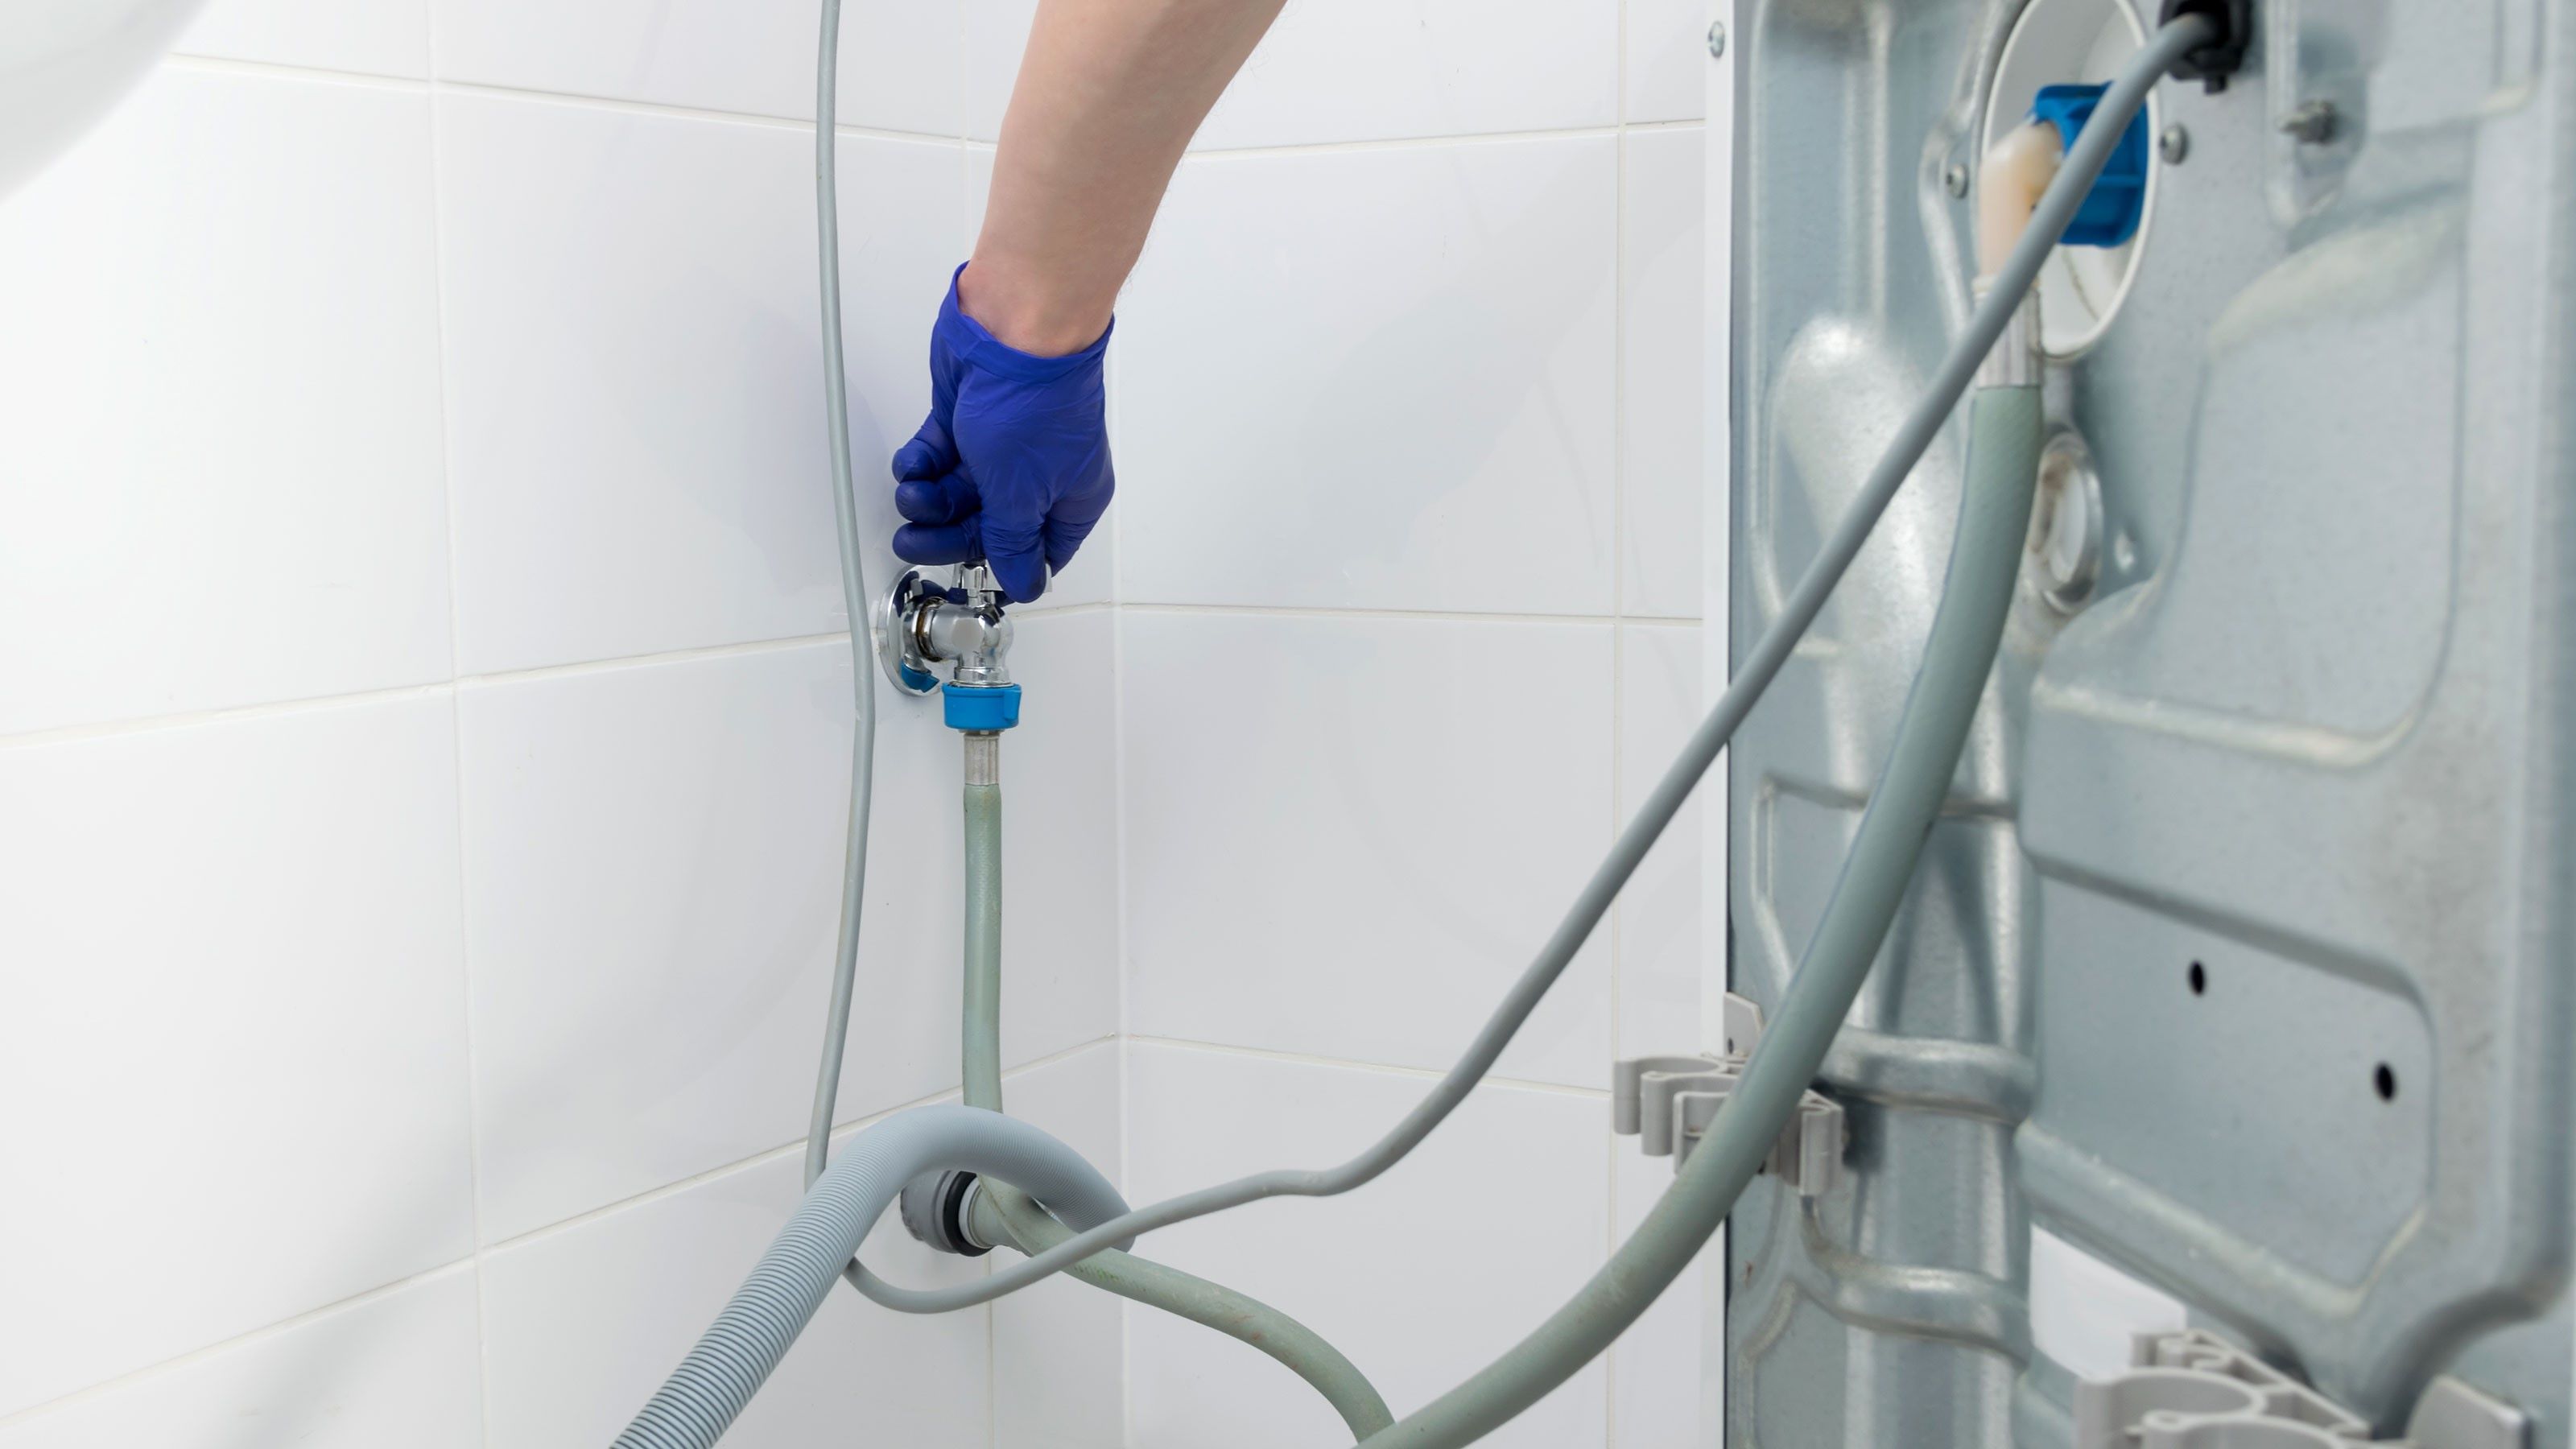
- Clear the area: Start by removing any obstacles or debris from the floor where the drain will be installed. Make sure the area is clean and free of any obstructions.
- Locate the ideal placement: Determine the best location for the floor drain based on the layout and water flow patterns in the room. Keep in mind that the drain should be positioned in an area where water is likely to accumulate.
- Measure and mark the placement: Use a tape measure to determine the dimensions of the floor drain assembly. Mark the exact placement on the floor with a pencil or marker. Double-check the measurements to ensure accuracy.
- Check for utility lines: Before cutting into the floor, it’s crucial to identify any utility lines or pipes that may be located beneath the surface. Use a utility locator or consult with a professional to ensure there are no obstructions.
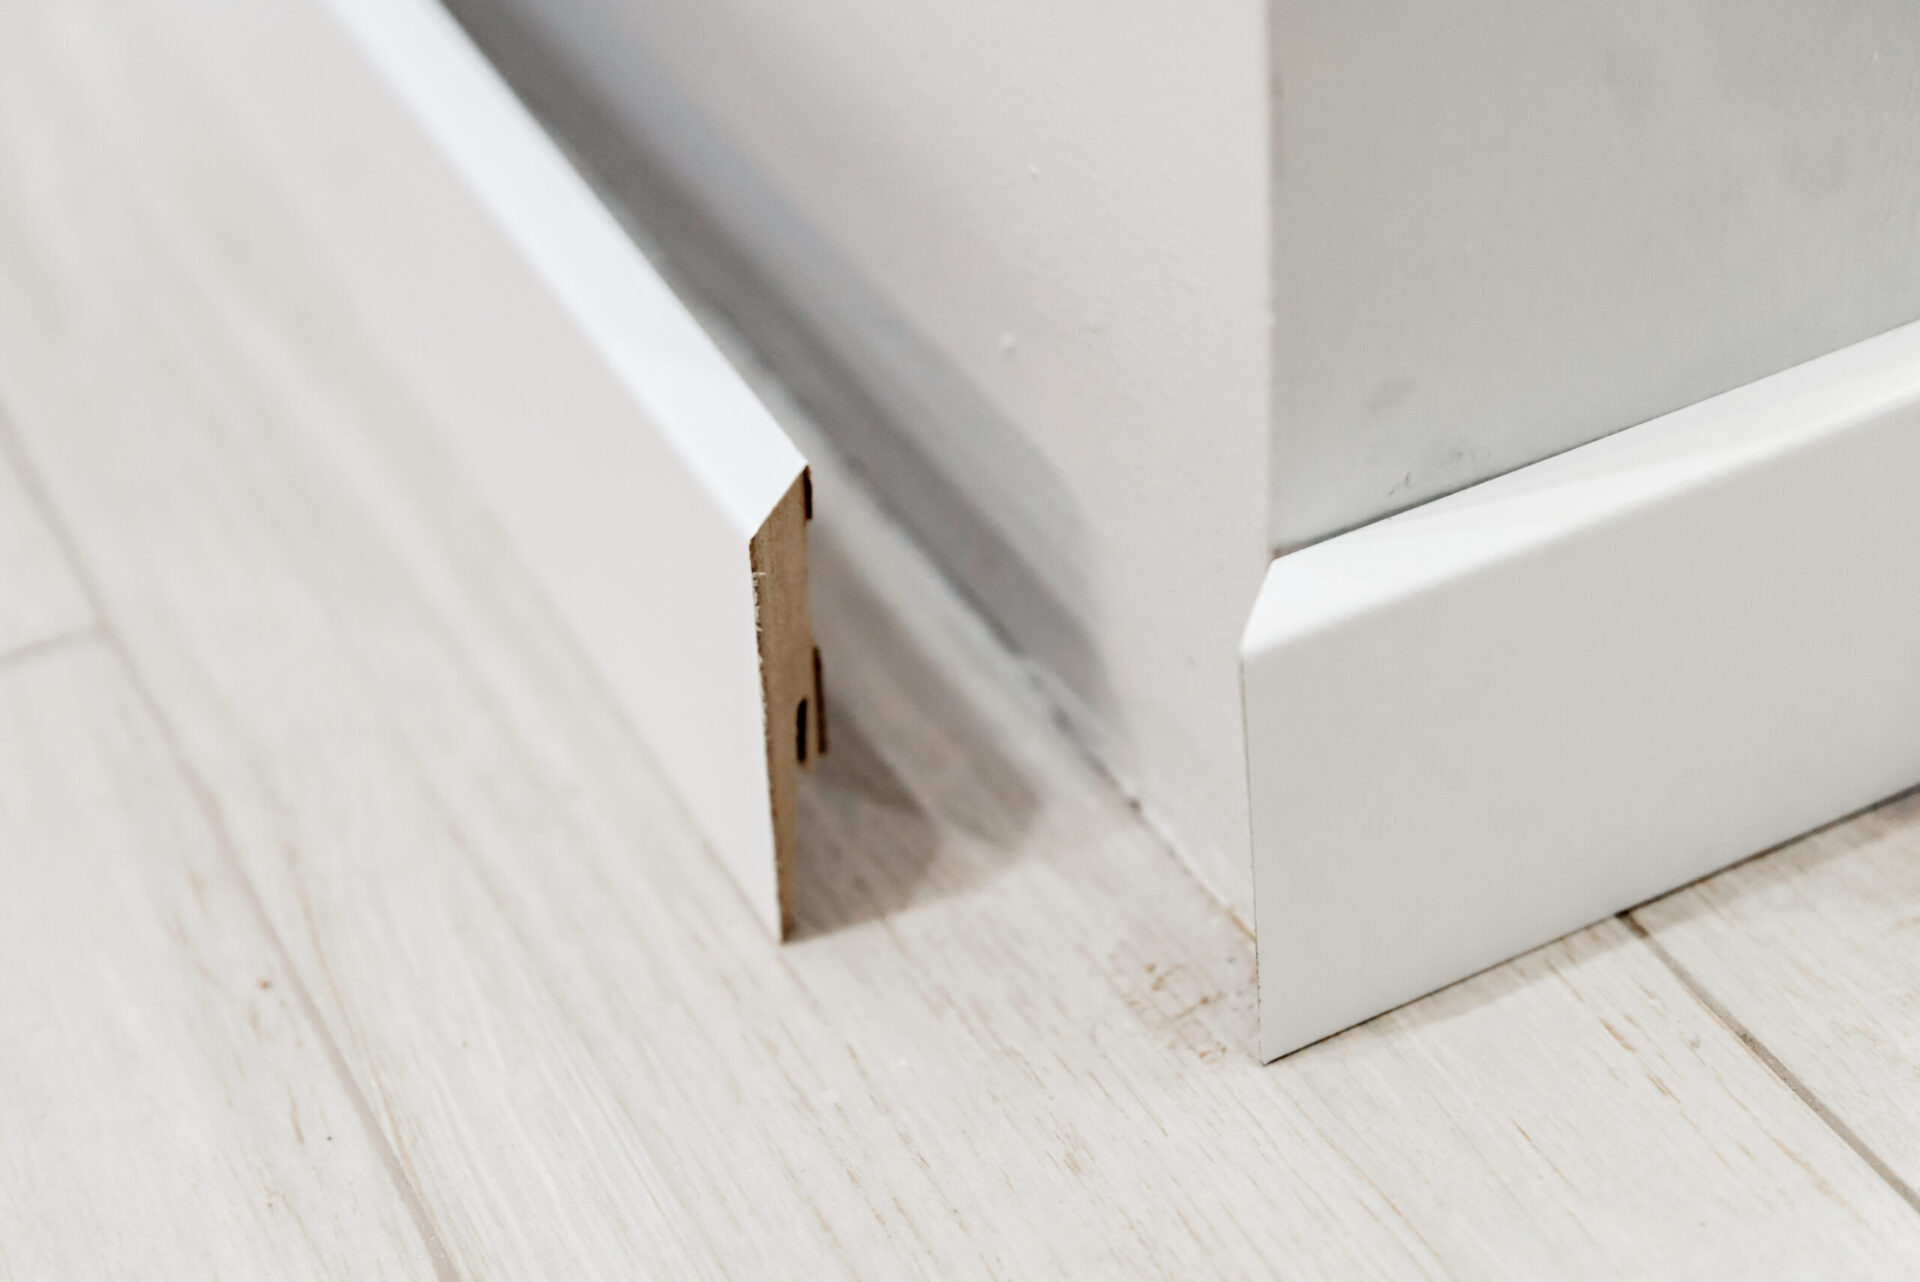
- Protect nearby areas: If there are nearby walls or surfaces that you want to protect from any potential damage during the installation, it’s a good idea to use masking tape or cover them with protective materials.
By properly preparing the area, you’ll ensure a smooth installation process and minimize the risk of any unwanted complications. Taking the time to clear the area, choose the ideal placement, and measure accurately will set the foundation for a successful installation.
Now that you have prepared the area, it’s time to move on to the next step: choosing the floor drain.
Step 2: Choosing the Floor Drain
When it comes to choosing a floor drain, there are several factors to consider. Here are some key points to keep in mind:
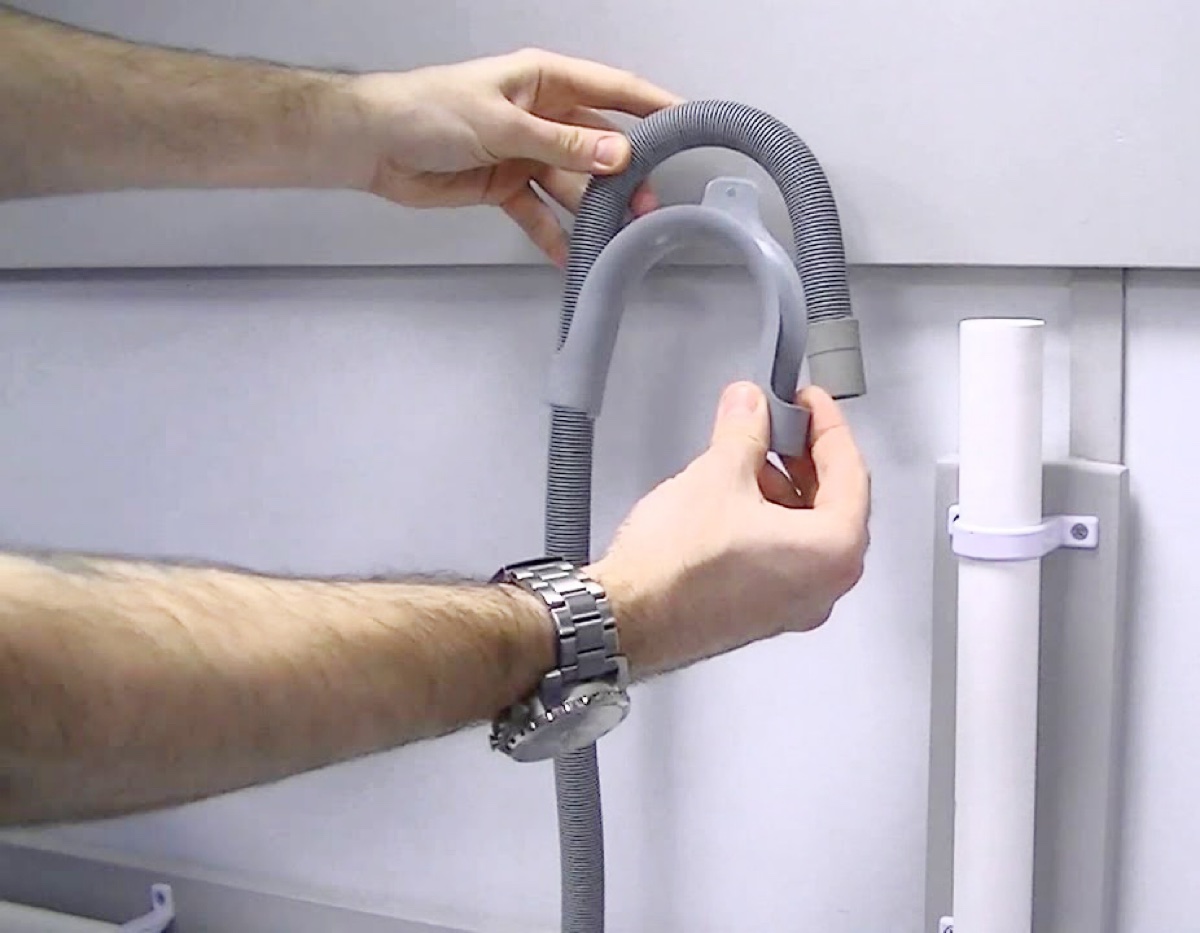
- Drain type: There are different types of floor drains available, including standpipe drains, bell trap drains, and trench drains. Consider the specific requirements of your installation and choose the drain type that best suits your needs.
- Drain size: The size of the drain will depend on the expected water flow rate and the size of the area where it will be installed. Typically, residential floor drains are around 2 to 4 inches in diameter, while commercial drains may be larger.
- Material: Floor drains are commonly made of materials such as PVC, cast iron, or stainless steel. Consider the durability and compatibility with your plumbing system when selecting the material.
- Grate cover: The grate cover is an important component of the floor drain as it prevents debris from clogging the drain and provides a finished look. Choose a grate cover that is suitable for the installation area and easy to clean.
- Code compliance: Check local building codes and regulations to ensure the floor drain you choose meets the necessary requirements. Compliance with these codes will ensure the drain functions efficiently and safely.
Take your time to research and compare different floor drain options before making a final decision. Consider consulting with professionals or seeking advice from knowledgeable sources to ensure you choose the right drain for your specific needs.
Once you have chosen the floor drain, it’s time to move on to the next step: marking and cutting the hole for the drain.
Step 3: Marking and Cutting the Hole
Once you have chosen the floor drain, the next step is to mark and cut the hole in the floor. Here’s how to do it:
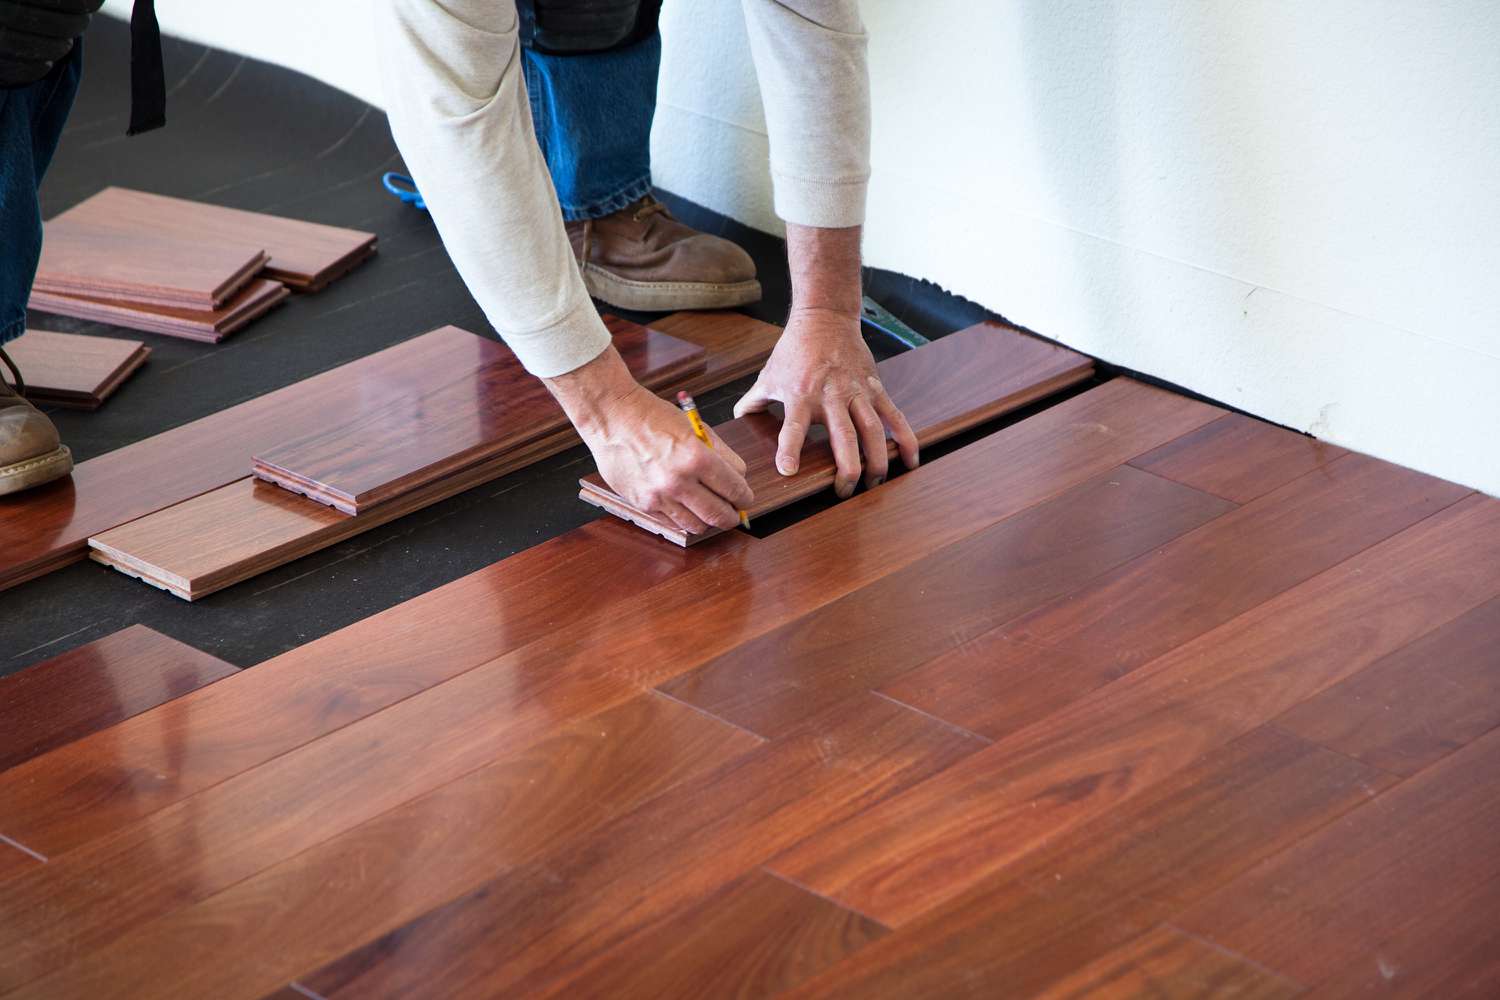
- Place the floor drain assembly: Position the floor drain assembly on the marked placement to ensure it fits properly. Take note of any adjustments or modifications you may need to make.
- Trace the outline: Use a pencil or marker to trace the outline of the drain assembly onto the floor. Make sure to mark it accurately to ensure a precise cut.
- Cut the hole: Using a utility knife or chisel, score along the traced outline of the drain assembly. Then, using a hammer and chisel, carefully remove the section of the floor within the marked area. Take your time and work gradually to avoid damaging surrounding areas.
- Smooth the edges: After cutting the hole, use sandpaper or a file to smooth the edges of the opening. This will prevent any sharp or rough edges that could cause injuries or interfere with the installation process.
- Clean the area: Once the hole is cut and the edges are smooth, remove any debris or dust from the area using a vacuum or a brush. A clean and debris-free area will ensure a proper fit for the floor drain assembly.
Remember to exercise caution when using tools and cutting into the floor. Ensure you wear protective gear, such as safety glasses and gloves, to protect yourself from any potential hazards.
Now that you have cut the hole for the floor drain, it’s time to move on to the next step: installing the floor drain.
When installing a floor drain, make sure to choose the right location to ensure proper drainage. It should be placed in the lowest point of the floor and be easily accessible for maintenance.
Step 4: Installing the Floor Drain
With the hole cut and prepared, it’s time to install the floor drain. Follow these steps to ensure a proper installation:
- Apply plumber’s putty: Take a small amount of plumber’s putty and roll it into a rope-like shape. Apply the putty around the bottom edge of the floor drain assembly. This creates a watertight seal between the drain and the floor.
- Position the drain assembly: Carefully place the drain assembly into the hole, ensuring that it sits securely and level with the floor. Press down gently to ensure the plumber’s putty adheres to the floor.
- Tighten the fasteners: Depending on the type of floor drain, there may be fasteners that secure the drain assembly in place. Use an adjustable wrench or a screwdriver to tighten these fasteners, ensuring a snug fit.
- Check for levelness: Use a level to check if the drain assembly is level. If it isn’t, make the necessary adjustments by loosening the fasteners and repositioning the drain assembly until it is level.
It’s important to ensure a secure and level installation to prevent any leaks or water damage. Take your time during this step to ensure the floor drain assembly is properly positioned and tightened.
Now that you have installed the floor drain assembly, it’s time to move on to the next step: connecting it to the plumbing system.
Step 5: Connecting to the Plumbing System
Once the floor drain assembly is securely installed, the next step is to connect it to the plumbing system. Follow these steps to ensure a proper connection:
- Measure and cut the pipes: Using a tape measure, measure the distance between the floor drain assembly and the existing plumbing system. Cut a length of PVC pipe to fit the distance using a hacksaw.
- Apply Teflon tape: Wrap Teflon tape around the threaded ends of the PVC pipe and the drain assembly. This helps create a tight seal and prevents leaks.
- Attach the pipes: Insert one end of the PVC pipe into the drain assembly and the other end into the existing plumbing system. Use a pipe wrench to tighten the connections, ensuring they are secure but not overly tight.
- Apply PVC glue: Apply PVC glue to the connections between the PVC pipes and the drain assembly. This will create a strong and durable bond.
- Allow for curing: Allow the PVC glue to cure according to the manufacturer’s instructions before using the floor drain. This ensures a solid connection and prevents any leaks.
It’s important to follow proper plumbing techniques when connecting the floor drain to the plumbing system. Take the time to measure accurately, apply Teflon tape, and secure the connections with PVC glue. This will ensure a watertight and reliable connection.
Once you have connected the floor drain to the plumbing system, it’s time to move on to the next step: testing the floor drain.
Step 6: Testing the Floor Drain
After connecting the floor drain to the plumbing system, it’s crucial to test it to ensure that it functions properly. Follow these steps to test the floor drain:
- Remove any obstructions: Ensure that the drain is clear of any obstructions, debris, or construction materials before testing. This will allow water to flow freely through the drain.
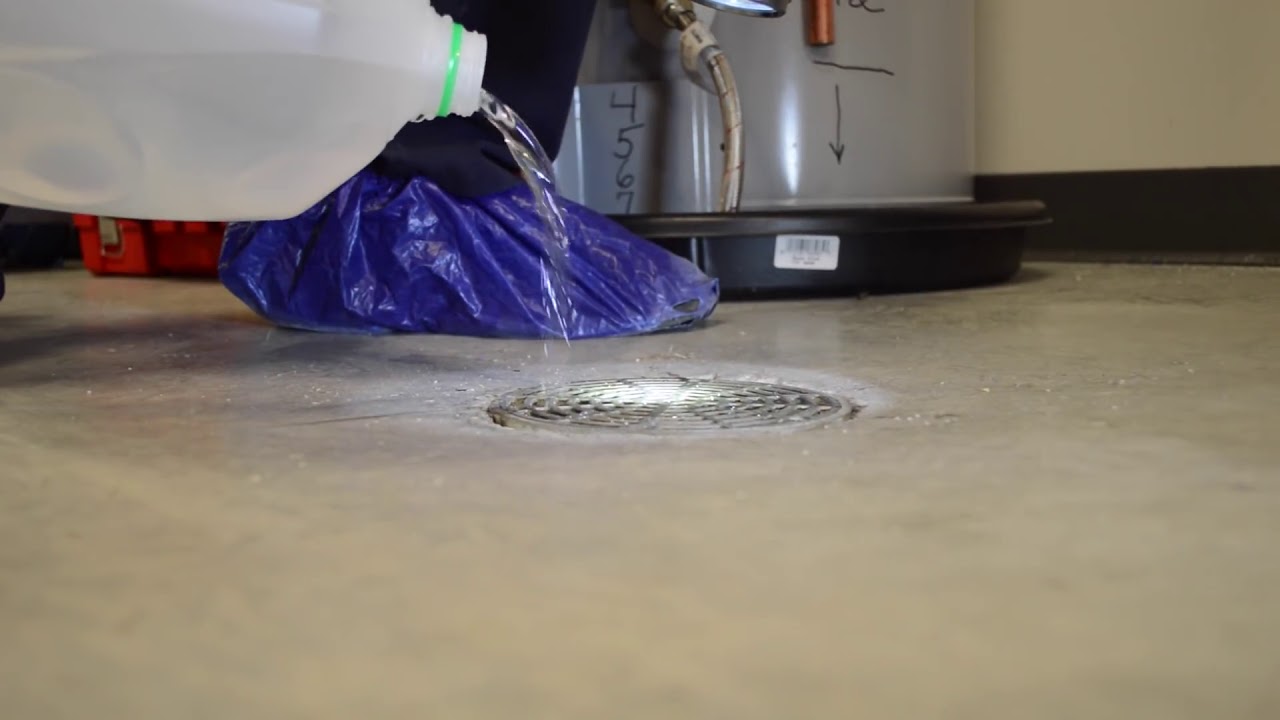
- Pour water into the drain: To test the floor drain, pour a moderate amount of water into the drain. Use a bucket or a hose to simulate a water source. Observe the flow of water into the drain.
- Check for leaks: While the water is flowing, inspect the connections between the floor drain and the plumbing system for any signs of leakage. Look for dripping water or wet spots around the connections.
- Verify proper drainage: As the water flows into the floor drain, ensure that it drains away efficiently. The water should disappear quickly without any puddles or standing water remaining on the floor.
- Test with larger volume: To further test the capacity of the floor drain, pour a larger volume of water into it. This will help determine if the drain can handle an influx of water, such as during heavy rainfall or flooding.
By thoroughly testing the floor drain, you can be confident that it is functioning properly and will effectively prevent water accumulation and drainage issues in the future.
If you notice any leaks or drainage problems during the testing process, it’s important to address them promptly. Double-check the connections, tighten them if necessary, and consider seeking professional assistance if the issue persists.
Now that you have tested the floor drain, it’s time to move on to the final step: adding finishing touches and maintenance tips.
Step 7: Finishing Touches and Maintenance Tips
After successfully installing and testing the floor drain, it’s time to add the finishing touches and learn how to maintain it properly. Follow these steps for the final touches and maintenance tips:
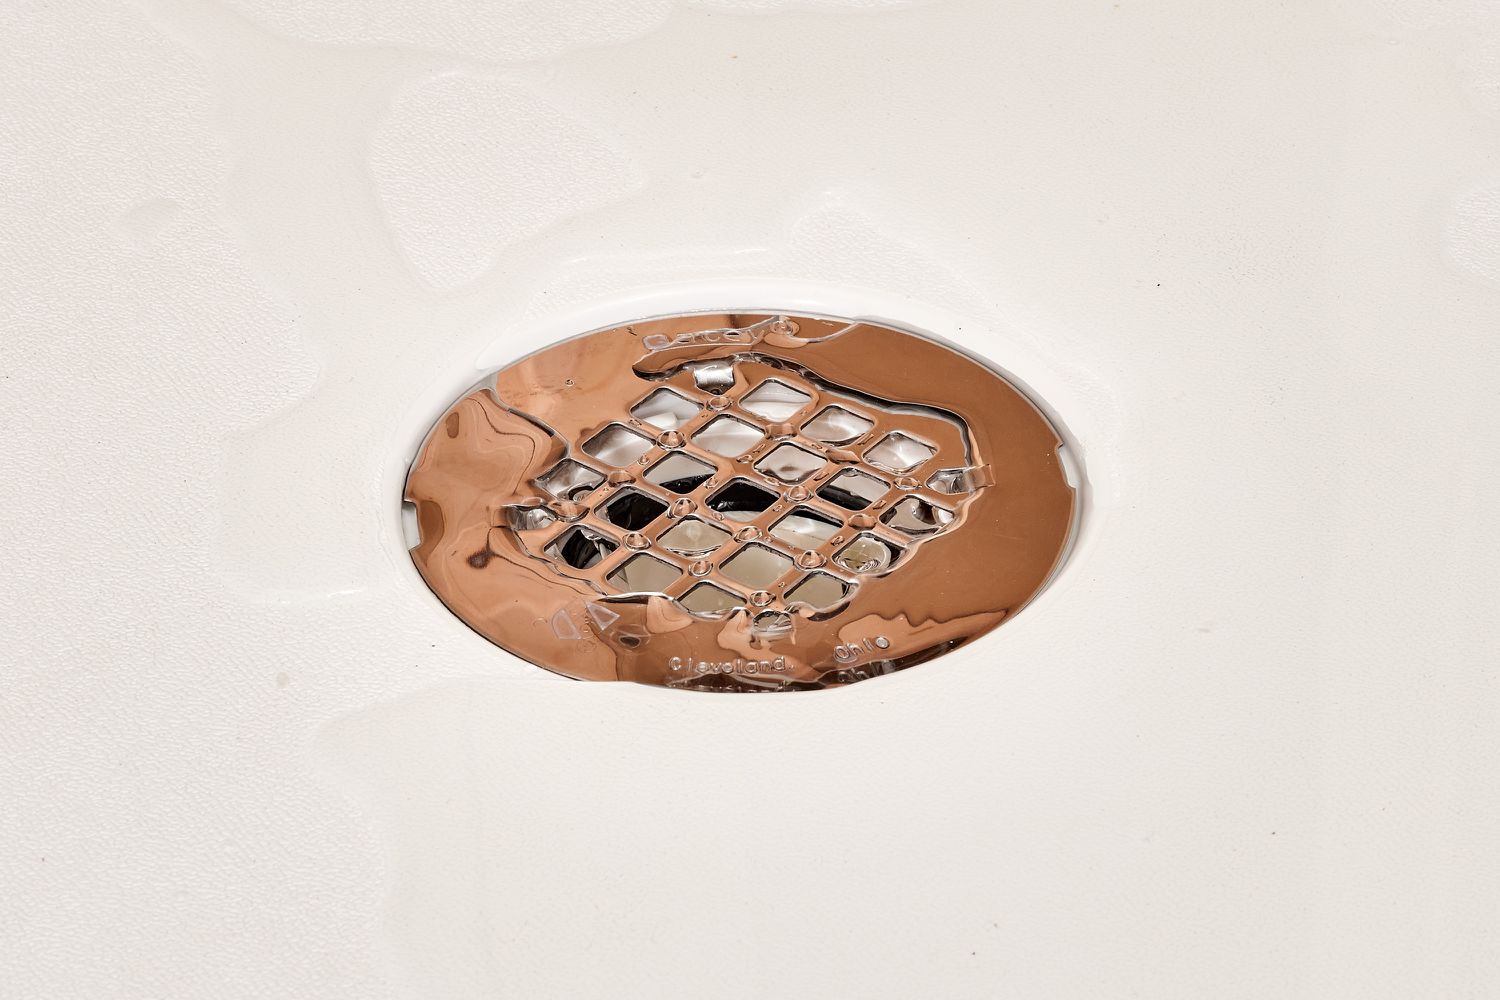
- Install the grate cover: Place the grate cover over the floor drain assembly to provide a finished look and prevent debris from entering the drain. Ensure that the cover fits securely and can be easily removed for cleaning.
- Clean the drain regularly: It’s important to regularly clean the floor drain to prevent clogs and maintain its efficiency. Use a brush or a small plunger to remove any debris or buildup from the drain.
- Consider using drain screens: To further prevent debris from clogging the drain, you may install drain screens or strainers. These can be placed over the floor drain to catch larger particles and prevent them from entering the drain.
- Inspect for damage: Periodically inspect the floor drain for any signs of damage or wear. Check for cracks, loose connections, or corrosion. Address any issues promptly to prevent further damage and ensure the proper functioning of the drain.
- Keep the area clear: Avoid placing heavy objects or covering the floor drain with furniture or equipment. Keeping the area clear will allow water to flow into the drain easily and prevent any obstruction.
By following these finishing touches and maintenance tips, you can keep your floor drain in optimal condition and prevent any issues that may arise in the future. Regular cleaning, inspection, and preventive measures will help ensure the longevity and effectiveness of the floor drain.
Congratulations! You have successfully completed the installation of a floor drain in your desired area. With proper maintenance and care, your floor drain will provide you with efficient water drainage and contribute to a dry and safe environment.
Remember, if you encounter any difficulties during the installation process or have concerns about the plumbing system, it’s always best to seek professional advice to ensure a successful and safe installation.
Thank you for following our comprehensive guide on how to install a floor drain. We hope you found it helpful and that you enjoy the benefits of a properly functioning floor drain in your space!
Read more: How To Unclog A Floor Drain
Conclusion
Installing a floor drain is a valuable addition to any home or commercial building, providing an efficient solution for managing excess water and preventing flooding. By following the steps outlined in this guide, you can successfully install a floor drain and ensure proper water drainage in your desired area.
From preparing the area to choosing the right floor drain, marking and cutting the hole, and connecting it to the plumbing system, each step is essential for a successful installation. It’s crucial to pay attention to detail, take measurements accurately, and use the appropriate tools and materials.
Once the floor drain is installed, testing it by pouring water and checking for leaks and proper drainage helps verify its functionality. Regular maintenance, such as cleaning the drain and inspecting for any damage or obstructions, will ensure its optimal performance over time.
Remember, if you encounter any challenges during the installation process or have concerns about the plumbing system, it’s always best to seek professional assistance to ensure a safe and successful installation.
We hope this comprehensive guide has provided you with the necessary knowledge and confidence to install a floor drain effectively. By having a functional floor drain, you can enjoy a dry and secure environment, free from the worry of water damage and flooding.
Thank you for choosing our guide, and we wish you success in your floor drain installation endeavor!
Frequently Asked Questions about How To Install Floor Drain
Was this page helpful?
At Storables.com, we guarantee accurate and reliable information. Our content, validated by Expert Board Contributors, is crafted following stringent Editorial Policies. We're committed to providing you with well-researched, expert-backed insights for all your informational needs.

0 thoughts on “How To Install Floor Drain”