
Articles
How To Reset A Kitchenaid Dishwasher
Modified: February 11, 2024
Learn how to reset your Kitchenaid dishwasher with these step-by-step instructions. Our articles provide helpful tips and troubleshooting techniques to restore your dishwasher's functionality.
(Many of the links in this article redirect to a specific reviewed product. Your purchase of these products through affiliate links helps to generate commission for Storables.com, at no extra cost. Learn more)
Introduction
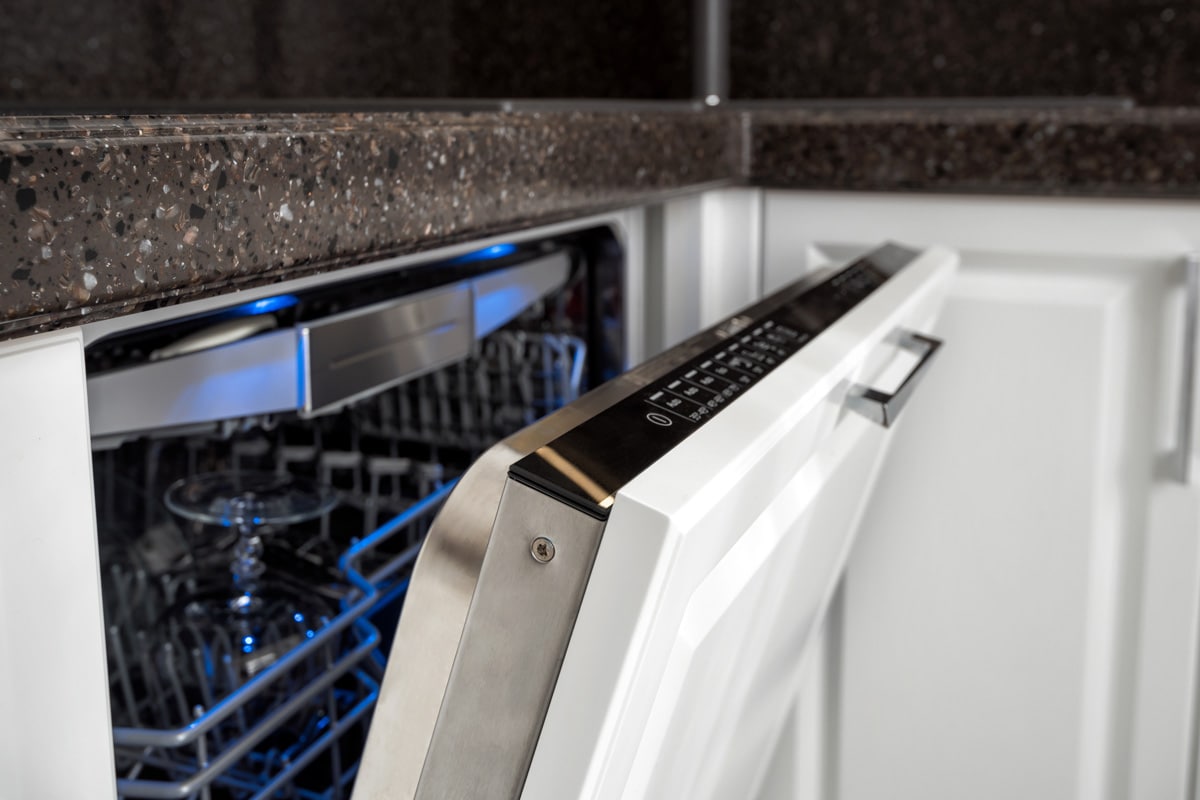
Welcome to this article where we will guide you on how to reset a Kitchenaid dishwasher. Kitchenaid dishwashers are popular for their reliability and performance in cleaning dishes, but occasionally, you may encounter issues that require a reset. Resetting your dishwasher can help resolve minor glitches, such as error codes or unresponsive control panels, restoring it to its normal operation.
Resetting a Kitchenaid dishwasher is a straightforward process that you can easily do at home without the need for professional assistance. In this article, we will provide you with a step-by-step guide on how to reset your Kitchenaid dishwasher, ensuring that it continues to function optimally and efficiently.
Before we begin, it is important to note that different models of Kitchenaid dishwashers may have slight variations in the reset process. Therefore, we recommend consulting your dishwasher’s user manual to ensure the specific instructions for your model. However, the general steps outlined in this article should be applicable to most Kitchenaid dishwasher models.
Now, let’s dive into the reset process for a Kitchenaid dishwasher and get your appliance back up and running smoothly.
Key Takeaways:
- Easily reset your Kitchenaid dishwasher at home by following simple steps like disconnecting power, resetting the control panel, and maintaining the drainage system. Enjoy hassle-free dishwashing with optimal performance.
- Regular maintenance, such as cleaning the filter and inspecting the spray arms, can prevent future issues and extend the lifespan of your Kitchenaid dishwasher. Keep it running smoothly for sparkling clean dishes!
Read more: How To Reset A Dishwasher
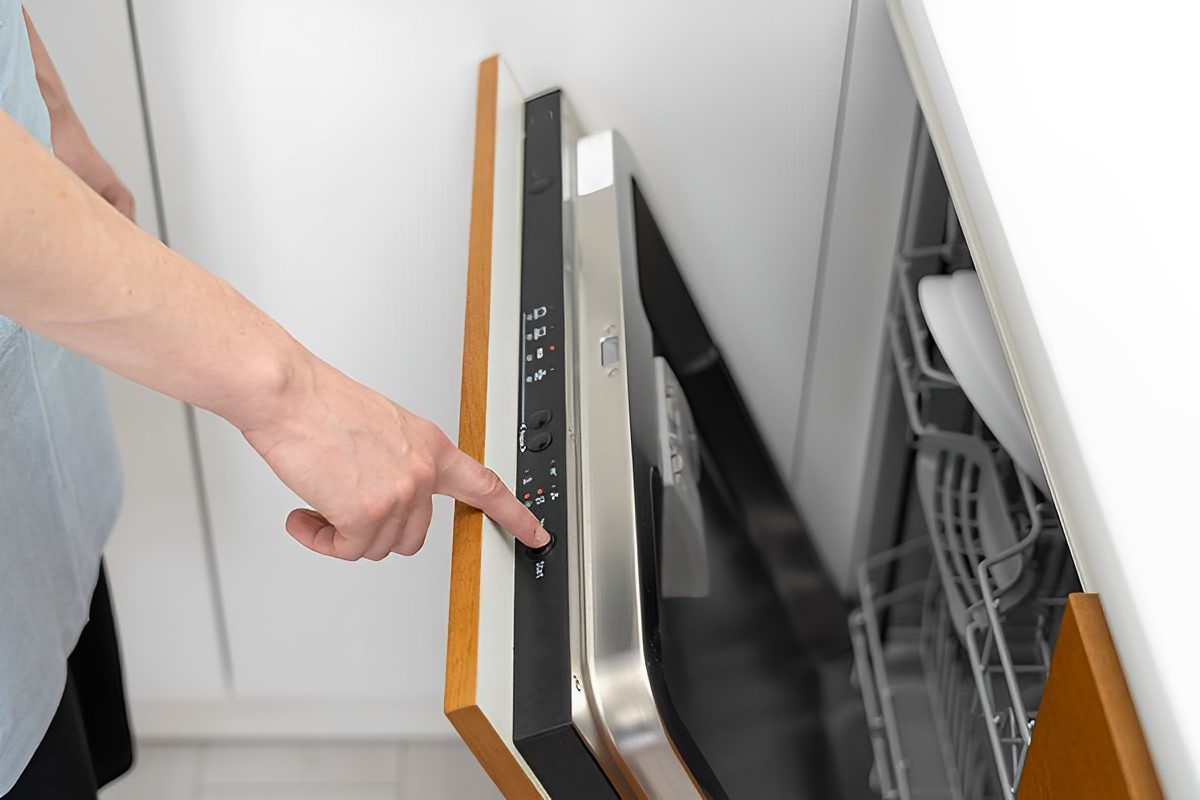
Step 1: Disconnect the Power
The first step in resetting your Kitchenaid dishwasher is to disconnect the power supply. This ensures your safety during the troubleshooting and reset process. Follow these steps to disconnect the power:
- Locate the dishwasher’s power cord. It is usually located at the back of the dishwasher.
- Ensure that the dishwasher is switched off and unplugged from the power outlet.
- If your dishwasher is hardwired, locate the circuit breaker in your home’s electrical panel that is connected to the dishwasher and switch it off.
- Wait for a few minutes to allow any residual power to dissipate. This will ensure a complete power reset.
Disconnecting the power supply gives the dishwasher’s control panel a fresh start and clears any temporary glitches or errors that may have occurred. Once you have disconnected the power, you can proceed to the next step to reset the control panel.
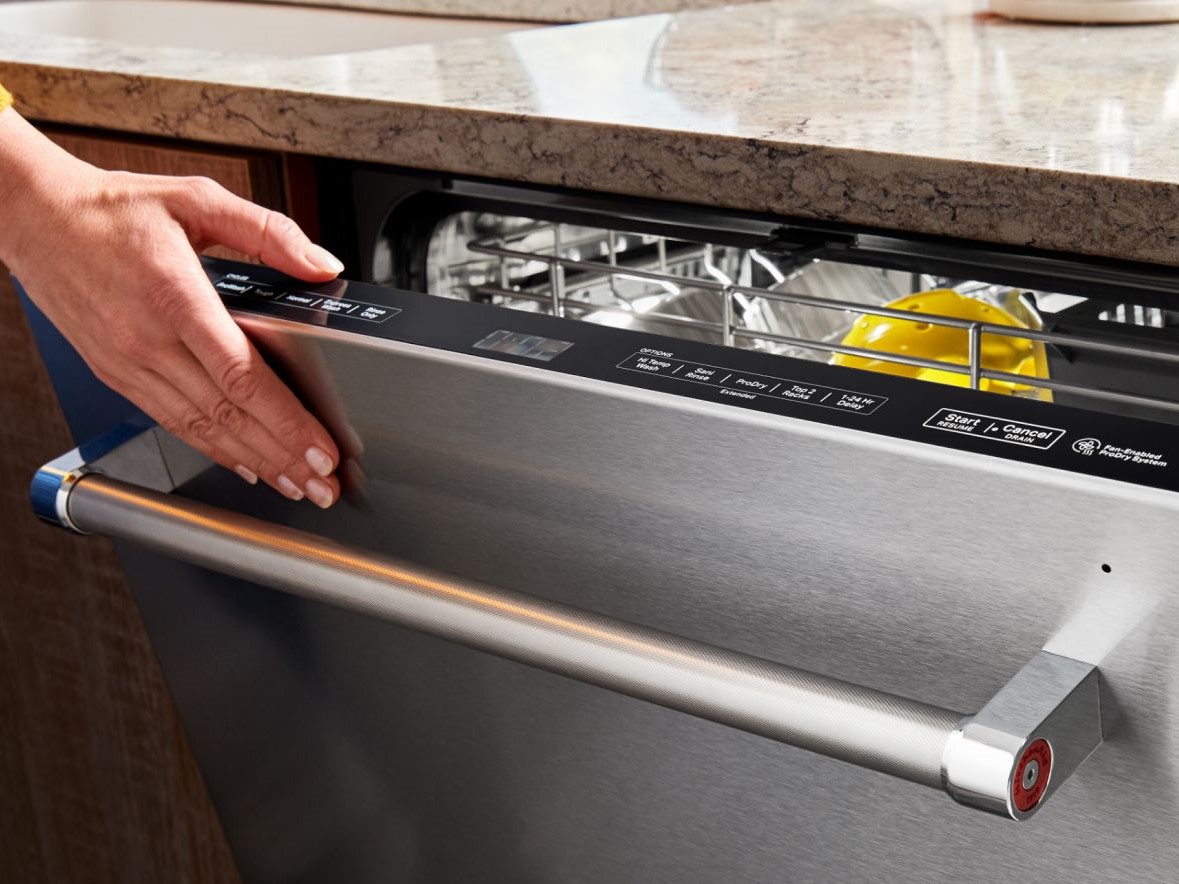
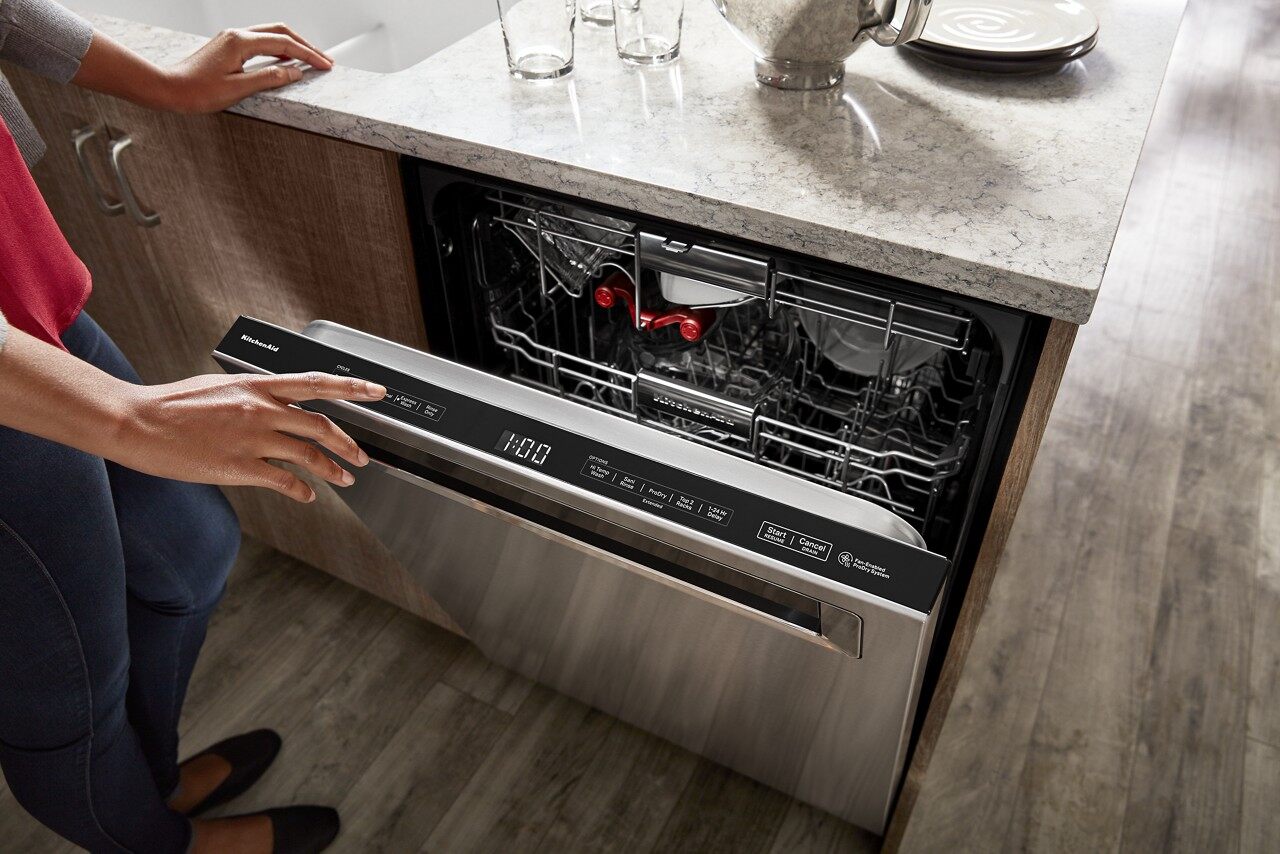
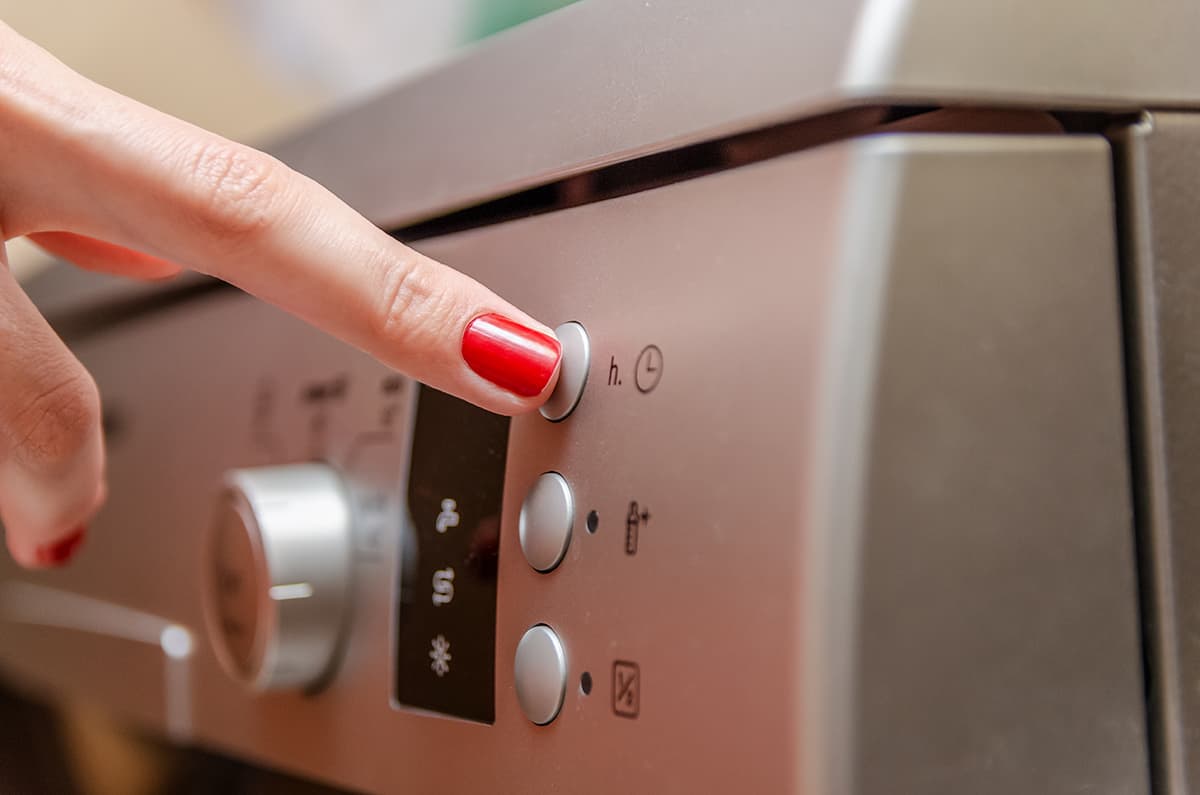
Step 2: Reset the Control Panel
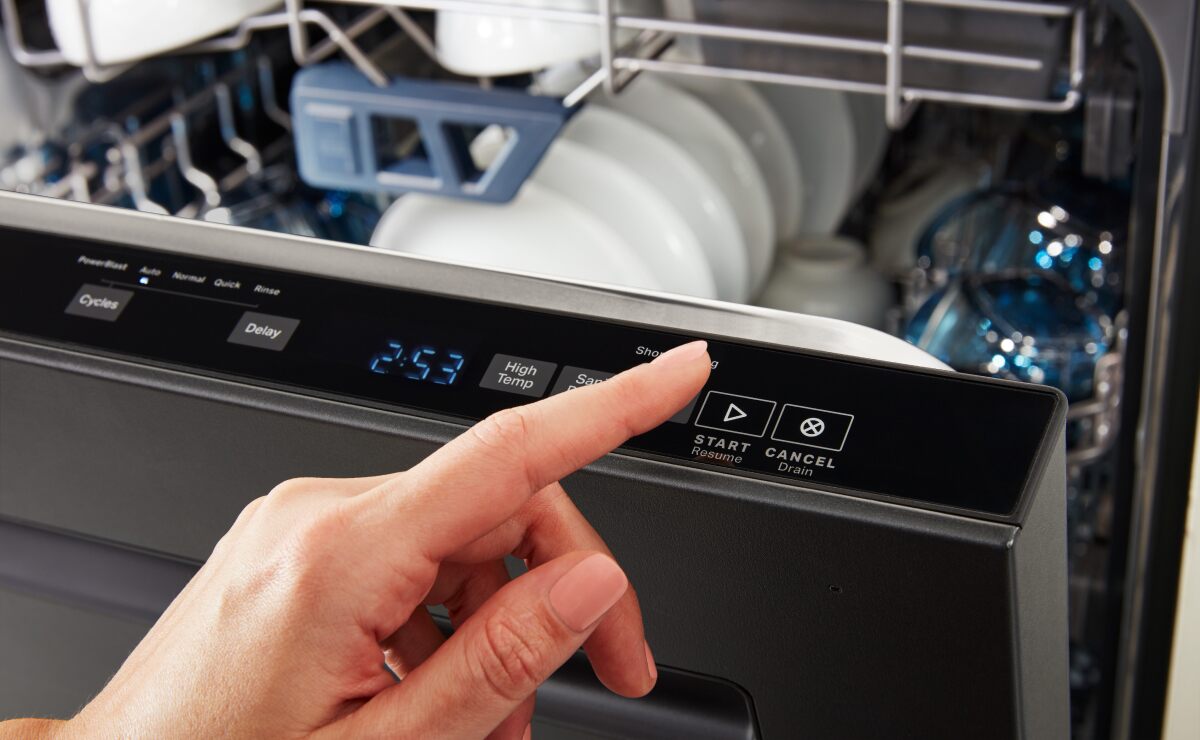
After disconnecting the power, the next step is to reset the control panel of your Kitchenaid dishwasher. This can help resolve any issues or errors that may be causing the malfunction. Follow these instructions to reset the control panel:
- Press and hold the “Heated Dry” button on the dishwasher’s control panel.
- While holding the “Heated Dry” button, press the “Normal” button.
- Release both buttons simultaneously.
This key combination will initiate the control panel reset on the dishwasher. You may notice the control panel lighting up or the display flashing. This is an indication that the reset process has been initiated. Allow the dishwasher a few moments to complete the reset.
After the control panel reset is complete, the dishwasher should return to its default settings. This should resolve any minor glitches or errors that were affecting its proper functioning. If the control panel does not respond or continues to display error codes, you may need to proceed to the next step for further troubleshooting.
Now that you have successfully reset the control panel, let’s move on to the next step to check the drainage system of your Kitchenaid dishwasher.
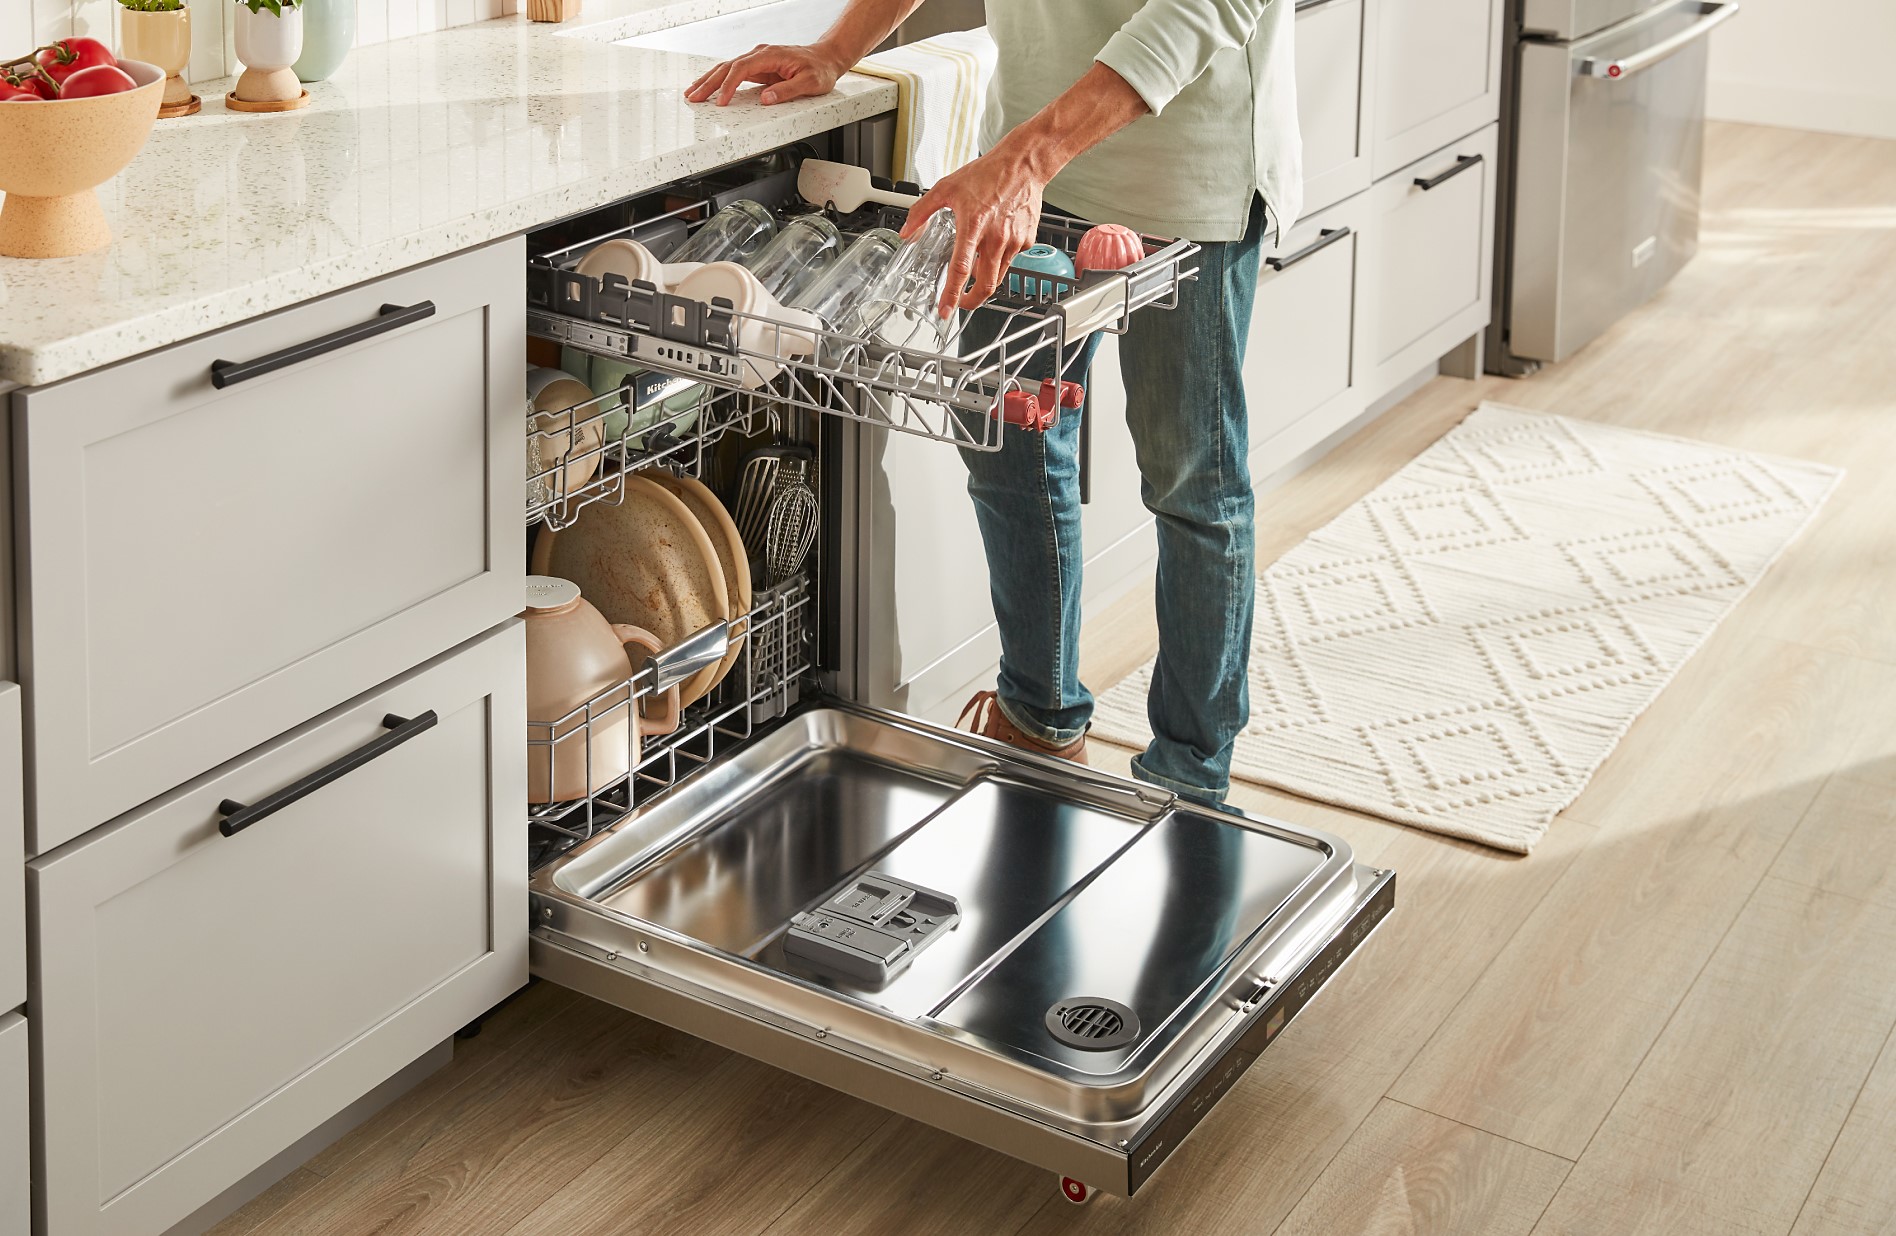
Step 3: Check the Drainage System
If your Kitchenaid dishwasher is not draining properly, it can lead to issues such as water pooling at the bottom or incomplete cleaning of dishes. In this step, we will guide you on how to check the drainage system and ensure it is clear of any obstructions. Follow these steps:
- Inspect the dishwasher’s drain hose for any kinks, bends, or blockages. Straighten any kinks or bends and remove any obstacles that may be blocking the hose.
- Check the drain filter located at the bottom of the dishwasher. Remove the lower rack and locate the filter assembly. Twist the filter counterclockwise to remove it from the dishwasher. Rinse the filter under running water to remove any debris or food particles. If the filter is damaged or severely clogged, consider replacing it.
- Examine the dishwasher’s drain pump for any obstructions. The drain pump is typically located at the back or bottom of the dishwasher. Inspect the pump for any debris, such as food scraps or foreign objects, and remove them carefully. Use a soft brush or cloth to clean the pump and ensure it is free from any blockages.
- Once you have checked and cleaned the drain hose, filter, and pump, reassemble everything back in place.
Ensuring that the drainage system is clear and free from obstructions is essential for proper dishwasher operation. Once you have completed these steps, move on to the next step to clean the filter of your Kitchenaid dishwasher.
To reset a Kitchenaid dishwasher, locate the “Start/Resume” button and press it to reset the dishwasher. If that doesn’t work, try turning off the power to the dishwasher at the circuit breaker for a few minutes, then turn it back on.
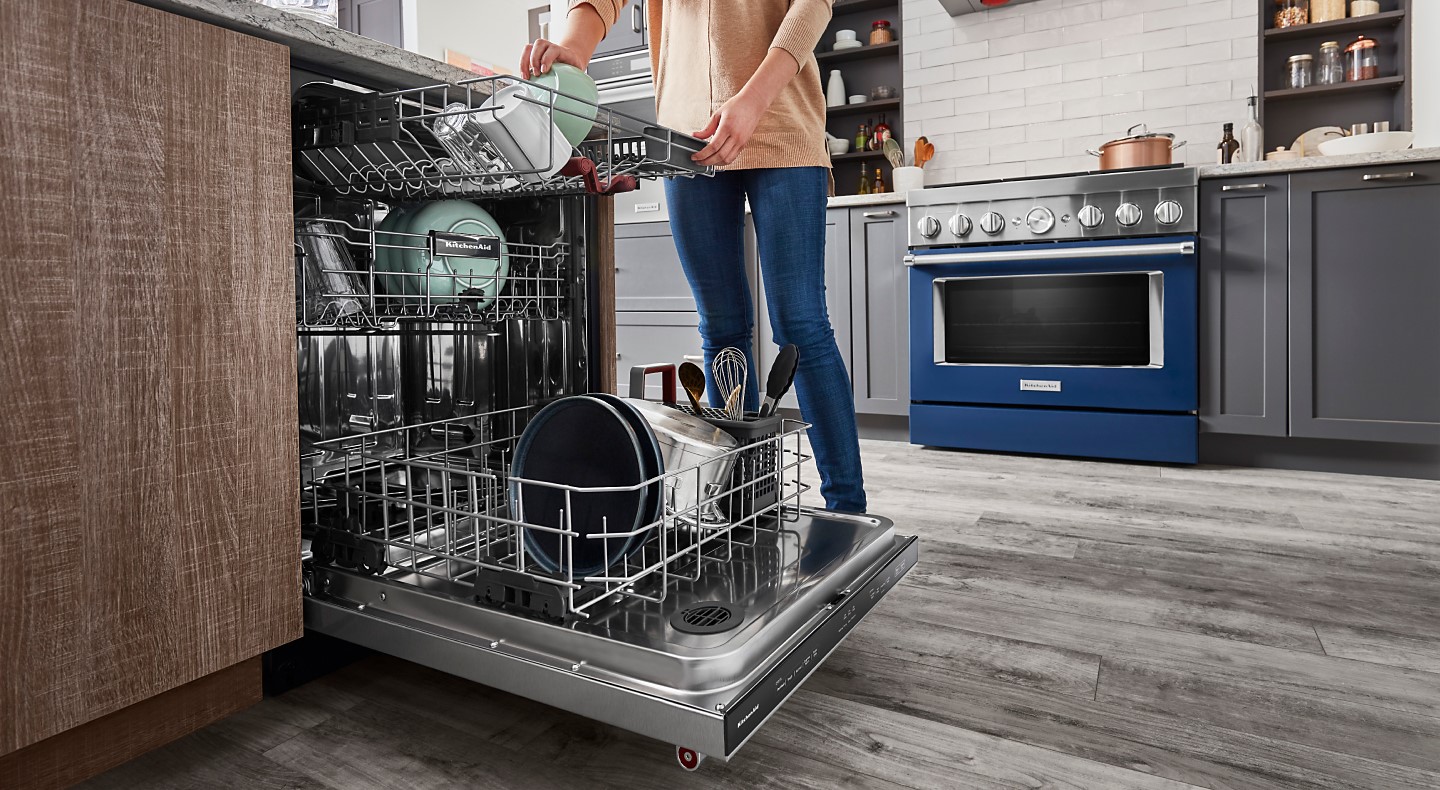
Step 4: Clean the Filter
The filter of your Kitchenaid dishwasher plays a crucial role in trapping food particles and debris, preventing them from clogging the dishwasher’s spray arms and drain system. Cleaning the filter regularly is important to maintain the dishwasher’s performance and prevent drainage issues. Follow these steps to clean the filter:
- Remove the lower rack of the dishwasher to access the filter assembly.
- Locate the filter assembly at the bottom of the dishwasher. It is usually a cylindrical or flat screen that can be twisted or lifted to remove.
- Once you have removed the filter, rinse it under running water to remove any accumulated food particles and debris. Use a soft brush or toothbrush to scrub away stubborn residue if necessary.
- Inspect the filter for any damage or signs of wear. If the filter is damaged, it may need to be replaced with a new one.
- After cleaning the filter, make sure it is completely dry before reinserting it back into the dishwasher.
Regularly cleaning the filter will help maintain the cleanliness and efficiency of your Kitchenaid dishwasher. It is advisable to clean the filter at least once a month or more frequently if you notice a build-up of debris or food particles. With the filter cleaned and reinstalled, proceed to the next step to inspect the spray arms.
Read more: How To Clean Filter On Kitchenaid Dishwasher
Step 5: Inspect the Spray Arms
The spray arms of your Kitchenaid dishwasher are responsible for distributing water and detergent efficiently to clean your dishes. Over time, debris and mineral deposits can accumulate, obstructing the spray arms and reducing their effectiveness. In this step, we will guide you on how to inspect and clean the spray arms. Follow these steps:
- Locate the spray arms in your dishwasher. There are typically two spray arms – one at the bottom and one at the top.
- Check for any visible debris, such as food particles or mineral deposits, on the spray arms. Use a toothbrush or soft brush to gently scrub away any build-up.
- Inspect the spray arm nozzles for any clogs. If you notice any blockages, use a small pin or toothpick to carefully unclog the nozzles.
- Ensure that the spray arms are able to rotate freely. If they appear to be stuck or not spinning properly, remove them and clean the area where they attach to the dishwasher. Sometimes, debris can accumulate in this area, preventing proper movement.
- Reattach the spray arms securely in their original positions.
By inspecting and cleaning the spray arms, you can ensure that water is distributed evenly and effectively, providing thorough cleaning of your dishes. This step is essential to maintain the optimal performance of your Kitchenaid dishwasher.
Now that you have inspected and cleaned the spray arms, it’s time to move on to the final step to test your dishwasher and see if the reset has resolved the issues.
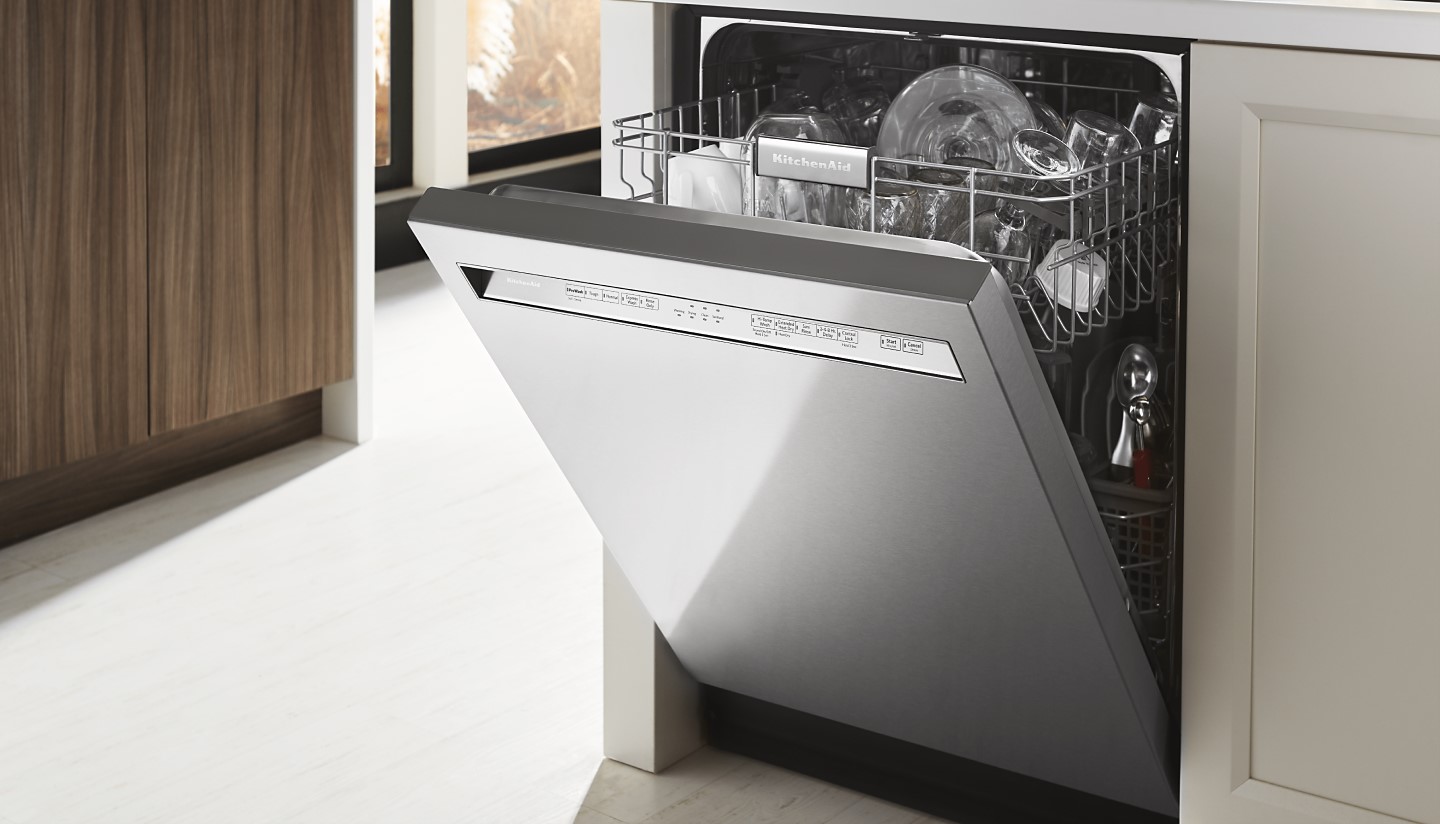
Step 6: Test the Dishwasher
After following the previous steps to reset your Kitchenaid dishwasher and address any potential issues, it’s time to test the appliance and ensure that it is working properly. To do this, follow these steps:
- Reconnect the power supply to the dishwasher by plugging it back in or turning on the circuit breaker.
- Close the dishwasher door securely.
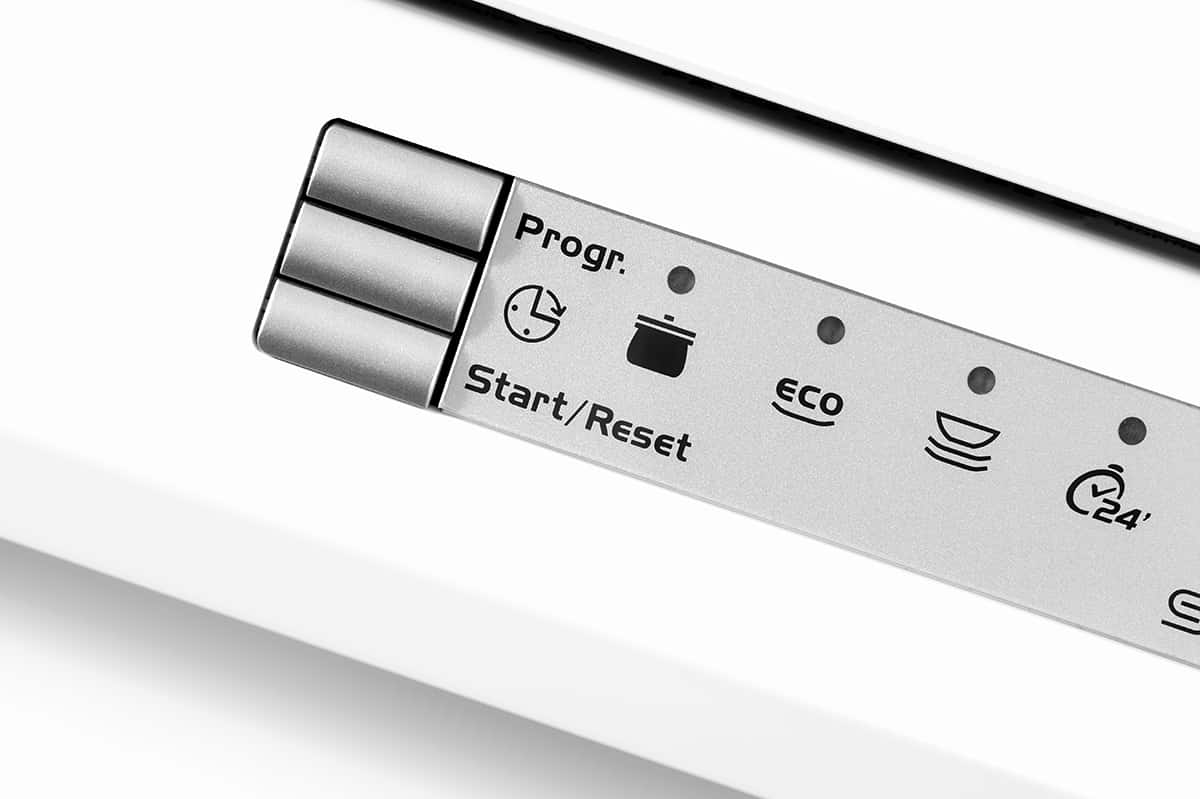
- Select a desired wash cycle and options on the control panel.
- Start the dishwasher and allow it to run through a complete cycle.
- Observe the dishwasher’s performance during the cycle, paying attention to any unusual noises, leaks, or error messages.
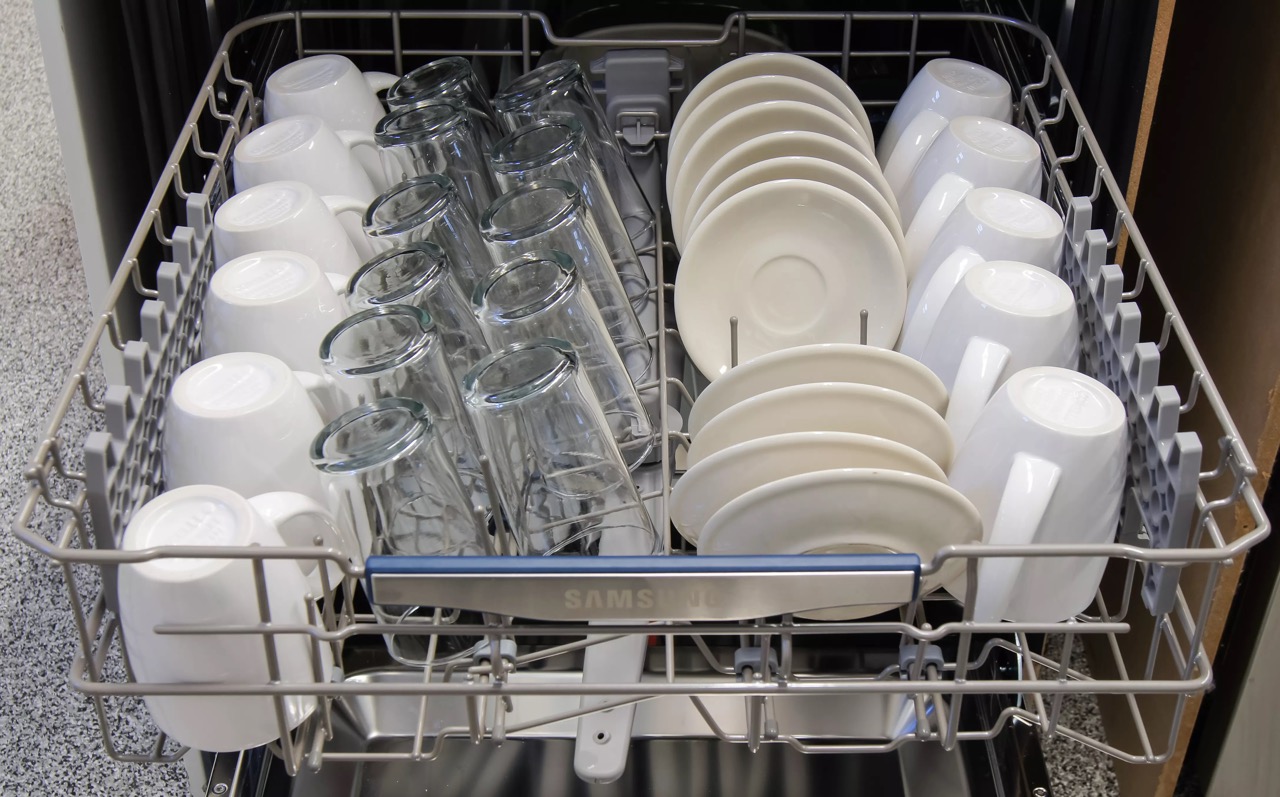
- Once the cycle completes, open the dishwasher and check if the dishes are cleaned effectively.
If the dishwasher runs smoothly without any issues and the dishes come out clean, then the reset process has been successful. However, if you encounter any problems or the issues persist, it may be necessary to seek further assistance or consult a professional for troubleshooting.
Remember to maintain regular dishwasher care to prevent future problems. This includes regularly cleaning the dishwasher, ensuring proper loading of dishes, and using quality detergents.
Congratulations! You have successfully completed the reset process of your Kitchenaid dishwasher and tested its functionality. Enjoy the convenience of a fully operational dishwasher!
Conclusion
Resetting a Kitchenaid dishwasher is a simple yet effective way to resolve minor issues and restore its optimal performance. By following the step-by-step guide outlined in this article, you can easily reset your dishwasher at home without the need for professional assistance.
Throughout the reset process, we covered important steps such as disconnecting the power, resetting the control panel, checking the drainage system, cleaning the filter, inspecting the spray arms, and testing the dishwasher. Each step is designed to address common issues that may arise and ensure the smooth functioning of your Kitchenaid dishwasher.
Regular maintenance and care of your dishwasher can prevent future problems and extend its lifespan. Make it a habit to check and clean the filter, inspect the spray arms, and maintain a clear drainage system. Additionally, following proper loading guidelines and using quality detergents can contribute to efficient and effective dishwashing.
If you encounter persistent issues or your dishwasher continues to malfunction after resetting, it is advisable to consult the user manual or contact the Kitchenaid customer support for further assistance. They can provide specific instructions or recommend professional service if necessary.
Remember, a properly functioning Kitchenaid dishwasher can save you time and effort in the kitchen, allowing you to enjoy clean and sparkling dishes after each cycle. By following the steps outlined in this article and maintaining regular maintenance, you can ensure the continued performance and reliability of your dishwasher.
Happy dishwashing!
Frequently Asked Questions about How To Reset A Kitchenaid Dishwasher
Was this page helpful?
At Storables.com, we guarantee accurate and reliable information. Our content, validated by Expert Board Contributors, is crafted following stringent Editorial Policies. We're committed to providing you with well-researched, expert-backed insights for all your informational needs.
0 thoughts on “How To Reset A Kitchenaid Dishwasher”