
Articles
How To Use A Laptop As A Wireless Adapter
Modified: December 7, 2023
Learn how to use a laptop as a wireless adapter for your devices with this informative article. Discover step-by-step instructions and troubleshooting tips to get your devices connected seamlessly.
(Many of the links in this article redirect to a specific reviewed product. Your purchase of these products through affiliate links helps to generate commission for Storables.com, at no extra cost. Learn more)
Introduction
In today’s fast-paced world, the ability to connect wirelessly is essential. Whether you need to access the internet on a device that lacks Wi-Fi capabilities or want to extend your existing network range, using a laptop as a wireless adapter can come in handy.
Traditionally, a wireless adapter is a physical device that allows a computer to connect to a wireless network. However, with the right configuration, your laptop can also serve as a wireless adapter, effectively turning it into a bridge between a wired connection and a wireless device. This can be particularly useful when you have limited access points or want to share internet connectivity with multiple devices.
In this article, we will guide you through the process of using your laptop as a wireless adapter, allowing you to connect devices wirelessly even if they don’t have built-in Wi-Fi capabilities.
Key Takeaways:
- Transform Your Laptop into a Wireless Adapter
Learn how to repurpose your laptop as a wireless adapter, extending internet access to devices without Wi-Fi capabilities. With the right setup, your laptop can bridge the gap between wired and wireless connections, providing flexibility and convenience. - Troubleshooting Tips for Seamless Connectivity
Encounter common issues while setting up your laptop as a wireless adapter? Follow our troubleshooting tips to address connectivity glitches and ensure a smooth transition to wireless connectivity for your devices.
Read more: What Is An Ac Adapter For A Laptop
Understanding a Laptop as a Wireless Adapter
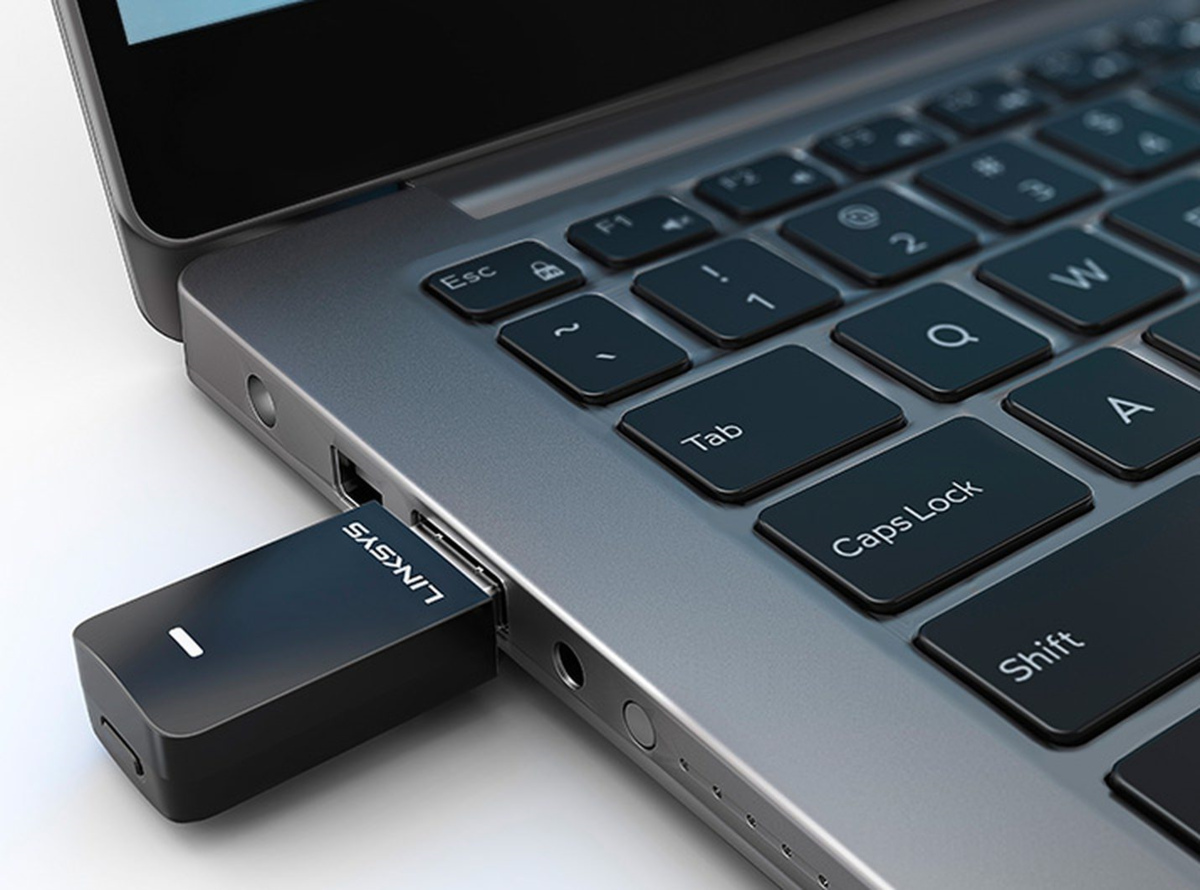
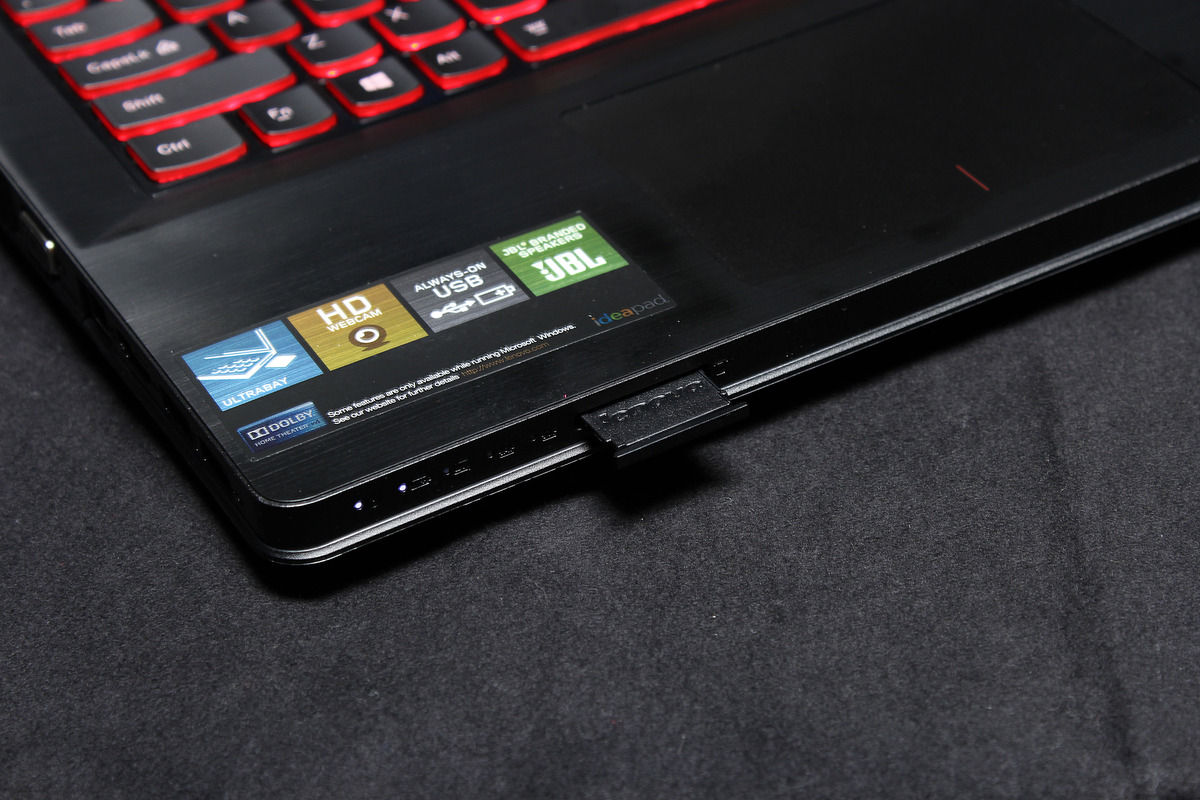
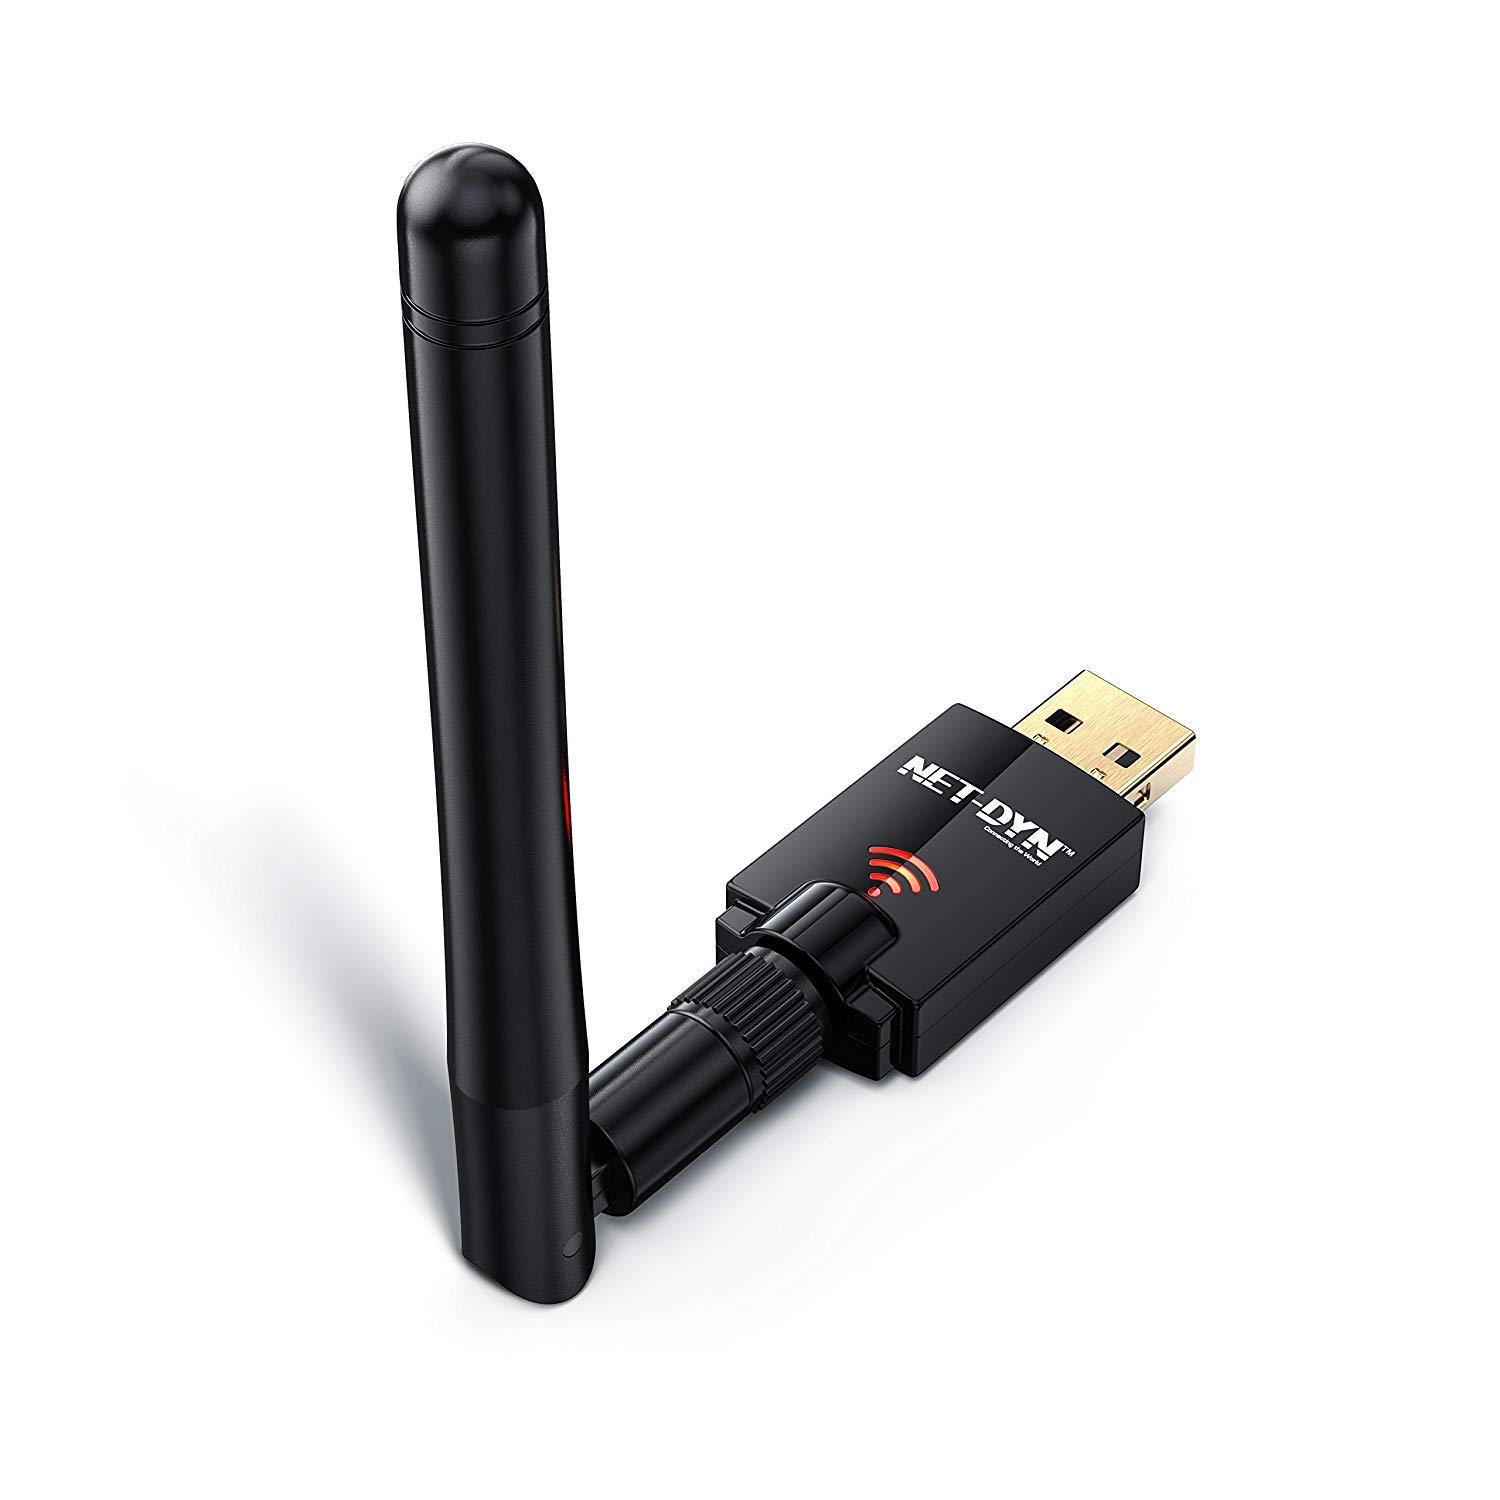
To understand how a laptop can function as a wireless adapter, let’s start by explaining the role of a traditional wireless adapter. A wireless adapter is a hardware device that allows a computer to connect to a wireless network by transmitting and receiving wireless signals.
However, with certain software and network configurations, a laptop can also act as a wireless adapter. Essentially, the laptop acts as a middleman between a wired internet connection and a device that does not support Wi-Fi. This allows the device to connect to the internet wirelessly through the laptop’s Wi-Fi capabilities.
The laptop creates a local network where it acts as an access point, providing a wireless network that other devices can connect to. The laptop then forwards the network traffic between the device and the wired connection, allowing the device to access the internet even without its own Wi-Fi capabilities.
It’s important to note that using a laptop as a wireless adapter requires specific configuration steps, and both the laptop and the device you want to connect wirelessly need to be compatible and properly configured.
Now that we have a basic understanding of how a laptop can function as a wireless adapter, let’s move on to the requirements you need to meet in order to proceed with the setup process.
Requirements
Before you can use your laptop as a wireless adapter, there are a few requirements that need to be met. Here’s what you’ll need:
- A laptop with built-in Wi-Fi capabilities: In order to use your laptop as a wireless adapter, it must have Wi-Fi capabilities. Most modern laptops come with built-in Wi-Fi, but if you have an older model, make sure it supports wireless connectivity.
- An Ethernet connection: You’ll need an Ethernet connection on your laptop to establish the wired connection. This can be achieved by connecting an Ethernet cable from your modem/router to the Ethernet port on your laptop.
- An administrator account: To make the necessary configuration changes, you’ll need administrative access to your laptop.
- Compatible drivers: Ensure that your laptop has the latest drivers for the Wi-Fi adapter installed. This can usually be done through the device manager or by visiting the manufacturer’s website.
- A device without Wi-Fi capabilities: The device you want to connect wirelessly should not have built-in Wi-Fi capabilities. It could be a desktop computer, gaming console, or any other device that relies on a wired connection.
Once you have these requirements in place, you’re ready to proceed with using your laptop as a wireless adapter. In the next section, we will guide you through the step-by-step process of setting it up.
Step-by-Step Guide to Use a Laptop as a Wireless Adapter
Now that you have met the requirements, follow these steps to use your laptop as a wireless adapter:
- Step 1: Configuring Network Settings on the Host Laptop
- Go to the Control Panel or Settings on your laptop.
- Locate the “Network and Internet” or “Network and Sharing Center” option.
- Click on “Change adapter settings.”
- Right-click on the Ethernet connection and select “Properties.”
- In the Properties window, go to the “Sharing” tab.
- Check the box that says “Allow other network users to connect through this computer’s internet connection.”
- Click “OK” to save the changes.
- Step 2: Connecting the Host Laptop to the Target Device
- Disconnect the Ethernet cable from the laptop and connect it to the target device.
- If the target device has an Ethernet port, connect one end of an Ethernet cable to the device and the other end to the laptop’s Ethernet port.
- If the target device does not have an Ethernet port, you may need to use an Ethernet-to-USB adapter to establish the connection.
- Step 3: Enabling Internet Sharing on the Host Laptop
- Go back to the network settings on your laptop and access the Ethernet connection properties.
- On the Sharing tab, check the box that says “Allow other network users to connect through this computer’s internet connection.”
- Under “Home networking connection,” select the name of your Wi-Fi adapter.
- Click “OK” to save the changes.
- Step 4: Configuring Network Settings on the Target Device
- Access the network settings on the target device.
- Select the Wi-Fi network with the same name as your host laptop.
- Enter the password for the Wi-Fi network if prompted.
- Ensure that your laptop is connected to the internet via an Ethernet cable. This cable should be connected from your modem or router to the Ethernet port on your laptop.
- Open the Control Panel on your laptop. You can usually find it by searching for “Control Panel” in the Start menu.
- In the Control Panel, navigate to the “Network and Internet” section. This may be labeled differently depending on your version of Windows.
- Click on the “Network and Sharing Center” option.
- Within the Network and Sharing Center, locate the “Change adapter settings” link. Click on it to open the network connections window.
- In the network connections window, you will see a list of network connections. Look for the Ethernet connection that is currently active. It will typically be labeled as “Ethernet” or “Local Area Connection.”
- Right-click on the Ethernet connection and select “Properties” from the context menu.
- In the Properties window, navigate to the “Sharing” tab.
- Check the box that says “Allow other network users to connect through this computer’s internet connection.” This will enable internet sharing on your laptop.
- Under the “Home networking connection” section, select the Wi-Fi adapter that is built into your laptop. This is the adapter that will be used to create the wireless network for other devices to connect to.
- Click “OK” to save the changes and exit the Properties window.
- Ensure that the host laptop is powered on and connected to the internet via an Ethernet cable.
- Disconnect the Ethernet cable from the host laptop.
- Locate the target device that you want to connect wirelessly. This could be a desktop computer, gaming console, or any other device without built-in Wi-Fi capabilities.
- If the target device has an Ethernet port, connect one end of the Ethernet cable to the device.
- Take the other end of the Ethernet cable and connect it to the Ethernet port on the host laptop.
- If the target device does not have an Ethernet port, you may need to use an Ethernet-to-USB adapter. Connect one end of the Ethernet cable to the adapter and plug the USB end into an available USB port on the target device.
- Once the physical connection is established, you are ready to proceed to the next step.
- Go back to the network settings on your host laptop. This can typically be done by right-clicking on the network icon in the system tray and selecting “Open Network & Internet settings” or by navigating to the Control Panel and accessing the Network and Sharing Center.
- Find the network connection that represents the wired connection (Ethernet connection) on your laptop. This may be labeled as “Ethernet” or “Local Area Connection.”
- Right-click on the Ethernet connection and select “Properties” from the context menu.
- In the Properties window, navigate to the “Sharing” tab.
- Check the box that says “Allow other network users to connect through this computer’s internet connection.” This will activate internet sharing on your host laptop.
- In the “Home networking connection” section, select the wireless adapter that your laptop is using to create the wireless network for other devices to connect to. This adapter is typically labeled as “Wi-Fi” or with the manufacturer’s name.
- Click “OK” to save the changes.
- On the target device, access the network settings. This can usually be done by going to the Control Panel or System Preferences and selecting the “Network” or “Internet & Network” option.
- In the network settings, look for the section related to wireless or Wi-Fi connections. It may be labeled as “Wi-Fi,” “Wireless,” or similar.
- Within the Wi-Fi settings, scan for available networks. You should see the name of the Wi-Fi network created by the host laptop.
- Select the Wi-Fi network created by the host laptop from the list.
- If prompted, enter the password for the Wi-Fi network. This should be the same password used to connect to the host laptop’s Wi-Fi network.
- Once connected, the target device should now have access to the internet through the host laptop’s wireless adapter.
- Ensure Wi-Fi adapter drivers are up to date: Make sure that the drivers for your laptop’s Wi-Fi adapter are updated to the latest version. You can do this by visiting the manufacturer’s website or using the device manager to check for driver updates.
- Restart the devices: If you’re experiencing any connectivity issues, try restarting both the host laptop and the target device. This can help establish a fresh connection and resolve any temporary glitches.
- Check the password: If the target device is unable to connect to the host laptop’s Wi-Fi network, double-check that you have entered the correct password. Pay attention to uppercase and lowercase letters and any special characters.
- Confirm network settings: Ensure that the network settings on both the host laptop and the target device are properly configured. Review the steps outlined in the previous sections to make sure everything is set up correctly.
- Disable third-party firewall or antivirus software: Sometimes, third-party firewall or antivirus software may interfere with the internet sharing process. Temporarily disable such software and check if the connection is restored.
- Reset network settings: If you’ve made changes to network settings but are still experiencing issues, you can try resetting the network settings on both the host laptop and the target device. This will restore them to their default configurations.
- Check for hardware compatibility: Ensure that both your laptop and the target device are compatible with the process of using a laptop as a wireless adapter. Older devices or those without necessary hardware components may not support this functionality.
- Seek professional assistance: If you’ve exhausted all troubleshooting options and are still unable to resolve the issue, it may be helpful to reach out to technical support or consult with a professional for further assistance.
To begin, ensure that your laptop is connected to the internet via an Ethernet cable. Then, access the network settings on your laptop by following these steps:
Now that the network settings on your laptop are configured, you need to establish a connection between the host laptop and the target device. Follow these steps:
Now that both devices are physically connected, it’s time to enable internet sharing on your host laptop. Follow these steps:
Now that the host laptop is sharing its internet connection, you need to configure the network settings on the target device. Follow these steps:
With these steps completed, your target device should now be connected to the internet through your laptop’s Wi-Fi adapter. You can repeat this process with multiple devices that lack Wi-Fi capabilities, allowing them to connect wirelessly using your laptop as a bridge.
If you encounter any issues during the setup process, refer to the troubleshooting tips in the next section to resolve common problems.
Step 1: Configuring Network Settings on the Host Laptop
The first step in using your laptop as a wireless adapter is to configure the network settings on the host laptop. This involves enabling internet sharing so that your laptop can act as a bridge between the wired internet connection and the device you want to connect wirelessly.
Follow these step-by-step instructions to configure the network settings on your host laptop:
By following these steps, you have successfully configured the network settings on the host laptop. The laptop is now ready to act as a wireless adapter for other devices to connect to wirelessly. In the next step, we will discuss how to physically connect the host laptop to the target device.
You can use a laptop as a wireless adapter by creating a mobile hotspot. Go to your laptop’s network settings, select “Mobile hotspot,” and turn it on. Then, connect your other device to the hotspot network.
Step 2: Connecting the Host Laptop to the Target Device
In this step, we will guide you on how to physically connect the host laptop to the target device, allowing them to establish a connection and share internet access.
Follow these step-by-step instructions to connect the host laptop to the target device:
By following these steps, you have successfully connected the host laptop to the target device using an Ethernet cable. This creates a direct link between the two devices, allowing the target device to gain access to the internet through the host laptop’s wireless adapter.
In the next step, we will discuss how to enable internet sharing on the host laptop, allowing the target device to connect wirelessly.
Step 3: Enabling Internet Sharing on the Host Laptop
Now that the host laptop and the target device are physically connected, it’s time to enable internet sharing on the host laptop. This process allows the host laptop to act as a bridge between the wired internet connection and the wireless device.
Follow these step-by-step instructions to enable internet sharing on the host laptop:
By following these steps, you have successfully enabled internet sharing on the host laptop. The host laptop will now create a Wi-Fi network for other devices to connect to, using its wireless adapter. The target device can now join this network and access the internet through the host laptop’s internet connection.
In the next step, we will discuss how to configure the network settings on the target device to connect to the Wi-Fi network created by the host laptop.
Step 4: Configuring Network Settings on the Target Device
After enabling internet sharing on the host laptop, the final step is to configure the network settings on the target device. This will allow the target device to connect to the Wi-Fi network created by the host laptop and access the internet wirelessly.
Follow these step-by-step instructions to configure the network settings on the target device:
By following these steps, you have successfully configured the network settings on the target device to connect it to the Wi-Fi network created by the host laptop. The target device can now enjoy wireless internet access.
Congratulations! You have completed all the steps to use your laptop as a wireless adapter. You can repeat this process with multiple devices that lack Wi-Fi capabilities, allowing them to connect wirelessly using your laptop as a bridge.
If you encounter any issues during the setup process, refer to the troubleshooting tips in the next section to help resolve common problems.
Troubleshooting Tips
While using your laptop as a wireless adapter can provide convenience and flexibility, you may encounter some issues during the setup process or while using the wireless connection. Here are some troubleshooting tips to help you resolve common problems:
By following these troubleshooting tips, you should be able to address common issues that may arise while using your laptop as a wireless adapter. Remember to refer back to the previous steps and ensure that all settings are configured correctly.
With patience and persistence, you’ll be able to enjoy the benefits of using your laptop as a wireless adapter to connect devices without built-in Wi-Fi capabilities.
Read more: How To Use Wu-1A Wireless Mobile Adapter
Conclusion
Using a laptop as a wireless adapter can be a valuable solution when you need to connect devices without built-in Wi-Fi capabilities to the internet wirelessly. By following the step-by-step guide outlined in this article, you can easily configure your laptop to act as a bridge between a wired internet connection and wireless devices.
In this article, we covered the requirements, the process of understanding a laptop as a wireless adapter, and the step-by-step instructions for configuring the network settings on the host laptop, connecting the host laptop to the target device, enabling internet sharing, and configuring the network settings on the target device. We also provided troubleshooting tips to help you overcome common issues that may arise during the setup process.
Remember to ensure that your laptop has built-in Wi-Fi capabilities, an Ethernet connection, compatible drivers, and administrative access. Additionally, the target device should lack Wi-Fi capabilities so that it can benefit from your laptop’s wireless adapter.
By using your laptop as a wireless adapter, you can extend internet access to various devices, such as desktop computers, gaming consoles, or any other device that relies on a wired connection. This provides greater flexibility and convenience, especially in environments with limited access points or when you want to share internet connectivity with multiple devices.
Should you encounter any difficulties, refer to the troubleshooting tips we provided. Remember to stay patient and persistent as you work through the setup process.
With the ability to use your laptop as a wireless adapter, you can enjoy the freedom and convenience of wireless connectivity on devices that wouldn’t have it otherwise. Embrace the possibilities and make the most out of your network setup!
Frequently Asked Questions about How To Use A Laptop As A Wireless Adapter
Was this page helpful?
At Storables.com, we guarantee accurate and reliable information. Our content, validated by Expert Board Contributors, is crafted following stringent Editorial Policies. We're committed to providing you with well-researched, expert-backed insights for all your informational needs.


0 thoughts on “How To Use A Laptop As A Wireless Adapter”