
Articles
How To Use A Laser Level On Ceiling
Modified: October 31, 2024
Learn how to use a laser level on the ceiling with these helpful articles. Perfect for DIYers and professionals alike.
(Many of the links in this article redirect to a specific reviewed product. Your purchase of these products through affiliate links helps to generate commission for Storables.com, at no extra cost. Learn more)
Introduction
In construction and home improvement projects, achieving precise measurements and accurate alignments is crucial. One tool that has revolutionized the way professionals and DIY enthusiasts approach these tasks is the laser level. Whether you’re hanging a light fixture, installing ceiling tiles, or creating a level line for painting, a laser level can make your job easier and more precise.
In this article, we will explore the ins and outs of using a laser level on ceilings. From understanding the basics of laser levels to troubleshooting common issues, we’ll guide you through the process step-by-step. So, let’s dive in and discover how to make the most of this versatile tool!
Key Takeaways:
- Master the art of using a laser level on ceilings by working in sections and regularly verifying accuracy to achieve precise alignments and consistent results.
- Elevate your construction and home improvement projects with the efficiency and accuracy of a laser level on ceilings, ensuring professional-quality finishes with ease.
Read more: Why Use A Laser Level For A Drop Ceiling
Understanding Laser Levels
Before we delve into using a laser level on ceilings, let’s begin by understanding what a laser level is and its significance in construction and home improvement projects.
What is a Laser Level?
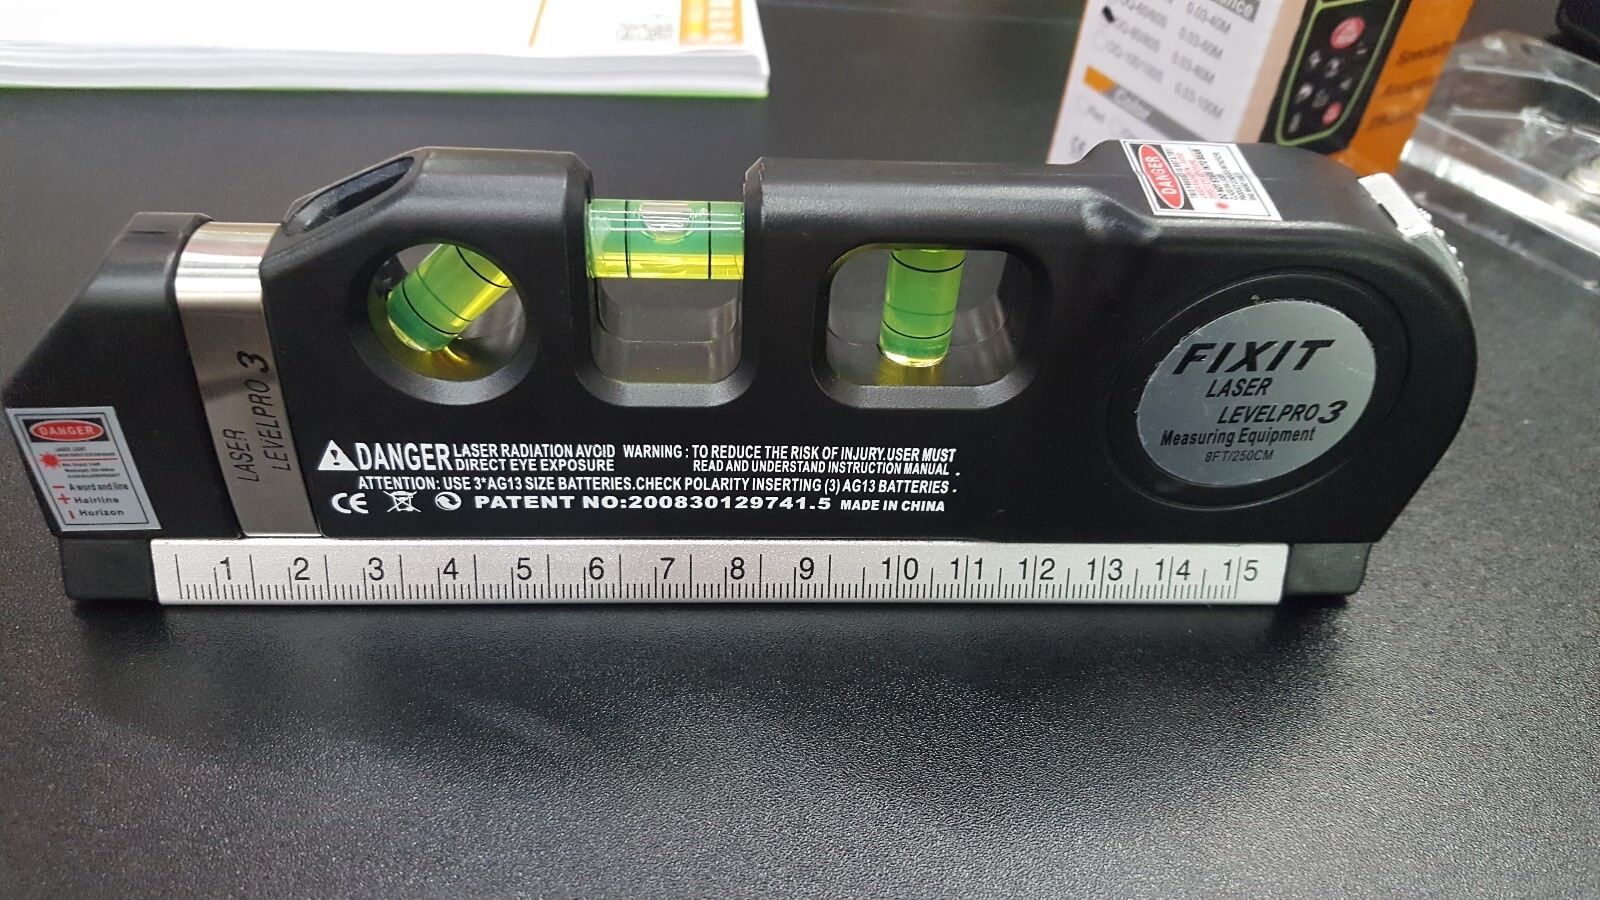
A laser level is a tool that projects a highly visible laser beam onto a surface, creating a straight and level reference line. It utilizes laser technology to ensure accuracy and precision in measuring and aligning objects. Laser levels play a crucial role in tasks such as measuring distances, installing fixtures, and creating level reference points.
Types of Laser Levels
There are various types of laser levels available, each designed for specific applications:
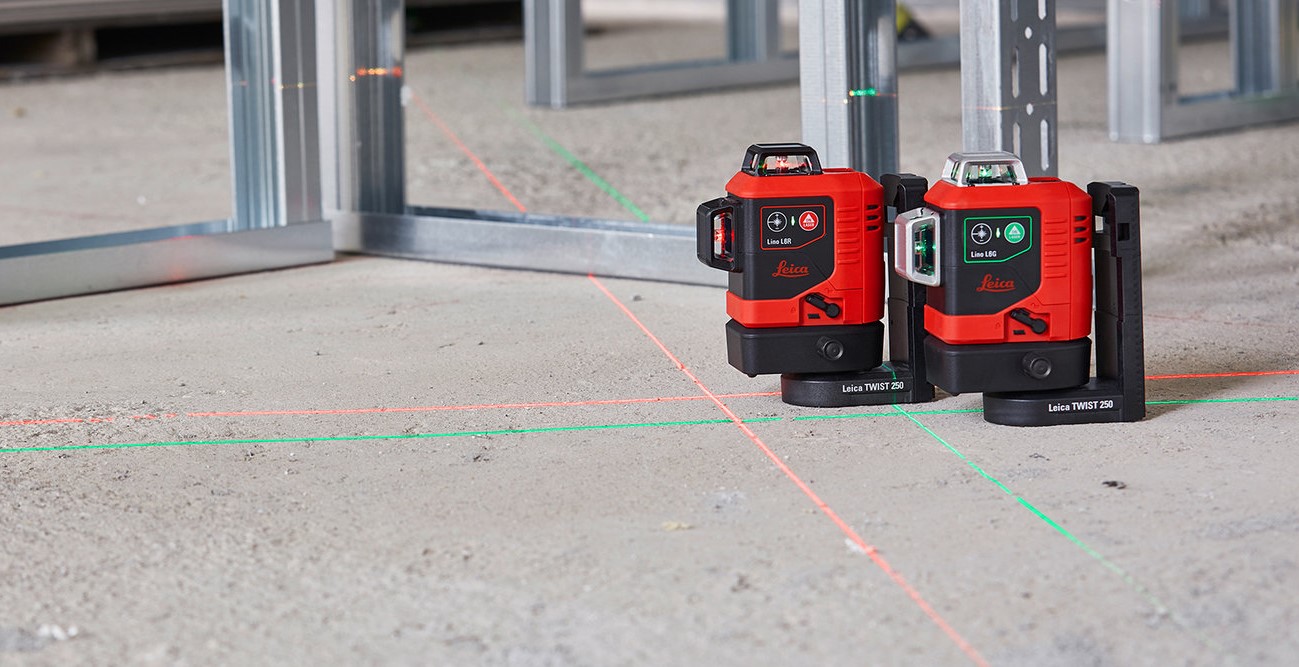
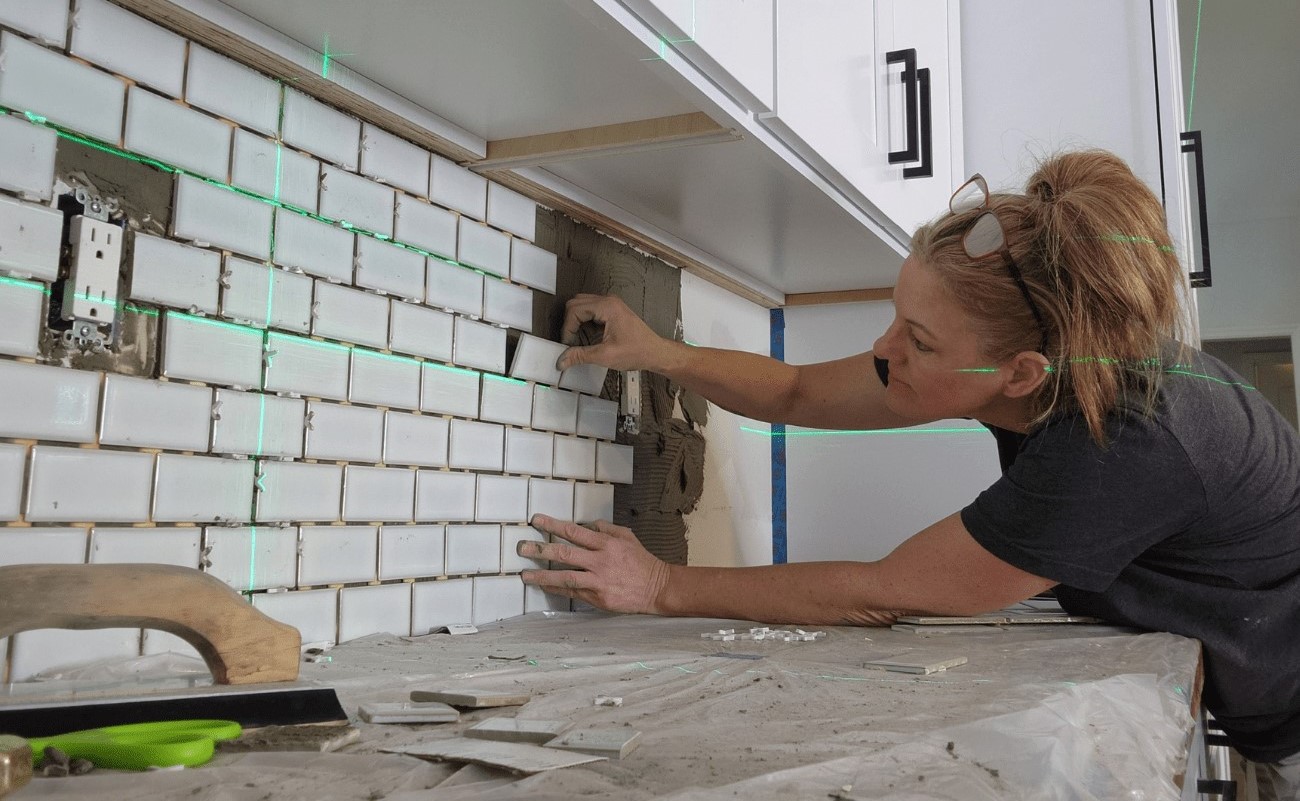
- Line Laser Level: This type projects a level or plumb line onto a surface, allowing for straight alignment. It is commonly used for installing cabinets, hanging artwork, or laying tile.
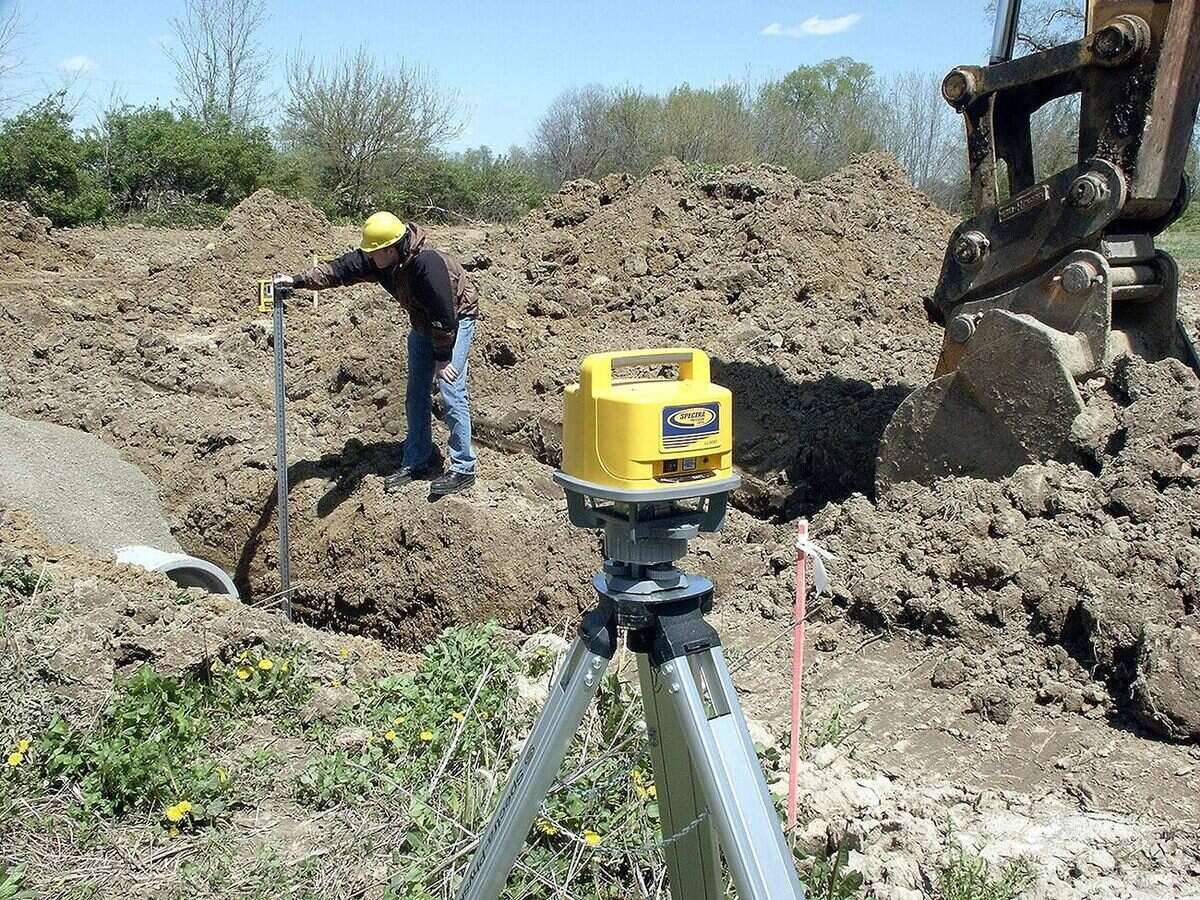
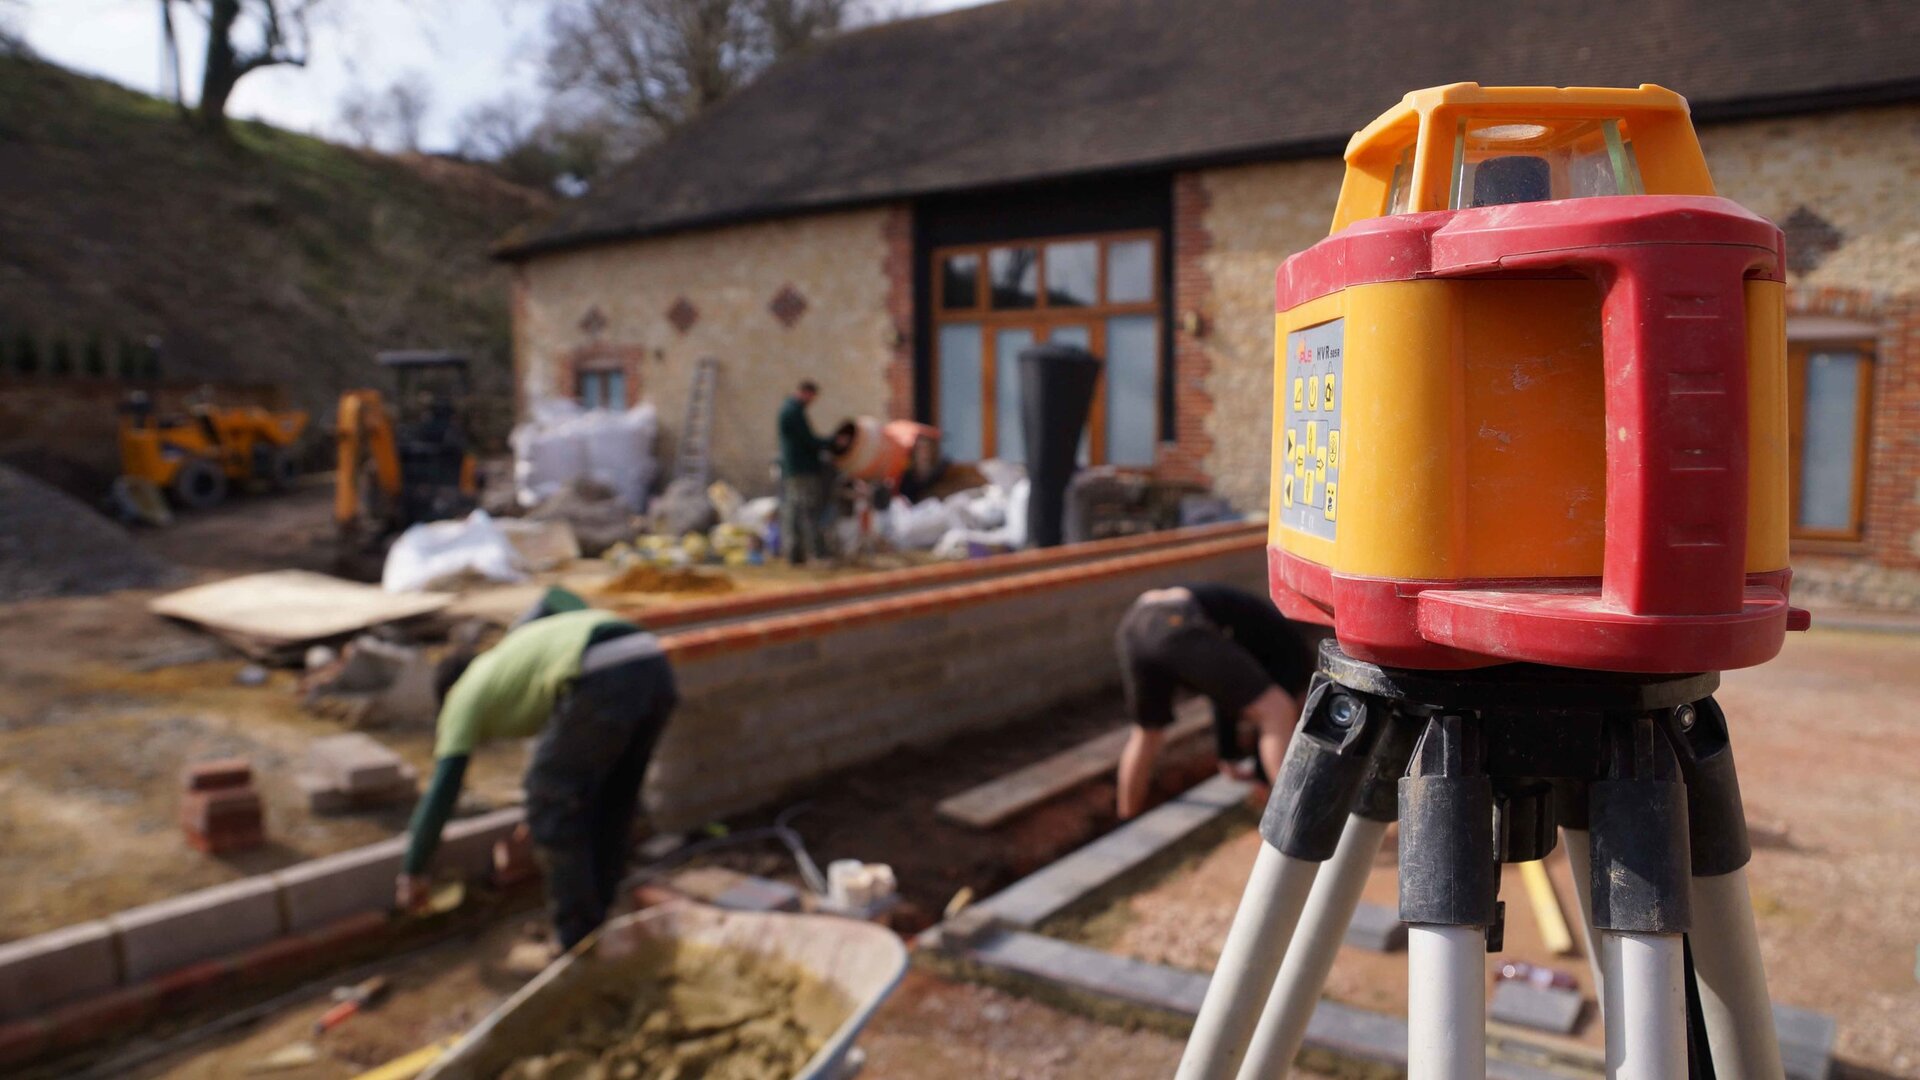
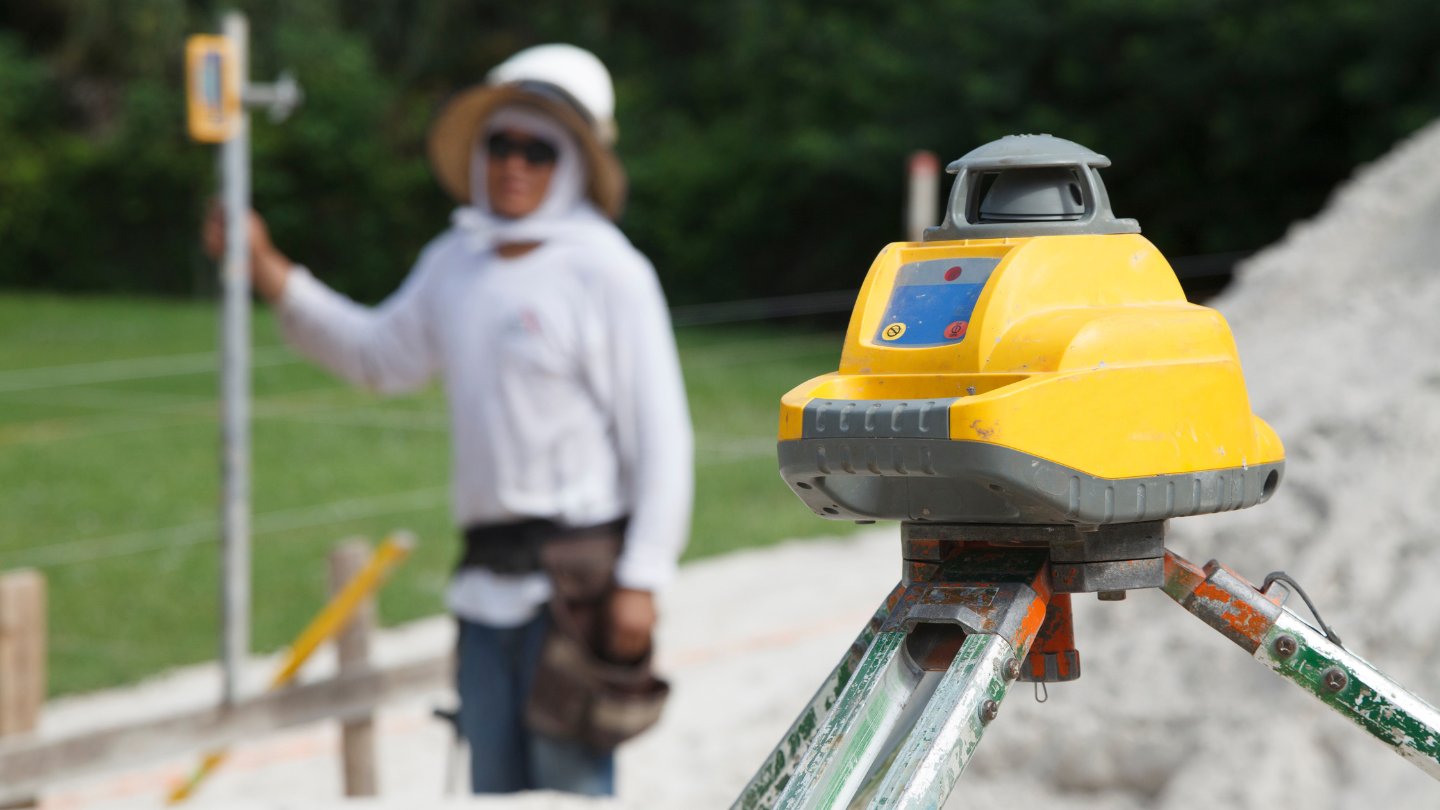
- Rotary Laser Level: A rotary laser level emits a 360-degree laser beam, creating a level plane around an entire room. It is ideal for larger projects like leveling floors, installing drop ceilings, or laying out foundations.
- Dot Laser Level: Dot laser levels project multiple individual laser dots onto surfaces for precise point-to-point measurements. They are useful for tasks like aligning shelving units or verifying perpendicular angles.
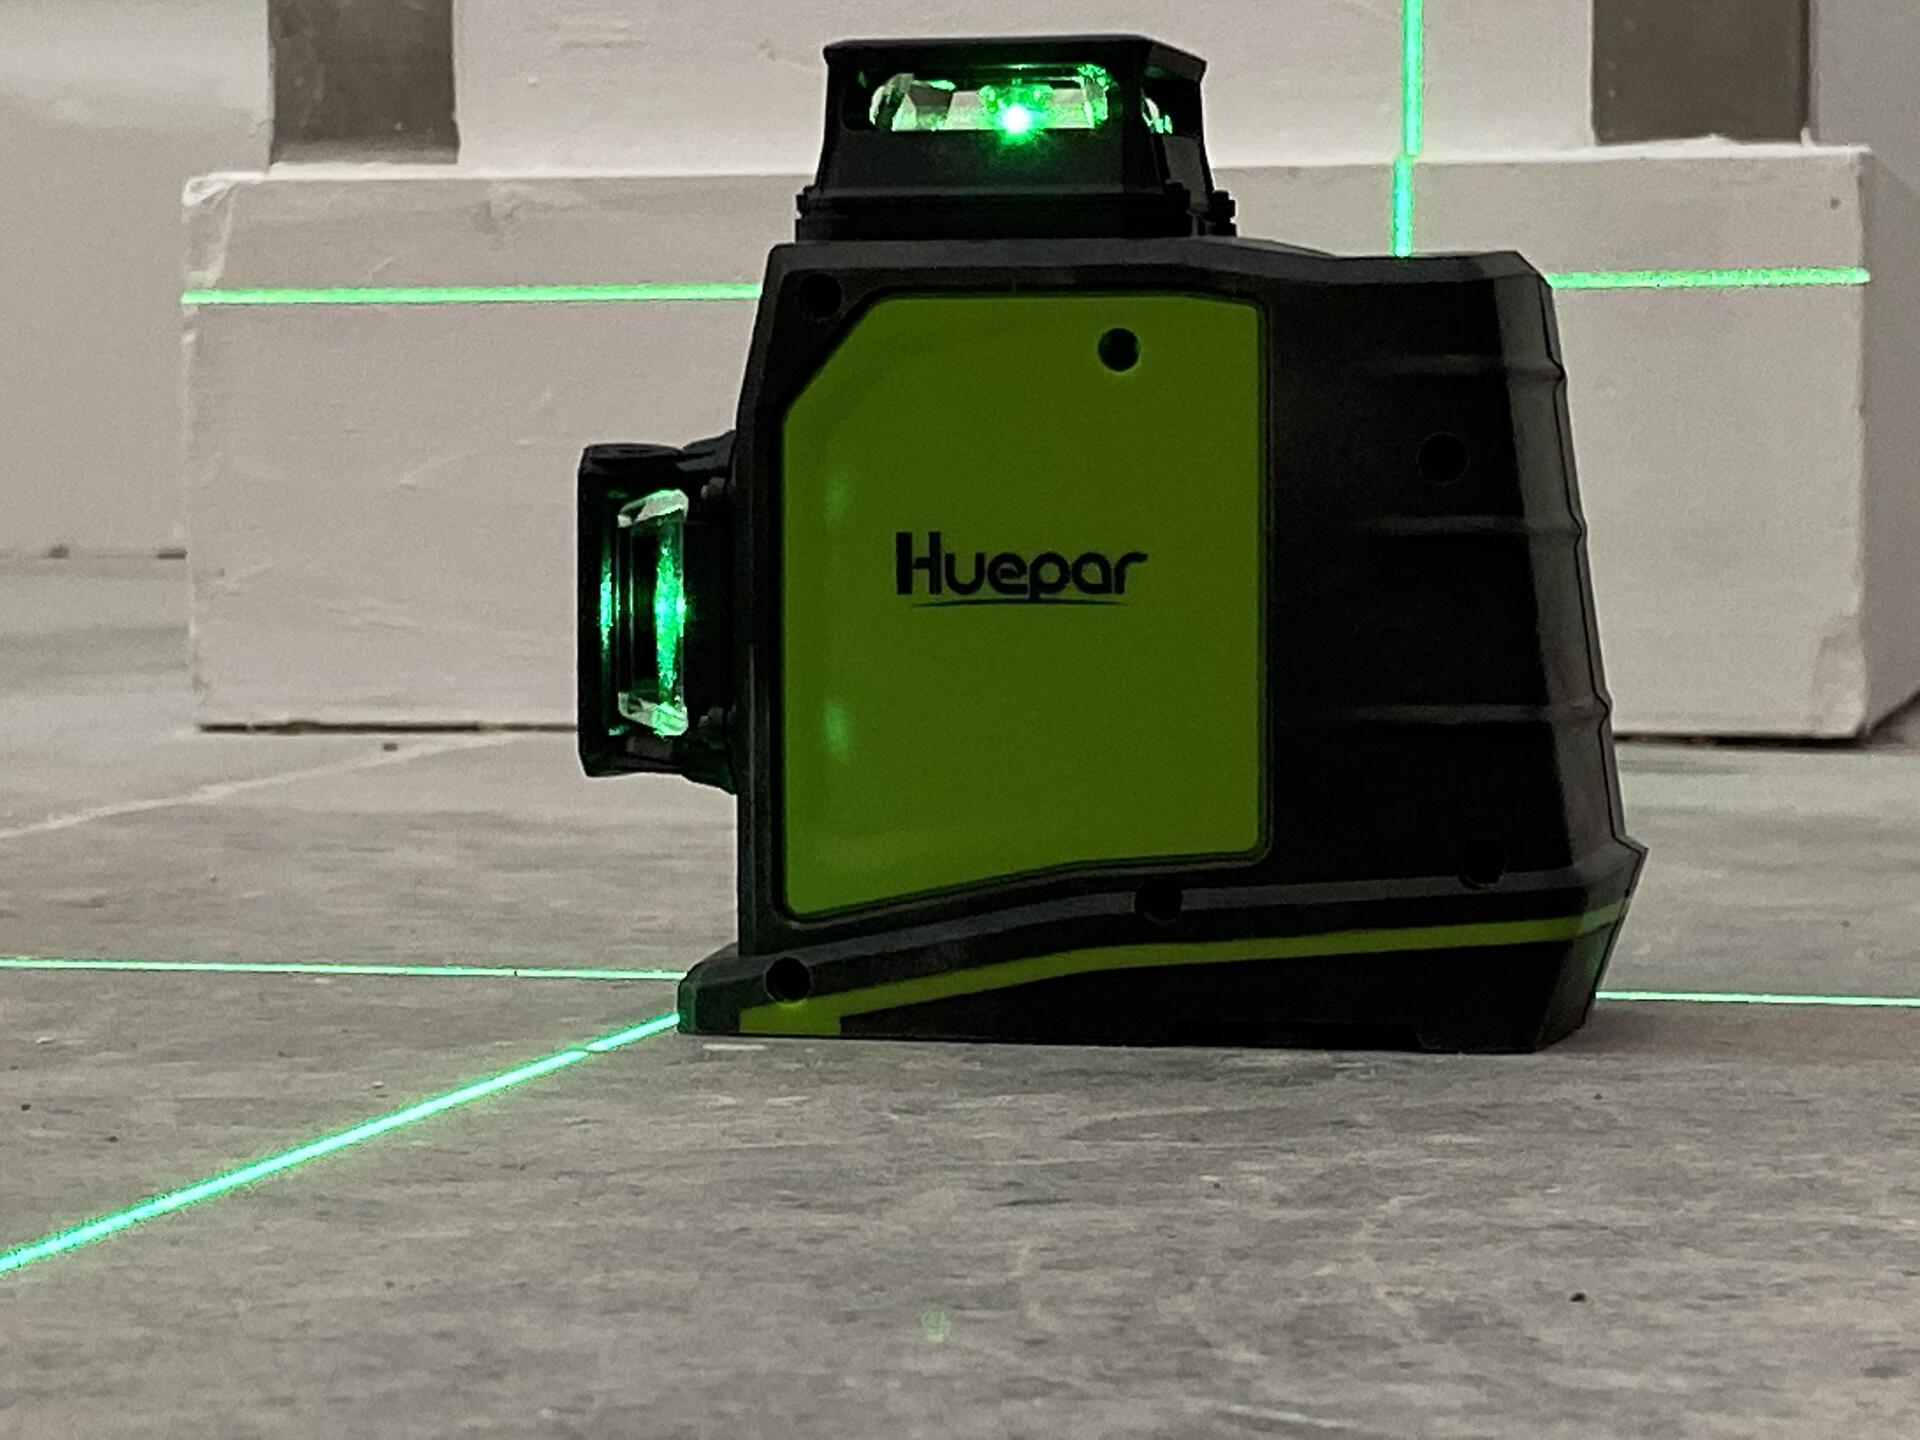
- Cross Line Laser Level: Similar to the line laser level, a cross line laser level projects both horizontal and vertical lines simultaneously, forming a cross or plus sign. It is suitable for tasks that require both horizontal and vertical alignment, such as installing windows or aligning tiles.
Benefits of Using a Laser Level
The use of laser levels provides several advantages for construction and home improvement projects:
- Precision: Laser levels offer high accuracy, ensuring precise measurements and level alignments.
- Time Efficiency: With laser levels, you can quickly establish level lines and reference points, saving time and effort.
- Consistency: Laser levels provide consistent results, minimizing human error and ensuring uniformity in measurements.
- Versatility: From installing fixtures to aligning objects, laser levels can be used for a wide range of applications.
- Increased Safety: Laser levels eliminate the need for physical leveling tools, reducing the risk of accidents or injuries.
Now that we have a clear understanding of laser levels and their benefits, let’s move on to the next step: preparing for using a laser level on ceilings.
Read more: How To Level Ceiling Joist With Laser Level
Preparation
Before you start using a laser level on ceilings, it is important to take some necessary precautions and gather the essential tools and equipment. Let’s go over the important steps to ensure a safe and successful experience.
Safety Measures
When working with any tools, safety should always be a top priority. Here are some key safety measures to keep in mind:
- Wear appropriate protective gear, including safety glasses and gloves, to protect yourself from any potential hazards.
- Make sure the work area is well-lit and clear of any obstructions that could interfere with the laser level’s beam.
- Follow the manufacturer’s instructions and guidelines for the specific laser level you are using.
- Avoid looking directly into the laser beam to protect your eyes from potential damage.
- Do not use a laser level near flammable or explosive materials.
Necessary Tools and Equipment
Here are some essential tools and equipment you will need to effectively use a laser level on ceilings:
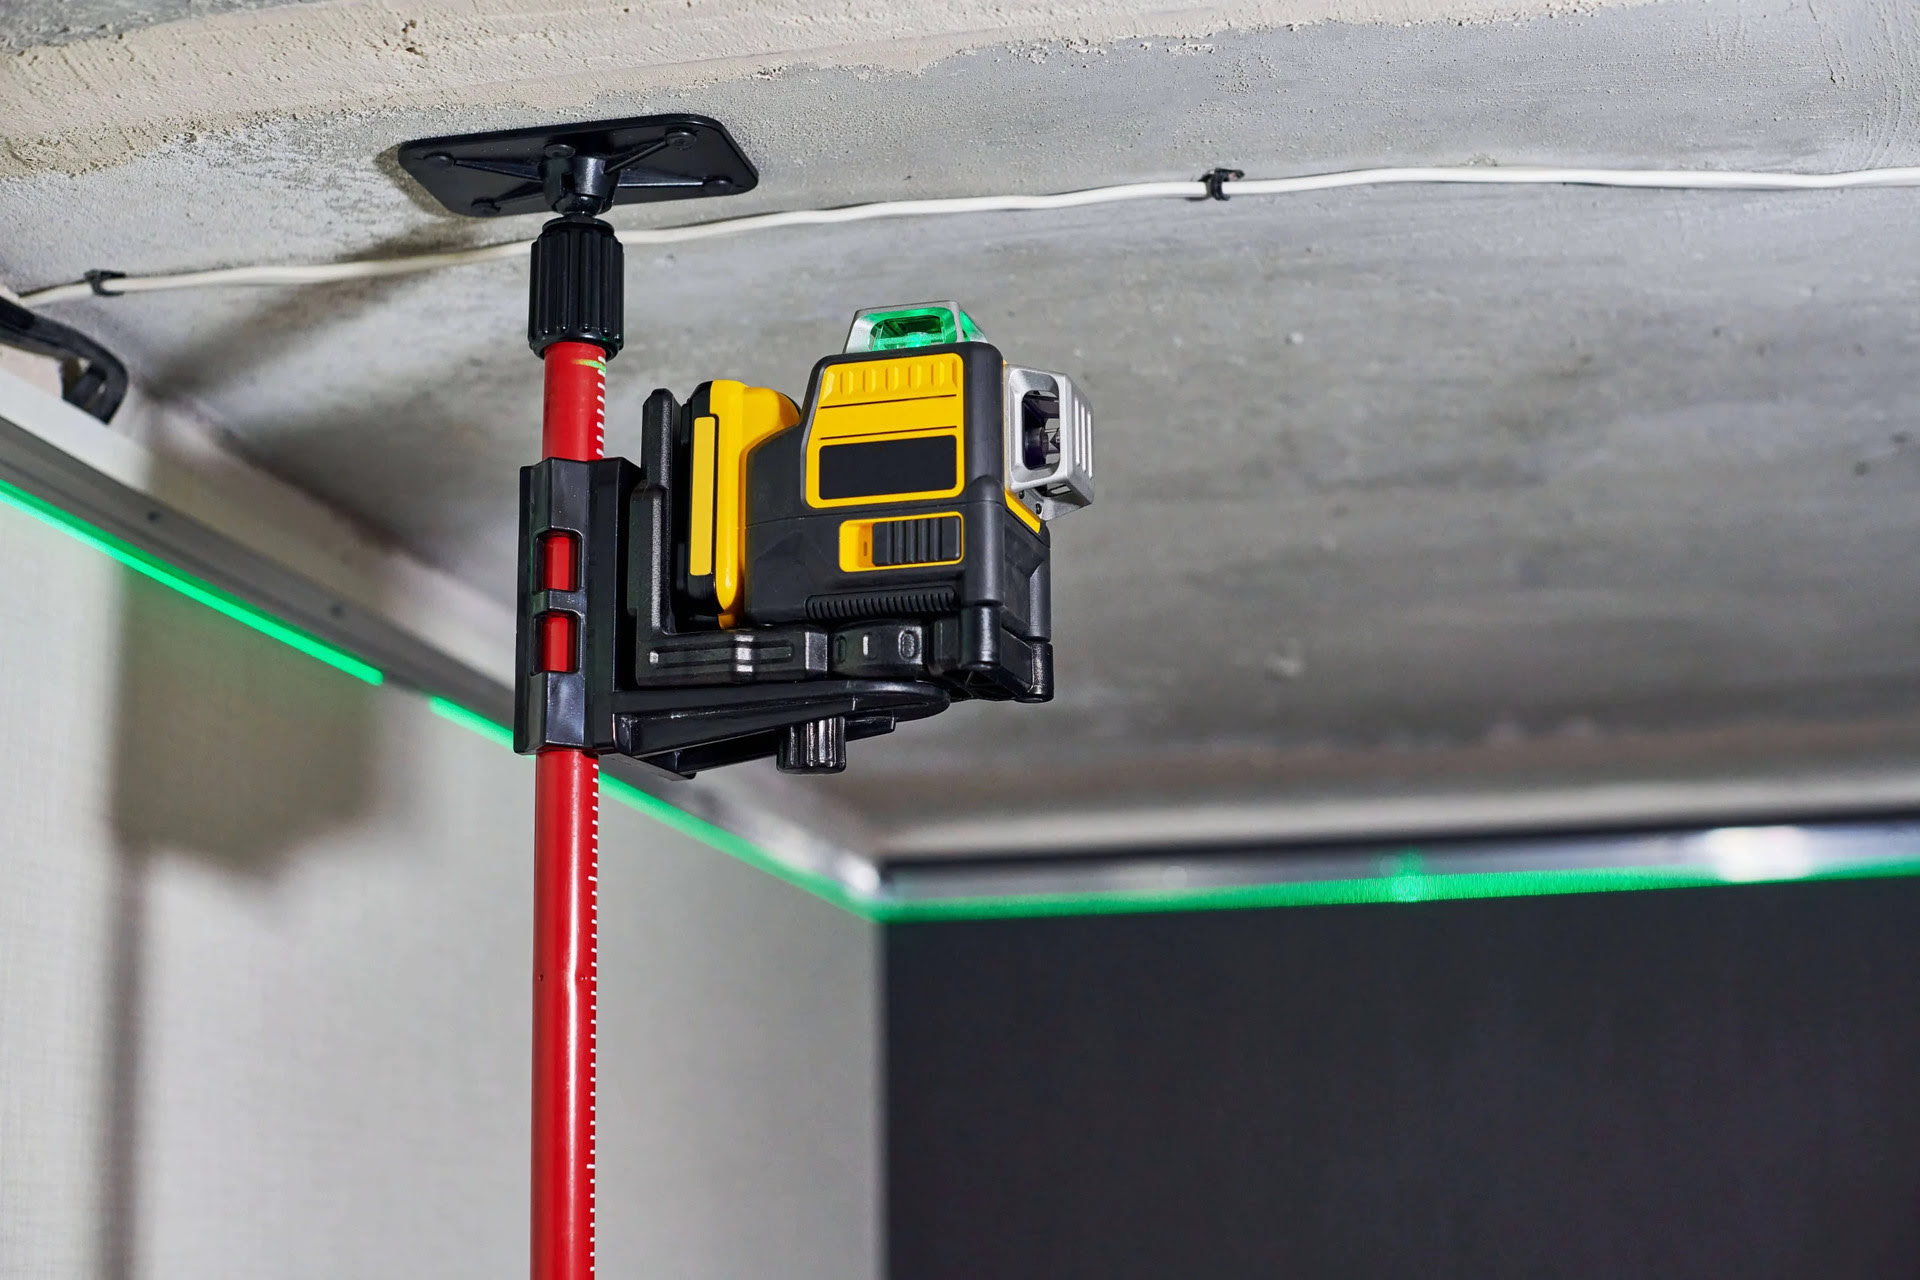
- Laser Level: Choose a laser level that is suitable for ceiling applications, such as a line laser level or a cross line laser level.
- Measuring Tape: A measuring tape is necessary to determine the reference points and measurements for your ceiling project.
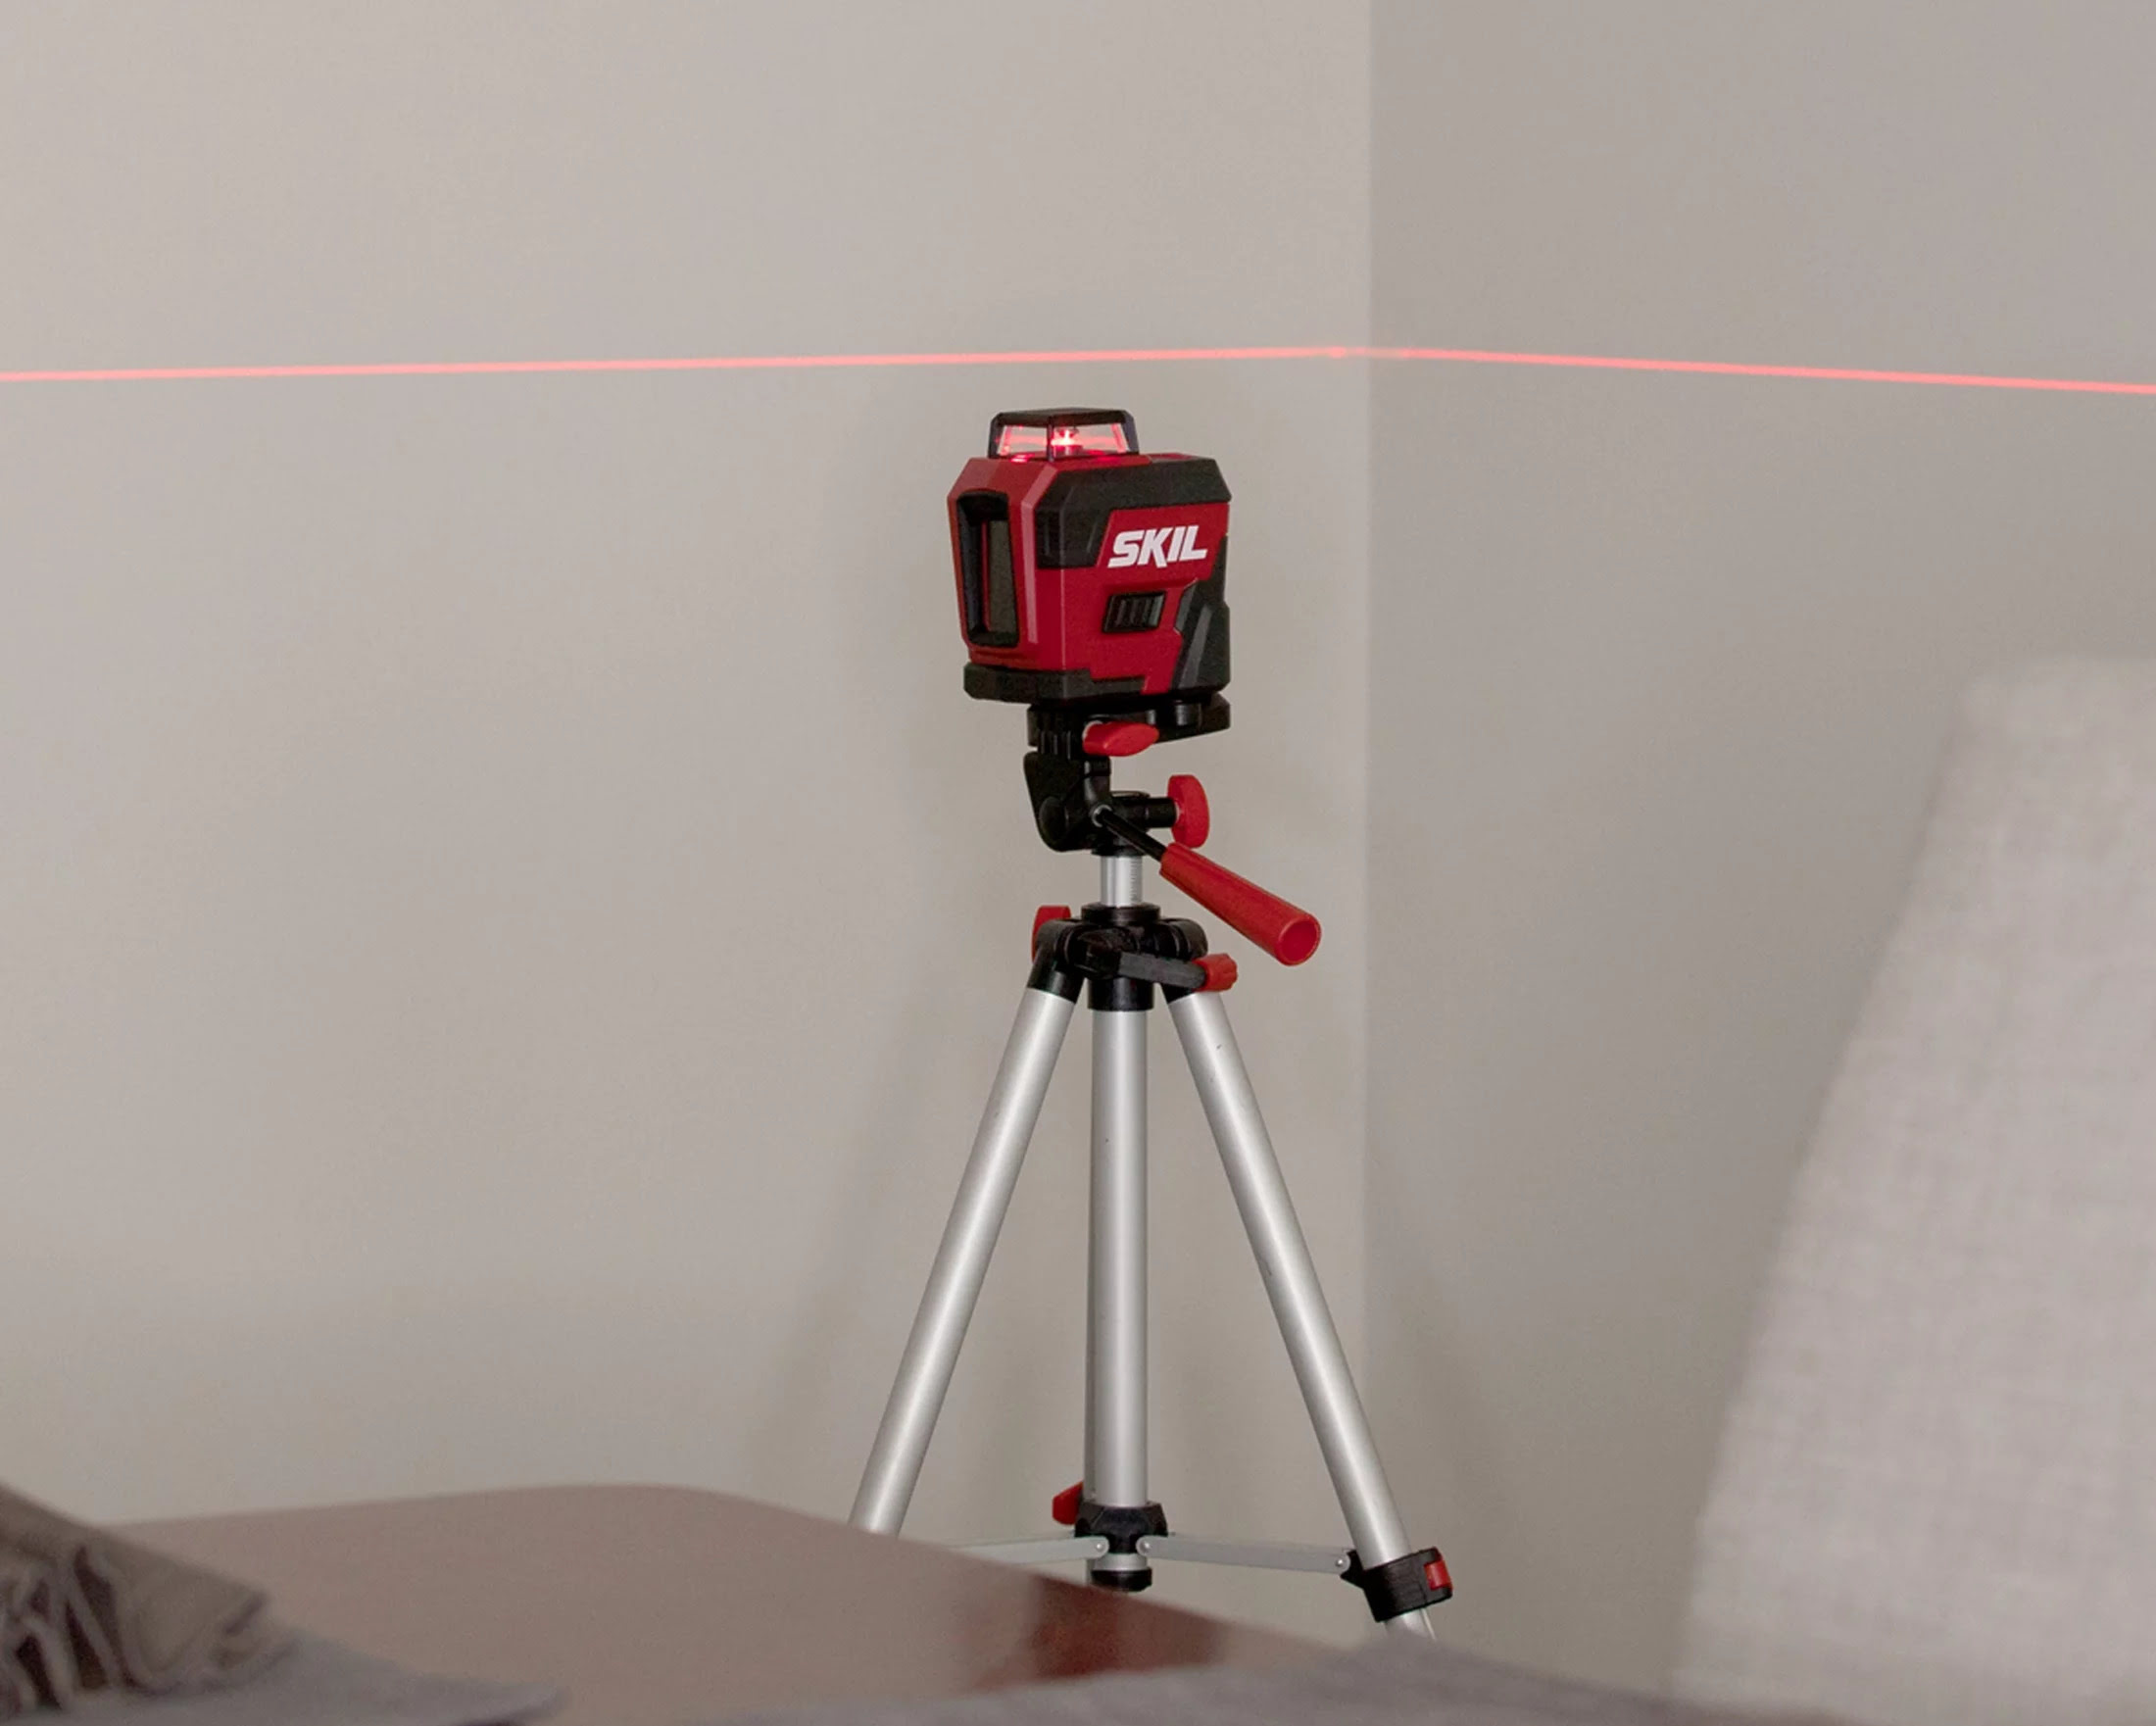
- Wall Mount or Tripod: Depending on the type of laser level you are using, you may need a wall mount or a tripod to securely position the laser level.
- Leveling Base or Pendulum: Some laser levels come with a leveling base or pendulum mechanism. Make sure these components are properly calibrated and functioning.
- Pencil or Marker: Use a pencil or a marker to mark reference points on the ceiling.
- Cell Phone or Digital Level App: To ensure accurate leveling, you can use a cell phone or a digital level app as a secondary reference point.
By following these safety measures and gathering the necessary tools and equipment, you can ensure that you are well-prepared to use a laser level on ceilings. In the next section, we will guide you through the process of setting up the laser level.
Setting Up the Laser Level
Properly setting up the laser level is crucial to ensure accurate and precise measurements on the ceiling. Let’s walk through the steps of positioning and securing the laser level.
Read more: How To Use A Laser Level
Positioning the Laser Level
The first step is to determine the ideal position for your laser level. Consider the layout of the room and the specific requirements of your project. Here are some tips for positioning the laser level:
- Choose a stable surface where you can position the laser level. It can be a table, a ladder, or a tripod.
- Ensure that the laser level is placed at a height that allows the laser beam to reach the desired area on the ceiling.
- If using a tripod, extend the legs to the desired height and ensure that the tripod is level.
- Position the laser level in a central location to maximize its coverage and minimize the need to reposition it.
Securing the Laser Level
Once you have positioned the laser level, it is important to secure it to maintain its stability and prevent any movement during the project. Here are some methods to secure the laser level:
- If using a tripod, tighten the locking mechanism to secure the laser level in place. Ensure that the tripod is stable and not wobbly.
- If using a wall mount, attach it securely to the wall using screws or adhesive. Make sure the mount is level and firmly attached.
- Check if your laser level has built-in mounting features. Some laser levels have slots or brackets that allow you to attach them directly to walls or ceilings.
- Use leveling nuts or knobs on the laser level to adjust the orientation and ensure that it is level.
By following the appropriate positioning and securing methods, you can ensure that your laser level remains stable throughout the project, resulting in accurate measurements and alignments on the ceiling. In the next section, we will discuss calibrating the laser level for optimal performance.
Calibrating the Laser Level
Calibrating the laser level is a crucial step to ensure its accuracy and performance. In this section, we will guide you through the process of adjusting the leveling mechanism and verifying the accuracy of your laser level.
Adjusting the Leveling Mechanism
Most laser levels have a built-in leveling mechanism that allows you to adjust the position of the laser beam. Here’s how you can adjust the leveling mechanism:
- Place the laser level on a stable surface or tripod, ensuring it is in a level position.
- Locate the leveling knobs or buttons on the laser level. These are usually located on the sides or top of the instrument.
- Gently adjust the leveling knobs or press the leveling buttons to align the bubble or indicator with the center mark.
- Continue making small adjustments until the bubble or indicator remains centered. This indicates that the laser level is level and ready to use.
- Refer to the manufacturer’s instructions for specific details on how to calibrate your particular laser level model.
Read more: How To Use A Self Leveling Laser Level
Verifying Accuracy
Once you have adjusted the leveling mechanism, it is important to verify the accuracy of your laser level. Follow these steps to ensure its performance:
- Position the laser level in the desired location on the ceiling, ensuring it is secure and stable.
- Turn on the laser level and allow it to project the laser beam onto the ceiling surface.
- Use a measuring tape or a ruler to measure the distance between the laser beam and a reference point on the ceiling.
- Measure the distance at multiple points to ensure consistency and accuracy.
- If the measurements are consistent and in line with your desired reference points, your laser level is accurate and ready for use.
By adjusting the leveling mechanism and verifying the accuracy of your laser level, you can have confidence in its performance and ensure precise measurements on the ceiling. In the next section, we will discuss how to use the laser level effectively on the ceiling.
Using the Laser Level on the Ceiling
Now that you have prepared and calibrated your laser level, it’s time to use it on the ceiling. In this section, we will guide you through the process of marking reference points, aligning the laser level, and ensuring accurate measurements.
Marking Reference Points
The first step in using the laser level on the ceiling is to mark reference points. These points will serve as a guide for aligning and positioning your fixtures or other elements. Here’s how to mark reference points:
- Identify the specific areas of the ceiling where you would like to create reference points.
- Use a pencil or a marker to lightly mark these spots on the ceiling.
- Ensure that the reference points are evenly spaced and aligned with your desired layout.
Aligning the Laser Level
With the reference points marked, it’s time to align the laser level with them. Follow these steps to ensure proper alignment:
- Position the laser level in a stable location, such as a tripod or a secure surface.
- Point the laser level towards the first reference point on the ceiling.
- Adjust the position of the laser level, either by rotating it or adjusting the angle, until the laser beam aligns with the marked reference point.
- Verify the alignment by checking if the laser beam is consistently hitting the reference point along its entire length.
- Repeat this process for each reference point, ensuring that the laser beam aligns accurately with each mark.
Read more: How To Use A Laser Level For Framing
Ensuring Accurate Measurements
Once the laser level is aligned with the reference points, you can proceed with taking accurate measurements for your ceiling project. Follow these tips to ensure precision:
- Use a measuring tape or a ruler to measure distances between the reference points and other elements, such as fixtures or walls.
- Double-check the measurements and make any necessary adjustments before proceeding with any installations or alignments.
- Regularly verify the laser level’s accuracy by measuring distances at different points along the laser beam.
- Make adjustments to the laser level’s position, angle, or leveling mechanism as needed to maintain accuracy throughout the project.
By marking reference points, aligning the laser level, and ensuring accurate measurements, you can effectively use the laser level on the ceiling for precise installations and alignments. In the next section, we will discuss troubleshooting common issues that may arise during the process.
Troubleshooting Common Issues
While using a laser level on the ceiling, you may encounter some common issues that can affect the accuracy and performance of the tool. In this section, we will address three common problems: uneven or inaccurate laser lines, laser level not turning on, and interference from ambient light.
Uneven or Inaccurate Laser Lines
If you notice that the laser lines projected by your laser level on the ceiling are uneven or inaccurate, there are a few troubleshooting steps you can take:
- Ensure that the laser level is positioned on a stable surface or tripod, and that it is level and securely mounted.
- Check if the leveling mechanism of the laser level is properly calibrated. If not, adjust it accordingly.
- Make sure there are no obstructions in the path of the laser beam that might cause it to distort or become crooked.
- If using a line laser level, ensure that the pendulum or leveling mechanism is not damaged or malfunctioning.
- Verify that the laser level is within its specified working range, as exceeding the range can lead to inaccurate readings.
Laser Level Not Turning On
If your laser level is not turning on, there are a few troubleshooting steps to follow:
- Check if the batteries of the laser level are inserted correctly and have sufficient charge. Replace or recharge them if necessary.
- Ensure that the power switch or button of the laser level is in the “on” position.
- Inspect the battery compartment for any debris or corrosion that might be preventing proper contact. Clean or replace as needed.
- Refer to the user manual or manufacturer’s instructions to troubleshoot any specific issues related to your laser level model.
Read more: How To Use Topcon Laser Level
Interference from Ambient Light
Ambient light can interfere with the laser beam and affect the visibility and accuracy of the lines projected by your laser level. Here are some steps to mitigate interference from ambient light:
- Ensure that the work area is well-lit to minimize the contrast between the laser beam and the ambient light.
- If possible, work in dimmer or controlled lighting conditions to enhance the visibility of the laser lines.
- Use a laser target or laser glasses to enhance the visibility of the laser beam, especially in bright environments.
- Adjust the brightness or intensity settings of the laser level if your model provides such options.
By troubleshooting these common issues, you can overcome challenges that may arise while using a laser level on the ceiling. In the next section, we will share some tips for efficiently using a laser level on ceilings.
Tips for Efficiently Using a Laser Level on Ceilings
Using a laser level on ceilings can greatly improve the efficiency and accuracy of your projects. To make the most out of this tool, here are some helpful tips to enhance your workflow and achieve precise results.
Working in Sections
Dividing your ceiling project into manageable sections can help you maintain focus and ensure consistency throughout. Here’s how working in sections can benefit your laser level usage:
- Start by selecting a section of the ceiling to work on. This could be a specific area or a single room.
- Focus on completing one section at a time before moving on to the next. This will help you maintain precision and minimize errors.
- Use the laser level to align and mark reference points for each section. This will ensure that the lines and measurements are accurate within that specific area.
- By working in sections, you can systematically cover the entire ceiling and avoid confusion or overlapping measurements.
Regularly Verifying Accuracy
Although you have calibrated your laser level, it’s essential to periodically verify its accuracy throughout the project. Regularly checking the alignment and measurements will help you identify any issues and make necessary adjustments. Here’s why regularly verifying accuracy is important:
- Make it a habit to double-check the laser lines against your reference points. This will ensure that they are consistently aligned and accurate.
- Use a measuring tape or ruler to confirm the distances between reference points. Any discrepancies can be addressed immediately, maintaining precision.
- Periodically check the stability and levelness of your laser level, especially when repositioning it or moving to a new section.
- By regularly verifying accuracy, you can catch any potential errors early on and make adjustments promptly, saving time and effort.
By working in sections and regularly verifying accuracy, you can efficiently utilize your laser level on ceilings and achieve precise results. Remember to follow the manufacturer’s instructions and guidelines specific to your laser level model for optimal performance.
With these tips in mind, you are now equipped to effectively use a laser level on ceilings. Whether you are working on a construction project or a home improvement task, the laser level will be a valuable tool in ensuring accurate measurements and alignments. Happy leveling!
Validated HTML:
Tips for Efficiently Using a Laser Level on Ceilings
Using a laser level on ceilings can greatly improve the efficiency and accuracy of your projects. To make the most out of this tool, here are some helpful tips to enhance your workflow and achieve precise results.
Working in Sections
Dividing your ceiling project into manageable sections can help you maintain focus and ensure consistency throughout. Here’s how working in sections can benefit your laser level usage:
- Start by selecting a section of the ceiling to work on. This could be a specific area or a single room.
- Focus on completing one section at a time before moving on to the next. This will help you maintain precision and minimize errors.
- Use the laser level to align and mark reference points for each section. This will ensure that the lines and measurements are accurate within that specific area.
- By working in sections, you can systematically cover the entire ceiling and avoid confusion or overlapping measurements.
Regularly Verifying Accuracy
Although you have calibrated your laser level, it’s essential to periodically verify its accuracy throughout the project. Regularly checking the alignment and measurements will help you identify any issues and make necessary adjustments. Here’s why regularly verifying accuracy is important:
- Make it a habit to double-check the laser lines against your reference points. This will ensure that they are consistently aligned and accurate.
- Use a measuring tape or ruler to confirm the distances between reference points. Any discrepancies can be addressed immediately, maintaining precision.
- Periodically check the stability and levelness of your laser level, especially when repositioning it or moving to a new section.
- By regularly verifying accuracy, you can catch any potential errors early on and make adjustments promptly, saving time and effort.
By working in sections and regularly verifying accuracy, you can efficiently utilize your laser level on ceilings and achieve precise results. Remember to follow the manufacturer’s instructions and guidelines specific to your laser level model for optimal performance.
With these tips in mind, you are now equipped to effectively use a laser level on ceilings. Whether you are working on a construction project or a home improvement task, the laser level will be a valuable tool in ensuring accurate measurements and alignments. Happy leveling!
Conclusion
Using a laser level on ceilings can significantly improve the accuracy and efficiency of your construction and home improvement projects. The ability to create precise reference points and align fixtures with ease makes the laser level an invaluable tool in achieving professional results.
In this article, we covered the fundamentals of laser levels, including their types and the benefits they offer. We discussed the importance of safety measures and the necessary tools and equipment for using a laser level on ceilings. Additionally, we explored the steps involved in setting up and calibrating the laser level for optimal performance.
We then delved into the practical aspects of using a laser level on the ceiling. We discussed marking reference points, aligning the laser level, and ensuring accurate measurements. By following these steps, you can maintain precise alignments and measurements throughout your project, resulting in a high-quality finish.
We also addressed common troubleshooting issues such as uneven or inaccurate laser lines, a laser level not turning on, and interference from ambient light. Being aware of these challenges and implementing the suggested solutions will help you overcome obstacles and ensure the proper functioning of your laser level.
Lastly, we provided some tips for using the laser level efficiently on ceilings, such as working in sections and regularly verifying accuracy. These strategies will streamline your workflow and help you achieve consistent results throughout your project.
Remember, always refer to the manufacturer’s instructions and guidelines specific to your laser level model for precise usage and safety precautions.
With the knowledge and techniques shared in this article, you are now equipped to confidently and effectively use a laser level on ceilings. So go ahead and tackle your next ceiling project with precision and confidence. Happy leveling!
Validated HTML:
Conclusion
Using a laser level on ceilings can significantly improve the accuracy and efficiency of your construction and home improvement projects. The ability to create precise reference points and align fixtures with ease makes the laser level an invaluable tool in achieving professional results.
In this article, we covered the fundamentals of laser levels, including their types and the benefits they offer. We discussed the importance of safety measures and the necessary tools and equipment for using a laser level on ceilings. Additionally, we explored the steps involved in setting up and calibrating the laser level for optimal performance.
We then delved into the practical aspects of using a laser level on the ceiling. We discussed marking reference points, aligning the laser level, and ensuring accurate measurements. By following these steps, you can maintain precise alignments and measurements throughout your project, resulting in a high-quality finish.
We also addressed common troubleshooting issues such as uneven or inaccurate laser lines, a laser level not turning on, and interference from ambient light. Being aware of these challenges and implementing the suggested solutions will help you overcome obstacles and ensure the proper functioning of your laser level.
Lastly, we provided some tips for using the laser level efficiently on ceilings, such as working in sections and regularly verifying accuracy. These strategies will streamline your workflow and help you achieve consistent results throughout your project.
Remember, always refer to the manufacturer’s instructions and guidelines specific to your laser level model for precise usage and safety precautions.
With the knowledge and techniques shared in this article, you are now equipped to confidently and effectively use a laser level on ceilings. So go ahead and tackle your next ceiling project with precision and confidence. Happy leveling!
Now that you've mastered using a laser level on ceilings, why not check out our guide on choosing the perfect laser level tool for your next project? Whether you're a seasoned DIY enthusiast or just starting, our insights will help you pick the right tool. And if you're curious about why DIY projects are so rewarding, we've got just the article for you. Dive into the world of crafting and building with our hands-on guide that celebrates the joys and triumphs of DIY efforts.
Frequently Asked Questions about How To Use A Laser Level On Ceiling
Was this page helpful?
At Storables.com, we guarantee accurate and reliable information. Our content, validated by Expert Board Contributors, is crafted following stringent Editorial Policies. We're committed to providing you with well-researched, expert-backed insights for all your informational needs.

0 thoughts on “How To Use A Laser Level On Ceiling”