
Articles
How To Use A Huepar Laser Level
Modified: February 22, 2024
Learn how to effectively use a Huepar laser level with our comprehensive articles. Get expert tips and step-by-step guides for precise levelling.
(Many of the links in this article redirect to a specific reviewed product. Your purchase of these products through affiliate links helps to generate commission for Storables.com, at no extra cost. Learn more)
Introduction
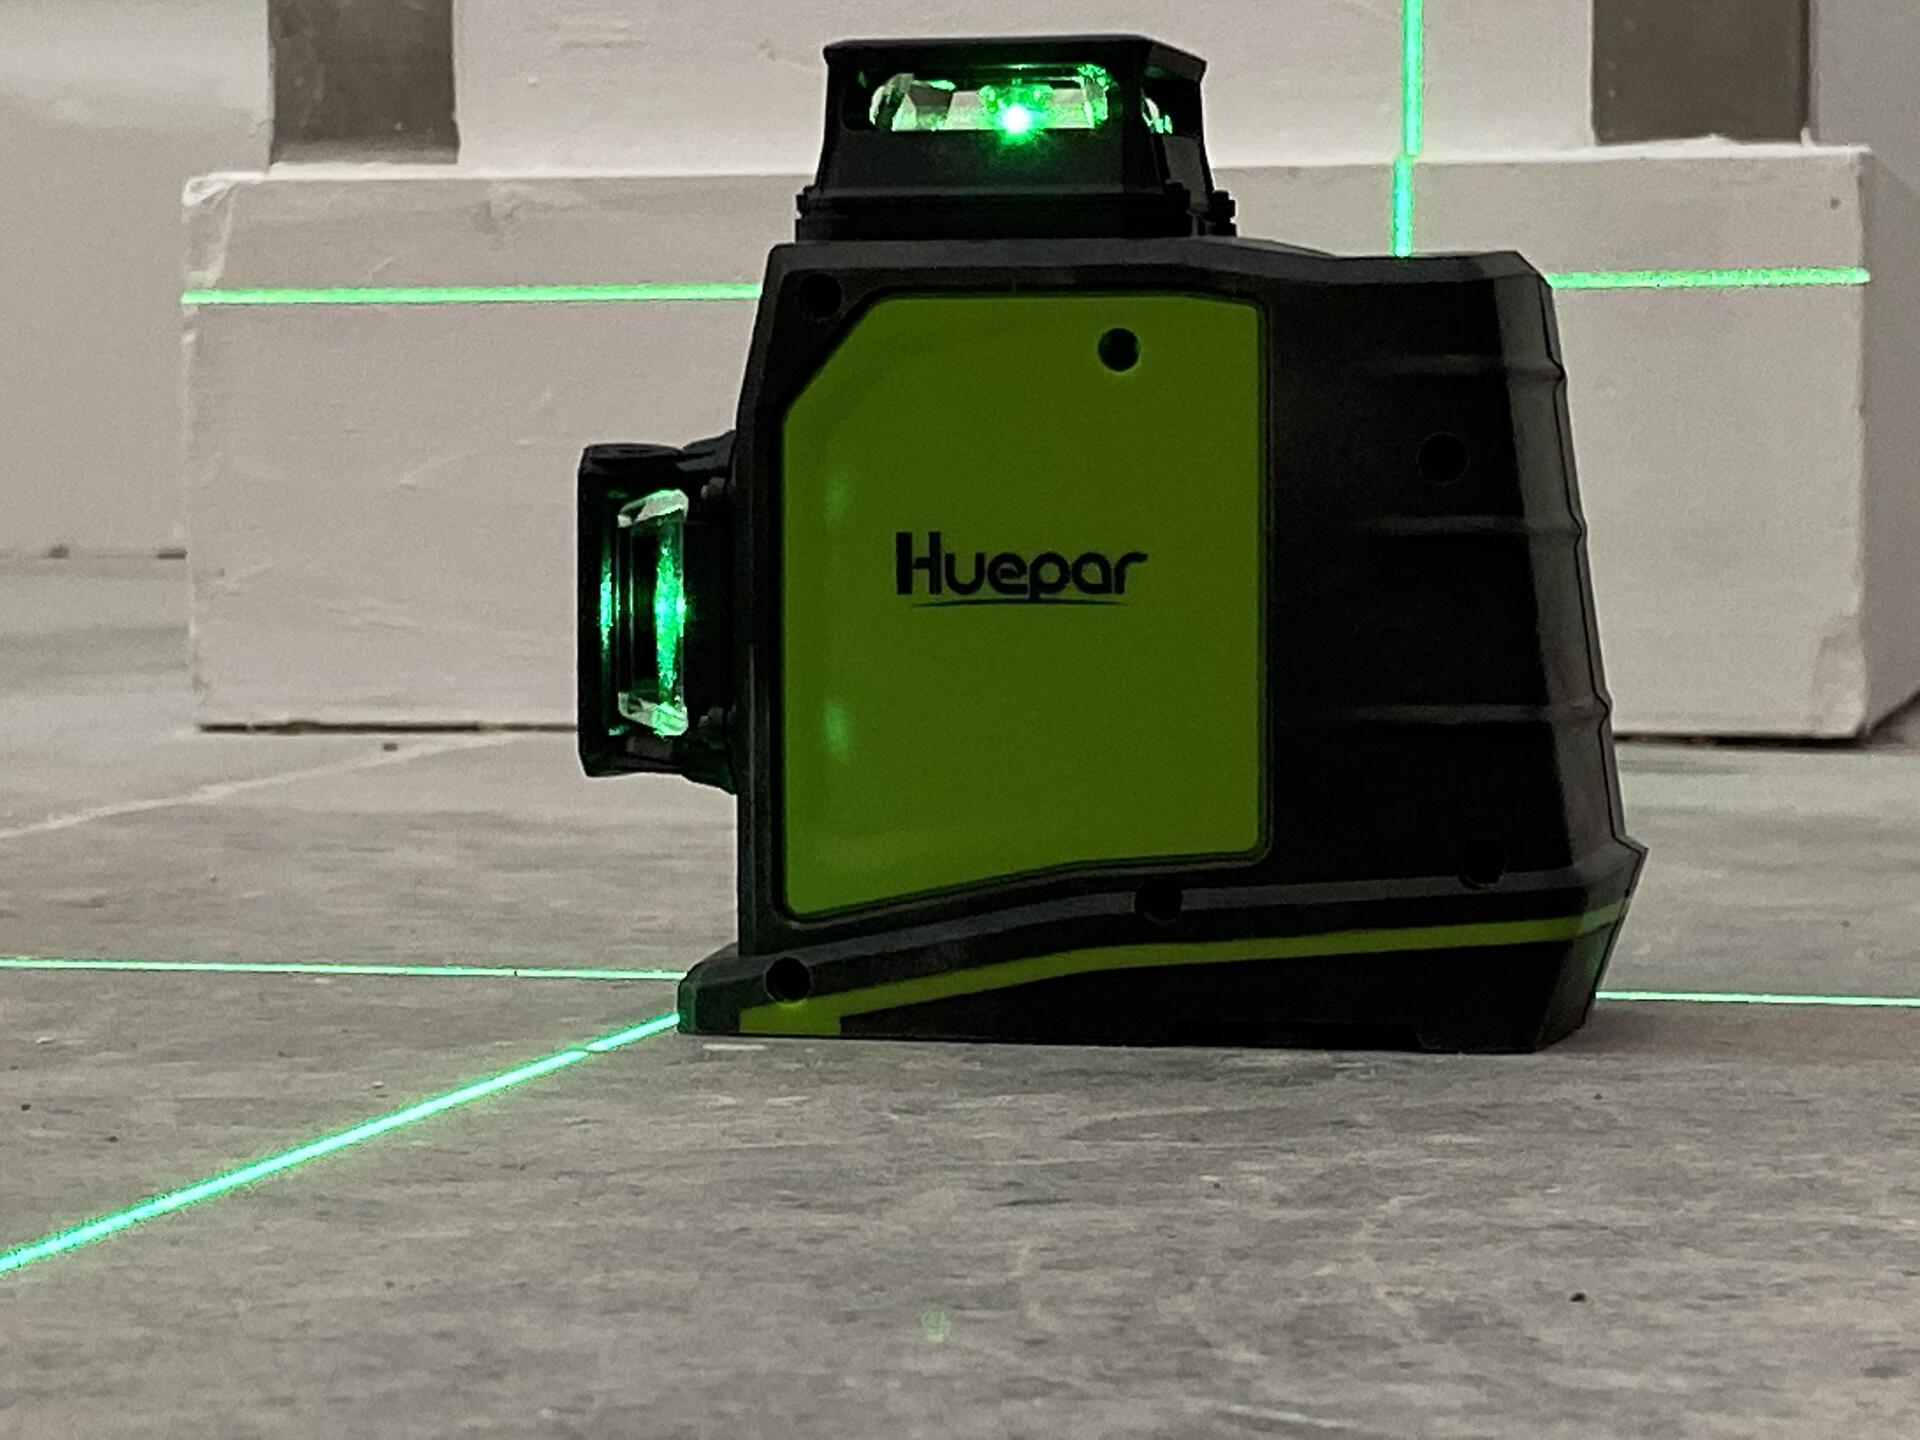
Welcome to this comprehensive guide on how to use a Huepar Laser Level. A laser level is an essential tool for anyone involved in construction, carpentry, or DIY projects. It provides a precise and accurate way to measure and align objects or surfaces, making your work easier and more efficient.
Huepar is a renowned brand that offers a wide range of laser levels suitable for different applications. Whether you are a professional contractor or a weekend warrior, understanding how to properly use a Huepar Laser Level will greatly benefit your projects.
In this article, we will take you through the step-by-step process of setting up and using a Huepar Laser Level. From calibrating the device to performing various alignment tasks, we will cover everything you need to know. So let’s dive in and learn how to harness the power of a Huepar Laser Level to achieve precise and professional results.
Before we get into the details, it’s important to note that laser levels emit a highly concentrated laser beam, and it is crucial to handle the device with care. Always follow the safety instructions provided by the manufacturer and wear appropriate protective gear when operating the laser level.
Now, let’s begin our journey into the world of Huepar Laser Levels.
Key Takeaways:
- Mastering the use of a Huepar Laser Level empowers you to achieve precise and professional results in construction, carpentry, and DIY projects. From setting up and calibrating to performing various alignment tasks, this guide equips you with the knowledge to harness the power of this essential tool.
- Safety, regular calibration, and proper maintenance are crucial for optimizing the performance and usability of your Huepar Laser Level. By following the manufacturer’s instructions, troubleshooting common issues, and implementing maintenance tips, you can ensure the longevity and accuracy of this versatile device.
Read also: 11 Amazing Huepar Laser Level for 2024
Step 1: Setting up the Huepar Laser Level
Before you can start using your Huepar Laser Level, it’s important to set it up properly. This involves checking the components, mounting the laser level on a tripod, and ensuring it has a power source. Let’s go through each step in detail.
1. Checking the components:
When you purchase a Huepar Laser Level, it typically comes with several components. These may include the laser level itself, a tripod, a carrying case, batteries, and a user manual. Take a moment to ensure that you have all the necessary components before proceeding.
2. Mounting the laser level on a tripod:
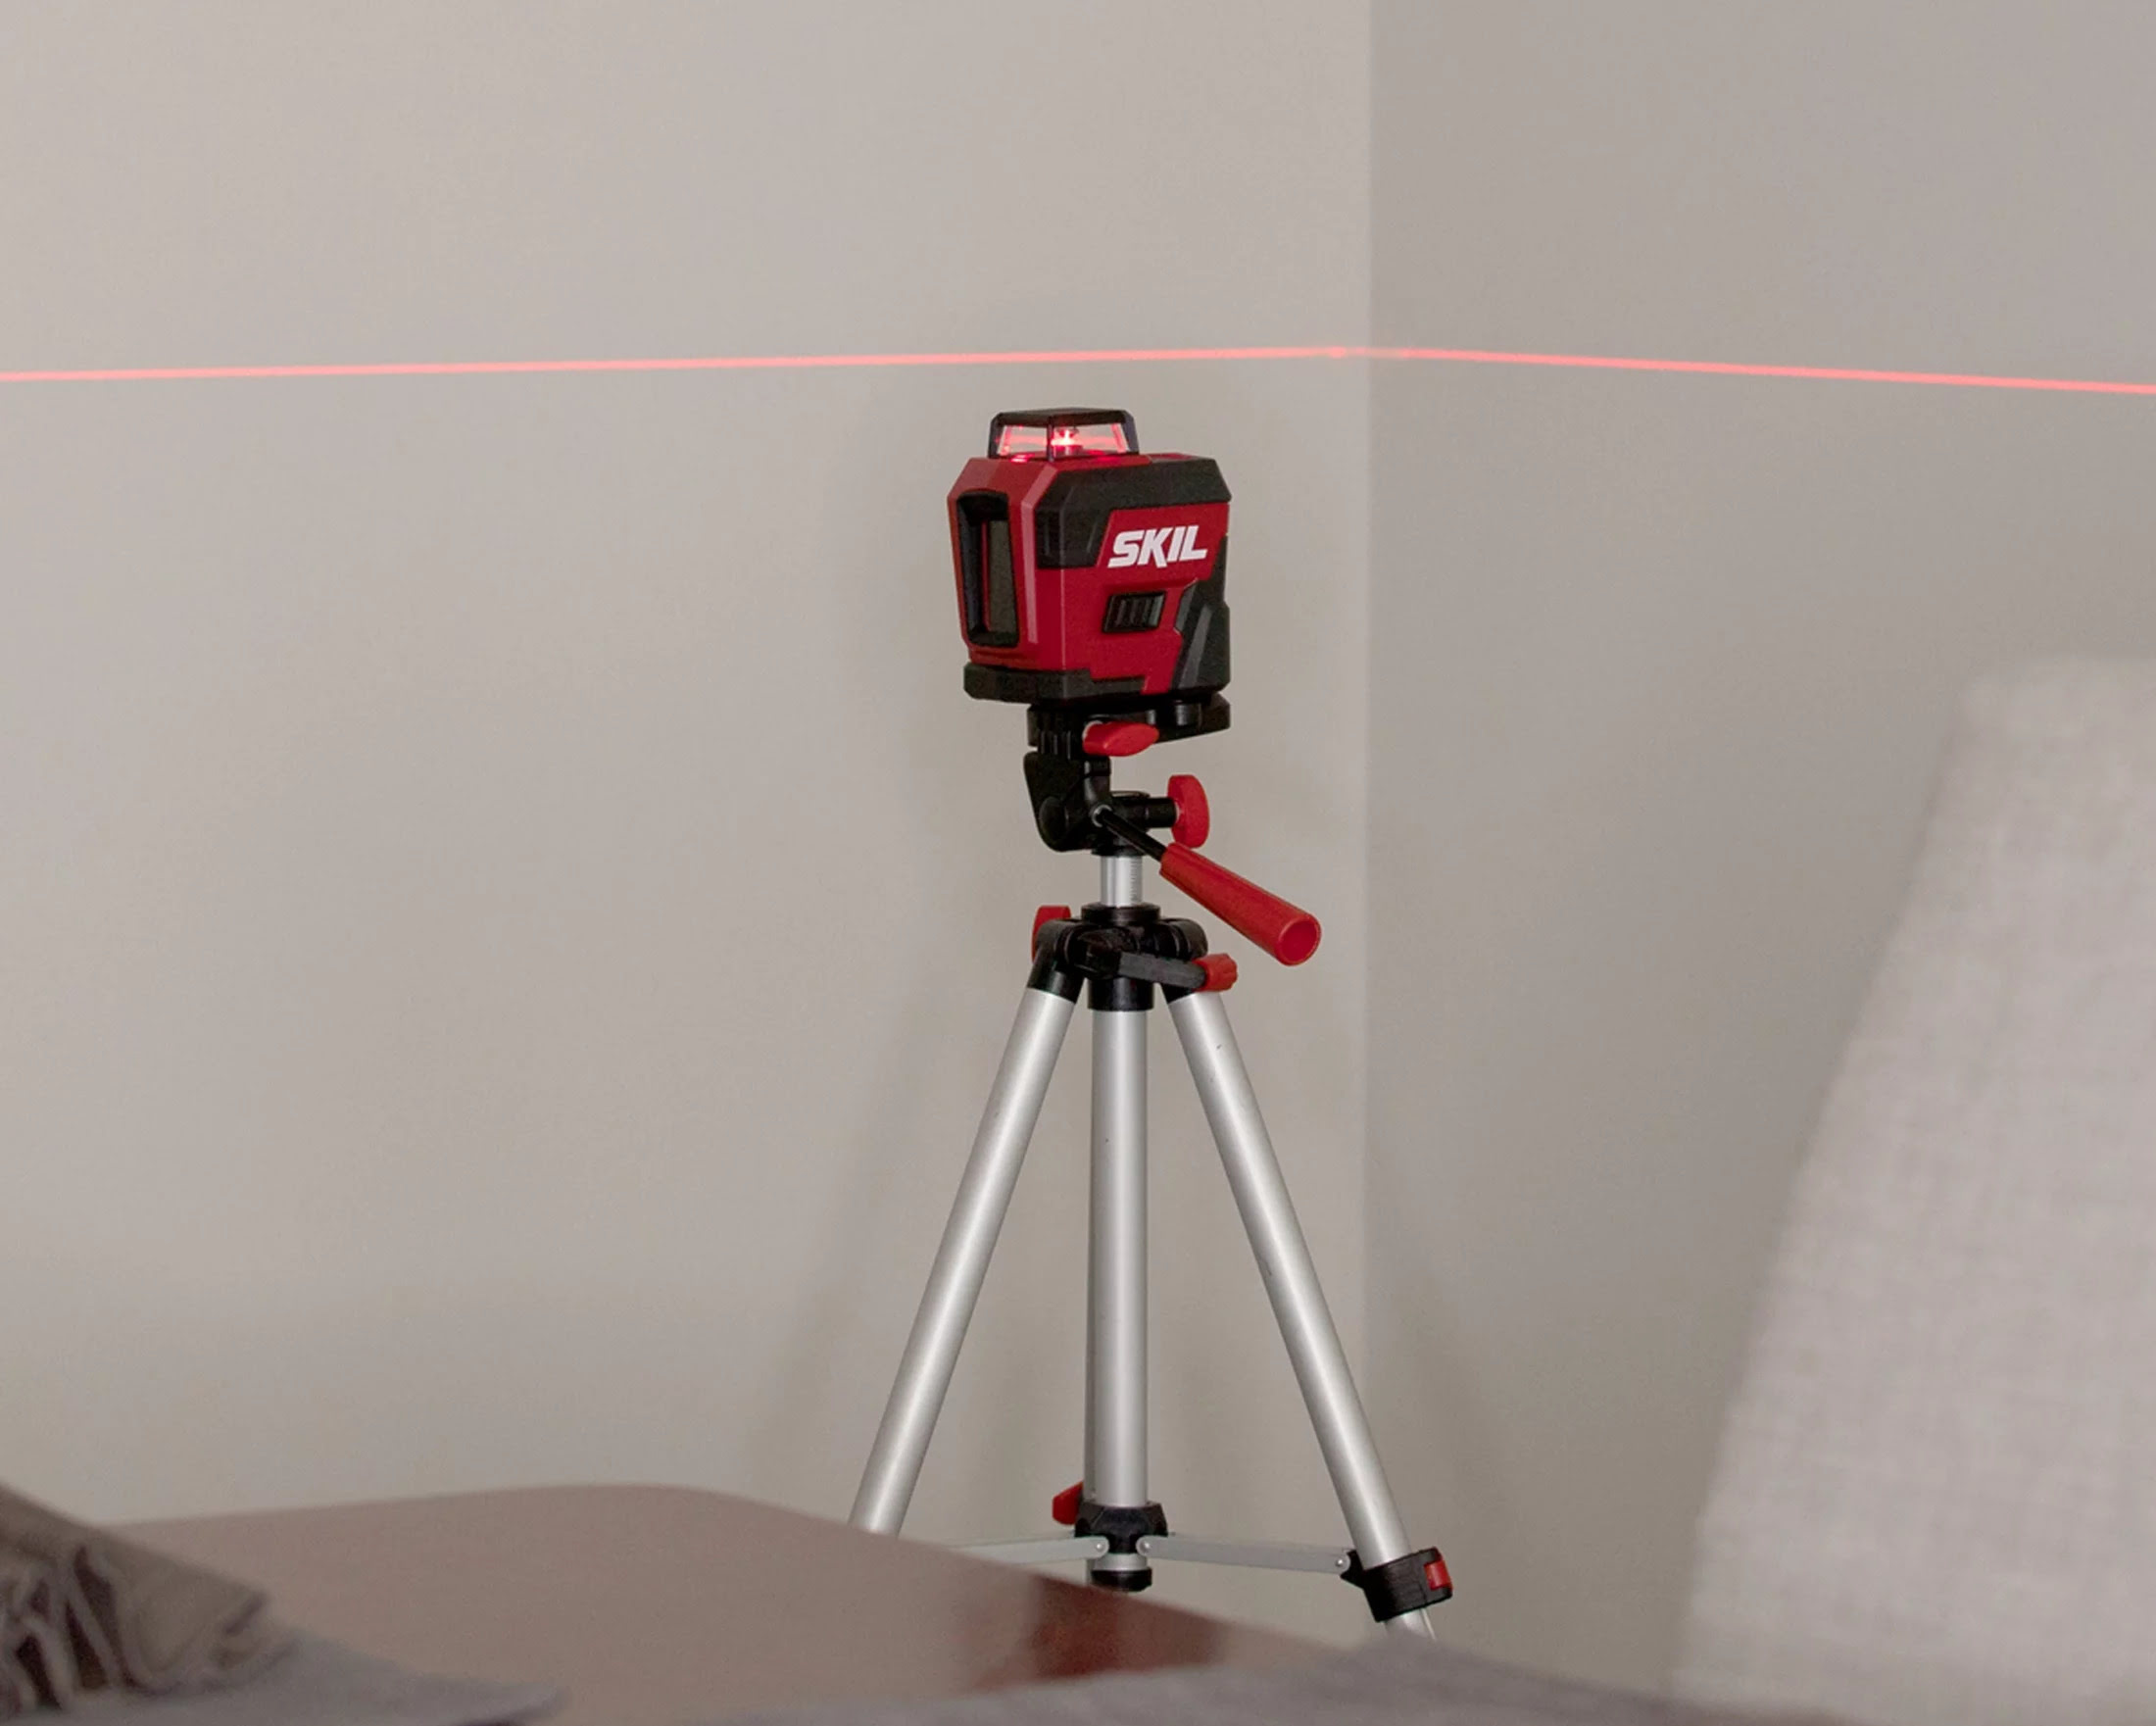
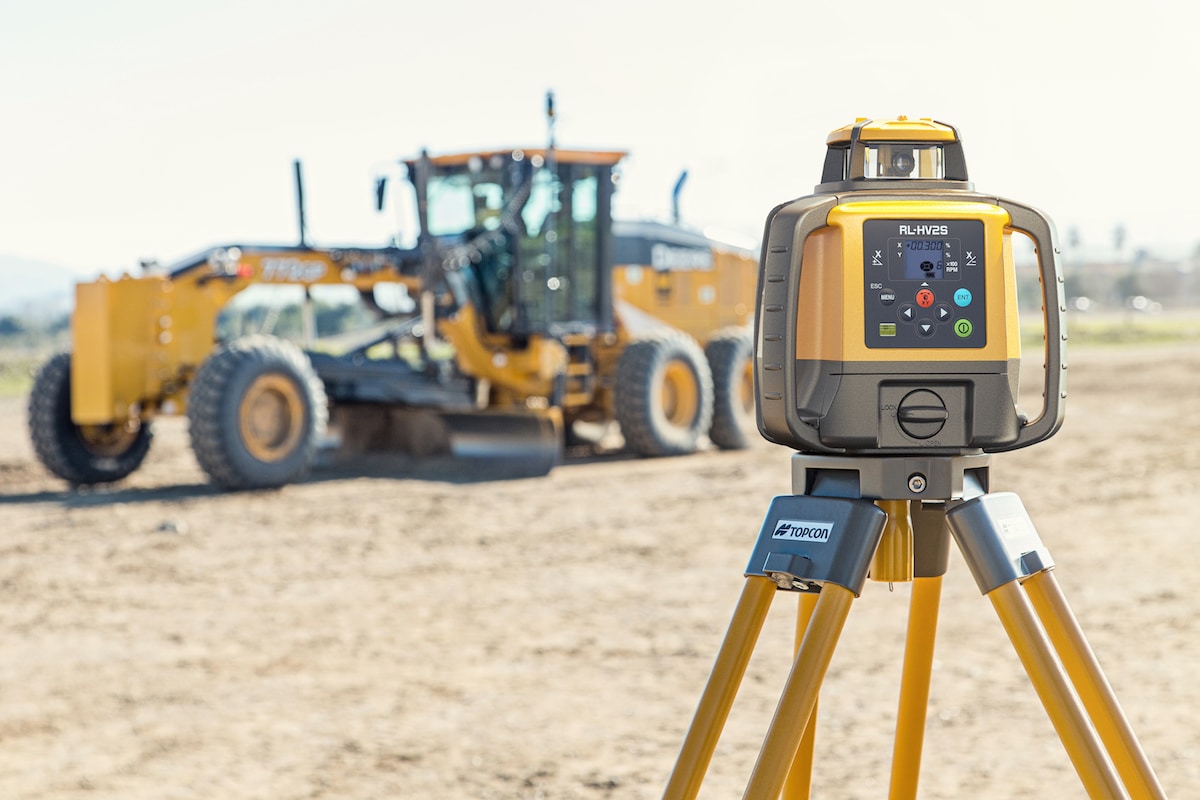
A tripod is an essential accessory for stabilizing the laser level and positioning it at the desired height. Start by extending the tripod legs to a comfortable working height. Then, attach the laser level to the tripod using the mounting screw or bracket provided. Make sure the laser level is securely fastened to the tripod to avoid any movement during operation.
3. Installing batteries or connecting to a power source:
Depending on the model of your Huepar Laser Level, it may either run on batteries or need to be connected to a power source. If your laser level requires batteries, locate the battery compartment, usually located on the bottom or side of the device. Insert the batteries according to the polarity markings and ensure they are properly secured in place.
If your laser level needs to be connected to a power source, find the power input port on the laser level and connect it to an appropriate power supply. This may involve using an AC adapter or a cable provided with the laser level.
Once you have completed these steps, your Huepar Laser Level is ready for calibration and use. In the next step, we will walk you through the process of calibrating the laser level to ensure accurate and reliable measurements.
Step 2: Calibrating the Laser Level
Calibrating your Huepar Laser Level is crucial to ensure accurate and precise measurements. In this step, we will guide you through the process of checking the level vials, adjusting the leveling screws, and fine-tuning the level.
1. Checking the level vials:
Most Huepar Laser Levels are equipped with bubble vials or electronic vials that indicate whether the device is leveled or not. Start by placing the laser level on a flat and stable surface. Look at the vials and ensure that the bubbles are centered between the horizontal or vertical lines. If the bubble is not centered, it indicates that the laser level is not level and needs to be adjusted.
2. Adjusting the leveling screws:
To level the laser, locate the leveling screws on the laser level. These screws are usually located on the sides or base of the device. Start by loosening the screws slightly to allow for adjustments. Use a bubble level or a visual guide to determine which direction the laser level needs to be adjusted. Turn the appropriate leveling screw clockwise or counterclockwise to move the bubble towards the center. Continue adjusting the screws until the bubble is perfectly centered.
3. Fine-tuning the level:
Once the laser level is roughly leveled using the leveling screws, it’s time to fine-tune the level for accurate measurements. Many Huepar Laser Levels have a fine adjustment feature that allows for precise leveling. Use this feature to make minor adjustments to the level by turning the fine adjustment knob or wheel. Keep an eye on the bubble vials and continue adjusting until the bubble is perfectly centered.
It’s important to note that calibrating the laser level should be done on a regular basis to maintain accuracy. Factors such as temperature changes, vibrations, and transportation can affect the level’s calibration over time. By calibrating the laser level before each use, you can ensure consistent and reliable measurements throughout your projects.
With your Huepar Laser Level now calibrated, you are ready to move on to the next step of positioning the laser level for your specific alignment tasks.
Step 3: Positioning the Laser Level
Once you have calibrated your Huepar Laser Level, the next step is to position it correctly for your specific alignment tasks. In this step, we will guide you through choosing the desired height, marking the reference point, and aligning the laser beam with the reference point.
1. Choosing the desired height:
Consider the specific task you need to achieve. Whether you are aligning walls, installing drop ceilings, or leveling cabinets, determining the desired height is crucial. Adjust the tripod legs to bring the laser level to the desired height, keeping in mind the specific requirements of your project.
2. Marking the reference point:
Identify the reference point or points where you want to align or measure. This could be a specific spot on a wall, a reference line on the floor, or any other point of alignment. Use a pencil or marker to make a small mark or measurement that will serve as the reference point for your alignment.
3. Aligning the laser beam with the reference point:
In this step, you will align the laser beam with the reference point you marked. Turn on the laser level and adjust the angle or position of the laser head to direct the laser beam towards the reference point. Use the leveling indicators or vials on the laser level to make sure it is perfectly leveled.
Depending on the type of alignment you need to accomplish, you may need to rotate or adjust the position of the laser level. Some Huepar Laser Levels offer additional features such as self-leveling or vertical/horizontal switches to help you achieve the desired alignment angle.
Once the laser beam from the Huepar Laser Level is aligned with the reference point, you can proceed with your specific alignment task. Whether you are creating straight lines, aligning walls or installing fixtures, the laser beam will act as a precise guide for your work.
Remember to always be cautious when working with the laser beam and avoid looking directly into it. The laser beam can cause damage to your eyes, so it’s important to take appropriate safety measures.
In the next steps, we will explore how to use the Huepar Laser Level for horizontal and vertical alignment tasks.
Step 4: Using the Laser Level for Horizontal Alignment
Now that you have positioned your Huepar Laser Level, it’s time to use it for horizontal alignment tasks. In this step, we will cover setting up the laser for horizontal leveling, aligning walls or ceilings, and creating straight lines.
1. Setting up the laser for horizontal leveling:
If your project involves aligning walls, installing cabinets, or any other horizontal alignment task, you will need to set up the laser level for horizontal leveling. Ensure that the laser level is perfectly leveled using the built-in leveling indicators or vials. If your Huepar Laser Level features self-leveling capabilities, activate this function to automatically level the laser. This will save you time and effort in manually adjusting the level.
2. Aligning walls or ceilings:
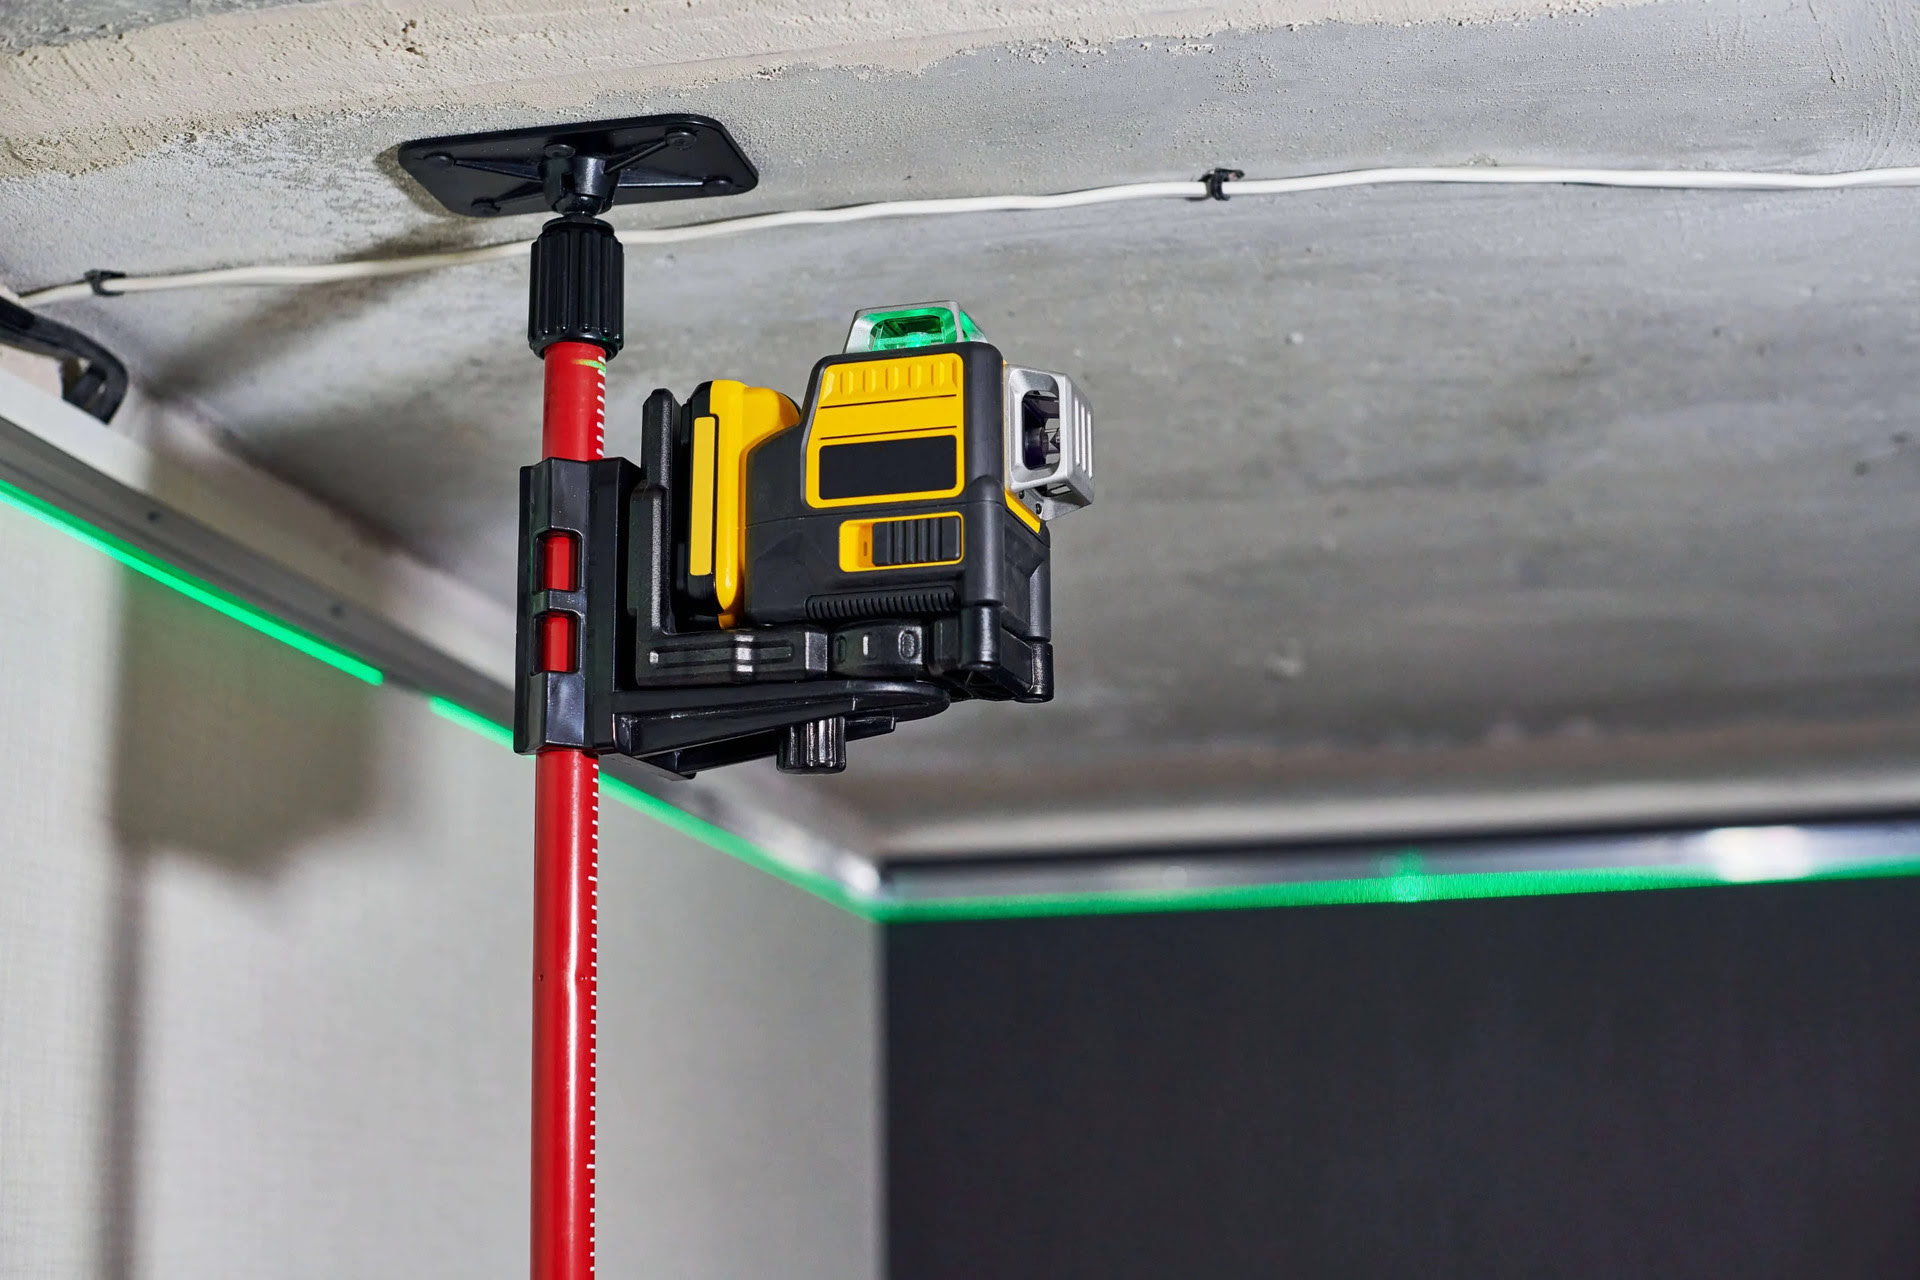
If you need to align walls or ceilings, the laser beam from the Huepar Laser Level will serve as a guide. Position the laser level at the desired height and align the laser beam along the wall or ceiling surface. Adjust the position of the laser level or rotate the laser head to achieve the desired alignment angle. Use a measuring tape or ruler along with the laser beam as a reference to ensure accuracy in your alignment.
3. Creating straight lines:
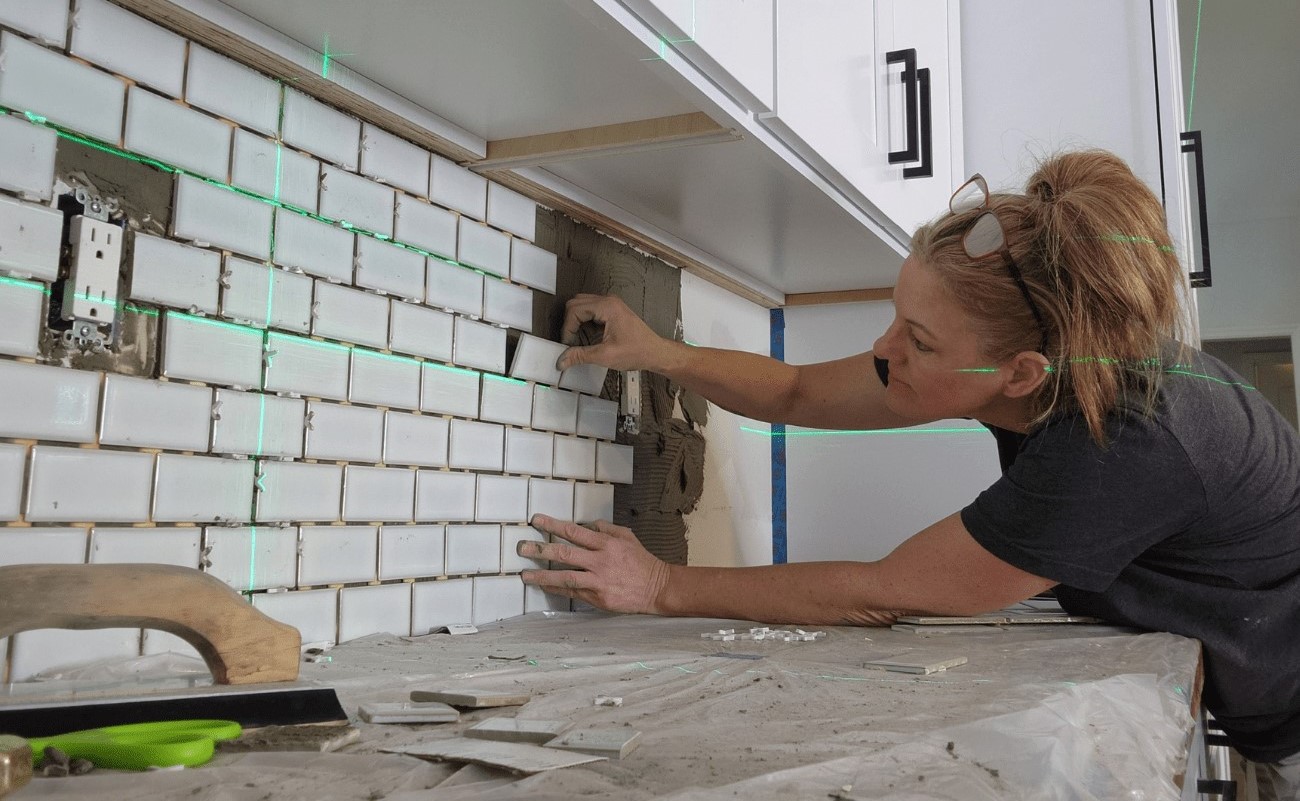
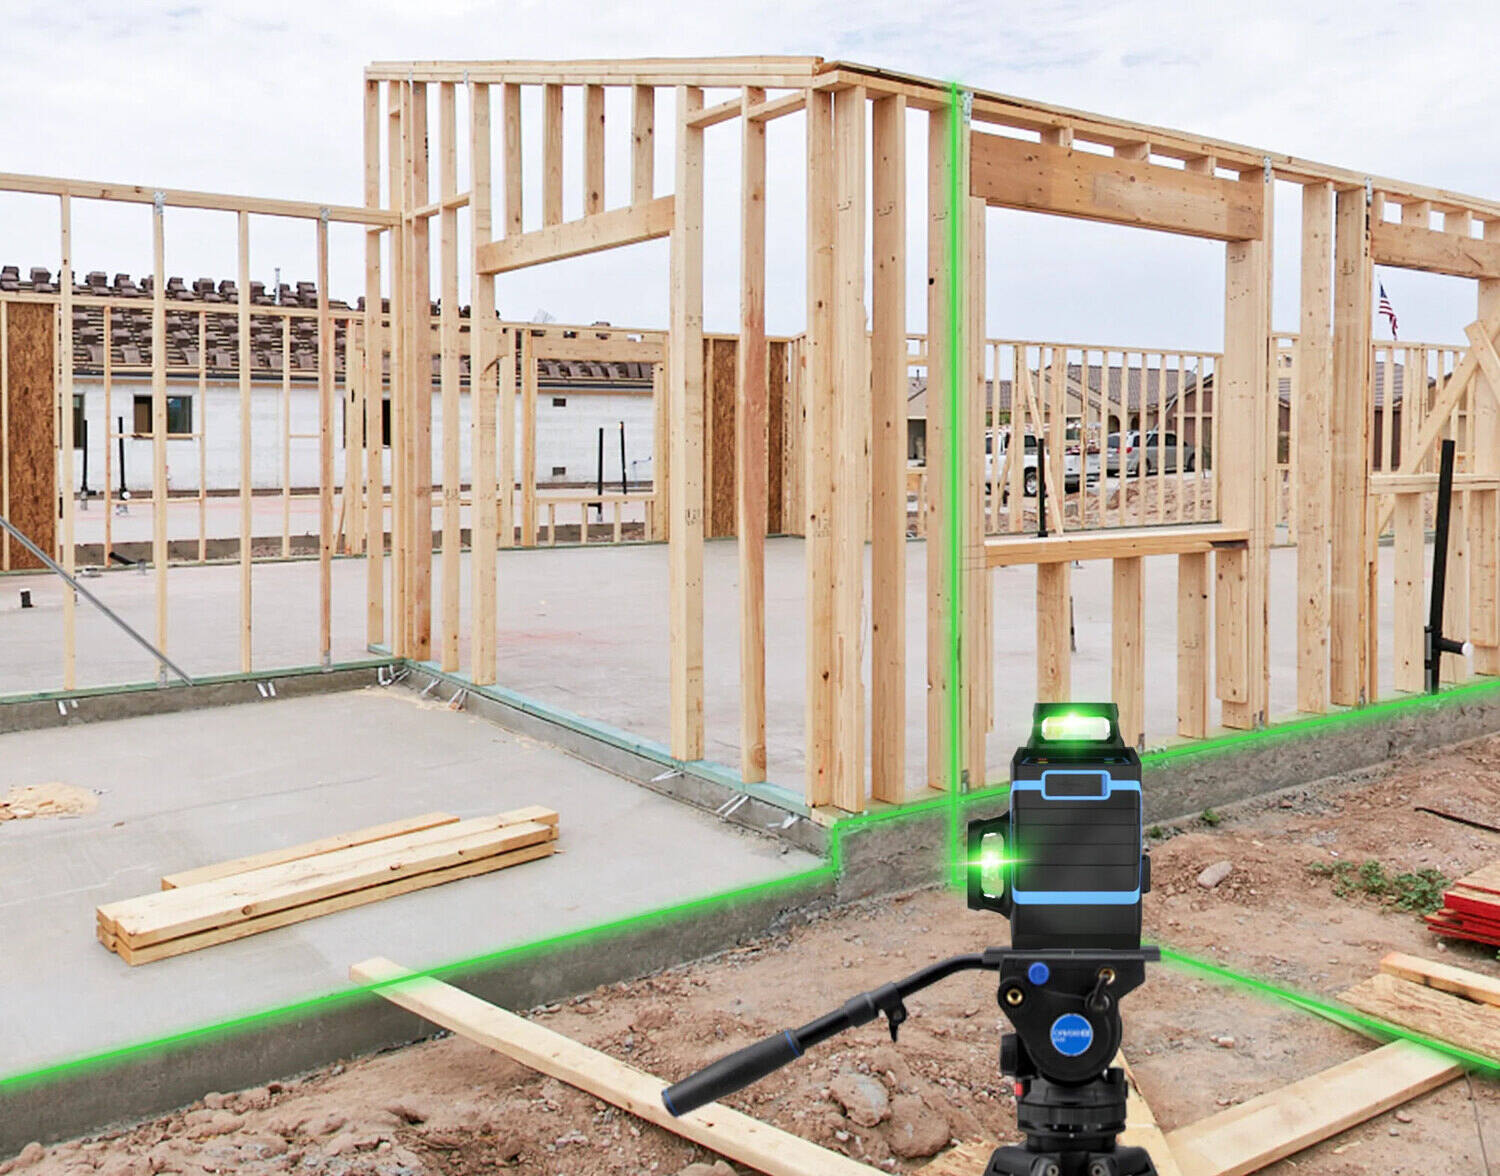
The laser beam of the Huepar Laser Level can also be used to create straight lines for various purposes, such as marking boundaries, installing tiles, or aligning objects. Position the laser level at the desired height and align the laser beam along the path where you want the straight line. Use a ruler or a straightedge to extend the line and mark the desired points. The laser beam will provide a precise reference for creating a straight and accurate line.
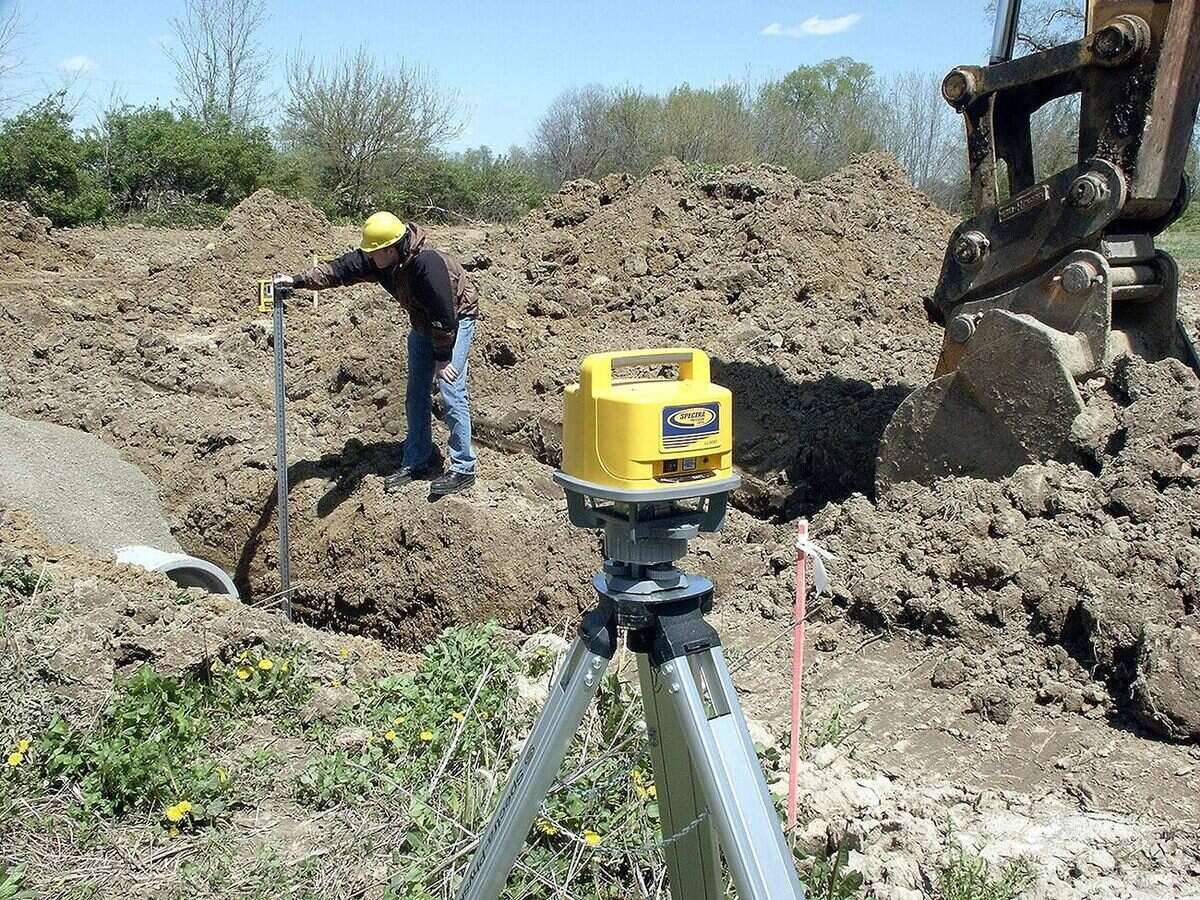
It is important to note that the laser beam of the Huepar Laser Level will be visible to the naked eye in certain lighting conditions. However, in bright or outdoor environments, it may be necessary to use a laser detector to capture the laser beam and ensure visibility.
By utilizing the Huepar Laser Level for horizontal alignment tasks, you can achieve precise and professional results, saving time and effort in your projects.
In the next step, we will explore how to use the laser level for vertical alignment tasks.
When using a Huepar laser level, always ensure that the device is placed on a stable surface to avoid any inaccuracies in the leveling or alignment of the laser.
Read more: How To Use A Laser Level
Step 5: Using the Laser Level for Vertical Alignment
Vertical alignment tasks often require precision and accuracy, and the Huepar Laser Level is a valuable tool for accomplishing them. In this step, we will walk you through using the laser level for vertical alignment tasks, including setting up the laser for vertical leveling, aligning objects or structures vertically, and creating plumb lines.
1. Setting up the laser for vertical leveling:
Before you can begin vertical alignment tasks, it’s important to ensure that the laser level is set up for vertical leveling. Adjust the position of the laser level or rotate the laser head to point the laser beam vertically. Use the built-in leveling indicators or vials to make sure the laser level is perfectly leveled in the vertical direction. If your Huepar Laser Level features a self-leveling function, activate it to automatically level the laser beam.
2. Aligning objects or structures vertically:
If you need to align objects or structures vertically, such as installing doors, windows, or shelves, the laser beam from the Huepar Laser Level will serve as a guide. Position the laser level at the desired height and align the laser beam with the reference points on the objects or structures. Adjust the position or rotate the laser head as needed to achieve the desired vertical alignment angle. Use a measuring tape or ruler along with the laser beam as a reference to ensure accuracy in your alignment.
3. Creating plumb lines:
Creating plumb lines is another common vertical alignment task. Plumb lines are used to determine whether a structure or object is perfectly vertical. Position the laser level at the desired height and align the laser beam along the edge or surface that needs to be checked for vertical alignment. Use a plumb bob or a weighted string attached to the laser beam to create a vertical reference line. The laser beam will provide a precise guide for determining whether the structure or object is plumb.
By utilizing the Huepar Laser Level for vertical alignment tasks, you can achieve accurate and straight vertical lines, ensuring the integrity and professionalism of your projects.
In the next step, we will explore how to use the Huepar Laser Level for angular measurements and other specialized tasks.
Step 6: Using the Laser Level for Angular Measurements
The Huepar Laser Level offers a versatile range of functions, including the ability to measure angles and slopes. In this step, we will guide you through using the laser level for angular measurements by utilizing its rotating feature, measuring angles and slopes, and adjusting the laser line position.
1. Utilizing the laser level’s rotating feature:
Many Huepar Laser Levels come equipped with a rotating feature that allows the laser beam to project a 360-degree line around the room or workspace. This feature enables you to measure and align angles accurately. Activate the rotating function on your laser level and position it at the desired height. The laser beam will rotate around the room, creating a reference line that can be used for angular measurements.
2. Measuring angles and slopes:
With the rotating laser line, you can measure angles and slopes with precision. Place the laser level at a suitable location to capture the area of interest. Align the laser line with one side of the angle or slope you want to measure. Use a protractor or angle finder tool to measure the angle or slope by comparing it to the laser line. This method allows you to accurately measure and replicate angles and slopes in your projects.
3. Adjusting the laser line position:
In some cases, you may need to adjust the position of the laser line to align it precisely with the desired reference points. Check if your Huepar Laser Level allows you to manually adjust the laser line position. Depending on the model, you may find knobs, buttons, or settings that can move the laser line vertically or horizontally. Use these adjustments to precisely align the laser line with the reference points, ensuring accurate angular measurements.
By utilizing the Huepar Laser Level for angular measurements, you can achieve precise and consistent results in tasks that involve measuring and aligning angles, slopes, or complex geometries.
In the next step, we will provide some troubleshooting tips and additional useful information to help you make the most out of your Huepar Laser Level.
Step 7: Troubleshooting and Tips
In this final step, we will discuss some common issues that may arise when using a Huepar Laser Level and provide troubleshooting solutions. We will also cover maintenance and cleaning recommendations for the laser level, as well as share some additional useful tips.
1. Common issues and solutions:
- If the laser level is not leveling properly, double-check the bubble vials and adjust the leveling screws or fine-tuning knobs accordingly.
- If the laser beam appears dim or faint, make sure the batteries are fully charged or replace them if necessary. Also, clean the laser lens to ensure optimal visibility.
- If the laser beam is not visible in bright environments, consider using a laser detector that can capture the beam and provide visual or audible signals.
- If the laser level is not rotating, check if the rotation feature is activated and if any obstructions are blocking the rotation mechanism.
2. Maintenance and cleaning of the laser level:
Regular maintenance and cleaning of your Huepar Laser Level will help prolong its lifespan and ensure accurate performance. Here are some tips:
- Keep the laser level in its protective case when not in use to prevent dust and debris from entering.
- Wipe the exterior of the laser level with a clean, damp cloth to remove any dirt or grime.
- Use a soft brush or air blower to clean the laser lens and leveling vials. Avoid using harsh chemicals or abrasive materials that may damage the surfaces.
- Check the battery contacts regularly and clean them if there is any corrosion or build-up.
3. Additional useful tips:
- Always follow the manufacturer’s instructions and safety guidelines when using the Huepar Laser Level.
- If working in a team, communicate clearly to ensure everyone is aware of the laser beam’s location and potential hazards.
- Take breaks and rest your eyes when working with the laser beam for extended periods.
- Consider using a laser target or laser glasses for enhanced visibility of the laser beam in specific situations.
- Store your laser level in a dry and safe place, away from extreme temperatures or exposure to moisture.
By troubleshooting common issues, maintaining the laser level properly, and following these additional tips, you can optimize the performance and usability of your Huepar Laser Level.
With this comprehensive guide, you now have the knowledge and confidence to effectively use a Huepar Laser Level for a wide range of tasks. Remember to always prioritize safety and refer to the user manual provided with your specific model for detailed instructions. Happy leveling!
Conclusion
Congratulations! You have reached the end of this comprehensive guide on how to use a Huepar Laser Level. We have covered everything from setting up the laser level to using it for various alignment tasks, measuring angles and slopes, troubleshooting common issues, and maintenance tips.
By utilizing a Huepar Laser Level, you have a powerful tool at your disposal to achieve precise and professional results in your construction, carpentry, or DIY projects. This versatile device allows you to accurately align walls, ceilings, objects, and create straight lines. You can also measure angles, slopes, and perform complex angular measurements effortlessly.
Remember, safety should always be your priority when operating the laser level. Follow the manufacturer’s instructions, wear appropriate protective gear, and take precautions to ensure the laser beam doesn’t directly enter your eyes.
Regular calibration and maintenance of your Huepar Laser Level will help maintain its accuracy and extend its lifespan. Keep the device clean, store it properly, and check the battery status regularly to ensure optimal performance.
We hope this guide has equipped you with the necessary knowledge and confidence to make the most out of your Huepar Laser Level. Whether you are a professional contractor or a DIY enthusiast, this tool will undoubtedly enhance the efficiency and precision of your projects.
Now, go ahead and put your newfound skills to use. Level walls with ease, install fixtures and furniture with precision, and create perfectly aligned spaces. Enjoy the benefits of using a Huepar Laser Level in your projects and take pride in the professional results you can achieve.
Thank you for joining us on this journey, and we wish you great success in your future endeavors with your Huepar Laser Level!
Frequently Asked Questions about How To Use A Huepar Laser Level
Was this page helpful?
At Storables.com, we guarantee accurate and reliable information. Our content, validated by Expert Board Contributors, is crafted following stringent Editorial Policies. We're committed to providing you with well-researched, expert-backed insights for all your informational needs.




0 thoughts on “How To Use A Huepar Laser Level”