
Articles
How To Use Phone As Laser Level
Modified: February 22, 2024
Learn how to turn your phone into a laser level with these helpful articles. Enhance your DIY projects and achieve precise measurements easily.
(Many of the links in this article redirect to a specific reviewed product. Your purchase of these products through affiliate links helps to generate commission for Storables.com, at no extra cost. Learn more)
Introduction
Welcome to the world of DIY projects and home improvements! If you’ve ever found yourself needing a laser level to ensure perfect alignment and precision in your projects, you’re in luck. With the advancement of technology, you can now transform your smartphone into a handy tool that can serve as a laser level.
In this article, we will explore the fascinating concept of using your phone as a laser level. We’ll walk you through the step-by-step process of choosing the right app, calibrating your phone, setting it up as a laser level, and using it effectively. So, if you’re ready to elevate your DIY game and make your projects a breeze, let’s get started!
Key Takeaways:
- Transform your smartphone into a laser level for DIY projects. Choose the right app, calibrate your phone, and set it up for accurate measurements. Embrace technology to achieve professional-level precision without bulky equipment.
- Enhance accuracy by using stable mounts, verifying calibration, and avoiding direct sunlight. Double-check with a traditional level and prioritize safety. Let your smartphone revolutionize your home improvement journey.
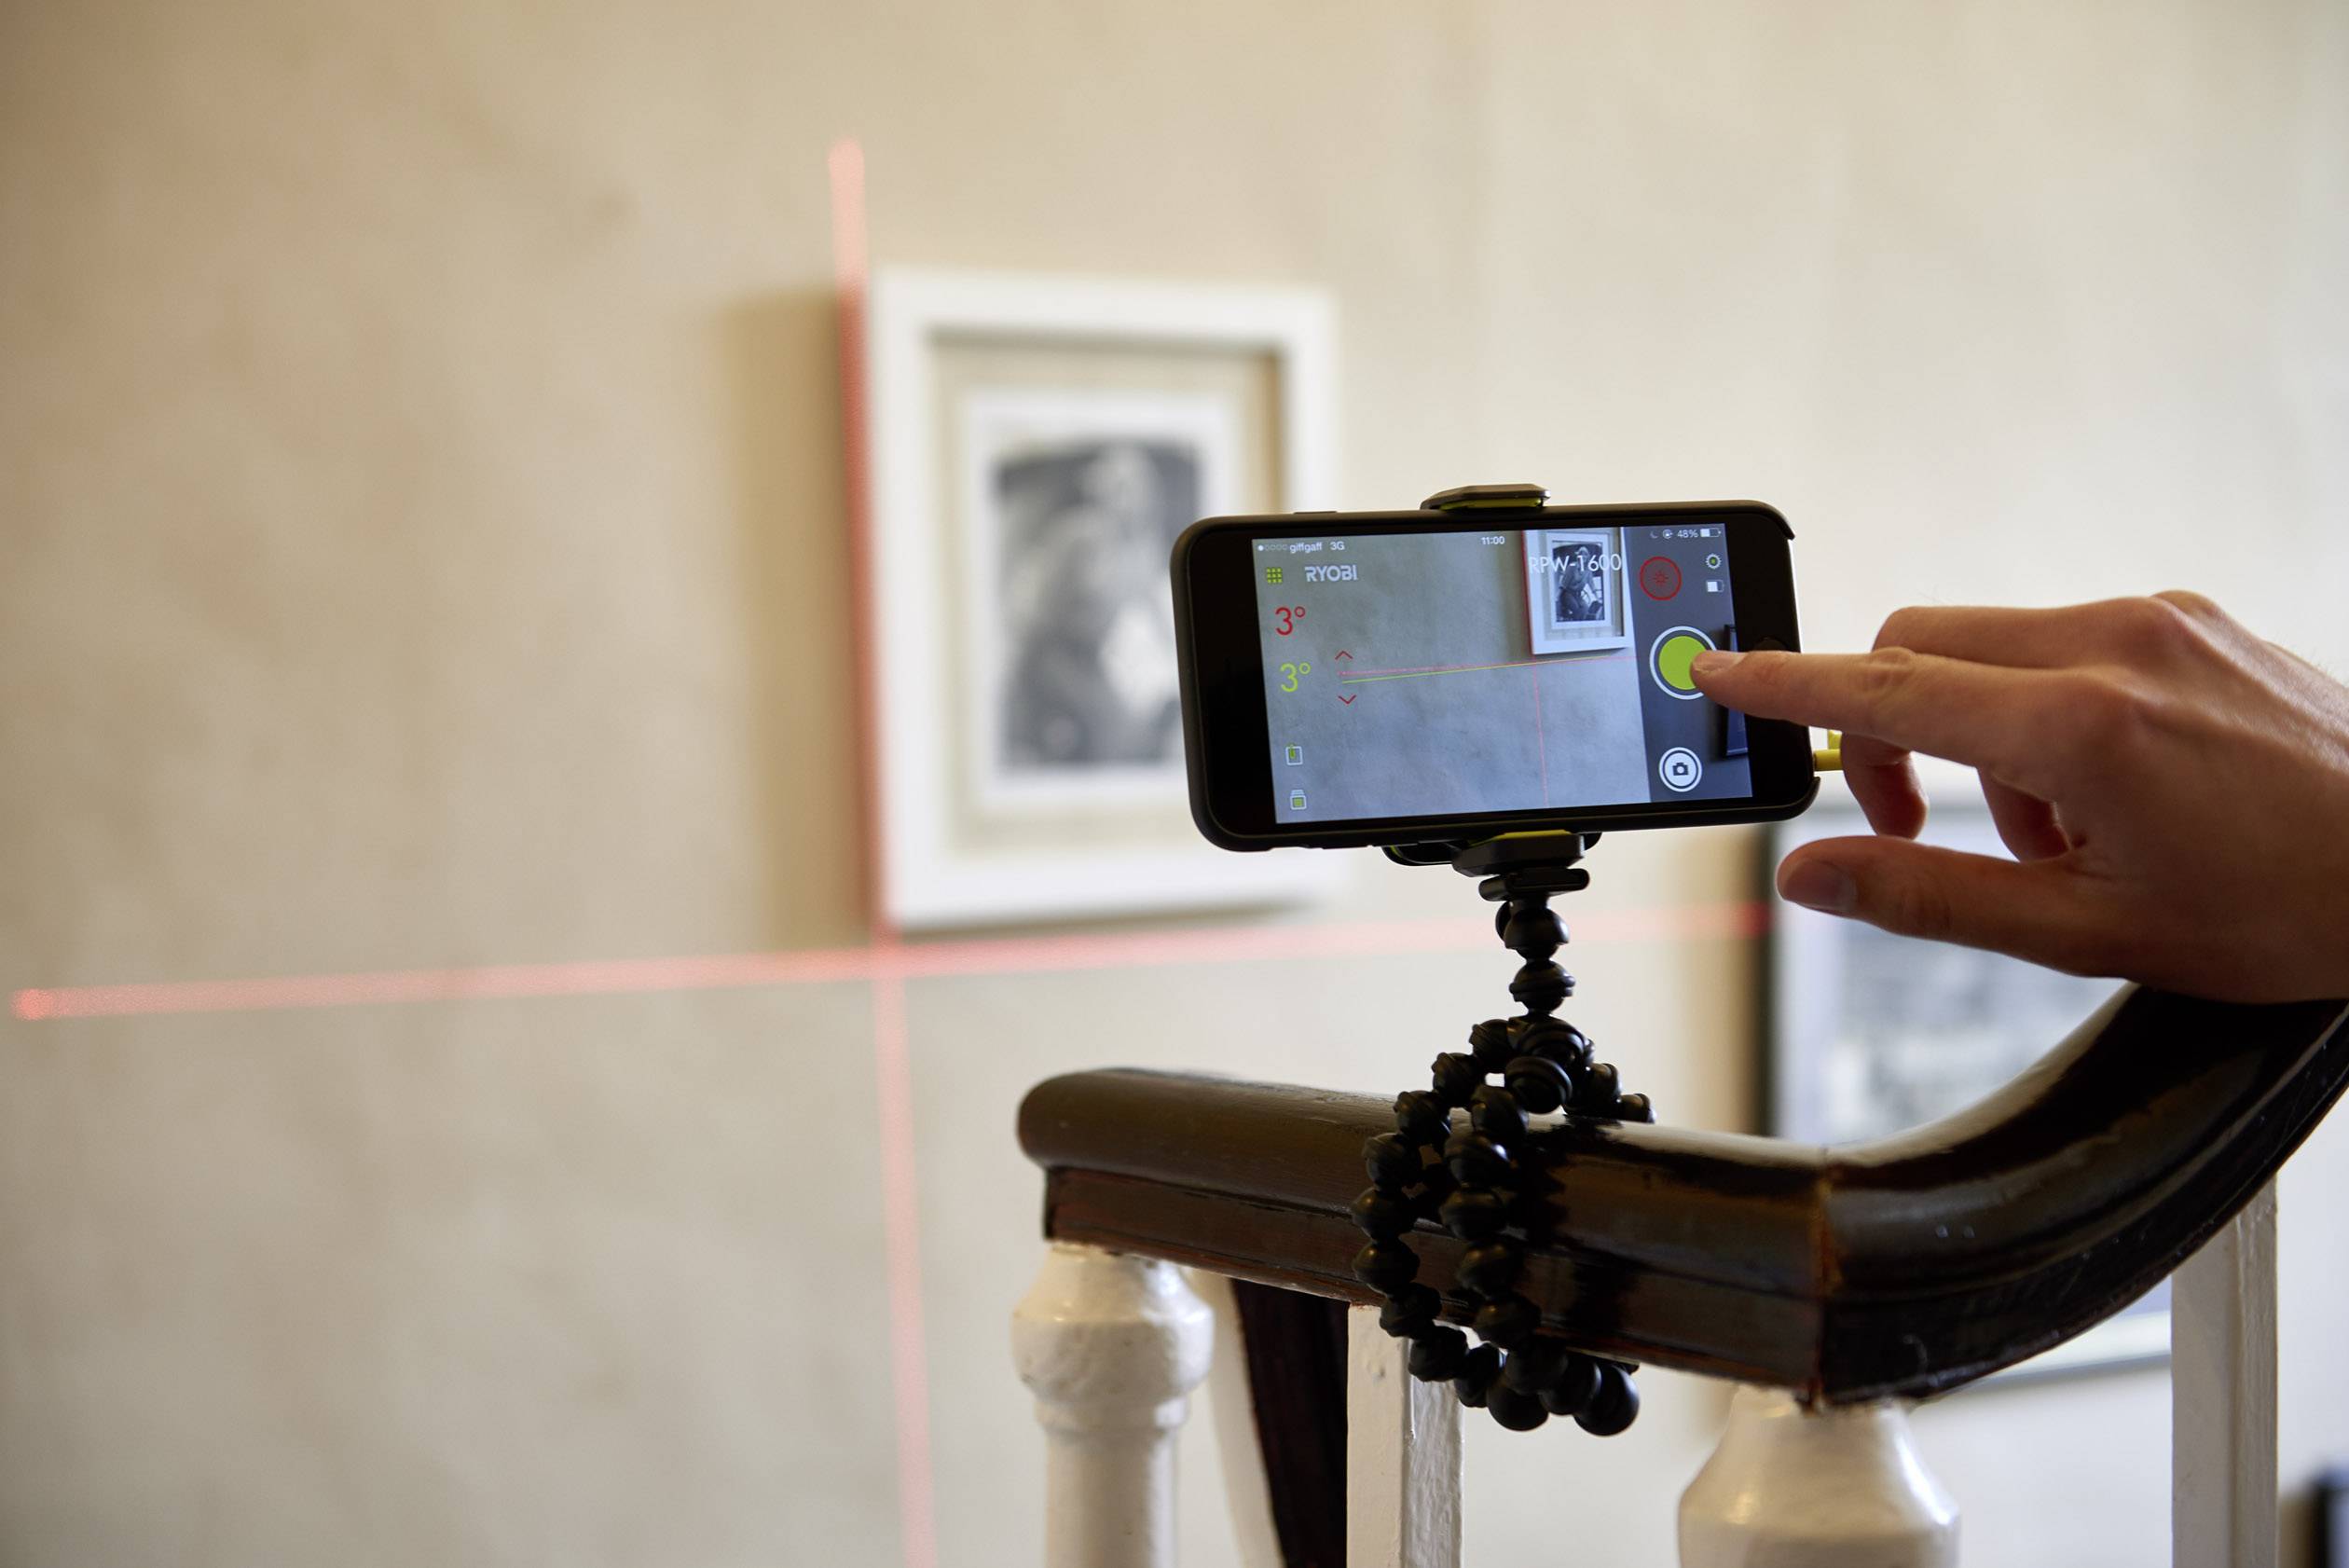
Read more: How Ryobi Phone Laser Level Works
What is a Laser Level?
Before we delve into the details of using your phone as a laser level, let’s first understand what a laser level actually is. A laser level is a device used to project a straight and level laser beam onto a surface. It is an essential tool in construction, carpentry, and various other industries where precise measurements and alignments are crucial.
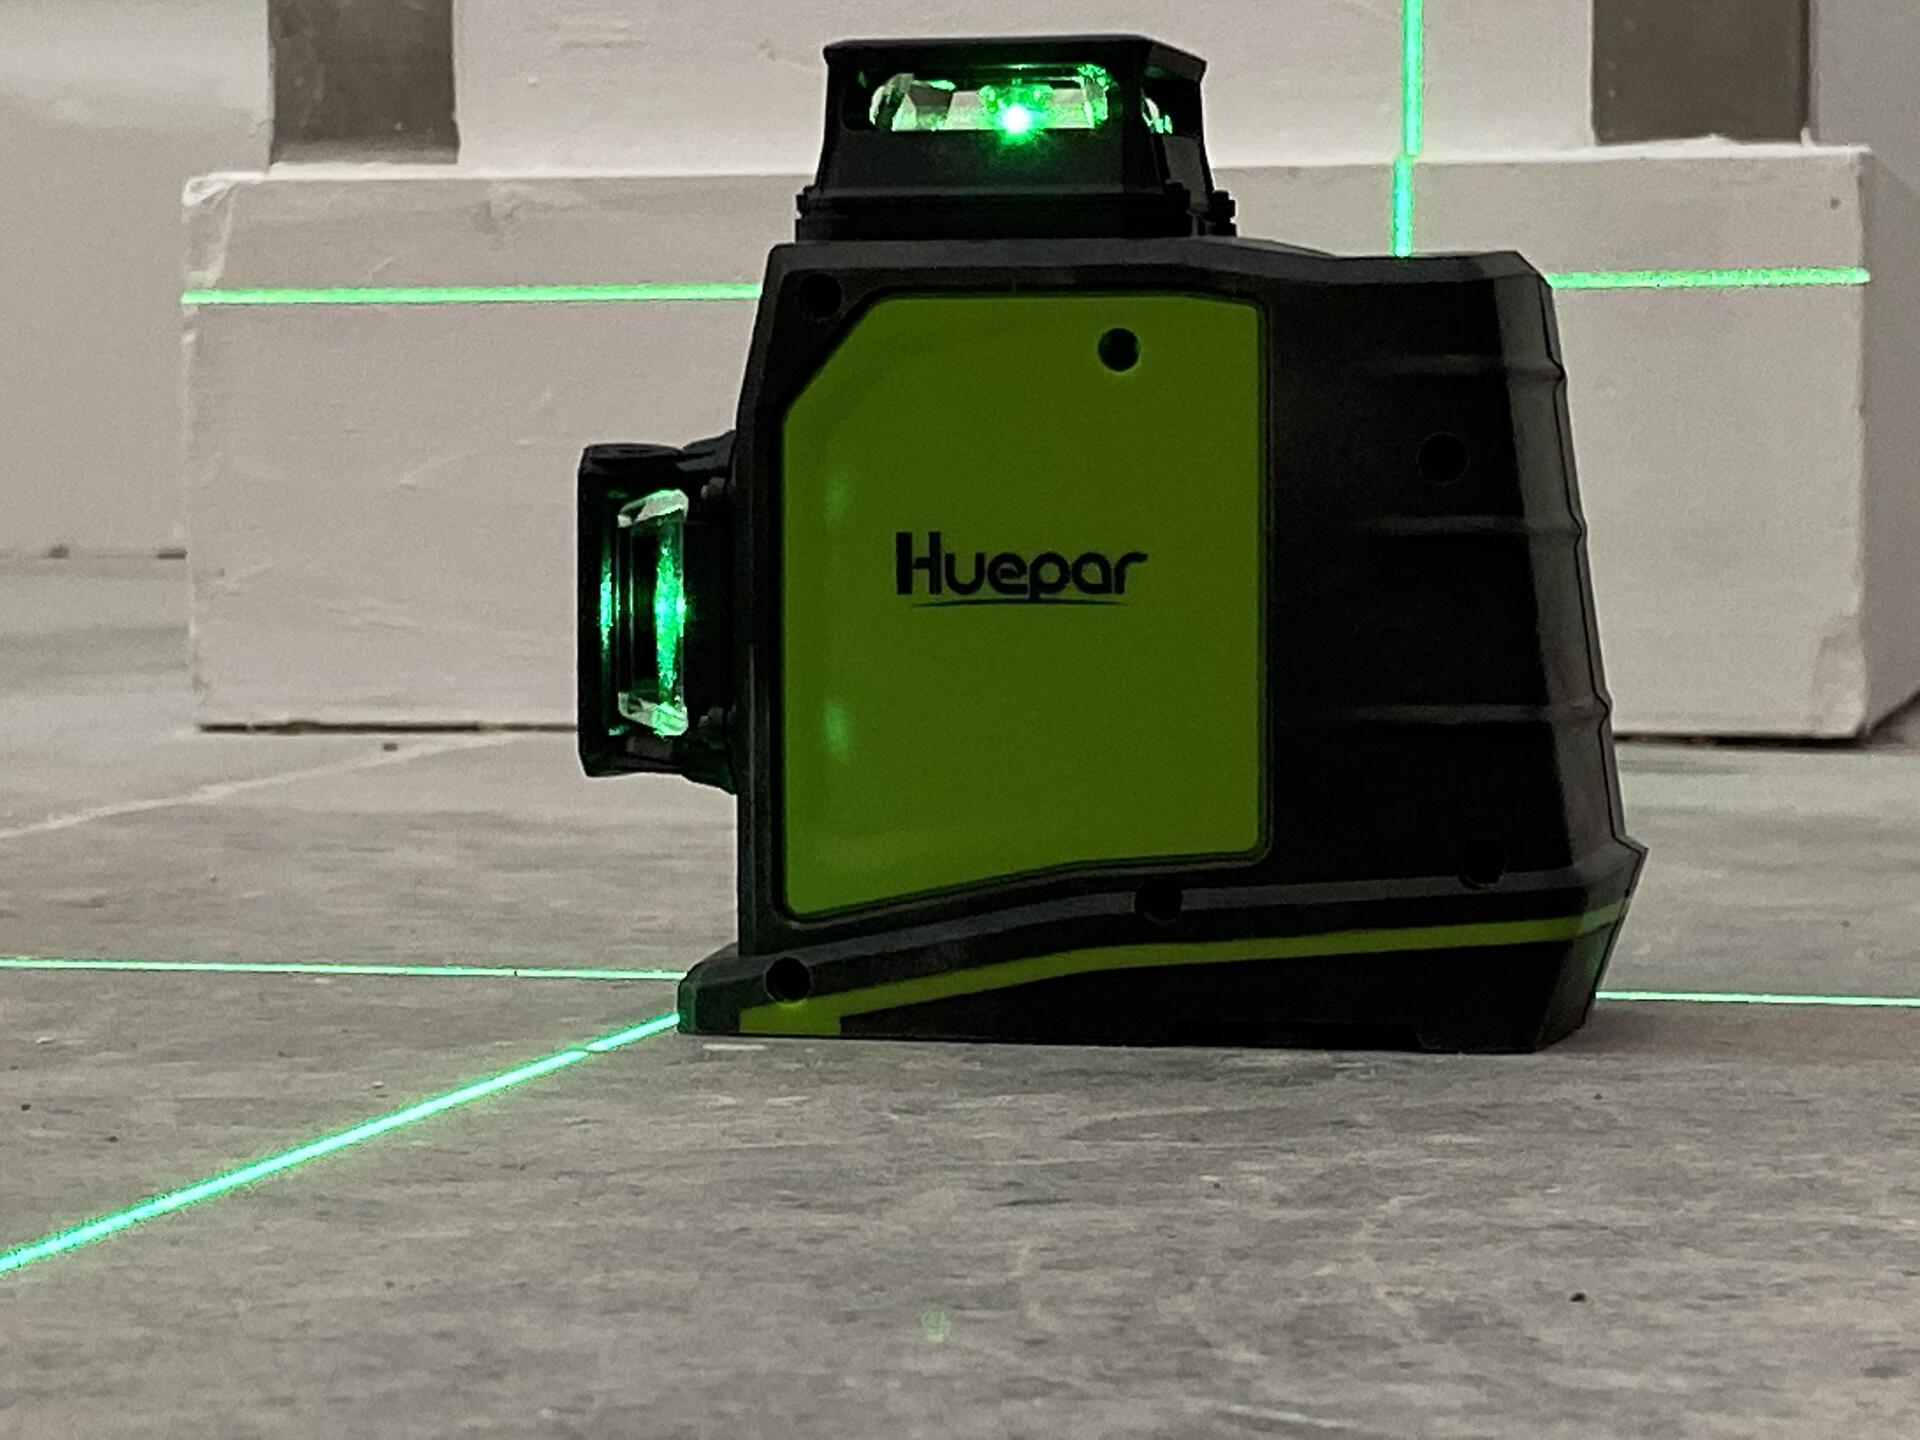
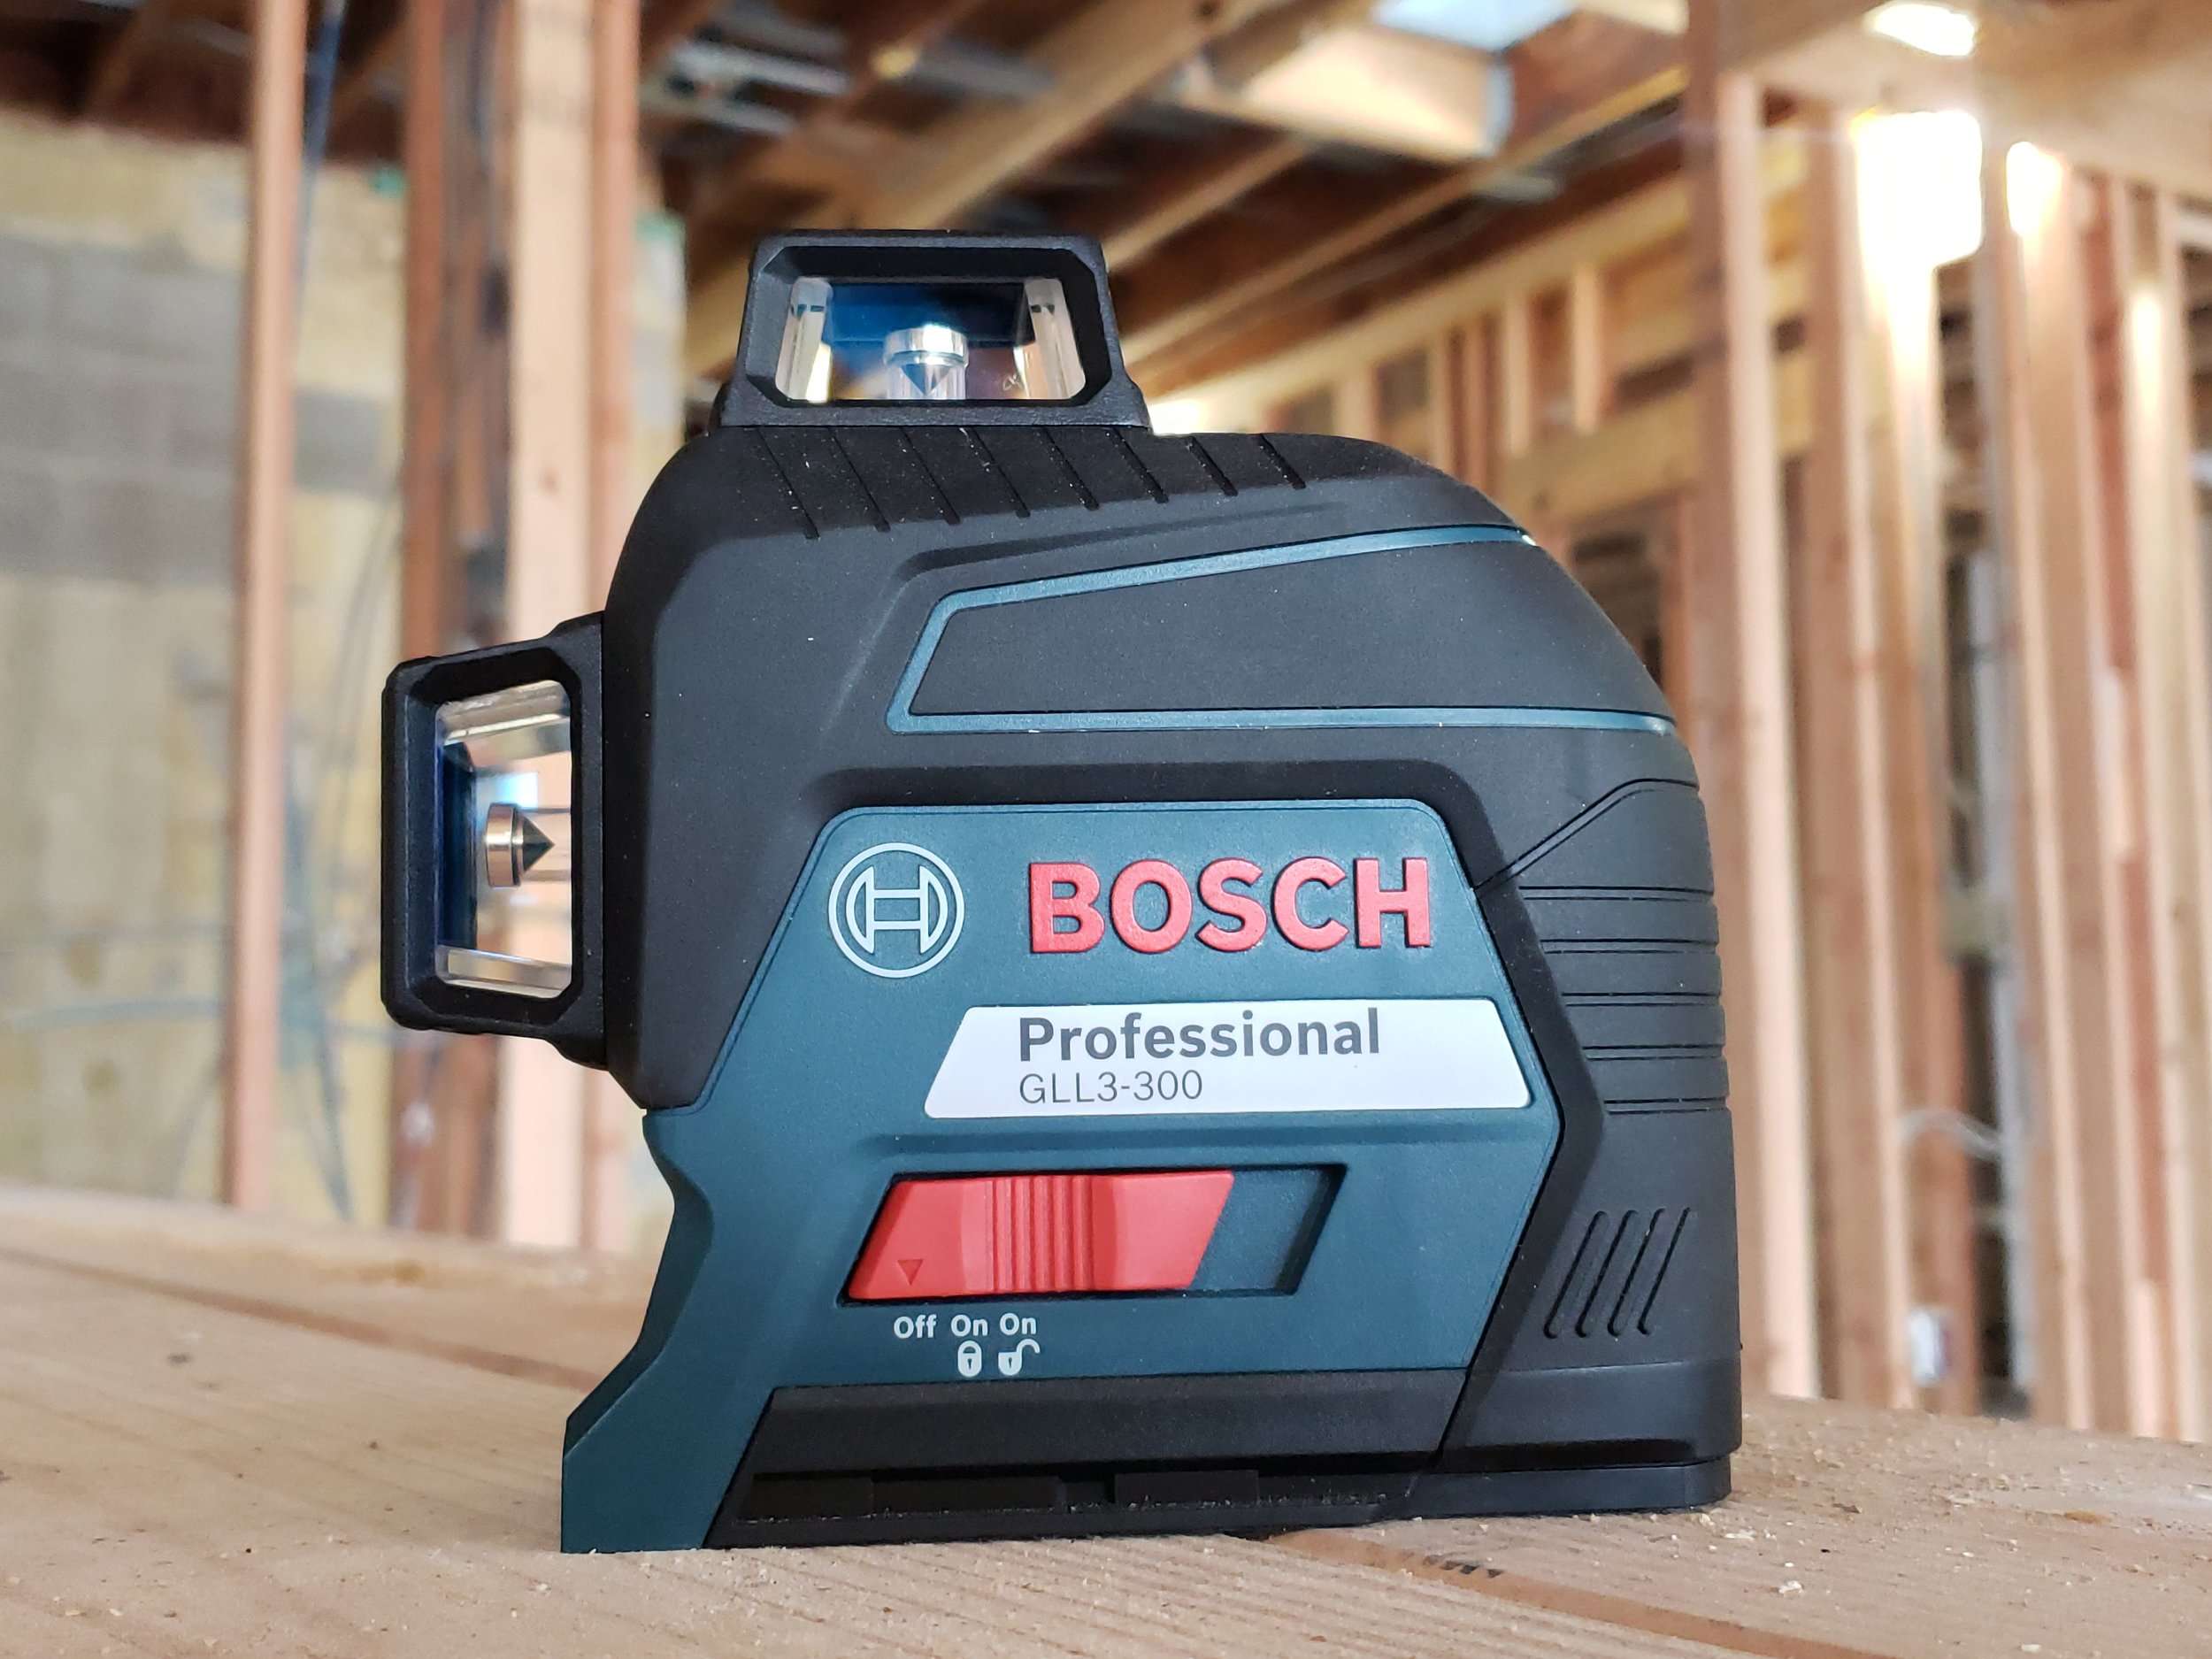
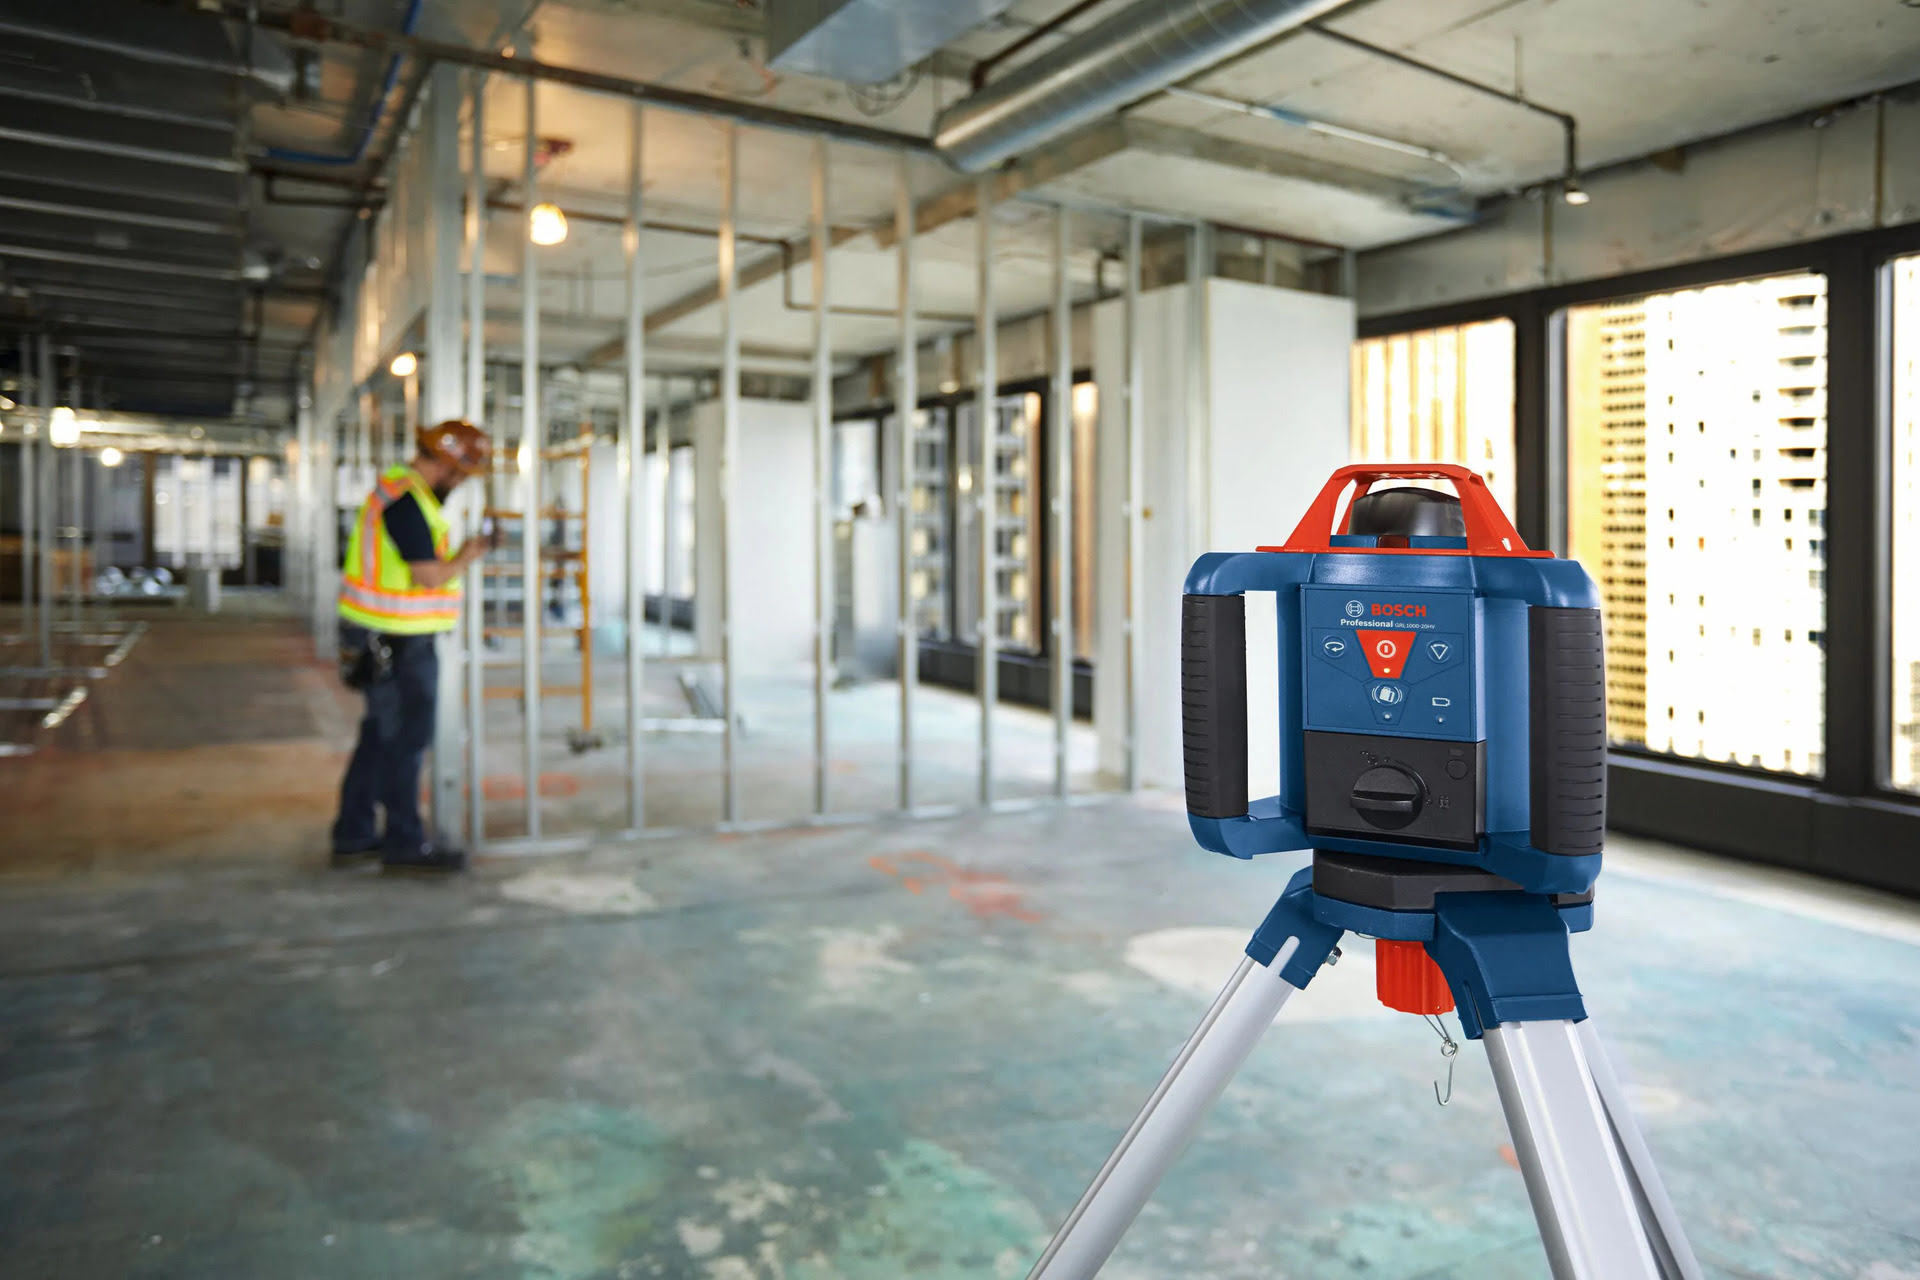
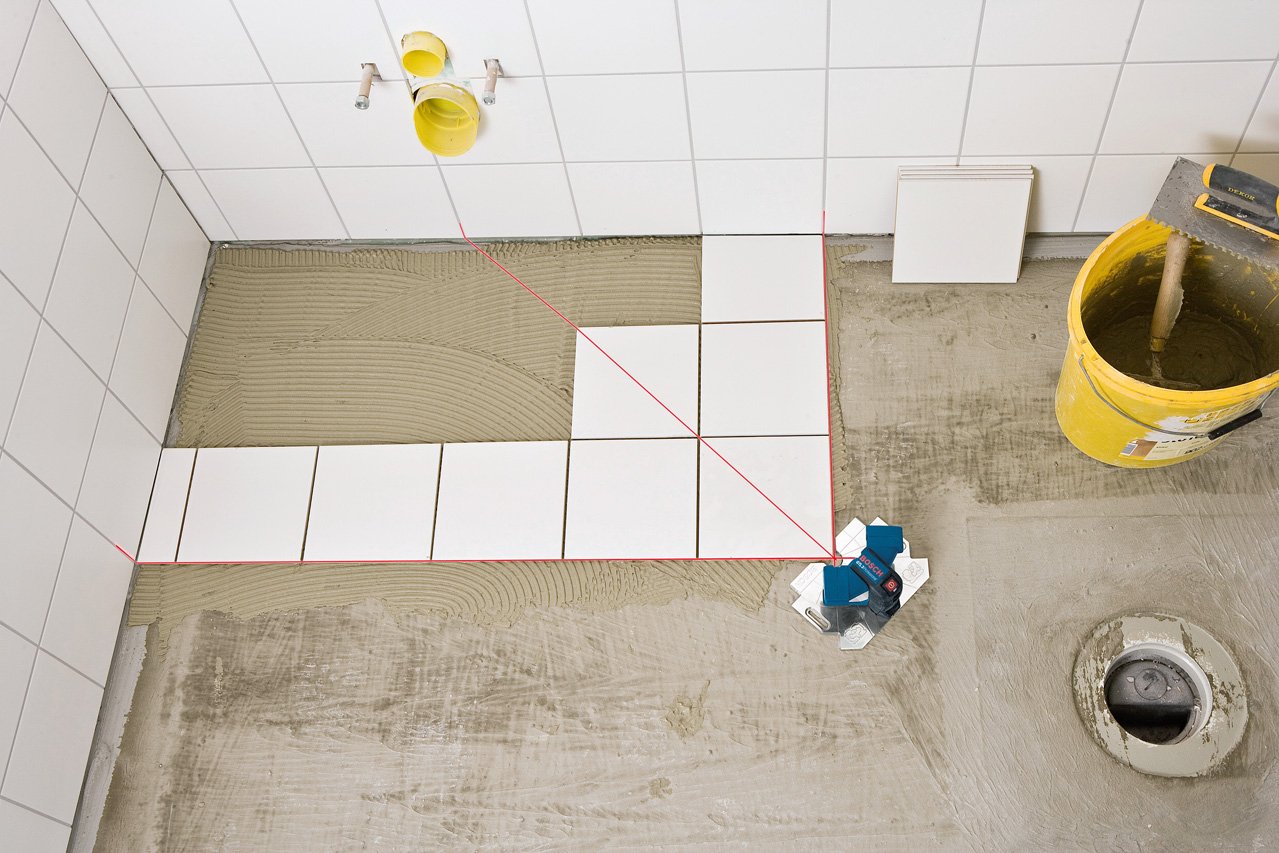
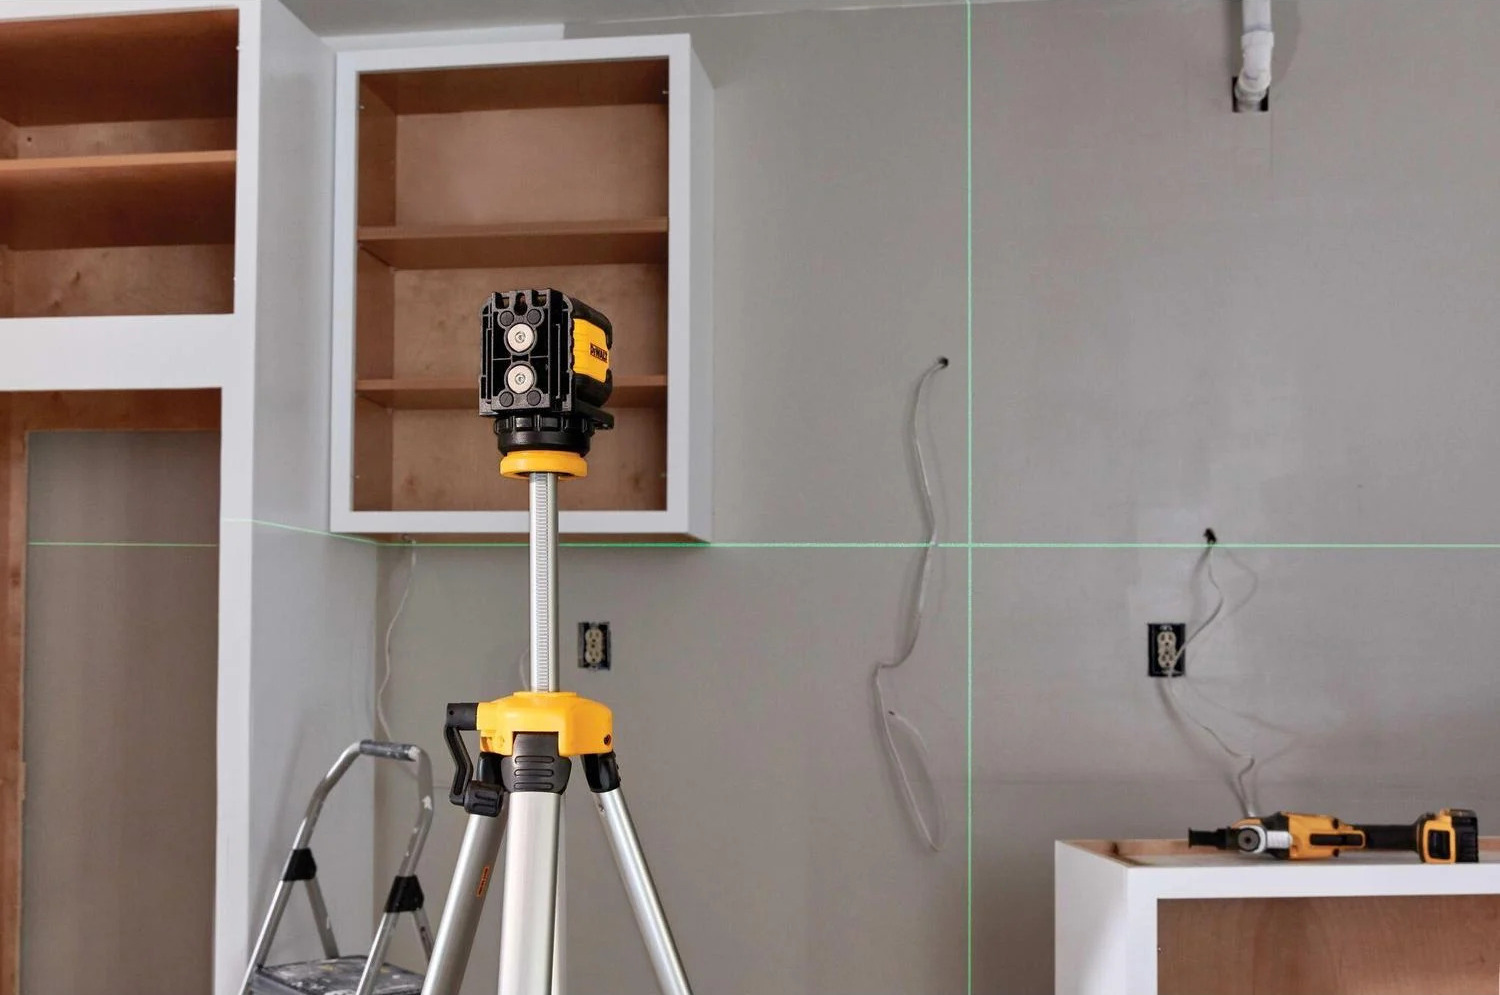
Traditionally, laser levels are standalone devices that come in different forms such as rotary laser levels or line laser levels. They utilize a laser diode to emit a highly visible laser beam that can be easily seen over long distances, making them ideal for tasks like aligning shelves, installing tiles, hanging pictures, or even leveling floors.
However, owning a dedicated laser level may not always be practical for everyone. They can be expensive, bulky, and require additional accessories. This is where the concept of using your phone as a laser level comes in. By leveraging the capabilities of your smartphone, you can transform it into a portable laser leveling device, making your home improvement projects more accessible and cost-effective.
Using your phone as a laser level not only offers convenience but also utilizes the built-in features of your smartphone, such as its accelerometer and gyroscope, to provide accurate readings. This means that you can achieve similar results to a traditional laser level without the need to invest in additional equipment. It’s a win-win situation!
Now that you have a better understanding of what a laser level is, let’s proceed to the next steps of using your phone as a laser level, starting with choosing the right app.
Using Your Phone as a Laser Level
Now that you’re familiar with the concept of using your phone as a laser level, let’s explore the step-by-step process of how to make the most out of this innovative technique.
Step 1: Choosing the Right App
The first step in using your phone as a laser level is to choose the right app. There are several laser level apps available for both iOS and Android devices. These apps utilize the built-in sensors of your phone to measure angles and orientation, allowing you to create a virtual laser level experience.
When selecting an app, look for features such as accuracy, ease of use, calibration options, and additional functionalities like measurement conversion or bubble level. Reading user reviews and ratings can also help you determine the reliability and effectiveness of an app.
Step 2: Calibrating Your Phone
Before you begin using your phone as a laser level, it’s important to calibrate it properly. Most laser level apps provide a calibration process that involves placing your phone on a level surface and following the on-screen instructions to ensure accurate readings.
Calibrating your phone involves aligning its internal sensors with the reference level. This step is crucial for achieving accurate results, so make sure to follow the calibration process diligently.
Read more: How To Use A Laser Level
Step 3: Setting Up Your Phone as a Laser Level
Once your phone is calibrated, you can proceed to set it up as a laser level. This typically involves finding a suitable surface or platform to place your phone on. It’s important to choose a stable and level surface to ensure accurate readings.
You can use a tripod or any other stable surface to elevate your phone and adjust its position to align with your desired leveling plane. Some laser level apps also offer augmented reality (AR) features, allowing you to superimpose a virtual level line onto your screen, making it easier to align your phone.
Step 4: Using Your Phone as a Laser Level
With your phone properly set up, you’re ready to start using it as a laser level. Simply open the laser level app and follow the on-screen instructions to activate the laser beam. Depending on the app, you may be able to adjust the intensity, color, or width of the laser beam to suit your needs.
With the laser beam projected, you can now use it as a guiding reference for various tasks like aligning pictures, installing shelves, or ensuring precise measurements in construction projects. Simply adjust your objects or measurements until they align with the laser beam, ensuring a level and accurate result.
Remember to always exercise caution and use common sense when using your phone as a laser level. While it can provide accurate readings, it may not be suitable for extremely demanding professional tasks that require highly precise measurements.
Now that you know how to use your phone as a laser level, let’s explore some tips and tricks to improve accuracy and ensure optimal results.
Step 1: Choosing the Right App
Choosing the right app is a crucial step in using your phone as a laser level. With a wide range of laser level apps available on both iOS and Android platforms, it’s important to select one that suits your needs and provides accurate results.
Here are some factors to consider when choosing the right app:
1. Accuracy:
Look for apps that are known for their reliability and accuracy. Read user reviews and ratings to get an idea of the app’s performance and whether it consistently provides precise measurements.
Read more: How To Use A Self Leveling Laser Level
2. Ease of Use:
Ensure that the app you choose has a user-friendly interface and intuitive controls. The last thing you want is to struggle with a complicated app that hinders your productivity. Look for apps that offer easy navigation and straightforward instructions.
3. Calibration Options:
Check if the app provides calibration options. Calibration is essential for accurate readings, so make sure the app allows you to calibrate your phone easily and effectively.
4. Additional Functionalities:
Some laser level apps offer additional features and functionalities that can enhance your user experience. These may include measurement conversion tools, bubble level simulations, or even the ability to capture screenshots or record videos of your leveling process.
5. Compatibility:
Make sure the app is compatible with your smartphone’s operating system. Check the app’s requirements and ensure that your phone meets the necessary specifications.
Read more: How To Use A Laser Level To Level Ground
6. Cost:
Consider whether the app is free to download or requires a purchase. While there are many free laser level apps available, some premium apps may offer more advanced features for a fee. Evaluate your needs and budget accordingly.
By considering these factors, you can choose a laser level app that meets your requirements and provides accurate and reliable measurements. Once you’ve selected your app, the next step is calibrating your phone to ensure optimal performance.
Step 2: Calibrating Your Phone
Calibrating your phone is a crucial step to ensure accurate readings when using it as a laser level. Most laser level apps provide a calibration feature to align your phone’s sensors with the reference level. Follow these steps to calibrate your phone:
1. Find a Level Surface:
Start by finding a flat and level surface. It could be a table, desk, or any other stable platform. Place your phone on the surface and make sure it is not tilted or leaning in any direction.
2. Open the App:
Open the laser level app on your phone. Look for the calibration option within the app’s settings or menu.
Read more: How To Use Level Pro 3 Laser Level
3. Follow the On-Screen Instructions:
The app will guide you through the calibration process with on-screen instructions. It may ask you to rotate or tilt your phone in specific directions to align the sensors with the reference level. Follow the instructions carefully to ensure accurate calibration.
4. Complete the Calibration:
Once you’ve followed the instructions provided by the app, the calibration process should be complete. The app will typically display a message or indicator confirming a successful calibration. You’re now ready to use your phone as a laser level!
It’s important to note that you may need to recalibrate your phone occasionally, especially if you notice any inconsistencies or deviations in the readings. Keep in mind that factors like temperature changes or physical impacts can affect the calibration, so it’s a good practice to recalibrate your phone periodically to maintain accuracy.
Remember, the calibration process may slightly vary depending on the laser level app you choose. Be sure to consult the app’s instructions or support documentation for specific guidance on calibration.
Once your phone is properly calibrated, you can proceed to the next step of setting it up as a laser level and utilizing its functionalities to accomplish various tasks that require precise measurements and alignments. Let’s explore that in the next step.
Step 3: Setting Up Your Phone as a Laser Level
Now that your phone is calibrated, it’s time to set it up as a laser level. This step involves finding a suitable surface or platform to place your phone on and adjusting its position to align with your desired leveling plane. Here’s how to do it:
1. Find a Stable Surface:
Look for a stable and level surface to place your phone. It could be a table, countertop, or any other flat and sturdy platform. Avoid surfaces that are uneven or prone to vibrations, as they can affect the accuracy of your readings.
Read more: How To Use Laser Level For Grading
2. Positioning Your Phone:
Place your phone on the chosen surface and ensure it is stable and not tilted. You can use a tripod or any other stand that is compatible with your phone to keep it steady.
3. Align with Your Leveling Plane:
Adjust the position of your phone to align with the leveling plane you want to work on. For example, if you’re installing shelves, align your phone so that the laser beam projected from the app lines up with the desired shelf height.
4. Augmented Reality (AR) Features:
Some laser level apps offer augmented reality (AR) features that help you visualize the leveling plane. These apps use your phone’s camera to display a virtual level line or grid overlay on your screen, making it easier to align your phone accurately. Take advantage of these features if available in your chosen app.
5. Adjusting for Slopes:
If you’re working on a sloped surface or need to create an inclined plane, you can adjust the orientation of your phone accordingly. The laser level app should provide options to adjust the angle or slope of the laser beam projection.
By setting up your phone correctly, you’ll be able to use it as a laser level and utilize the virtual laser beam projected by the app for various tasks. From aligning pictures and shelves to ensuring precise measurements in construction projects, your phone can help you achieve accurate results with ease.
Now that your phone is set up as a laser level, it’s time to move on to the final step: using your phone as a laser level and employing some tips and tricks for better accuracy. Let’s explore that in the next section.
Read more: How To Use A Laser Level For Landscaping
Step 4: Using Your Phone as a Laser Level
With your phone properly set up as a laser level, you’re now ready to start using it for your projects. Here’s how to effectively utilize your phone as a laser level:
1. Open the Laser Level App:
Launch the laser level app on your phone. Ensure that the app has access to the necessary permissions, such as camera access if you’re using augmented reality (AR) features.
2. Activate the Laser Beam:
Once the app is open, locate the option to activate the laser beam. Depending on the app, this may be a separate button or a toggle within the app’s interface. Tap or activate this feature to project the laser beam.
3. Adjust Laser Beam Settings:
Some laser level apps allow you to customize the laser beam’s attributes, such as its color, width, or intensity. Experiment with these settings to make the laser beam more visible and suitable for your specific project.
Read more: How To Use Laser Level Outside
4. Align Objects or Measurements:
With the laser beam projected, you can now begin aligning objects or taking measurements. For instance, if you’re hanging a picture, align the laser beam with the desired height and make sure the picture’s top edge is in line with the laser beam. Repeat this process for multiple pictures to maintain a straight and level display.
5. Work with AR Features:
If your laser level app offers augmented reality (AR) features, make the most of them. These features overlay a virtual level line or grid on your screen, allowing you to visualize the leveling plane more accurately. Use these visual aids to align objects or ensure accurate measurements.
6. Use as a Measurement Tool:
Besides alignment, your phone’s laser level app can also serve as a measurement tool. By measuring the distance between the laser beam and objects, you can ensure precise spacing or dimensions in your projects.
Remember to exercise caution while using your phone as a laser level. Although it provides accurate readings, it may not have the same level of precision as dedicated leveling devices. Therefore, it’s essential to use it for projects that do not require extremely precise measurements.
By following these steps and utilizing the functionalities of your phone’s laser level app, you can accomplish various tasks with accuracy and efficiency. Now, let’s explore some tips and tricks to improve accuracy and ensure optimal results in the next section.
Tips and Tricks for Better Accuracy
To ensure optimal accuracy when using your phone as a laser level, consider implementing the following tips and tricks:
Read more: How To Use Skil Laser Level
1. Use a Tripod or Stable Mount:
For better stability and accuracy, consider using a tripod or a stable mount to hold your phone. This will eliminate any potential hand movements or vibrations that can affect the alignment of the laser beam.
2. Verify Calibration Regularly:
Periodically verify the calibration of your phone to maintain accurate readings. Environmental factors and phone usage can cause the calibration to drift over time. Check the app’s settings to find the calibration verification feature and realign if necessary.
3. Avoid Direct Sunlight:
Avoid using your phone as a laser level in direct sunlight, as it can interfere with the visibility of the laser beam. If possible, choose a shaded area or use the laser level indoors for better accuracy.
4. Account for Obstacles:
When aligning objects or measurements with the laser beam, consider any potential obstacles that may interfere with the beam’s path. Adjust your positioning or take alternate approaches to ensure accurate alignment.
Read more: How To Use A Laser Level On Ceiling
5. Double-Check with a Traditional Level:
If precision is critical for your project, consider double-checking your measurements and alignments using a traditional bubble level. This can provide an extra layer of verification and ensure the accuracy of your work.
6. Be Mindful of Battery Life:
Using your phone as a laser level can consume battery power quickly. Ensure your phone is adequately charged or consider using an external power source to avoid interruptions during your project.
7. Clean the Camera Lens:
Before using the laser level app, ensure your phone’s camera lens is clean and free from any smudges or debris. A dirty lens can distort the laser beam projection, leading to inaccurate readings. Use a microfiber cloth to gently clean the lens if needed.
8. Check for App Updates:
Regularly check for updates to your laser level app. App updates often include bug fixes, performance enhancements, and new features that can improve the accuracy and functionality of the app.
By implementing these tips and tricks, you can enhance the accuracy and reliability of your phone as a laser level. Remember to adapt your approach based on the specific requirements of your project and always prioritize safety while working with tools.
Now that you have a thorough understanding of using your phone as a laser level and how to improve accuracy, you’re ready to tackle your DIY projects with confidence and precision. Happy leveling!
Read more: How To Use A Laser Level For Backsplash
Conclusion
Using your phone as a laser level is a game-changer for DIY enthusiasts and professionals alike. With the right app and proper calibration, your phone can transform into a versatile tool that offers accuracy and convenience in your home improvement projects.
We discussed the steps involved in using your phone as a laser level, starting from choosing the right app to calibrating your phone and setting it up for accurate measurements. By following these steps, you can harness the power of your smartphone’s built-in sensors to achieve precise alignments and measurements.
Remember to choose a laser level app that meets your requirements in terms of accuracy, ease of use, and additional functionalities. Calibrating your phone is vital for accurate readings, so be sure to follow the app’s instructions carefully.
Setting up your phone as a laser level involves finding a stable surface and aligning it to the desired leveling plane. Taking advantage of augmented reality (AR) features can further enhance your accuracy and visualization capabilities.
When using your phone as a laser level, utilizing a tripod or stable mount, verifying calibration regularly, and avoiding direct sunlight are important for optimal accuracy.
By implementing these tips and tricks, including double-checking with a traditional level and being mindful of battery life, you can ensure better results and efficiency in your projects.
Using your phone as a laser level opens up a world of possibilities, allowing you to achieve professional-level alignments and measurements without the need for bulky and expensive equipment.
So, get creative, tackle those DIY projects with confidence, and let your smartphone guide you to precise and flawless results. Embrace the power of technology and transform your phone into a laser level that revolutionizes your home improvement journey!
Frequently Asked Questions about How To Use Phone As Laser Level
Was this page helpful?
At Storables.com, we guarantee accurate and reliable information. Our content, validated by Expert Board Contributors, is crafted following stringent Editorial Policies. We're committed to providing you with well-researched, expert-backed insights for all your informational needs.

0 thoughts on “How To Use Phone As Laser Level”