
Articles
How To Use A Transit Laser Level
Modified: January 8, 2024
Learn how to effectively use a transit laser level with informative articles. Enhance your construction projects with expert tips and techniques.
(Many of the links in this article redirect to a specific reviewed product. Your purchase of these products through affiliate links helps to generate commission for Storables.com, at no extra cost. Learn more)
Introduction
Transit laser levels are an essential tool for construction and surveying professionals. They provide accurate measurements and references for leveling and aligning various objects and structures. Whether you’re building a house or setting up a construction site, knowing how to use a transit laser level is crucial for achieving precision and accuracy in your work.
In this article, we will walk you through the step-by-step process of using a transit laser level. We will cover everything from setting up the device to troubleshooting common issues that may arise. By the end of this article, you will have a thorough understanding of how to effectively use a transit laser level in your construction or surveying projects.
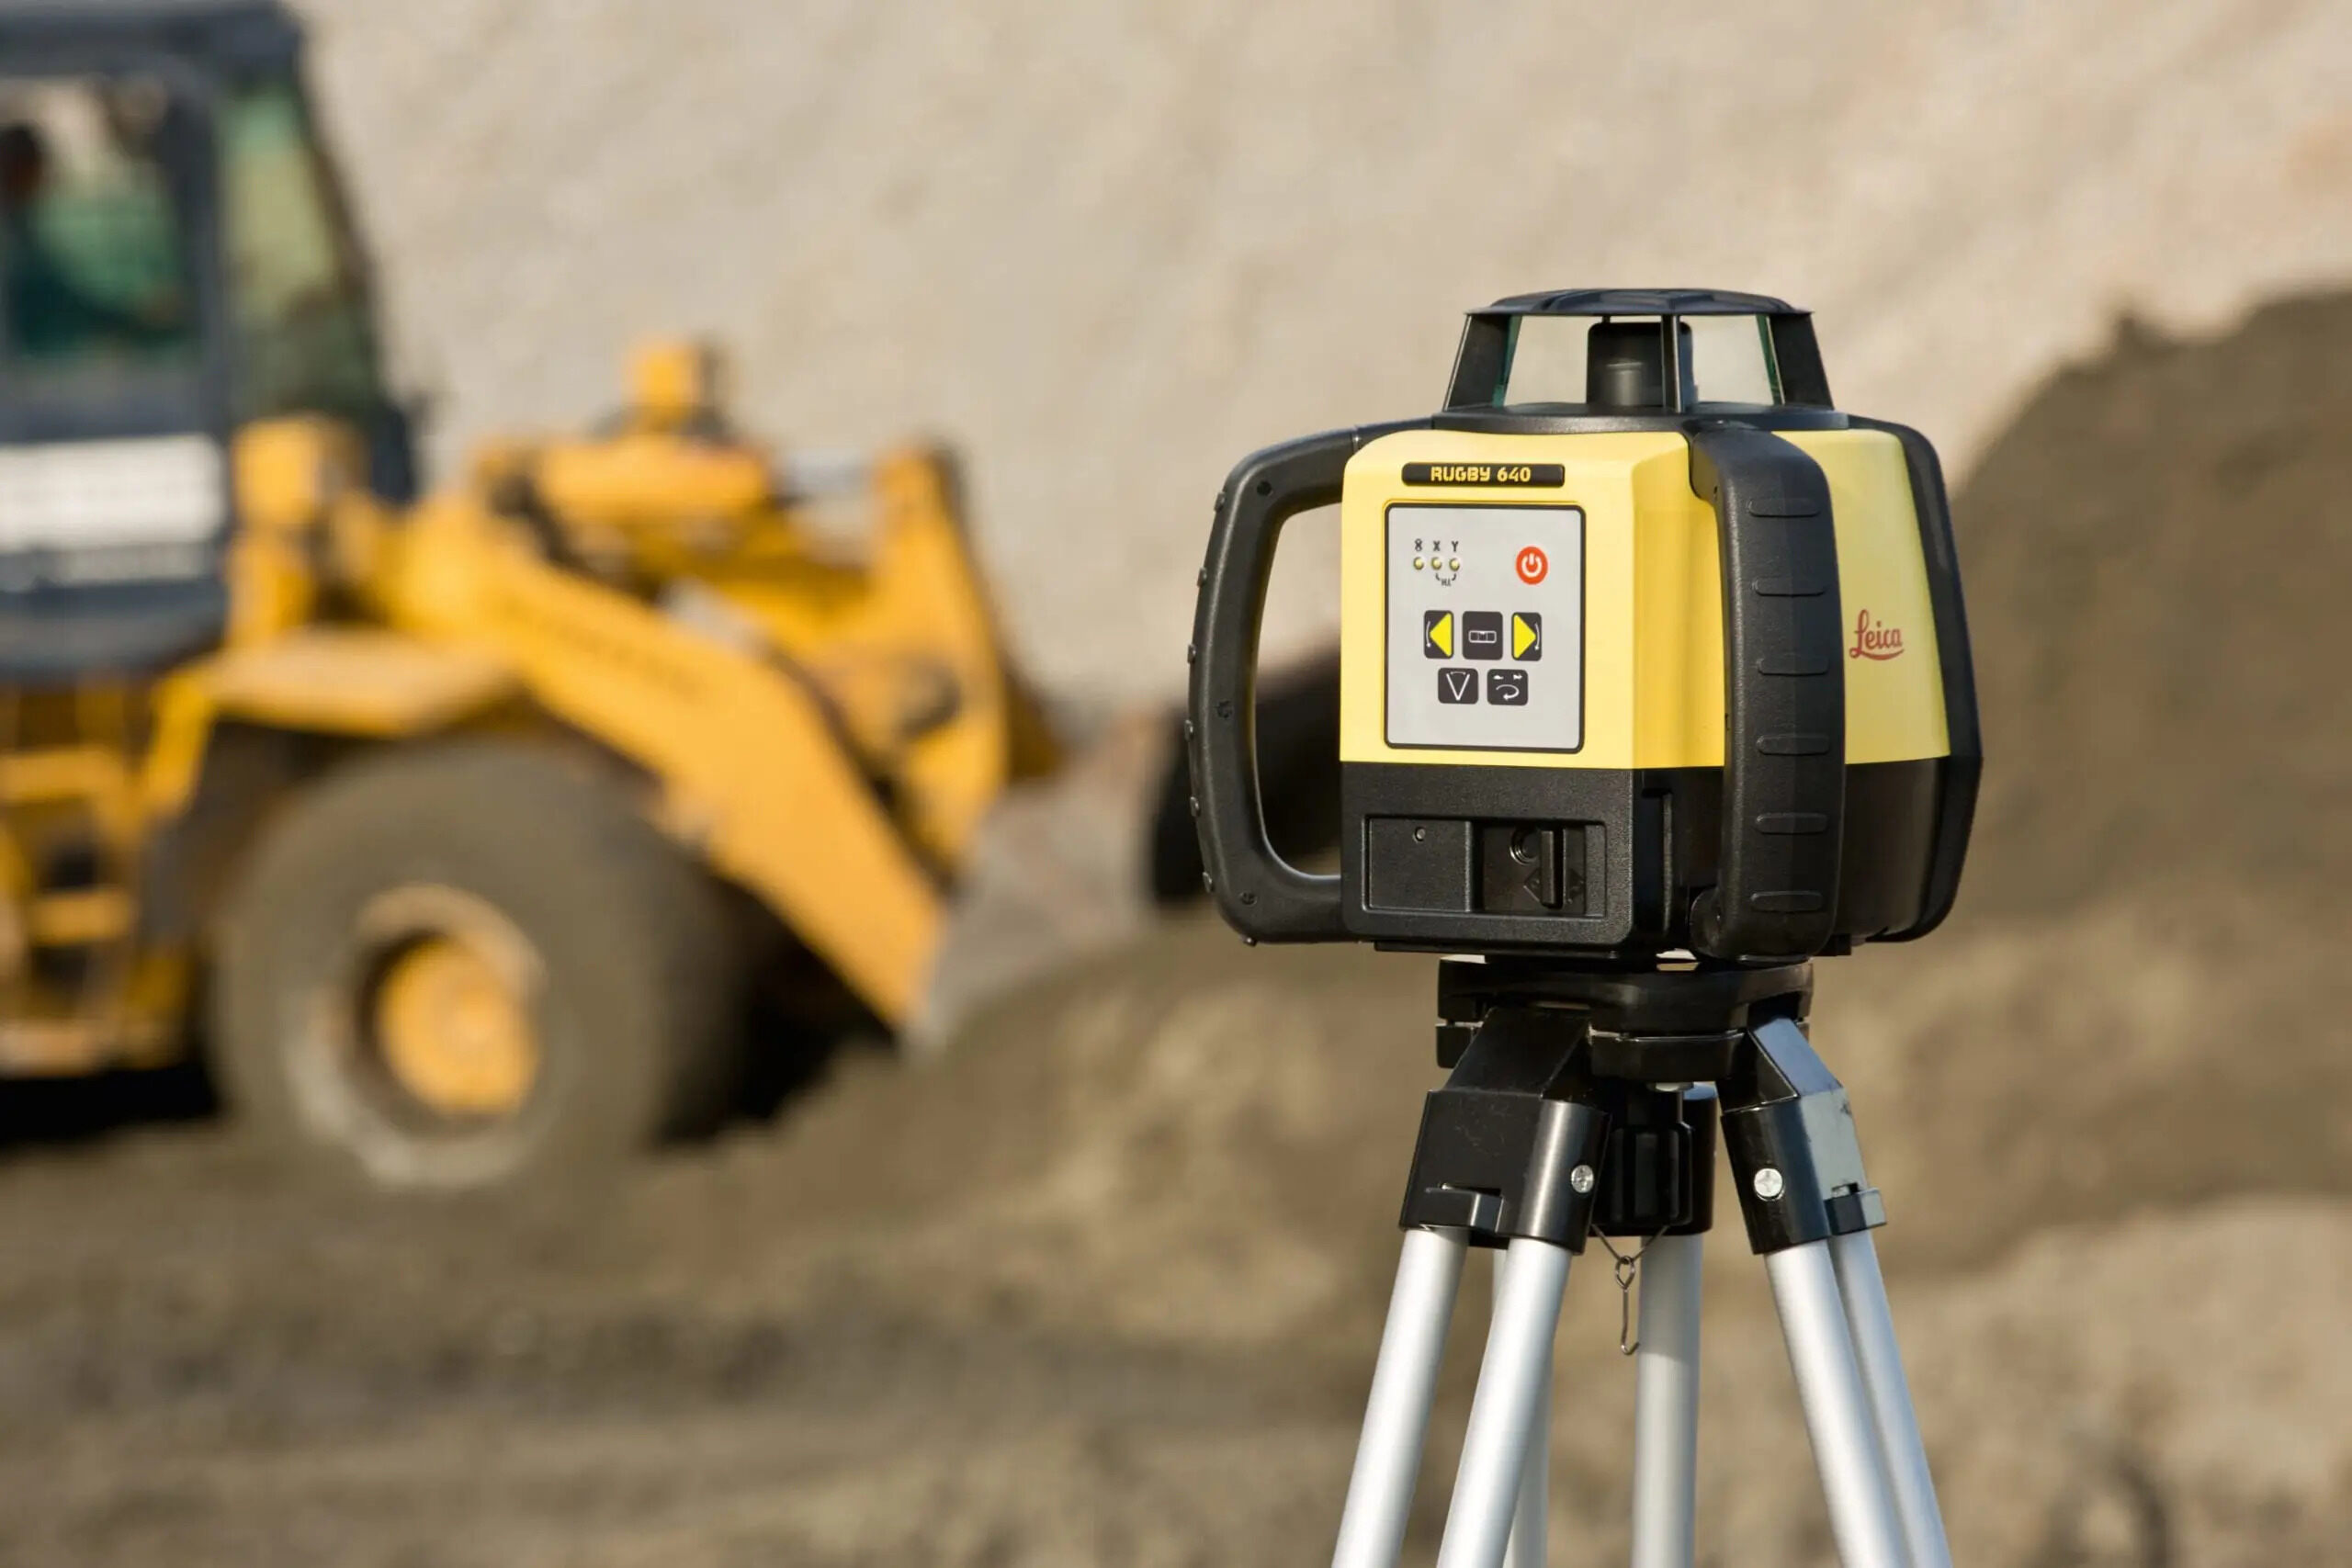
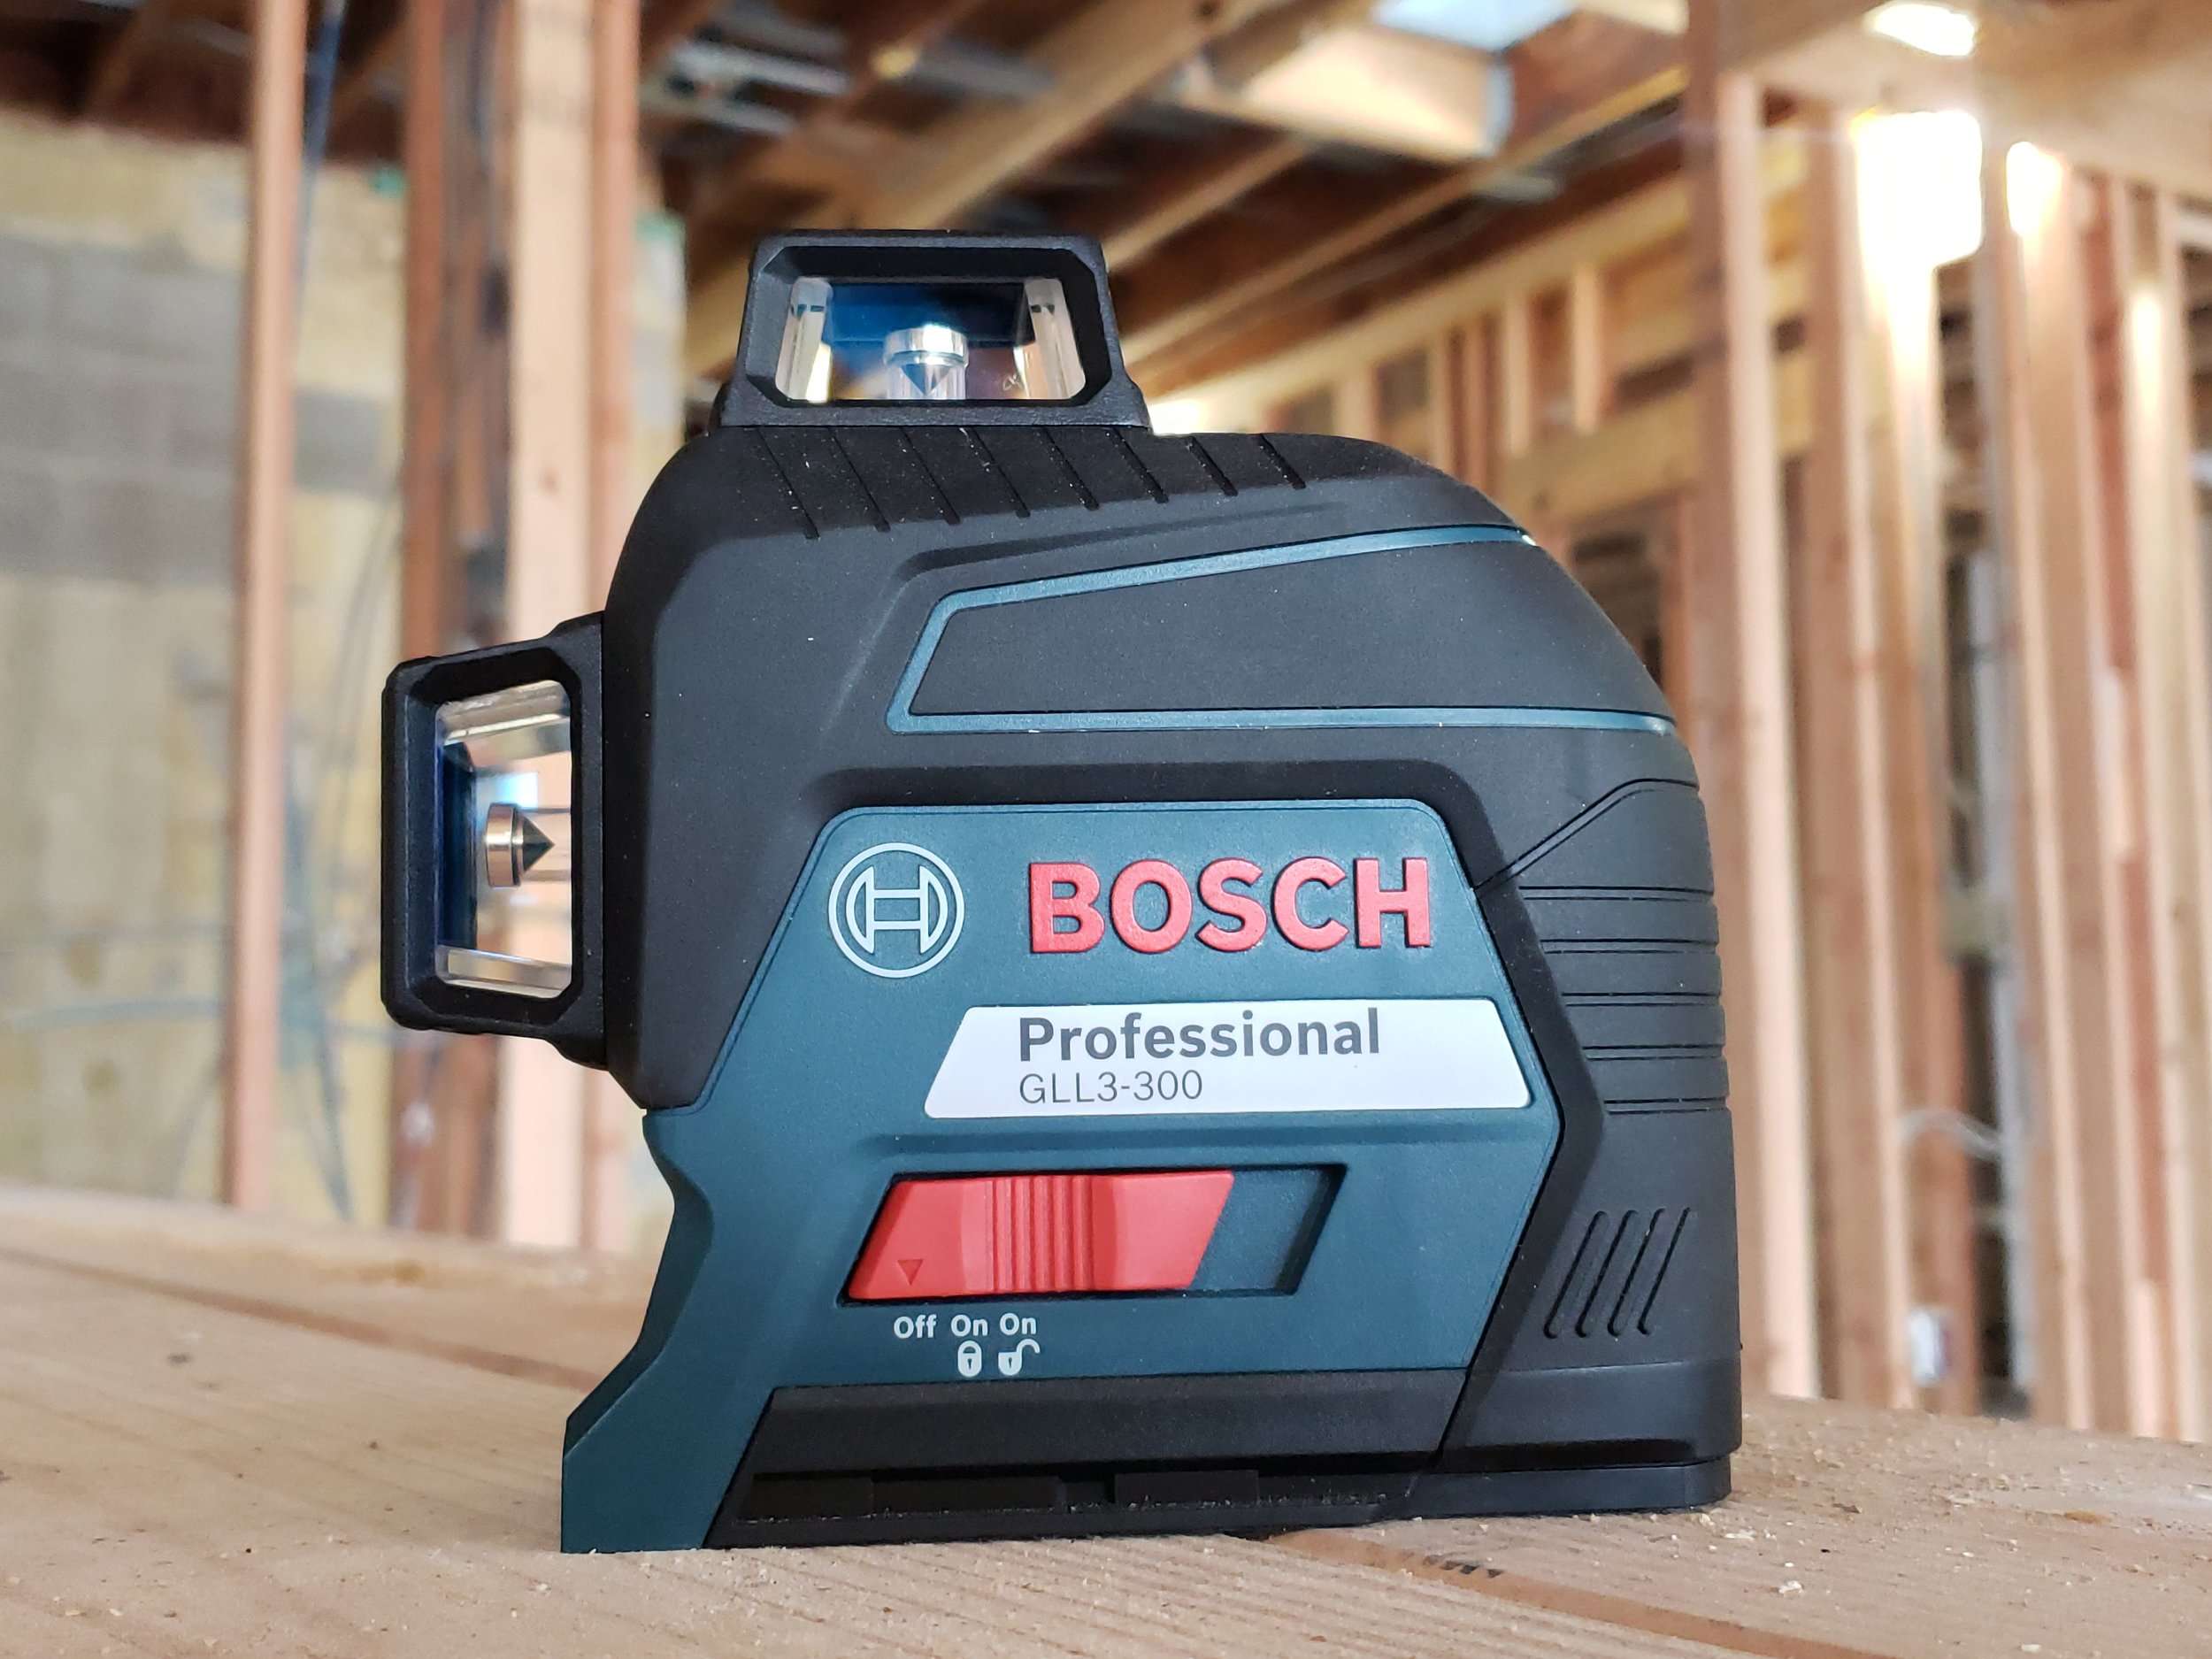
Before we dive into the practical aspects, let’s briefly discuss what a transit laser level is and how it works. A transit laser level is a specialized tool that emits a laser beam to create a reference line or plane. It is designed to transmit a highly visible laser beam that can be projected horizontally, vertically, or at an inclined angle. This laser beam serves as a guide for leveling or aligning objects, such as walls, floors, ceilings, and even plumbing or electrical fixtures.
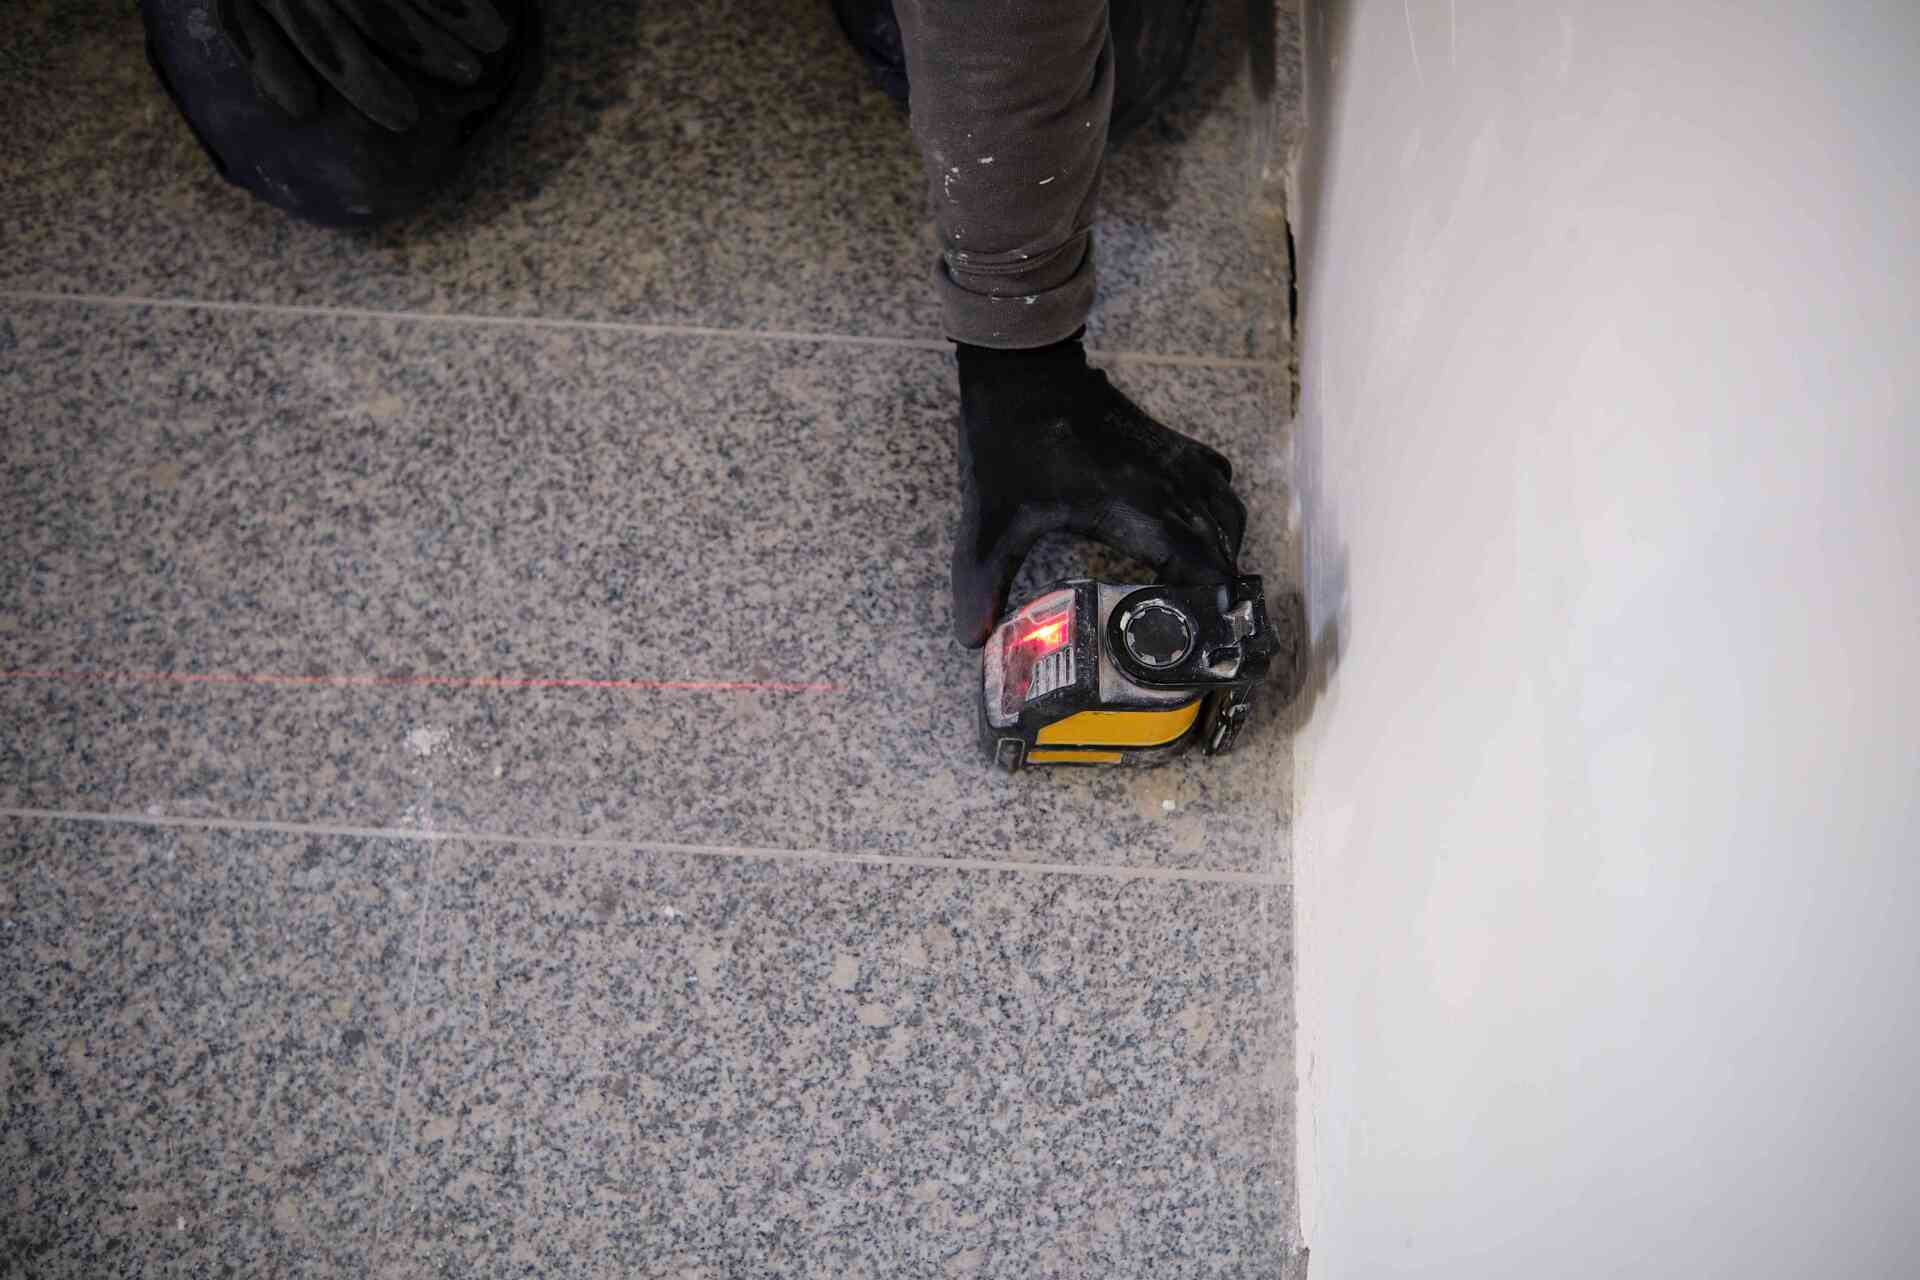
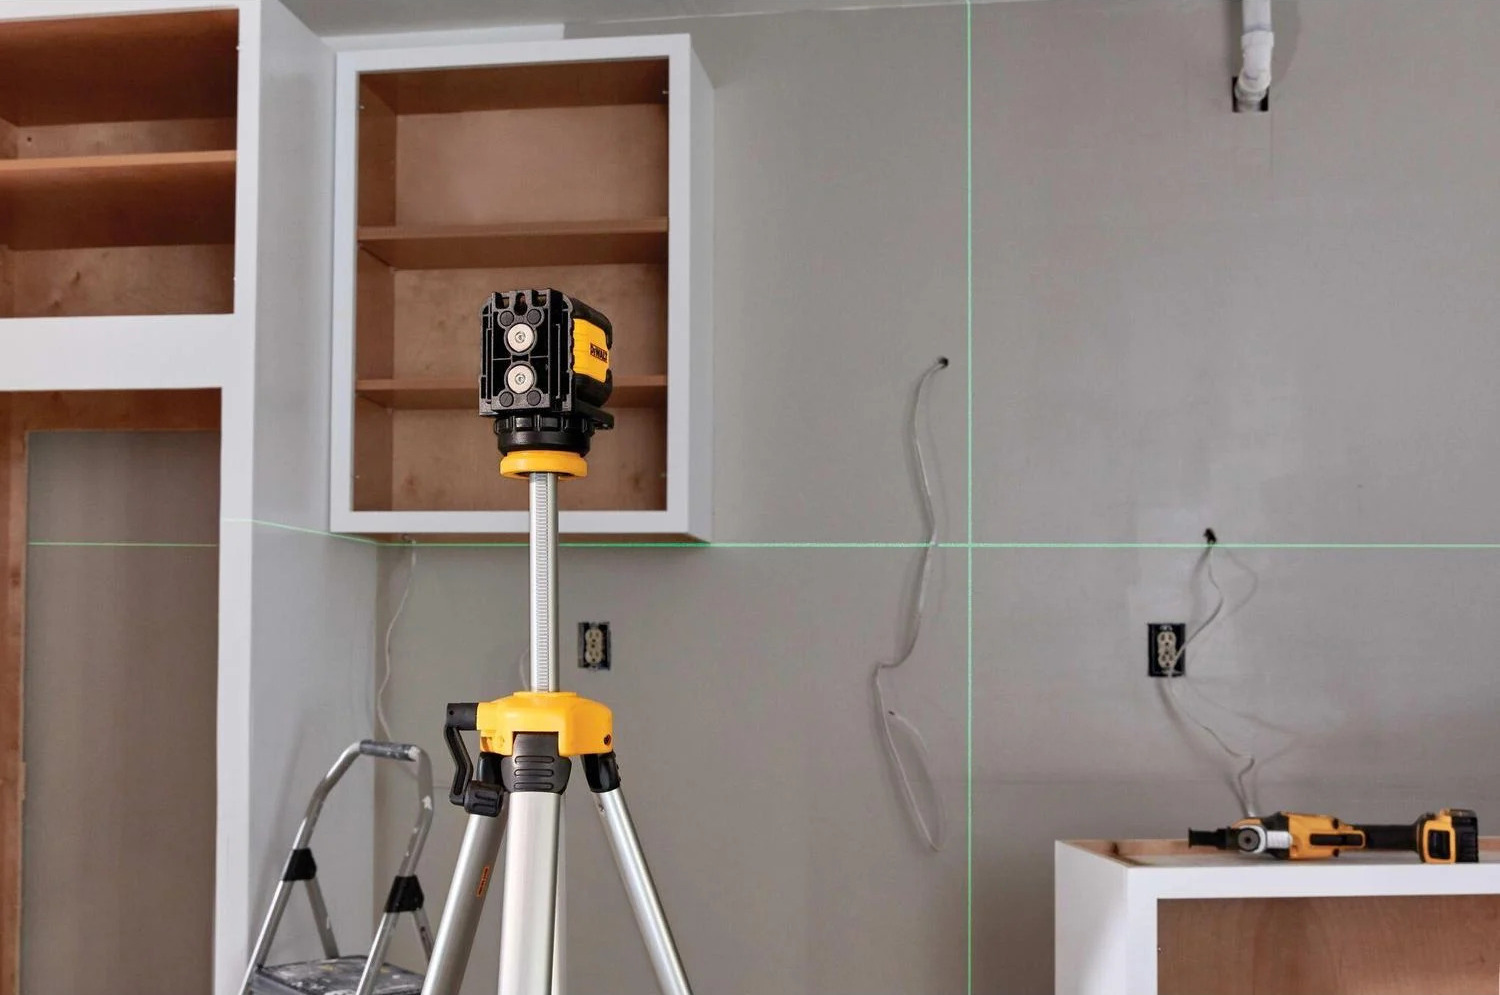
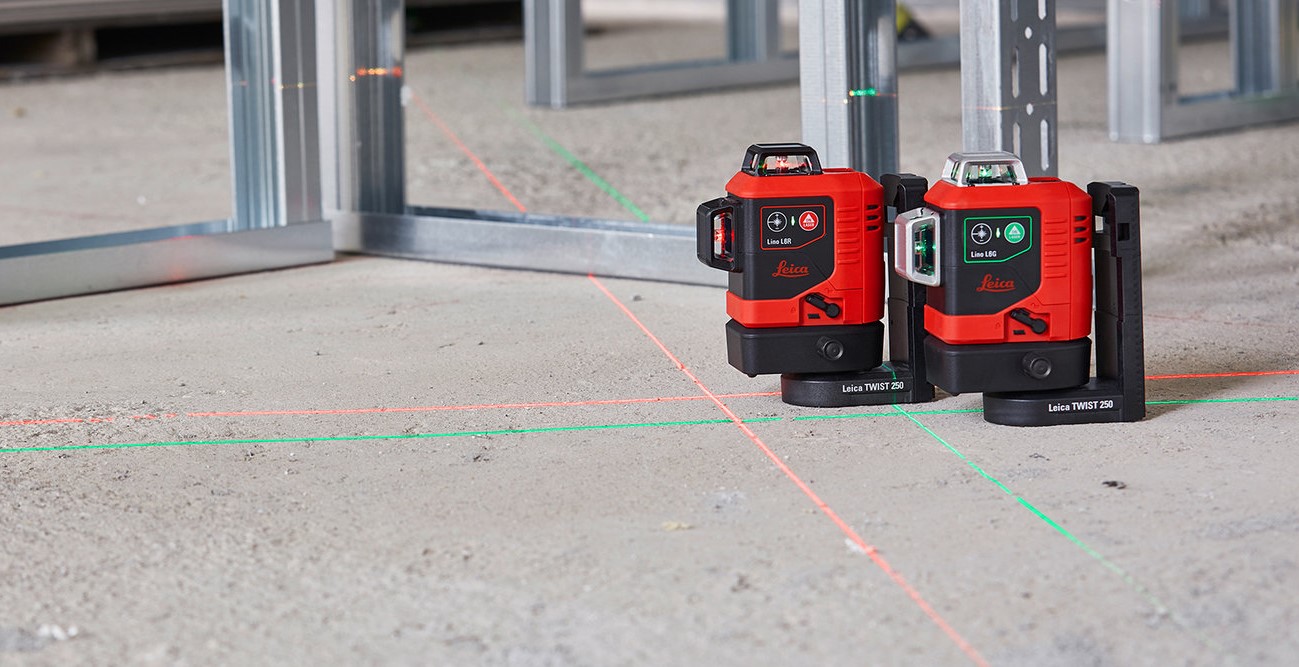
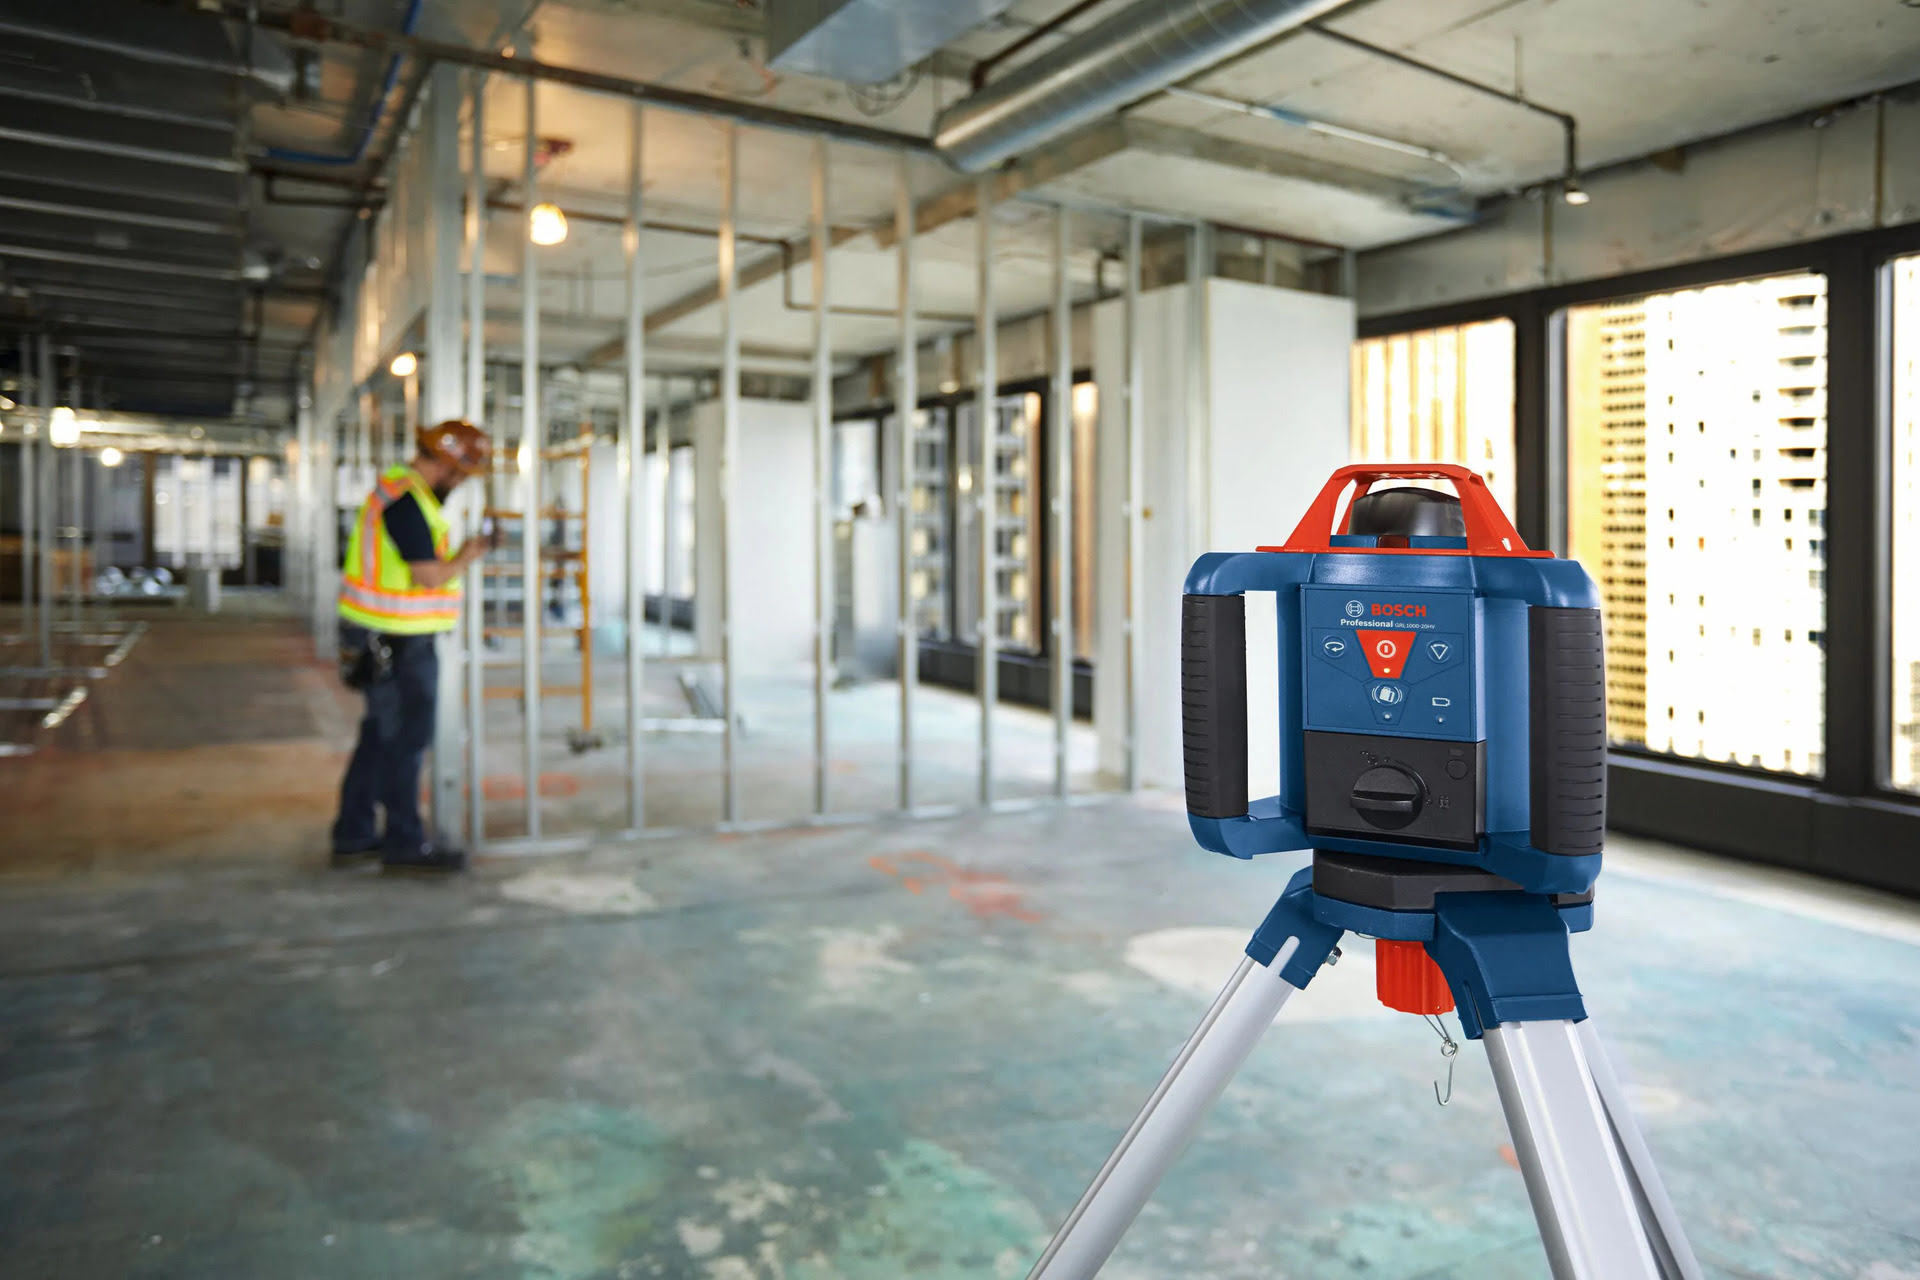
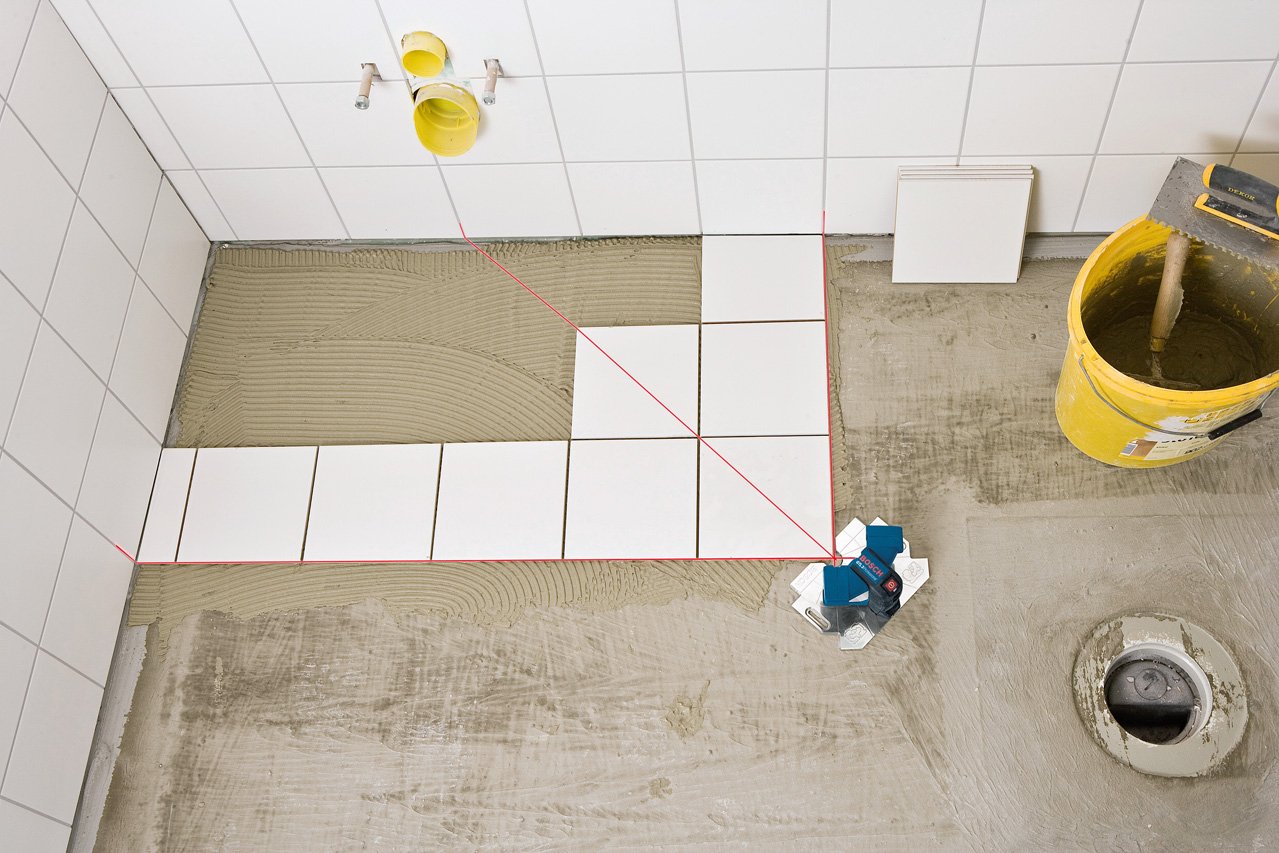
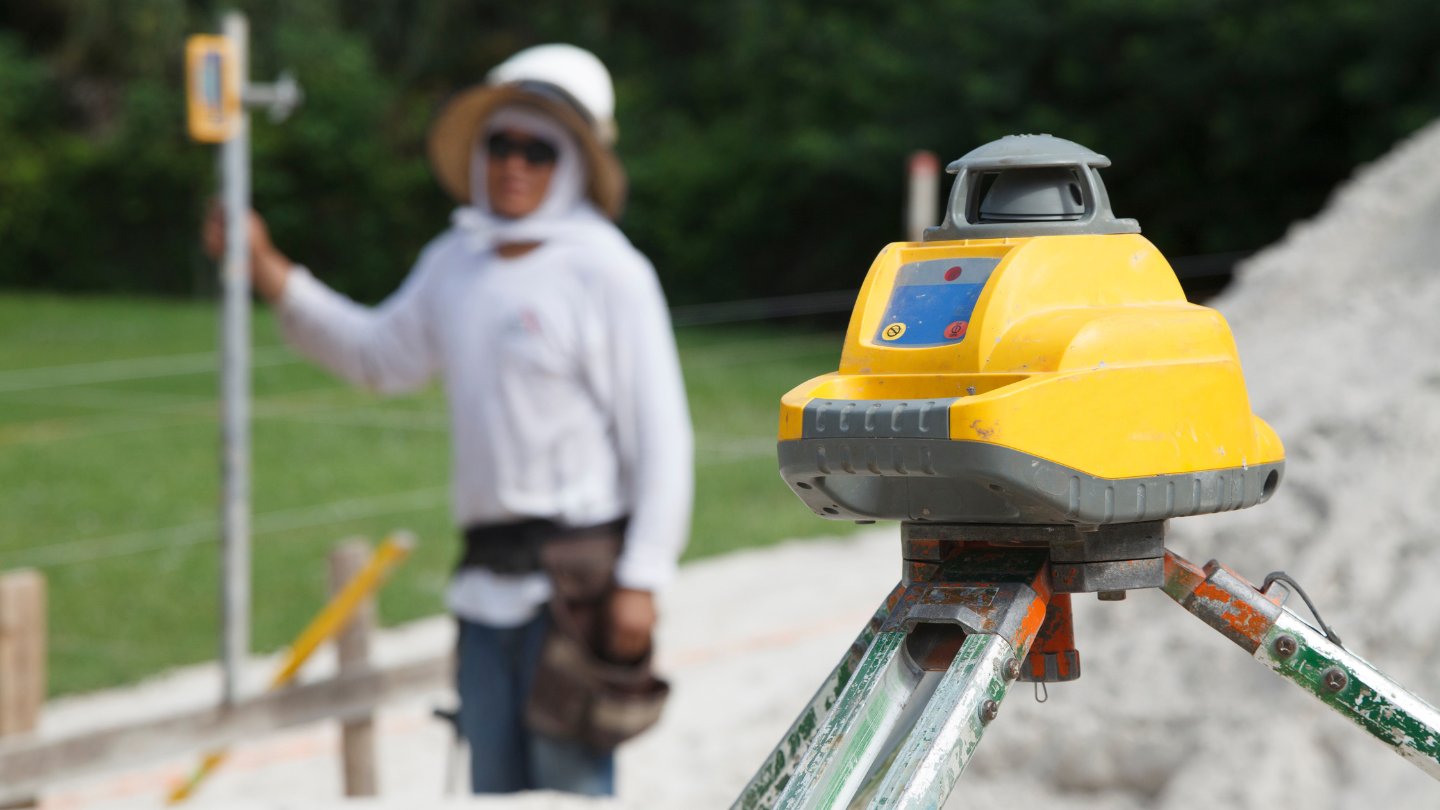
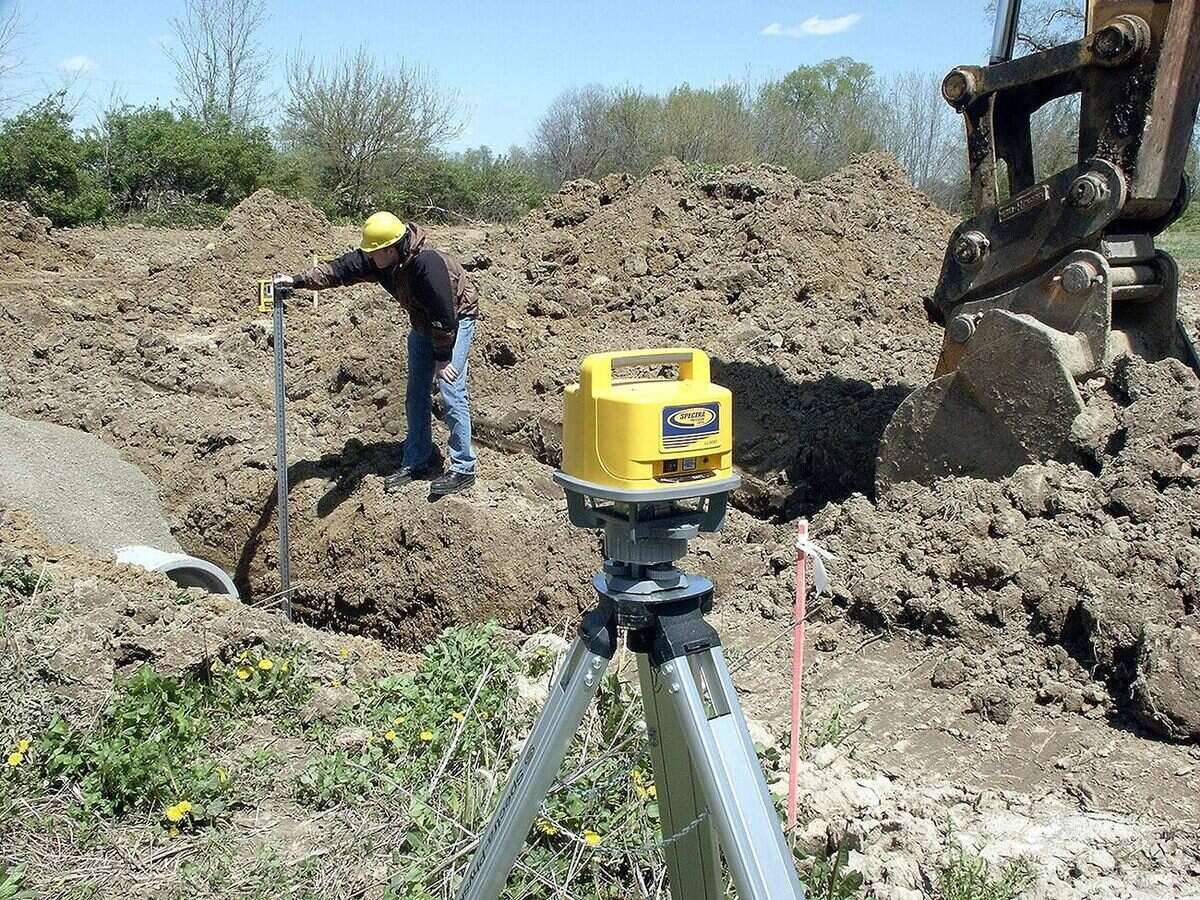
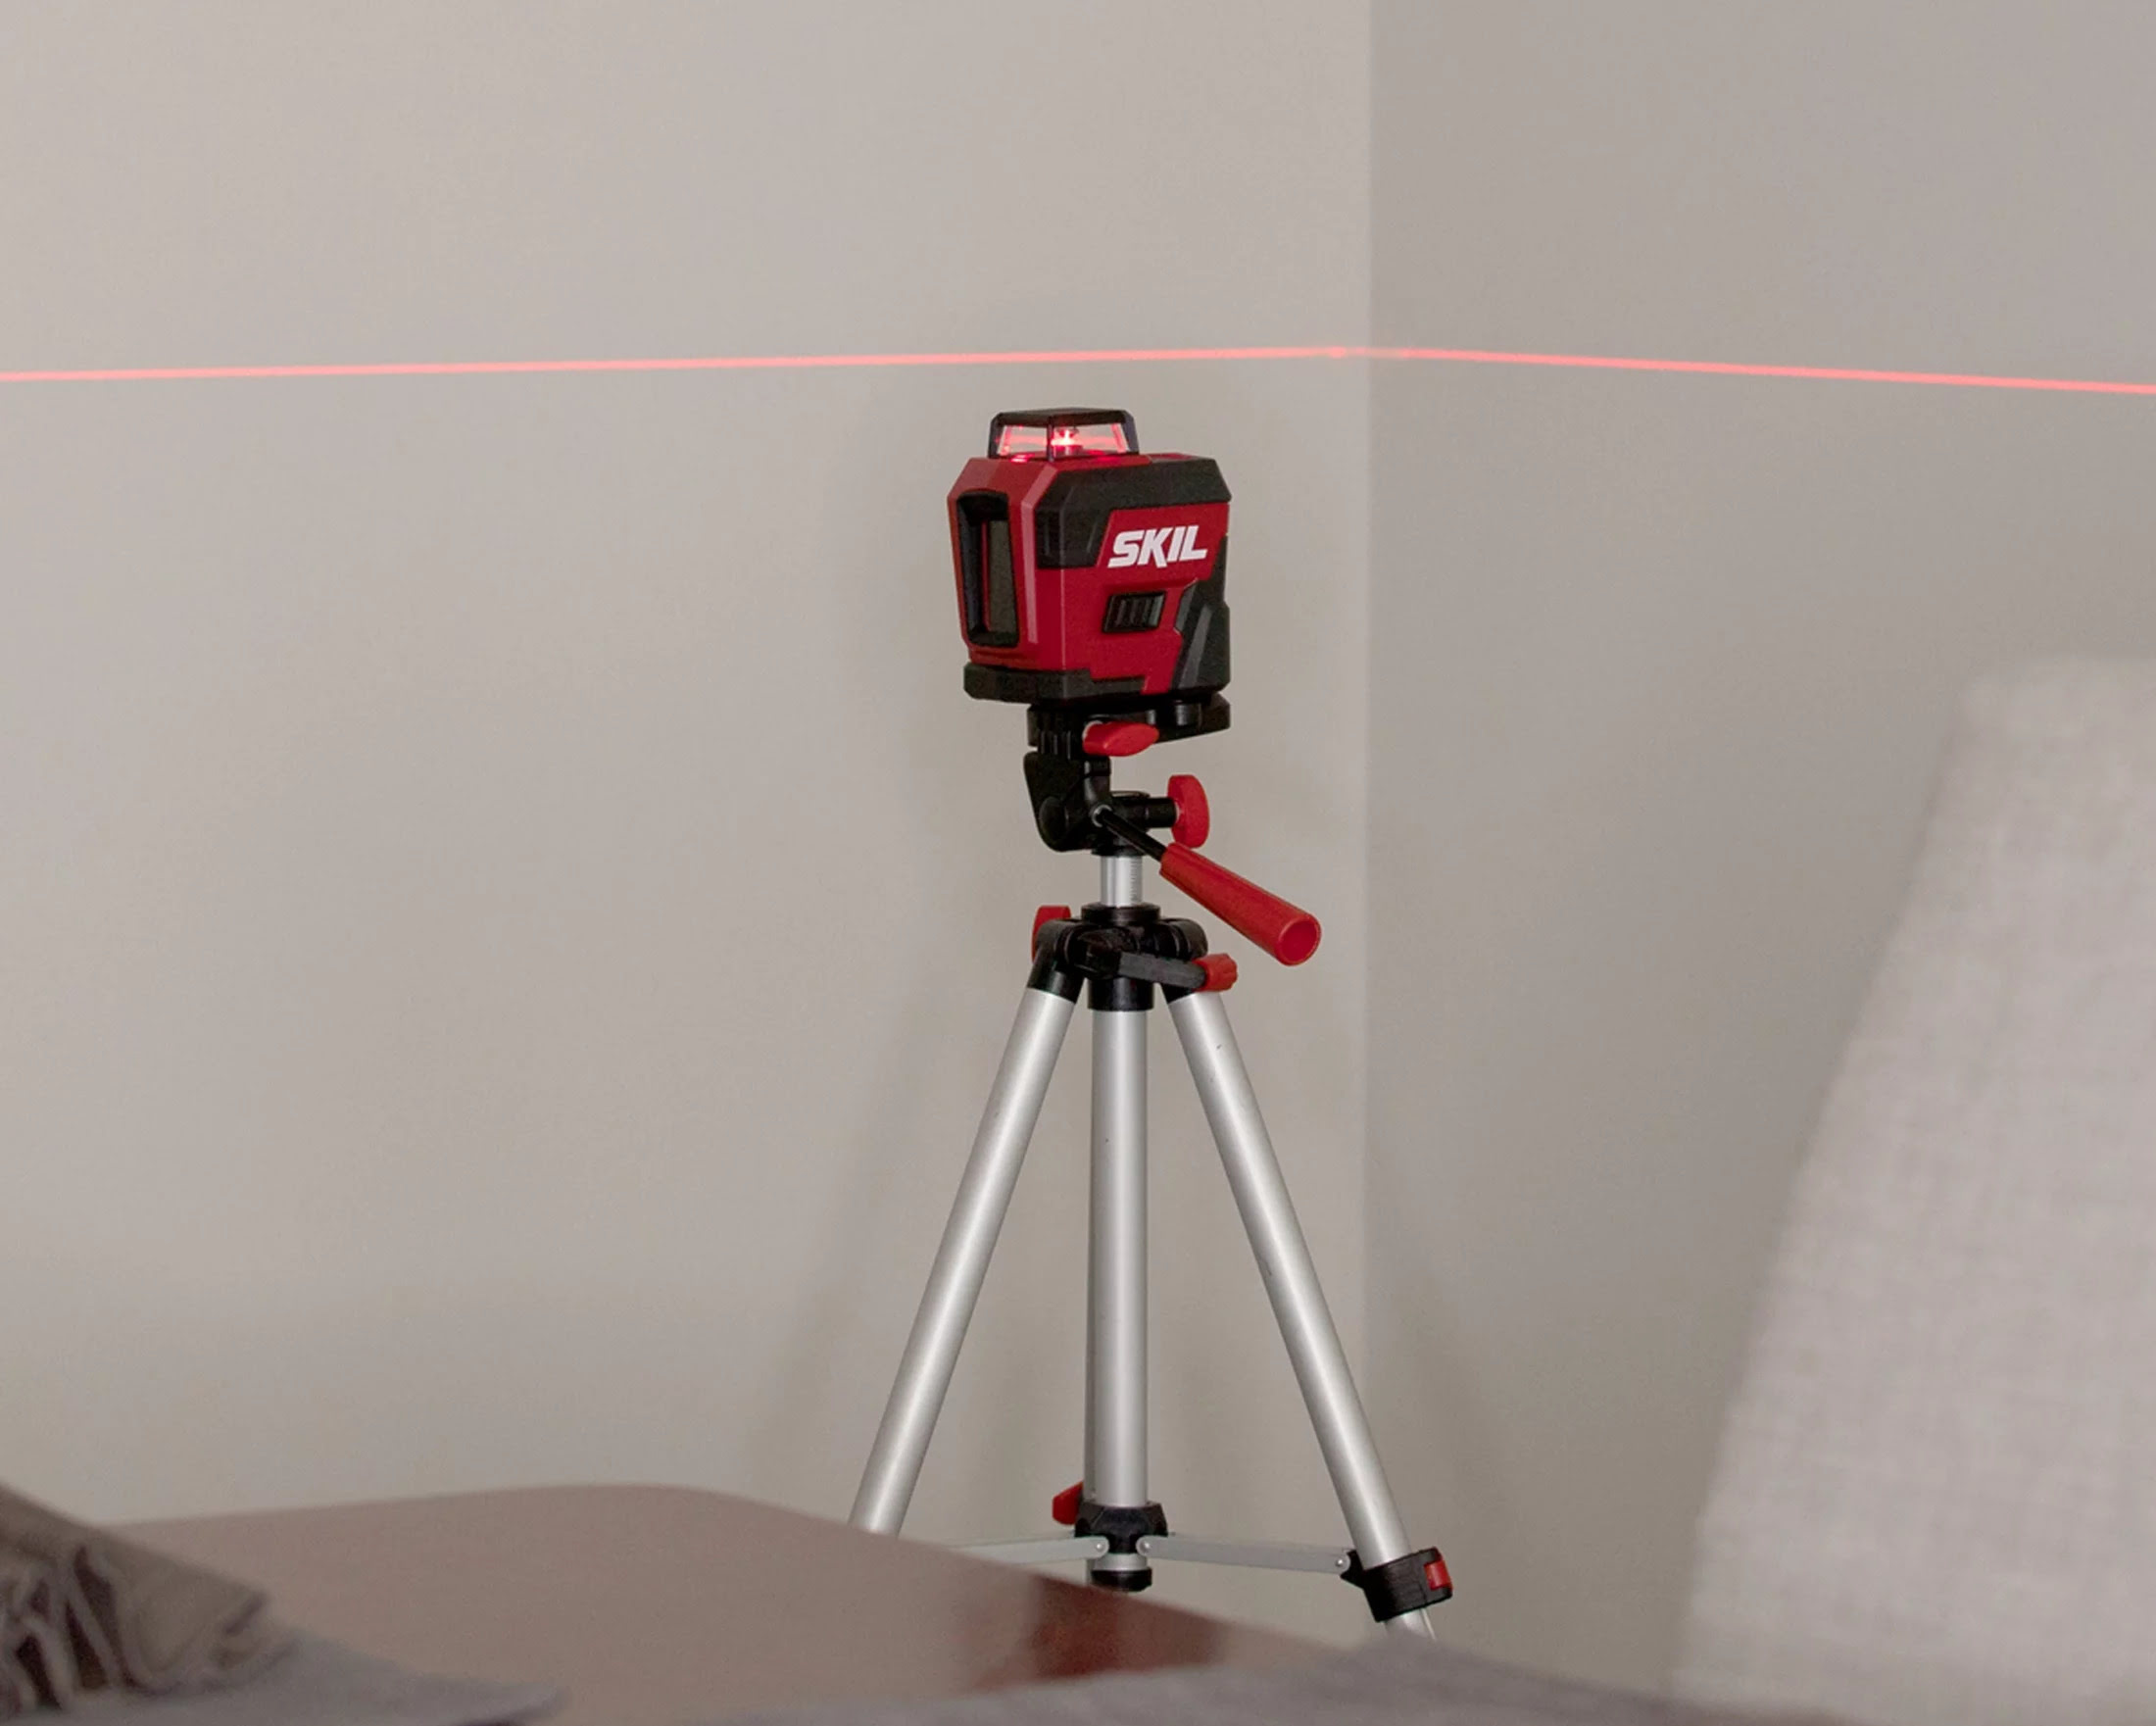
Transit laser levels come in various types, including rotary, line, and dot lasers. Each type has its own specific applications and features. Rotary lasers emit a rotating beam, making them ideal for large outdoor projects or when a 360-degree reference is needed. Line lasers project a straight horizontal or vertical line, which is useful for indoor work such as installing cabinets or tiles. Dot lasers emit multiple laser dots at different angles, enabling precise point-to-point measurements.
Now that we have a basic understanding of transit laser levels, let’s proceed to the practical steps of using this valuable tool. In the following sections, we will provide detailed instructions on setting up, calibrating, mounting, adjusting, and using a transit laser level effectively.
Key Takeaways:
- Proper setup, calibration, and adjustment of a transit laser level are crucial for achieving accurate measurements and reliable alignment in construction and surveying projects. Safety precautions and troubleshooting tips are essential for smooth operation.
- Utilizing a transit laser level for leveling and alignment tasks involves identifying reference points, observing the laser beam projection, and making necessary adjustments. Regular calibration, exploring advanced features, and seeking industry insights further enhance proficiency.
Read also: 13 Best Transit Laser Level for 2024
Overview of Transit Laser Levels
Before learning how to use a transit laser level, it’s important to have a clear understanding of its key components and features. This overview will help you familiarize yourself with the device and its capabilities.
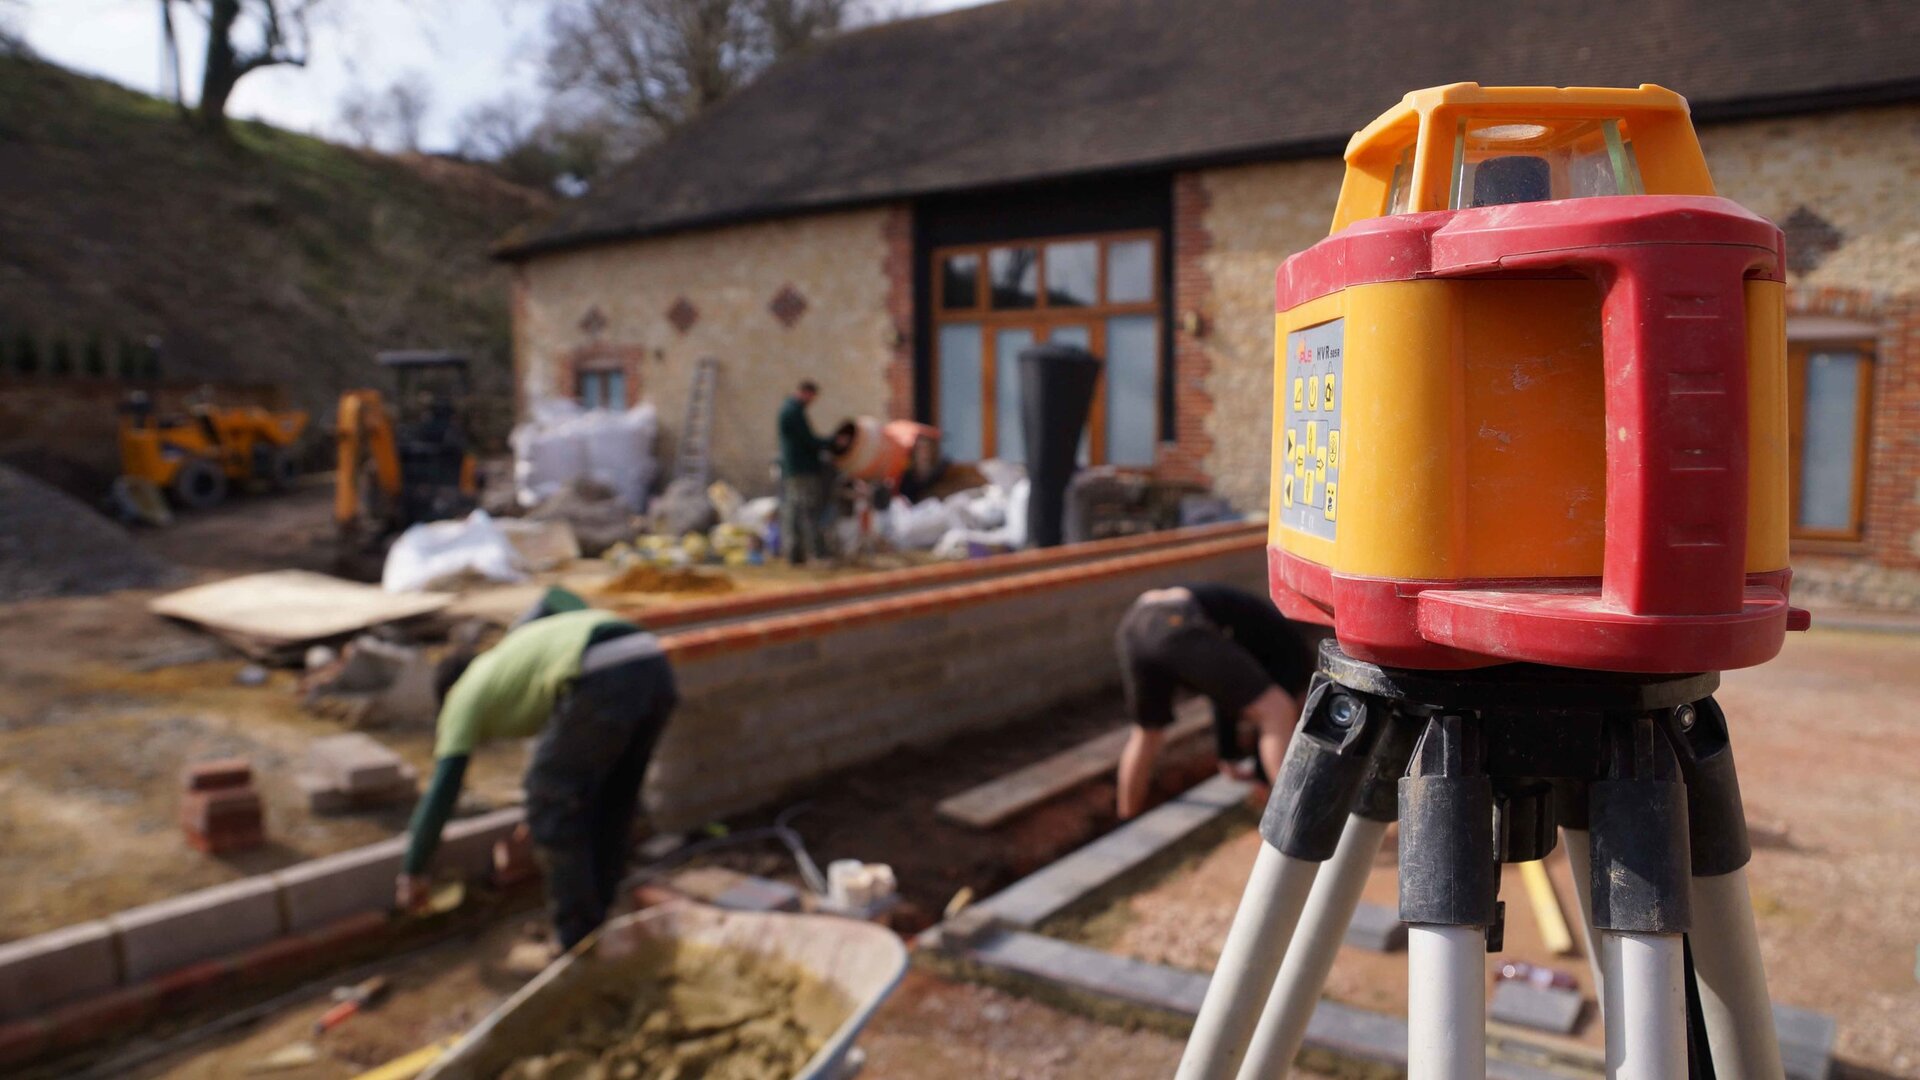
Transit laser levels consist of several essential components, including the laser emitting unit, a leveling base or tripod, and a control panel. The laser emitting unit is the core component that generates and projects the laser beam. It is usually mounted on the leveling base or a tripod for stability and precise positioning.
The control panel is equipped with buttons, switches, and a display screen. It allows you to control and adjust various settings of the transit laser level, such as the rotation speed (for rotary lasers), the beam type (horizontal, vertical, or inclined), and the laser brightness. Some more advanced models also offer additional functions like remote control, automatic leveling, and laser plumb features.
Transit laser levels are typically powered by rechargeable batteries. They can also be operated using AC power when available, thanks to an included power adapter. It is crucial to ensure that the batteries are fully charged before using the transit laser level to avoid interruptions during your work.
One of the key features of transit laser levels is their self-leveling capability. This means that the device automatically adjusts itself to maintain a level or plumb reference, even if the base or tripod is not perfectly leveled. The self-leveling feature greatly improves the accuracy and ease of use, eliminating the need for manual adjustments and ensuring precise measurements.
The laser beam emitted by a transit laser level is highly visible, even in bright or outdoor conditions. This ensures that you can easily see and align the beam with your desired reference points. However, it’s worth noting that the visibility range may vary depending on the model and environmental factors such as dust, fog, or direct sunlight.
Lastly, transit laser levels often come with additional accessories, such as laser detectors or receivers, target plates, and carrying cases. Laser detectors are especially useful when working in areas with low visibility or over long distances. They help you locate and align the laser beam accurately by providing audio or visual signals when the laser beam is detected.
Now that we have covered the basic components and features of a transit laser level, let’s move on to understanding the safety precautions you should keep in mind when using this powerful tool.
Safety Precautions
When working with a transit laser level, it is important to prioritize safety to prevent accidents and ensure the well-being of yourself and others around you. Here are some essential safety precautions to keep in mind:
- Read the user manual: Before using a transit laser level, thoroughly read and understand the user manual provided by the manufacturer. Familiarize yourself with the device’s features, limitations, and safety instructions.
- Wear Personal Protective Equipment (PPE): Always wear appropriate PPE, such as safety goggles to protect your eyes from the laser beam. Additionally, consider wearing ear protection in case the transit laser level produces loud noise during operation.
- Avoid direct eye exposure to the laser beam: The laser beam emitted by transit laser levels can cause damage to the eyes. Never look directly into the laser beam or point it towards anyone’s eyes, even if it appears harmless.
- Ensure a stable and secure setup: Properly set up the transit laser level on a stable and level base or tripod. Ensure that it is securely mounted to prevent accidental tipping or falling during use.
- Be aware of trip hazards: Keep the work area clear of any tripping hazards, such as cables, tools, or debris. This will prevent accidents and ensure safe movement around the transit laser level.
- Avoid using in hazardous environments: Do not use a transit laser level in environments with flammable or explosive materials. Additionally, avoid using it in adverse weather conditions such as heavy rain or strong winds, as it may affect the accuracy and safety of the device.
- Store and transport properly: When not in use, store the transit laser level in a secure and dry location to protect it from damage or theft. When transporting the device, use a sturdy carrying case or bag to prevent any accidental impacts or jostling.
- Follow manufacturer’s guidelines: Adhere to the specific instructions and guidelines provided by the manufacturer for the safe operation and maintenance of the transit laser level. These guidelines may include recommended usage durations, cleaning procedures, and more.
- Keep out of reach of children: Ensure that children are kept away from the transit laser level. Store it in a location where it is inaccessible to children to prevent accidents or misuse.
By following these safety precautions, you can minimize the risk of accidents and ensure a safe working environment when using a transit laser level. Now, let’s move on to the practical steps of using a transit laser level, starting with how to set it up.
Step 1: Set Up the Transit Laser Level
The first step in using a transit laser level is setting it up properly. Follow these instructions to ensure a stable and accurate setup:
- Select a suitable location: Choose a flat and stable surface for setting up the transit laser level. If working outdoors, consider clearing away any debris or uneven ground that may affect the stability of the device.
- Attach the leveling base or tripod: If your transit laser level comes with a leveling base or tripod, securely attach it to the device. Make sure the base or tripod is in good condition and stable enough to support the weight of the transit laser level.
- Extend the tripod legs: If using a tripod, extend the legs to the desired height. Ensure all the legs are fully extended and locked in place to prevent any accidental collapsing.
- Level the base or tripod: Use a spirit level or built-in leveling mechanism (if available) to ensure the base or tripod is level. Adjust the leg lengths or leveling screws until the device is perfectly level. This step is crucial for accurate measurements and alignment.
- Secure the transit laser level: Place the transit laser level onto the leveling base or attach it securely to the tripod head. Ensure it is tightly fastened to prevent any movement or wobbling during use.
- Power on the transit laser level: If the transit laser level has a power switch, turn it on. Some models may have an automatic power-on feature when they are placed on a leveled surface. Wait for the device to complete its self-leveling process before proceeding.
- Check the laser beam: Carefully observe the laser beam projection to ensure it is clearly visible and aligned with the desired reference points. If needed, adjust the position or angle of the transit laser level to achieve the desired projection.
Once you have successfully set up the transit laser level, you are ready to calibrate it for optimal performance. In the next step, we will guide you through the calibration process.
Step 2: Calibrate the Transit Laser Level
Calibrating the transit laser level is essential to ensure accurate measurements and reliable alignment. Follow these steps to calibrate your transit laser level:
- Refer to the user manual: Before calibrating the transit laser level, consult the user manual for specific instructions provided by the manufacturer. Different models may have varying calibration procedures.
- Choose a calibration spot: Identify a stable reference point or surface where you can calibrate the transit laser level. This can be a wall, a floor, or any other fixed object with a known level or plumb position.
- Position the transit laser level: Place the transit laser level at a suitable distance from the calibration spot. Ensure that the laser beam can reach the spot and align with it.
- Activate the calibration mode: Some transit laser levels have a specialized calibration mode that you need to activate. Follow the instructions in the user manual to enter the calibration mode.
- Adjust the laser beam: Use the calibration controls provided by the transit laser level to adjust the position of the laser beam until it aligns precisely with the calibration spot. This step may involve rotating the device or making slight adjustments to the beam direction or angle.
- Verify the calibration: Once you are satisfied with the alignment, check if the laser beam matches the reference point or surface accurately. Use a measuring tape or a level tool to confirm the accuracy of the transit laser level.
- Repeat if necessary: If the calibration is not accurate, repeat the process until the laser beam aligns correctly with the calibration spot.
By calibrating your transit laser level properly, you will achieve precise measurements and reliable alignment throughout your construction or surveying project. Once the transit laser level is calibrated, you can proceed to mount it in the desired location for your specific task.
In the next step, we will explore how to mount the transit laser level securely and adjust it for optimal performance.
Read also: 8 Amazing Laser Level Transit for 2024
Step 3: Mount the Transit Laser Level
Mounting the transit laser level correctly is crucial for stability and accurate measurement. Follow these steps to securely mount the transit laser level:
- Select the mounting location: Identify the area where you want to mount the transit laser level. Consider the specific requirements of your project and ensure the location provides a clear line of sight for the laser beam.
- Prepare the mounting surface: Ensure that the mounting surface is clean, dry, and free from any obstructions. Remove any debris or obstacles that may interfere with the positioning of the transit laser level.
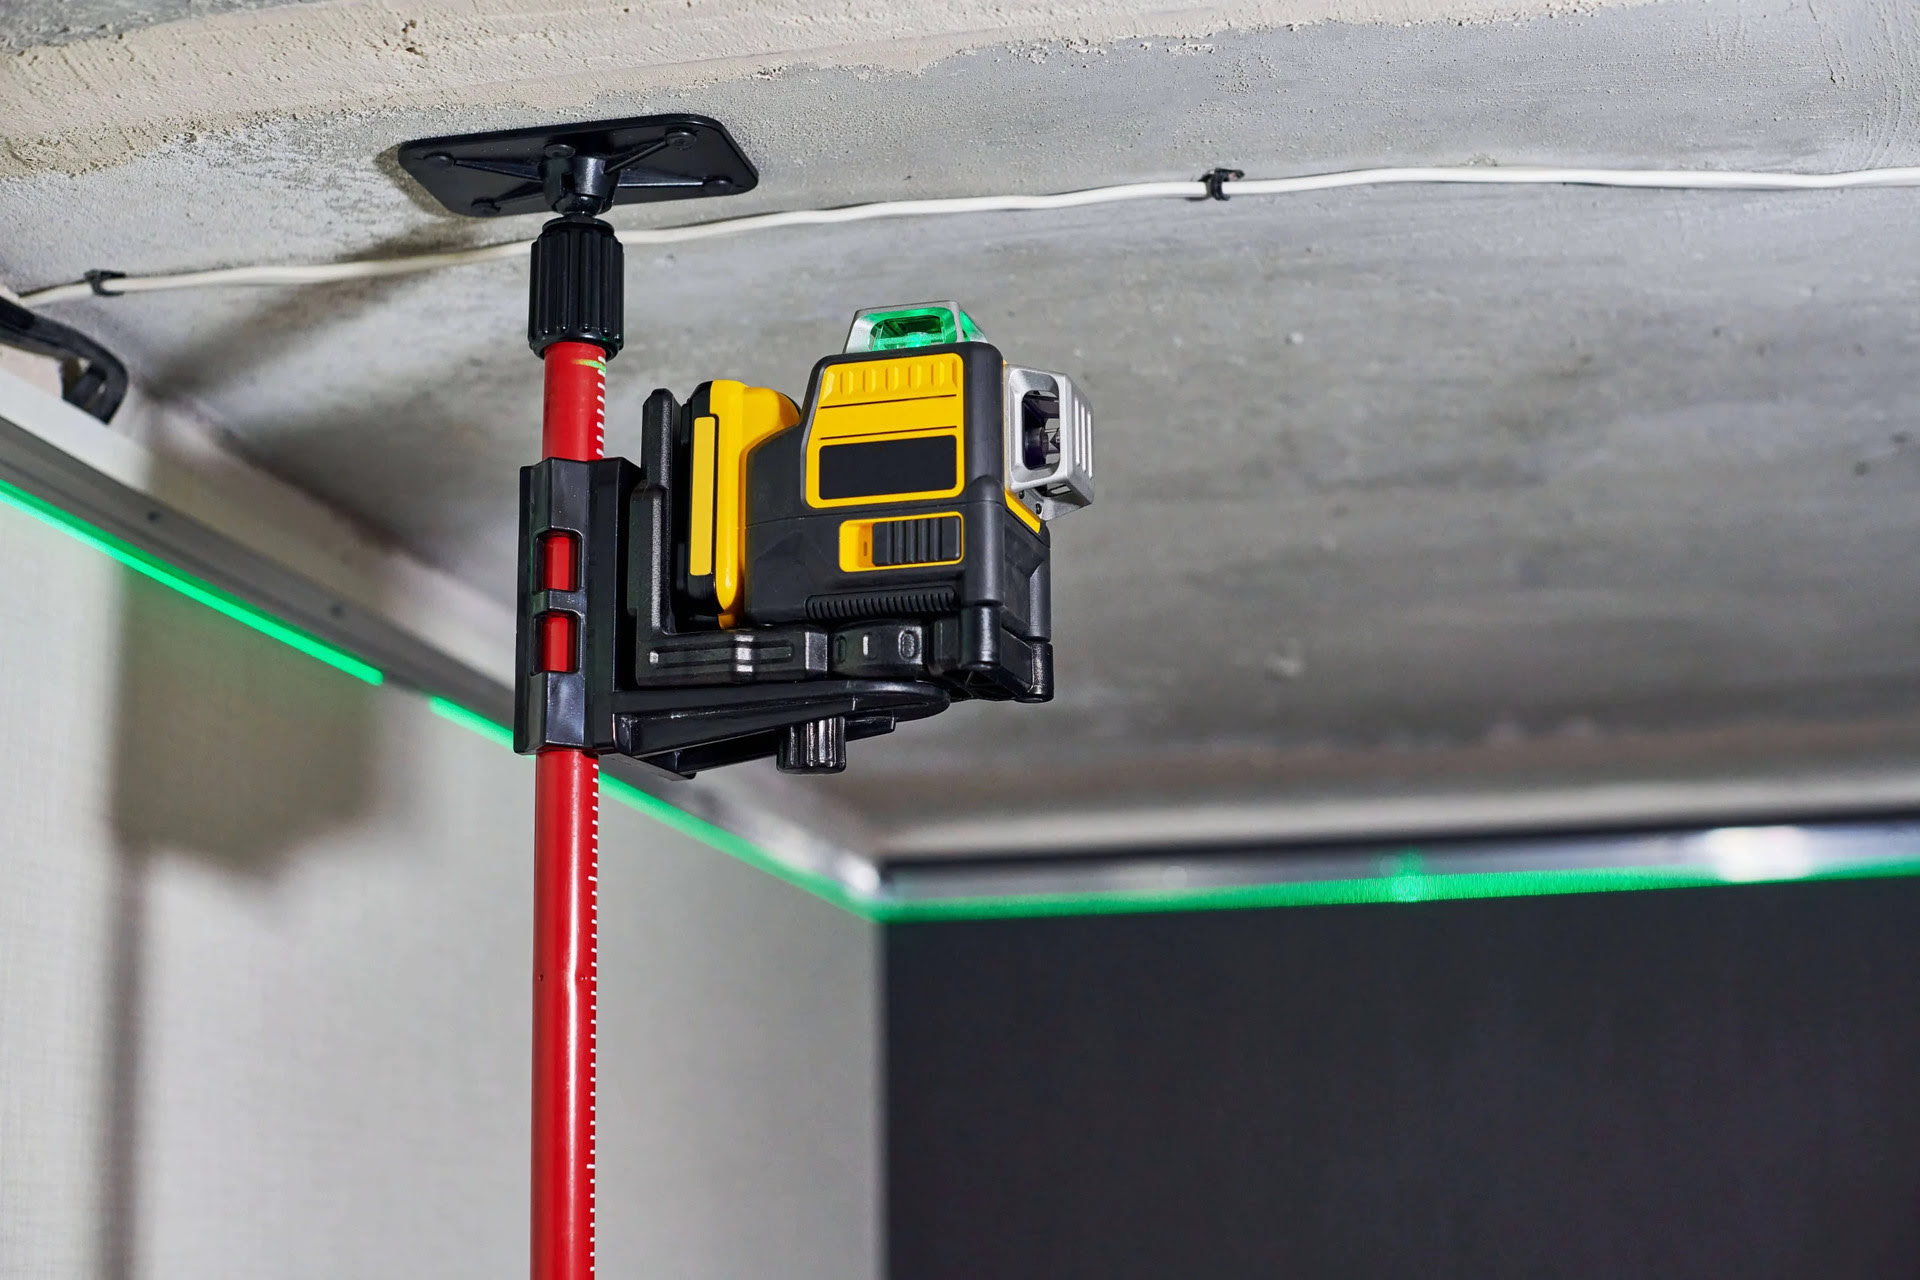
- Install a mounting bracket or clamp: Depending on the specific model and requirements of your transit laser level, you may need to install a mounting bracket or clamp. Follow the manufacturer’s instructions to securely attach the bracket or clamp to the mounting surface.
- Attach the transit laser level: Carefully place the transit laser level onto the mounting bracket or clamp. Ensure that it is securely fastened and properly aligned with the desired reference points or surfaces.
- Tighten the mounting screws or knobs: Use the appropriate screws or knobs provided with the mounting bracket or clamp to firmly tighten the transit laser level in place. Make sure it is stable and unable to move or shift during operation.
- Check the alignment: Confirm that the laser beam aligns accurately with the desired reference points. Use a leveling tool or measuring instruments to ensure that the transit laser level is positioned correctly.
It’s essential to ensure that the transit laser level is securely mounted and positioned at the correct height and angle for the specific task at hand. This will help you achieve precise measurements and reliable alignment throughout your project.
In the next step, we will guide you through adjusting the transit laser level to suit your leveling or alignment needs.
When using a transit laser level, always ensure that the device is set up on a stable and level surface to ensure accurate measurements and alignments.
Step 4: Adjust the Transit Laser Level
Adjusting the transit laser level correctly is vital to achieve accurate leveling or alignment. Follow these steps to adjust the transit laser level:
- Refer to the user manual: Consult the user manual provided by the manufacturer for specific instructions on adjusting your transit laser level. Different models may have different adjustment mechanisms.
- Understand the adjustment controls: Familiarize yourself with the adjustment controls available on your transit laser level. These may include knobs, buttons, or switches for controlling the rotation speed, beam direction, or angle.
- Select the appropriate adjustment: Determine the type of adjustment you need to make based on your project requirements. This could be adjusting the rotation speed for rotary lasers, changing the beam type for line lasers, or modifying the angle for inclined measurements.
- Make the necessary adjustments: Use the adjustment controls to modify the settings accordingly. Follow the manufacturer’s instructions to ensure proper adjustment and alignment of the transit laser level.
- Verify the accuracy: Check the laser beam alignment with reference points or surfaces. Use a leveling tool or measuring instruments to confirm that the transit laser level is providing accurate leveling or alignment.
- Make fine-tuning adjustments: If needed, make additional fine-tuning adjustments to achieve the desired precision. This may involve minor rotations, angle changes, or repositioning of the transit laser level.
It’s essential to take your time and ensure that the transit laser level is properly adjusted for the specific task at hand. Accurate adjustment will help you achieve precise and reliable results in your construction or surveying project.
Now that the transit laser level is appropriately adjusted, you can proceed to use it for leveling or alignment purposes.
In the next step, we will guide you through how to use the transit laser level for leveling tasks.
Step 5: Use the Transit Laser Level for Leveling
The transit laser level is a powerful tool for achieving accurate and precise leveling in construction and surveying projects. Follow these steps to use the transit laser level for leveling tasks:
- Determine the leveling area: Identify the area or surface that requires leveling. This could be a floor, a ceiling, or any other flat surface that needs to be brought to a specific level.
- Set up reference points: Establish reference points on the surface where the transit laser level will project the laser beam. These points will serve as guides for leveling.
- Position the transit laser level: Place the transit laser level in a suitable location where it can project the laser beam onto the desired leveling area. Ensure that the laser beam aligns with the established reference points.
- Observe the laser beam: Monitor the laser beam projection to determine the high and low points on the leveling surface. The laser beam will indicate any deviations from the desired level.
- Adjust the leveling area: Based on the laser beam projection, make the necessary adjustments to bring the surface to the desired level. This may involve adding or removing material, adjusting support structures, or altering the surface gradient.
- Verify the leveling: After making adjustments, recheck the laser beam projection to ensure that the surface is now level. Fine-tune the adjustments if needed until the laser beam aligns with the reference points accurately.
- Continue leveling other areas: If required, repeat the process for other areas or surfaces that need leveling. Ensure that you maintain consistency across the entire project by referencing the same set of reference points.
By following these steps, you can effectively use the transit laser level for leveling tasks. It provides you with a highly accurate and visual reference for achieving precise leveling in your construction or surveying projects.
Now, let’s move on to the next step, which explains how to use the transit laser level for alignment purposes.
Step 6: Use the Transit Laser Level for Alignment
The transit laser level is not only useful for leveling tasks but also for precise alignment in construction and surveying projects. Follow these steps to use the transit laser level for alignment purposes:
- Determine the alignment requirements: Identify the specific elements or objects that need to be aligned. This could include walls, partitions, pipes, electrical fixtures, or any other components that require accurate positioning.
- Establish reference lines or points: Determine the reference lines or points that will guide the alignment process. These can be existing structures or markings, or you can create temporary reference lines using a measuring tape or chalk.
- Position the transit laser level: Place the transit laser level in a suitable location where it can project the laser beam onto the elements that need alignment. Ensure that the laser beam aligns with the established reference lines or points.
- Observe the laser beam: Carefully observe the laser beam projection to determine the alignment of the elements. The laser beam will indicate any deviations or misalignments from the desired position.
- Make the necessary adjustments: Based on the laser beam projection, adjust the positions of the elements to achieve the desired alignment. This may involve moving or rotating the elements, adjusting mounting brackets, or modifying the installation angles.
- Verify the alignment: After making adjustments, recheck the laser beam projection to ensure that the elements are now aligned accurately. Fine-tune the adjustments if needed until the laser beam aligns perfectly with the reference lines or points.
- Continue aligning other elements: If required, repeat the process for other elements or objects that need alignment. Use the same set of reference lines or points to ensure consistency throughout the project.
By following these steps, you can effectively use the transit laser level for precise alignment tasks. It provides you with a visual and precise reference for achieving accurate positioning and alignment of various components in your construction or surveying projects.
Now, let’s move on to the next step, where we will cover some common troubleshooting tips for transit laser levels.
Read more: How To Use A Laser Level
Step 7: Troubleshooting Common Issues
While using a transit laser level, you may encounter some common issues that can affect its performance. Here are some troubleshooting tips to help you address these issues:
- Poor visibility: If the laser beam is not clearly visible, check for any obstructions on the lens or dust accumulation. Clean the lens using a soft cloth or brush to improve visibility.
- Inaccurate leveling or alignment: If the transit laser level is not providing accurate leveling or alignment, ensure that the device is set up correctly and securely mounted. Check for any loose connections or misalignment and adjust as necessary.
- Power issues: If the transit laser level is not powering on or has a short battery life, make sure the batteries are properly inserted and charged. If using an AC power source, ensure that the power adapter is connected securely.
- Interference: External factors such as strong sunlight or nearby electromagnetic devices can interfere with the performance of the transit laser level. Adjust the positioning or use shielding materials to minimize interference.
- Self-leveling errors: If the self-leveling feature is not functioning correctly, check for any obstacles or vibrations affecting the device. Remove any obstructions and ensure a stable working environment for accurate self-leveling.
- Beam alignment issues: If the laser beam is not aligning accurately with the reference points, check the position and stability of the transit laser level. Make fine adjustments to the device or reposition it for more precise alignment.
- Error messages or malfunctions: Refer to the user manual or manufacturer’s guidelines for specific error messages or malfunctions. Follow the recommended troubleshooting steps outlined by the manufacturer to correct any issues.
If you encounter persistent issues with your transit laser level that cannot be resolved through troubleshooting, consider contacting the manufacturer’s customer support or seeking assistance from a professional technician.
With these troubleshooting tips in mind, you can overcome common issues and ensure smooth operation of your transit laser level throughout your construction or surveying projects.
Finally, let’s conclude our guide on using a transit laser level and summarize the key points.
Conclusion
The transit laser level is a valuable tool for construction and surveying professionals, providing precise measurements, leveling, and alignment references. By following the steps outlined in this guide, you can effectively use a transit laser level for various tasks.
We started by providing an overview of transit laser levels, discussing their key components, features, and types. We then emphasized the importance of safety precautions to ensure the well-being of yourself and others while using the tool.
The step-by-step guide covered the process of setting up the transit laser level, including choosing a stable location, attaching the leveling base or tripod, and ensuring proper calibration. We also explored how to mount the transit laser level securely and how to make necessary adjustments for optimal performance.
Furthermore, we explained how to utilize the transit laser level for leveling and alignment tasks, including the identification of reference points, observing the laser beam projection, and making the necessary adjustments to achieve the desired results.
To address potential issues, we provided troubleshooting tips for common problems that may arise when using a transit laser level, such as poor visibility, inaccurate leveling or alignment, power issues, interference, and self-leveling errors.
By following these instructions and being mindful of safety precautions, you will be able to maximize the effectiveness and accuracy of your transit laser level, ensuring successful and precise construction and surveying projects.
Remember to consult the user manual provided by the manufacturer for specific instructions and guidelines tailored to your transit laser level model.
We hope this guide has been informative and helpful in your journey of using a transit laser level. Happy leveling and aligning!
Additional Tips and Resources
Alongside the steps and information provided in this guide, here are some additional tips and resources to further enhance your understanding and proficiency in using a transit laser level:
- Regularly calibrate your transit laser level: It is important to periodically recalibrate your transit laser level to maintain its accuracy. Follow the manufacturer’s guidelines for the recommended calibration frequency.
- Explore advanced features: Familiarize yourself with the advanced features of your transit laser level, such as remote control capabilities, automatic leveling functions, or laser plumb options. These features can further streamline your work and improve efficiency.
- Consider using laser detectors: In situations where the laser beam visibility is reduced, or when measuring over longer distances, laser detectors (or laser receivers) can be invaluable. They can help you locate and align the laser beam accurately by providing audio or visual signals.
- Attend training programs or workshops: Consider participating in training programs or workshops related to transit laser level usage. This will provide you with practical hands-on experience, expert guidance, and a deeper understanding of the tool’s capabilities.
- Join online forums or communities: Engage with online forums or communities dedicated to construction and surveying professionals. These platforms are great for exchanging tips, troubleshooting advice, and sharing experiences with others who use transit laser levels.
- Stay updated with technology advancements: Keep an eye on advancements in transit laser level technology, as manufacturers are continuously introducing new features and improvements. Keeping up-to-date can help you make informed decisions when upgrading or purchasing new equipment.
- Consult with industry professionals: Reach out to experienced professionals in the construction and surveying field for guidance and insights on using transit laser levels effectively. Their expertise and firsthand knowledge can provide you with valuable tips and advice.
In addition to these tips, make sure to explore the resources provided by the manufacturer of your specific transit laser level. These may include instructional videos, FAQs, user forums, and support documentation.
By staying informed, continuously learning, and leveraging the available resources, you can enhance your skills and optimize the use of your transit laser level in various projects.
Remember, practice is key to improving your efficiency and proficiency with the transit laser level. With time and experience, you will become more confident and adept at utilizing this powerful tool to achieve accurate measurements, leveling, and alignment in your construction and surveying endeavors.
Frequently Asked Questions about How To Use A Transit Laser Level
Was this page helpful?
At Storables.com, we guarantee accurate and reliable information. Our content, validated by Expert Board Contributors, is crafted following stringent Editorial Policies. We're committed to providing you with well-researched, expert-backed insights for all your informational needs.



0 thoughts on “How To Use A Transit Laser Level”