Articles
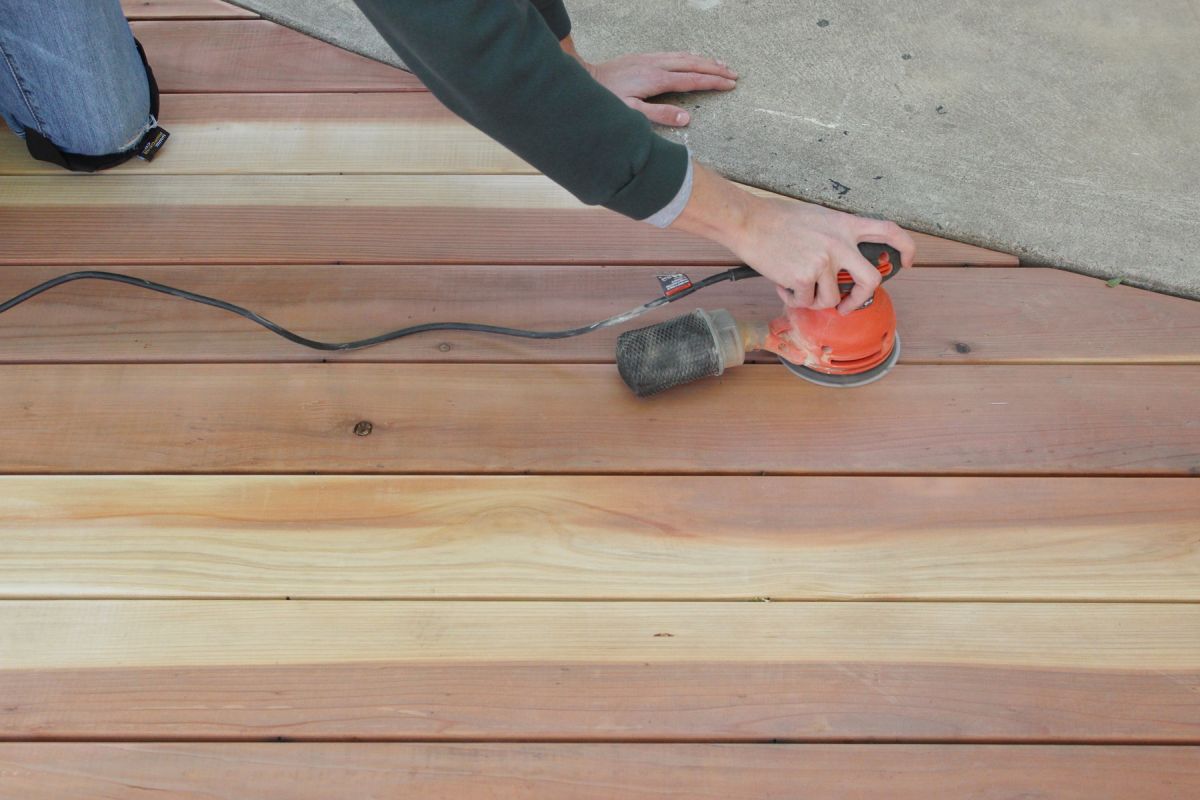
How To Use A Palm Sander
Modified: December 7, 2023
Learn how to use a palm sander effectively with our informative articles. Discover tips and techniques for achieving a smooth finish on all your woodworking projects.
(Many of the links in this article redirect to a specific reviewed product. Your purchase of these products through affiliate links helps to generate commission for Storables.com, at no extra cost. Learn more)
Introduction
A palm sander is a versatile and powerful tool that can be used for a wide range of woodworking projects. Whether you are refinishing furniture, smoothing out rough edges, or preparing surfaces for painting or staining, a palm sander can make your job easier and more efficient.
In this article, we will guide you through the process of using a palm sander effectively. From understanding the basics of the tool to mastering the various sanding techniques, you will gain the knowledge and confidence needed to achieve professional-level results.
But before we dive into the details, it is important to note that safety should always be the top priority when working with power tools. Make sure to wear appropriate safety gear, such as goggles and a dust mask, and ensure that the work area is well-ventilated. Additionally, familiarize yourself with the specific safety instructions provided by the manufacturer of your palm sander.
Now, let’s get started by getting to know the palm sander and its different components. Understanding the tool will help you use it more effectively and efficiently.
Key Takeaways:
- Safety first! Prioritize wearing protective gear, preparing the workpiece, and choosing the right sanding disc. Master proper sanding techniques for different surfaces to achieve professional results.
- Regular cleaning and maintenance are crucial for prolonging the lifespan of your palm sander. Follow safety precautions, set up the tool correctly, and enjoy the process of transforming surfaces with confidence.
Read more: How To Use Ryobi Sander
Getting to Know the Palm Sander
Before you start using a palm sander, it’s important to familiarize yourself with its various components. This will help you understand how to operate the tool correctly and maximize its potential.
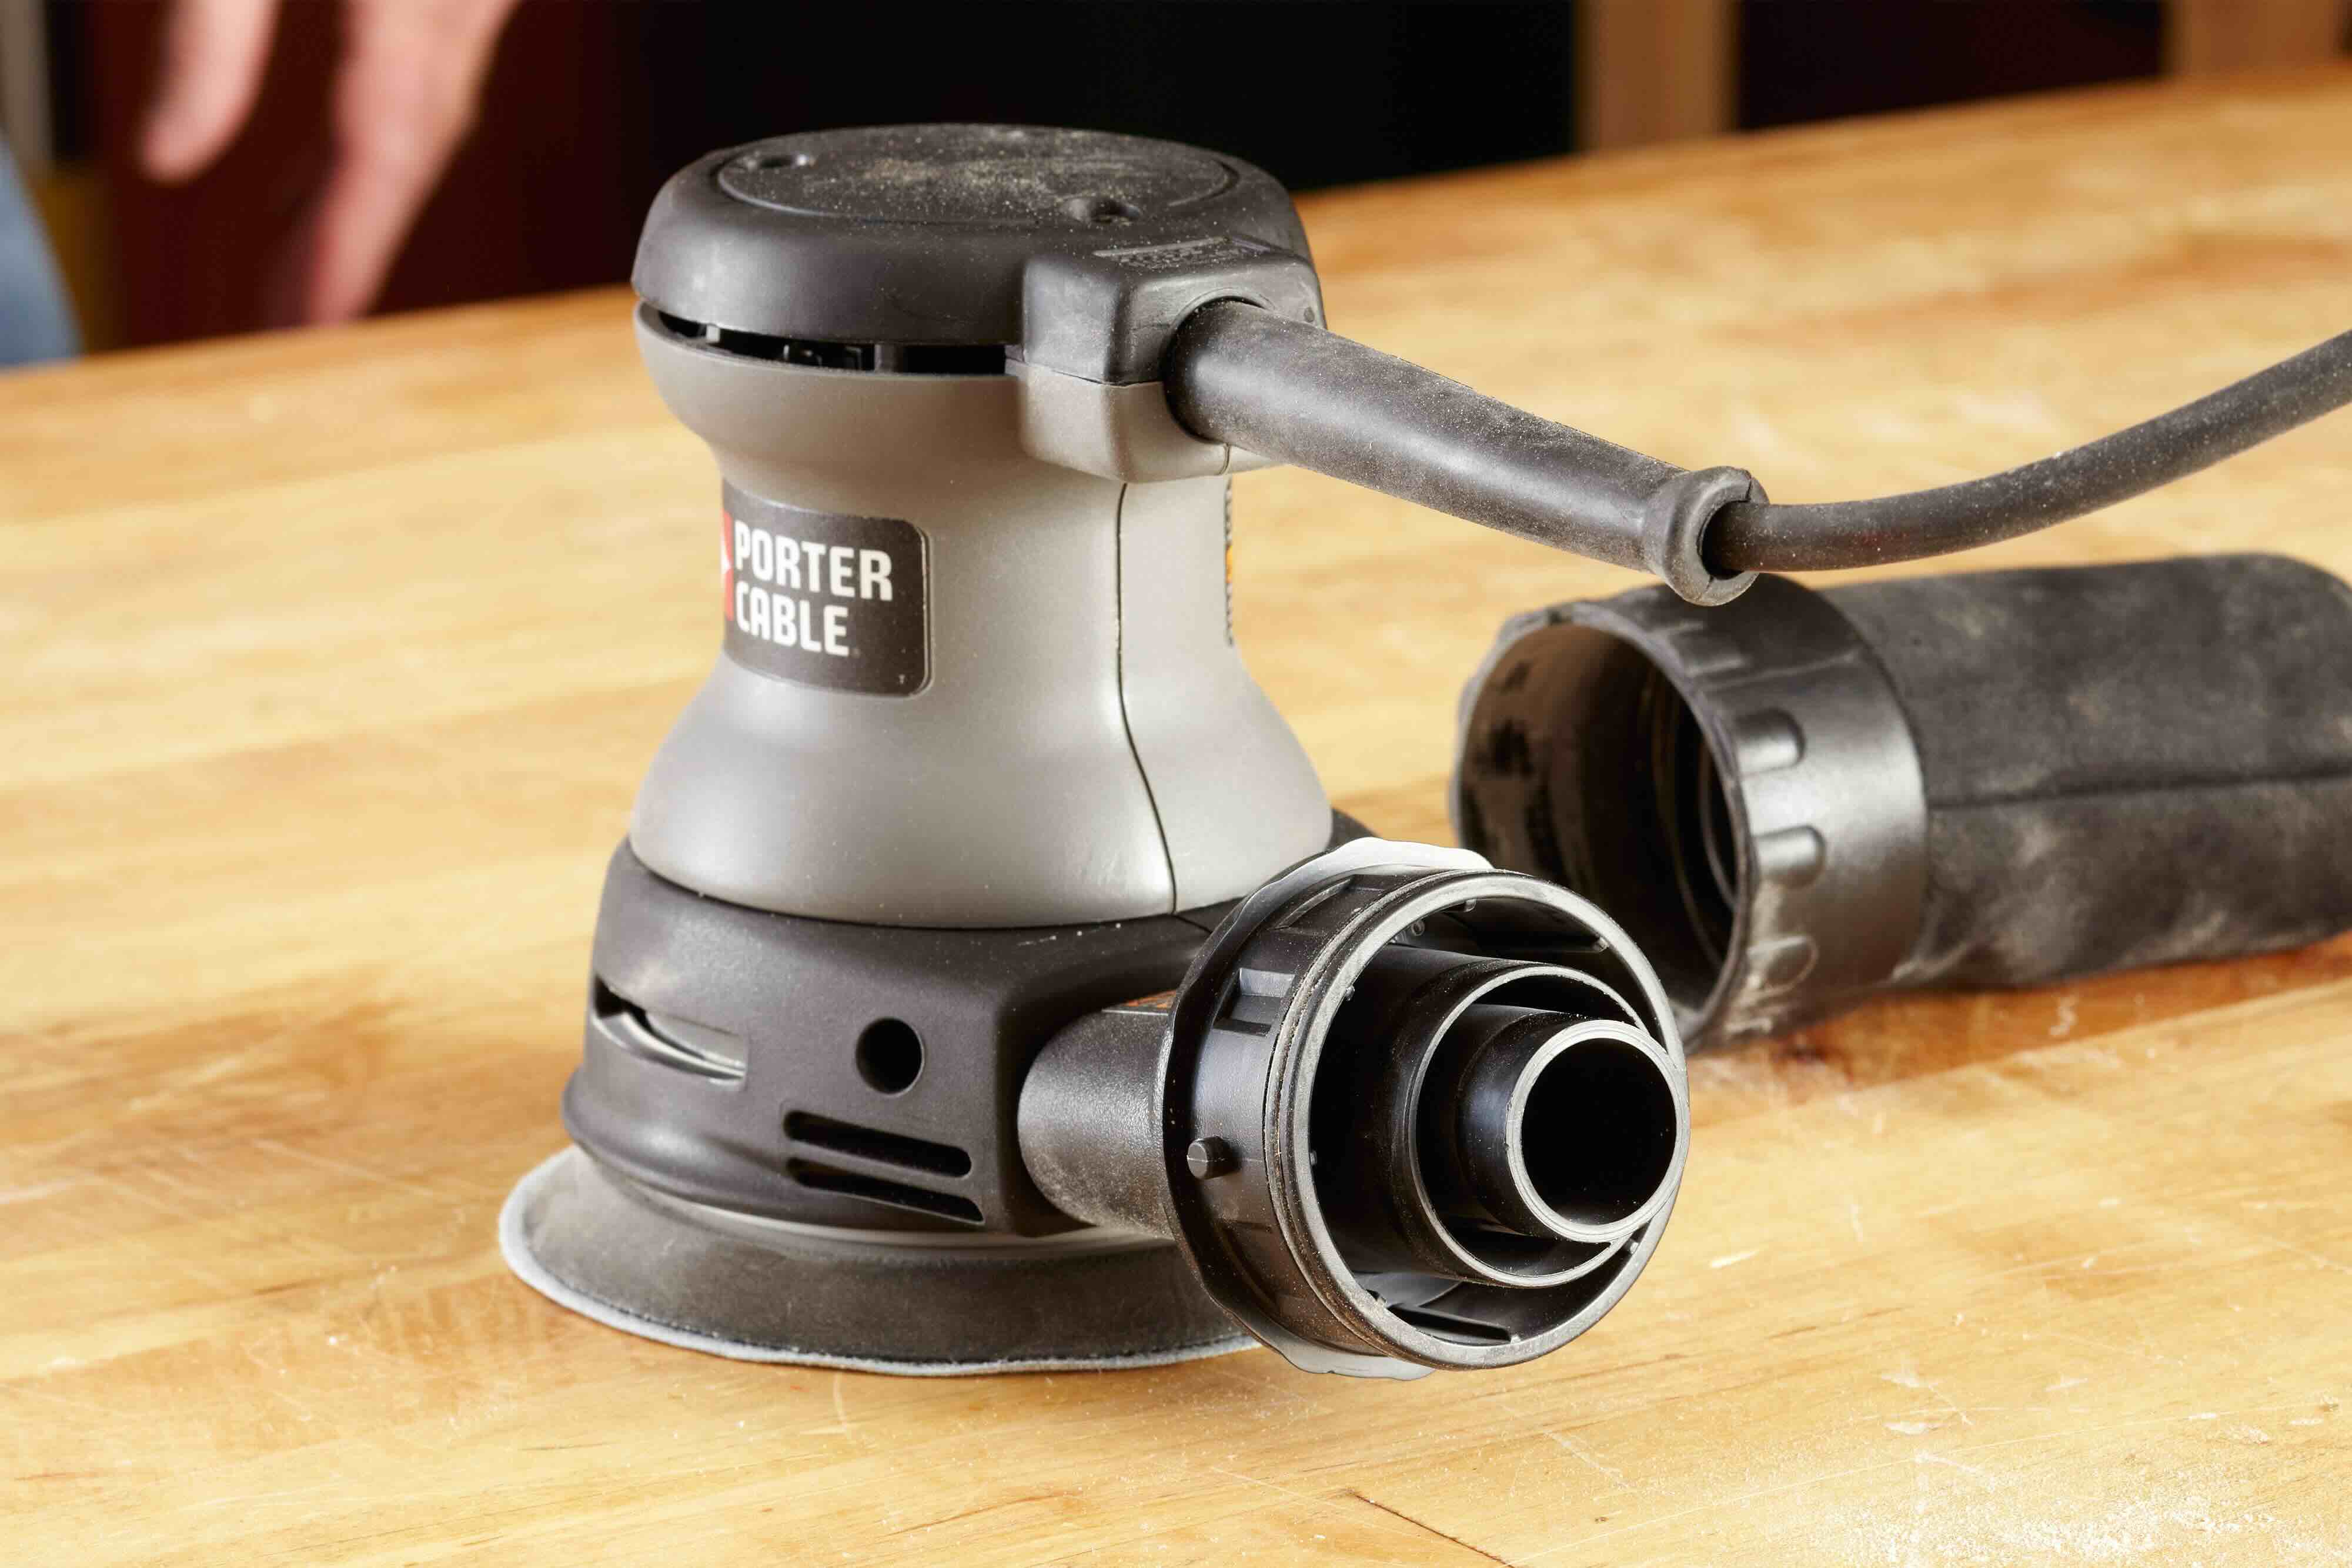
A palm sander typically consists of the following parts:
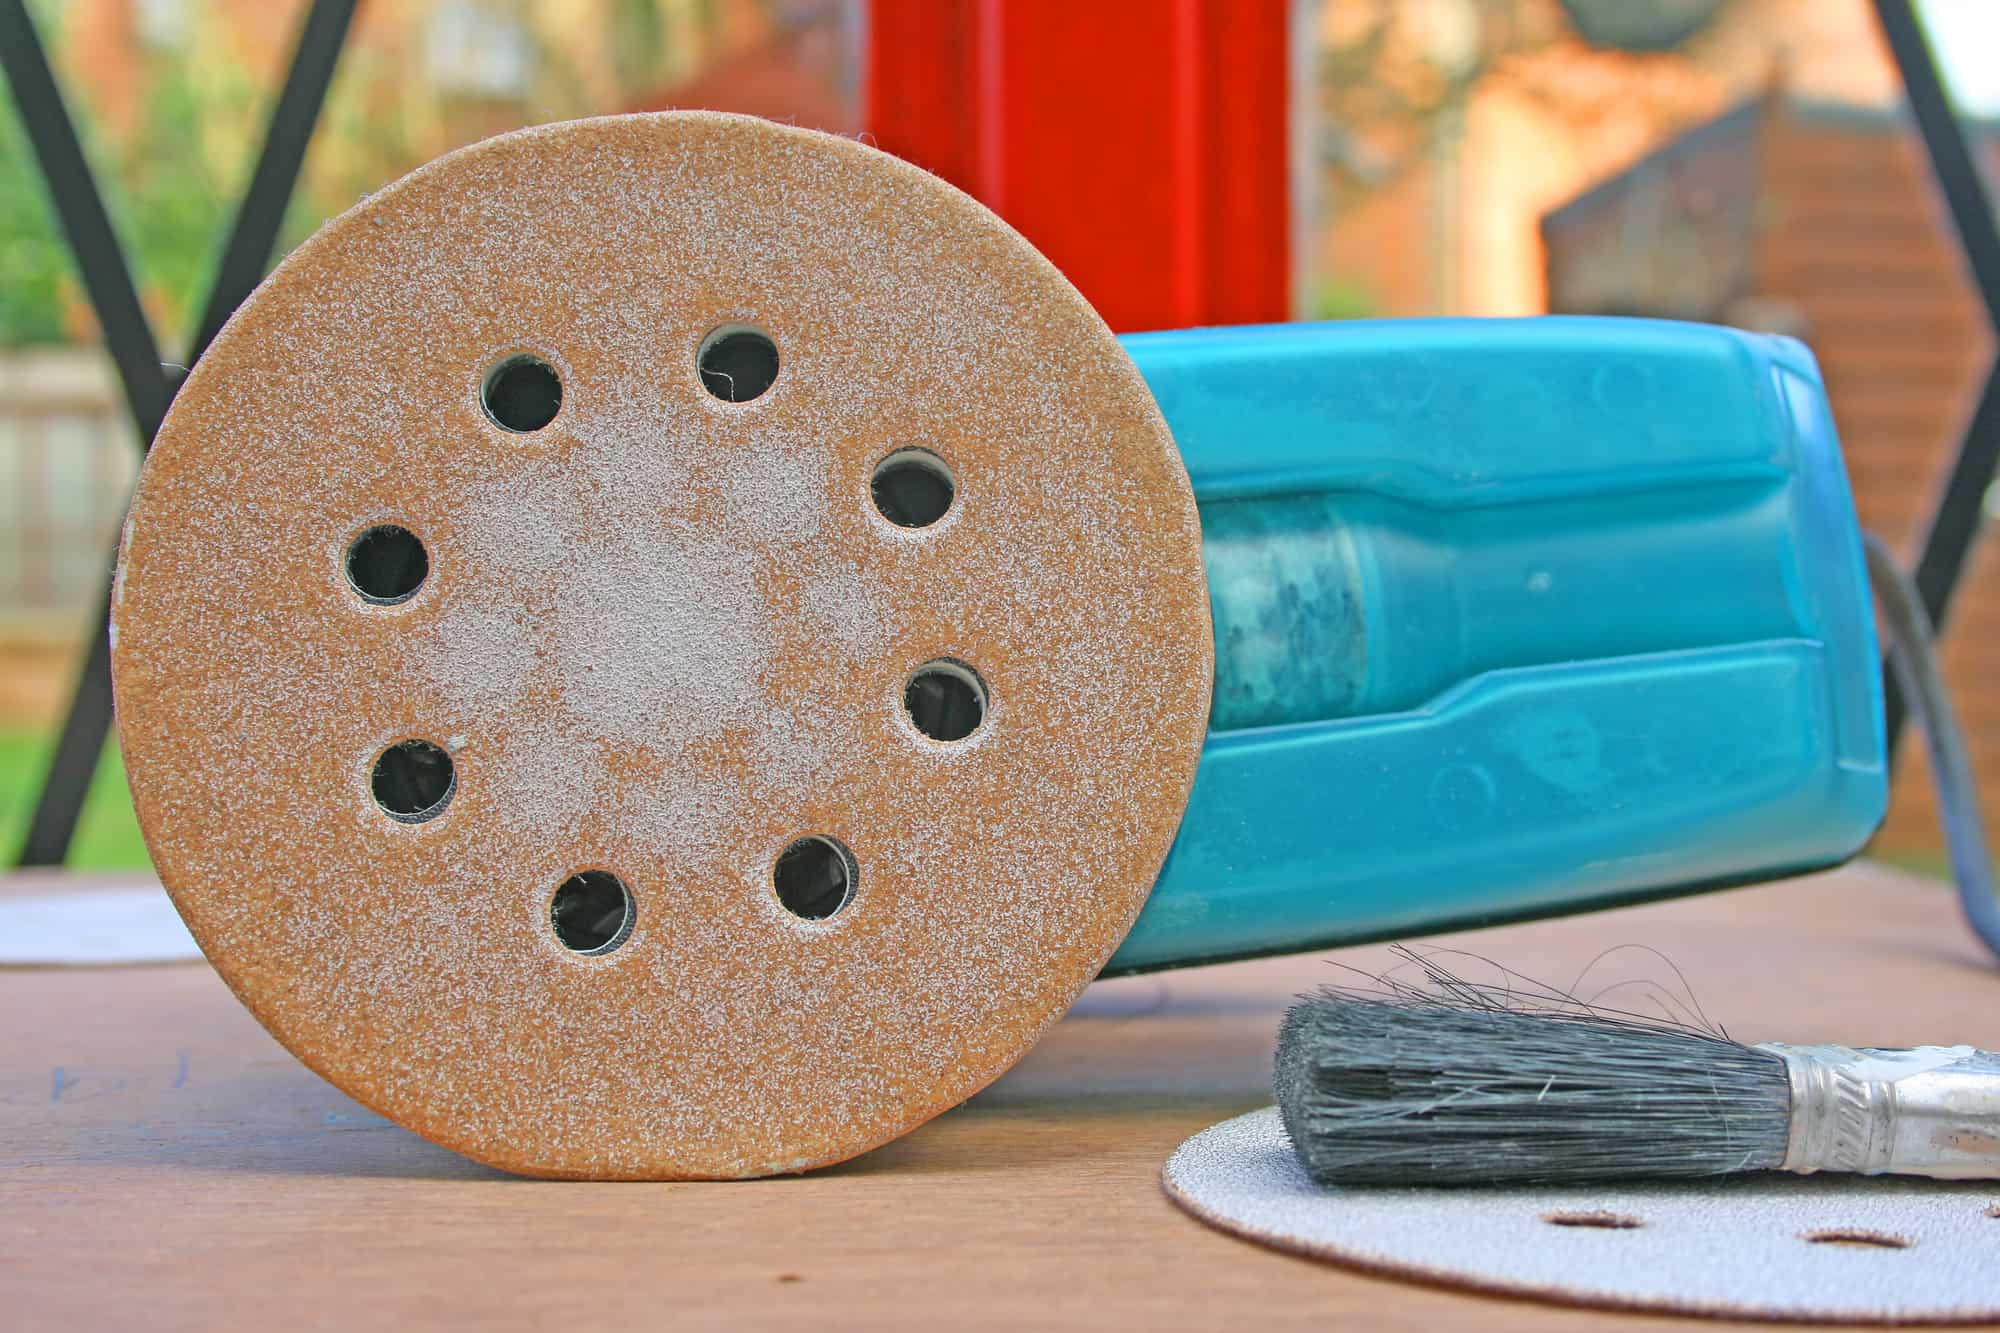
- Sanding Pad: This is the part of the palm sander that comes into direct contact with the workpiece. It is typically made of durable materials, such as rubber or foam, and is designed to securely hold the sanding disc in place.
- Sanding Disc: The sanding disc is the abrasive material that attaches to the sanding pad. It comes in various grit sizes, ranging from coarse to fine, and allows you to remove material or smooth out surfaces depending on your needs.
- Power Switch: The power switch is usually located on the body of the palm sander and allows you to easily turn the tool on and off.
- Dust Collection Port: Many palm sanders come equipped with a dust collection port, which allows you to connect a vacuum or dust collection system. This helps minimize the amount of dust and debris that is released into the air, keeping your work area cleaner.
- Handle: The handle provides a comfortable grip and allows you to have better control over the palm sander while sanding. Some palm sanders have a rubberized or ergonomic handle for added comfort.
Now that you are familiar with the different components of a palm sander, it’s time to learn about the essential safety precautions you should take before using the tool.
Step 1: Safety Precautions
Working with a palm sander involves using a powerful tool that generates a significant amount of dust and noise. To ensure your safety and the safety of those around you, it is important to follow these safety precautions:
- Wear Personal Protective Equipment (PPE): Always wear the appropriate personal protective equipment, including safety goggles, a dust mask, and ear protection. This will protect your eyes, lungs, and ears from potential hazards.
- Create a Well-Ventilated Work Area: Work in a well-ventilated area or use a dust collection system to minimize the amount of airborne dust. This will help protect your respiratory system and maintain a clean workspace.
- Secure Your Workpiece: Make sure your workpiece is firmly secured to prevent it from slipping or moving while sanding. This will ensure safe and even sanding results.
- Avoid Loose Clothing and Jewelry: Remove any loose clothing or accessories, such as necklaces or bracelets, that could get caught in the palm sander while in use. This will help prevent accidents and injuries.
- Disconnect the Power: Before making any adjustments or changes to your palm sander, be sure to disconnect the power source. This will prevent accidental starts and ensure your safety.
- Use the Proper Sanding Disc: Ensure that you are using the appropriate sanding disc for the task at hand. Using the wrong type of disc or grit can lead to inefficient sanding or damage to the workpiece.
- Take Breaks and Rest: While working with a palm sander, it is important to take regular breaks to prevent fatigue and avoid straining your muscles. Listen to your body and rest when needed.
By following these safety precautions, you can minimize the risks associated with using a palm sander and focus on achieving professional-level results. Now that you know how to stay safe, let’s move on to the next step: preparing the workpiece.
Step 2: Preparing the Workpiece
Before you begin sanding with a palm sander, it’s important to properly prepare your workpiece. This will ensure that you achieve the best results and minimize any potential damage to the surface.
Here are the steps to follow when preparing your workpiece:
- Clean the Surface: Start by thoroughly cleaning the surface you plan to sand. Remove any dust, dirt, or debris using a brush or a vacuum cleaner.
- Repair Imperfections: Inspect the surface for any imperfections, such as scratches, dents, or cracks. If necessary, repair these imperfections using wood filler or other appropriate materials.
- Smooth Rough Spots: If the surface has any rough spots or uneven areas, use a sanding block or sandpaper to smooth them out before using the palm sander. This will help achieve a more even and consistent result.
- Mask off Areas: If there are any areas of the workpiece that you don’t want to sand or get damaged, use masking tape or painter’s tape to cover and protect them.
- Inspect for Nails or Staples: Check the surface for any nails, staples, or other metal objects that could potentially damage the sanding disc. Remove them or hammer them down to ensure a smooth sanding process.
Once you have completed these preparation steps, you are ready to move on to the next essential step: choosing the right sanding disc.
Step 3: Choosing the Right Sanding Disc
Choosing the right sanding disc for your palm sander is crucial to achieving the desired sanding results. Different projects and surfaces require different grit sizes and types of sanding discs. Here’s how to choose the right one:
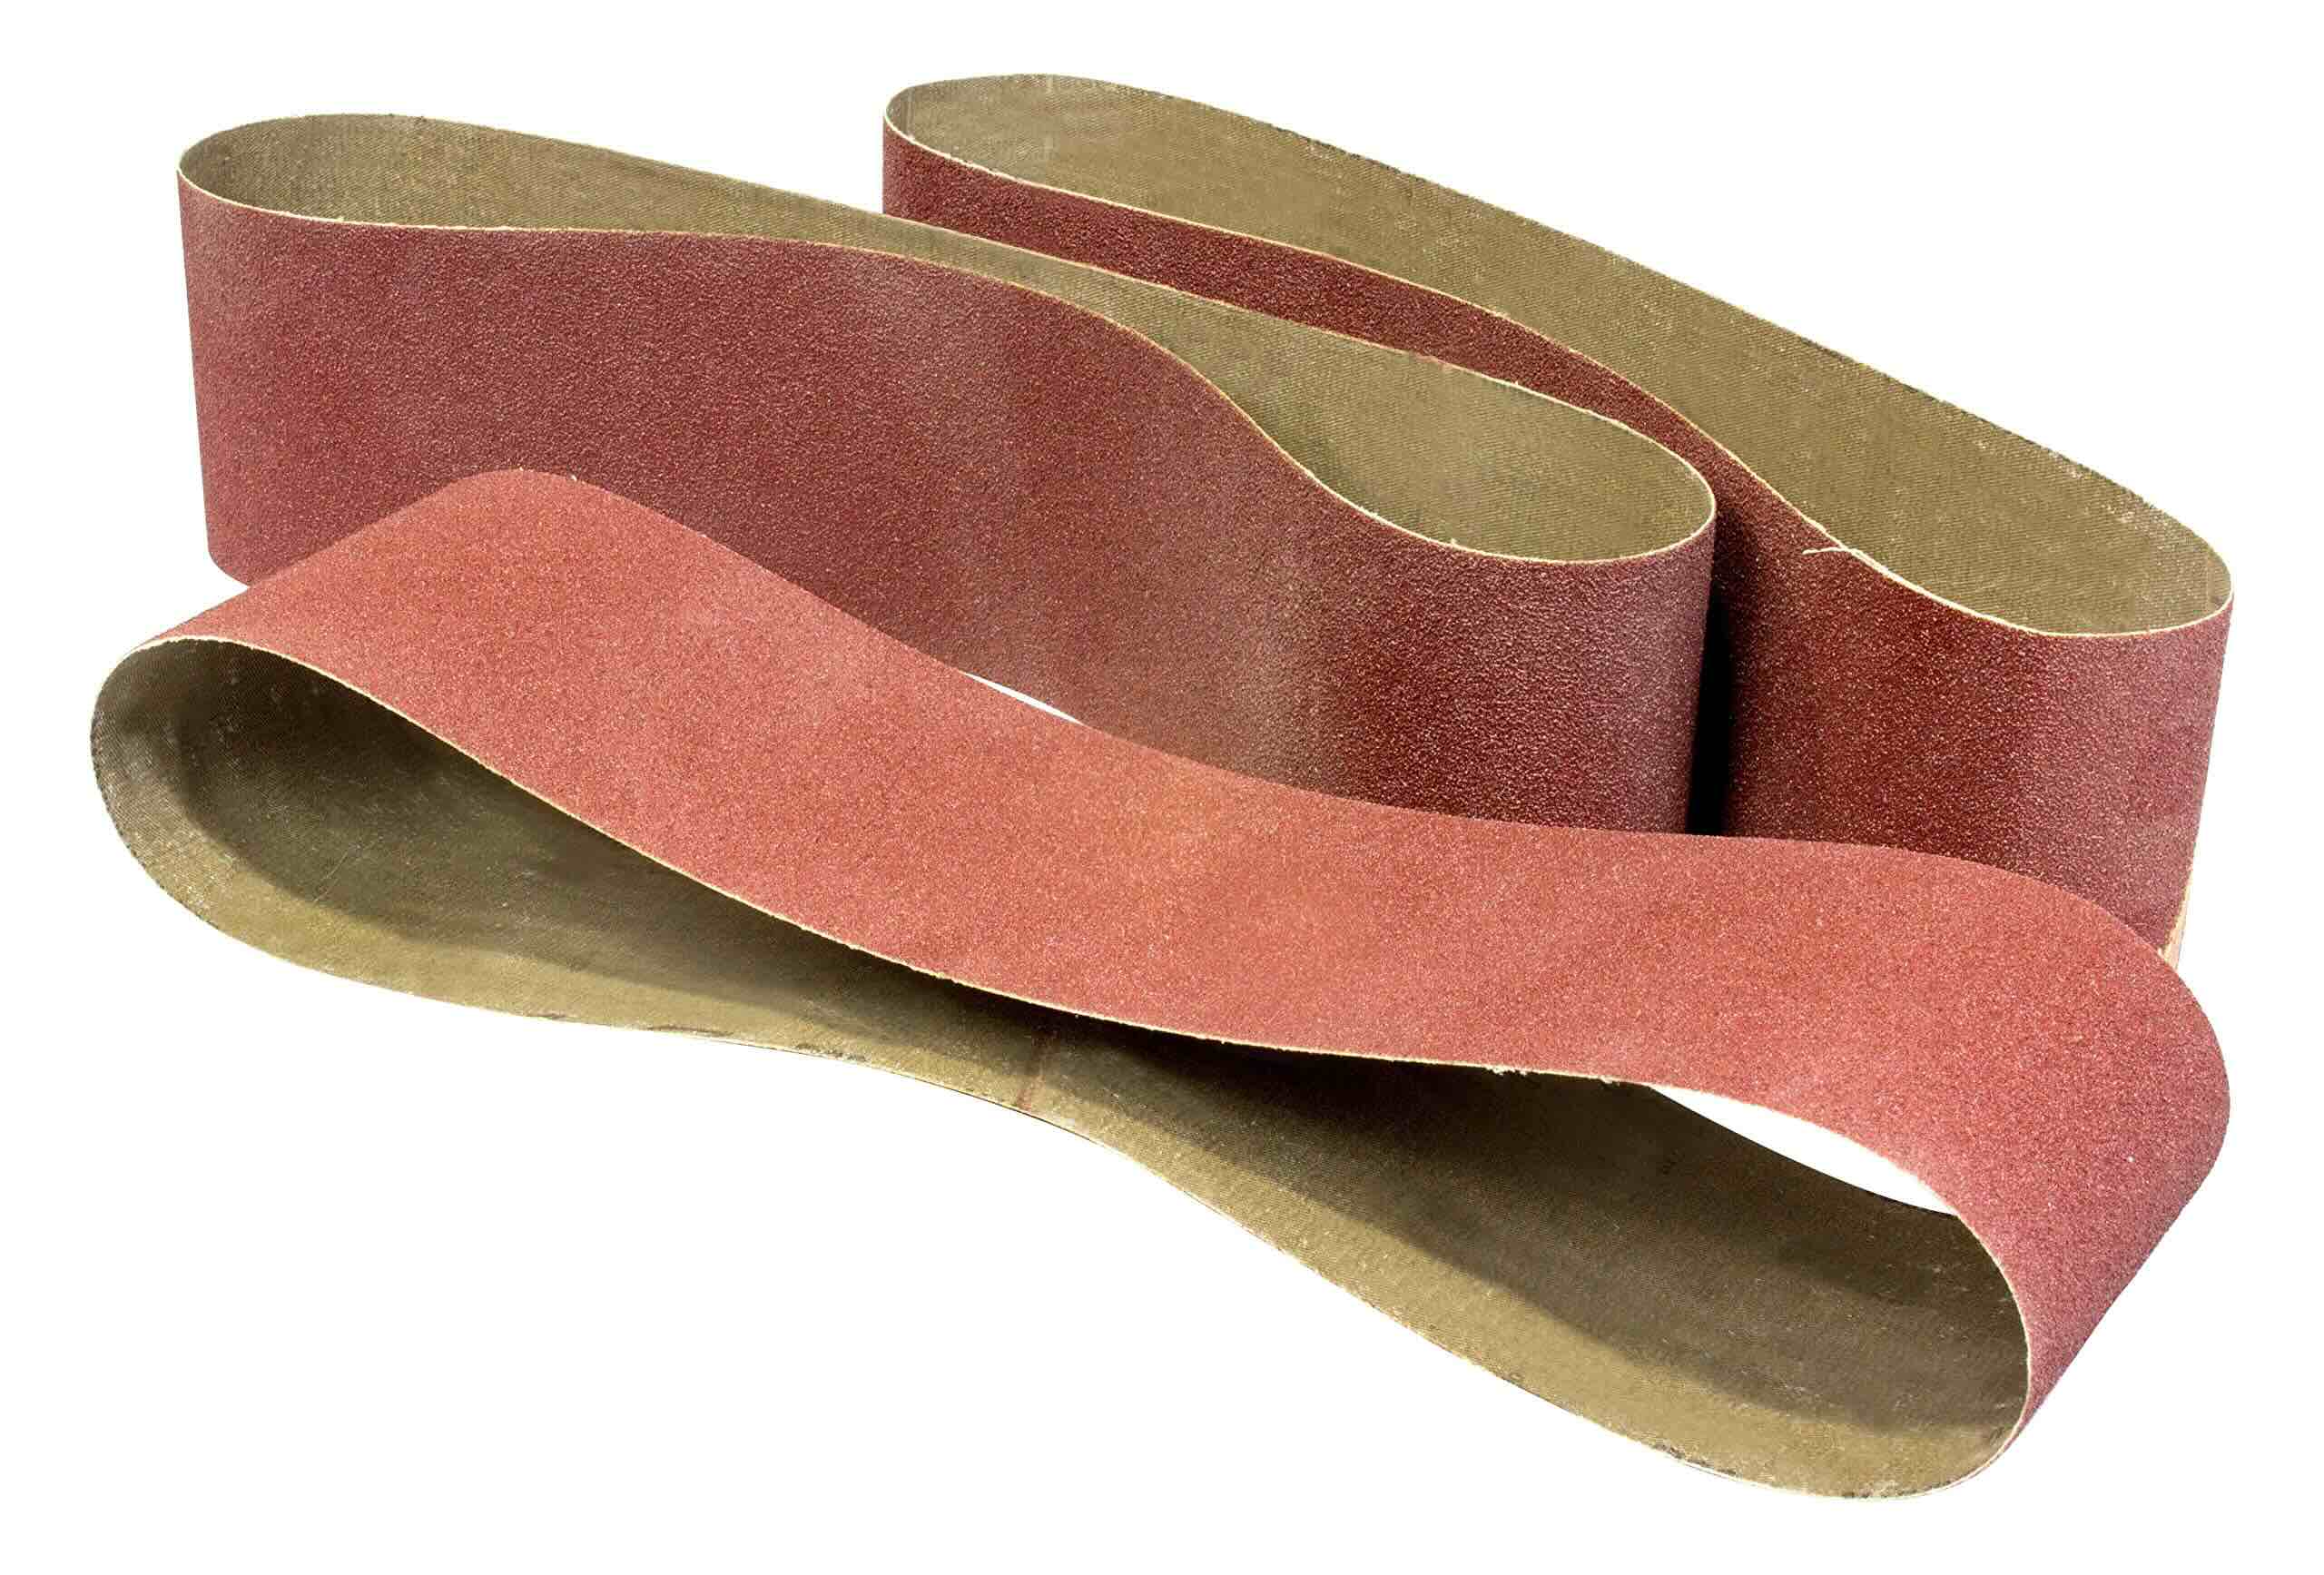
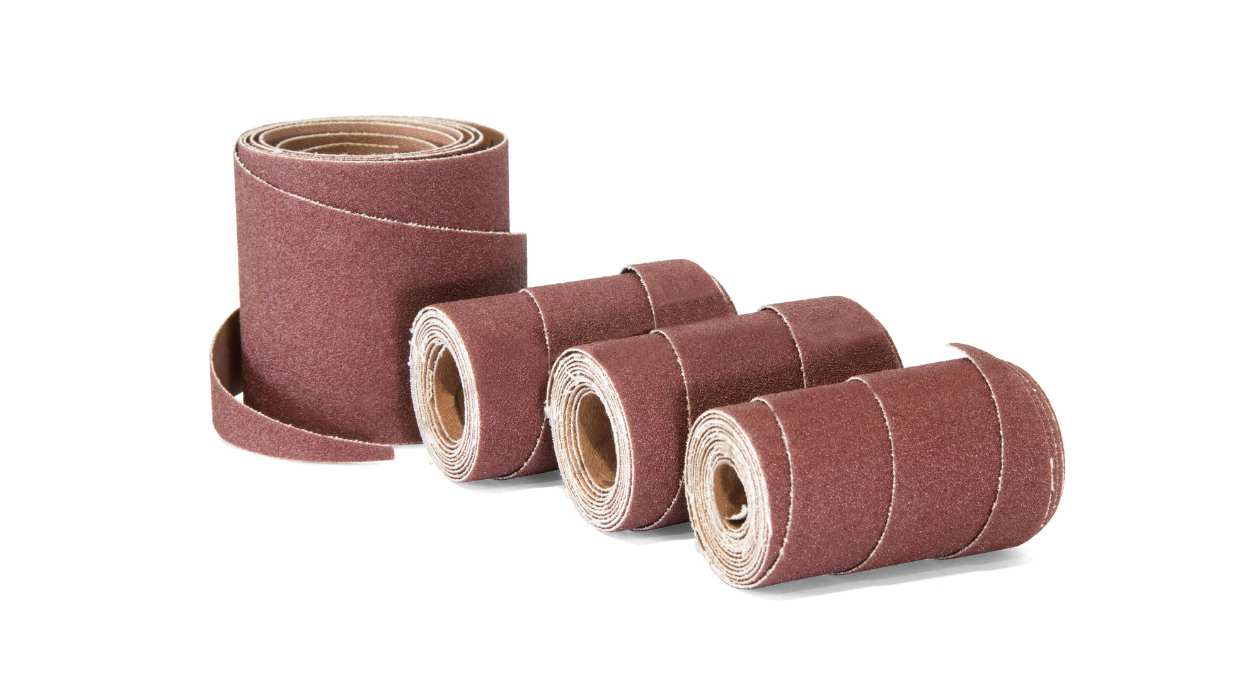
- Grit Size: The grit size of the sanding disc determines its coarseness or fineness. Coarser grits, such as 60 or 80, are ideal for removing material quickly, while finer grits, like 120 or 240, are more suitable for smooth finishing. Assess the condition of your workpiece and choose the appropriate grit accordingly.
- Sanding Material: Sanding discs come in various materials like aluminum oxide, silicon carbide, and zirconia alumina. Aluminum oxide discs are versatile and commonly used for general sanding tasks, while silicon carbide discs are more suitable for sanding harder materials like stone or metal. Consider the material you’re working with to select the right sanding disc material.
- Sanding Disc Type: There are different types of sanding discs available, including adhesive-backed discs and hook-and-loop discs. Adhesive-backed discs require a sticky backing pad, while hook-and-loop discs can be easily attached and removed from a Velcro-compatible sanding pad. Choose the type of disc that is compatible with your palm sander.
Remember to always consult the manufacturer’s recommendations for your palm sander to ensure compatibility and optimal performance.
Once you have chosen the appropriate sanding disc, it’s time to move on to the next step: setting up the palm sander.
When using a palm sander, always start with a lower grit sandpaper to remove any rough spots, then gradually move to a higher grit for a smoother finish. Keep the sander moving to avoid creating uneven patches.
Read more: How To Use An Orbital Floor Sander
Step 4: Setting up the Palm Sander
Properly setting up your palm sander is essential to ensure smooth and effective sanding. Follow these steps to set up your palm sander:
- Attach the Sanding Pad: Start by attaching the appropriate sanding pad to the base of your palm sander. Make sure it is securely fastened to prevent any wobbling or movement during sanding.
- Attach the Sanding Disc: If you are using adhesive-backed sanding discs, remove the protective backing and firmly press the disc onto the sanding pad. If you are using hook-and-loop discs, simply line up the holes on the disc with the holes on the sanding pad and press it firmly to make a secure connection.
- Connect the Dust Collection System (Optional): If your palm sander has a dust collection port, connect a vacuum or dust collection system to it. This will help capture the majority of the dust generated during sanding, keeping your work area cleaner and reducing airborne particles.
- Plug in the Palm Sander: With the sanding pad and disc securely attached, plug in the palm sander and turn it on using the power switch. Allow the tool to reach its full speed before making contact with the workpiece.
Ensure that your grip on the palm sander is firm but comfortable, and that you are not applying excessive pressure to the workpiece while sanding. Let the weight of the palm sander and the rotating motion of the sanding disc do the work for you.
With your palm sander set up and ready, it’s time to learn about different sanding techniques for achieving optimal results. This will be covered in the next step.
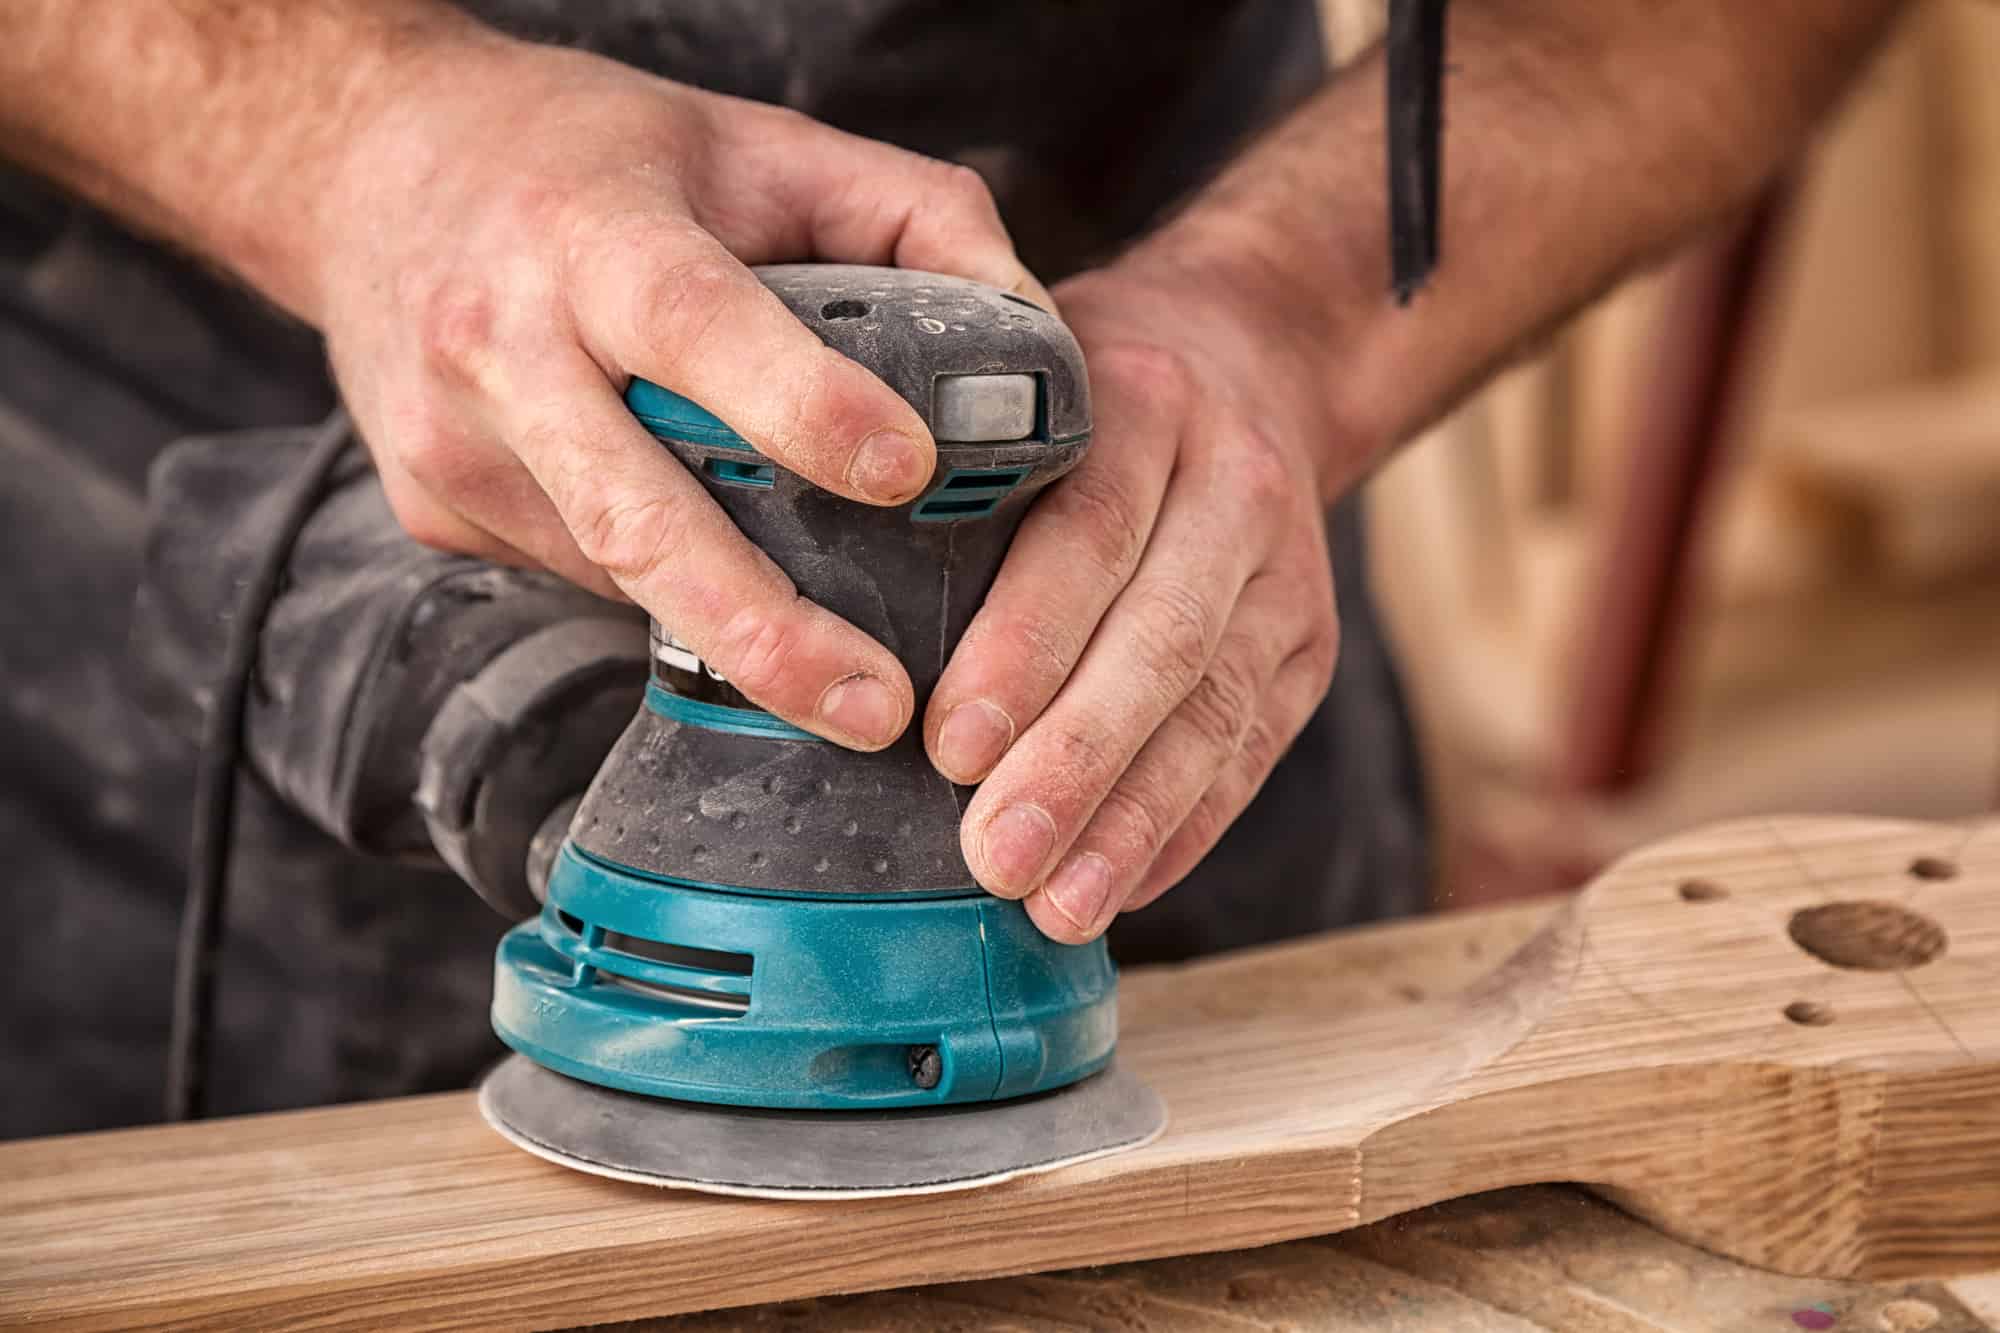
Step 5: Sanding Techniques
Mastering the proper sanding techniques will allow you to achieve smooth and even results with your palm sander. Here are some important techniques to keep in mind:
- Start with Light Pressure: When starting to sand, apply light and even pressure on the workpiece. Gradually increase the pressure as needed, but avoid pressing too hard, as it can lead to uneven sanding or damage to the surface.
- Use Smooth and Even Strokes: Move the palm sander in smooth, straight strokes, going alongside the grain of the wood if applicable. Avoid sanding in circular or random patterns, as it can result in uneven sanding marks.
- Overlap the Strokes: To ensure consistent sanding, overlap each stroke slightly with the previous one. This will help blend the sanding marks and prevent any visible lines or unevenness.
- Keep the Sander Moving: Avoid leaving the palm sander in one spot for too long, as it can cause uneven sanding and potential damage to the surface. Keep the sander moving constantly to achieve uniform results.
- Regularly Check the Progress: Pause periodically to check the progress of your sanding. This will give you the opportunity to assess if the desired level of smoothness has been achieved and if any further sanding is required.
- Work in Sections: If sanding a large area, it is advisable to divide it into manageable sections. This allows for better control and ensures that each section receives consistent sanding.
Remember to take your time and be patient while sanding. Rushing through the process may result in inferior results or damage to the workpiece.
Once you have mastered these sanding techniques, you are ready to move on to the next step: sanding different surfaces.
Step 6: Sanding Different Surfaces
A palm sander can be used on a variety of surfaces, including wood, metal, plastic, and more. Each surface requires different techniques and considerations for optimal sanding. Here are some tips for sanding different surfaces:
- Wood: When sanding wood, it’s important to work with the grain to achieve a smooth finish. Start with a coarser grit to remove any imperfections and gradually progress to finer grits for a finer finish.
- Metal: When sanding metal surfaces, use a sanding disc specifically designed for metal. Apply even pressure and be cautious not to overheat the metal. It is also recommended to use lubricant or coolant to avoid clogging the sanding disc.
- Plastic: Use a lower speed setting on your palm sander when sanding plastic surfaces to prevent melting or damaging the material. Start with a finer grit sanding disc and work your way up to achieve a smooth and polished finish.
- Painted Surfaces: Sanding painted surfaces requires extra care. Use a lighter grit sanding disc to avoid removing too much paint at once, and be cautious not to damage the underlying surface. Sand in a gentle and controlled manner to achieve a smooth texture.
- Curved or Contoured Surfaces: When sanding curved or contoured surfaces, consider using sanding pads or blocks with a more flexible backing to conform to the curves. This will help maintain a consistent sanding pressure and prevent sanding through sharp edges.
Remember to adapt your sanding techniques and use the appropriate sanding discs for each specific surface type. Test on a small and inconspicuous area first to ensure the desired outcome.
Now that you are equipped with the knowledge of sanding different surfaces, let’s move on to the final step: cleaning and maintenance of your palm sander.
Step 7: Cleaning and Maintenance
Proper cleaning and maintenance of your palm sander will ensure its longevity and optimal performance. Here are some important steps to follow:
- Disconnect the Power: Before cleaning or performing any maintenance on your palm sander, make sure to unplug it from the power source to prevent any accidents.
- Remove the Sanding Disc: Start by removing the sanding disc from the sanding pad. Discard any worn-out or damaged discs and replace them with fresh ones for future use.
- Clean the Sanding Pad: Use a stiff brush or a cleaning tool to remove any debris or particles from the sanding pad. This will ensure better adhesion and prevent any build-up that could affect future sanding.
- Check for Dust Build-up: Check the dust collection port and any vents for dust build-up. Use a brush or compressed air to remove any accumulated dust and debris, ensuring proper airflow and better performance.
- Clean the Housing: Wipe down the housing of the palm sander with a clean, damp cloth to remove any dust, grease, or residue. Avoid using harsh chemicals that could damage the tool.
- Inspect the Power Cord: Regularly inspect the power cord for any signs of damage or wear. If you notice any exposed wires or fraying, it is important to replace the cord immediately for safety reasons.
- Store Properly: After cleaning, store your palm sander in a dry and clean environment, away from excessive moisture or extreme temperatures. This will prevent rusting or damage to the tool.
- Regular Check-ups: Periodically check all the moving parts, such as the power switch and sanding pad, for any signs of wear or malfunction. Lubricate the moving parts as recommended by the manufacturer to ensure smooth operation.
By following these cleaning and maintenance steps, you can prolong the lifespan of your palm sander and keep it in optimal working condition for future projects.
With the completion of this final step, you have now learned how to effectively and safely use a palm sander. Remember to always prioritize safety, choose the right sanding disc, and employ proper techniques for each surface. Happy sanding!
Conclusion
Using a palm sander can greatly enhance your woodworking projects, allowing you to achieve smooth and professional results. By following the steps outlined in this guide, you have learned how to safely and effectively use a palm sander, from familiarizing yourself with the tool to mastering the different sanding techniques.
Remember to prioritize safety by wearing appropriate personal protective equipment and creating a well-ventilated work area. Preparing the workpiece by cleaning, repairing imperfections, and smoothing rough spots is essential for optimal sanding results.
Choosing the right sanding disc, considering the grit size, sanding material, and disc type, is crucial for achieving the desired sanding outcome. Setting up the palm sander properly, attaching the sanding pad and disc, and connecting a dust collection system if available will help maintain a clean and efficient work environment.
Mastering the sanding techniques, such as starting with light pressure, using smooth and even strokes, and working in sections, will allow you to achieve smooth and even results on different surfaces. Adapting your techniques for wood, metal, plastic, and painted surfaces is crucial for a successful sanding process.
After completing your sanding tasks, remember to clean and maintain your palm sander regularly. This includes removing the sanding disc, cleaning the sanding pad and housing, checking for dust build-up, inspecting the power cord, and storing the tool properly.
With these steps in mind, you are well-equipped to take on future woodworking projects with confidence and achieve professional-level results with your palm sander. Enjoy the process of transforming rough surfaces into smooth finishes, and always prioritize safety and proper maintenance. Happy sanding!
Frequently Asked Questions about How To Use A Palm Sander
Was this page helpful?
At Storables.com, we guarantee accurate and reliable information. Our content, validated by Expert Board Contributors, is crafted following stringent Editorial Policies. We're committed to providing you with well-researched, expert-backed insights for all your informational needs.


0 thoughts on “How To Use A Palm Sander”