Home>Renovation & DIY>Tools & Equipment>How To Change Sandpaper On A Belt Sander
Tools & Equipment
How To Change Sandpaper On A Belt Sander
Modified: October 20, 2024
Learn how to change sandpaper on a belt sander with our step-by-step guide. Get the right tools and equipment for the job and make the process quick and easy.
(Many of the links in this article redirect to a specific reviewed product. Your purchase of these products through affiliate links helps to generate commission for Storables.com, at no extra cost. Learn more)
Introduction
Welcome to the world of woodworking! Whether you’re a seasoned craftsman or a DIY enthusiast, a belt sander is an indispensable tool for achieving smooth and polished surfaces on your projects. However, to ensure optimal performance, it’s crucial to know how to change the sandpaper on a belt sander effectively. This article will guide you through the process, providing step-by-step instructions and essential safety precautions.
Understanding the mechanics of a belt sander and mastering the art of sandpaper replacement will not only enhance the quality of your woodworking projects but also prolong the lifespan of your equipment. So, let’s dive into the world of belt sanders and learn how to change sandpaper like a pro!
Key Takeaways:
- Master the art of changing sandpaper on a belt sander to achieve smooth and polished woodworking projects while prolonging the lifespan of your equipment.
- Prioritize safety by following essential precautions, such as powering off and unplugging the sander, wearing protective gear, and maintaining stability during the sandpaper replacement process.
Read more: How To Put Sandpaper On A Sander
Understanding the Belt Sander
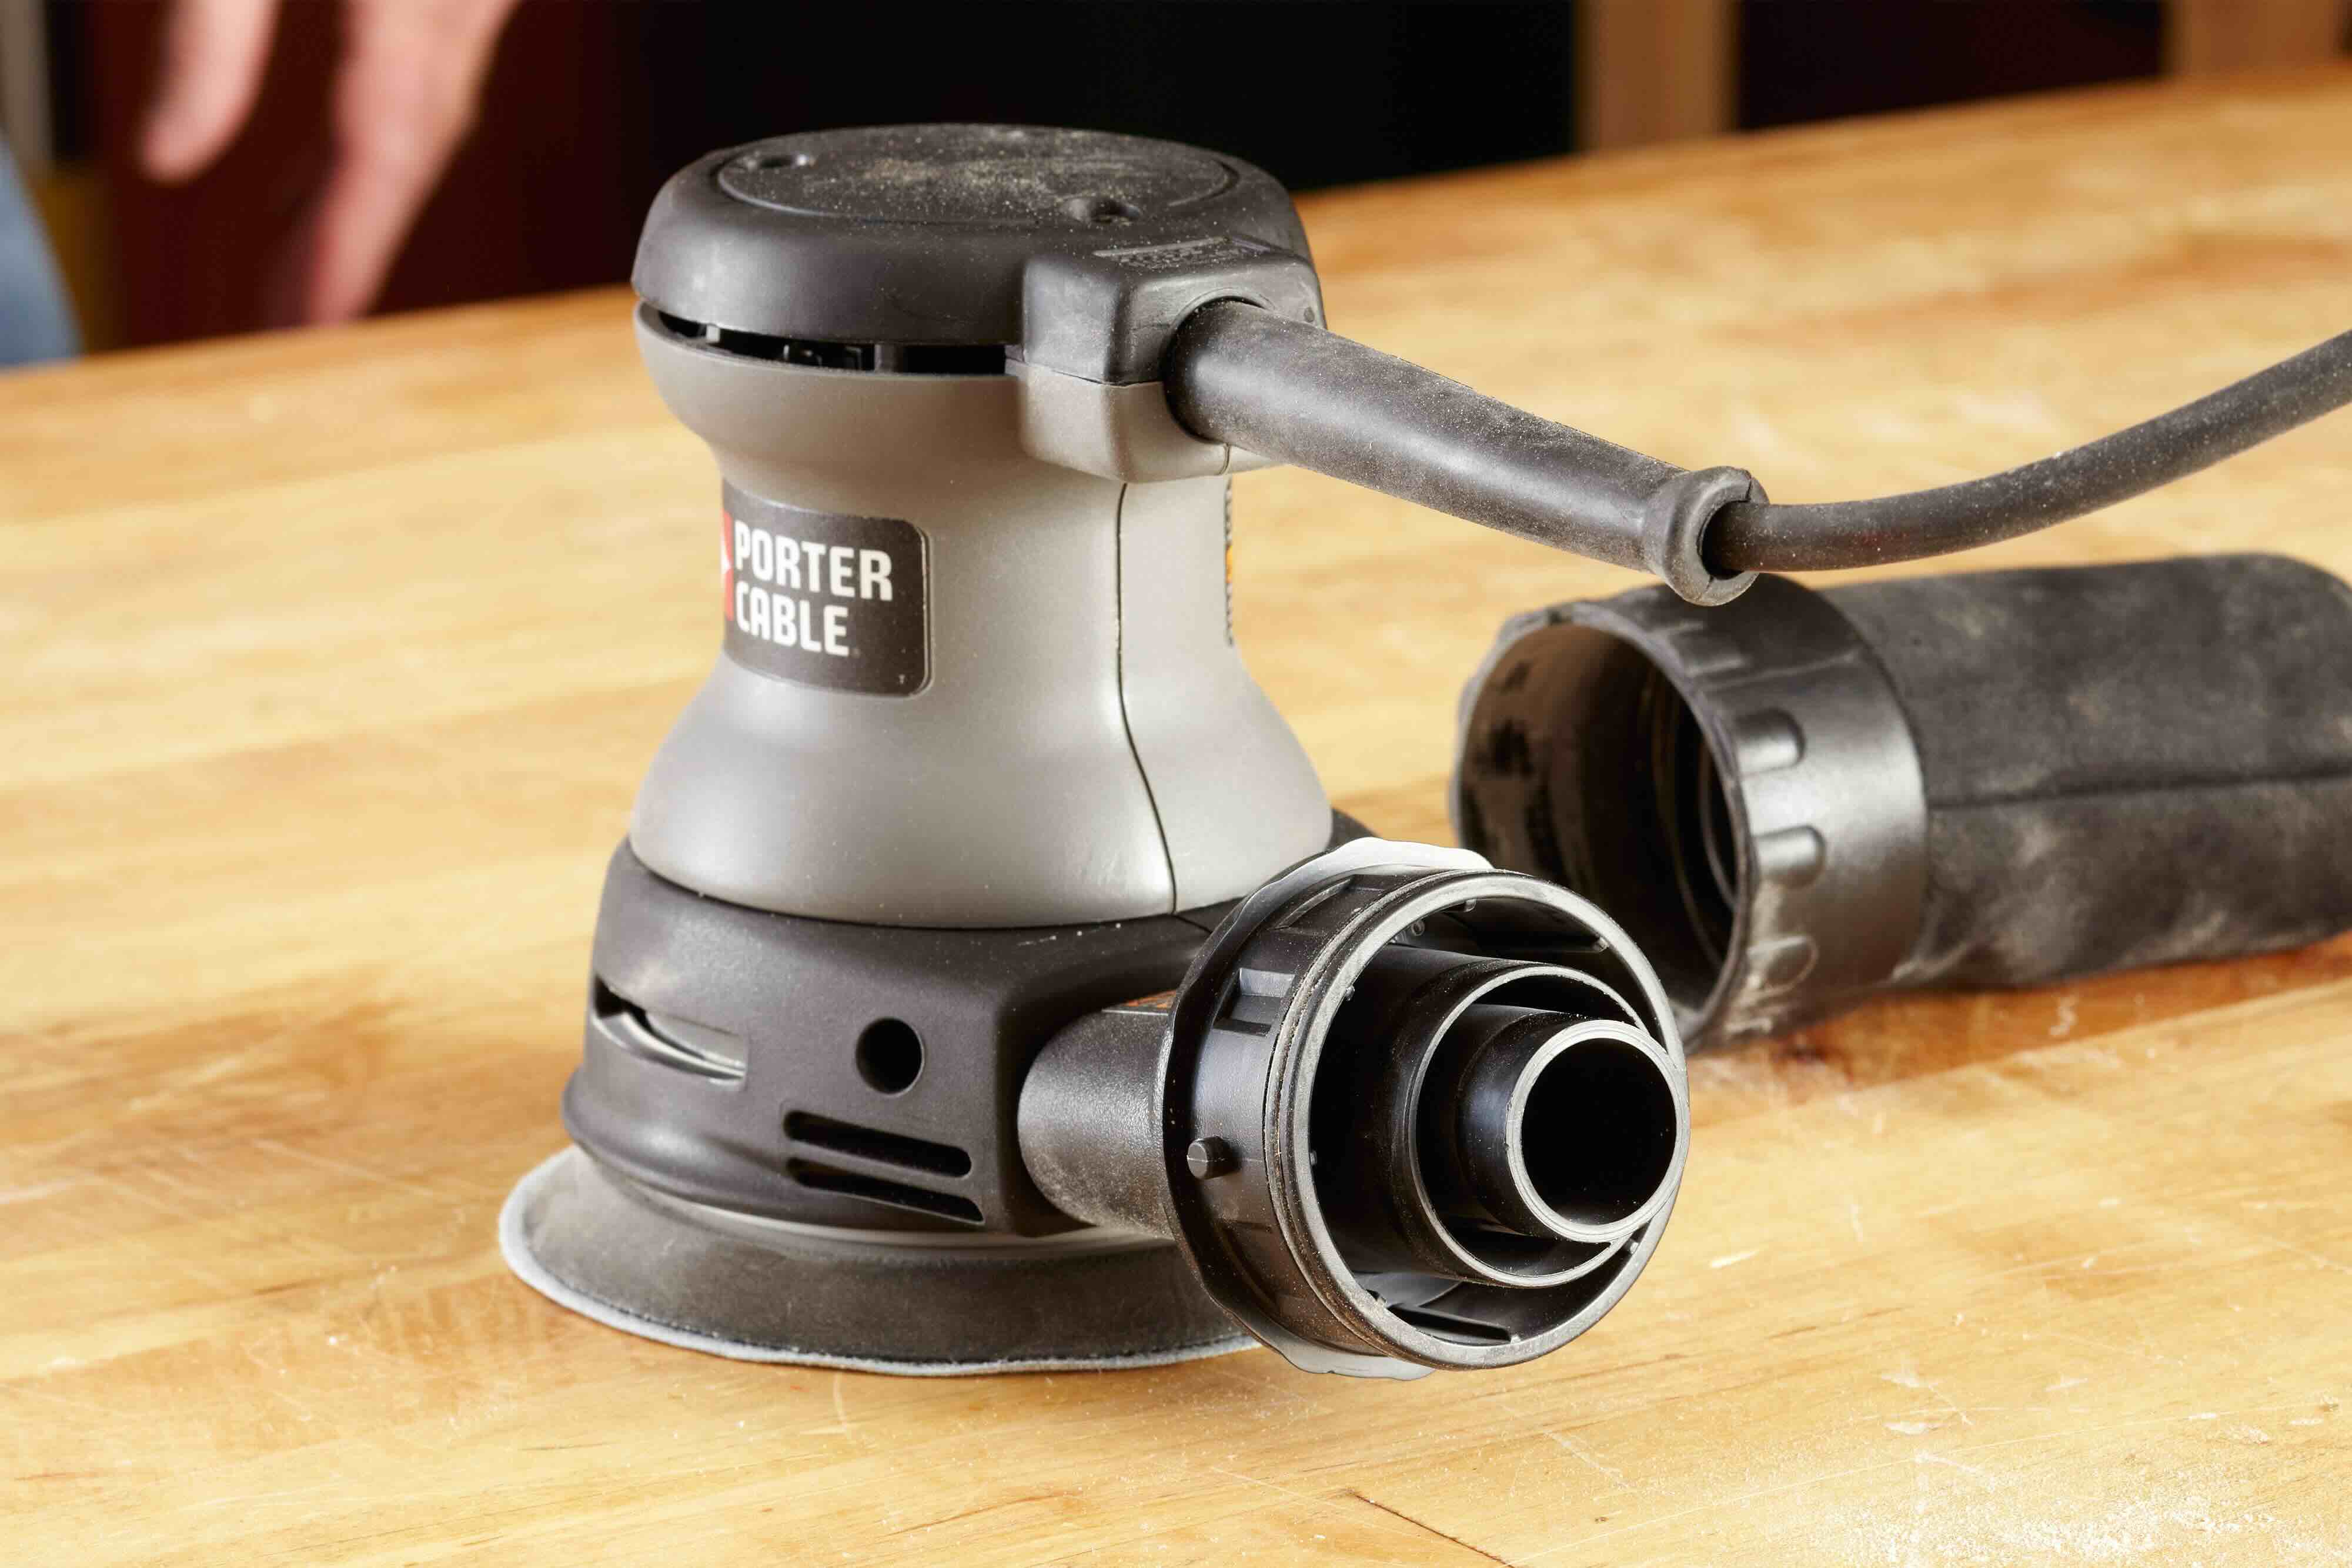
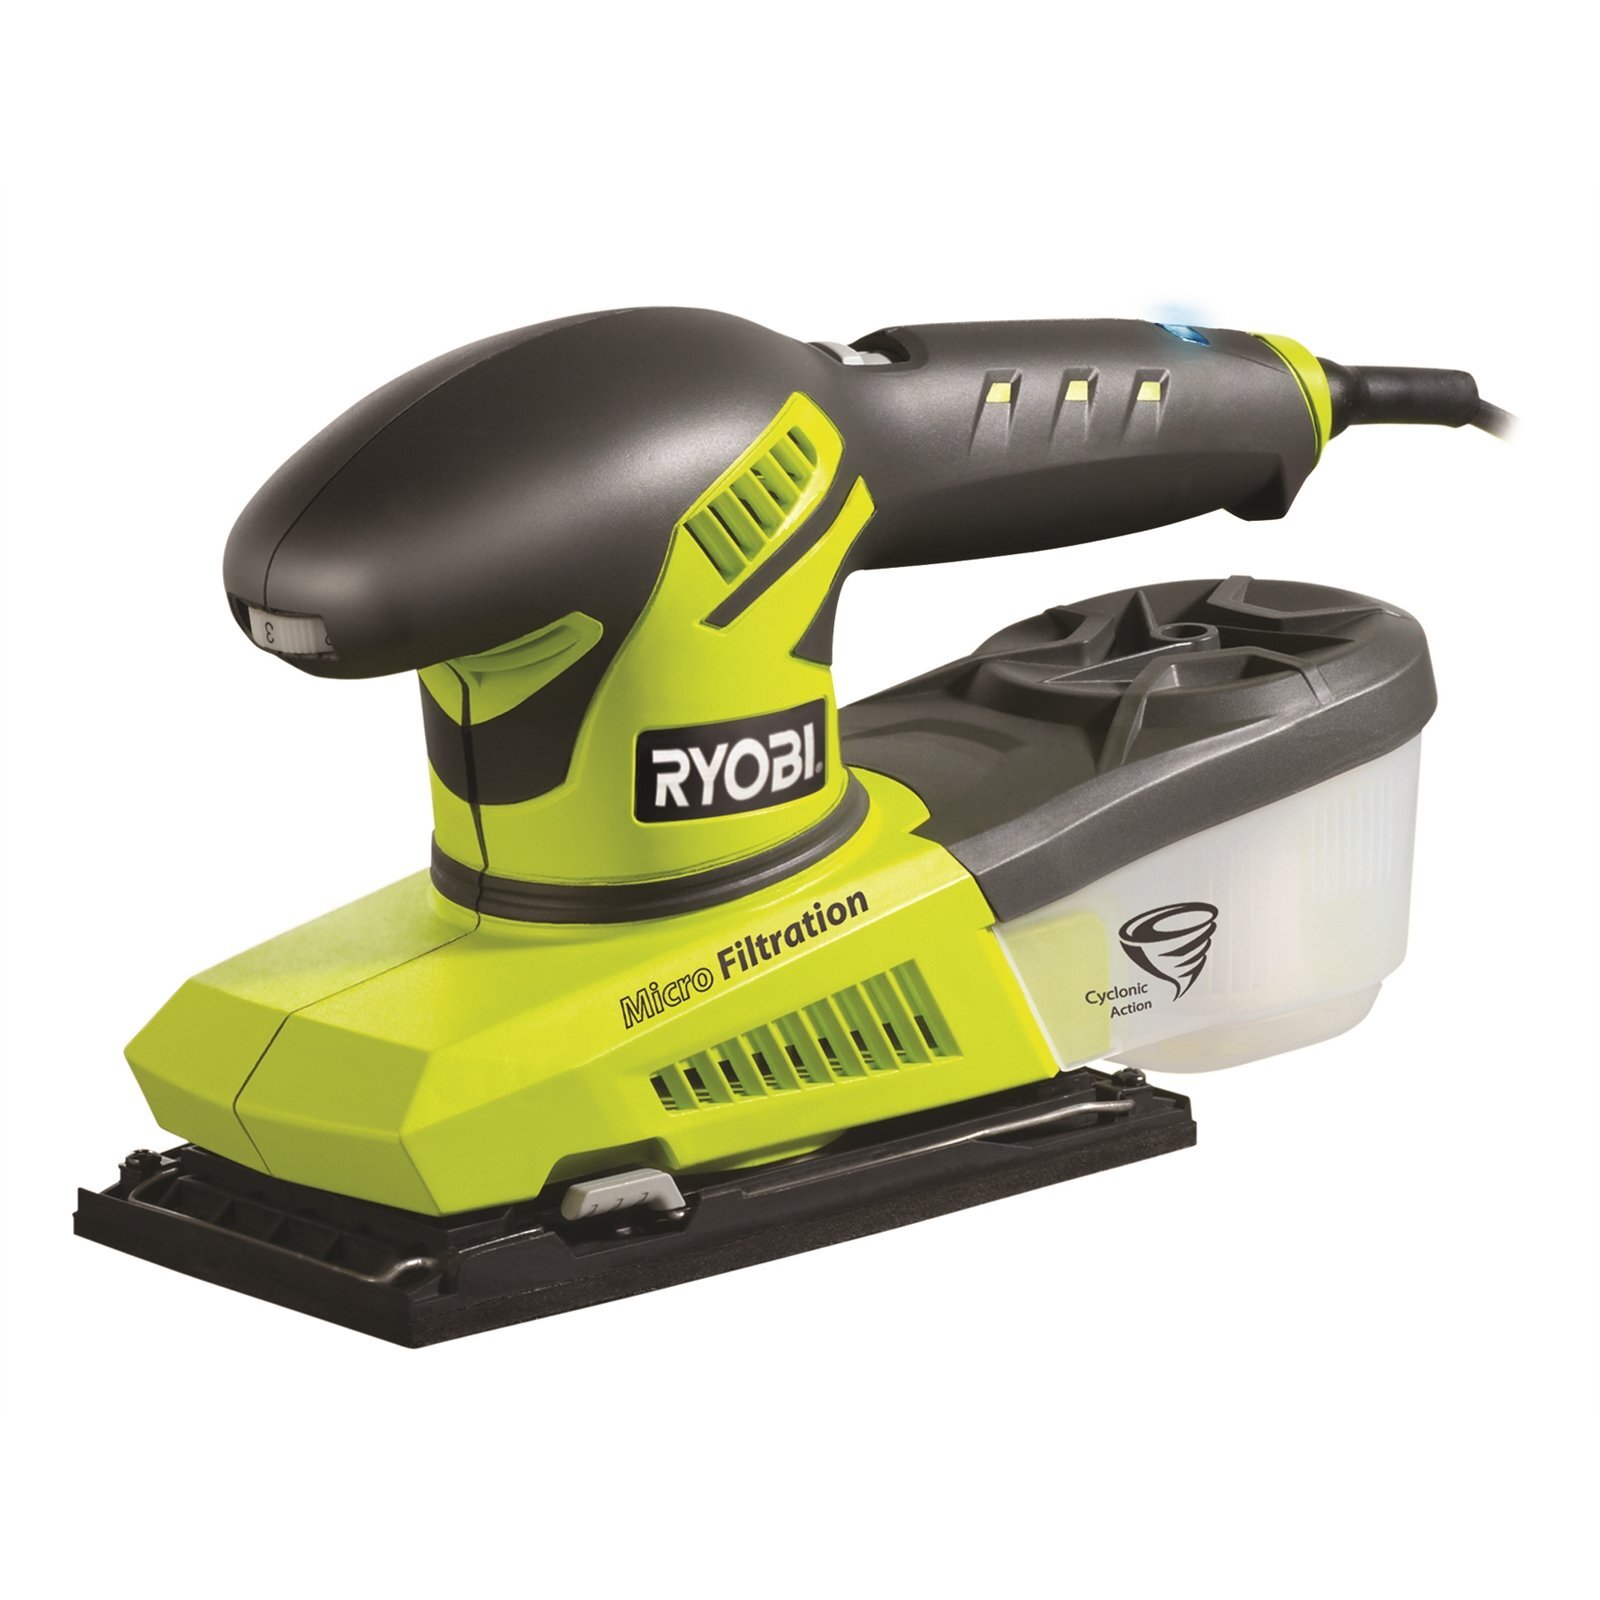
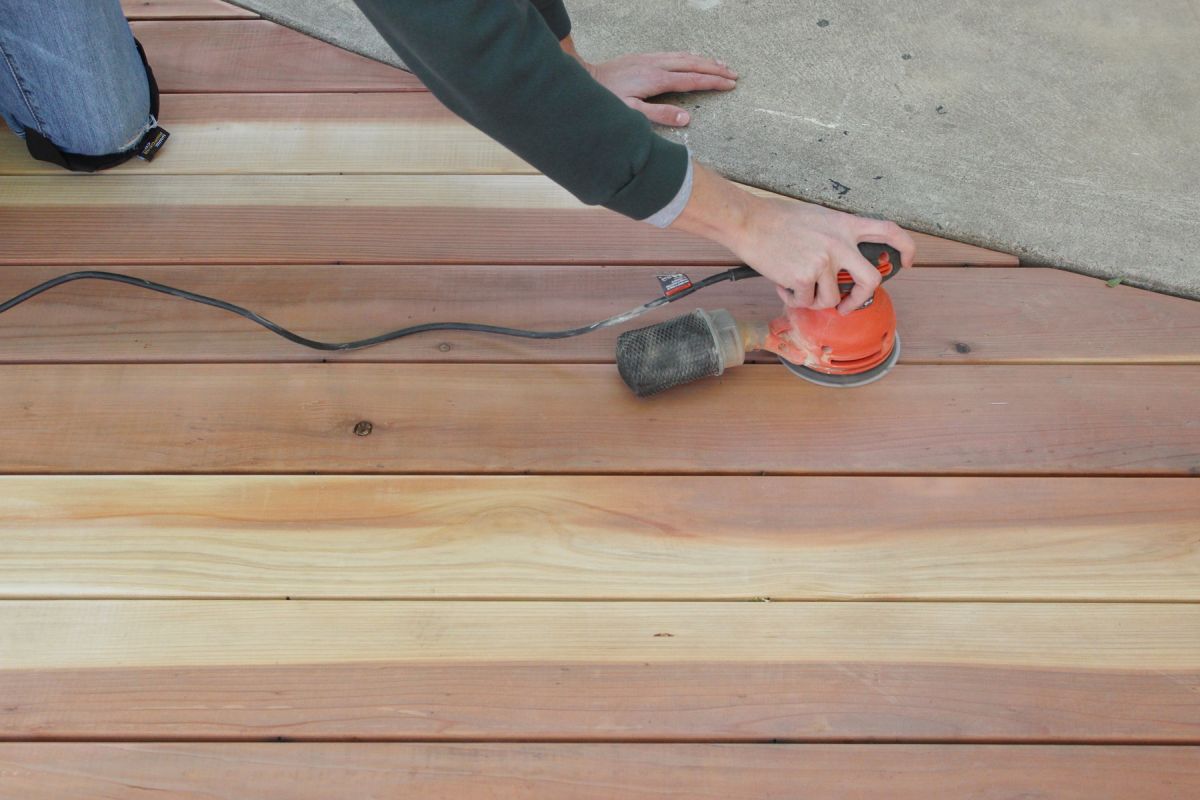
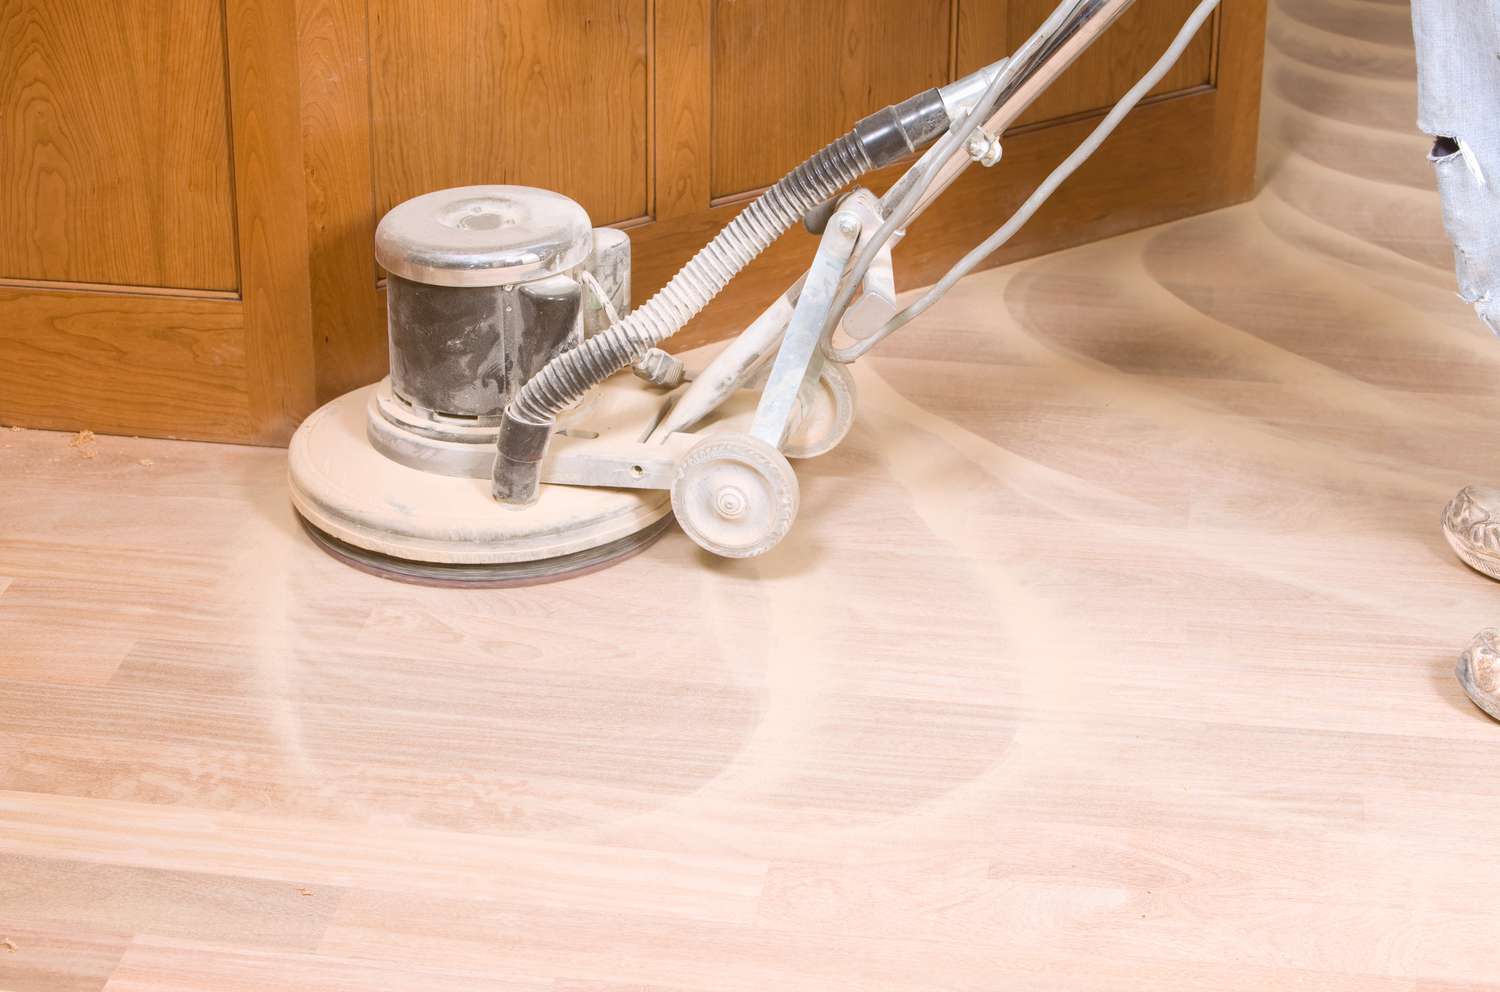
Before delving into the intricacies of changing the sandpaper on a belt sander, it’s essential to grasp the fundamentals of this powerful tool. A belt sander is a versatile and efficient device designed to sand and smooth various types of surfaces, including wood, metal, and even plastic. It consists of a continuous loop of sandpaper that rotates around two cylindrical drums, creating a rapid sanding action.
The primary components of a belt sander include the following:
- Motor: The motor is the powerhouse of the belt sander, driving the rotation of the sanding belt with precision and power. It’s crucial to select a belt sander with a motor that aligns with your specific project requirements.
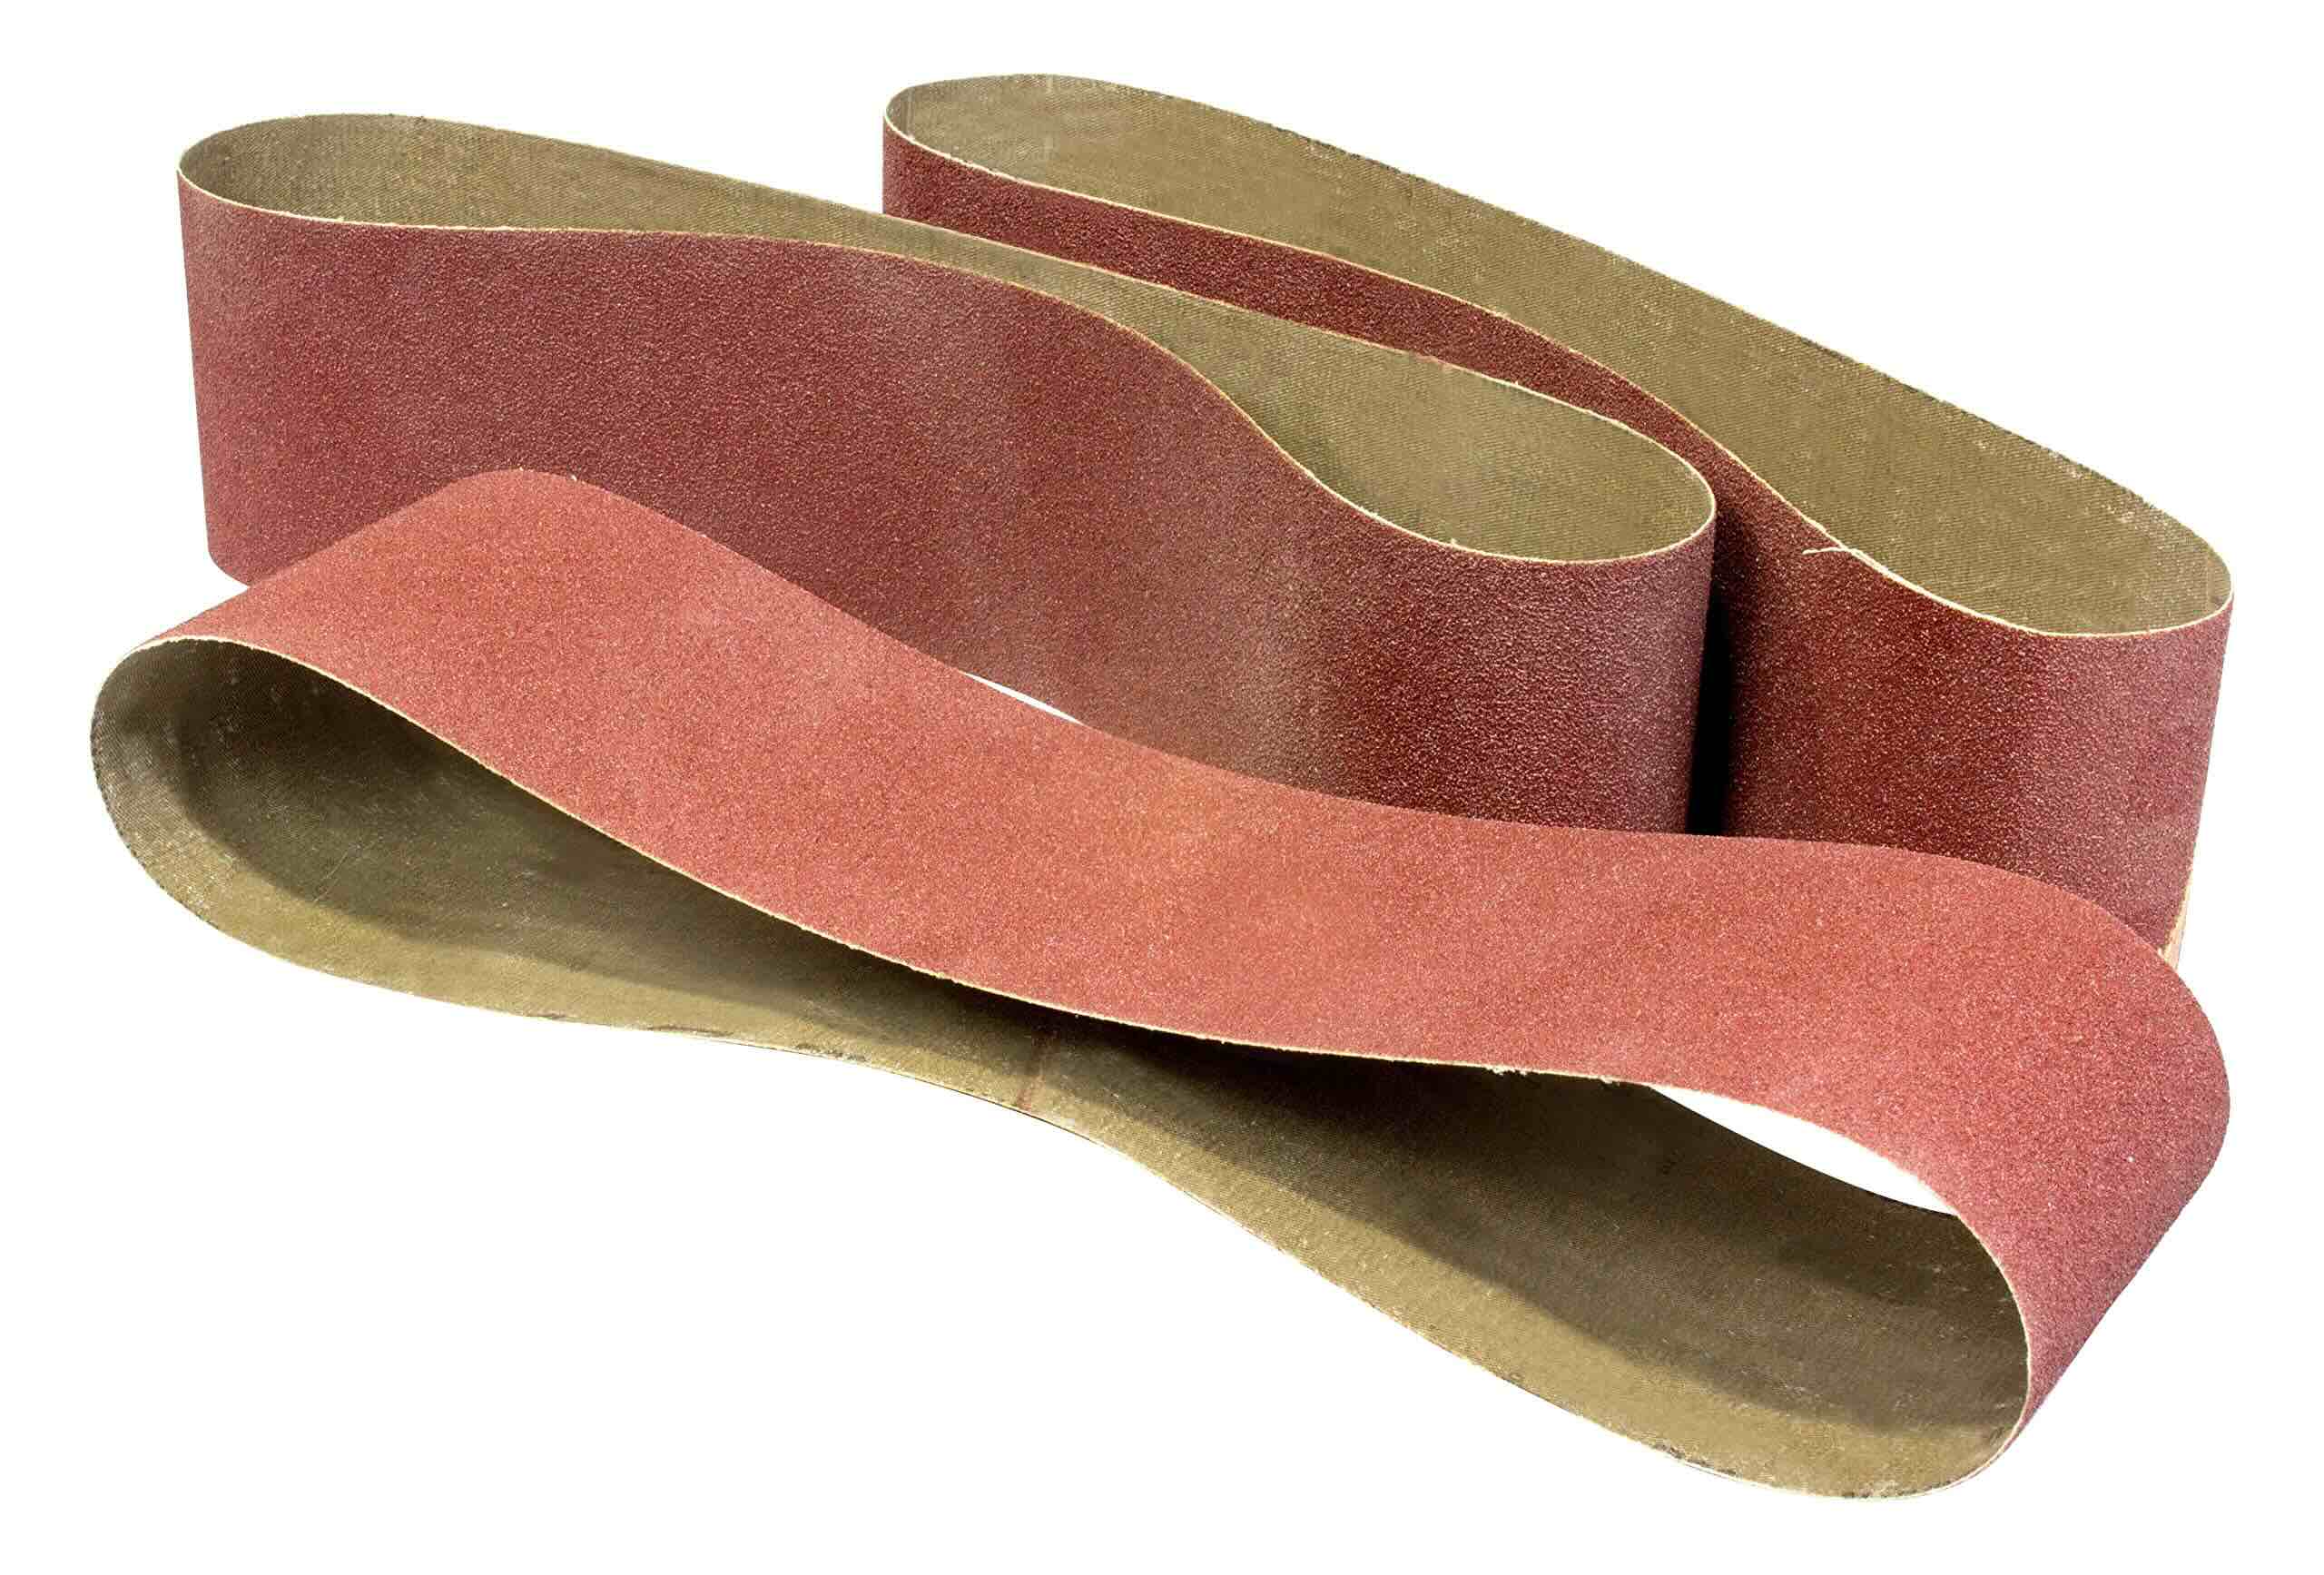
- Sanding Belt: This is the replaceable sandpaper that wraps around the sander’s drums. The quality and grit of the sanding belt significantly impact the smoothness and finish of your workpiece.
- Adjustment Mechanism: Most belt sanders feature an adjustable tensioning system that maintains the proper alignment and tension of the sanding belt, ensuring consistent performance.
- Dust Collection System: To minimize airborne dust and maintain a clean working environment, many belt sanders are equipped with a dust collection mechanism.
When it comes to selecting the right sandpaper for your belt sander, it’s crucial to consider the grit, material, and size. Grit refers to the coarseness of the sandpaper, with lower grit numbers suitable for rough sanding and higher grit numbers ideal for fine finishing. Additionally, the material of the sandpaper should align with the type of surface you intend to sand, whether it’s wood, metal, or other materials.
By understanding the key components and considerations associated with belt sanders, you’ll be better equipped to navigate the process of changing the sandpaper with confidence and precision. Now, let’s move on to the practical steps involved in replacing the sandpaper on your belt sander.
Steps to Change Sandpaper
Changing the sandpaper on a belt sander may seem daunting at first, but with the right approach, it becomes a straightforward task. Follow these steps to replace the sandpaper on your belt sander effectively:
- Prepare Your Workspace: Start by unplugging the belt sander to ensure safety. Set up a clean and well-lit workspace, preferably with a sturdy table or workbench to support the sander during the sandpaper replacement process.
- Release the Tension: Most belt sanders are equipped with a tension release lever or mechanism. Activate this feature to release the tension on the sanding belt, allowing for easy removal.
- Remove the Old Sandpaper: Carefully slide off the old sanding belt from the sander’s drums. Take note of the direction of the belt rotation, as you’ll need to install the new sandpaper in the same orientation.
- Prepare the New Sandpaper: Unroll the new sanding belt and ensure that it matches the size and specifications recommended for your belt sander. Align the belt with the sander’s drums, ensuring that the grit side of the sandpaper faces outward for proper sanding action.
- Secure the New Sandpaper: Gently slide the new sanding belt onto the drums, making sure it’s positioned evenly and snugly. Engage the tension release lever to apply tension to the sandpaper, maintaining the appropriate level of tightness for optimal performance.
- Test the Alignment: Before powering up the sander, visually inspect the alignment of the sanding belt to ensure it’s centered and properly positioned on the drums. This step is crucial for preventing uneven wear and potential damage to the sander.
- Power Up and Test: Once you’ve confirmed the proper alignment, plug in the belt sander and power it up. Run the sander briefly to ensure that the new sandpaper operates smoothly and without any noticeable vibrations or irregularities.
By following these steps, you can change the sandpaper on your belt sander efficiently and with confidence. Remember to refer to the manufacturer’s guidelines and recommendations specific to your sander model for additional insights into the sandpaper replacement process.
Before changing the sandpaper on a belt sander, make sure the sander is unplugged. Release the tension on the sanding belt, remove the old belt, and replace it with a new one, making sure it’s centered and the tension is adjusted properly.
Safety Precautions
When working with a belt sander, prioritizing safety is paramount to prevent accidents and ensure a secure working environment. Here are essential safety precautions to adhere to when changing the sandpaper on your belt sander:
- Power Off and Unplug: Before initiating any maintenance or adjustments, always power off the belt sander and unplug it from the electrical outlet. This prevents accidental activation and reduces the risk of electric shock.
- Allow Cooling Time: If the belt sander has been in use, allow it to cool down before attempting to change the sandpaper. The sander’s components, particularly the sanding belt and drums, can become hot during operation and may cause burns if handled immediately after use.
- Wear Protective Gear: Utilize appropriate personal protective equipment, including safety goggles or a face shield to shield your eyes from airborne debris, and ear protection to minimize the impact of the sander’s noise levels on your hearing.
- Maintain Stability: Secure the belt sander on a stable surface, such as a workbench or table, to prevent accidental tipping or movement during the sandpaper replacement process.
- Handle with Care: When removing the old sandpaper and installing the new belt, handle the sanding belt and sander components with caution to avoid potential injuries from sharp edges or moving parts.
- Follow Manufacturer’s Guidelines: Refer to the user manual or instructional materials provided by the belt sander’s manufacturer for specific safety instructions and recommendations related to maintenance and sandpaper replacement.
- Inspect for Damage: Before using the new sandpaper, inspect the sander’s components for any signs of damage or wear that may affect its safe operation. Address any issues promptly to maintain the sander’s integrity.
- Proper Ventilation: If working in an enclosed space, ensure adequate ventilation to minimize the accumulation of dust and debris. Consider using a dust collection system or wearing a respirator for improved air quality.
By adhering to these safety precautions, you can mitigate potential risks and create a secure working environment when changing the sandpaper on your belt sander. Safety should always remain a top priority, enhancing the overall woodworking experience while safeguarding your well-being.
Conclusion
Congratulations! You’ve now gained valuable insights into the intricacies of belt sanders and the essential process of changing sandpaper. By understanding the mechanics of this versatile tool, mastering the steps for sandpaper replacement, and prioritizing safety precautions, you’re well-equipped to maintain your belt sander for optimal performance and longevity.
As you embark on your woodworking endeavors, remember that the quality of your sanding work can significantly impact the overall finish and refinement of your projects. With the ability to seamlessly change the sandpaper on your belt sander, you have unlocked a fundamental skill that will elevate the precision and smoothness of your woodworking creations.
Furthermore, by prioritizing safety and adhering to best practices when handling your belt sander, you’re fostering a secure and conducive working environment. This not only safeguards your well-being but also enhances the overall woodworking experience, allowing you to focus on your craft with confidence and peace of mind.
Now, armed with the knowledge and expertise to navigate the intricacies of belt sanders and sandpaper replacement, you’re poised to embark on your woodworking projects with renewed enthusiasm and proficiency. Whether you’re refining furniture, crafting intricate designs, or tackling DIY home improvement tasks, your mastery of the belt sander’s sandpaper replacement process is a valuable asset in your woodworking arsenal.
So, go forth and unleash your creativity, knowing that you possess the skills to harness the full potential of your belt sander, creating impeccably smooth and polished surfaces that elevate your woodworking endeavors to new heights.
Frequently Asked Questions about How To Change Sandpaper On A Belt Sander
Was this page helpful?
At Storables.com, we guarantee accurate and reliable information. Our content, validated by Expert Board Contributors, is crafted following stringent Editorial Policies. We're committed to providing you with well-researched, expert-backed insights for all your informational needs.


0 thoughts on “How To Change Sandpaper On A Belt Sander”