Home>Renovation & DIY>Tools & Equipment>How To Stick A Sandpaper To Orbital Sander
Tools & Equipment
How To Stick A Sandpaper To Orbital Sander
Published: December 20, 2023
Learn how to properly attach sandpaper to your orbital sander with our step-by-step guide. Get the best results for your DIY projects with our tools and equipment tips.
(Many of the links in this article redirect to a specific reviewed product. Your purchase of these products through affiliate links helps to generate commission for Storables.com, at no extra cost. Learn more)
Introduction
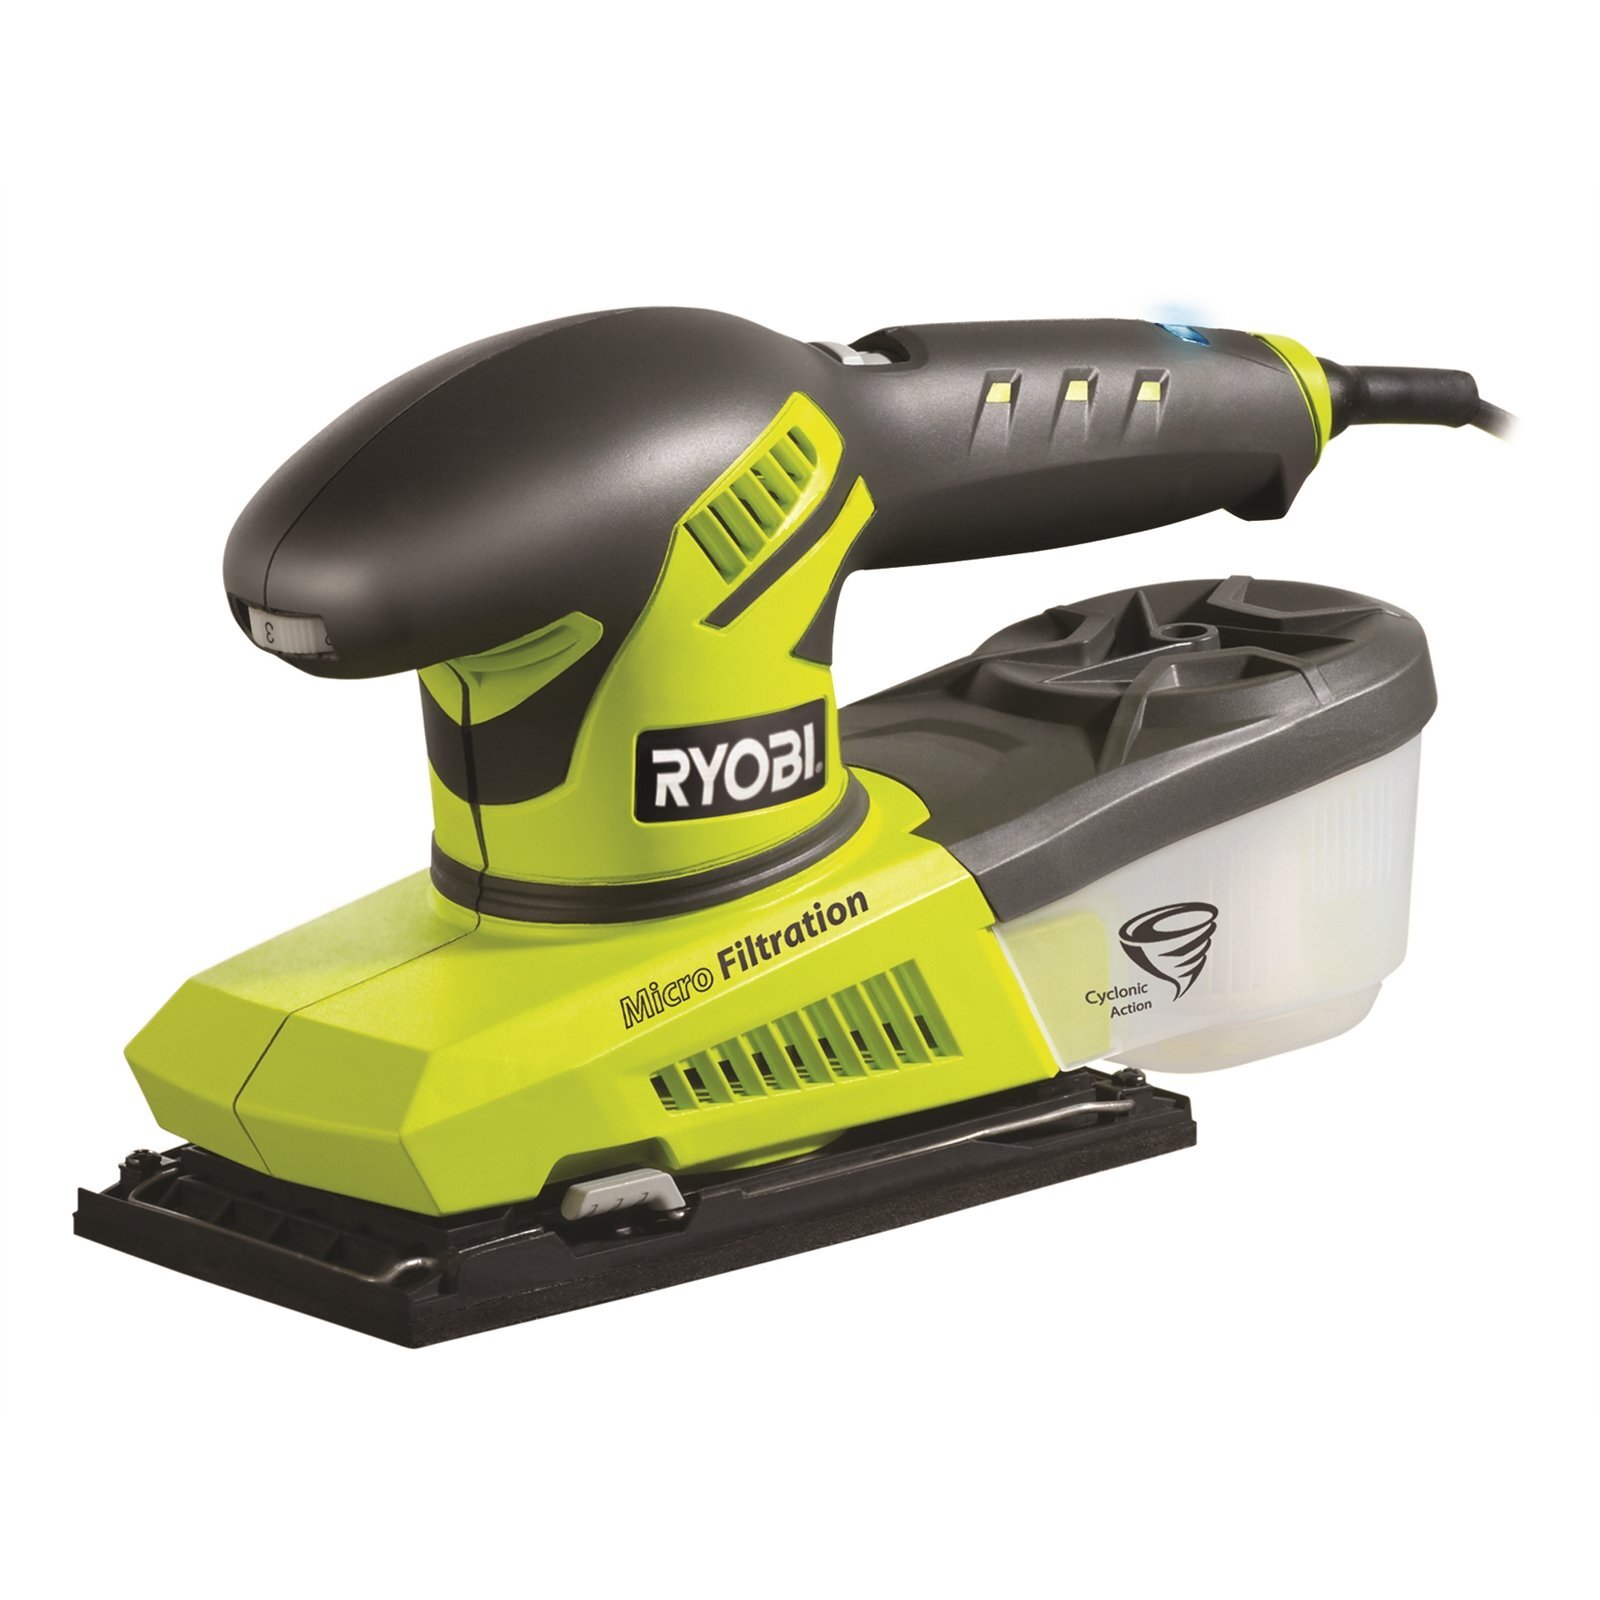
Welcome to the world of woodworking and DIY projects, where the orbital sander is a versatile tool that can make your sanding tasks a breeze. Whether you’re refinishing furniture, smoothing out rough surfaces, or preparing wood for finishing, the orbital sander is an essential ally in your workshop. However, to harness the full potential of this power tool, you need to know how to properly attach sandpaper to it. In this guide, we’ll walk you through the steps to effectively stick sandpaper to your orbital sander, ensuring that your sanding jobs are efficient and successful.
From selecting the right sandpaper to securely attaching it to your orbital sander, we’ll cover everything you need to know to achieve professional-quality results. So, let’s dive in and explore the ins and outs of preparing and using your orbital sander to its fullest potential.
Key Takeaways:
- Choose the right sandpaper grit and type for your project to achieve smooth and professional results with your orbital sander. Consider the material and project requirements when making your selection.
- Properly prepare and secure the sandpaper to your orbital sander to ensure efficient and safe sanding. Clean the sander, align the holes, and secure the sandpaper for optimal performance.
Read more: How To Use An Orbital Floor Sander
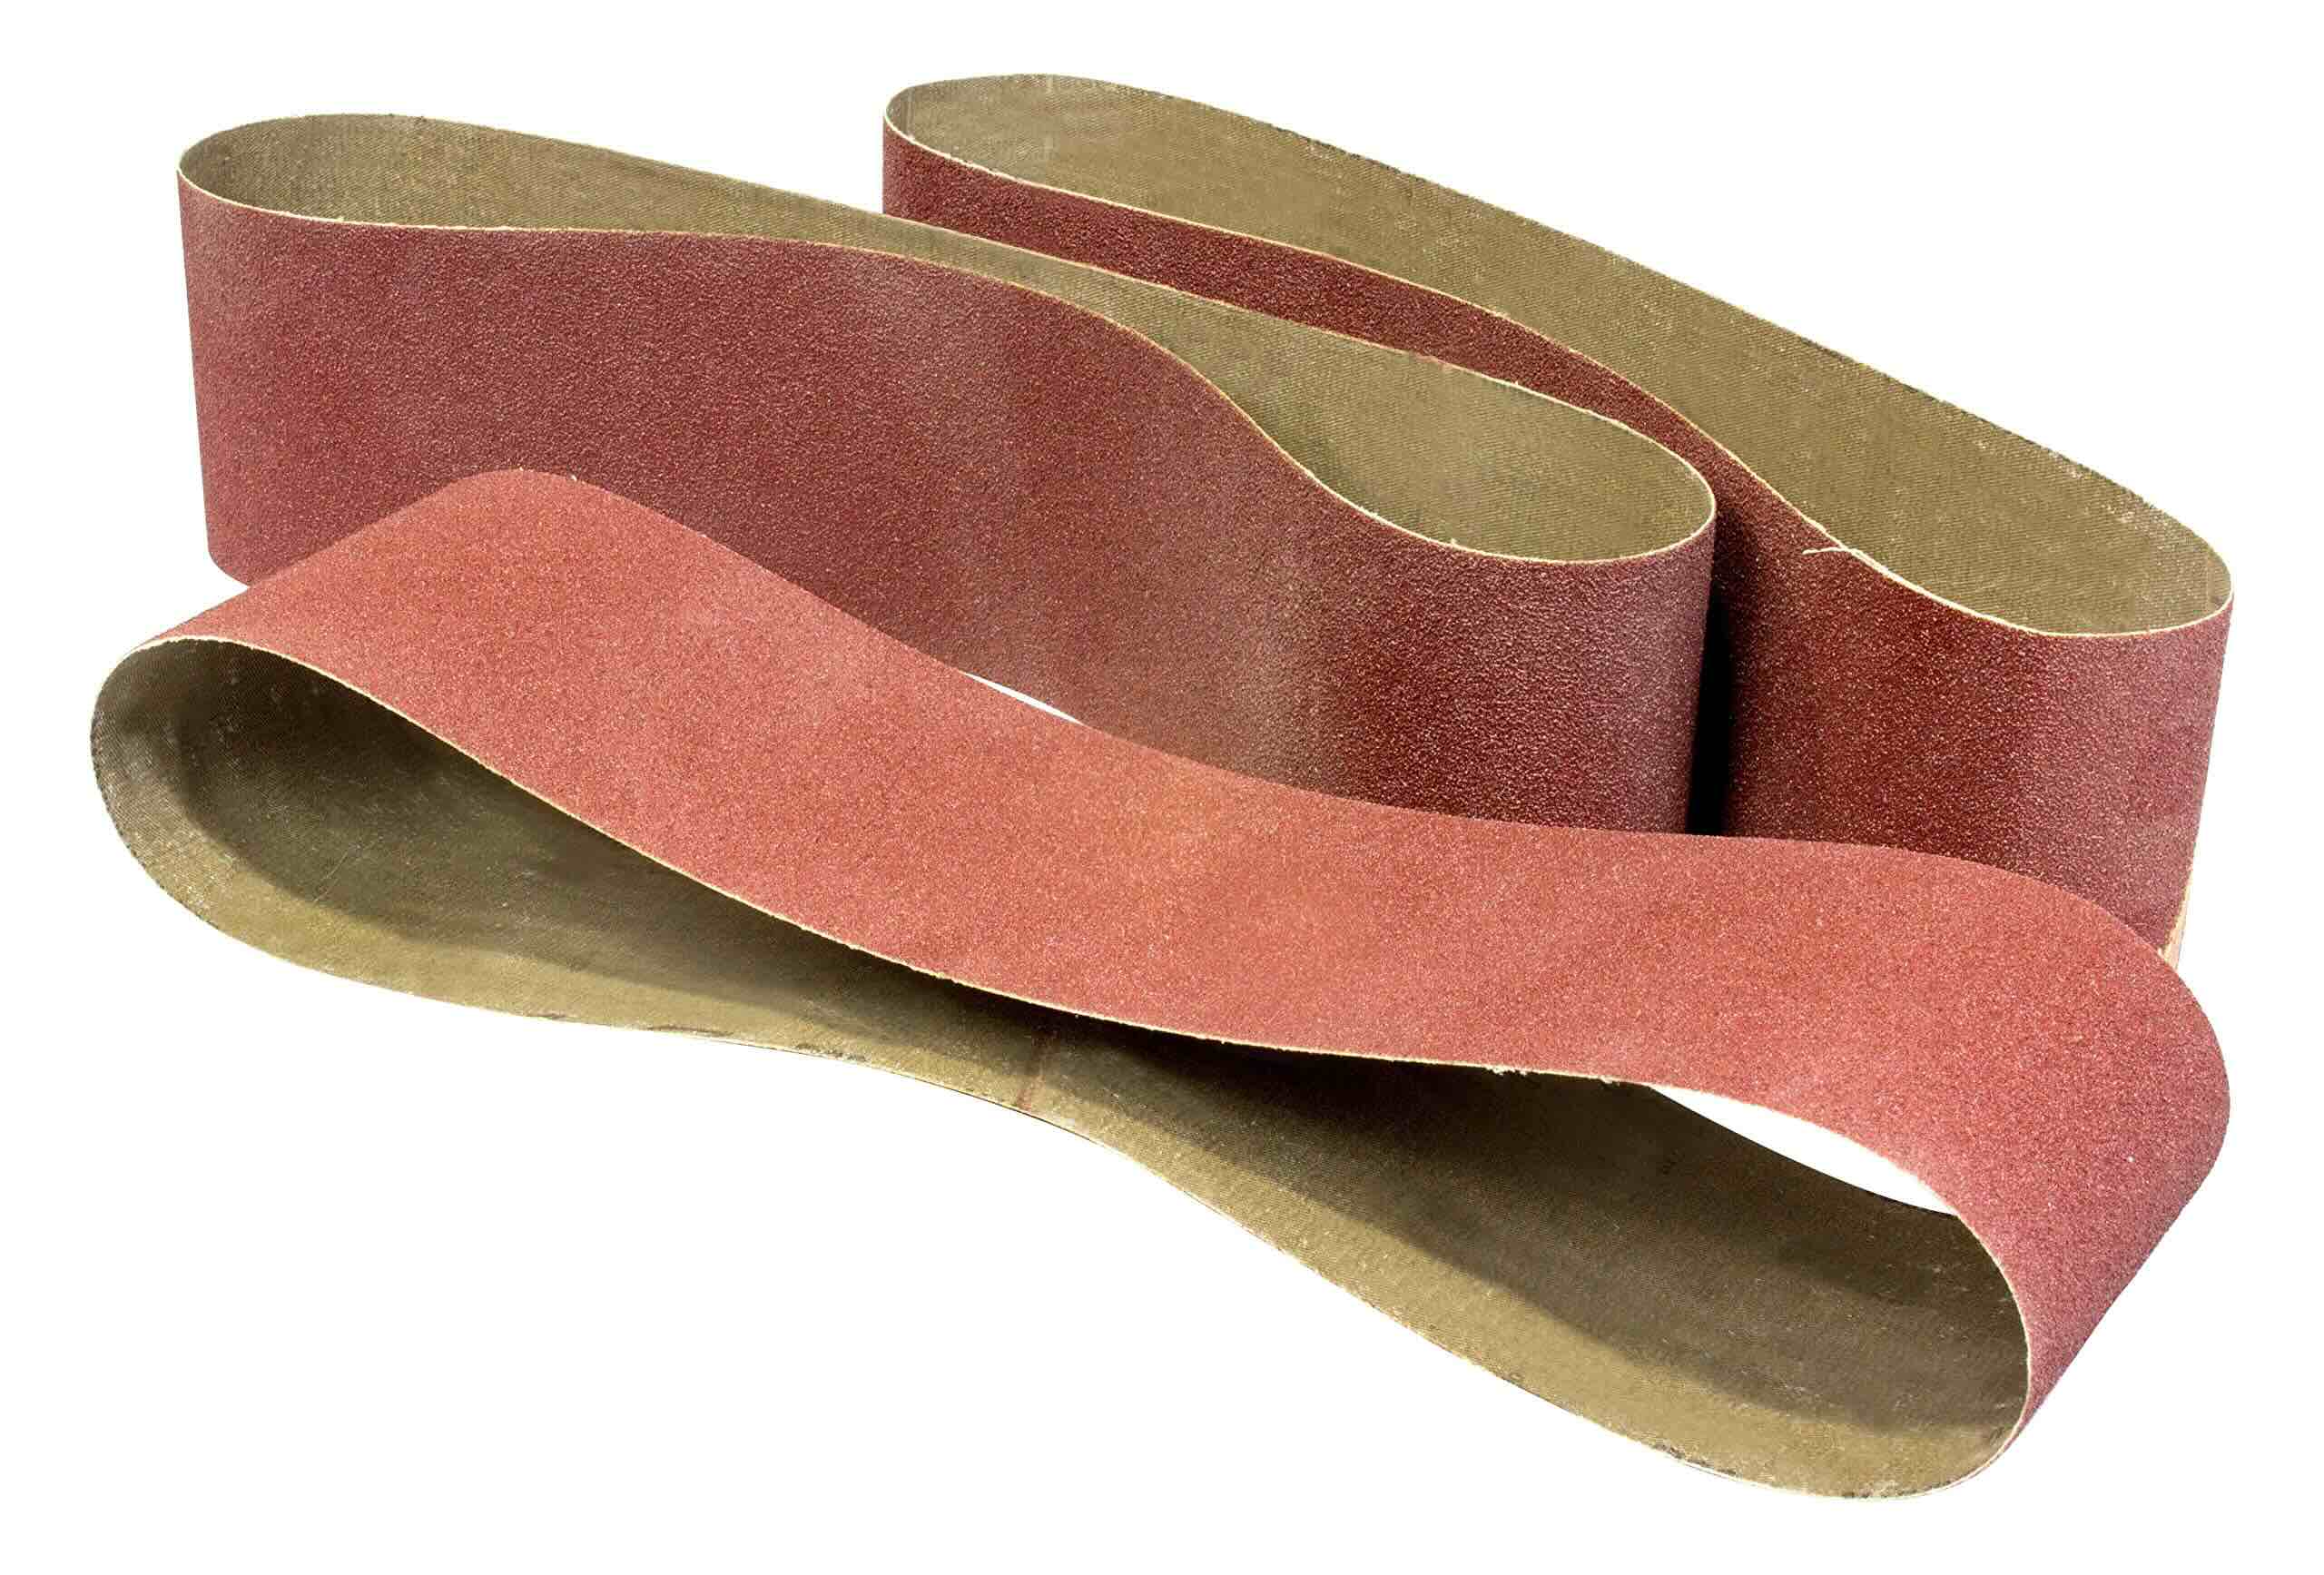
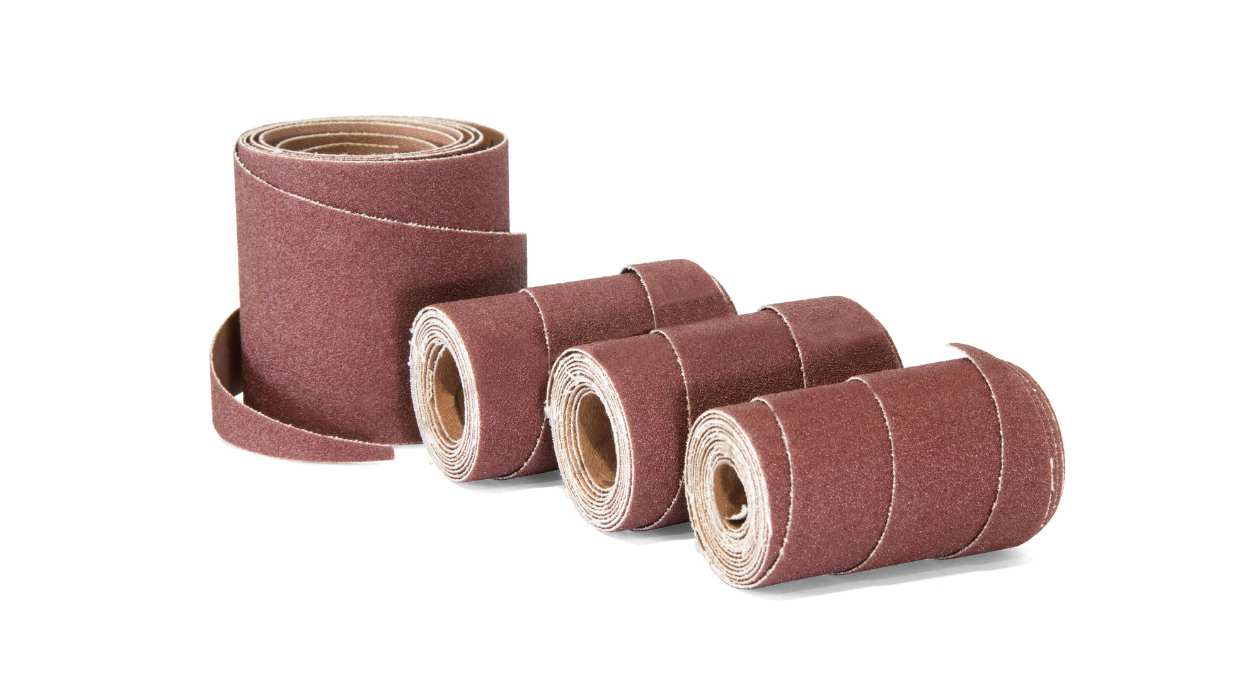
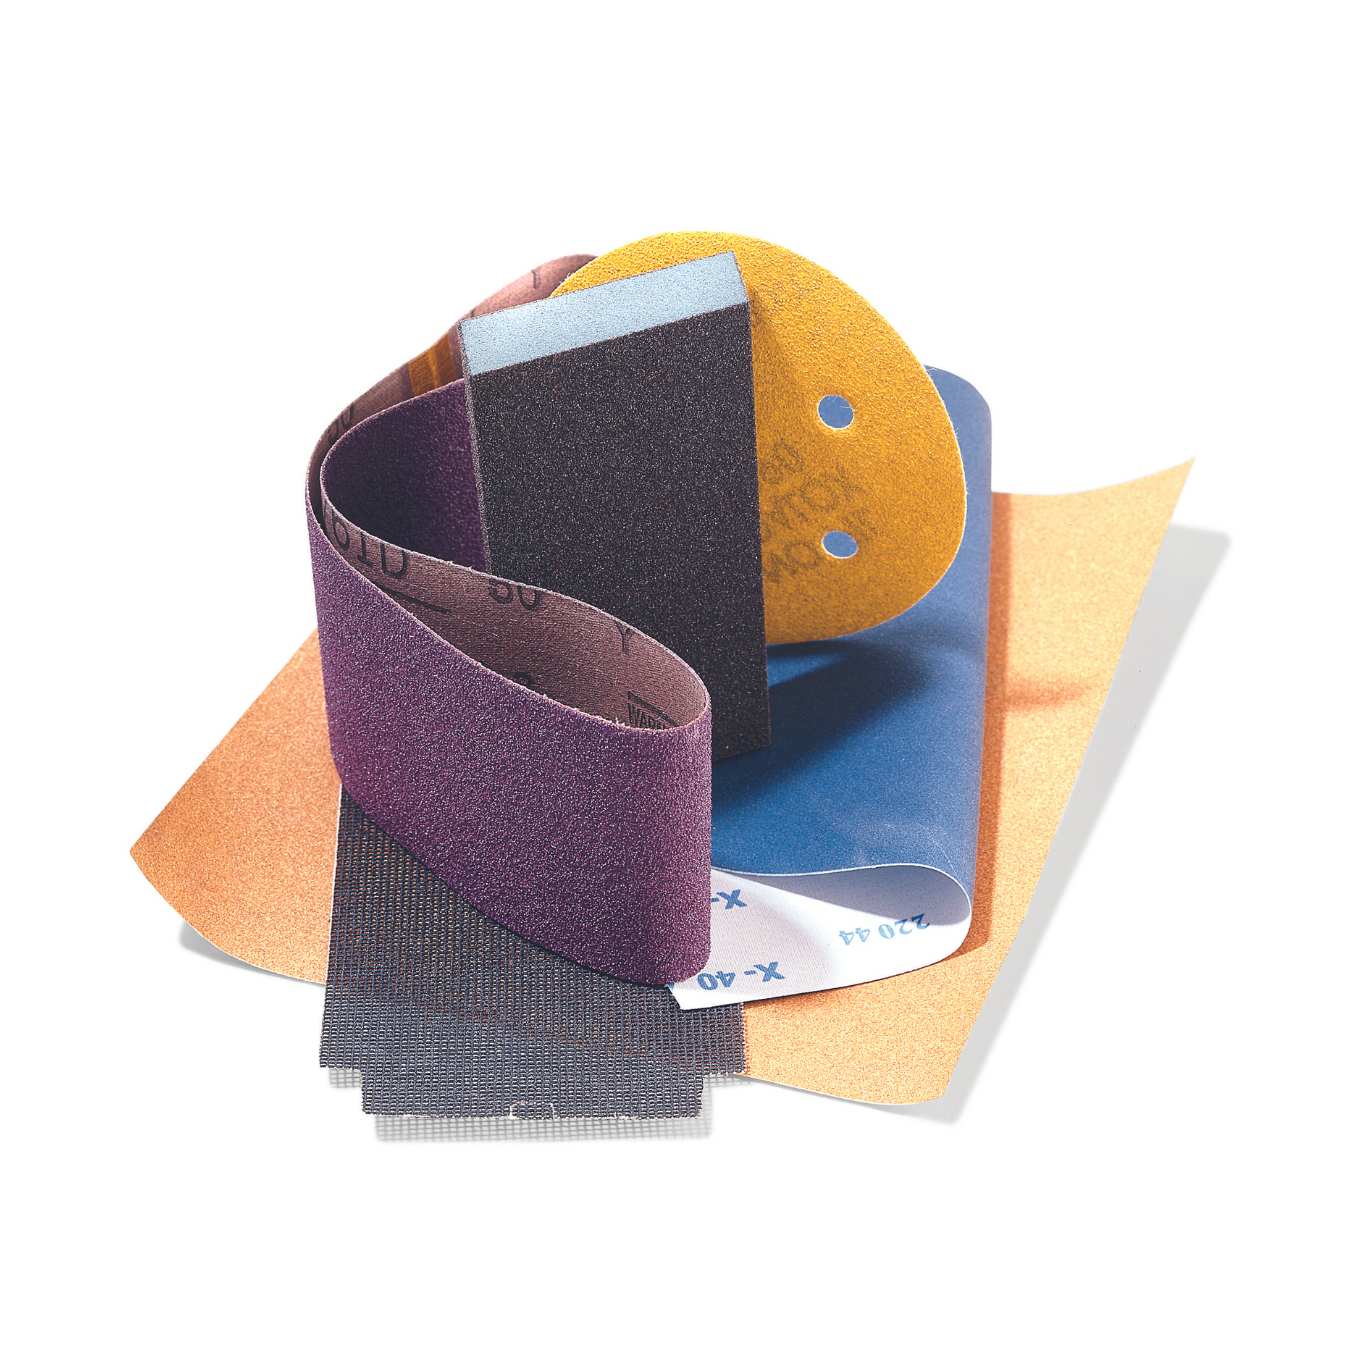
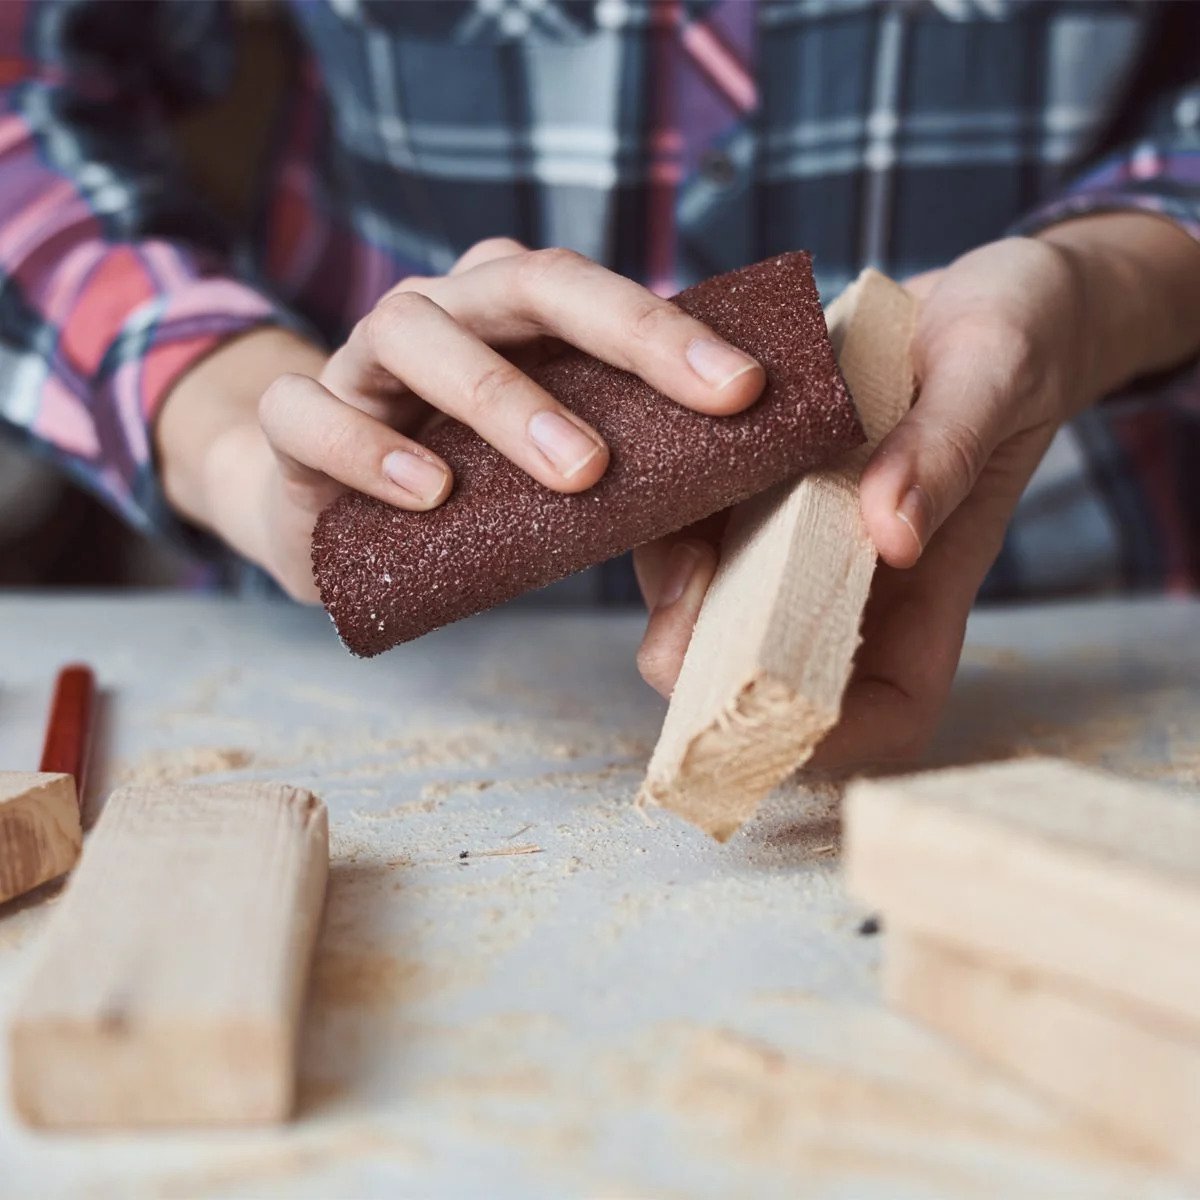
Choosing the Right Sandpaper
Before delving into the process of attaching sandpaper to your orbital sander, it’s crucial to understand the significance of choosing the right sandpaper for your specific project. Sandpaper comes in various grits, each serving a distinct purpose in the sanding process. The grit refers to the coarseness or fineness of the abrasive particles on the sandpaper. Lower grit numbers indicate coarser abrasives, while higher numbers represent finer abrasives.
When selecting sandpaper for your orbital sander, consider the following factors:
- Grit Size: Determine the level of coarseness or fineness required for your project. Coarser grits, such as 40-60, are suitable for heavy material removal, while finer grits, like 180-220, are ideal for smoothing and finishing.
- Sanding Material: Different materials may require specific types of sandpaper. For wood, silicon carbide or aluminum oxide abrasives are commonly used, while metal may necessitate zirconia alumina or ceramic abrasives.
- Project Requirements: Consider the nature of your project. Are you removing old finishes, smoothing rough surfaces, or preparing for painting or staining?
By carefully considering these factors, you can choose the most appropriate sandpaper for your orbital sander, ensuring optimal results and efficiency in your sanding endeavors.
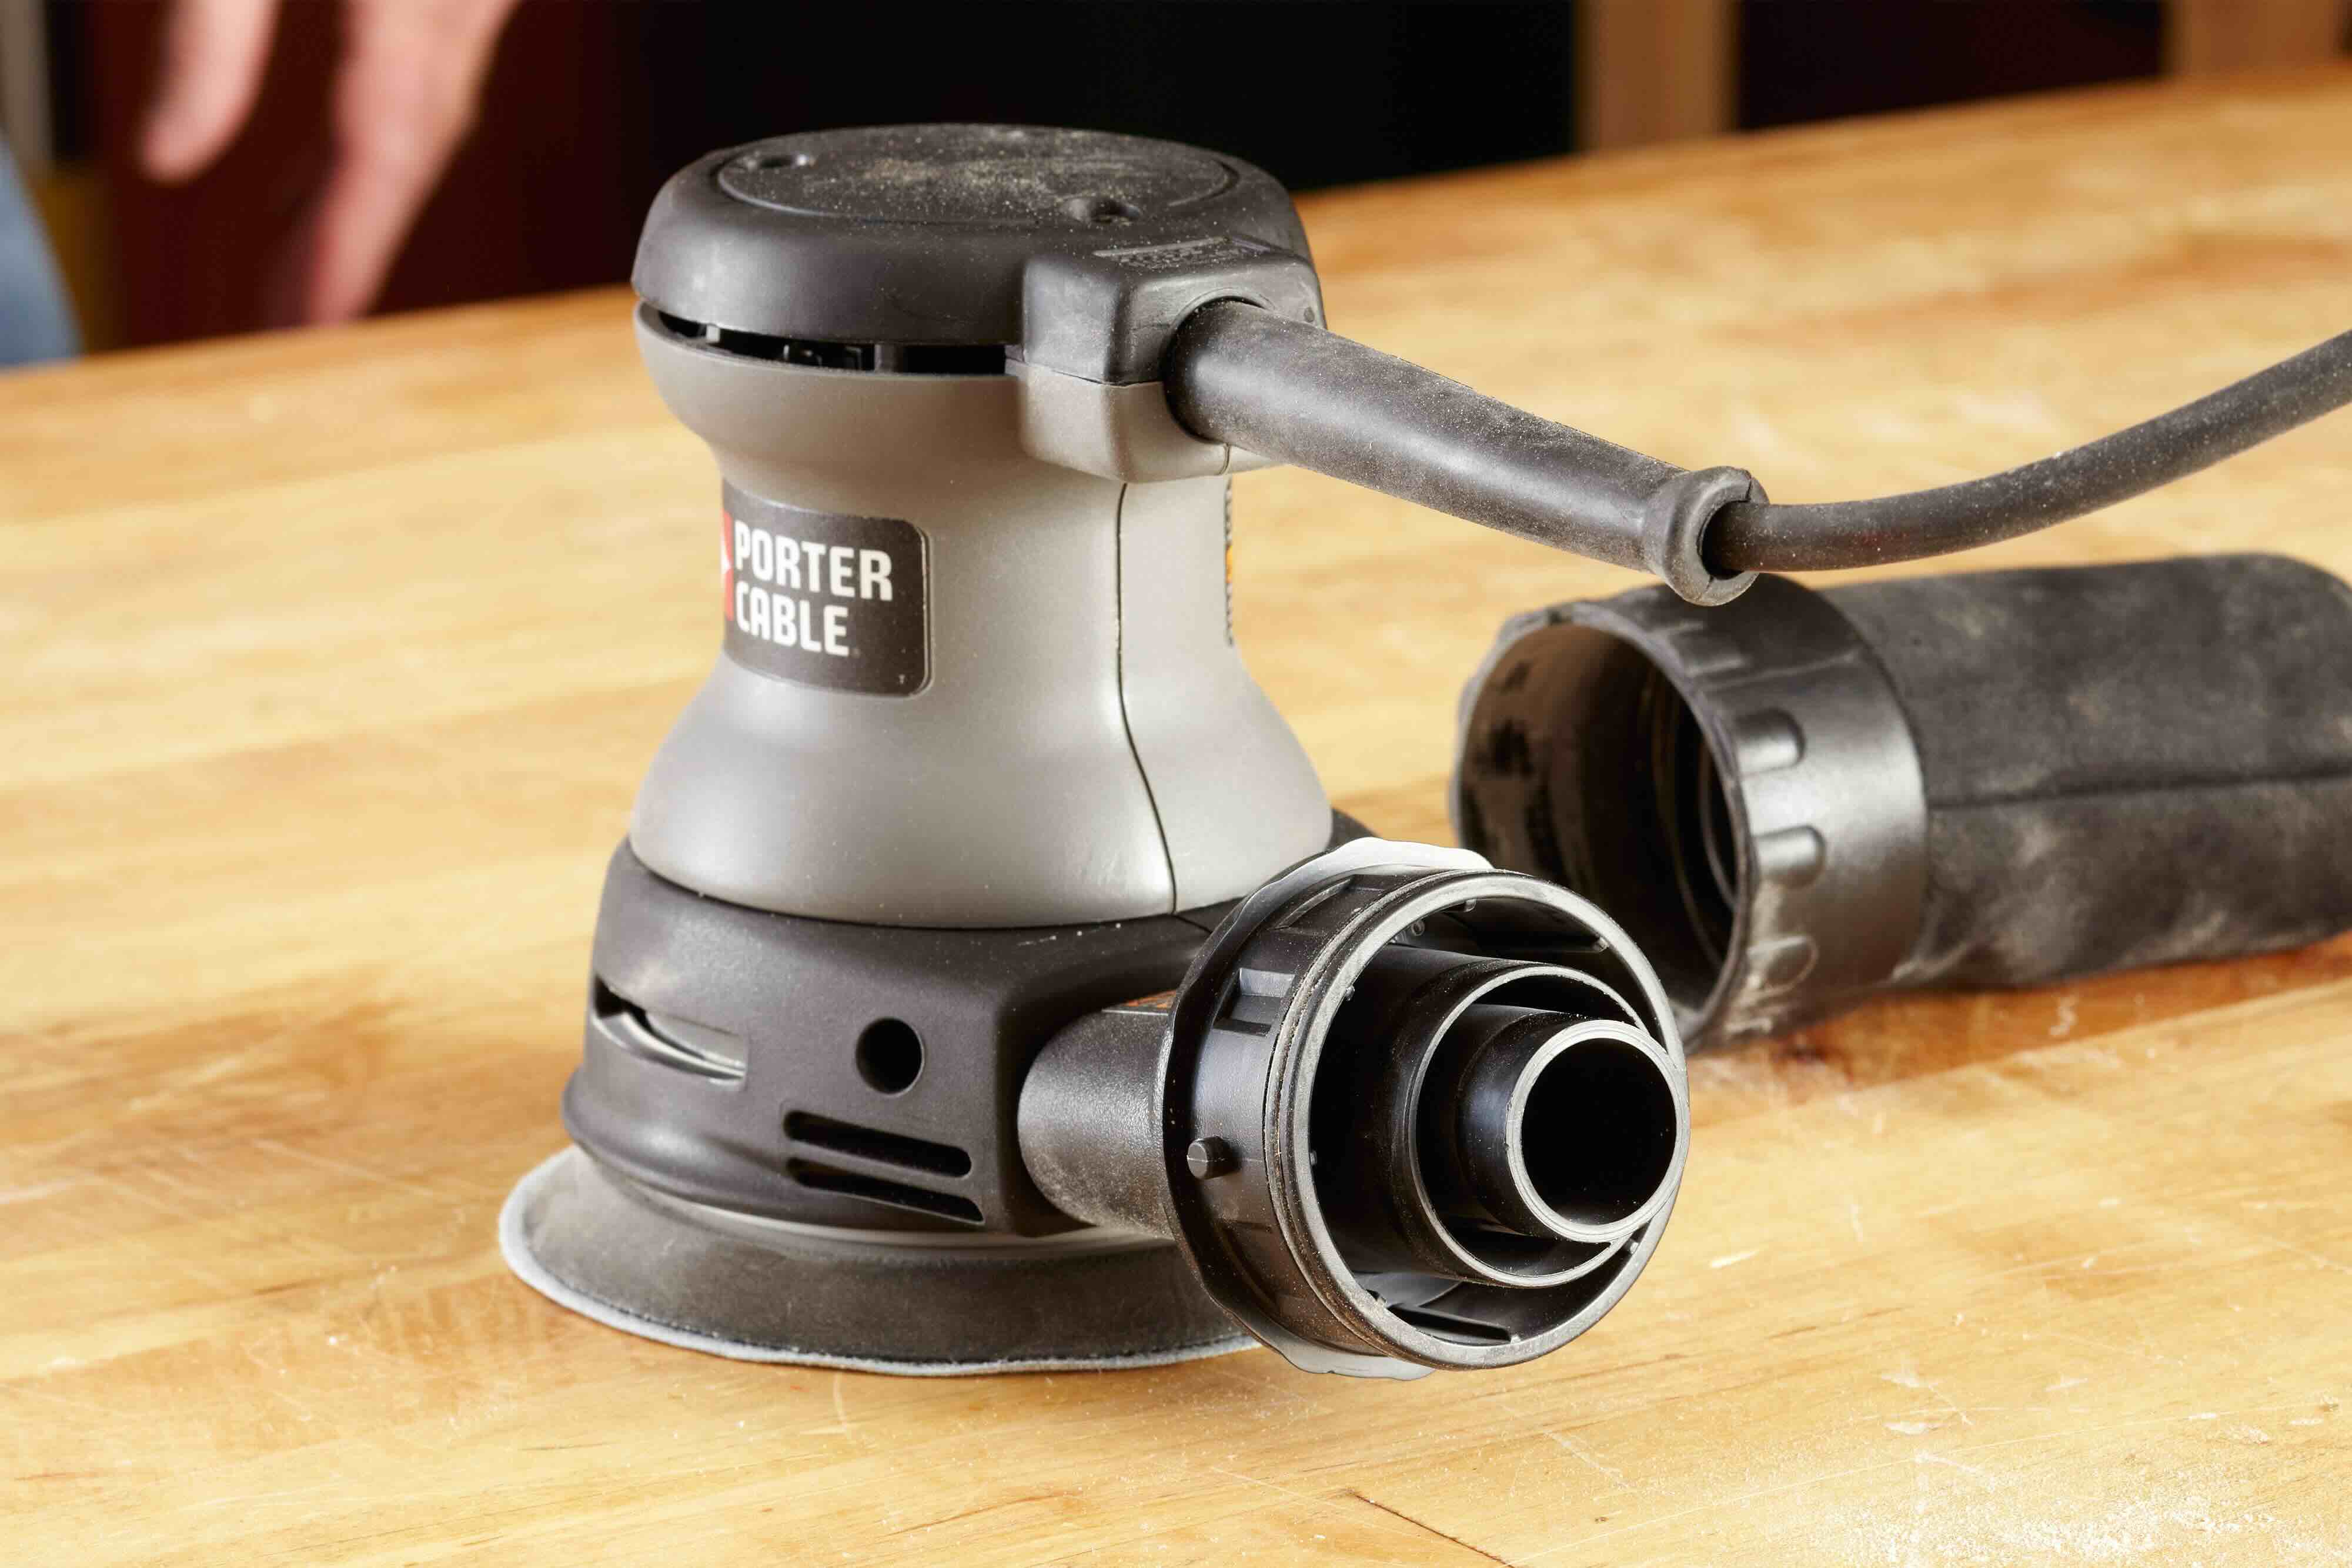
Preparing the Orbital Sander
Before attaching the sandpaper, it’s essential to prepare your orbital sander to ensure smooth and effective operation. Here are the key steps to prepare your sander:
- Inspect the Sanding Pad: Examine the condition of the sanding pad on your orbital sander. If it’s worn out or damaged, replace it with a new one to ensure proper adhesion of the sandpaper and optimal sanding performance.
- Clean the Sanding Surface: Make sure the sanding pad is clean and free of any debris or residue from previous sanding tasks. A clean surface promotes better adhesion of the sandpaper, preventing premature wear or detachment during sanding.
- Check the Dust Collection System: If your orbital sander is equipped with a dust collection feature, ensure that the dust bag or extraction system is properly connected and functional. This helps maintain a clean working environment and improves visibility during sanding.
- Secure the Sander: Before proceeding, secure the orbital sander in a stable position, either by clamping it to a workbench or using a secure grip to prevent movement during sanding. This stability is crucial for maintaining control and achieving consistent results.
By meticulously preparing your orbital sander, you set the stage for seamless sandpaper attachment and efficient sanding operations. With a well-maintained and properly set up sander, you can tackle your sanding tasks with confidence and precision.
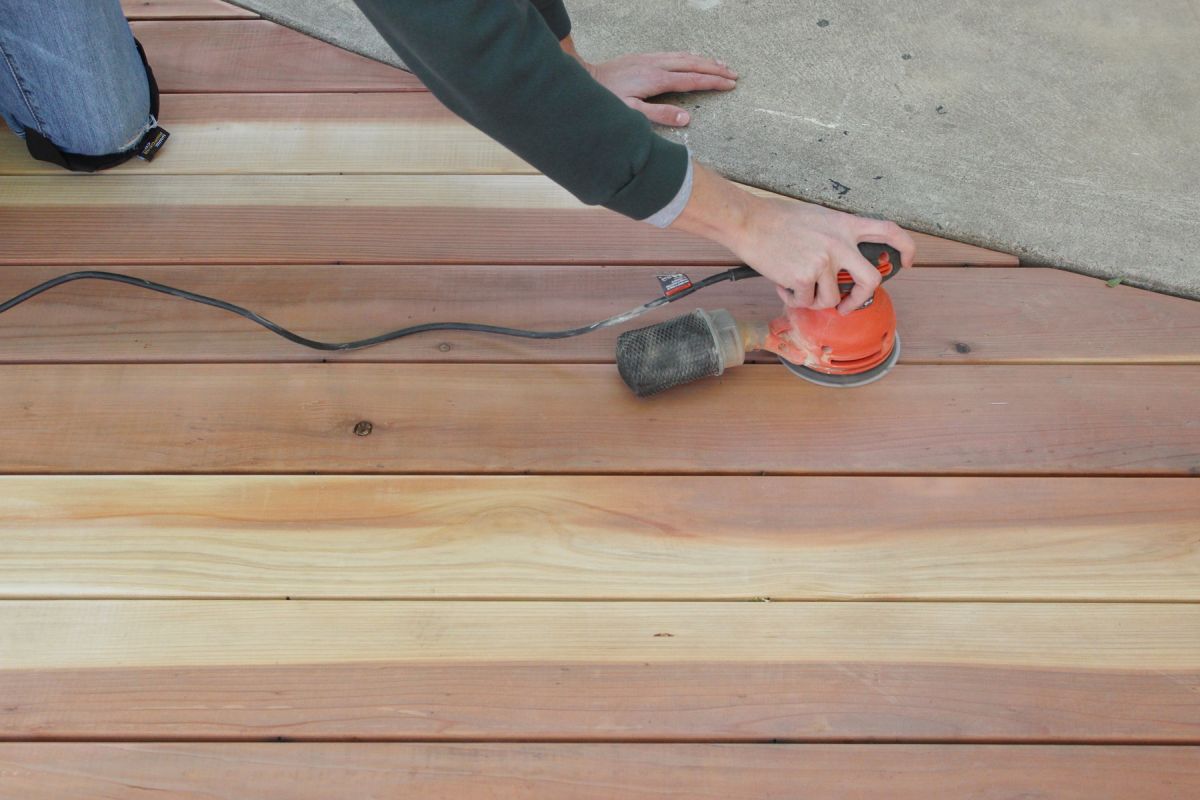
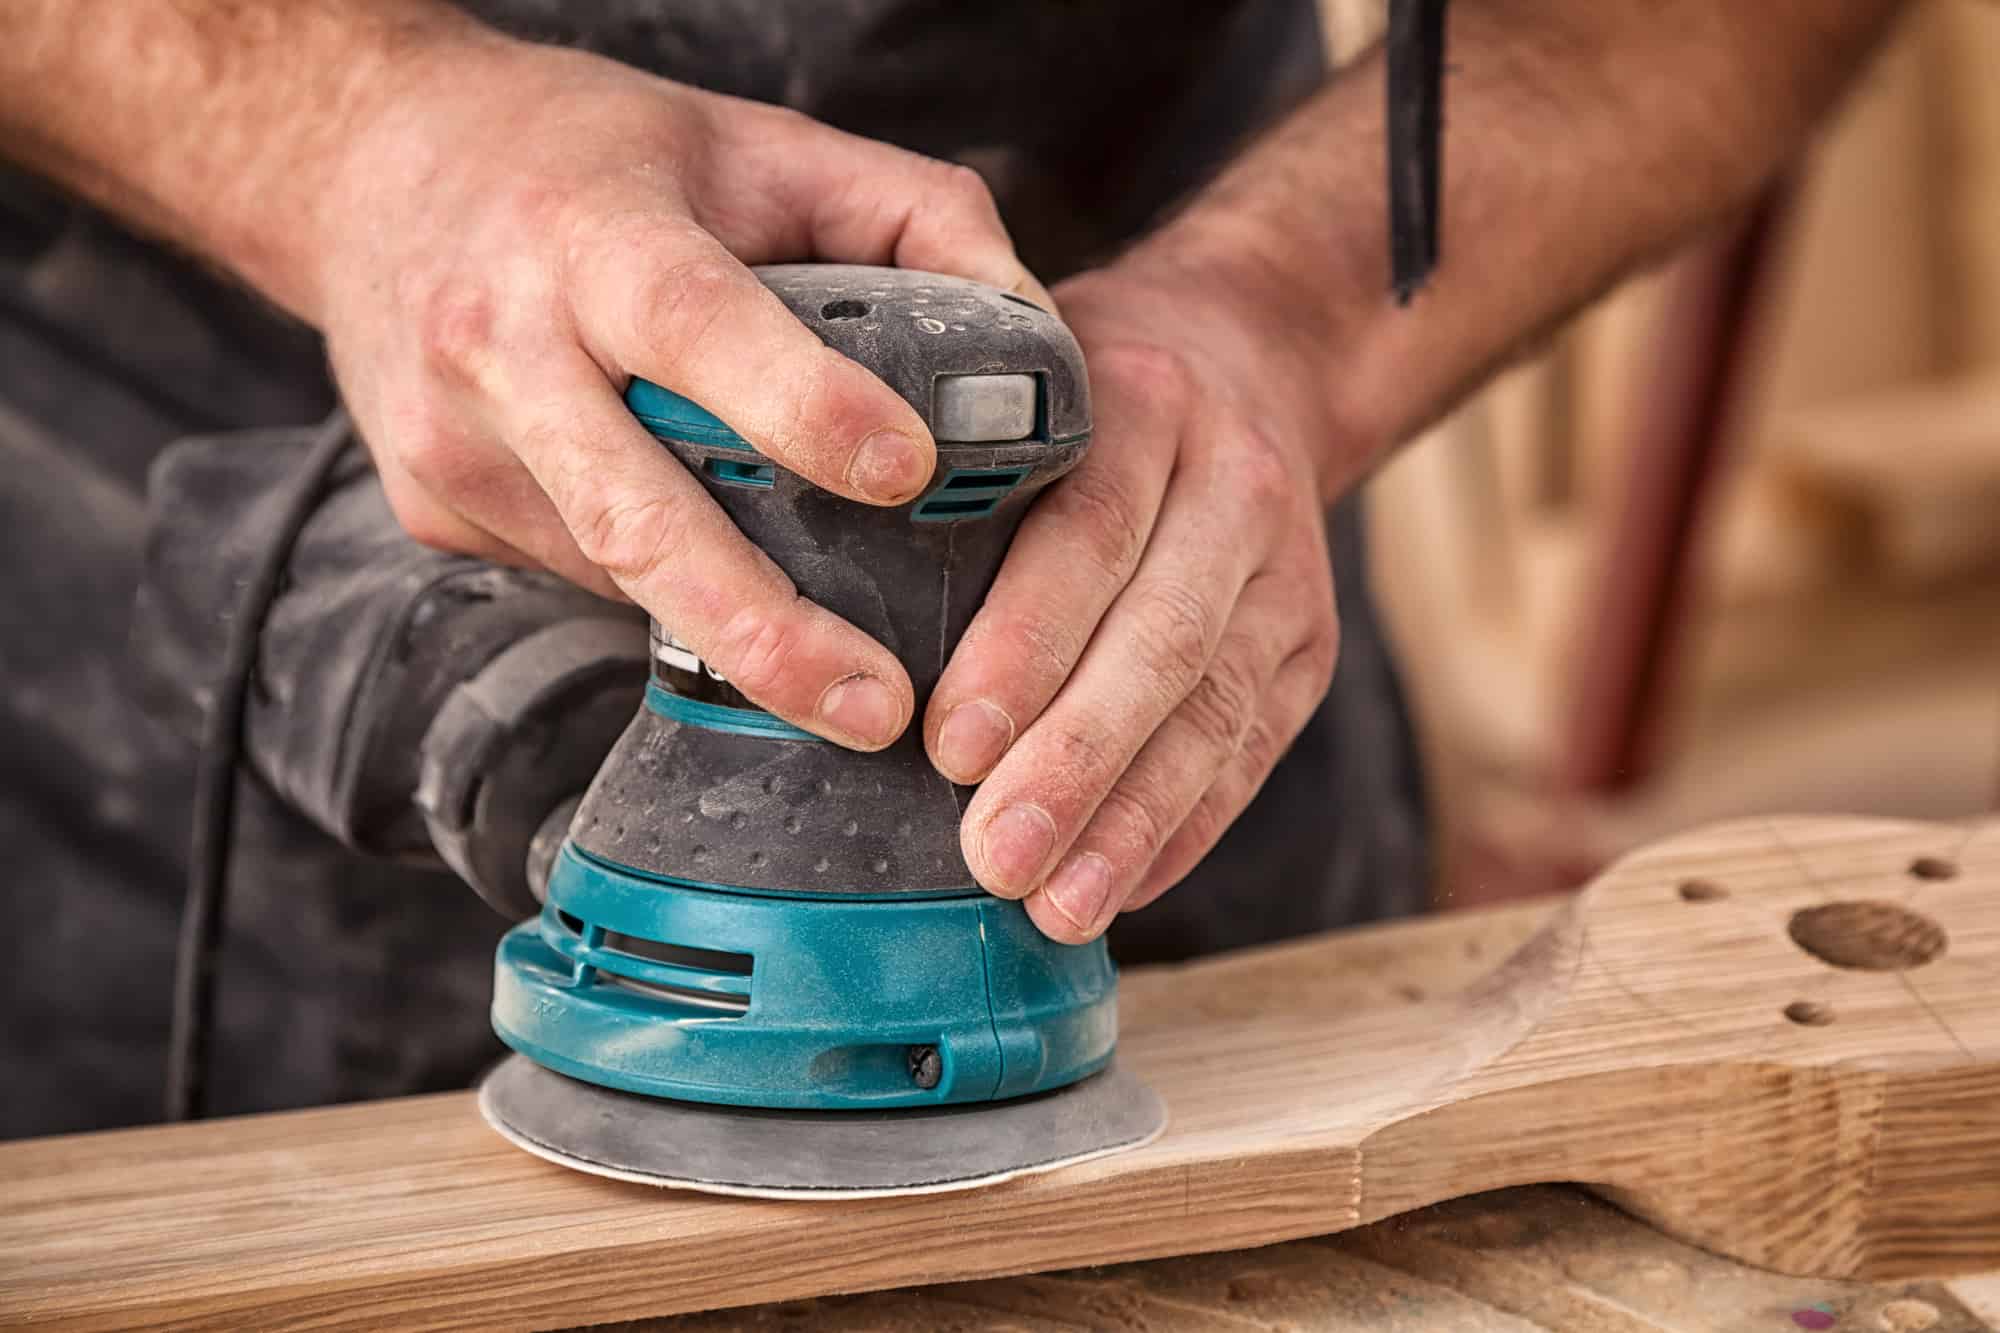
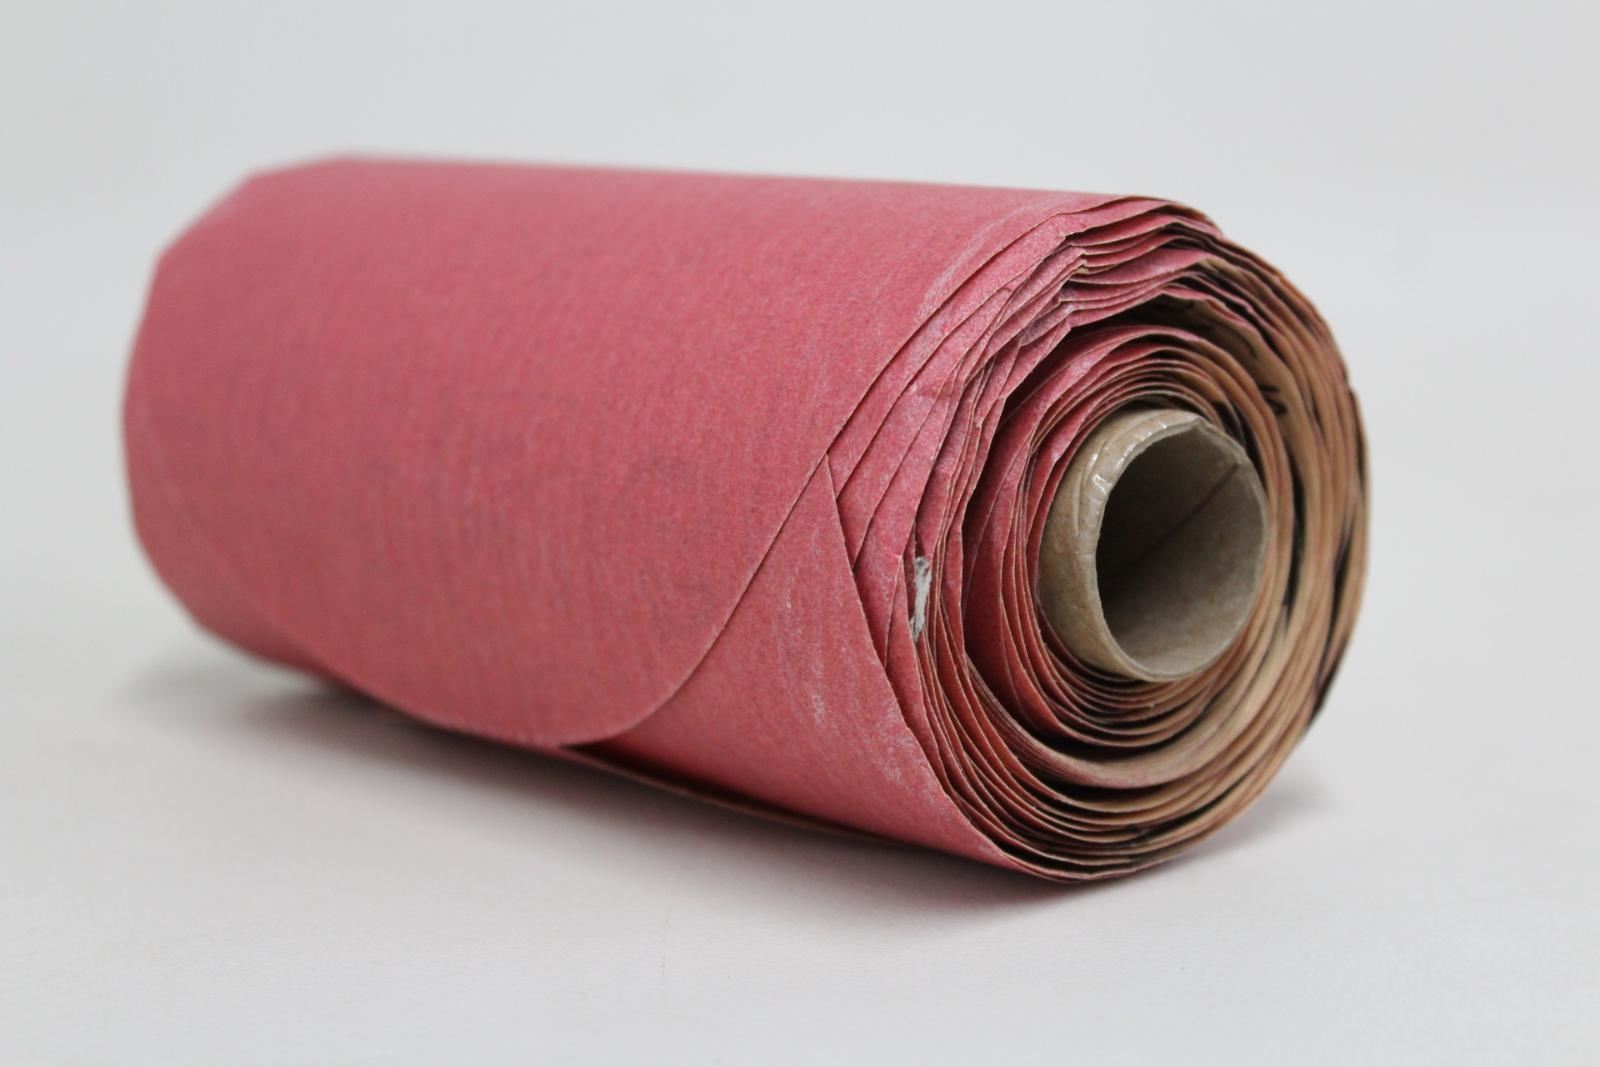
Before sticking sandpaper to an orbital sander, clean the sander’s base to remove any debris. Then, use the adhesive backing on the sandpaper to securely attach it to the sander’s base, making sure it’s smooth and wrinkle-free.
Attaching the Sandpaper
Now that your orbital sander is prepared, it’s time to proceed with attaching the sandpaper. Follow these steps to securely affix the sandpaper to your sander:
- Select the Correct Size: Ensure that the sandpaper you’ve chosen matches the size and shape of the sanding pad on your orbital sander. Using the wrong size can lead to poor adhesion and uneven sanding results.
- Align the Holes: If your sanding pad features perforations for dust extraction, align the holes on the sandpaper with those on the pad. This allows for efficient dust removal during sanding, enhancing the longevity of the sandpaper and improving visibility.
- Position the Sandpaper: Lay the sandpaper flat on a clean, dry surface with the abrasive side facing up. Place the sanding pad of the orbital sander on top of the sandpaper, ensuring that it aligns with the edges of the pad.
- Trim Excess Material: If the sandpaper extends beyond the edges of the sanding pad, carefully trim the excess using scissors or a utility knife. This prevents the overhanging edges from getting caught or torn during sanding.
- Smooth Out Air Bubbles: Gently press the sandpaper onto the sanding pad, smoothing out any air bubbles or wrinkles to achieve uniform adhesion. Properly adhered sandpaper ensures consistent sanding performance across the entire surface.
By following these steps, you can effectively attach the sandpaper to your orbital sander, setting the stage for precise and efficient sanding. Proper attachment not only ensures optimal sanding results but also extends the longevity of your sandpaper, maximizing its utility for future projects.
Securing the Sandpaper
Once the sandpaper is attached to the orbital sander, it’s crucial to secure it properly to prevent slippage or detachment during operation. Follow these steps to ensure the sandpaper is securely fastened to your sander:
- Engage the Clamping Mechanism: If your orbital sander features a clamping mechanism to hold the sandpaper in place, ensure it is securely fastened. This mechanism provides added stability and prevents the sandpaper from shifting during sanding.
- Check Tension and Alignment: Verify that the sandpaper is taut and evenly aligned on the sanding pad. Proper tension and alignment prevent the sandpaper from bunching up or slipping, resulting in consistent sanding across the entire surface.
- Inspect for Secure Adhesion: Ensure that the edges of the sandpaper are firmly adhered to the sanding pad, leaving no gaps or loose areas. A secure adhesion minimizes the risk of the sandpaper peeling off during use, maintaining uninterrupted sanding progress.
- Test the Stability: Before starting your sanding task, run a brief test to ensure that the sandpaper remains securely in place when the sander is turned on. Any signs of instability or movement indicate the need for readjustment or reaffirmation of the sandpaper’s attachment.
By securing the sandpaper properly, you mitigate the risk of disruptions during sanding, allowing you to focus on achieving smooth and uniform results. A securely fastened sandpaper not only enhances the safety and efficiency of your sanding operations but also contributes to the longevity of your orbital sander and sanding consumables.
Read more: How To Put Sandpaper On A Sander
Conclusion
Congratulations! You’ve now mastered the art of sticking sandpaper to your orbital sander, equipping yourself with the knowledge and skills to tackle a wide array of sanding projects with confidence and precision. By understanding the importance of selecting the right sandpaper, preparing your orbital sander, and securely attaching and securing the sandpaper, you’ve set the stage for successful and efficient sanding operations.
Remember, the quality of your sanding results is intricately linked to the care and attention you invest in these preparatory steps. By choosing the appropriate sandpaper grit, ensuring a clean and well-maintained sander, and meticulously affixing the sandpaper, you pave the way for professional-quality outcomes in your woodworking and DIY endeavors.
Armed with this newfound expertise, you can approach your sanding tasks with a renewed sense of assurance, knowing that you have the fundamental know-how to harness the full potential of your orbital sander. Whether you’re refinishing furniture, smoothing out rough surfaces, or preparing wood for a flawless finish, your proficiency in attaching sandpaper to your orbital sander will undoubtedly elevate the quality and efficiency of your woodworking projects.
So, go forth with your newfound knowledge, and let your orbital sander, accompanied by the perfect sandpaper, be your trusted companions in transforming raw materials into refined, polished creations. Embrace the art of sanding with confidence, and revel in the satisfaction of achieving impeccably smooth and flawless surfaces, courtesy of your skillfully prepared and expertly equipped orbital sander.
Happy sanding!
Frequently Asked Questions about How To Stick A Sandpaper To Orbital Sander
Was this page helpful?
At Storables.com, we guarantee accurate and reliable information. Our content, validated by Expert Board Contributors, is crafted following stringent Editorial Policies. We're committed to providing you with well-researched, expert-backed insights for all your informational needs.


0 thoughts on “How To Stick A Sandpaper To Orbital Sander”