Home>Renovation & DIY>Tools & Equipment>How To Put Sandpaper On A Sander
Tools & Equipment
How To Put Sandpaper On A Sander
Published: December 20, 2023
Learn the step-by-step process of putting sandpaper on a sander with our comprehensive guide. Get the right tools and equipment for the job.
(Many of the links in this article redirect to a specific reviewed product. Your purchase of these products through affiliate links helps to generate commission for Storables.com, at no extra cost. Learn more)
Introduction
Welcome to the world of woodworking! If you're a DIY enthusiast or a professional woodworker, you know the importance of having the right tools for the job. One essential tool in your arsenal is a sander, which helps you achieve smooth and polished surfaces on your woodworking projects. However, knowing how to properly put sandpaper on a sander is crucial for achieving the best results.
In this comprehensive guide, we will walk you through the step-by-step process of attaching sandpaper to your sander. Whether you're a novice or an experienced woodworker, mastering this skill will significantly enhance the quality of your woodworking projects. So, grab your sander, and let's dive into the world of sandpaper and woodworking!
Key Takeaways:
- Choose the right sandpaper grit and type for your project to achieve a smooth and polished finish. Consider material compatibility and adhesive backing for convenience.
- Prepare your sander and attach sandpaper with care to ensure a smooth and efficient sanding process. Test the sander before use for optimal results.
Read more: How To Change Sandpaper On A Belt Sander
Choosing the Right Sandpaper
Before diving into the process of putting sandpaper on your sander, it's crucial to select the right type of sandpaper for your specific project. Sandpaper comes in various grits, each designed for different purposes. The grit number indicates the coarseness or fineness of the sandpaper, with lower numbers being coarser and higher numbers being finer.
For initial sanding and removing rough surfaces or old finishes, coarse grits such as 40 to 60 are ideal. Medium grits, ranging from 80 to 120, are suitable for general sanding and smoothing out imperfections. If you're aiming for a smooth and polished finish, fine grits like 150 to 180 are the way to go. Additionally, there are extra fine grits, from 220 and above, which are perfect for final finishing and achieving a glass-like surface.
Consider the material you're working with as well. For wood, sandpapers with aluminum oxide or silicon carbide abrasives are excellent choices, while for metal, you might opt for sandpapers with garnet abrasives. Understanding the characteristics of different sandpapers and their compatibility with your project material is essential for achieving the desired results.
Furthermore, you may come across sandpapers with adhesive backing, commonly known as “hook and loop” or “PSA” (pressure-sensitive adhesive). These types of sandpapers are convenient for quick and easy attachment to the sander's base, eliminating the need for additional adhesives or clamps.
By choosing the right sandpaper grit and type for your project, you set the foundation for a successful sanding process, ultimately leading to a professional and refined finish on your woodworking creations.
Preparing the Sander
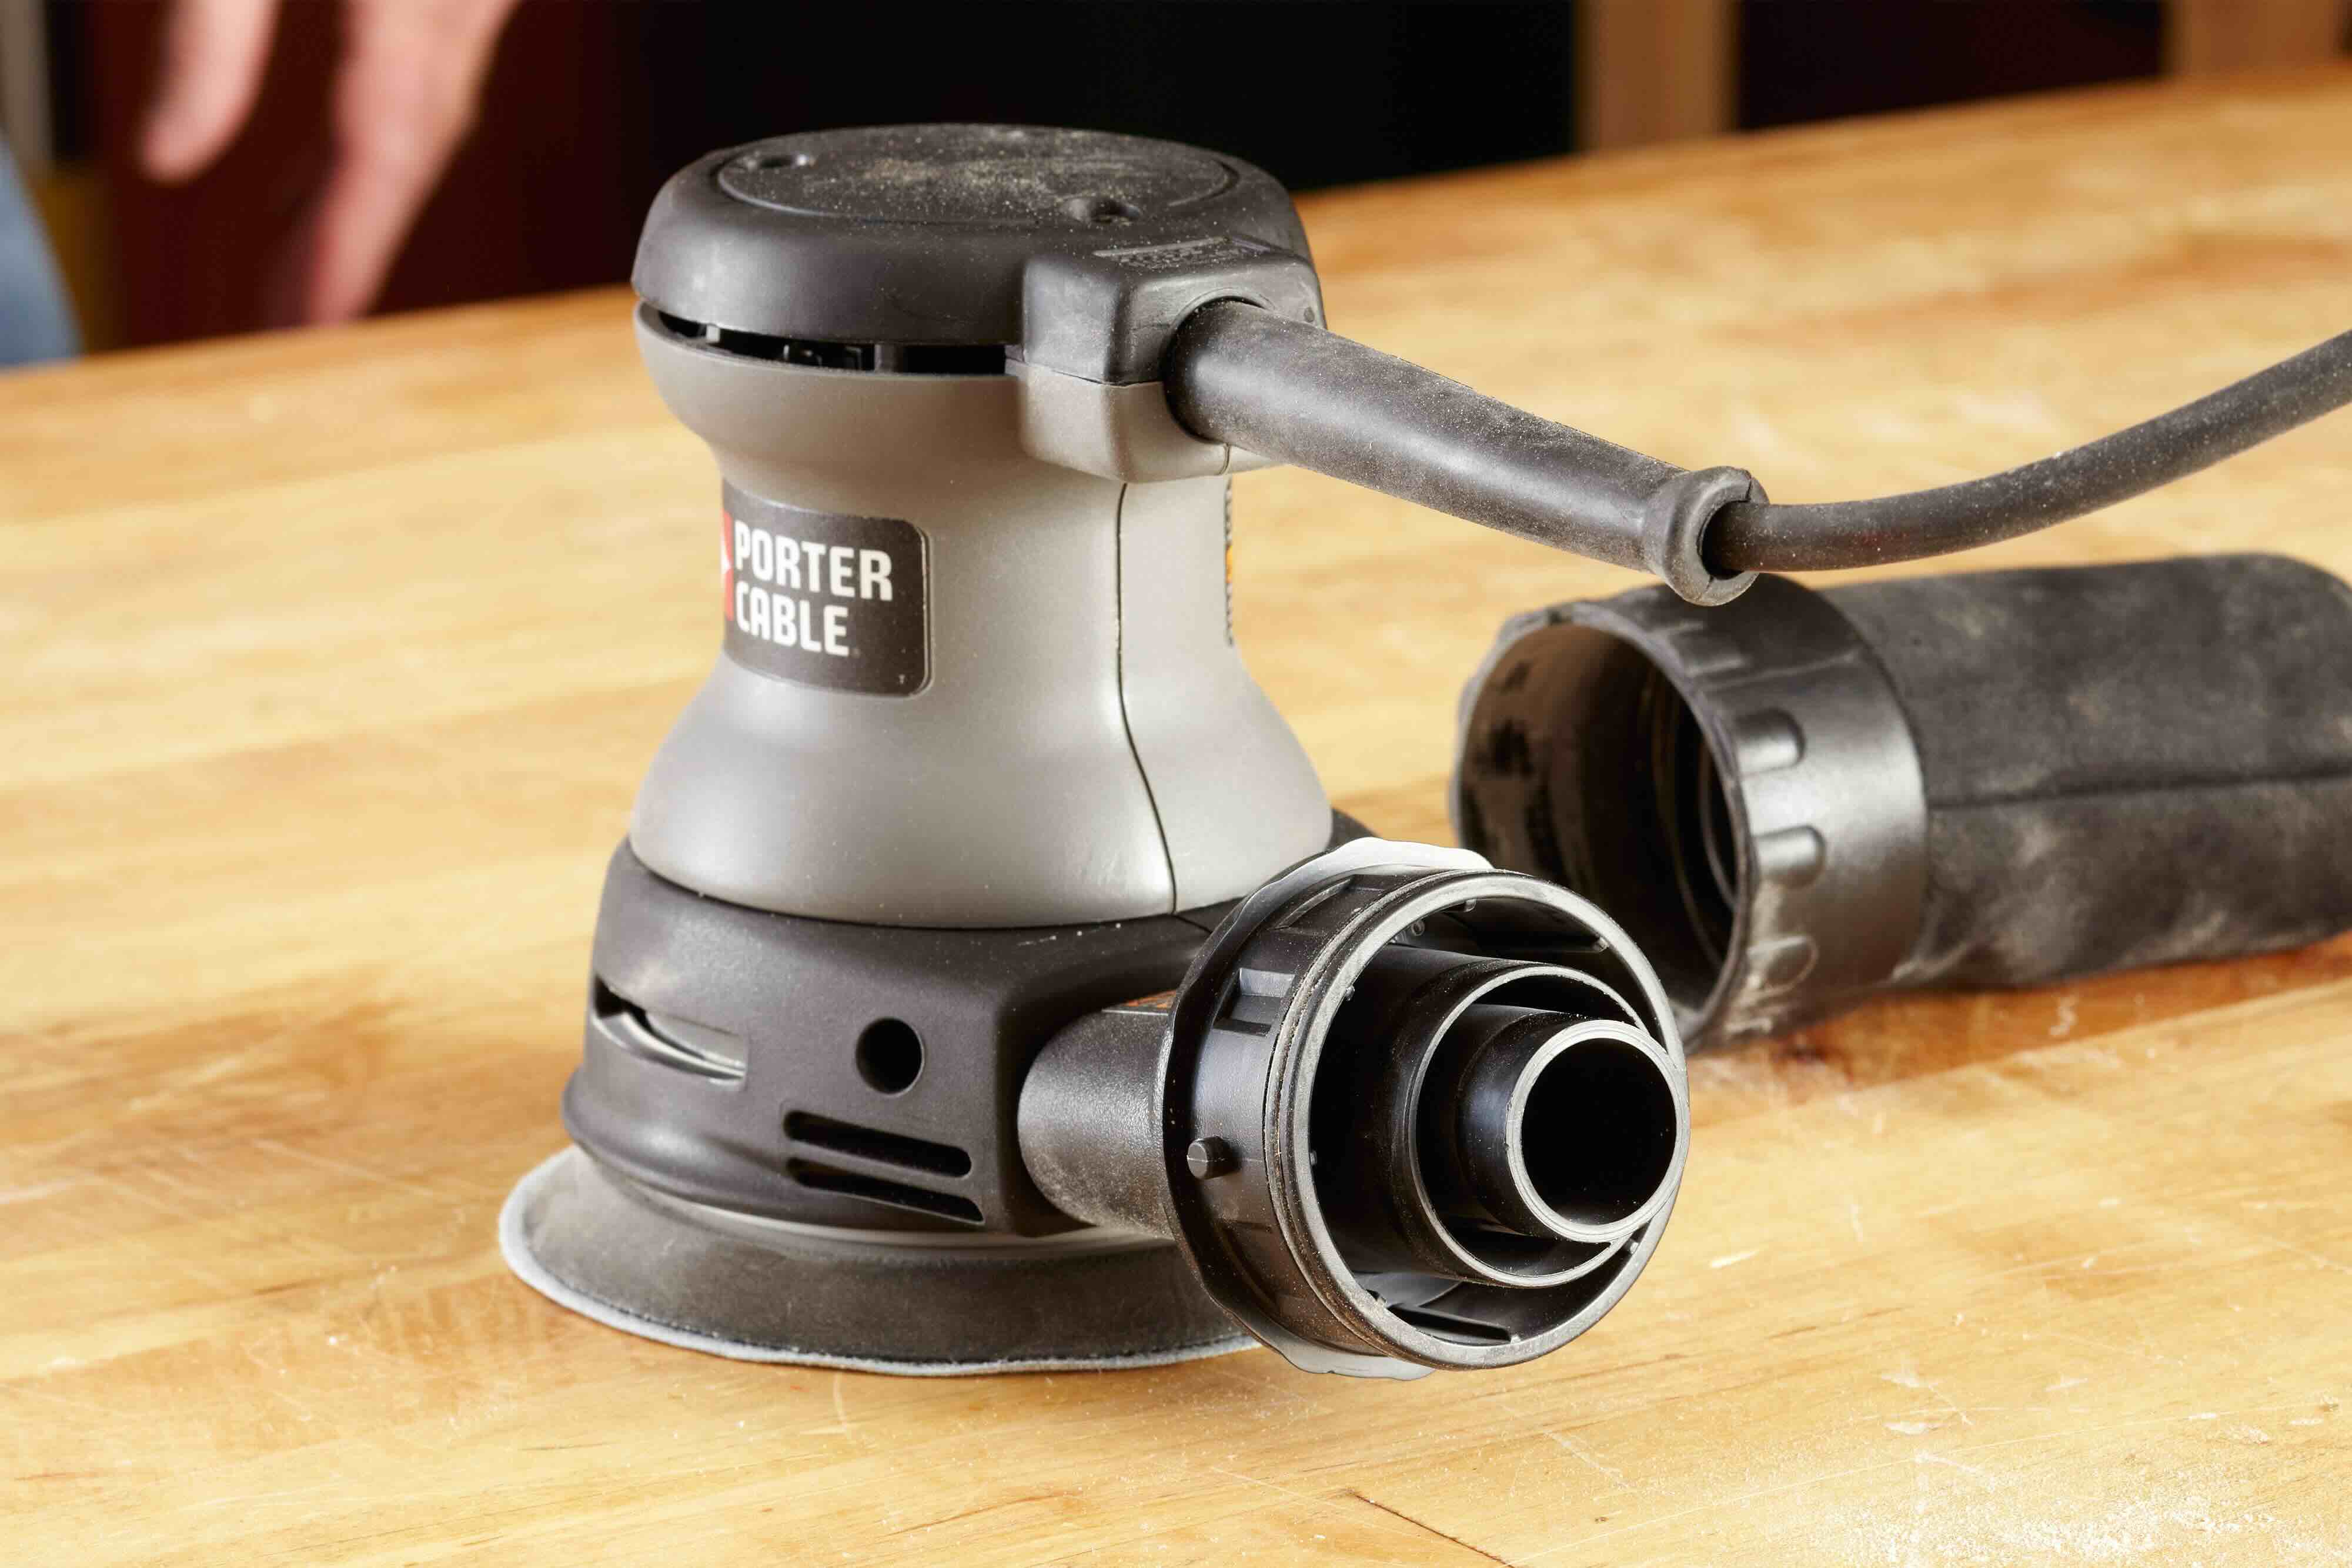
Before attaching the sandpaper to your sander, it's important to ensure that the sander is properly prepared for the task at hand. Start by inspecting the sanding pad or disc on the sander. If the sander is equipped with a sanding pad that requires sandpaper sheets, make sure it is clean and free from any residual adhesive or debris from previous use. If the sander utilizes a sanding disc, check that it is securely attached to the sander's base and in good condition.
Next, if your sander features a dust collection system, such as a dust bag or vacuum attachment, ensure that it is clean and properly connected. Effective dust collection not only keeps your work area clean but also improves the efficiency of the sanding process by preventing dust buildup on the sandpaper.
Inspect the sander's power cord and ensure that it is in good condition, with no signs of fraying or damage. Safety should always be a priority when working with power tools, so be sure to use a sander with a well-maintained power cord and plug it into a grounded outlet.
Lastly, familiarize yourself with the specific instructions provided in the sander's manual. Different sanders may have unique features or requirements for attaching sandpaper, and the manufacturer's guidelines can provide valuable insights into the best practices for preparing and using the sander.
By taking the time to prepare your sander before attaching the sandpaper, you set the stage for a smooth and efficient sanding process, allowing you to focus on achieving the best results for your woodworking project.
Before putting sandpaper on a sander, make sure the sander is turned off and unplugged. Then, align the sandpaper with the sander’s base and secure it in place according to the sander’s instructions.
Attaching the Sandpaper
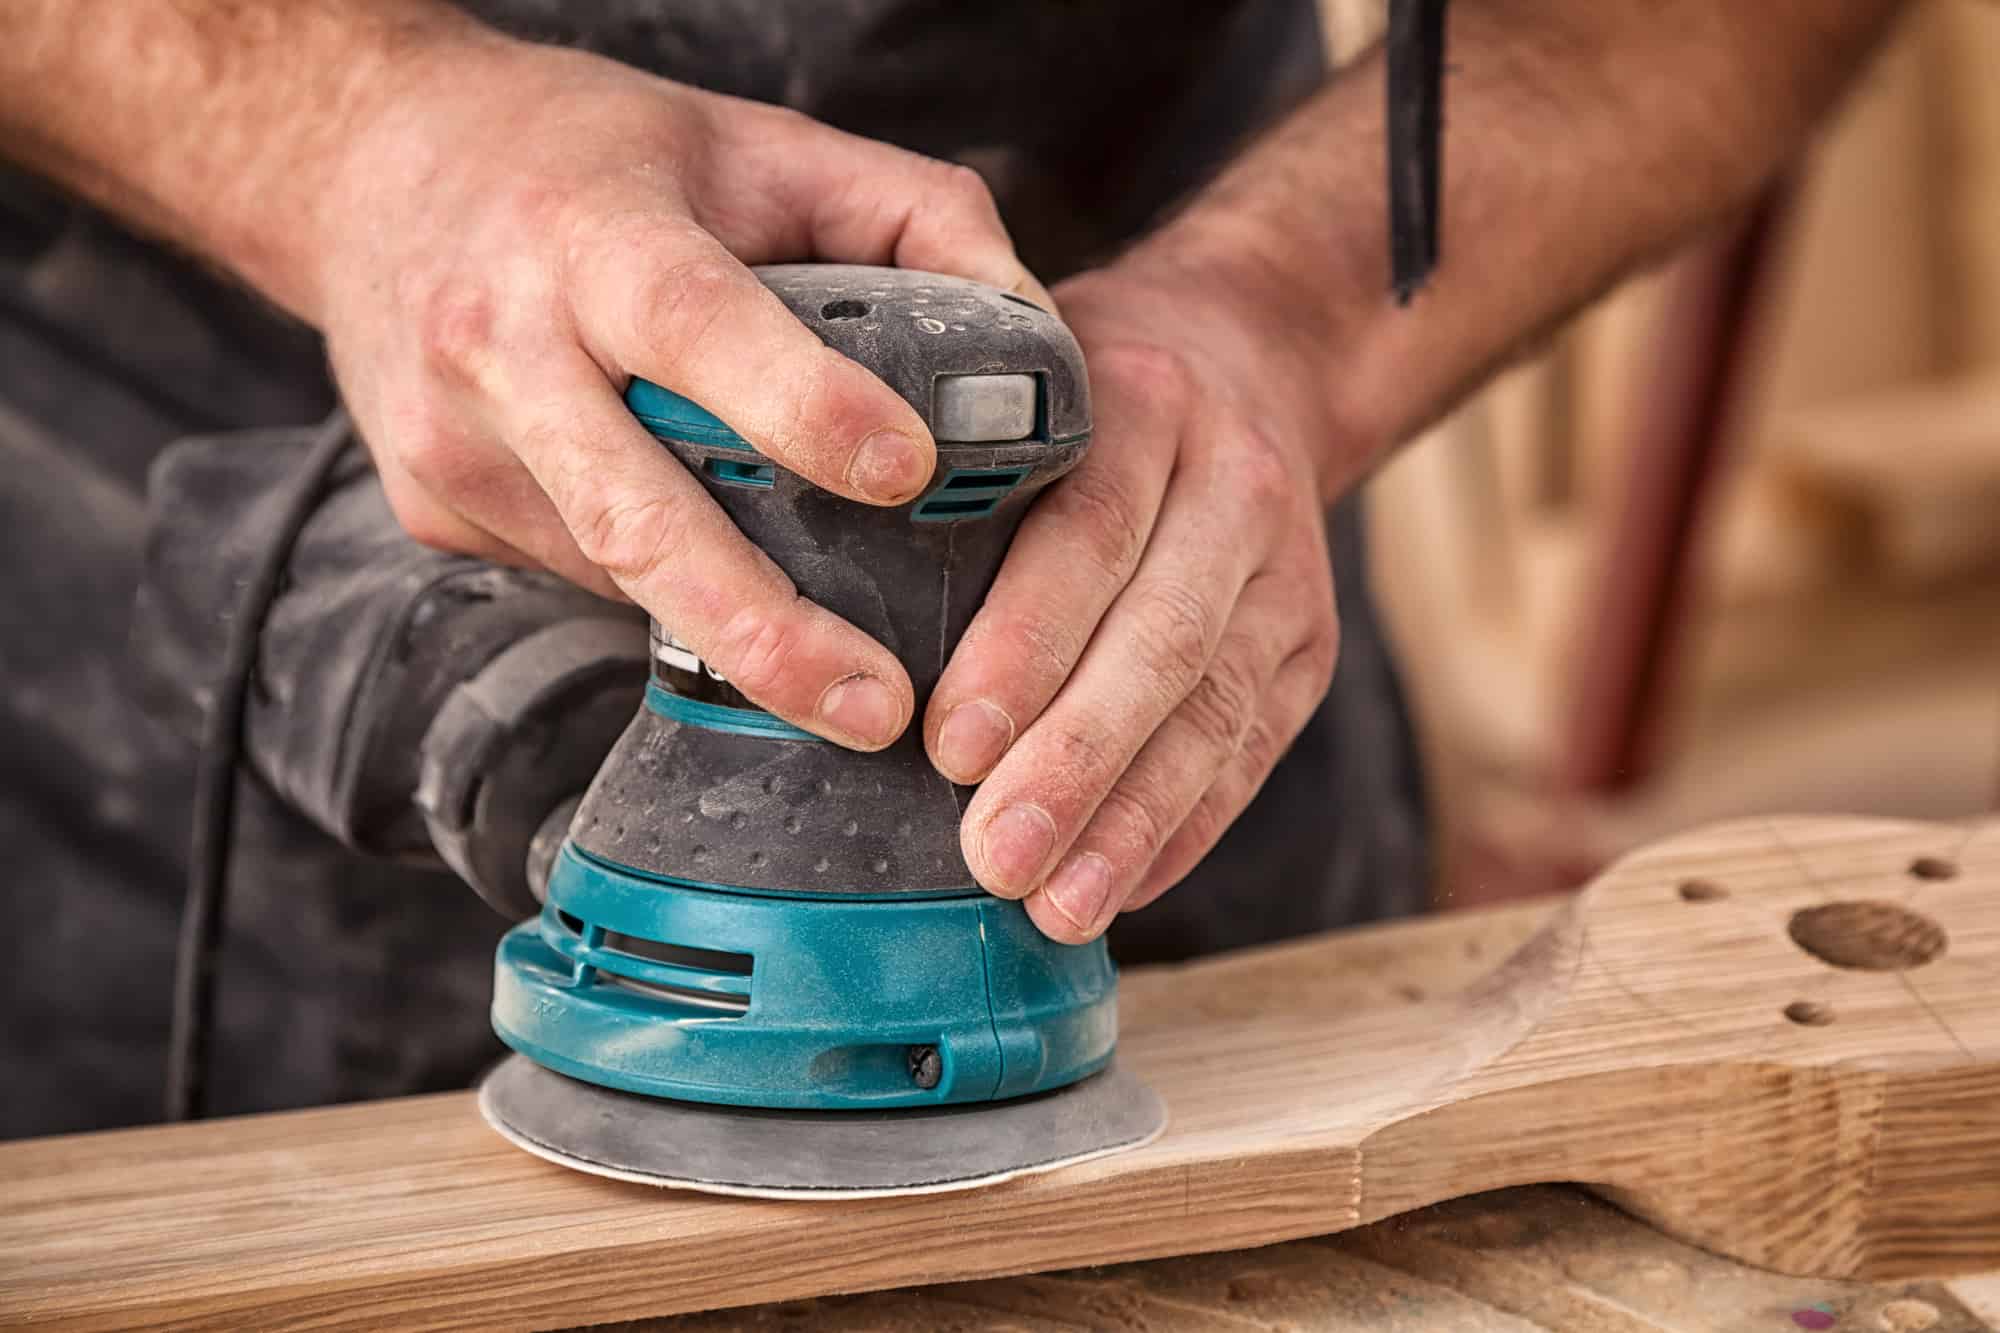
Now that you’ve selected the appropriate sandpaper and prepared your sander, it’s time to attach the sandpaper and get ready to unleash the sander’s sanding prowess. The method for attaching sandpaper may vary depending on the type of sander you’re using, so it’s essential to follow the specific instructions for your sander model. Here, we’ll cover the general steps for attaching sandpaper to a typical palm sander or orbital sander.
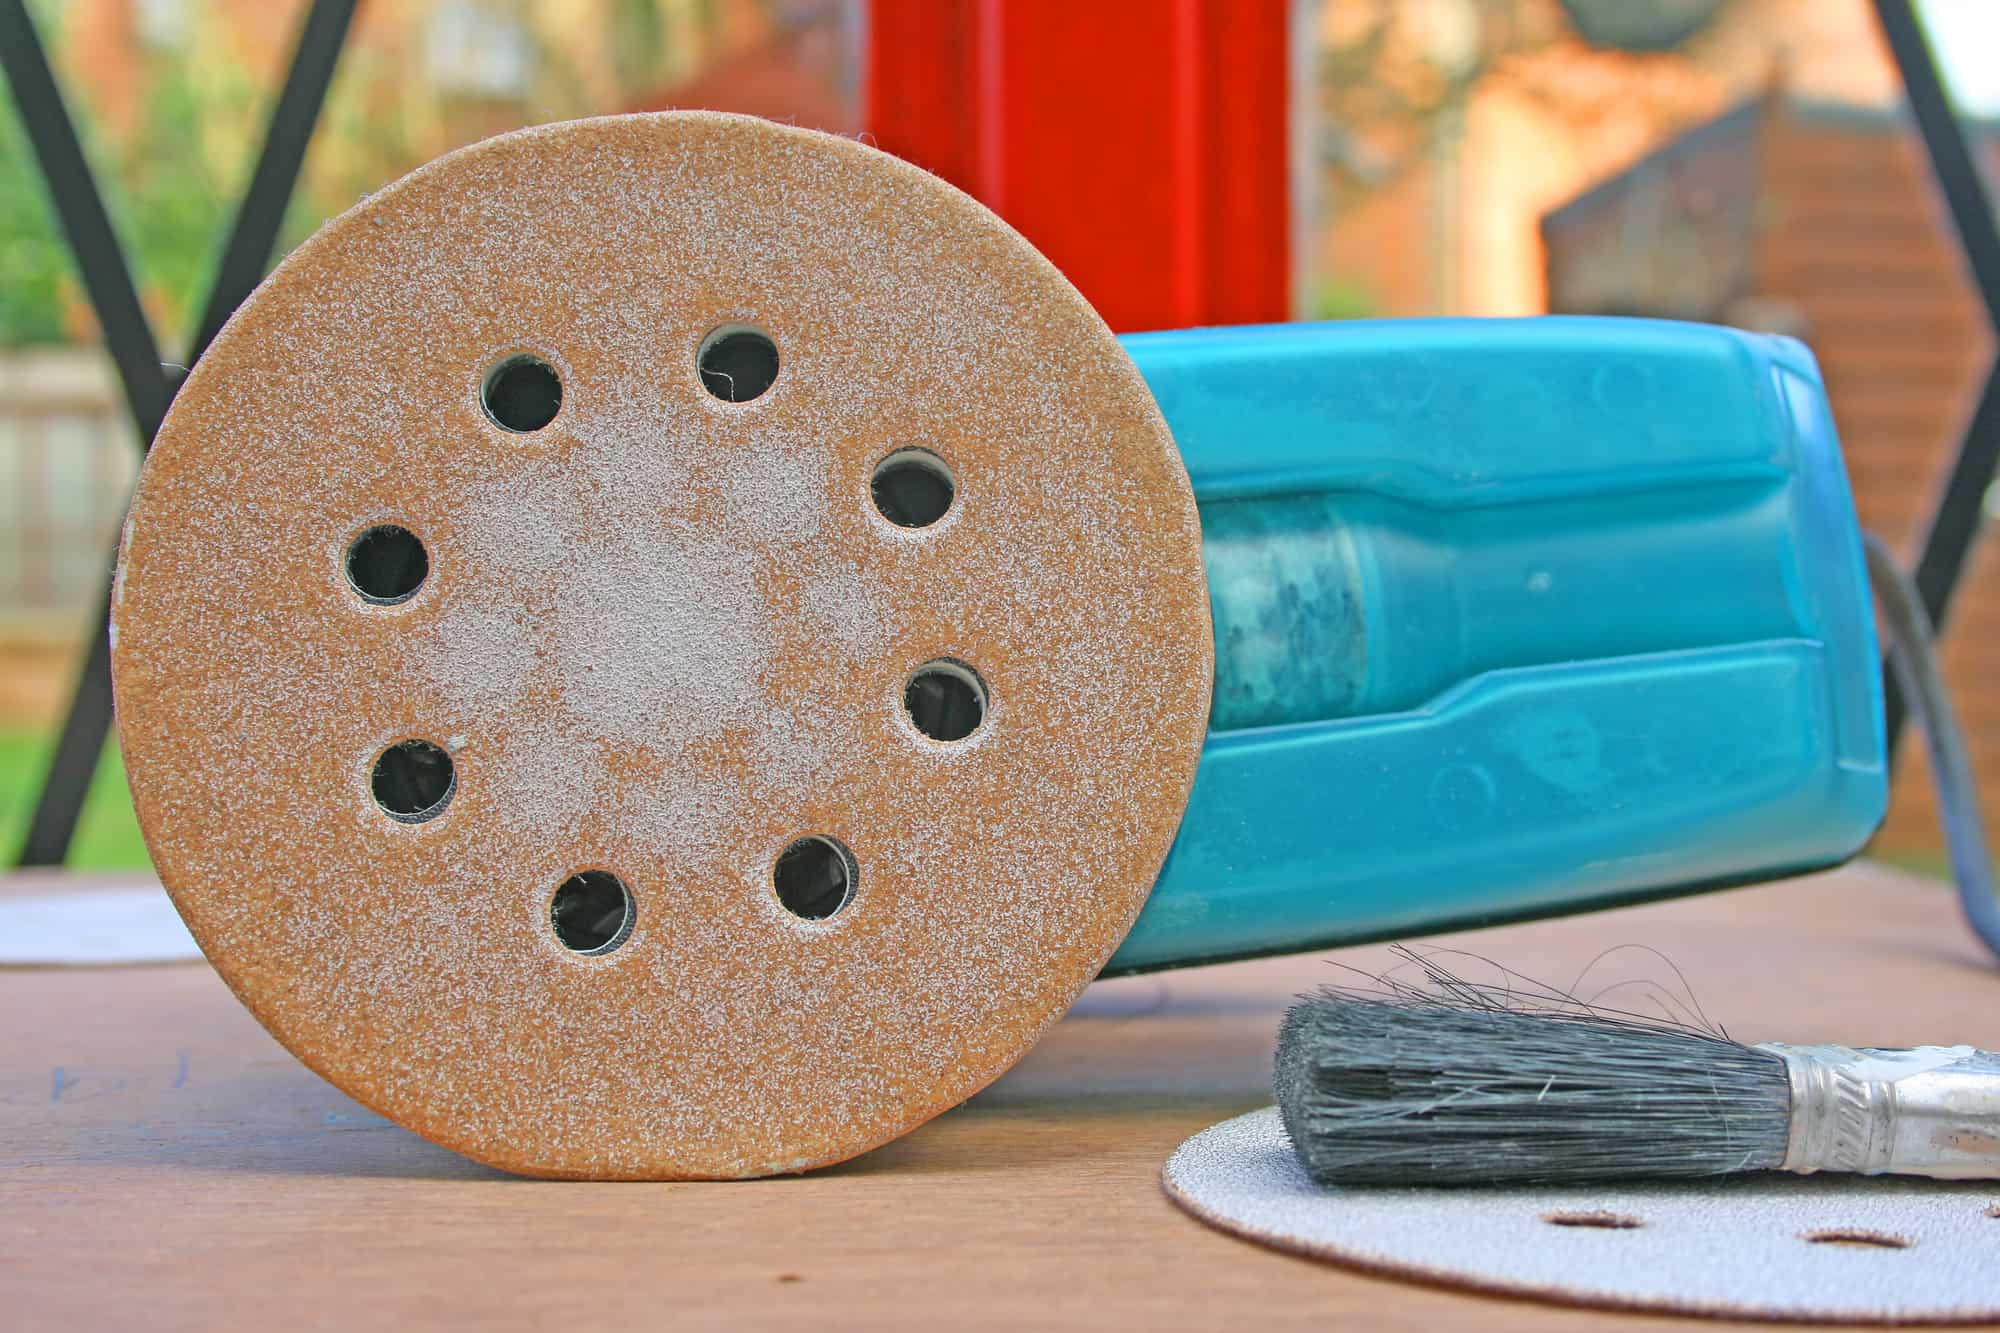
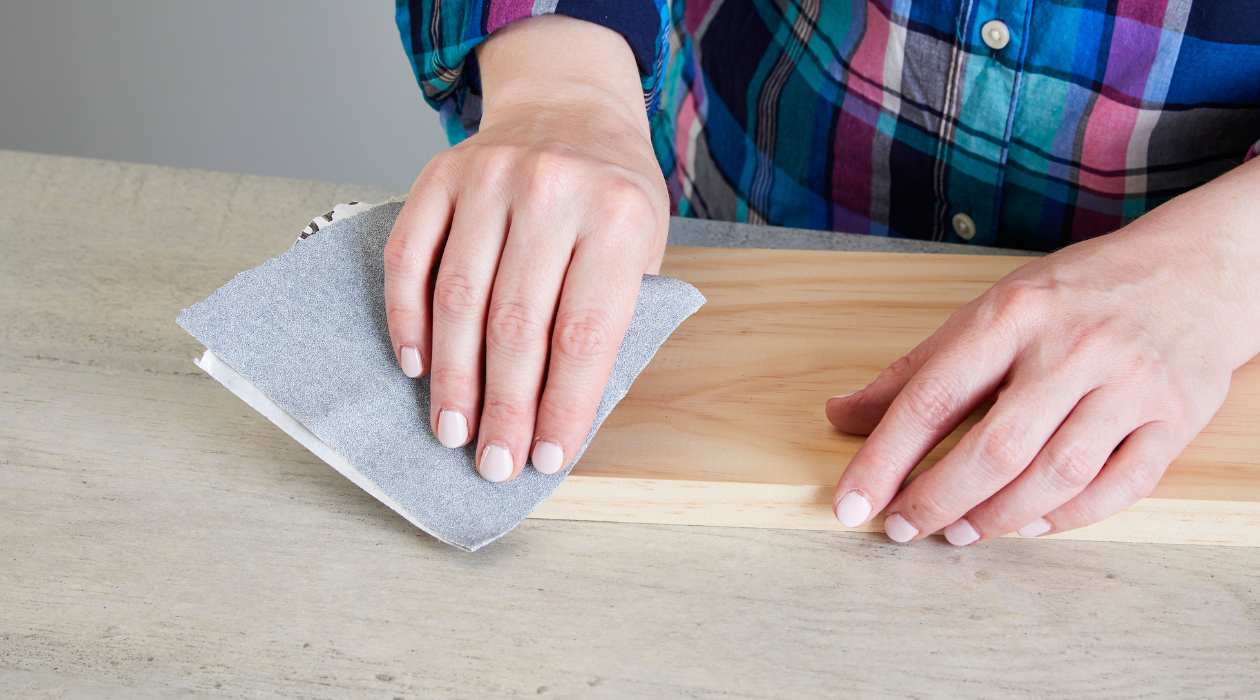
For sanders equipped with a sanding pad that requires sandpaper sheets, start by laying the sandpaper sheet on a flat surface with the abrasive side facing up. Place the sander’s sanding pad on top of the sandpaper, aligning it to ensure a proper fit. If your sandpaper features holes for dust collection, make sure to align them with the corresponding holes on the sanding pad.
Once the sandpaper and sanding pad are aligned, carefully fold the excess sandpaper over the edges of the sanding pad. Some sanders may have clamps or clips to secure the sandpaper in place, while others may utilize a spring-loaded mechanism to hold the sandpaper tightly. Follow the specific instructions for your sander to secure the sandpaper, ensuring that it is taut and free from wrinkles or creases.
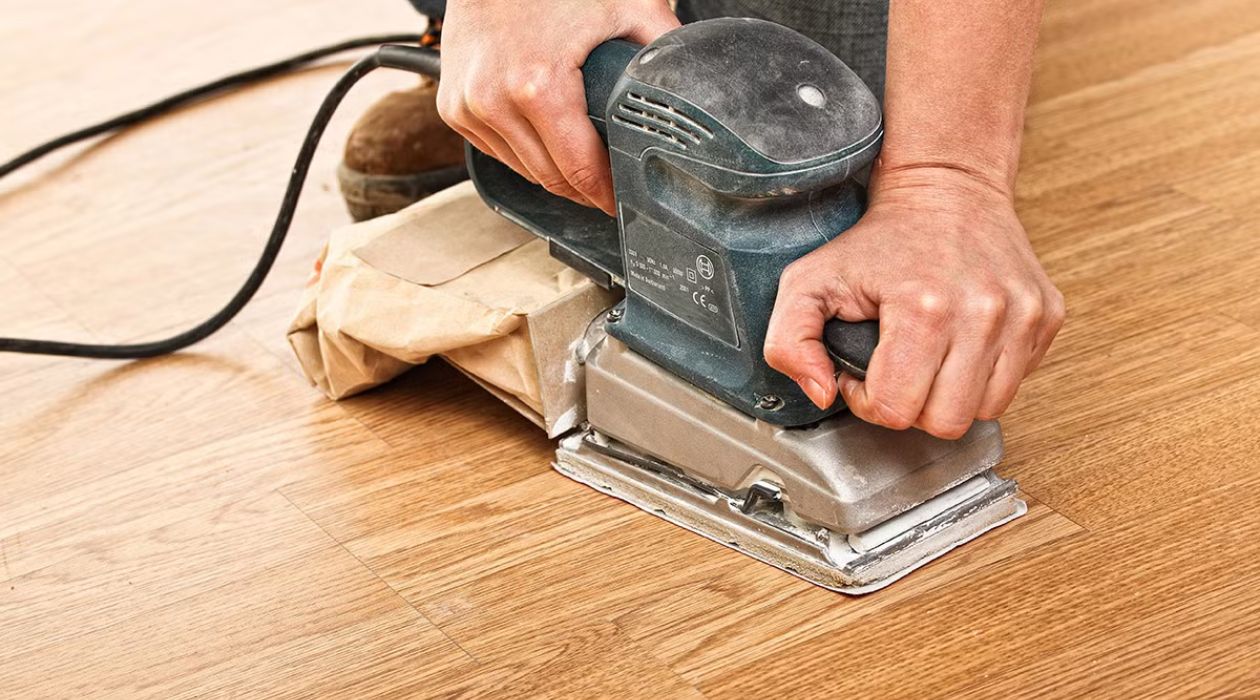
For sanders with hook and loop or PSA (pressure-sensitive adhesive) sanding discs, simply align the holes on the sanding disc with those on the sander’s base and press it firmly into place. The adhesive backing on the sanding disc will securely attach to the sander’s base, providing a stable and reliable connection for the sanding process.
Regardless of the type of sander you’re using, it’s crucial to confirm that the sandpaper is firmly attached and free from any defects that could affect the sanding process. Smooth and secure sandpaper attachment is key to achieving consistent and high-quality results in your woodworking endeavors.
Testing the Sander
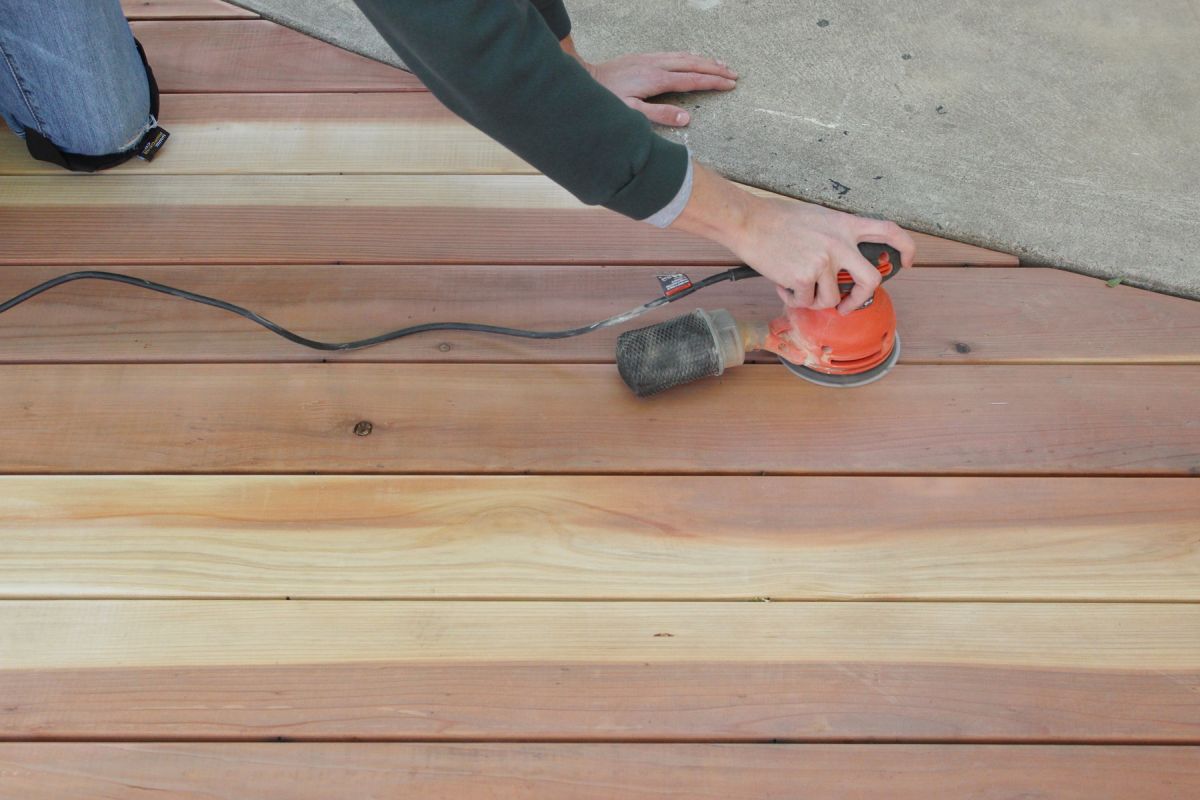
With the sandpaper securely attached to your sander, it’s time to put your woodworking skills to the test by running a few trial runs to ensure everything is in perfect working order. Before starting the actual sanding process on your project, performing a test run allows you to familiarize yourself with the sander’s performance and make any necessary adjustments.
Begin by powering on the sander and allowing it to reach its full operating speed. If your sander has variable speed settings, consider starting at a lower speed to get a feel for the sander’s behavior before gradually increasing the speed as needed for your specific project.
As the sander runs, observe the movement of the sandpaper and ensure that it runs smoothly and evenly across the sanding surface. Any irregular movements or vibrations may indicate that the sandpaper is not properly attached or that the sander requires further adjustment.
While the sander is running, take note of the dust collection system’s effectiveness in capturing the sanding dust. A well-functioning dust collection system contributes to a cleaner work environment and promotes better visibility of the sanding area, allowing you to monitor your progress more effectively.
If your sander features a built-in dust collection system, check that the dust bag or vacuum attachment is securely collecting the sanding dust. For sanders without integrated dust collection, consider using an external dust extraction system to maintain a clean and healthy workspace.
During the test run, pay attention to any unusual noises or vibrations coming from the sander, as these may indicate underlying issues that need to be addressed before proceeding with your woodworking project. It’s always better to identify and resolve any potential issues during the testing phase rather than encountering problems midway through your project.
By conducting a thorough test run of your sander, you can ensure that everything is functioning as it should before embarking on your woodworking journey. This proactive approach sets the stage for a successful and satisfying sanding experience, allowing you to achieve professional-quality results with confidence.
Read more: How To Wrap Sandpaper On Drum Sander
Conclusion
Congratulations! You’ve successfully mastered the art of putting sandpaper on a sander, a fundamental skill that will serve you well in your woodworking endeavors. By understanding the nuances of selecting the right sandpaper, preparing the sander, and attaching the sandpaper with precision, you’ve equipped yourself with the knowledge and expertise to elevate the quality of your woodworking projects.
Remember, the choice of sandpaper plays a crucial role in achieving the desired finish on your woodworking creations. Whether you’re aiming to remove imperfections, smooth rough surfaces, or achieve a polished sheen, selecting the appropriate grit and type of sandpaper sets the foundation for a successful sanding process.
Preparing your sander for the task at hand ensures that it operates smoothly and efficiently, allowing you to focus on the artistry of woodworking without distractions. Checking the condition of the sanding pad or disc, ensuring proper dust collection, and adhering to safety guidelines are essential steps in creating a conducive environment for your woodworking projects.
Attaching the sandpaper to your sander with care and precision is the final step in the process, and it sets the stage for a seamless and effective sanding experience. Whether you’re using sandpaper sheets with clamps or adhesive-backed sanding discs, securing the sandpaper properly is essential for achieving consistent and professional results.
By conducting a thorough test run of your sander after attaching the sandpaper, you can identify any potential issues and make necessary adjustments before embarking on your woodworking project. This proactive approach ensures that you have a clear understanding of the sander’s performance and sets the stage for a successful and satisfying sanding experience.
Armed with the knowledge and skills acquired in this guide, you’re well-equipped to tackle a wide range of woodworking projects with confidence and precision. Whether you’re refinishing furniture, crafting intricate woodwork, or restoring vintage pieces, the ability to put sandpaper on a sander with expertise and finesse is a valuable asset in your woodworking journey.
So, grab your sander, select the perfect sandpaper, and embark on your next woodworking adventure with the confidence of a seasoned craftsman. With each smooth and polished finish, you’ll witness the transformative power of mastering the art of sanding, elevating your woodworking creations to new heights of excellence.
Frequently Asked Questions about How To Put Sandpaper On A Sander
Was this page helpful?
At Storables.com, we guarantee accurate and reliable information. Our content, validated by Expert Board Contributors, is crafted following stringent Editorial Policies. We're committed to providing you with well-researched, expert-backed insights for all your informational needs.


0 thoughts on “How To Put Sandpaper On A Sander”