Articles
How To Use A Bosch Laser Level
Modified: October 21, 2024
Learn how to use a Bosch laser level with our detailed articles. Get step-by-step instructions and expert tips for precise and accurate leveling.
(Many of the links in this article redirect to a specific reviewed product. Your purchase of these products through affiliate links helps to generate commission for Storables.com, at no extra cost. Learn more)
Introduction
When it comes to precision and accuracy in construction and DIY projects, having the right tools is essential. One such tool that has revolutionized the way we measure and align objects is the Bosch Laser Level. Whether you’re a professional contractor or a passionate DIY enthusiast, this versatile device can greatly simplify your work and help you achieve seamless alignments with ease.
In this article, we will provide a comprehensive guide on how to effectively use the Bosch Laser Level. From the initial setup to the various functions and applications, we will explore everything you need to know to make the most out of this cutting-edge tool.
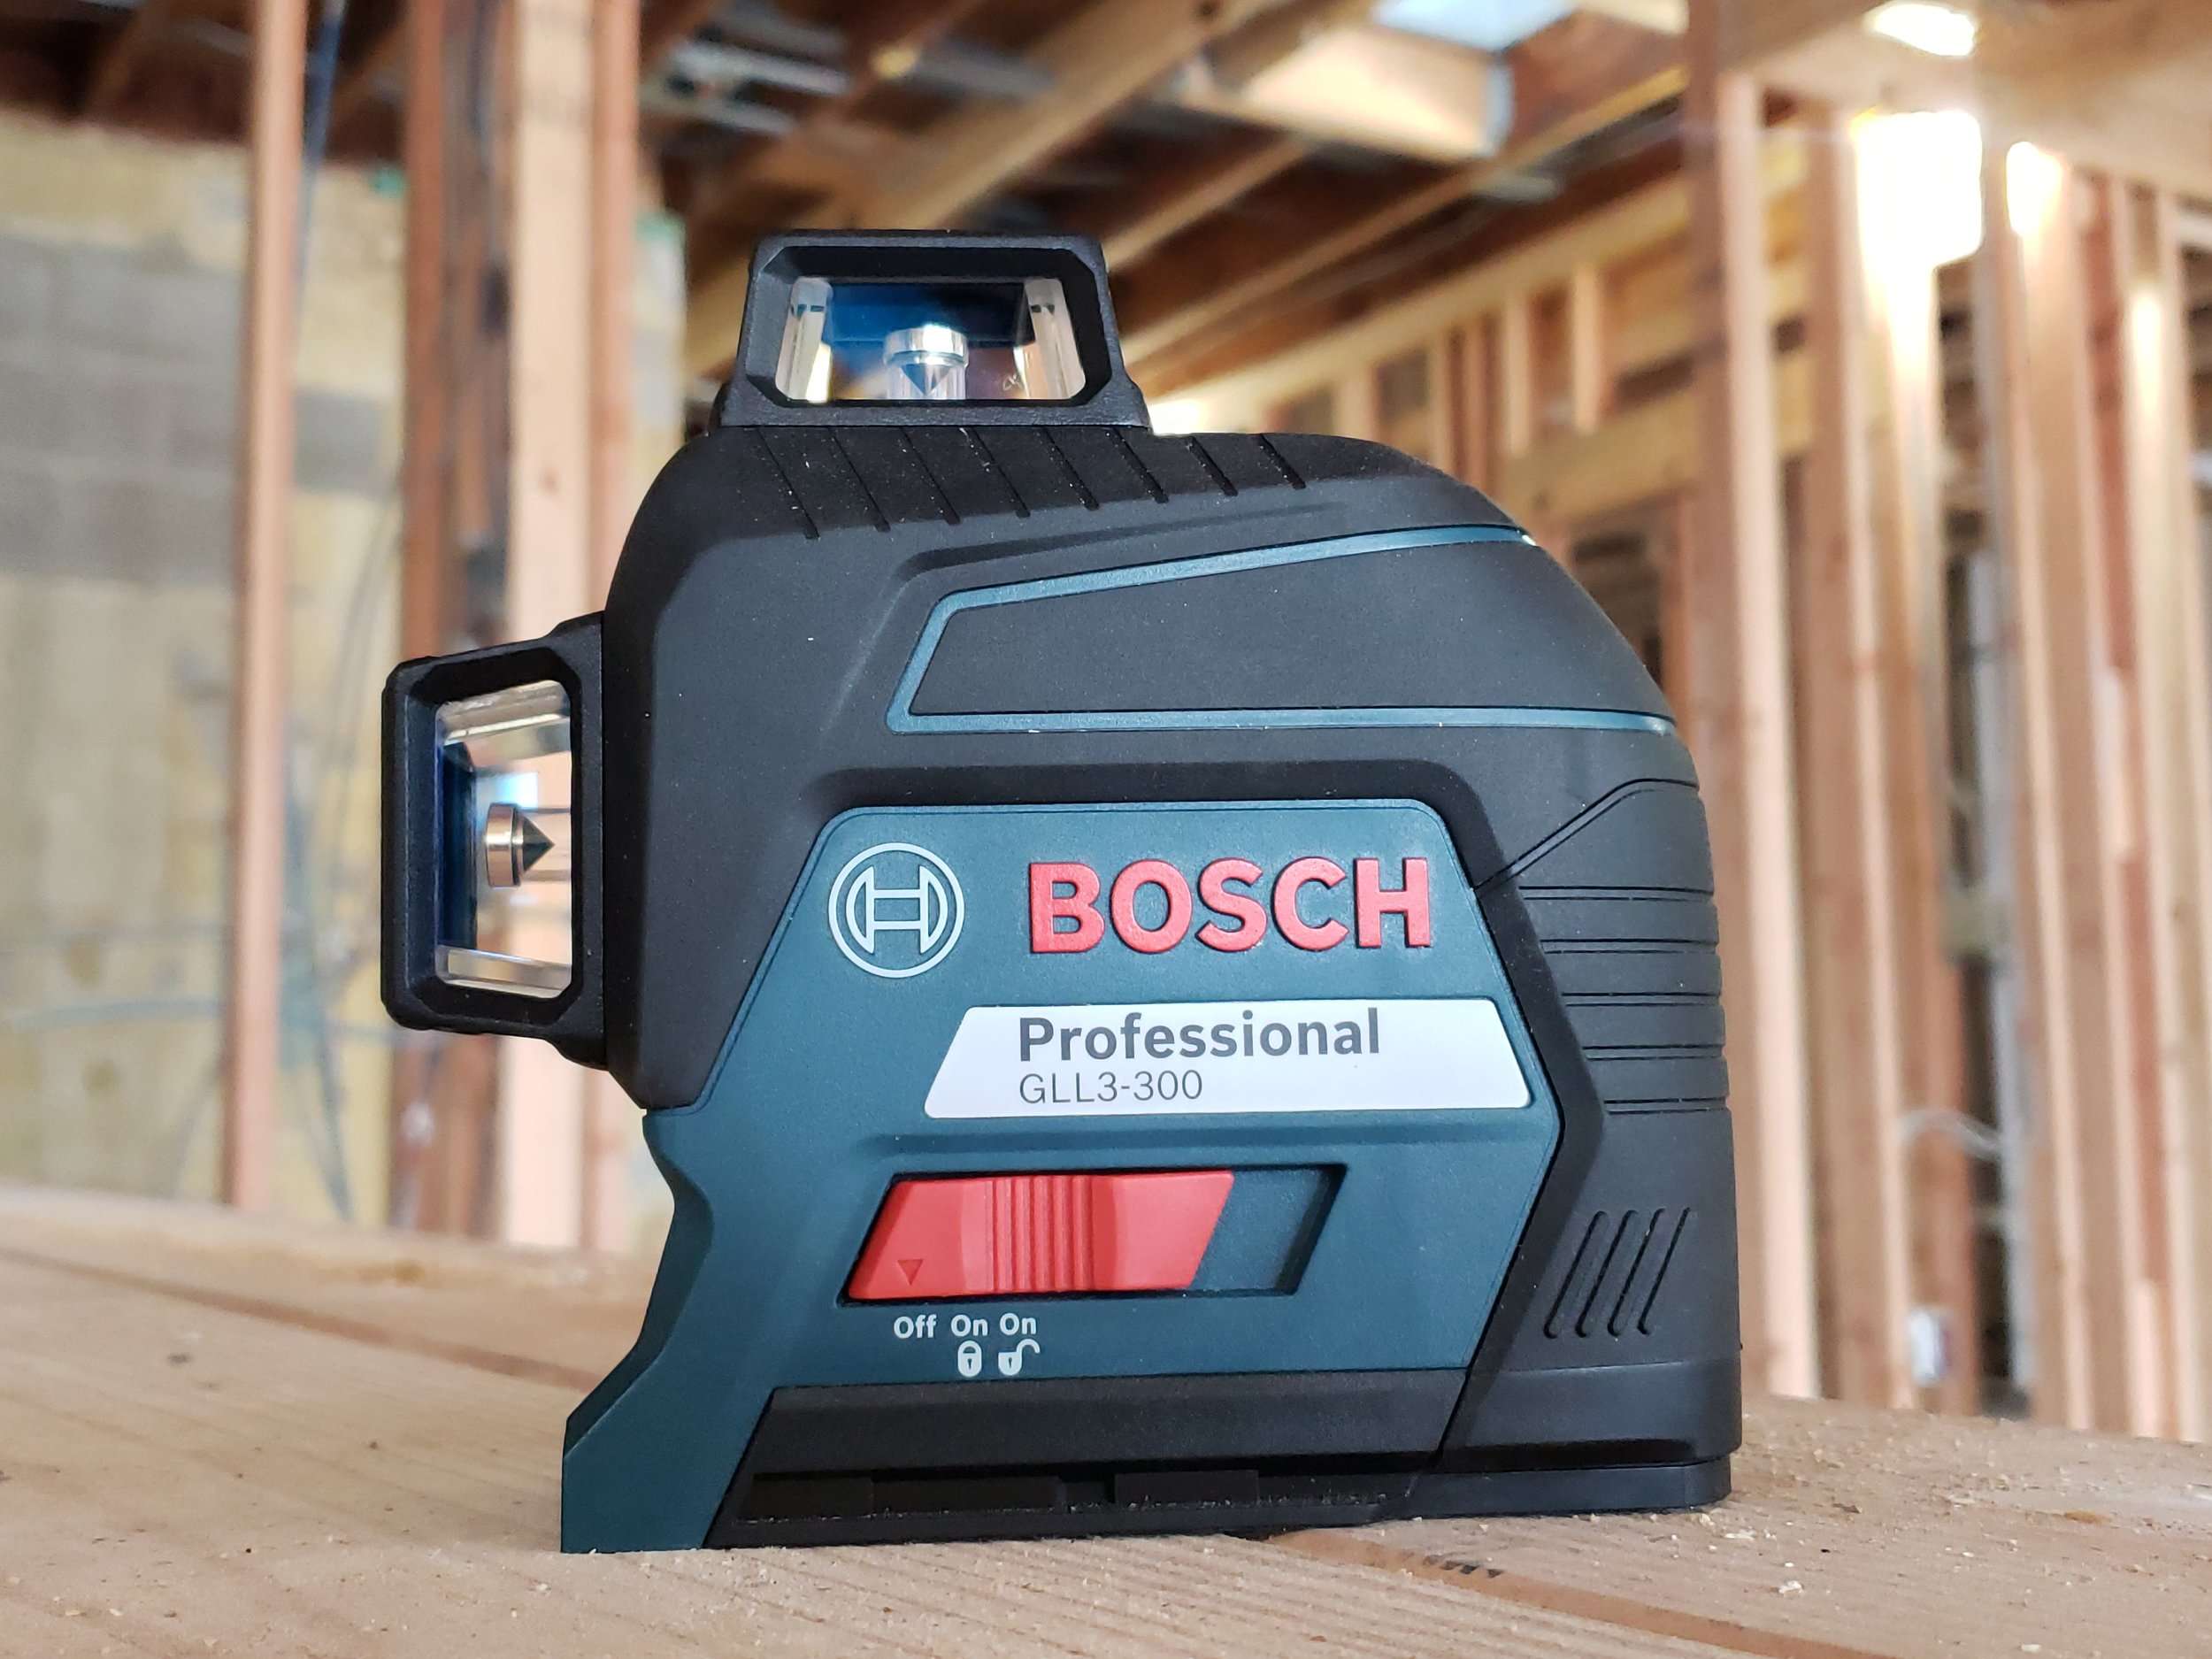
Before we dive into the specifics, let’s start with an overview of what the Bosch Laser Level is and the types and models available on the market. The Bosch Laser Level is a state-of-the-art leveling tool that utilizes laser technology to project a straight, level line onto surfaces. This line serves as a reference for precise alignment, making it an indispensable tool in tasks such as hanging pictures, installing shelves, and aligning tiles.
There are several models of Bosch Laser Levels available, each with its own unique features and specifications. Some models offer additional functionalities like measuring slopes, measuring distances, and even self-leveling capabilities. It’s important to choose the right model that suits your specific needs and the complexity of your projects.
Now that we have a general understanding of what the Bosch Laser Level is, let’s move on to the next section, where we will explore the initial setup process and how to calibrate the device for accurate measurements.
Key Takeaways:
- The Bosch Laser Level is a versatile tool that simplifies precise alignments in construction and DIY projects. Understanding its setup, calibration, and maintenance procedures is crucial for maximizing its performance and longevity.
- From horizontal and vertical alignments to 45-degree applications and troubleshooting tips, the Bosch Laser Level offers a wide range of functionalities. Utilizing its features effectively can elevate the accuracy and efficiency of various projects.
Read more: How To Calibrate Bosch Laser Level
Overview of Bosch Laser Level
Before delving into the intricacies of using the Bosch Laser Level, it is important to have a clear understanding of what this tool is and the different types and models available.
The Bosch Laser Level is a precision tool designed for measuring and aligning objects with utmost accuracy. It utilizes advanced laser technology to project a highly visible laser beam onto surfaces, providing a reference line for precise alignment.
One of the key advantages of the Bosch Laser Level is its ease of use. With just a few simple steps, you can set up the device and start aligning objects within minutes. This makes it highly convenient for both professionals and DIY enthusiasts.
Now, let’s take a look at the different types and models of Bosch Laser Levels available in the market:
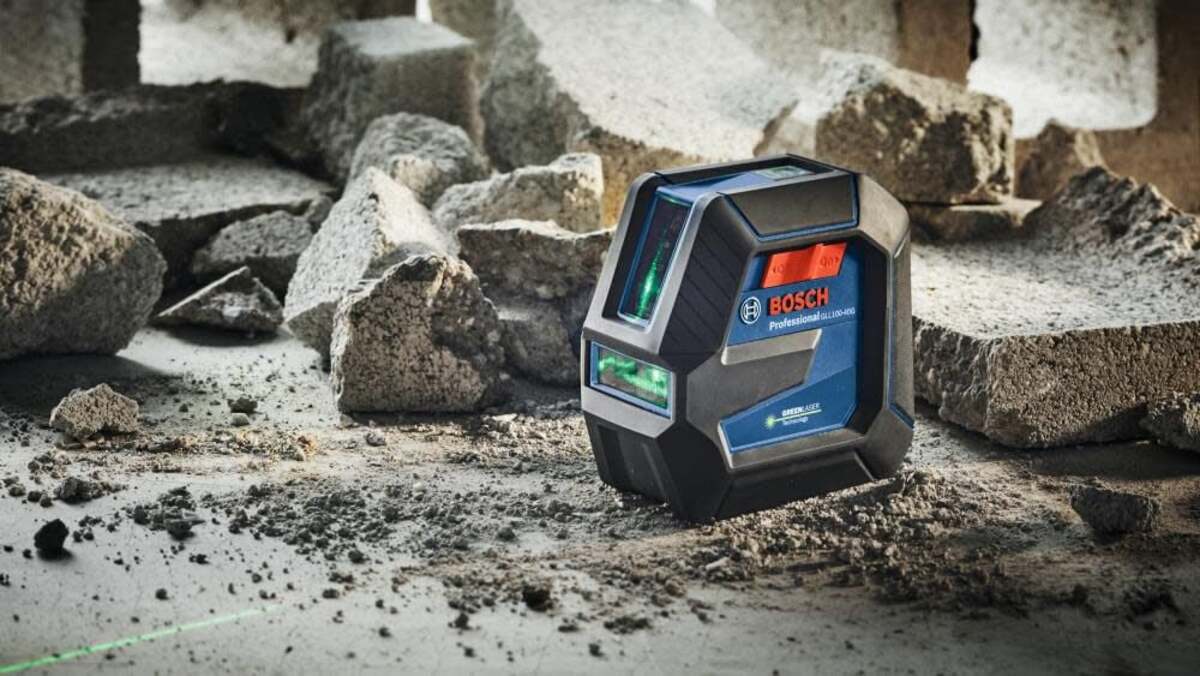
– Cross-Line Laser Levels: This type of Bosch Laser Level projects two intersecting lines, one horizontal and one vertical, offering precise alignment capabilities for tasks such as hanging pictures, installing cabinets, and aligning tiles.
– Rotary Laser Levels: Rotary Laser Levels emit a rotating laser beam in a 360-degree pattern, allowing for comprehensive and precise alignment. These models are commonly used in large construction projects where a high level of accuracy is required.
– Line Laser Levels: Line Laser Levels project a single, highly visible laser line onto surfaces, providing a clear reference for alignment. These models are ideal for tasks such as installing shelves, aligning ceiling fixtures, and creating straight lines for various applications.
– Combining Functionality: Some Bosch Laser Level models combine multiple functionalities, such as cross-line and rotary capabilities, offering enhanced versatility for a wide range of projects.
When selecting a Bosch Laser Level, it is crucial to consider the specific needs of your projects. Factors such as range, accuracy, self-leveling capabilities, and additional features should be taken into account. It is recommended to choose a model that aligns with the complexity and requirements of your tasks to ensure optimal performance.
With a clear understanding of the Bosch Laser Level and the different types and models available, you are now ready to proceed to the next section, where we will explore the setup process in detail.
Setting Up the Bosch Laser Level
Now that you have chosen the right Bosch Laser Level for your needs, it is time to set it up and prepare it for use. In this section, we will guide you through the essential steps of unboxing the device, checking its components, installing the batteries, and exploring various mounting options.
Unboxing and Checking Components:
Start by carefully unboxing the Bosch Laser Level and checking its components. Ensure that all the necessary parts are included and in good condition. Common components typically found in the package include the laser level unit, a mounting bracket, a user manual, and any additional accessories that may come with your specific model.
Battery Installation:
The next step is to install the batteries in your Bosch Laser Level. Most models use either AA or AAA batteries, depending on the size and power requirements of the device. Carefully locate the battery compartment, usually at the back or bottom of the unit, and follow the instructions provided in the user manual to insert the batteries correctly. Always use high-quality, fresh batteries for optimal performance and longevity. Once the batteries are installed, you can proceed to the next step.
Mounting Options:
Depending on your project requirements, you have several mounting options for your Bosch Laser Level. The most common methods include:
– Magnetic Mount: Some Bosch Laser Level models are equipped with built-in magnets that allow for easy attachment to metal surfaces. This mounting option is ideal for tasks that involve aligning metal objects or working in areas where a metal surface is readily available.
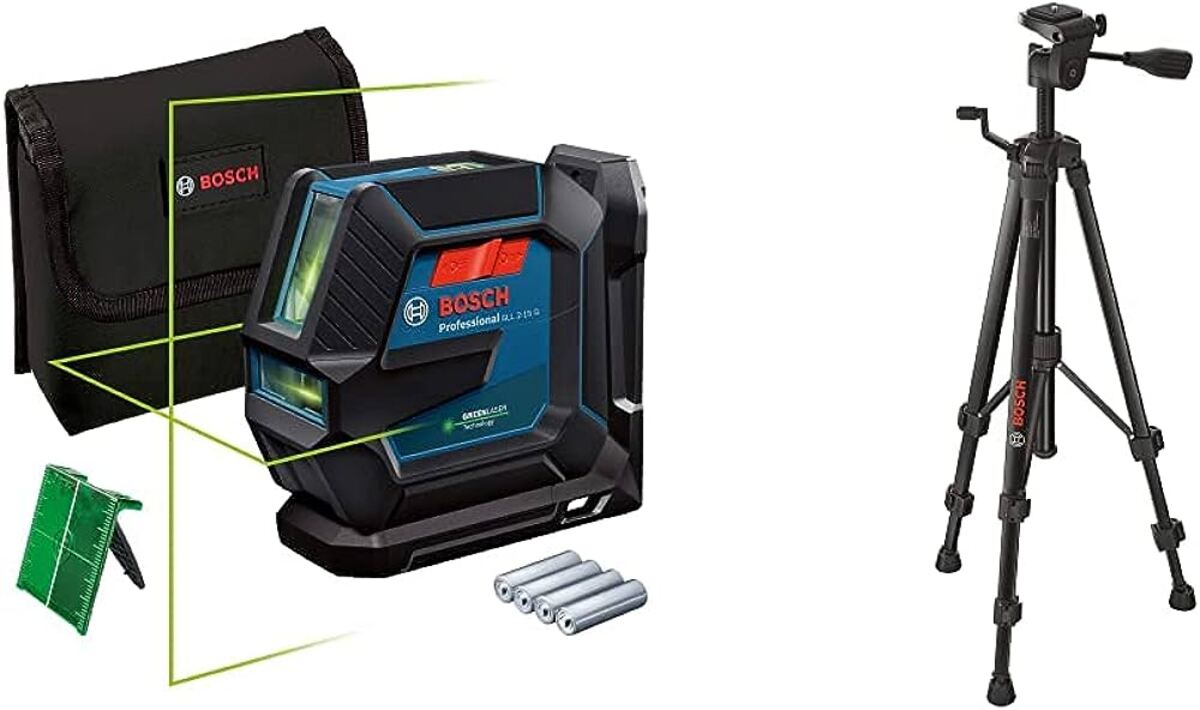
– Tripod Mount: Many Bosch Laser Levels come with a threaded mount at the bottom, allowing you to attach them to a tripod. This option provides stability and adjustability, making it suitable for tasks that require extended usage or precise alignment over a larger area.
– Clamp Mount: If you are working on surfaces without a magnetic or metal base, you can use a clamp mount. This type of mount can be attached to surfaces such as wood, drywall, or plastic, providing a secure attachment point for the Bosch Laser Level.
Take into consideration the nature of your project and the available mounting options before deciding how to attach your Bosch Laser Level. It is important to ensure that the device is securely attached so that it remains stable and provides accurate alignment.
With the Bosch Laser Level properly set up and mounted, you are now ready to move on to the next section, where we will explore the calibration process to ensure accurate measurements and alignments.
Calibrating the Bosch Laser Level
To achieve precise and accurate measurements and alignments, it is crucial to calibrate your Bosch Laser Level properly. In this section, we will guide you through the steps to ensure accuracy and make any necessary fine-tuning adjustments.
Ensuring Accuracy:
Before starting any calibration process, it is important to ensure that your Bosch Laser Level is placed on a stable and level surface. Any slight tilt or unevenness can affect the accuracy of the device. Use a spirit level or a bubble level to confirm that the surface is level. This step is crucial as it serves as the starting point for calibrating the laser level.
Fine-Tuning Adjustments:
Once your Bosch Laser Level is placed on a level surface, you can proceed to fine-tune the device to achieve optimal accuracy. Most models have adjustment screws or knobs that allow you to make precise adjustments. Refer to the user manual for your specific model to locate the adjustment controls.
Start by turning on your Bosch Laser Level and activating a reference line. Place a target or a straight object in line with the projected laser and observe if the laser line aligns perfectly with the target. If it does not, you will need to make appropriate adjustments.
For horizontal alignment, use the adjustment screws or knobs to tilt the device slightly until the laser line aligns with the target accurately. Be patient during this process, as making gradual adjustments will ensure precise leveling.
Similarly, for vertical alignment, use the adjustment controls to align the laser line perpendicular to the target. Making small adjustments at a time will allow you to achieve a perfectly plumb line.
Continue making fine-tuning adjustments until you achieve the desired accuracy. Regularly check the alignment of the laser line with your target to ensure consistent results.
It is important to note that, in some cases, additional calibration or adjustments might be required when changing from one mode to another or switching between different functionalities of your Bosch Laser Level. Always refer to the user manual for specific instructions regarding recalibration.
By properly calibrating your Bosch Laser Level, you can ensure accurate measurements and alignments for your projects. With the calibration process complete, you are now ready to explore the basic functions and features of the device in the next section.
Basic Functions and Features
Understanding the basic functions and features of your Bosch Laser Level is essential to effectively utilize its capabilities. In this section, we will explore the primary functionalities of the device, including powering it on/off, mode selection, and adjusting laser beam visibility and intensity.
Power On/Off:
The power on/off function is a fundamental aspect of operating your Bosch Laser Level. To turn on the device, locate the power button, usually located on the side or top of the unit, and press it. Some models may have a separate on/off switch instead of a button. When powered on, the laser beam will be projected, indicating that the device is ready for use. To conserve battery life, it is important to turn off the device when not in use by pressing the power button again or sliding the on/off switch to the off position.
Mode Selection:
Bosch Laser Levels often offer different modes to cater to different alignment needs. Common modes include horizontal, vertical, and cross-line alignments. To select the desired mode, locate the mode selection button or dial on your Bosch Laser Level. Press the button or turn the dial to cycle through the available modes until you reach the one you need. Some advanced models may have additional modes, such as slope or 45-degree alignment. Refer to the user manual for specific instructions on mode selection for your respective model.
Laser Beam Visibility and Intensity Settings:
Being able to adjust the laser beam visibility and intensity is an important feature of the Bosch Laser Level, especially when working in different lighting conditions. Some models have adjustable settings to control the brightness or intensity of the laser beam, allowing you to optimize visibility based on your surroundings. You may also have the option to switch between pulse or continuous laser beams. Refer to the user manual for your specific model and follow the instructions to adjust the laser beam visibility and intensity settings accordingly.
Understanding and utilizing these basic functions and features of your Bosch Laser Level will maximize its potential and improve the accuracy of your measurements and alignments. With the knowledge of these functions, you are now ready to explore the practical applications of the Bosch Laser Level for horizontal alignment in the next section.
Using the Bosch Laser Level for Horizontal Alignment
The Bosch Laser Level is a valuable tool for achieving precise horizontal alignments in a variety of projects. In this section, we will guide you through the steps of using your Bosch Laser Level for horizontal alignment, including marking reference points, setting up the level, and making necessary adjustments for precise leveling.
Marking Reference Points:
Before setting up the Bosch Laser Level, it is important to mark reference points on the surfaces where you want to achieve horizontal alignment. Use a pencil or a marking tool to create small dots or lines as reference points. These marks will guide you during the alignment process and ensure accurate horizontal leveling.
Setting up the Level for Horizontal Alignment:
Start by placing your Bosch Laser Level at the desired starting point, preferably on a stable surface. Ensure that the device is securely mounted using the appropriate mounting option we discussed earlier in the article. Make sure that the laser beam is projected in a horizontal line across the surface, aligned with your reference points.
Making Adjustments for Precise Leveling:
Once the laser beam is projected, you may need to make adjustments to achieve precise horizontal leveling. Using the fine-tuning adjustment controls, rotate the level or tilt it slightly until the laser line aligns perfectly with your reference points. Make small adjustments at a time, and regularly check the alignment with your reference marks to ensure accuracy.
If required, you can also utilize the additional features of your Bosch Laser Level, such as the ability to lock the leveling position or activate self-leveling mode, depending on the capabilities of your specific model. These features can enhance accuracy and simplify the leveling process.
Continue moving the Bosch Laser Level along the surface, aligning the laser beam with your reference points, and making necessary adjustments as you go. This will allow you to achieve a seamless horizontal alignment across the desired area.
Remember to be patient and take your time during the leveling process to ensure accurate results. It is always a good practice to double-check the alignment before proceeding with any further construction or installation work.
With your Bosch Laser Level set up and accurately aligned for horizontal leveling, you can now confidently proceed to the next section, where we will explore the usage of the Bosch Laser Level for vertical alignment.
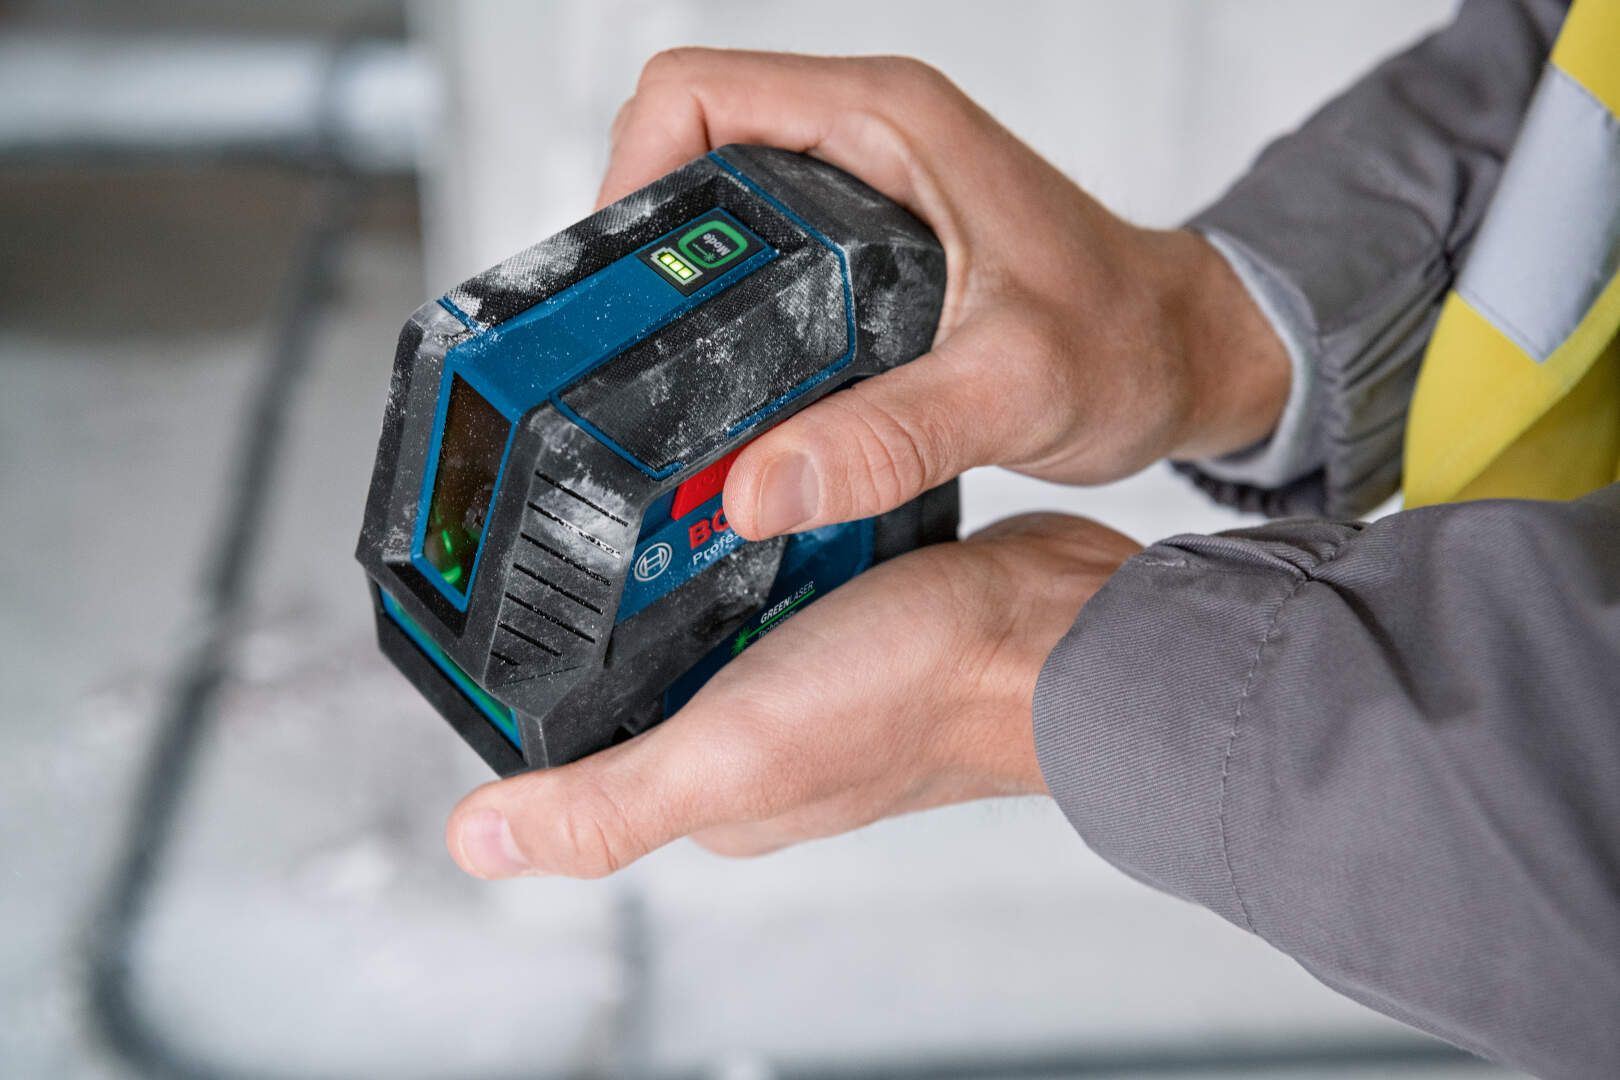
When using a Bosch laser level, make sure to set it on a stable surface and adjust the height and angle to align with your project. Always double-check the accuracy before starting your work.
Using the Bosch Laser Level for Vertical Alignment
The Bosch Laser Level is not only useful for horizontal alignments but also for achieving precise vertical alignments in various projects. In this section, we will guide you through the steps of using your Bosch Laser Level for vertical alignment, including setting up the level, ensuring plumb lines and right angles, and making adjustments for precise vertical alignment.
Setting up the Level for Vertical Alignment:
Start by placing your Bosch Laser Level on a stable surface at the desired starting point for the vertical alignment. Use a mounting option such as a magnetic mount or a clamp mount, depending on the surface you are working on. Ensure that the device is securely attached and the laser beam is projected in a vertical line.
Ensuring Plumb Lines and Right Angles:
To ensure accurate vertical alignment, it is essential to ensure that the laser line is perfectly plumb and forms right angles with the reference points or surfaces. Use a level or a square to verify the perpendicularity of the laser line. Adjust the position of the Bosch Laser Level if necessary to achieve a perfectly plumb line and right angles.
Making Adjustments for Precise Vertical Alignment:
If the laser line does not align perfectly with the reference points, you may need to make adjustments to achieve precise vertical alignment. Similar to the horizontal alignment process, use the fine-tuning adjustment controls of your Bosch Laser Level to tilt the device slightly until the laser line aligns accurately with your reference points. Make small adjustments at a time and regularly verify the alignment with a level or a square for optimal accuracy.
When making adjustments for vertical alignment, it is crucial to be meticulous and patient, as even minor deviations can significantly affect the accuracy of your project. Double-check the alignment with your reference points and make any necessary adjustments until the vertical alignment is achieved precisely.
Using the Bosch Laser Level for vertical alignment is valuable in tasks such as installing wall cabinets, aligning door frames, or ensuring verticality in construction projects. By following these steps, you can achieve precise vertical alignments in your projects with ease and confidence.
With the vertical alignment process complete, you can move on to the next section, where we will explore additional applications, tips, and best practices for using the Bosch Laser Level in different scenarios.
Additional Applications and Tips
The Bosch Laser Level is a versatile tool that can be used for a wide range of applications beyond just horizontal and vertical alignments. In this section, we will explore some additional applications, tips, and best practices for making the most out of your Bosch Laser Level.
Using the Bosch Laser Level for 45-degree Alignments:
In addition to horizontal and vertical alignments, some Bosch Laser Level models offer the option to align objects at a 45-degree angle. This feature is useful for tasks such as installing diagonal tiles, creating angled lines for woodworking, or aligning objects in a specific angled position. Refer to the user manual for your specific model to understand how to activate and use the 45-degree alignment functionality.
Working with Slopes and Inclines:
While the primary function of the Bosch Laser Level is to provide straight and level lines, you can use it creatively to work with slopes and inclines as well. By tilting the device or using adjustable tripod legs, you can project a sloping laser beam to help with tasks like landscaping, grading, or installing ramps. This allows you to achieve accurate and consistent slopes without relying on traditional manual methods.
Working with a Laser Detector for Extended Range:
If you need to work over longer distances or in bright outdoor environments where the laser beam may not be easily visible, you can use a laser detector with your Bosch Laser Level. A laser detector is a device that detects the laser beam and provides an audible or visual signal when the beam is detected. This extends the range of your Bosch Laser Level and allows for accurate alignments even in challenging conditions.
When using a laser detector, refer to both the Bosch Laser Level and detector manuals for compatibility and specific instructions on how to set up and use the detector with your laser level. Follow the recommended procedures to ensure proper alignment and accurate measurements.
Furthermore, remember to keep your Bosch Laser Level clean and free from debris. Regularly wipe the lens and body of the device with a soft, lint-free cloth to maintain visibility and accuracy. Store the device in a protective case or container when not in use to prevent damage.
By exploring these additional applications and implementing these tips and best practices, you can unlock the full potential of your Bosch Laser Level and achieve precise alignments in various projects and environments.
With the knowledge of these applications and tips, you are now equipped to effectively use your Bosch Laser Level. In the next section, we will discuss important maintenance and safety precautions to ensure the longevity and safe operation of your device.
Maintenance and Safety Precautions
To ensure the longevity and safe operation of your Bosch Laser Level, it is important to follow proper maintenance and safety precautions. In this section, we will discuss key aspects of maintenance, including cleaning and storage, battery replacement, as well as important safety guidelines and precautions.
Cleaning and Storage:
Regularly cleaning your Bosch Laser Level will help maintain its performance and accuracy. After each use, wipe the device with a soft, lint-free cloth to remove any dust, debris, or fingerprints from the lens and body. Avoid using harsh chemicals or abrasive materials during cleaning, as they may damage the device. Additionally, store your Bosch Laser Level in a clean and dry environment, preferably in a protective case or storage container, to prevent any potential damage from moisture or impact.
Battery Replacement:
Monitor the battery life of your Bosch Laser Level and replace the batteries as needed. Consult the user manual for your specific model to determine the type and size of batteries required. When replacing the batteries, ensure that you insert them correctly and securely. Using high-quality, fresh batteries will help maintain optimal performance and prevent any power-related issues during operation.
Safety Guidelines and Precautions:
While using the Bosch Laser Level, it is important to prioritize safety. Here are some guidelines and precautions to keep in mind:
- Always read and understand the user manual provided with your Bosch Laser Level and follow the manufacturer’s instructions for safe operation.
- Wear appropriate protective gear, such as safety glasses, when working with the laser level, especially in environments with potential hazards.
- Never aim the laser beam directly into your eyes or anyone else’s eyes. Laser beams can cause serious eye injury.
- Avoid pointing the laser beam at reflective surfaces or mirrors to prevent unintended reflections that may cause confusion or misalignment.
- Keep the laser level away from children and unauthorized individuals who may not be aware of the potential risks associated with its operation.
- Avoid exposing the laser level to extreme temperatures, excessive moisture, or harsh conditions that can damage the device.
- Ensure that the working area is free from any obstructions or obstacles that may interfere with the laser beam or the movement of the device.
- Do not modify or tamper with the device, as it can affect its safety, accuracy, and performance.
By adhering to these maintenance and safety precautions, you can prolong the lifespan of your Bosch Laser Level, ensure accurate measurements and alignments, and prioritize the safety of yourself and those around you.
With a solid understanding of maintenance and safety practices, you can confidently proceed to the next section, where we will discuss common issues that may arise while using the Bosch Laser Level and provide troubleshooting tips to overcome them.
Read more: How To Attach A Laser Level To The Bosch 150
Troubleshooting Common Issues
While the Bosch Laser Level is a reliable tool, you may encounter certain issues during its operation. In this section, we will discuss some common issues that you may encounter, such as no laser beam visibility and inaccurate leveling, and provide troubleshooting tips to help you overcome these problems. Additionally, we will offer some general troubleshooting tips for other potential issues that may arise.
No Laser Beam Visibility:
If you are experiencing no laser beam visibility, there are a few potential causes and troubleshooting steps to consider:
- Check the battery: Ensure that the batteries are properly installed and have enough power. If they are low on power, replace them with fresh ones.
- Inspect the laser beam window: Carefully clean the laser beam window using a soft, lint-free cloth. Dust or debris on the window can obstruct the laser beam and reduce visibility.
- Verify the operating conditions: Make sure you are using the Bosch Laser Level in an appropriate environment. Excessive ambient light, bright sunlight, or reflective surfaces can affect the visibility of the laser beam. Consider using a laser detector to enhance visibility in challenging conditions.
Inaccurate Leveling:
If you are experiencing issues with inaccurate leveling, try the following troubleshooting steps:
- Ensure proper setup: Double-check that the Bosch Laser Level is set up on a stable surface and securely mounted. Any slight instability can impact the accuracy of the leveling. Also, verify that the surface you are working on is level or plumb using a separate spirit level.
- Calibration: Refer back to the calibration process outlined in section 3 of this article. Make sure the Bosch Laser Level is properly calibrated for accurate leveling.
- Fine-tuning adjustments: Use the fine-tuning adjustment controls to make precise adjustments and align the laser line with your reference points.
Troubleshooting Tips for Other Potential Problems:
Here are some general troubleshooting tips for other issues you may encounter with your Bosch Laser Level:
- Read the user manual: Refer to the user manual for your specific model, as it contains valuable information and troubleshooting tips specific to your device.
- Reset the device: If you are experiencing unexpected behavior or malfunctions, try resetting the Bosch Laser Level according to the instructions in the user manual.
- Check for firmware updates: Visit the manufacturer’s website or contact customer support to check for any firmware updates or software patches that may address known issues or improve performance.
- Contact customer support: If you have exhausted all troubleshooting options and are still experiencing issues, reach out to the manufacturer’s customer support for further assistance.
By following these troubleshooting tips, you can overcome common issues with your Bosch Laser Level and ensure smooth operation and accurate measurements. Remember to exercise caution and follow safety guidelines while troubleshooting or attempting to fix any issues with your device.
With troubleshooting tips in hand, you are now well-equipped to handle any issues that may arise during the use of your Bosch Laser Level. In the next section, we will conclude this article with a brief summary of the key points covered and the importance of utilizing this valuable tool in your projects.
Conclusion
The Bosch Laser Level is a game-changer in the world of construction and DIY projects. With its precision and accuracy, this tool simplifies the process of aligning objects and achieving seamless results. Throughout this article, we have explored the various aspects of using the Bosch Laser Level, from setting it up to calibrating it for accurate measurements and alignments.
We began with an overview of the Bosch Laser Level, discussing the different types and models available on the market. We then delved into the steps for setting up the device, including unboxing, checking components, and installing batteries. Calibration was a key aspect we covered, ensuring accuracy through fine-tuning adjustments.
We explored the basic functions and features of the Bosch Laser Level, including powering it on and off, selecting different modes, and adjusting laser beam visibility and intensity. The article then provided detailed instructions on using the Bosch Laser Level for both horizontal and vertical alignments, emphasizing the importance of marking reference points and making precise adjustments.
We expanded on the versatile applications of the Bosch Laser Level, such as using it for 45-degree alignments, working with slopes and inclines, and extending its range with a laser detector. Additionally, we discussed the significance of maintenance and safety precautions, including proper cleaning and storage, battery replacement, and adhering to safety guidelines.
For troubleshooting common issues, we provided tips for addressing no laser beam visibility, inaccurate leveling, and general troubleshooting approaches.
In conclusion, the Bosch Laser Level is a valuable tool that simplifies the process of aligning objects and achieving precise measurements. By understanding its functions, following proper setup, calibration, and maintenance procedures, and adhering to safety guidelines, you can maximize the performance and longevity of your device.
So, whether you’re a professional contractor or a DIY enthusiast, make sure to harness the power of the Bosch Laser Level to elevate the accuracy and efficiency of your construction and home improvement projects.
Now that you've mastered using your Bosch laser level, why not expand your skills further? Dive into DIY Projects, where you'll find out why tackling these endeavors brings such satisfaction and potential for personal expression. And if you're curious about the precision of your tools, our guide on Laser Level Accuracy will clear up any doubts, ensuring your projects are done right with utmost precision. These reads are perfect for honing your skills and boosting your confidence in any home improvement task!
Frequently Asked Questions about How To Use A Bosch Laser Level
Was this page helpful?
At Storables.com, we guarantee accurate and reliable information. Our content, validated by Expert Board Contributors, is crafted following stringent Editorial Policies. We're committed to providing you with well-researched, expert-backed insights for all your informational needs.


0 thoughts on “How To Use A Bosch Laser Level”