
Articles
How To Use Topcon Laser Level
Modified: March 1, 2024
Discover valuable articles on how to effectively use Topcon Laser Level for accurate and precise measurements. Enhance your construction and surveying skills with our expert guidance.
(Many of the links in this article redirect to a specific reviewed product. Your purchase of these products through affiliate links helps to generate commission for Storables.com, at no extra cost. Learn more)
Introduction
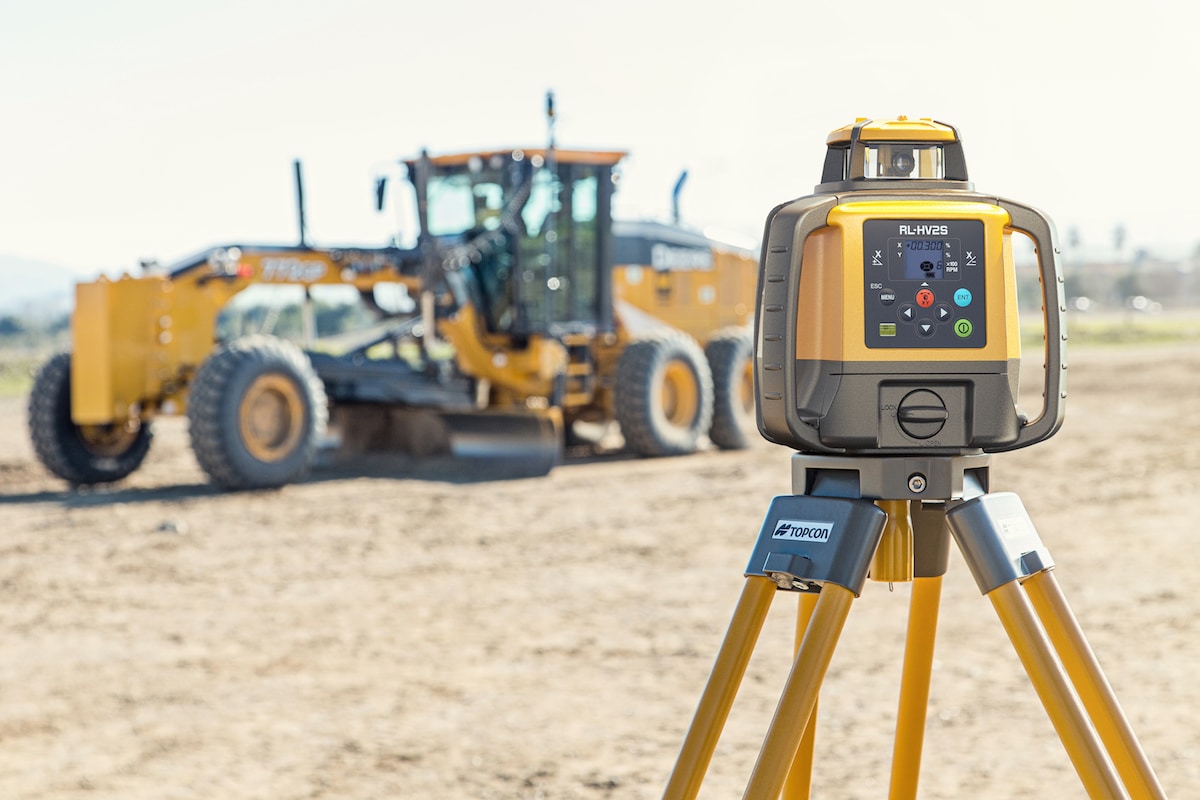
Welcome to the world of Topcon laser levels! Whether you are a construction professional or a DIY enthusiast, understanding how to use a laser level can greatly simplify your tasks and ensure accurate results. Topcon is a renowned brand in the field of laser leveling technology, offering a range of high-quality laser levels that are renowned for their precision and reliability.
In this article, we will guide you through the process of using a Topcon laser level, from the initial setup to performing advanced techniques. We will cover everything you need to know to operate your laser level effectively and achieve professional-level results.
Before we dive into the specifics, it’s essential to have a basic understanding of what a laser level is and how it works. A laser level is a device that emits a highly visible laser beam that acts as a reference line or point, allowing you to accurately align and level various surfaces. These devices are widely used in construction, carpentry, landscaping, and other industries where precise measurement and alignment are crucial.
Topcon laser levels are equipped with advanced features and technologies that make them user-friendly and efficient. They come with a range of functionalities such as self-leveling, scanning, rotating, and remote control capabilities, enabling you to handle a variety of tasks with ease and accuracy.
Whether you need to level a floor, install shelves, align tiles, or even set up complicated slope angles, a Topcon laser level can be an indispensable tool in your arsenal. So, let’s get started with the initial setup and learn how to make the most out of your Topcon laser level!
Key Takeaways:
- Mastering the use of a Topcon laser level empowers professionals and DIY enthusiasts to achieve precise measurements and professional-level results in construction and home improvement projects. Understanding the device’s features and advanced techniques enhances productivity and accuracy.
- Troubleshooting common issues, such as inaccurate measurements and weak laser projection, ensures optimal performance of the Topcon laser level. Regular testing and proper maintenance are essential for reliable and accurate measurements.
Read also: 13 Best Topcon Laser Level for 2024
Understanding Topcon Laser Levels
Before we dive into the operational aspects of using a Topcon laser level, let’s take a moment to familiarize ourselves with the different types and features of Topcon laser levels.
Topcon offers a wide range of laser levels designed to cater to various needs and applications. Some of the common types of Topcon laser levels include:
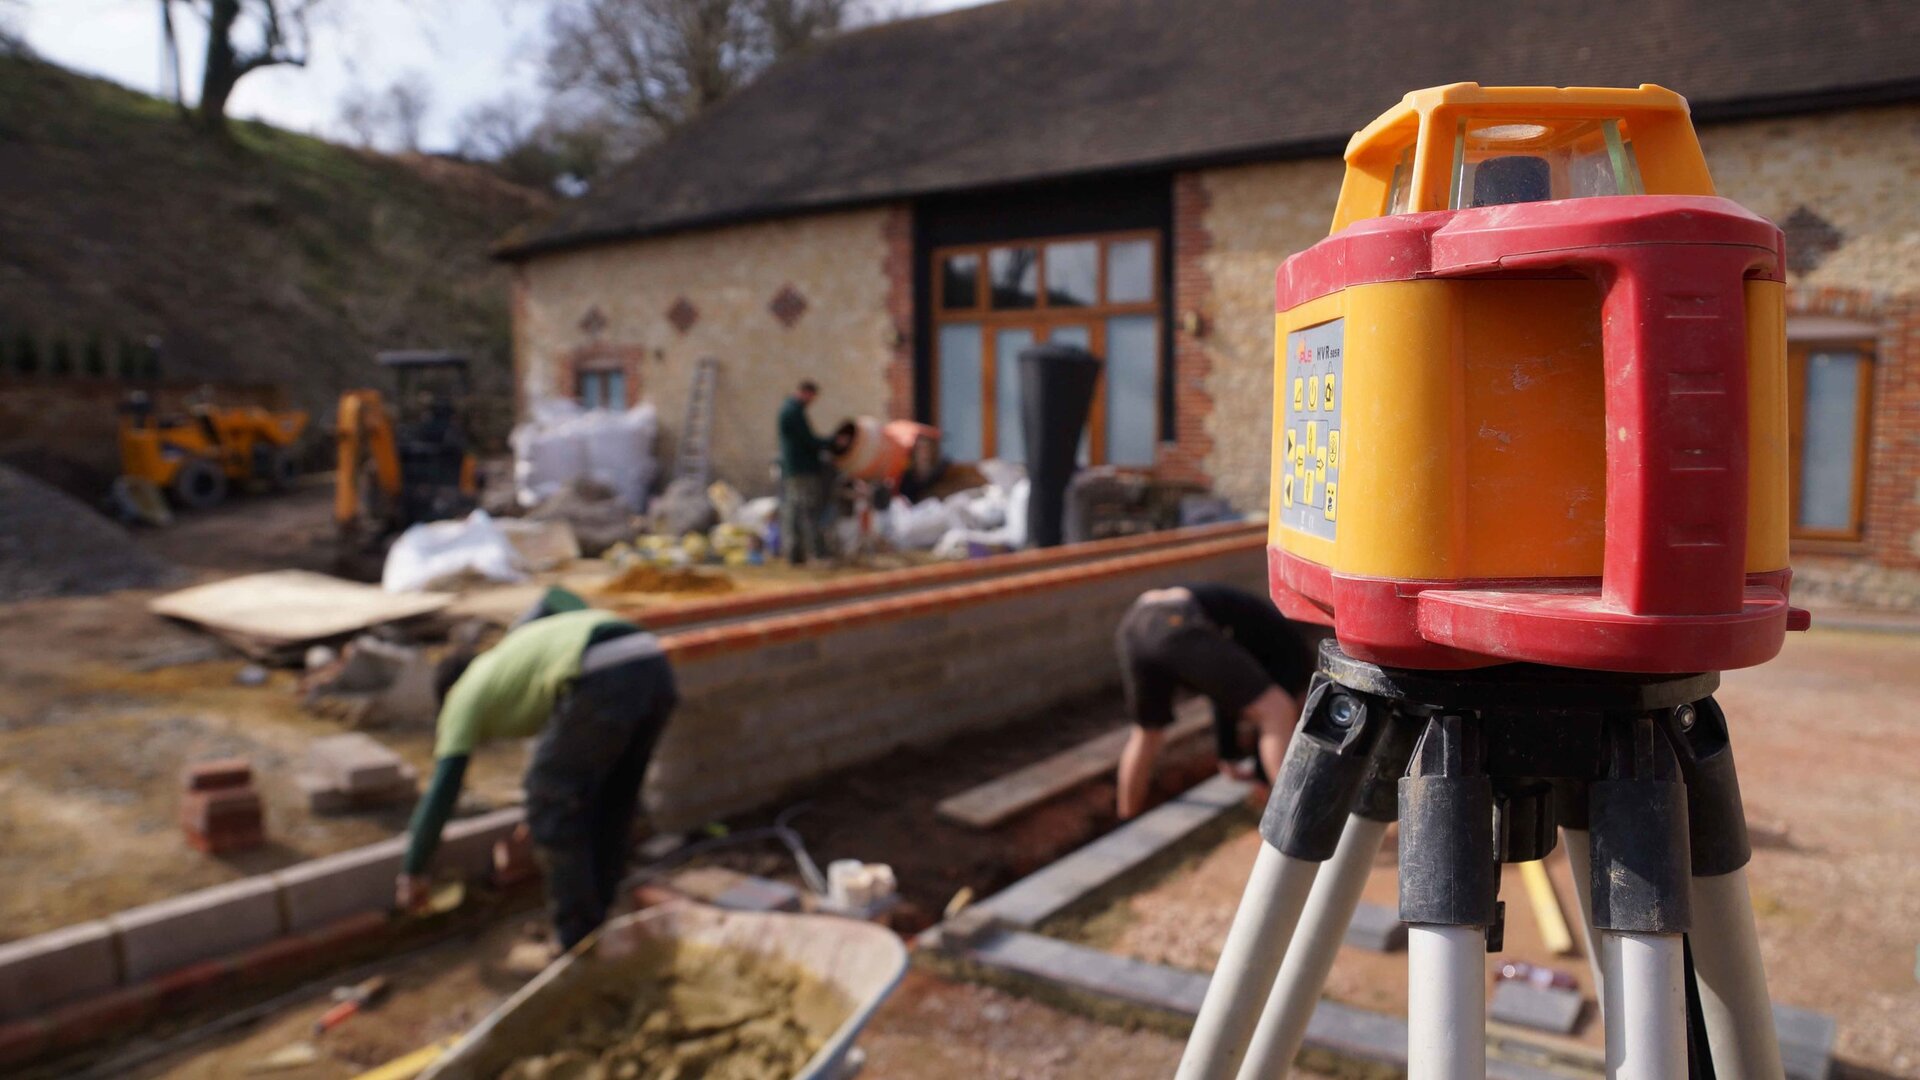
- Rotary Laser Levels: These laser levels emit a rotating laser beam in a 360-degree horizontal plane. They are perfect for large-scale construction projects, such as leveling foundations or aligning walls. Topcon rotary laser levels can also come with additional features like dual-slope capabilities.
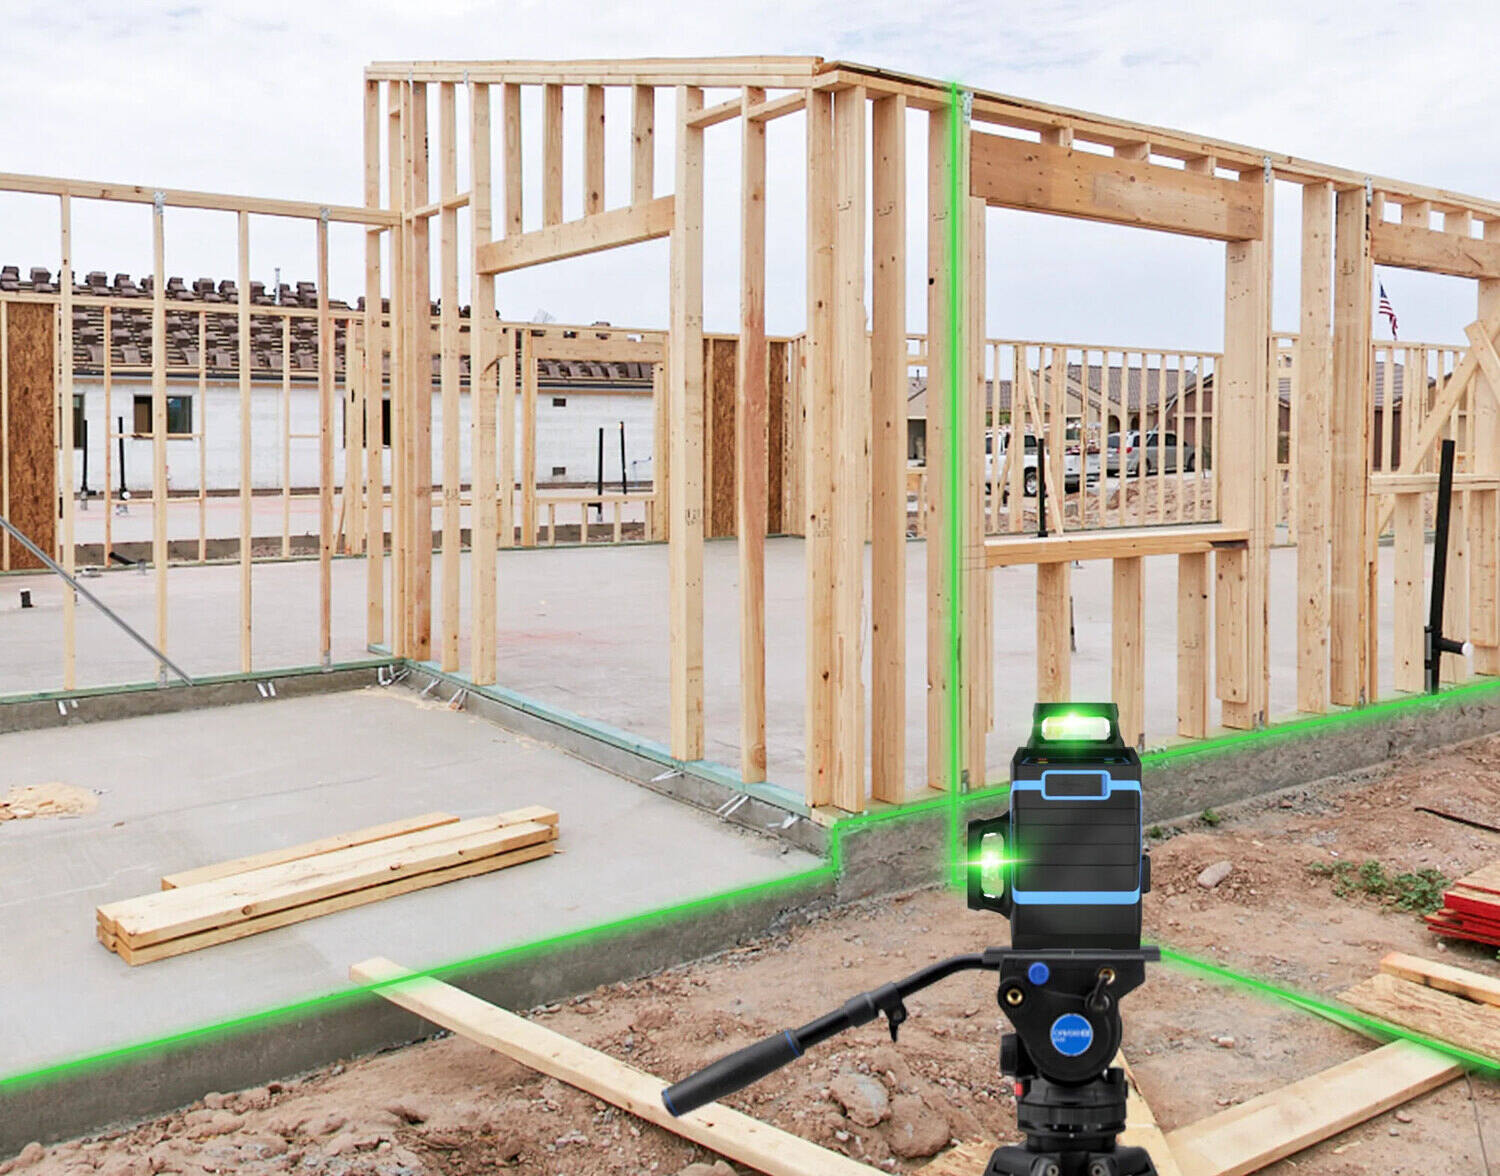
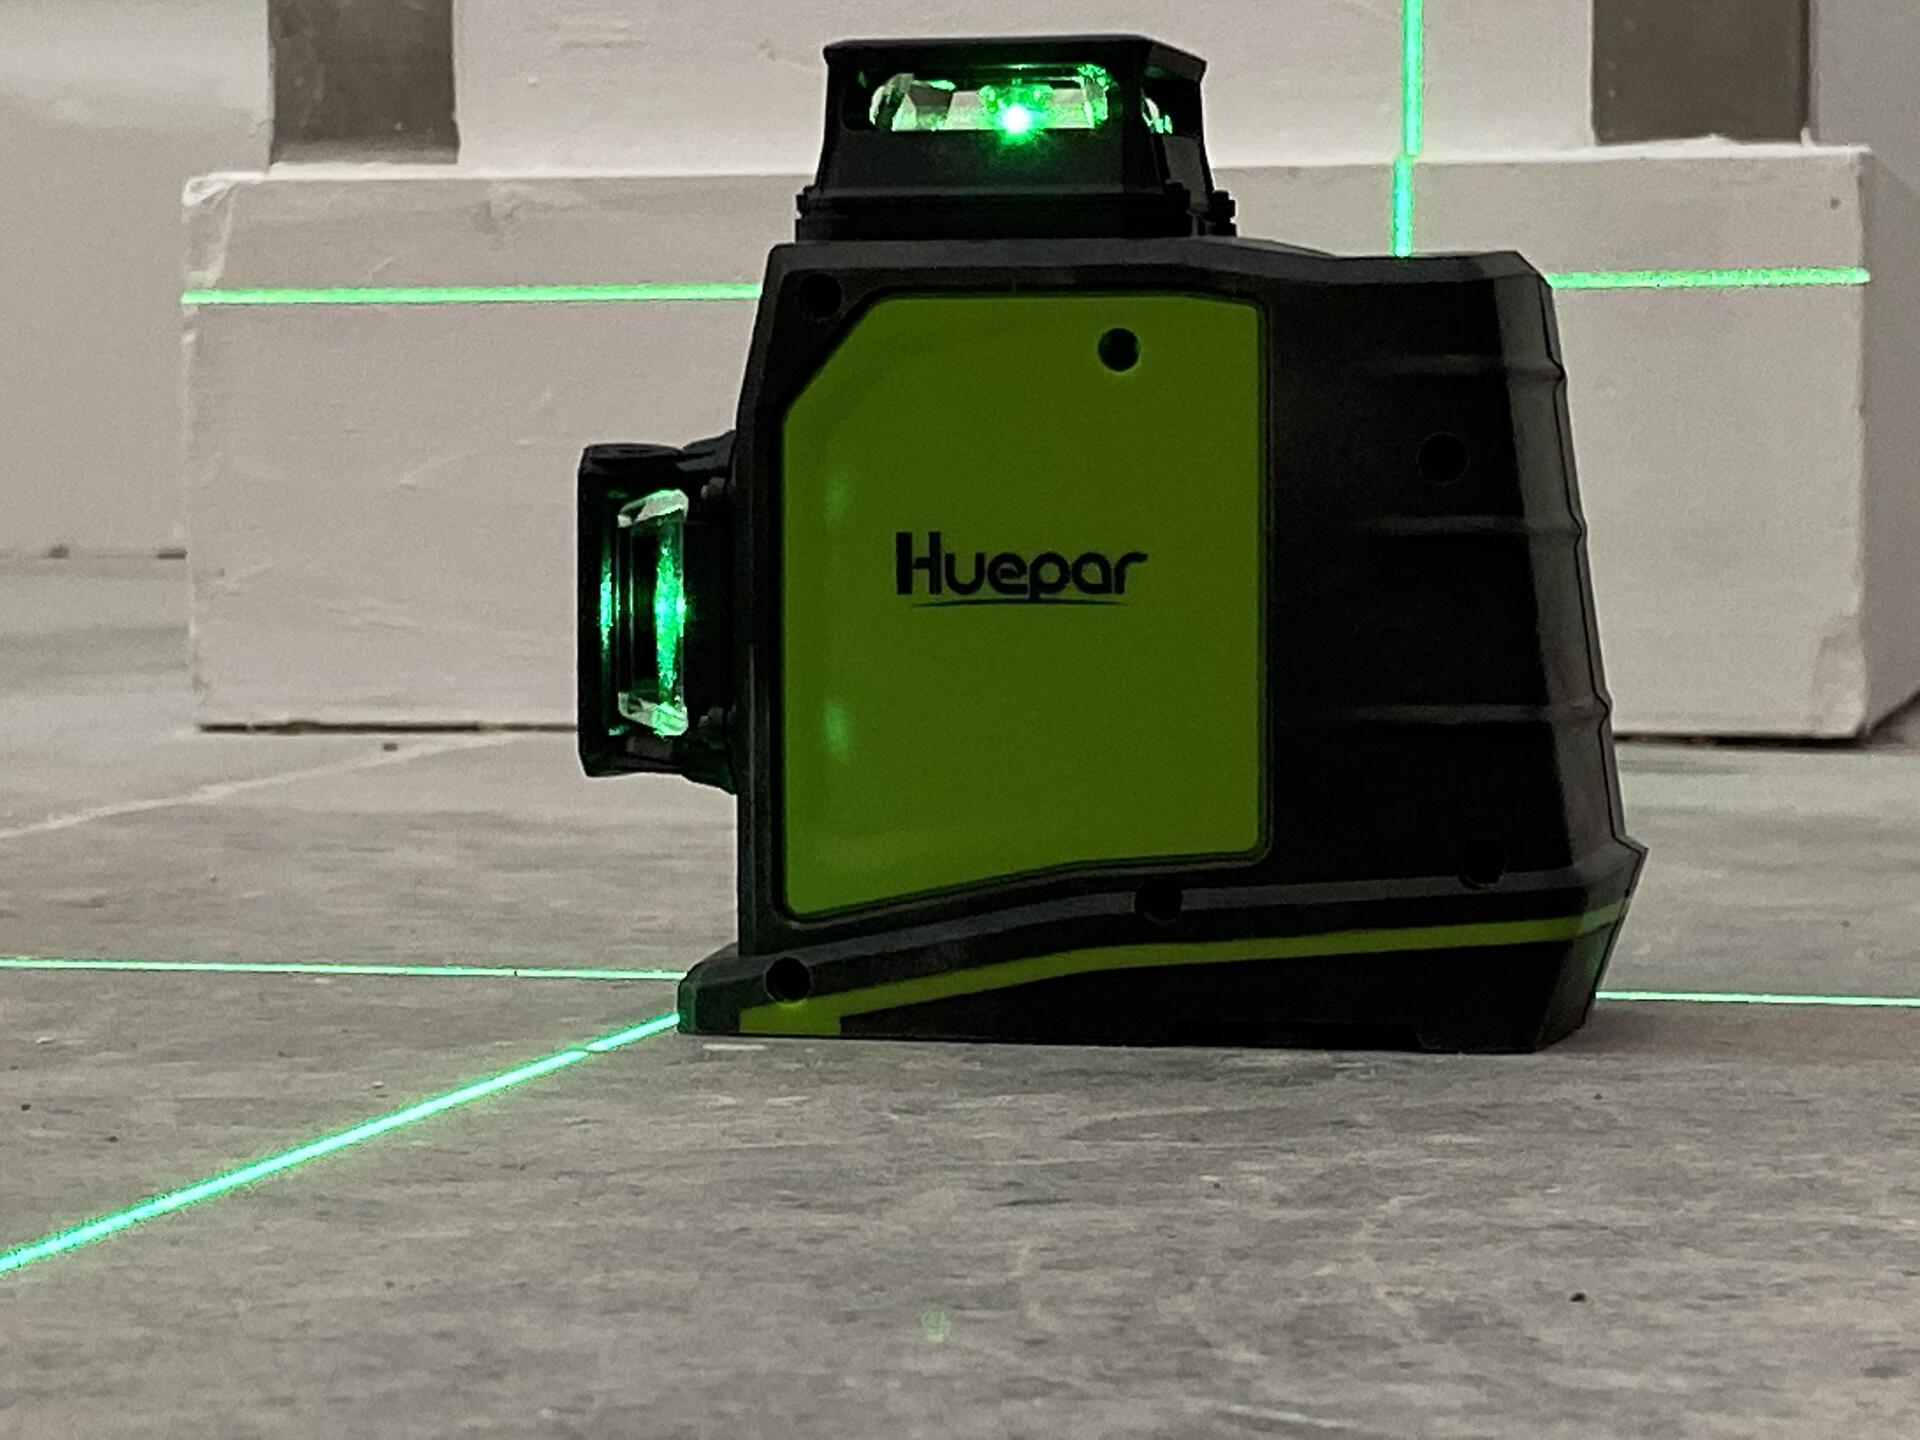
- Cross Line Laser Levels: These laser levels project a horizontal and vertical line, intersecting at a 90-degree angle. They are ideal for tasks such as aligning frames, installing tiles, or hanging shelves. Topcon cross line laser levels provide highly visible and accurate lines for precise alignment.
- Point Laser Levels: These laser levels emit a single laser dot, which is useful for tasks like layout and transfer of points. They are commonly used in plumbing, electrical, and HVAC installations. Topcon point laser levels are compact and easy to use.
Topcon laser levels are equipped with advanced features to enhance user experience and productivity. Some of the key features to look out for include:
- Self-Leveling: Many Topcon laser levels are self-leveling, which means they automatically adjust and maintain a level position. This feature helps save time and ensures accurate results, even on uneven surfaces.
- Scanning and Rotation: Rotary laser levels from Topcon often include scanning and rotation functionalities. These features allow you to cover larger areas and perform tasks such as creating slope lines or checking the flatness of floors.
- Remote Control: Some Topcon laser levels come with remote control capabilities, allowing you to operate the device from a distance. This feature is especially useful when working alone or in situations where adjustments need to be made without physically accessing the unit.
Understanding the different types and features of Topcon laser levels will help you choose the right laser level for your specific needs. Whether you are a professional contractor or a DIY enthusiast, Topcon provides a laser level that can meet your requirements and deliver accurate and efficient results.
Now that we have an overview of Topcon laser levels, let’s move on to the initial setup process and get your Topcon laser level up and running!
Initial Setup
Setting up your Topcon laser level correctly is crucial for ensuring accurate measurements and optimal performance. In this section, we will guide you through the steps involved in the initial setup process.
Step 1: Finding a Stable Surface
Before mounting your Topcon laser level, it’s important to find a stable surface to ensure that the device remains steady during operation. Look for a level and sturdy platform where you can place the laser level securely.
If you need to work on an uneven surface, consider using a tripod or a laser level mount that can provide stability and flexibility for adjusting the height and position of the laser level.
Step 2: Mounting the Laser Level
Once you have identified a stable surface, it’s time to mount the Topcon laser level. Check the manufacturer’s instructions for specific mounting guidelines, as they may vary depending on the model.
In general, most Topcon laser levels can be mounted using a clamp or bracket that is included with the device. Securely attach the laser level to the mount and ensure that it is tightly fastened to prevent any movement during operation.
Read also: 9 Amazing Topcon Rotary Laser Level for 2024
Step 3: Powering On the Laser Level
Before you can start using your Topcon laser level, you’ll need to power it on. Depending on the model, your laser level may be powered by batteries, a rechargeable battery pack, or direct power supply.
Ensure that the batteries are properly inserted or the power supply is connected, and switch on the laser level. LED indicators or a digital display on the device will show that it is receiving power.
It’s a good idea to have spare batteries or a charger on hand, especially for longer projects, to avoid unexpected interruptions.
Now that you have completed the initial setup process, your Topcon laser level is ready to be used. In the next section, we will explore the basic operation and adjustment features of the laser level.
Step 1: Finding a Stable Surface
Before mounting your Topcon laser level, it is essential to find a stable and level surface on which to place the device. This will ensure that the laser projection remains steady and accurate during operation. Here are some tips to help you find the right surface:
- Start by surveying the area where you will be working with the laser level. Look for a surface that is flat and free from any bumps, debris, or obstructions. These can interfere with the stability of the laser level and affect the accuracy of the measurements.
- Consider the type of surface you will be working on. If you are indoors, a sturdy table or countertop may be suitable. If you are working outdoors, a flat patch of ground or a tripod can provide stability.
- Ensure that the surface is level. Use a traditional bubble level or a laser level with a leveling bubble to check the levelness of the surface. Adjust as necessary to achieve a level position.
- If the surface is uneven or sloped, you may need to use a tripod or an adjustable mount to compensate for the variations. Tripods can provide stability and allow you to adjust the height and position of the laser level.
- Avoid placing your laser level on surfaces that are subject to vibrations, such as near heavy machinery or busy traffic areas. Vibrations can affect the accuracy of the laser projection.
- If you are using a tripod, make sure the legs are securely planted on the ground and tightened to prevent any wobbling during operation.
By finding a stable surface, you will minimize the chances of the laser level shifting or moving during operation. This will result in precise and accurate measurements, allowing you to achieve professional-quality results.
Once you have found a stable surface, you are ready to move on to the next step of mounting the Topcon laser level. Proper mounting is crucial for ensuring that the laser level remains secure and aligned throughout your project.
Note that the specific mounting instructions may vary depending on the model of your Topcon laser level. Refer to the user manual provided by Topcon for detailed instructions on mounting your specific device.
Now that you have successfully found a stable surface, let’s proceed to step 2: Mounting the Laser Level.
Step 2: Mounting the Laser Level
Now that you have identified a stable surface for your Topcon laser level, it’s time to mount the device. Proper mounting is crucial for ensuring that the laser projection remains steady and aligned throughout your project. Here’s a step-by-step guide to help you mount your Topcon laser level:
- Refer to the user manual provided by Topcon for specific mounting instructions for your model of laser level. Different models may have different mounting mechanisms, so it’s important to follow the manufacturer’s guidelines.
- Inspect the mounting clamp or bracket that came with your Topcon laser level. Make sure it is in good condition and free from any damage or defects.
- If your laser level requires a mounting bracket, securely attach the bracket to the laser level body using the provided screws or fasteners. Ensure that it is tightly fastened to prevent any movement during operation.
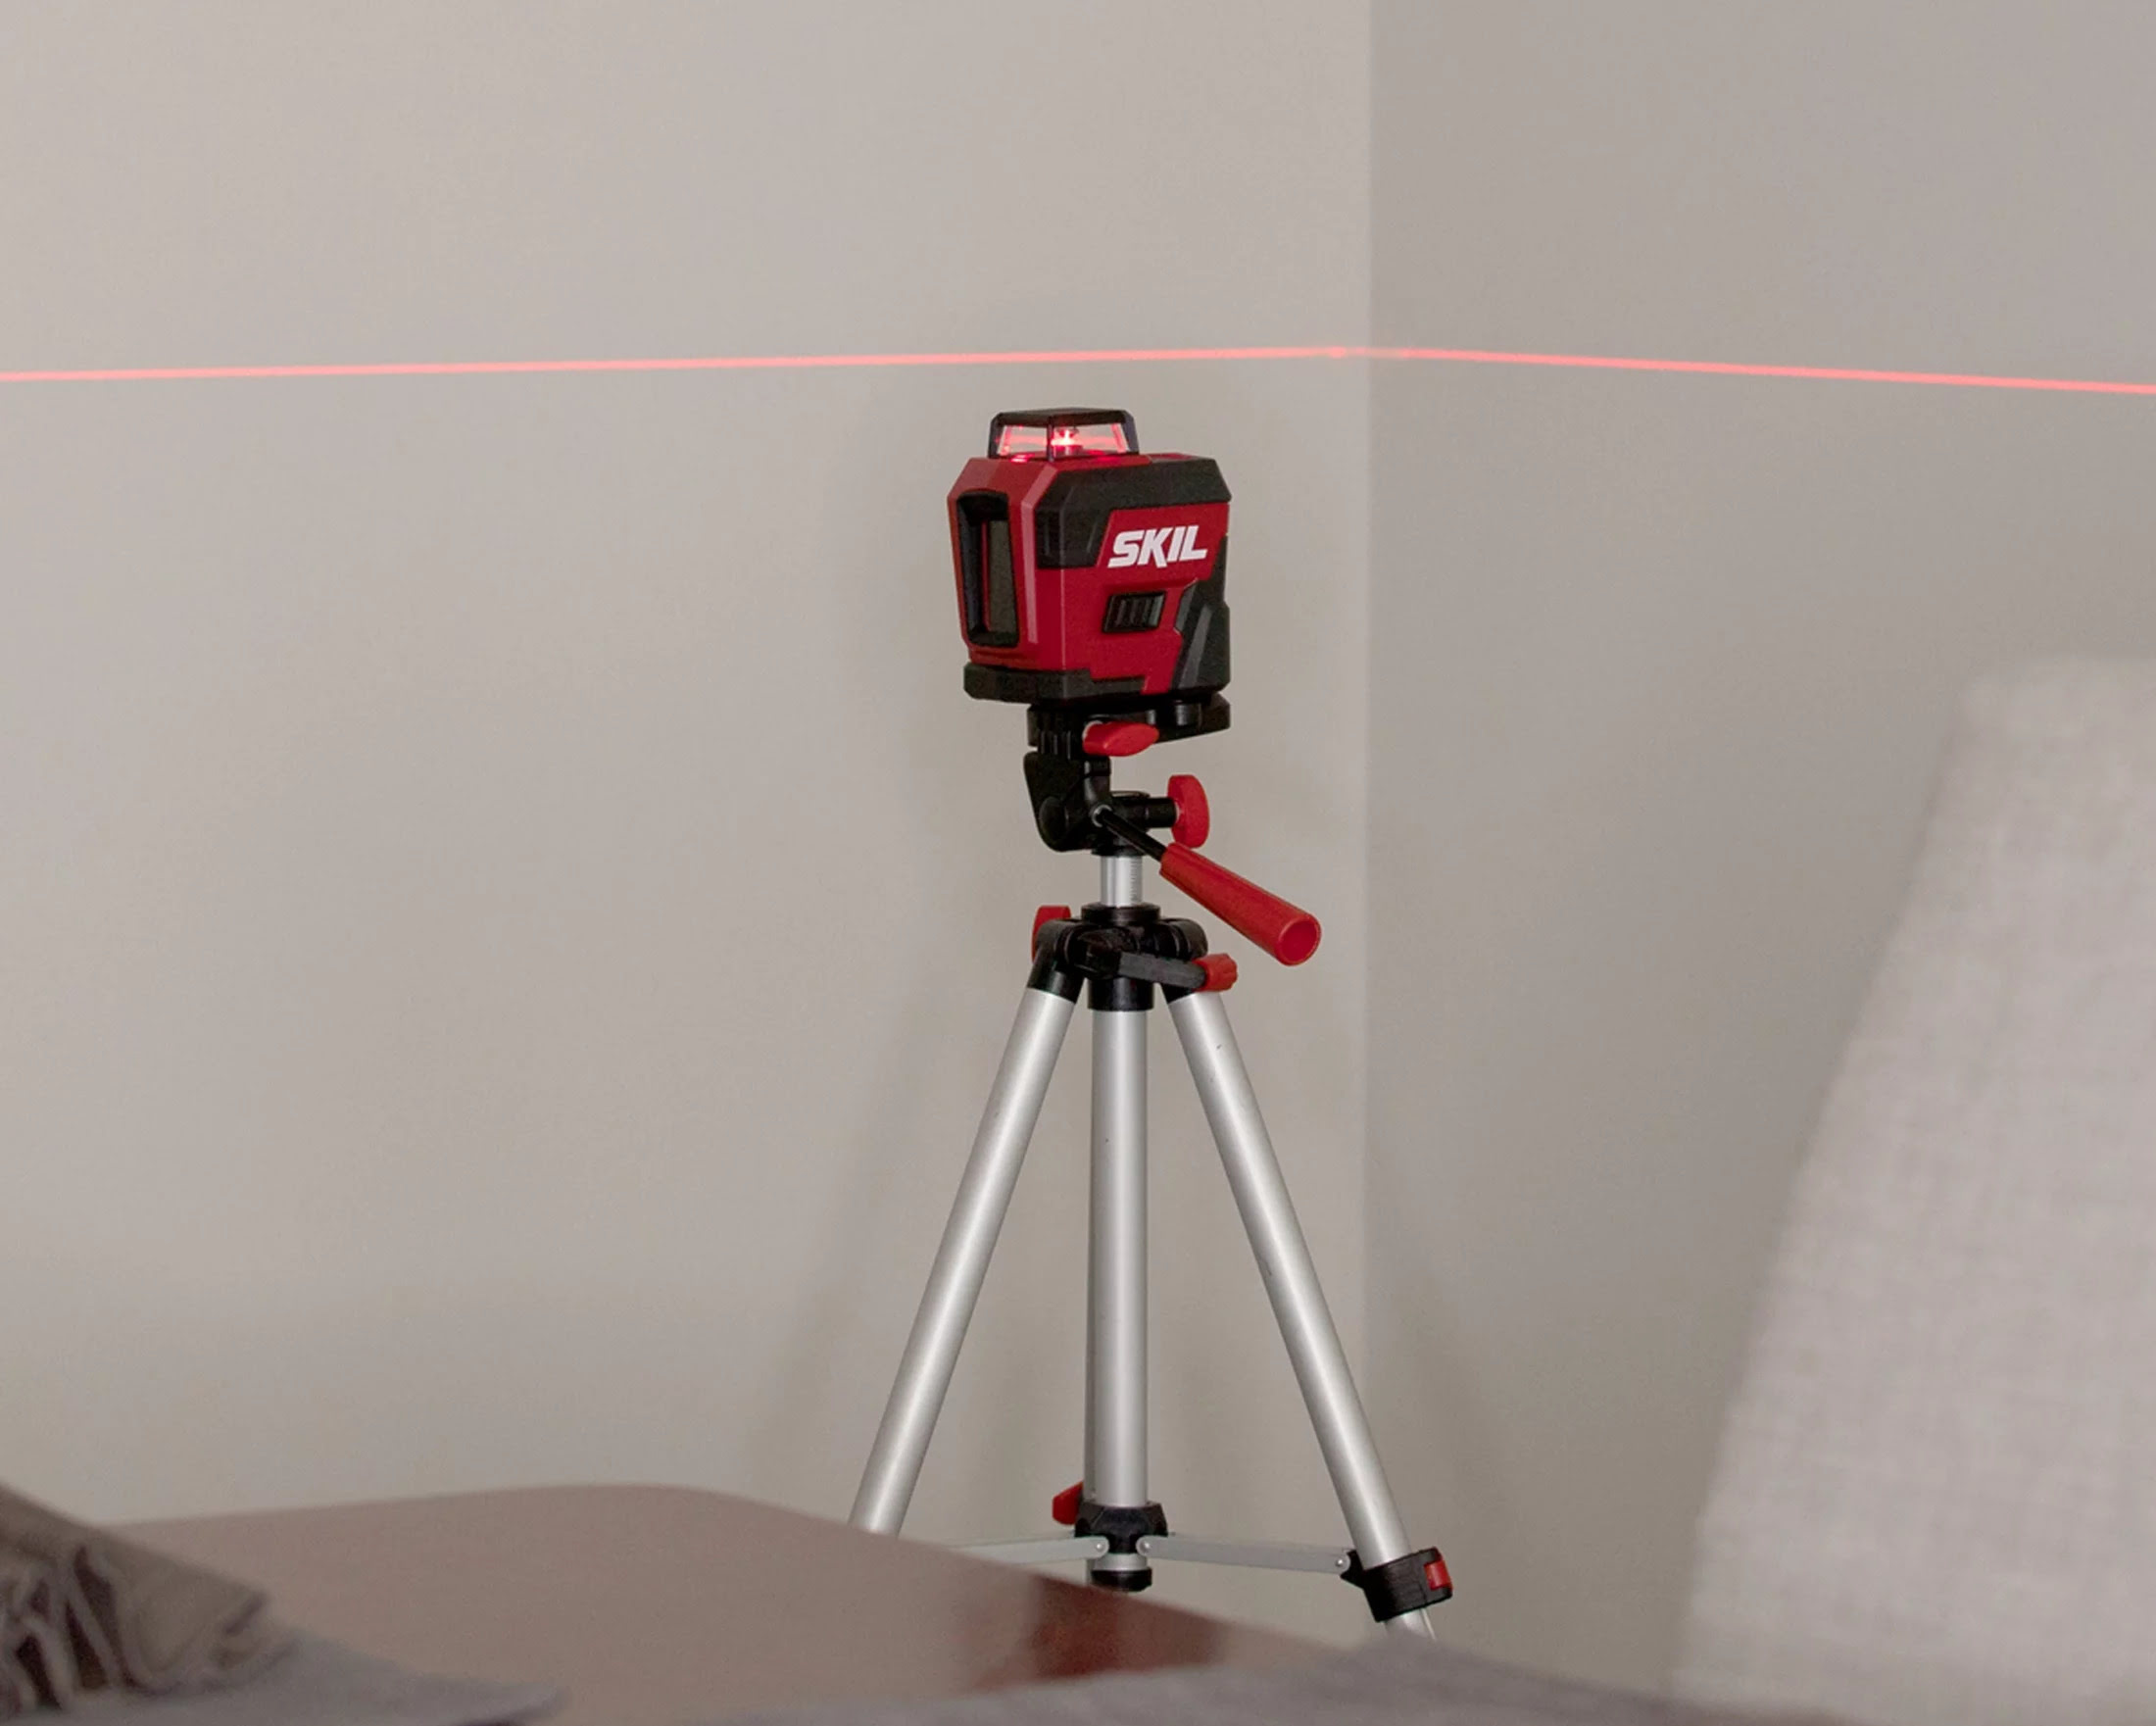
- Place the laser level on the stable surface you previously identified, or attach it to a tripod if one is required. Ensure that the laser level is positioned securely to prevent any wobbling or shifting during operation.
- If using a tripod, extend the legs to a suitable height and lock them in place. Adjust the height of the laser level on the tripod to your desired position. Most tripods have adjustable platforms or screws that allow you to fine-tune the height and alignment.
- Align the laser level with the area where you will be working. Use the leveling bubble on your laser level or use the self-leveling function (if available) to ensure that the laser projection is perfectly level.
- Double-check the stability of the laser level and make any necessary adjustments to ensure it is securely mounted and aligned. Stability is key to obtaining accurate measurements.
It’s important to emphasize that each Topcon laser level model may have specific mounting instructions, so always refer to the user manual for the precise steps for your particular device.
Proper mounting of your Topcon laser level will provide stability and ensure that the laser projection remains aligned with your desired work area. This will facilitate accurate measurements and precise alignment of objects.
Now that your Topcon laser level is securely mounted, you can proceed to the next step: powering on the device. We will cover this in Step 3.
Step 3: Powering On the Laser Level
Once you have successfully mounted your Topcon laser level, it’s time to power on the device and prepare it for operation. Here are the steps to follow to power on your Topcon laser level:
- Check the power source required for your specific Topcon laser level. Some models operate on standard batteries, while others may have a rechargeable battery pack or a direct power supply option.
- If your laser level operates on batteries, ensure that you have fresh batteries inserted correctly into the battery compartment. Follow the manufacturer’s instructions for the specific battery type and orientation.
- If your laser level has a rechargeable battery pack, connect it to a power source using the provided charger. Allow the battery pack to charge fully before using it for the first time.
- If your Topcon laser level has a direct power supply option, connect it to a compatible power source using the appropriate power cord provided with the device.
- Once the power source is connected or the batteries are in place, locate the power switch or button on the laser level. Switch it on to activate the device.
- Observe the LED indicators or digital display on the laser level. These indicators will show that your Topcon laser level is receiving power and is ready for operation.
It’s always a good idea to have spare batteries or a charger on hand, especially for longer projects, to ensure an uninterrupted power supply. Regularly check the battery level or charging status to avoid any unexpected power loss during operation.
By powering on your Topcon laser level correctly, you will be able to take advantage of its full functionality and ensure accurate results. Now that your laser level is powered on, you are ready to move on to the basic operation of the device, which we will cover in the next section, Step 4: Adjusting the Laser Level.
Read more: How To Use A Laser Level
Basic Operation
Now that your Topcon laser level is powered on and ready for use, let’s explore the basic operations and features of the device. Understanding these fundamental operations will allow you to get the most out of your Topcon laser level:
Step 4: Adjusting the Laser Level
The first step in basic operation is to ensure that your laser level is properly adjusted for optimal accuracy. Most Topcon laser levels come with self-leveling capabilities, which means they automatically find and maintain a level position. However, it’s always a good practice to double-check and manually adjust if necessary.
To adjust the laser level, follow these steps:
- Refer to the user manual to identify the specific adjustment mechanisms for your laser level model. Topcon laser levels typically have leveling screws or knobs that allow you to make precise adjustments.
- If your laser level has a leveling bubble, use it as a visual guide to align the laser level horizontally or vertically. Adjust the leveling screws or knobs until the bubble is centered.
- If your laser level has a self-leveling function, activate it according to the manufacturer’s instructions. The self-leveling mechanism will automatically adjust the laser level until it finds a level position.
- Double-check the alignment and make any necessary adjustments to ensure the laser projection is perfectly level and aligned with your work area.
Step 5: Scanning and Rotating Functions
Many Topcon laser levels offer additional scanning and rotating functions, which can be beneficial for tasks such as creating slope lines or checking the flatness of floors. To utilize these features, follow these steps:
- Consult the user manual to learn about the scanning and rotating functionalities specific to your Topcon laser level model. Different models may have different capabilities.
- Identify the scanning or rotating mode on your laser level and activate it according to the manufacturer’s instructions.
- Use the provided controls to adjust the scanning or rotating speed and direction as needed for your project.
- Ensure that the laser level is securely mounted and aligned to ensure accurate scanning or rotating measurements.
Step 6: Changing the Laser Level’s Settings
To customize the settings of your Topcon laser level, follow these steps:
- Refer to the user manual to understand the available settings and options for your specific laser level model.
- Locate the settings controls on the laser level and access the settings menu according to the manufacturer’s instructions.
- Adjust settings such as laser brightness, rotation speed, or scanning angle to suit your specific requirements.
- Save the changes and ensure that the laser level is still securely mounted and aligned after modifying the settings.
Read more: How To Use A Laser Level To Level Ground
Step 7: Testing the Accuracy of the Laser Level
It’s essential to periodically test the accuracy of your Topcon laser level to ensure consistent and reliable measurements. Follow these steps to perform a simple accuracy check:
- Set up a test surface, such as a long board or a wall, at a known level or alignment.
- Position the laser level and align it with the test surface.
- Mark the projected laser line or point on the test surface at various intervals.
- Measure the distance between the marks using a measuring tape or ruler.
- Compare the measured distances with the known distances to determine the accuracy of the laser level.
Performing this accuracy check regularly will help ensure that your Topcon laser level is providing precise and reliable measurements for your projects. If you notice any discrepancies, refer to the user manual or contact Topcon support for assistance.
Now that you have a good understanding of the basic operations and functionalities of your Topcon laser level, you are well-equipped to handle a variety of tasks. However, there are also advanced techniques and features that you can explore to further enhance your laser leveling capabilities. We will cover these in the next section, Step 8: Using the Laser Level for Sloped Surfaces.
Step 4: Adjusting the Laser Level
Adjusting the laser level is a crucial step to ensure accurate measurements and precise alignment. Although many Topcon laser levels come with self-leveling capabilities, it’s still important to double-check and manually adjust the device if necessary. Here is a step-by-step guide on how to adjust your Topcon laser level:
- Refer to the user manual for your specific Topcon laser level model to understand the adjustment mechanisms and controls.
- Ensure that the laser level is positioned on a stable surface or mounted securely on a tripod. This stability will prevent any movements that could affect the accuracy of the laser projection.
- Activate the self-leveling feature, if available, by following the manufacturer’s instructions. The laser level will automatically find a level position, making the adjustment process easier.
- If your laser level does not have a self-leveling function, use the built-in leveling bubble or vials to manually adjust the device. The bubble should be centered between the reference lines on the level bubble, indicating a level position.
- Most Topcon laser levels have adjustment screws or knobs that allow you to fine-tune the level. Use these controls to make small, precise adjustments. Turning the screws or knobs clockwise or counterclockwise will move the laser projection up or down, left or right.
- Continue making adjustments until the laser projection aligns with your desired reference line or point. Pay close attention to the leveling bubble or vials to ensure a level position.
- Once the laser level is accurately adjusted, tighten any locking mechanisms or fasteners to secure the adjustments in place.
Remember that the process of adjusting a laser level may vary depending on the model and specific features of your Topcon laser level. Always consult the user manual for detailed instructions tailored to your device.
Regularly checking and adjusting your Topcon laser level will ensure that it provides precise measurements and maintains proper alignment during your projects. This step is crucial for achieving professional-level results and minimizing errors.
With your laser level properly adjusted, you are now ready to move on to other basic operations, such as scanning and rotating functions, changing settings, and testing the accuracy of your laser level. We will cover these in the subsequent steps to further enhance your laser leveling capabilities.
Step 5: Scanning and Rotating Functions
One of the key advantages of using a Topcon laser level is the ability to utilize scanning and rotating functions. These features allow you to cover larger areas and perform specialized tasks with ease. In Step 5, we will explore how to harness the scanning and rotating functions of your Topcon laser level:
Step 5.1: Understanding Scanning Function
The scanning function of a Topcon laser level enables the projection of laser lines in a sweeping motion. This feature is particularly useful for tasks that involve creating slope lines or analyzing the flatness of surfaces. Here’s how to use the scanning function on your Topcon laser level:
- Refer to the user manual for your specific Topcon laser level model to understand how to activate the scanning function. The controls and activation process may vary among models.
- Position the laser level in the desired location, ensuring that it is securely mounted or placed on a stable surface.
- Activate the scanning function according to the manufacturer’s instructions. This may involve pressing a dedicated button or accessing the function through the laser level’s menu.
- Adjust the scanning speed and direction as needed. Some models allow you to control the speed of the scanning motion and the direction in which the laser line sweeps.
- Observe the laser projection as it sweeps across the area. This allows you to identify any irregularities in the surface or create slope lines for grading or landscaping purposes.
- Make any necessary adjustments to the laser level’s position or settings to obtain the desired scanning results.
Read more: How To Use A Self Leveling Laser Level
Step 5.2: Exploring Rotating Function
The rotating function of a Topcon laser level allows the projection of a laser line in a 360-degree horizontal plane. This feature is well-suited for tasks that require leveling foundations or aligning walls. To utilize the rotating function on your Topcon laser level, follow these steps:
- Refer to the user manual for your specific Topcon laser level model to understand how to activate the rotating function. The controls and activation process may vary among models.
- Position the laser level securely on a stable surface or mount it on a tripod for stability.
- Activate the rotating function following the manufacturer’s instructions. This typically involves pressing a dedicated button or accessing the function through the laser level’s menu.
- Adjust the rotation speed as desired. Some models allow you to control the speed at which the laser line rotates.
- Observe the projected laser line as it rotates in a 360-degree horizontal plane. This enables you to easily align walls, set accurate benchmarks, or perform other leveling tasks.
- Make any necessary adjustments to the laser level’s position or settings to achieve the desired rotating results.
By utilizing the scanning and rotating functions of your Topcon laser level, you can efficiently tackle a wider range of tasks and achieve precise results. Whether you need to create slope lines, analyze surface flatness, or level large areas, these functions offer greater flexibility and convenience.
In the next step, Step 6, we will explore how to change the settings of your laser level to tailor it to your specific requirements.
Step 6: Changing the Laser Level’s Settings
Topcon laser levels offer a variety of settings that can be customized to suit your specific needs and preferences. In Step 6, we will explore how to change the settings of your laser level and optimize its performance:
- Refer to the user manual for your specific Topcon laser level model to understand the available settings and options. The settings may include laser brightness, rotation speed, scanning angle, laser beam thickness, and more.
- Locate the settings controls on the laser level. These controls may be physical buttons or accessed through a menu on a digital display.
- Access the settings menu by navigating through the laser level’s interface. Follow the instructions in the user manual to understand how to navigate and make adjustments.
- Explore the different settings and options available on your laser level. Adjust them according to your specific requirements. For example, you may want to increase the laser brightness for better visibility in bright conditions or adjust the rotation speed for finer control during leveling tasks.
- Save the changes you’ve made to the settings by following the instructions provided in the user manual. This ensures that your customized settings are retained for future use.
- After changing the settings, observe the effects on the laser level’s performance. Take note of any improvements or adjustments needed to further optimize the device’s operation.
By adjusting the settings of your Topcon laser level, you can tailor its functionality to suit different working conditions and tasks. This ensures that you can achieve the desired results with maximum efficiency and accuracy.
Remember to consult the user manual for your specific model and follow the manufacturer’s instructions when changing the laser level’s settings. This will help you utilize the full capabilities of your laser level and make the necessary adjustments effectively.
In the next step, Step 7, we will focus on testing the accuracy of your Topcon laser level to ensure reliable measurements and minimize any potential errors.
Step 7: Testing the Accuracy of the Laser Level
Regularly testing the accuracy of your Topcon laser level ensures that you obtain reliable measurements and achieve precise results in your projects. In Step 7, we will guide you through the process of testing the accuracy of your laser level:
- Select a suitable test surface, such as a long board or a wall, with a known level or alignment.
- Position your Topcon laser level a few feet away from the test surface, ensuring that it is securely mounted or placed on a stable surface.
- Activate the laser level and project the laser line or point onto the test surface.
- Make marks on the test surface along the projected laser line or points at various intervals.
- Using a measuring tape or ruler, measure the distances between the marks accurately.
- Compare the measured distances with the known distances to determine the accuracy of your Topcon laser level.
- If the measured distances match the known distances, your laser level is providing accurate results. If there are discrepancies, note the deviations for future reference.
Performing regular accuracy tests helps identify any potential errors or inaccuracies in your laser level’s measurements. If you notice significant discrepancies during the test, consider recalibrating or seeking professional service for your laser level.
Keep in mind that environmental factors and user errors can also impact the accuracy of laser level measurements. Therefore, it’s important to follow the manufacturer’s instructions and adopt proper operating techniques when using your Topcon laser level.
By performing accuracy tests, you can have confidence in the measurements provided by your Topcon laser level and ensure the success of your projects.
In the next section, we will dive into advanced techniques and features that can further enhance your laser leveling capabilities. Step 8 will focus on using the laser level for sloped surfaces.
Advanced Techniques
Now that you are familiar with the basic operation and features of your Topcon laser level, it’s time to explore some advanced techniques and capabilities. These techniques will allow you to tackle more complex tasks and expand the range of applications for your laser level. Let’s dive into some advanced techniques:
Read more: How To Use A Leica Laser Level
Step 8: Using the Laser Level for Sloped Surfaces
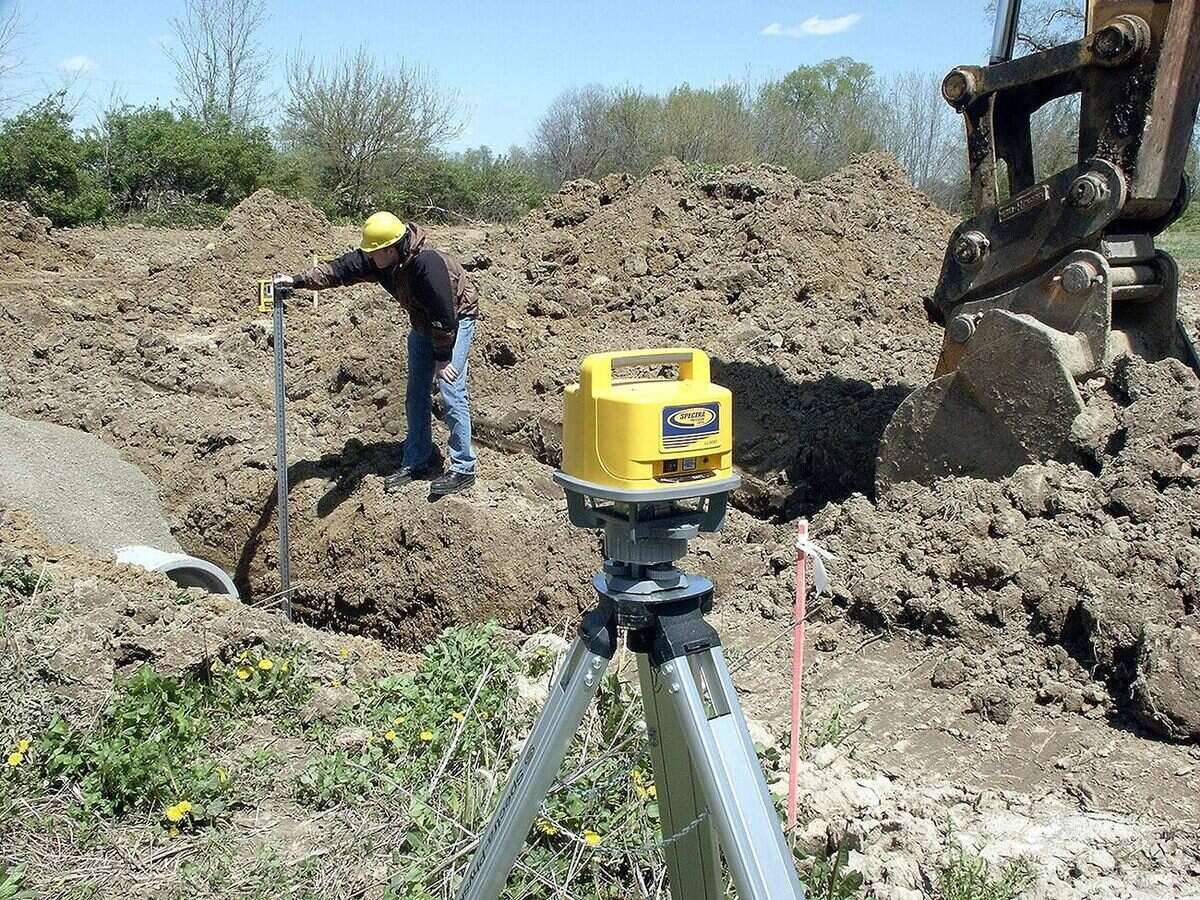
Topcon laser levels offer the flexibility to work with sloped surfaces, which is particularly useful for grading, landscaping, or any project that requires accurate slope measurements. Follow these steps to use your laser level for sloped surfaces:
- Identify the slope angle or gradient required for your project. This could be specified in degrees, percentage, or a specific ratio.
- Position your Topcon laser level at the desired reference point on the sloped surface.
- Activate the self-leveling function or manually adjust the laser level to achieve a level position at the reference point.
- Using a slope adapter or a digital slope indicator (if available with your laser level), set the desired slope angle or gradient based on your project requirements.
- Position the laser level along the slope and adjust its height as necessary to align with the desired inclination.
- Securely mount the laser level or use a tripod to ensure stability during operation.
- Observe the laser projection along the slope to create accurate slope lines or guide your grading and leveling activities.
By utilizing your Topcon laser level for sloped surfaces, you can efficiently complete projects that involve grading, excavation, or landscaping with precise slope measurements.
Step 9: Remote Control Functionality
Some models of Topcon laser levels come equipped with remote control functionality, allowing you to operate the device from a distance. This feature provides convenience and flexibility, especially when working alone or in challenging environments. To use the remote control function:
- Ensure that both the laser level and the remote control are powered on and within range of each other.
- Familiarize yourself with the buttons and controls on the remote control, as they may differ from the laser level’s physical or digital controls.
- Experiment with the different functions available on the remote control, such as adjusting the laser level’s position, changing settings, or activating scanning and rotating functions.
- Use the remote control to fine-tune the laser level’s operation without needing to physically access the device.
The remote control functionality allows for increased convenience and precision, especially in situations where it is challenging to reach the laser level without disturbing the work area. It adds a level of flexibility to your laser leveling tasks.
By exploring these advanced techniques and features, you can maximize the capabilities of your Topcon laser level and take on more complex tasks with confidence and efficiency.
In the next section, we will address common issues and provide troubleshooting tips to help you overcome any challenges you may encounter during the use of your laser level.
Step 8: Using the Laser Level for Sloped Surfaces
Topcon laser levels provide the versatility to work with sloped surfaces, making them valuable tools for tasks such as grading, landscaping, or any project that requires accurate slope measurements. Understanding how to use your laser level for sloped surfaces will enable you to achieve precise results. Follow these steps to utilize your Topcon laser level for sloped surfaces:
- Identify the desired slope angle or gradient for your project. This could be specified in degrees, percentage, or a specific ratio.
- Position your Topcon laser level at the reference point on the sloped surface where you want to begin measuring or guiding the slope.
- Activate the self-leveling function on your laser level or manually adjust it to achieve a level position at the reference point.
- If your laser level includes a slope adapter or a digital slope indicator, set the desired slope angle or gradient based on your project requirements.
- Move the laser level along the slope and adjust its height as necessary to align with the desired inclination.
- Securely mount the laser level or use a tripod to ensure stability during operation.
- Observe the laser projection along the slope to create accurate slope lines or guide your grading and leveling activities.
By utilizing your Topcon laser level for sloped surfaces, you can effectively tackle projects that involve grading, excavation, or landscaping with precise slope measurements. This ensures that your work adheres to the desired slope specifications and achieves professional-quality results.
Remember to consult the user manual provided by Topcon for your specific laser level model, as the instructions may vary slightly. Properly understanding and implementing the correct procedures will enable you to maximize the capabilities of your Topcon laser level.
In the next step, Step 9, we will explore the remote control functionality of Topcon laser levels, which provides additional convenience and flexibility during operation.
Step 9: Remote Control Functionality
Maximizing the convenience and flexibility of your Topcon laser level, some models are equipped with remote control functionality. This feature allows you to operate the laser level from a distance, providing added convenience when working alone or in challenging environments. Follow these steps to utilize the remote control functionality of your Topcon laser level:
- Ensure that both the laser level and the remote control are powered on and within the operating range specified by the manufacturer.
- Familiarize yourself with the buttons and controls on the remote control, as they may differ from the physical or digital controls on the laser level itself.
- Experiment with the different functions available on the remote control, such as adjusting the position of the laser level, changing settings, or activating scanning and rotating functions.
- Use the remote control to fine-tune the operation of the laser level without needing to physically access the device.
The remote control functionality provides enhanced convenience and precision, particularly in situations where reaching the laser level to make adjustments may be challenging or disruptive to the work area. It allows you to make changes and control the laser level from a distance, making your tasks more efficient and effective.
It is important to consult the user manual specific to your Topcon laser level model, as the remote control functionality and controls may vary. Being familiar with the remote control features and its operation will ensure that you can make the most out of this convenient feature.
By utilizing the remote control functionality, you can operate your Topcon laser level with greater ease and flexibility, enhancing your productivity and efficiency on the job. This feature adds an extra level of convenience, especially in situations where easy access to the laser level is not feasible.
In the next section, we will address common issues that you may encounter while using your Topcon laser level and provide troubleshooting tips to overcome them. Understanding these troubleshooting techniques will help ensure smooth operation and optimal performance of your laser level.
Read more: How To Use The Dewalt Laser Level
Troubleshooting Common Issues
While Topcon laser levels are known for their reliability and performance, it’s possible to encounter some common issues during their use. By understanding these issues and learning how to troubleshoot them, you can ensure smooth operation and maximize the performance of your Topcon laser level. Here are some troubleshooting tips for common issues:
Issue: Inaccurate Measurements
If you are experiencing inaccuracies in the measurements provided by your Topcon laser level, consider the following potential causes and solutions:
- Ensure that the laser level is firmly mounted or placed on a stable surface to prevent any movement during operation.
- Check for any obstructions that may be interfering with the laser projection. Remove any debris or objects that may be blocking the laser line or point.
- Verify that the laser level is properly adjusted and leveled. Refer to the user manual for instructions on adjusting and leveling the device.
- Ensure that there are no environmental factors, such as strong vibrations or wind, that may affect the stability and accuracy of the laser level.
- If the issue persists, try recalibrating the laser level according to the manufacturer’s instructions. This can help restore accurate measurements.
Issue: Weak or Dim Laser Projection
If your Topcon laser level is producing a weak or dim laser projection, you can try the following troubleshooting steps:
- Replace the batteries or recharge the battery pack if applicable. Weak batteries may affect the power output of the laser level.
- Check the laser lens for any dirt, dust, or scratches. Clean the lens using a soft, lint-free cloth and ensure it is free from any obstructions.
- Adjust the laser brightness settings if available on your laser level. Increasing the brightness may improve the visibility of the laser projection.
Issue: Remote Control Not Functioning
If the remote control for your Topcon laser level is not functioning properly, consider the following troubleshooting steps:
- Ensure that the remote control is within the operating range specified by the manufacturer. Check for any obstructions that may be blocking the signal between the remote control and the laser level.
- Replace the batteries in the remote control if necessary. Weak batteries can impact the functionality of the remote control.
- Check for any damage or loose connections in the remote control. Tighten any screws or connectors as needed.
- If the issue persists, consult the user manual for your specific Topcon laser level model for further troubleshooting steps or consider contacting Topcon support for assistance.
These are just a few examples of common issues that you may encounter with your Topcon laser level. Always refer to the user manual provided by Topcon for specific troubleshooting steps and recommendations tailored to your laser level model.
By troubleshooting common issues promptly and effectively, you can ensure the optimal performance and reliability of your Topcon laser level, allowing you to complete your projects with confidence and accuracy.
Now that we have covered troubleshooting techniques, let’s conclude our guide to using a Topcon laser level in the next section.
When using a Topcon laser level, always ensure that the device is placed on a stable surface and that the laser beam is not obstructed by any objects. This will help to ensure accurate and precise measurements.
Read more: How To Use Johnson Laser Level
Conclusion
Congratulations! You are now equipped with the knowledge and skills needed to effectively use your Topcon laser level. Understanding how to set up the device, adjust it for accurate measurements, and utilize its advanced features will enable you to achieve precise and professional-level results in your construction or DIY projects.
Throughout this guide, we have covered the basic operation of the laser level, including initial setup, adjusting the laser level, scanning and rotating functions, changing settings, and testing accuracy. We have also explored advanced techniques like using the laser level for sloped surfaces and taking advantage of the remote control functionality.
Remember to consult the user manual specific to your Topcon laser level model for detailed instructions and to address any specific requirements or troubleshooting steps.
By following the guidelines provided in this guide and practicing with your Topcon laser level, you will gain confidence in your abilities and ensure precise and reliable measurements for your projects.
Whether you are a construction professional, an architect, a surveyor, or a DIY enthusiast, a Topcon laser level is an invaluable tool that enhances productivity, accuracy, and efficiency. With its advanced features and user-friendly design, it simplifies complex tasks and helps you achieve outstanding results.
Remember to prioritize safety while using your laser level and follow all relevant safety guidelines and regulations. As with any tool, always maintain proper care and maintenance to ensure that your Topcon laser level continues to perform optimally for years to come.
So, go ahead and unleash the full potential of your Topcon laser level! Measure, align, and level with confidence, knowing that you have a reliable and precise tool at your disposal.
Frequently Asked Questions about How To Use Topcon Laser Level
Was this page helpful?
At Storables.com, we guarantee accurate and reliable information. Our content, validated by Expert Board Contributors, is crafted following stringent Editorial Policies. We're committed to providing you with well-researched, expert-backed insights for all your informational needs.

0 thoughts on “How To Use Topcon Laser Level”