
Articles
How To Use A Laser Level For Framing
Modified: October 20, 2024
Learn how to properly use a laser level for framing with our informative articles. Enhance accuracy and precision in your construction projects.
(Many of the links in this article redirect to a specific reviewed product. Your purchase of these products through affiliate links helps to generate commission for Storables.com, at no extra cost. Learn more)
Introduction
When it comes to framing, precision and accuracy are crucial. Whether you’re constructing a new building or working on a renovation project, ensuring that the walls, floors, and ceilings are properly aligned is essential for a structurally sound and visually appealing result. In the past, the task of aligning framing elements was a labor-intensive process that relied heavily on manual measurements and calculations. However, with the advent of laser technology, framing has become easier and more efficient.
A laser level is a versatile tool that uses laser beams to project a straight and level reference line onto surfaces. It can be a game-changer for framers, as it eliminates the need for cumbersome measuring tools and provides real-time guidance during the framing process. By utilizing a laser level, you can achieve precise and consistent results, saving both time and effort.
In this article, we will explore the various types of laser levels available, the basics of framing, the benefits of using a laser level for framing, and step-by-step instructions on how to set up and use a laser level for framing projects. We will also provide some tips and common mistakes to avoid, ensuring that you can make the most of this valuable tool.
Whether you’re a professional contractor or a DIY enthusiast, understanding how to effectively use a laser level for framing can greatly enhance the quality and efficiency of your projects. Let’s dive in and learn more about this invaluable tool.
Key Takeaways:
- Laser levels revolutionize framing by providing precise alignment, time savings, and consistent results. They simplify the process, ensuring structurally sound and visually appealing structures with ease and efficiency.
- Proper preparation, setup, and adjustment of laser levels are essential for optimal performance. Avoid common mistakes, prioritize safety, and utilize the tool effectively to enhance framing projects.
Read more: How To Use A Laser Level
What is a laser level?
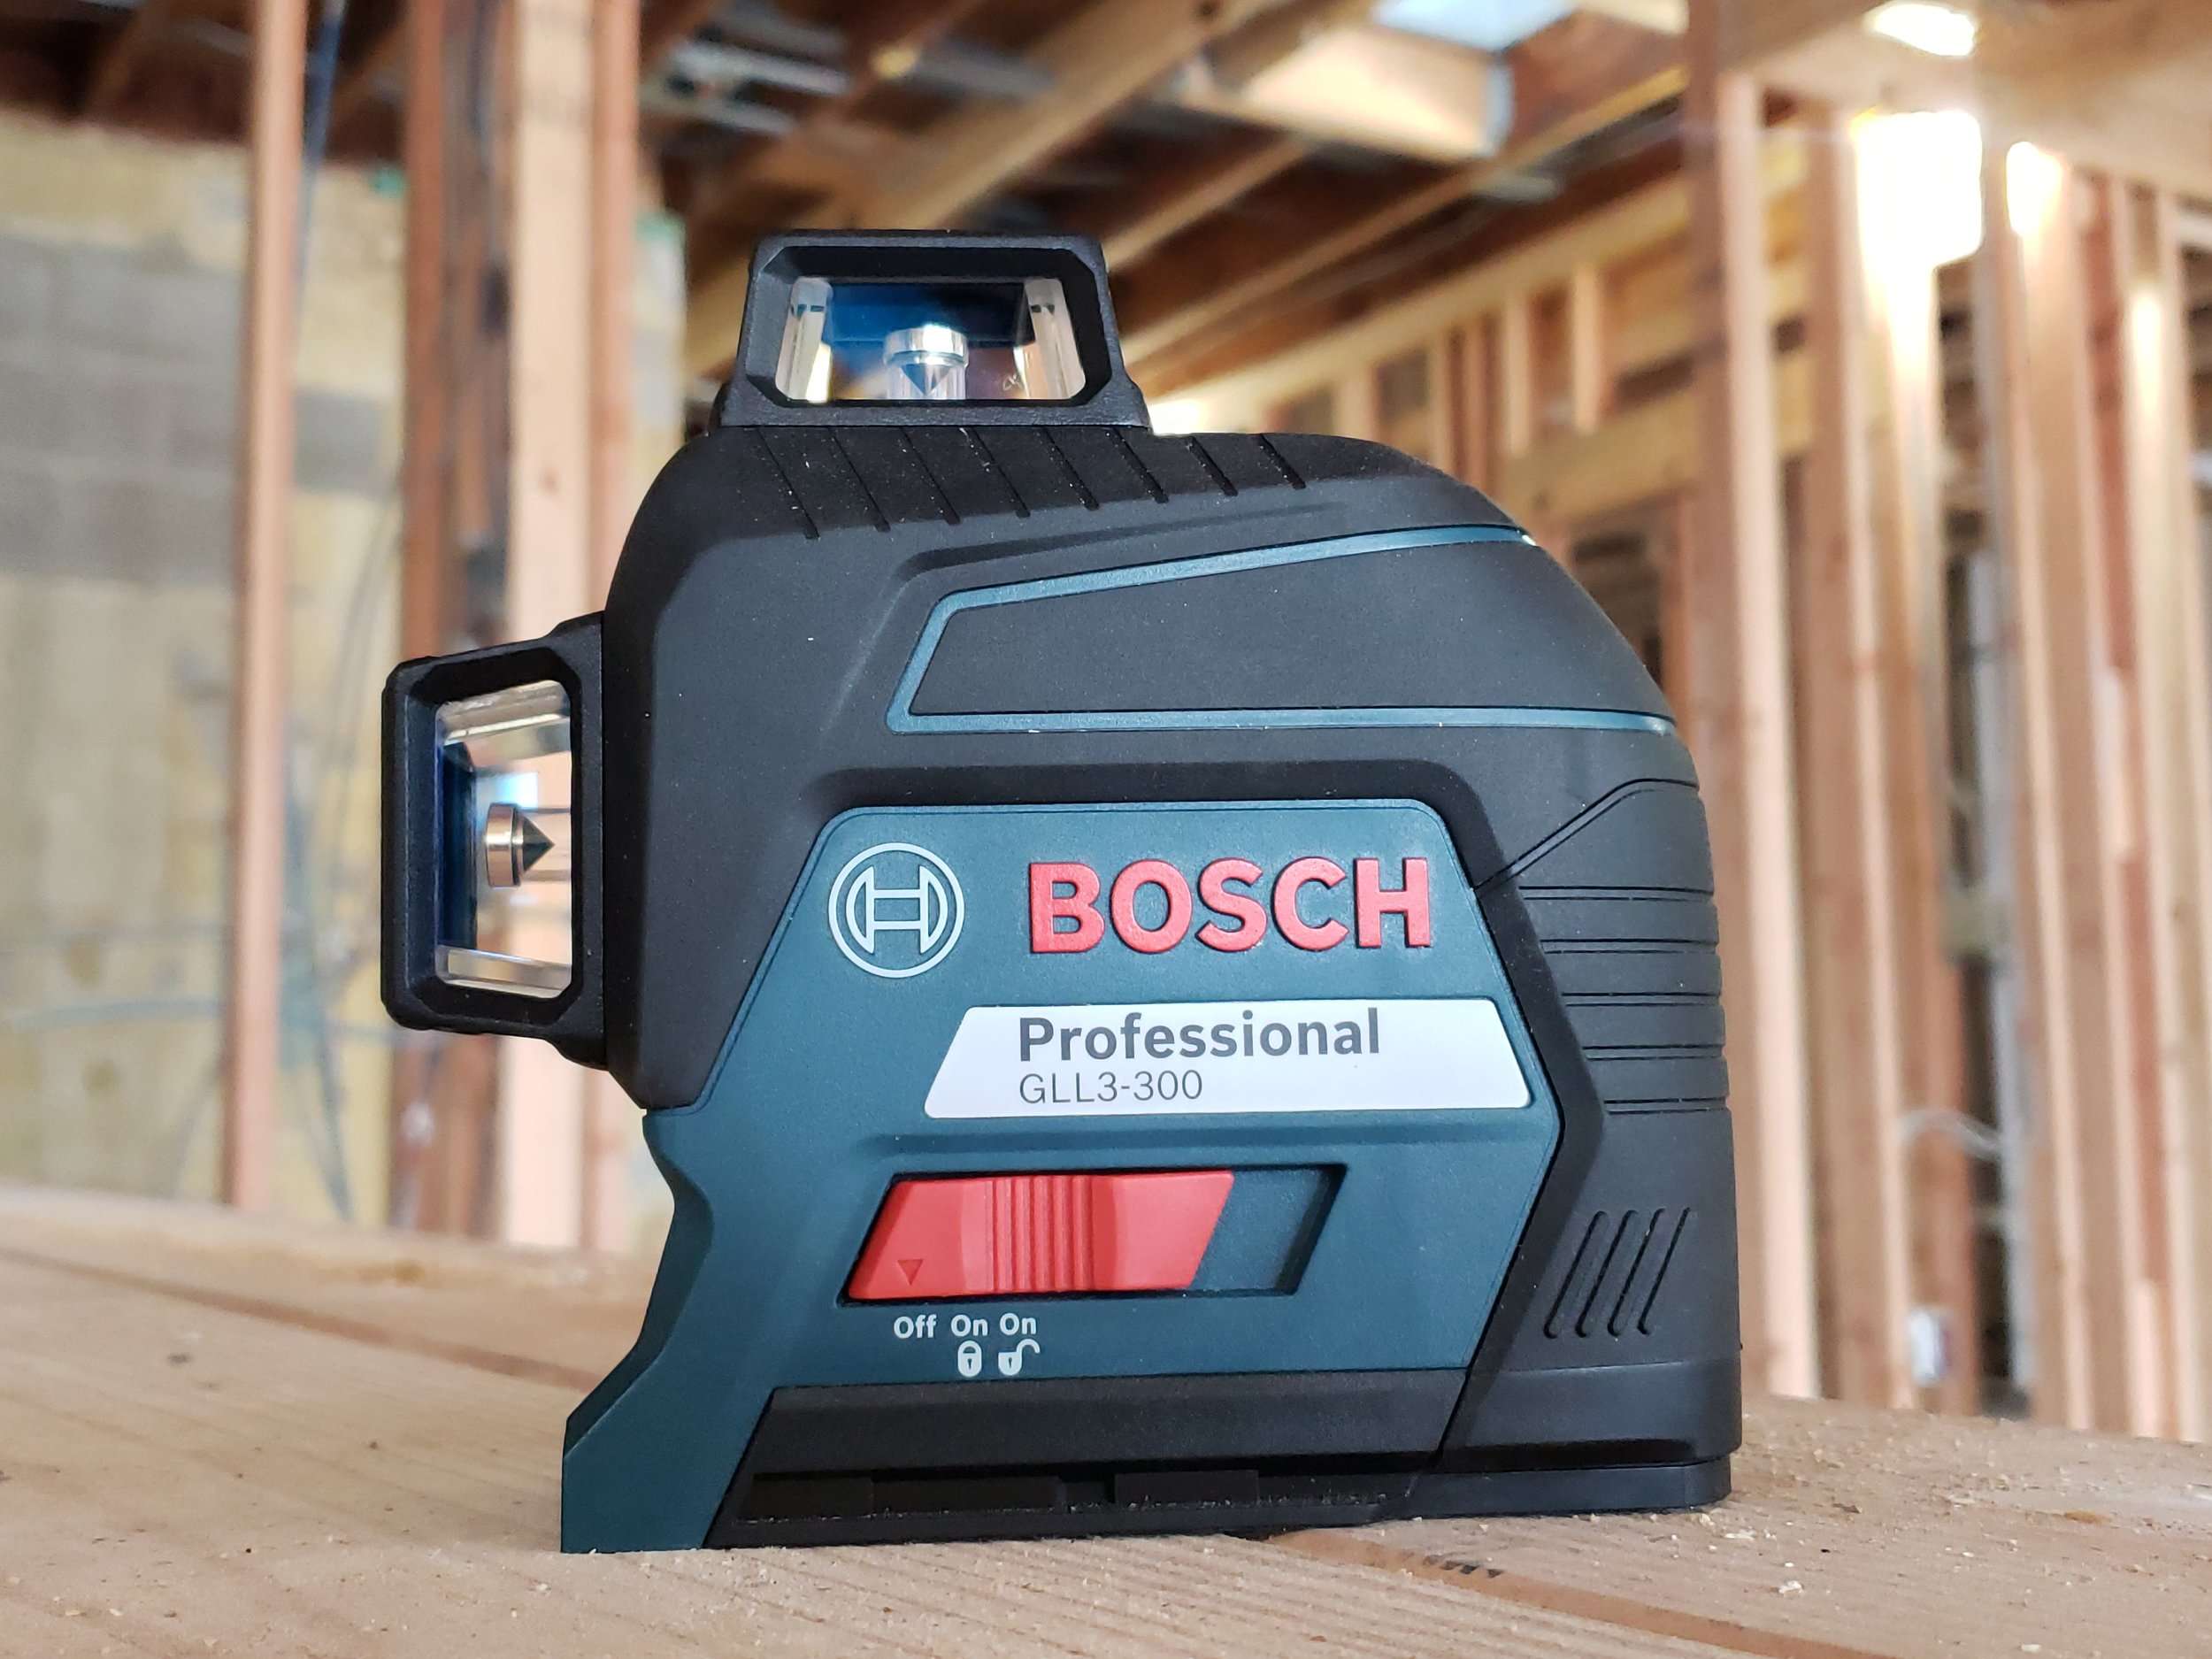
A laser level is a specialized tool that emits a laser beam to create a straight and level reference line. It is widely used in construction, surveying, and other applications where accurate leveling is crucial. Laser levels are designed to simplify the process of aligning and leveling various elements, including walls, floors, ceilings, windows, doors, and more.
Laser levels consist of a laser emitter mounted on a tripod or a handheld device. The emitter projects a highly visible laser beam that can be adjusted horizontally, vertically, or both, depending on the type of laser level. The laser beam creates a bright, straight line that serves as a visual guide for aligning objects or marking reference points.
One of the key advantages of laser levels is their ability to provide a level reference over long distances. Unlike traditional leveling tools, such as spirit levels, laser levels can project a straight line for several meters or even hundreds of meters, depending on the model. This makes them incredibly useful for large-scale projects and outdoor applications.
Modern laser levels come with various features and functionalities to accommodate different needs and preferences. Some models have self-leveling capabilities, which automatically adjust the laser beam to ensure it stays level even on uneven surfaces. This eliminates the need for manual adjustments and increases the accuracy of measurements.
There are also laser levels with multiple laser lines, allowing for precise alignment in both horizontal and vertical directions simultaneously. This is especially useful for complex framing projects or when multiple reference points need to be established.
In addition to traditional laser levels, there are also rotary laser levels that emit a full 360-degree laser beam. These are commonly used for tasks such as surveying, landscaping, and setting up large-scale construction projects.
Overall, laser levels are invaluable tools for achieving precise and accurate leveling in various construction and surveying applications. They provide a visual reference that greatly simplifies the task of aligning and positioning objects, making them a must-have for professionals and DIYers alike.
Types of laser levels
Laser levels come in different types and configurations, each designed for specific applications and project requirements. Understanding the different types of laser levels can help you choose the right tool for your framing projects. Here are the most common types:
- Point laser levels: Point laser levels emit a single laser dot that acts as a reference point. They are primarily used for basic leveling tasks, such as leveling shelves or cabinets. Point laser levels are simple to use and provide a quick and accurate indication of level or plumb.
- Line laser levels: Line laser levels project a horizontal or vertical line onto the surface. They are ideal for tasks that require straight alignments over longer distances, such as installing shelves, aligning tiles, or hanging wallpaper. Line laser levels offer more versatility compared to point laser levels.
- Cross-line laser levels: Cross-line laser levels project both horizontal and vertical lines, forming a cross. This type of laser level is commonly used in tasks that involve complex alignments, such as installing cabinets, framing walls, or laying out electrical fixtures. Cross-line laser levels provide more reference points, making them highly useful for framing projects.
- Rotary laser levels: Rotary laser levels emit a full 360-degree circle of laser light, creating a level or plumb reference around the entire room. Rotary laser levels are typically used in large-scale construction projects that require precise leveling over extensive areas, such as constructing foundations, setting up drop ceilings, or installing piping systems.
- Combination laser levels: Combination laser levels combine different functionalities, such as point, line, and rotary capabilities, into a single device. This type of laser level offers maximum versatility and is suitable for a wide range of projects. Combination laser levels are ideal for framers who need flexibility in their applications.
When choosing a laser level for framing, consider the specific requirements of your project. Determine whether you primarily need point, line, or cross-line capabilities, depending on the complexity of the alignments and reference points you will be working with. If you anticipate working on large-scale projects in the future, investing in a rotary laser level may be worth considering.
Keep in mind that some laser levels may have additional features, such as self-leveling technology, pulse mode for outdoor visibility, or remote control functionality. Assess your needs and budget to find the laser level that best suits your framing tasks.
Understanding the different types of laser levels will empower you to select the right tool for your framing projects, ensuring accurate and efficient results.
Understanding the basics of framing
Framing is the process of creating the structure and framework of a building or structure. It involves constructing the skeleton of walls, floors, and roofs before adding finishing materials like drywall, insulation, and exterior cladding. Understanding the basics of framing is crucial for any construction project, as it lays the foundation for a strong and durable structure.
The primary components of a framing system include vertical studs, horizontal plates, joists, and beams. These elements work together to provide stability, support loads, and create spaces within the building. Here are some key concepts to understand when it comes to framing:
- Studs: Studs are vertical members that form the walls of a building. They are usually made of wood or metal and provide structural support for the wall. Studs are typically spaced at regular intervals, such as 16 inches on center (OC) or 24 inches on center, to create a stable framework.
- Plates: Horizontal plates are used to connect and stabilize the studs. The top plate is typically attached to the ceiling joists or roof trusses, while the bottom plate rests on the floor or foundation. Plates help distribute and transfer the load from the walls to the foundation or supporting structure.
- Joists: Joists are horizontal members used to support the floors or ceilings of a building. They span between walls or beams and help distribute the weight of the structure. Joists can be made of wood, steel, or engineered materials like composite joists.
- Beams: Beams are larger horizontal members that carry heavy loads or span long distances. They provide additional support for the structure, such as supporting the weight of the roof or transferring loads from upper levels to the foundation. Beams can be made of wood, steel, or engineered materials like laminated beams.
When framing, it’s important to consider factors such as load-bearing walls, openings for doors and windows, and the overall design and layout of the building. Accurate measurements, square and level alignments, and proper spacing are critical to ensure the structural integrity of the framing system.
A laser level is a valuable tool during the framing process, as it provides a precise reference line for aligning studs, plates, joists, and beams. By using a laser level, you can ensure that everything is straight, level, and plumb, resulting in a solid and visually appealing structure.
Now that you have a basic understanding of framing, you’re ready to explore how a laser level can enhance the framing process and improve the overall quality of your construction projects.
Why use a laser level for framing?
Using a laser level for framing offers numerous advantages over traditional methods of alignment and leveling. Here are some key reasons why a laser level is invaluable for framing projects:
- Precision and accuracy: Laser levels provide a level of precision and accuracy that is difficult to achieve with manual measurements. The laser beam creates a straight and level reference line, allowing for precise alignment of framing elements. This ensures that walls, floors, and ceilings are properly aligned, resulting in a structurally sound and visually appealing final product.
- Time savings: Framing with a laser level significantly reduces the time spent on manual measurements and calculations. With a laser level, you can instantly project a straight reference line onto the surface, eliminating the need to measure distances and check for levelness at multiple points. This streamlines the framing process and allows you to work more efficiently, ultimately saving valuable time.
- Consistency and uniformity: A laser level provides consistent and uniform leveling throughout the project. By using the laser beam as a guide, you can ensure that all framing elements are aligned to the same level, producing a professional and cohesive result. This is particularly important when framing large areas or multiple rooms, as it creates a seamless transition between different spaces.
- Easy setup: Laser levels are relatively easy to set up and use. Many modern laser levels come with self-leveling functionality, automatically adjusting the laser beam to ensure it stays level even on uneven surfaces. This simplifies the setup process and eliminates the need for manual adjustments. Additionally, laser levels often come with mounting options, such as tripods or wall mounts, making it convenient to position the laser level at the desired height and location.
- Increased productivity: By providing a visual reference line, laser levels improve productivity on the job site. Framers can work more efficiently and accurately, reducing the need for rework or adjustments later on. The clear visibility of the laser beam also minimizes errors and allows for faster decision-making during the framing process.
- Versatility: Laser levels are versatile tools that can be used for a wide range of framing tasks. Whether you’re framing walls, floors, ceilings, or installing fixtures and fittings, a laser level can be customized to project horizontal, vertical, or cross lines, depending on your specific needs. This versatility makes a laser level a valuable long-term investment for any framing project.
Overall, using a laser level for framing improves the quality, efficiency, and precision of the construction process. It simplifies alignment and leveling, ultimately resulting in a professional and visually pleasing finished product. Whether you’re a professional contractor or a DIY enthusiast, investing in a laser level can greatly enhance your framing projects.
Read more: How To Use A Self Leveling Laser Level
Preparing your laser level
Before you begin using your laser level for framing, it’s important to properly prepare and set up the tool. Here are the steps to ensure your laser level is ready for accurate and efficient use:
- Choose the right laser level: Select a laser level that is appropriate for your framing project. Consider factors such as the required line projection (point, line, or cross-line), the working range, and any additional features you may need, such as self-leveling or pulse mode for outdoor visibility.
- Check the batteries: Ensure that your laser level has fresh batteries or is fully charged if it is a rechargeable model. This will prevent any interruption during your framing work and ensure consistent performance.
- Inspect the laser level: Before using the laser level, inspect it for any damage or dirt that may affect its performance. Check the lenses and ensure they are clean and free from debris. Make sure all buttons and controls are functioning properly.
- Calibrate the laser level: If your laser level has a self-leveling feature, it is essential to calibrate it to ensure accurate readings. Follow the manufacturer’s instructions for calibration, which typically involves placing the laser level on a stable surface and allowing it to self-level. Calibration may need to be performed periodically or after any significant impact or transportation of the tool.
- Prepare a stable setup surface: To ensure accurate leveling, place your laser level on a stable surface. If your laser level comes with a tripod, use it to securely mount the tool. Make sure the tripod is set up on a level and even surface. If your laser level is handheld, hold it steady and maintain a firm grip while operating.
- Test the laser level: Before starting your framing project, test the laser level to ensure it is emitting a bright and visible laser beam. Activate the laser and check that the line projection is clearly visible on the surface. If necessary, adjust the brightness or visibility settings on your laser level.
- Consider safety precautions: Laser levels emit powerful laser beams, which can be harmful to the eyes if not used with caution. Always wear appropriate eye protection when using a laser level. Avoid pointing the laser beam directly into anyone’s eyes, and keep the laser level away from children or unauthorized individuals.
By following these preparation steps, you can ensure that your laser level is in optimal working condition and ready to provide accurate leveling guidance for your framing projects. Taking the time to properly prepare your laser level will contribute to the overall success and efficiency of your construction tasks.
When using a laser level for framing, make sure to secure the level on a stable surface and adjust the height and angle to match the layout of the framing. This will ensure accurate and straight lines for your project.
Setting up the laser level
Once you have prepared your laser level, it’s time to set it up for your framing project. Proper setup ensures that the laser beam is projected accurately and provides the reference line you need. Here’s a step-by-step guide to setting up your laser level:
- Choose the location: Determine the ideal location for your laser level, considering the area you will be working on and the lines you need to project. Depending on the type of laser level, you may need to position it on a tripod or mount it to a stable surface such as a wall or ceiling.
- Secure the tripod: If your laser level comes with a tripod, extend the legs to the desired height and lock them in place. Ensure that the tripod is stable and securely positioned on the floor or ground to prevent any movement during use.
- Mount the laser level: Attach your laser level to the tripod or mounting bracket securely. Make sure it is tightly fastened to prevent any wobbling or shifting during operation. If you’re using a handheld laser level, hold it steady and maintain a firm grip throughout the framing process.
- Position the laser level: Position the laser level in a way that aligns with your project requirements. For horizontal line projections, position the laser level at a height where the line is easily visible and aligned with the desired reference points on the walls or surfaces. For vertical or cross-line projections, position the laser level facing the area you want to align.
- Level the laser: If your laser level has a self-leveling function, activate it and allow the tool to level itself. The laser level will emit a flashing or rotating beam while self-leveling. It may take a few seconds for the leveling process to complete. Once the laser level is leveled, it will emit a steady, straight line.
- Adjust the laser: If your laser level doesn’t have a self-leveling feature or if you need to make manual adjustments, use the leveling screws or controls on the laser level to align the laser beam. Refer to your laser level’s user manual for specific instructions on adjusting the laser beam for proper alignment.
- Check the alignment: Once the laser level is set up and aligned, visually verify that the laser beam is projected accurately onto the surfaces or areas you need to align. Make any necessary adjustments to ensure that the line aligns with the reference points you are working with.
- Lock the laser level: Once you are satisfied with the alignment, lock the laser level in place to prevent any accidental movement or misalignment. If using a tripod, tighten the locking mechanisms to secure the laser level. For handheld laser levels, ensure a secure grip to avoid any shifting while in use.
By following these steps, you can set up your laser level for framing projects with ease and precision. Proper setup is essential to ensure accurate line projections and efficient framing work.
Adjusting the laser level
Adjusting the laser level is a crucial step in ensuring that the projected laser beam is aligned accurately for your framing project. Here are the steps to adjust your laser level for optimal performance:
- Activate the laser level: Turn on your laser level and allow it to stabilize. Some laser levels may take a few seconds to initialize and emit a steady beam.
- Identify the adjustment controls: Familiarize yourself with the adjustment controls on your specific laser level model. These controls may include leveling screws, knobs, or buttons located on the laser level housing.
- Level the laser horizontally: If your laser level has a horizontal leveling feature, adjust the leveling screws or controls to ensure that the horizontal laser beam is perfectly level. Use a bubble or electronic level placed on a nearby surface to help guide your adjustments. Make small increments and continue adjusting until the bubble is centered or the electronic level indicates a level position.
- Level the laser vertically: For laser levels that require vertical alignment or cross-line projection, adjust the vertical leveling mechanism to ensure that the laser beam is perfectly plumb. Similar to horizontal alignment, use a bubble or electronic level to guide your adjustments. Make small increments and continue adjusting until the bubble is centered or the electronic level indicates a plumb position.
- Verify with reference points: To confirm the accuracy of the laser level’s adjustments, compare the projected laser beam to reference points or lines on the surfaces you are framing. Check for alignment with marks, studs, or other framing elements. If necessary, make additional minor adjustments until the laser beam aligns precisely with the desired reference points.
- Optimize visibility: Adjust the laser level’s visibility settings, such as brightness or pulse mode, to ensure that the projected laser beam is easily visible in the lighting conditions of your workspace. Brighten the laser beam for well-lit environments or activate pulse mode for increased visibility in bright sunlight or long-distance applications.
- Lock the adjustments: Once the laser level is properly adjusted, securely tighten any leveling screws or controls to lock the adjustments in place. This will prevent accidental movement or misalignment during use.
It’s important to consult your laser level’s user manual for specific instructions regarding adjustment procedures and controls. Different laser level models may have unique adjustment mechanisms, and following the manufacturer’s guidelines will ensure optimal performance.
By carefully adjusting the laser level, you can ensure accurate alignment and precise projections of reference lines for your framing project. Taking the time to adjust the laser level properly will contribute to the quality and efficiency of your construction tasks.
Using the laser level for framing
Now that your laser level is set up and adjusted, you’re ready to start framing using this valuable tool. Here is a step-by-step guide on how to effectively use a laser level for your framing projects:
- Identify the reference points: Determine the reference points on the surfaces or areas you need to align. These may include corners, studs, or other framing elements that need to be level or plumb.
- Position the laser level: Place the laser level in a position that allows the laser beam to project onto the desired reference points. Adjust its height, angle, or position as needed to ensure accurate projection.
- Align the laser beam: Activate the laser beam and visually align it with the reference points you identified. Use the projected line as a guide for positioning and aligning your framing elements.
- Mark the alignment: Once the laser beam is aligned with the reference points, mark the positions or lines on the surfaces to indicate the framing locations. This will serve as a guide during the actual framing process.
- Repeat the process: Move the laser level to the next framing section and repeat the alignment and marking process. Ensure that the laser beam aligns with the reference points consistently throughout the framing project.
- Double-check measurements: While the laser level provides a visual guide for alignment, it’s still crucial to double-check measurements and ensure that the spacing between framing elements is accurate. Use a tape measure or ruler to confirm the dimensions before proceeding with framing.
- Begin the framing: With the reference points marked and measurements confirmed, you can start the framing process. Align your framing elements (such as studs, plates, joists, or beams) with the marked lines or positions, ensuring that they are level, plumb, and properly spaced according to the laser level’s guidance.
- Continue with the remaining sections: Move the laser level as needed to align and mark the remaining framing sections. Repeat the alignment, marking, and framing process for each section until the entire framing project is complete.
- Check for accuracy: Once the framing is finished, use the laser level or other leveling tools to verify the accuracy and alignment of the completed structure. Check for any discrepancies and make adjustments if necessary.
Throughout the framing process, it’s important to keep the laser level secure and stable. Avoid bumping or shifting the laser level to maintain accurate projections. Additionally, regularly check the level and plumb of your framing elements to ensure they align with the markings provided by the laser level.
Using a laser level for framing provides precise alignment, saves time, and contributes to the overall quality of your construction project. By following these steps and using the laser level as a guide, you can achieve professional results in your framing endeavors.
Read more: How To Use Topcon Laser Level
Tips for using a laser level effectively
Using a laser level for framing can greatly enhance the accuracy and efficiency of your construction projects. To ensure that you get the most out of your laser level, here are some tips for using it effectively:
- Read the user manual: Familiarize yourself with the features, controls, and specifications of your specific laser level. The user manual contains vital information on how to operate and maintain the tool properly.
- Perform regular calibration: If your laser level requires manual calibration, make it a habit to calibrate it periodically or as recommended by the manufacturer. This ensures accurate readings and precise alignments.
- Choose the right line projection: Select the appropriate line projection (point, line, or cross-line) based on the framing task at hand. This will provide the necessary references for aligning your framing elements.
- Ensure a stable setup surface: Place your laser level on a stable surface or use a sturdy tripod for mounting. A wobbly or unstable setup can lead to inaccurate projections and misalignment.
- Use a target plate or detector for greater visibility: In bright or outdoor environments, it may be challenging to see the laser beam clearly. Using a target plate or a detector that indicates the laser beam’s position can greatly enhance visibility during framing tasks.
- Make small adjustments: When aligning with the laser beam, make minor adjustments to ensure precise positioning. Small corrections can significantly improve accuracy without the need for major rework.
- Double-check measurements: While the laser level provides visual alignment, always double-check measurements using tape measures or rulers. This ensures that spacing and dimensions are accurate before proceeding with framing.
- Clean the laser level regularly: Keep the lenses and housing of your laser level clean to maintain clear and accurate projections. Gently wipe away any dirt, dust, or debris that may affect the visibility and performance of the laser beam.
- Store the laser level properly: When not in use, store your laser level in a protective case or box to prevent damage. Keep it in a dry and safe place to maintain its functionality for future projects.
- Invest in quality: Choose a reliable and durable laser level from a reputable manufacturer. Investing in a high-quality tool ensures better performance, accuracy, and longevity, ultimately saving you time and money.
By following these tips, you can use your laser level effectively and maximize its benefits in your framing projects. Remember to prioritize safety, take necessary precautions, and practice proper maintenance to keep your laser level in optimal condition.
Common mistakes to avoid when using a laser level
While using a laser level for framing can greatly improve the accuracy and efficiency of your construction projects, there are some common mistakes that you should avoid to ensure optimal results. By being aware of these mistakes, you can minimize errors and achieve the best possible outcomes. Here are some common mistakes to avoid when using a laser level:
- Not checking the levelness of the laser level: Before starting your framing project, it’s essential to ensure that your laser level is properly leveled. Neglecting to check the levelness can lead to inaccurate projections and misaligned framing elements. Regularly calibrate and check the leveling of your laser level to maintain its accuracy.
- Using a damaged or dirty laser level: A laser level with damaged lenses or dirty surfaces can distort or obstruct the laser beam, resulting in inaccurate projections. It’s crucial to regularly inspect and clean your laser level to maintain its optimal performance.
- Ignoring safety precautions: Laser levels emit powerful laser beams that can potentially harm the eyes. Neglecting to wear appropriate eye protection or failing to point the laser beam away from people can lead to accidents or injuries. Always prioritize safety and follow the recommended safety precautions when using a laser level.
- Not verifying the accuracy of the laser level: While laser levels provide a visual guide, it’s important to double-check measurements and ensure that the projected lines align precisely with the reference points. Relying solely on the laser beam without verifying measurements can lead to framing elements that are not correctly positioned.
- Not considering lighting conditions: Bright or outdoor environments can make it challenging to see the laser beam clearly. Failing to use target plates or detectors designed to enhance visibility can result in difficulties in aligning framing elements accurately. Always consider the lighting conditions and use appropriate accessories to improve visibility when necessary.
- Using incorrect line projections: Choosing the wrong line projection for your framing task can cause confusion and lead to misalignment. Ensure that you select the appropriate line projection (point, line, or cross-line) based on your specific framing requirements.
- Relying solely on the laser level: While a laser level is a valuable tool, it’s important to remember that it is a guide and should not replace proper measurement and framing techniques. Always double-check measurements, use traditional tools when necessary, and rely on your own judgment to ensure accurate placement of framing elements.
- Not properly securing the laser level: Any movement or vibrations of the laser level during use can render the projections inaccurate. Failing to secure the laser level tightly on a stable surface or tripod can result in misaligned framing elements. Take the time to ensure that the laser level is securely mounted or held during the framing process.
- Skipping proper preparation and setup: Rushing through the preparation and setup process can lead to subpar performance of the laser level. Not checking batteries, skipping calibration, or failing to position the laser level correctly can compromise the accuracy of the projections. Take the necessary time to properly prepare and set up your laser level for each framing project.
- Not using the laser level consistently: To ensure consistent and accurate alignment of framing elements, it’s important to use the laser level consistently throughout the framing process. Duplicating reference points from one section to another and maintaining alignment across the project will lead to a more cohesive and visually appealing final result.
By being mindful of these common mistakes, you can avoid unnecessary errors and optimize the use of your laser level in framing projects. Taking the time to double-check measurements, prioritize safety, and properly prepare and utilize the laser level will contribute to the success of your construction endeavors.
Conclusion
In conclusion, using a laser level for framing is a game-changer in the construction industry. It offers precision, efficiency, and accuracy that traditional manual methods simply cannot match. By projecting a straight and level reference line onto surfaces, laser levels simplify the process of aligning and positioning framing elements, resulting in structurally sound and visually appealing structures.
Throughout this article, we explored the various types of laser levels, the basics of framing, the benefits of using a laser level in framing projects, and step-by-step instructions on how to prepare, set up, adjust, and utilize a laser level effectively. We also provided tips for optimal use and highlighted common mistakes to avoid.
A laser level saves time by eliminating the need for manual measurements and calculations, providing real-time guidance during the framing process. It ensures consistency and uniformity throughout the project, resulting in a professional and cohesive end product.
While using a laser level, it’s crucial to prioritize safety, regularly calibrate the tool, and always double-check measurements for precise alignment. Following the manufacturer’s guidelines and taking necessary precautions will help you get the most out of your laser level and ensure its long-term performance.
Whether you’re a professional contractor or a DIY enthusiast, incorporating a laser level into your framing projects will enhance the overall quality and efficiency of your construction work. The precision, time savings, and ease of use offered by laser levels make them an invaluable tool for any framing endeavor.
So, don’t hesitate to invest in a high-quality laser level and harness its capabilities. Incorporate it into your framing process, and you’ll experience the benefits firsthand. With a laser level by your side, you’ll be able to tackle framing projects with confidence, achieving exceptional results at every step.
Frequently Asked Questions about How To Use A Laser Level For Framing
Was this page helpful?
At Storables.com, we guarantee accurate and reliable information. Our content, validated by Expert Board Contributors, is crafted following stringent Editorial Policies. We're committed to providing you with well-researched, expert-backed insights for all your informational needs.


0 thoughts on “How To Use A Laser Level For Framing”