Articles
How To Make Stacked Washer And Dryer Cabinet
Modified: September 1, 2024
Discover step-by-step articles on how to create a practical and stylish stacked washer and dryer cabinet, maximizing space and functionality for your laundry area.
(Many of the links in this article redirect to a specific reviewed product. Your purchase of these products through affiliate links helps to generate commission for Storables.com, at no extra cost. Learn more)
Introduction:
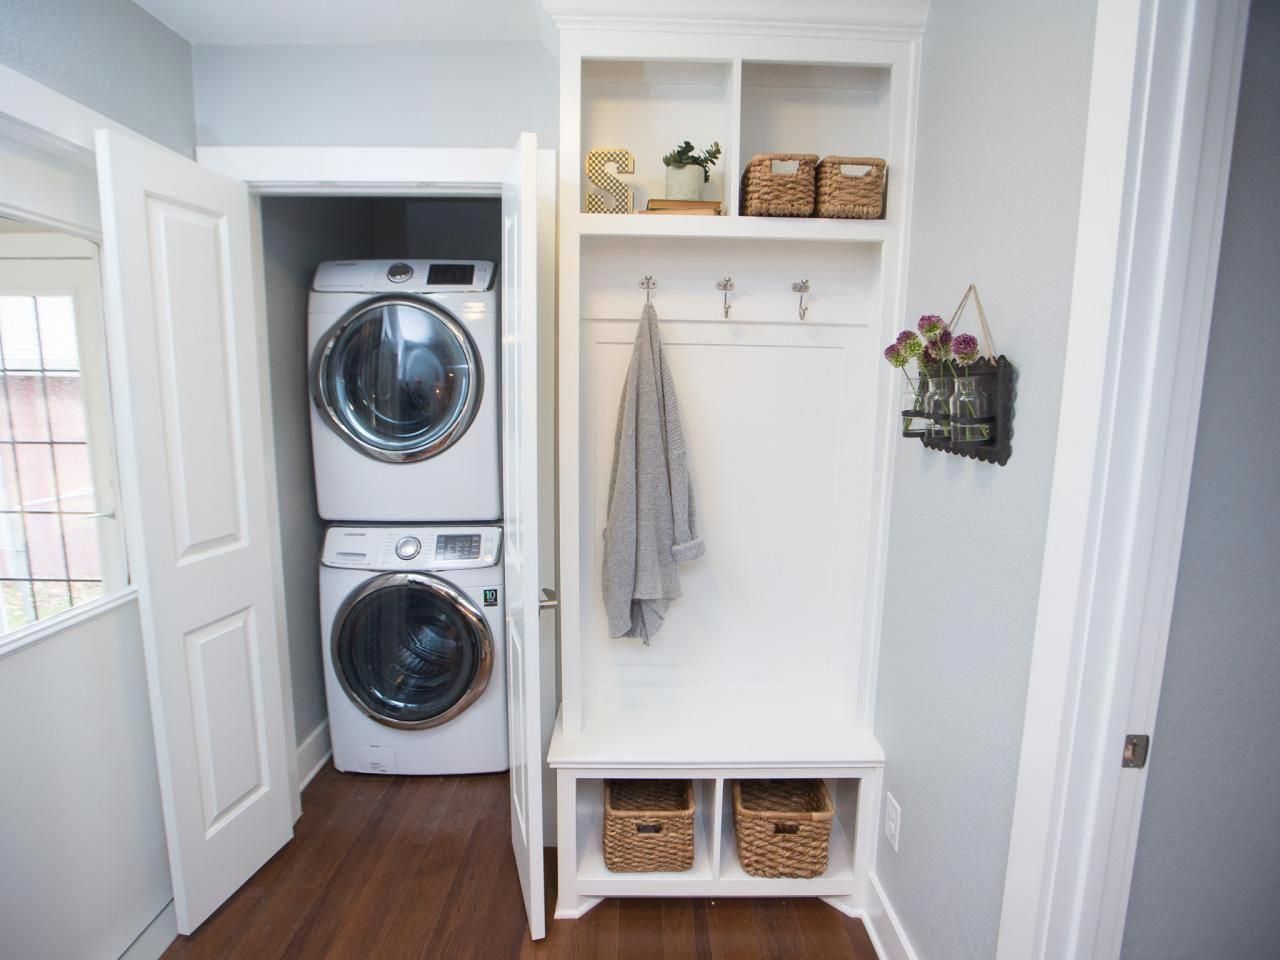
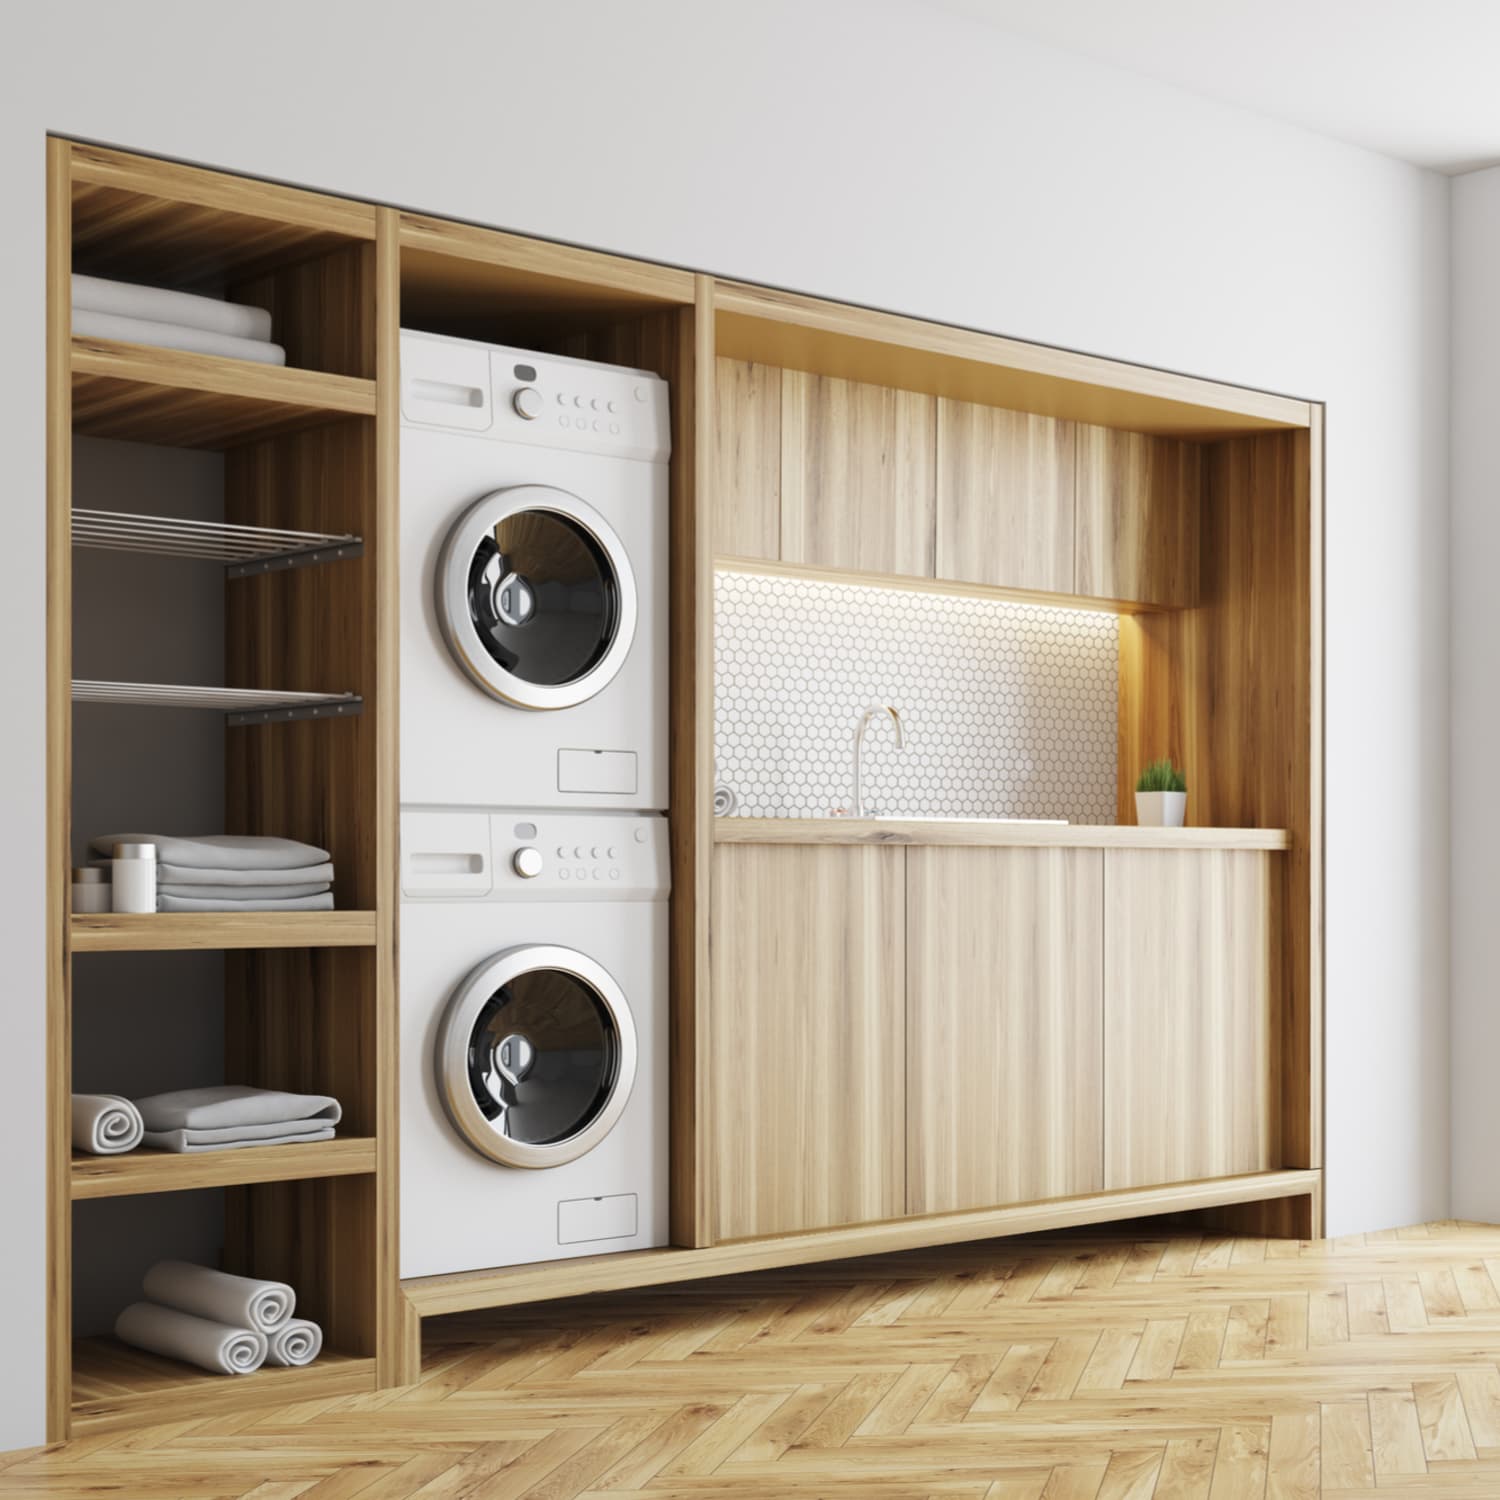
Having a stacked washer and dryer in your home can be a convenient and space-saving solution. However, they can often look bulky and unattractive, taking away from the overall aesthetic of your living space. That’s where a stacked washer and dryer cabinet comes in. With a custom-built cabinet, you can not only hide the washer and dryer but also add functionality and style to your laundry area.
In this article, we will guide you through the process of building your own stacked washer and dryer cabinet. We will provide step-by-step instructions, along with a list of materials needed, to help you create a customized cabinet that perfectly fits your space and meets your design preferences.
Before we begin, it’s important to note that building a stacked washer and dryer cabinet requires basic carpentry skills and tools. If you are not comfortable with DIY projects or lack the necessary tools, it may be best to hire a professional to assist you.
Now, let’s dive into the materials you will need to get started.
Key Takeaways:
- Create a custom stacked washer and dryer cabinet to maximize space and style in your home. Follow step-by-step instructions, from measuring and planning to securing the appliances, for a rewarding DIY project.
- Building a stacked washer and dryer cabinet requires basic carpentry skills and tools. Enjoy the functional and stylish addition to your home while ensuring accurate dimensions and a well-fitting cabinet.
Read more: How To Remove A Stacked Washer And Dryer
Materials Needed:
Before you begin building your stacked washer and dryer cabinet, make sure you have the following materials:
- Plywood sheets – Choose plywood that is sturdy and suitable for cabinetry. The thickness will depend on the dimensions of your cabinet.
- 2×4 boards – These will be used as the framing for the cabinet.
- Screws – Select screws that are appropriate for the thickness of your plywood and can securely hold the cabinet together.
- Hinges – You will need hinges to attach the cabinet doors.
- Cabinet pulls or knobs – These will be used for opening and closing the cabinet doors.
- Wood glue – Use wood glue to strengthen the joints and ensure a secure construction.
- Nail gun or hammer – Depending on your preference, you will need a nail gun or hammer to attach the plywood to the framing.
- Screwdriver – A screwdriver will be necessary for attaching the hinges and cabinet pulls.
- Saw – You will need a saw to cut the plywood and 2×4 boards to the desired dimensions.
- Tape measure – Accurate measurements are essential for a well-fitting cabinet, so make sure you have a reliable tape measure on hand.
- Sandpaper – Sandpaper will be used to smooth out any rough edges and create a finished look.
- Paint or stain – If you want to add color or finish to your cabinet, choose a paint or stain that is suitable for wood surfaces.
These are the basic materials you will need to build a stacked washer and dryer cabinet. However, you may also require additional tools or supplies depending on the specific design and customization you have in mind.
Now that you have gathered all the necessary materials, it’s time to move on to the first step: measuring and planning.
Step 1: Measuring and Planning:
Before you start constructing your stacked washer and dryer cabinet, it’s essential to take accurate measurements and create a detailed plan. This will ensure that your cabinet fits perfectly into the designated space and meets your specific requirements.
Here are the steps for measuring and planning:
- Measure the space – Begin by measuring the area where you intend to place the stacked washer and dryer cabinet. Take note of the height, width, and depth available. Consider any obstructions or limitations that may affect your cabinet’s dimensions.
- Determine the cabinet dimensions – Based on your measurements, determine the overall size of your cabinet. Consider leaving some clearance around the washer and dryer for easy access and ventilation.
- Create a sketch – Use graph paper or a digital design tool to create a scaled sketch of your cabinet. Include the external dimensions, internal shelves, and dividers. This will serve as your blueprint throughout the construction process.
- Multiply plywood dimensions – Determine the dimensions and quantity of plywood sheets required for the cabinet. Calculate the number of shelves, dividers, and back panel pieces needed.
- Consider additional details – Think about any additional features you want to incorporate, such as doors, drawers, or decorative elements. Note the measurements and materials required for these components.
By taking the time to measure and plan, you will save yourself from making costly mistakes and ensure a smoother construction process. Once you have finalized your measurements and sketched out your design, you are ready to move on to the next step: building the cabinet frame.
Step 2: Building the Cabinet Frame:
Now that you have your measurements and design plan in place, it’s time to start constructing the frame of your stacked washer and dryer cabinet. The frame will provide the structural support for the cabinet and serve as the foundation for all the other components.
Follow these steps to build the cabinet frame:
- Cut the 2×4 boards – Using a saw, cut the 2×4 boards to match the height and width of your cabinet dimensions. These will be used as the vertical and horizontal supports for the frame.
- Assemble the frame – Lay the cut pieces of 2×4 boards on a flat surface. Use wood glue and screws to attach the vertical supports to the horizontal supports, creating a rectangular frame.
- Strengthen the corners – To reinforce the corners of the frame, cut small pieces of plywood scraps and attach them to the inside corners using screws.
- Add support beams – Depending on the size and weight of your washer and dryer, you may need to install additional support beams within the frame. Measure and cut the 2×4 boards to fit securely across the frame, providing extra stability.
- Check for levelness – Use a level to ensure that the frame is perfectly level and square. Make any necessary adjustments by adding shims or sanding down uneven surfaces.
Once your cabinet frame is sturdy and level, you are ready to move on to the next step: adding shelves and dividers.
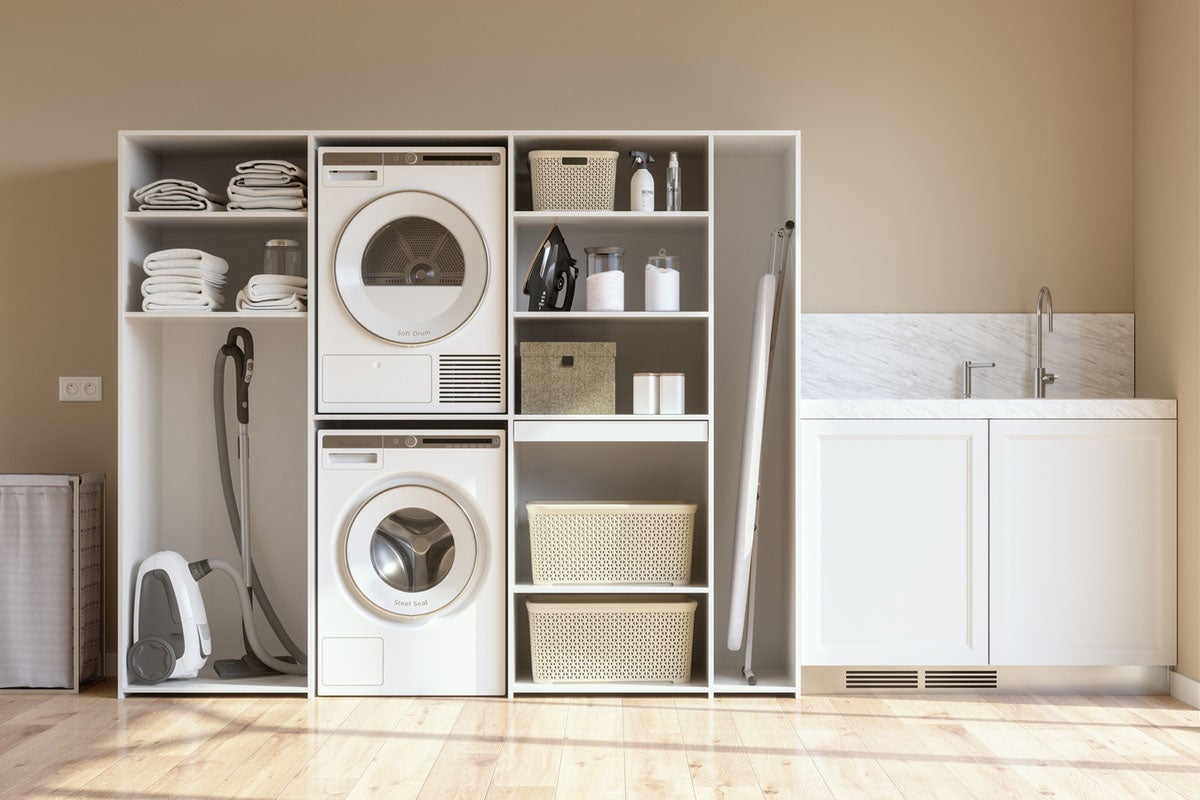
Step 3: Adding Shelves and Dividers:
With the cabinet frame in place, it’s time to add shelves and dividers to maximize the functionality of your stacked washer and dryer cabinet. These components will help organize your laundry supplies and create separate compartments for the washer and dryer.
Follow these steps to add shelves and dividers:
- Measure and cut plywood for shelves – Measure the width and depth inside the cabinet frame to determine the size of your shelves. Cut the plywood sheets to match these dimensions. Consider the desired spacing between shelves and allow enough height for the washer and dryer units.
- Attach shelves to frame – Place the cut plywood shelves onto the frame, ensuring they rest securely on the support beams or sides. Use wood glue and screws to attach the plywood shelves to the frame.
- Measure and cut plywood for dividers – Determine the desired layout of the dividers within the cabinet. Measure and cut plywood sheets to create dividers, allowing enough space for the washer and dryer units and any other storage compartments you may desire.
- Attach dividers to shelves – Position the plywood dividers where you want them inside the cabinet. Use wood glue and screws to secure them to the shelves and provide additional stability.
By adding shelves and dividers, you can create designated spaces for laundry detergents, fabric softeners, and other supplies. It also ensures that the washer and dryer have their separate compartments, keeping them organized and easily accessible.
Now that your shelves and dividers are in place, it’s time to move on to the next step: installing the back panel of the cabinet.
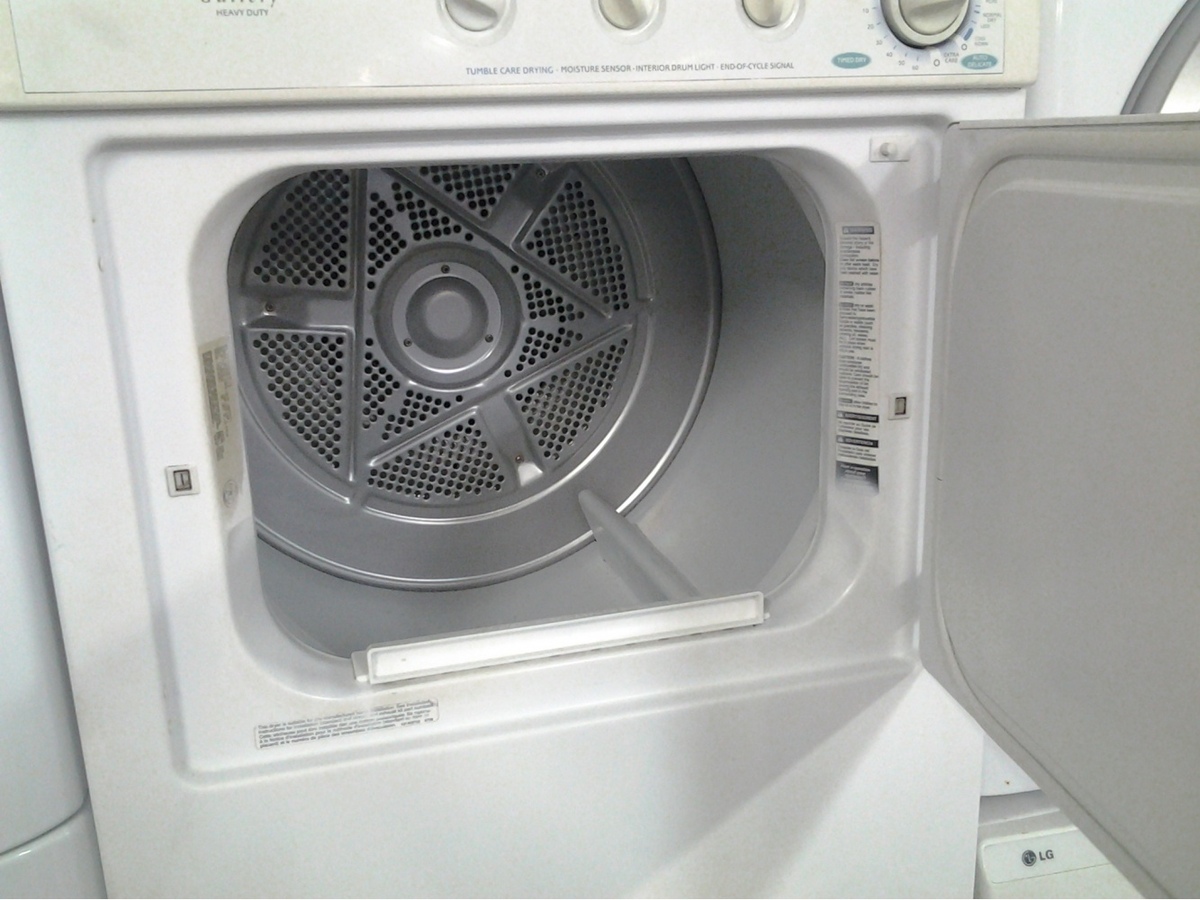
When building a stacked washer and dryer cabinet, make sure to measure the dimensions of your appliances carefully to ensure a proper fit. Allow for proper ventilation and access to the back of the units for maintenance.
Read more: How Tall Is A Stacked Washer Dryer
Step 4: Installing Back Panel:
After adding shelves and dividers to your stacked washer and dryer cabinet, it’s time to install the back panel. The back panel serves as a stabilizing element, providing support and making the cabinet more structurally sound. It also adds a finished look to the back of the cabinet.
Follow these steps to install the back panel:
- Measure and cut the plywood – Measure the height and width of the cabinet frame from the back. Cut a piece of plywood to match these dimensions.
- Position the panel – Place the plywood panel against the back of the cabinet frame, ensuring it is flush with the edges.
- Attach the back panel – Use screws or a nail gun to attach the plywood panel to the cabinet frame. Place screws or nails along the edges and at intervals across the panel to secure it firmly.
- Check for levelness – Use a level to ensure that the back panel is straight and level. Make any necessary adjustments by adding shims or sanding down uneven areas.
Installing the back panel not only adds stability to the cabinet but also helps to create a polished and finished appearance. It is an important step in ensuring the durability and longevity of your stacked washer and dryer cabinet.
Now that the back panel is in place, let’s move on to the next step: attaching the cabinet doors.
Step 5: Attaching the Cabinet Doors:
Attaching the cabinet doors is an integral part of building your stacked washer and dryer cabinet. The cabinet doors not only hide the washer and dryer but also add a decorative touch to the overall design. By following these steps, you can ensure that the doors are securely attached and function smoothly.
Here are the steps to attach the cabinet doors:
- Choose the door style – Select the type of doors you want for your cabinet. You can choose between hinged doors or sliding doors, depending on your preference and available space.
- Measure and cut the plywood for the doors – Measure the dimensions of your cabinet openings and cut the plywood sheets accordingly. Ensure that the doors are slightly larger than the openings to allow for proper fitting.
- Install door hinges – Determine the placement of the door hinges on the frame and mark the locations. Use a drill to attach the hinges to the frame. Make sure the hinges are properly aligned and level.
- Attach the doors – Once the hinges are in place, align the doors with the hinges and secure them using screws. Ensure that the doors open and close smoothly and evenly.
- Add cabinet pulls or knobs – To complete the look and functionality of the cabinet doors, install cabinet pulls or knobs. Measure and mark the positions for the pulls or knobs and attach them using screws.
Attaching the cabinet doors not only provides a visually appealing finish to your stacked washer and dryer cabinet but also allows for easy access to the washer and dryer units. Make sure to double-check the alignment and functionality of the doors before moving on to the next step.
Now that your cabinet doors are in place, let’s proceed to step 6: securing the washer and dryer.
Step 6: Securing the Washer and Dryer:
Ensuring the stability and safety of your stacked washer and dryer is crucial. In this step, we will guide you through the process of securing the washer and dryer to your cabinet, providing additional support and peace of mind.
Follow these steps to secure the washer and dryer:
- Measure and mark the placement – Determine the desired positioning of the washer and dryer within the cabinet. Mark the location on the cabinet frame and shelves.
- Install safety brackets – Use safety brackets designed for securing appliances and cabinets to secure the washer and dryer in place. Follow the manufacturer’s instructions to properly install the brackets, ensuring a tight fit and stability.
- Secure the appliances – Place the washer and dryer onto the marked spots and align them with the safety brackets. Use screws or bolts to fasten the washer and dryer to the brackets, ensuring they are securely attached to the cabinet.
- Check for stability – Test the stability of the appliances by gently pushing and wiggling them. They should be firmly anchored to the cabinet and not move or shake excessively.
Securing the washer and dryer not only reduces the risk of accidents but also helps to prolong the lifespan of your appliances. It is essential to follow the manufacturer’s instructions and use the appropriate safety brackets to ensure a secure installation.
With the washer and dryer securely in place, we move on to the final step: adding finishing touches and making any necessary adjustments.
Step 7: Finishing Touches and Final Adjustments:
At this stage, your stacked washer and dryer cabinet is almost complete. In this final step, we will focus on adding the finishing touches and making any necessary adjustments to ensure a polished and functional cabinet.
Here are the steps for the finishing touches and final adjustments:
- Sand and smooth – Use sandpaper to sand any rough edges or surfaces on the cabinet. This will create a smooth finish and prevent any splinters.
- Fill in gaps – Fill in any visible gaps or seams with wood filler. Smooth it out with a putty knife and allow it to dry completely. Sand the filled areas for a seamless appearance.
- Paint or stain – If desired, apply a coat of paint or stain to the cabinet. Follow the manufacturer’s instructions for proper application and drying times. This step will enhance the overall look of the cabinet and protect the wood surfaces.
- Clean and organize – Before placing any items in the cabinet, thoroughly clean the interior to remove any dust or debris. Organize your laundry supplies and other accessories in a way that makes sense to your specific needs.
- Test functionality – Open and close the cabinet doors, ensuring they operate smoothly. Check the stability of the shelves and dividers, making any necessary adjustments or reinforcements if needed.
- Make final adjustments – Step back and evaluate the overall appearance and functionality of your stacked washer and dryer cabinet. Make any final adjustments or refinements to achieve the desired outcome.
By giving attention to these finishing touches and final adjustments, you will create a well-crafted and visually appealing stacked washer and dryer cabinet.
With the completion of step 7, your project to build a stacked washer and dryer cabinet is finished. Sit back and admire your custom creation that not only hides and organizes your laundry appliances but also enhances the overall appeal of your laundry area.
Remember, if at any point during the construction process you feel unsure or lack the necessary tools or skills, it’s always best to seek assistance from a professional carpenter or handyman to ensure a successful outcome.
Congratulations on completing your stacked washer and dryer cabinet project! Enjoy the functional and stylish addition to your home!
Read more: How To Hide A Stacked Washer Dryer
Conclusion:
Building a stacked washer and dryer cabinet is a rewarding DIY project that not only adds functionality to your laundry area but also enhances the overall aesthetic of your space. By following the step-by-step instructions outlined in this article, you can create a custom cabinet that perfectly fits your needs and design preferences.
Throughout the construction process, measuring and planning are crucial to ensure accurate dimensions and a well-fitting cabinet. Building the frame, adding shelves and dividers, installing the back panel, attaching the cabinet doors, securing the washer and dryer, and making final adjustments all contribute to creating a sturdy and visually appealing cabinet.
Don’t forget the finishing touches, such as sanding, filling gaps, and applying paint or stain, to give your cabinet a polished look. Testing the functionality and making any necessary adjustments will provide the final touches before organizing your laundry supplies and enjoying your new cabinet.
While this article provides a comprehensive guide, it’s important to note that the specifications and requirements of your project may vary. Always adapt the instructions to your specific needs and consult professional assistance if needed.
With your stacked washer and dryer cabinet complete, you’ve created a space-saving solution that brings both practicality and aesthetics to your home. Enjoy the benefits of a tidy and organized laundry area, knowing that you’ve accomplished this DIY project with your own hands.
Remember, building a stacked washer and dryer cabinet is just one example of the many creative possibilities in the world of DIY. Continue to explore and challenge yourself with new projects to unleash your inner handyman!
Now that you've mastered building your own stacked washer and dryer cabinet, why not consider upgrading your appliances? Our next read offers a curated list of the top washer dryer combos for the upcoming year. These models promise to save space while ensuring your clothes come out spotless and fresh every time. Whether you're looking to replace an old model or want to see what new features are available, this article is perfect for keeping your laundry setup efficient and modern.
Frequently Asked Questions about How To Make Stacked Washer And Dryer Cabinet
Was this page helpful?
At Storables.com, we guarantee accurate and reliable information. Our content, validated by Expert Board Contributors, is crafted following stringent Editorial Policies. We're committed to providing you with well-researched, expert-backed insights for all your informational needs.


0 thoughts on “How To Make Stacked Washer And Dryer Cabinet”