Articles
How To Use The Ice Maker In The Freezer
Modified: March 19, 2024
Learn how to use the ice maker in your freezer with our comprehensive articles. Get step-by-step instructions and expert tips for hassle-free ice making.
(Many of the links in this article redirect to a specific reviewed product. Your purchase of these products through affiliate links helps to generate commission for Storables.com, at no extra cost. Learn more)
Introduction
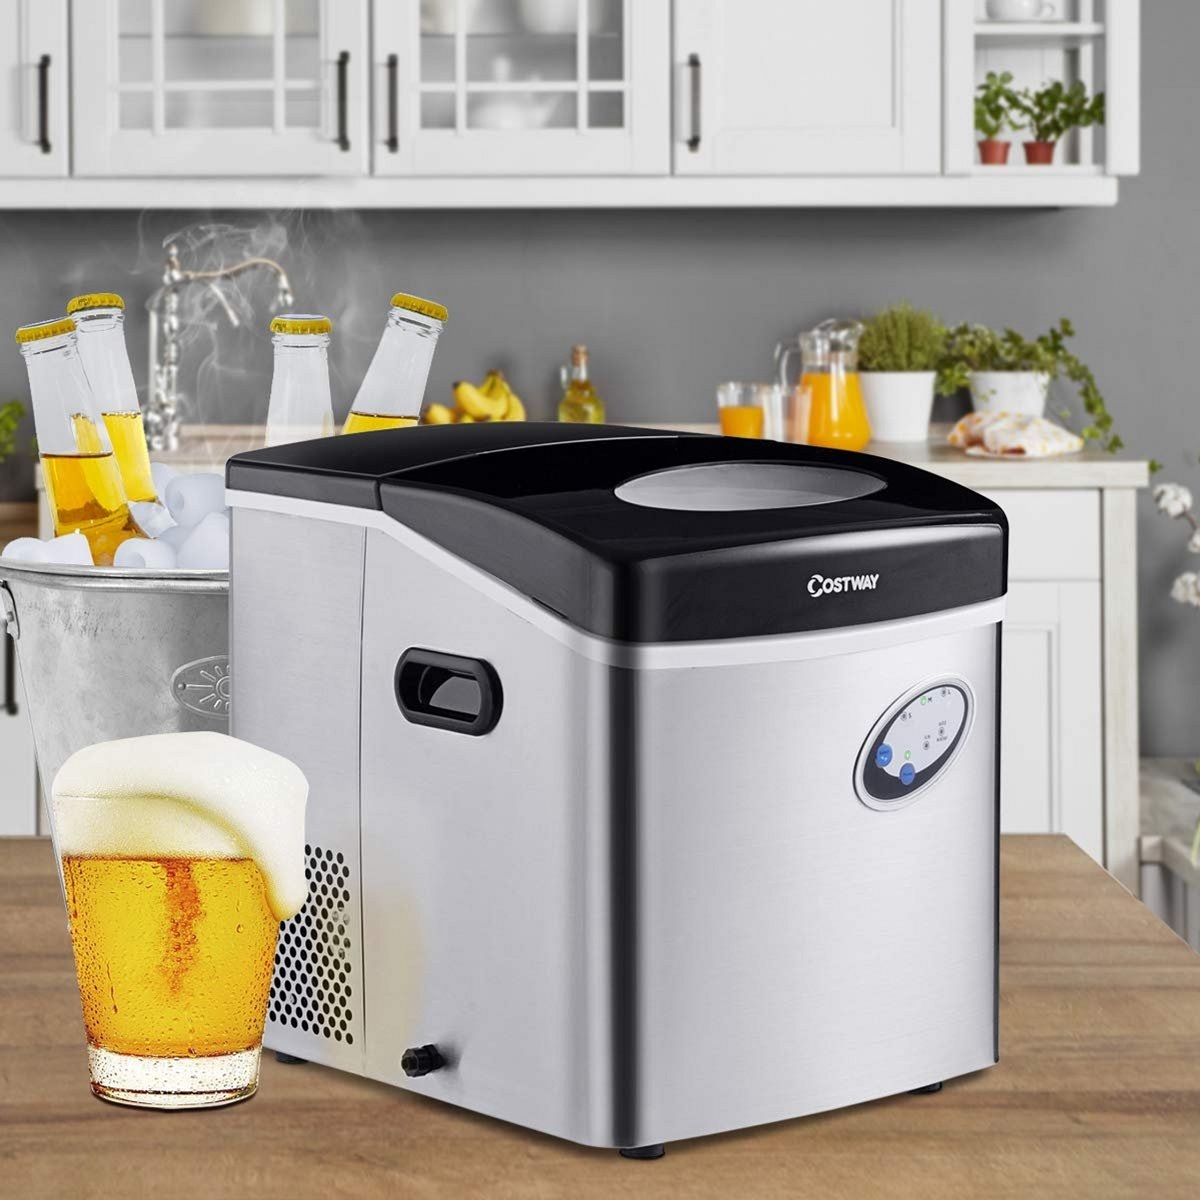
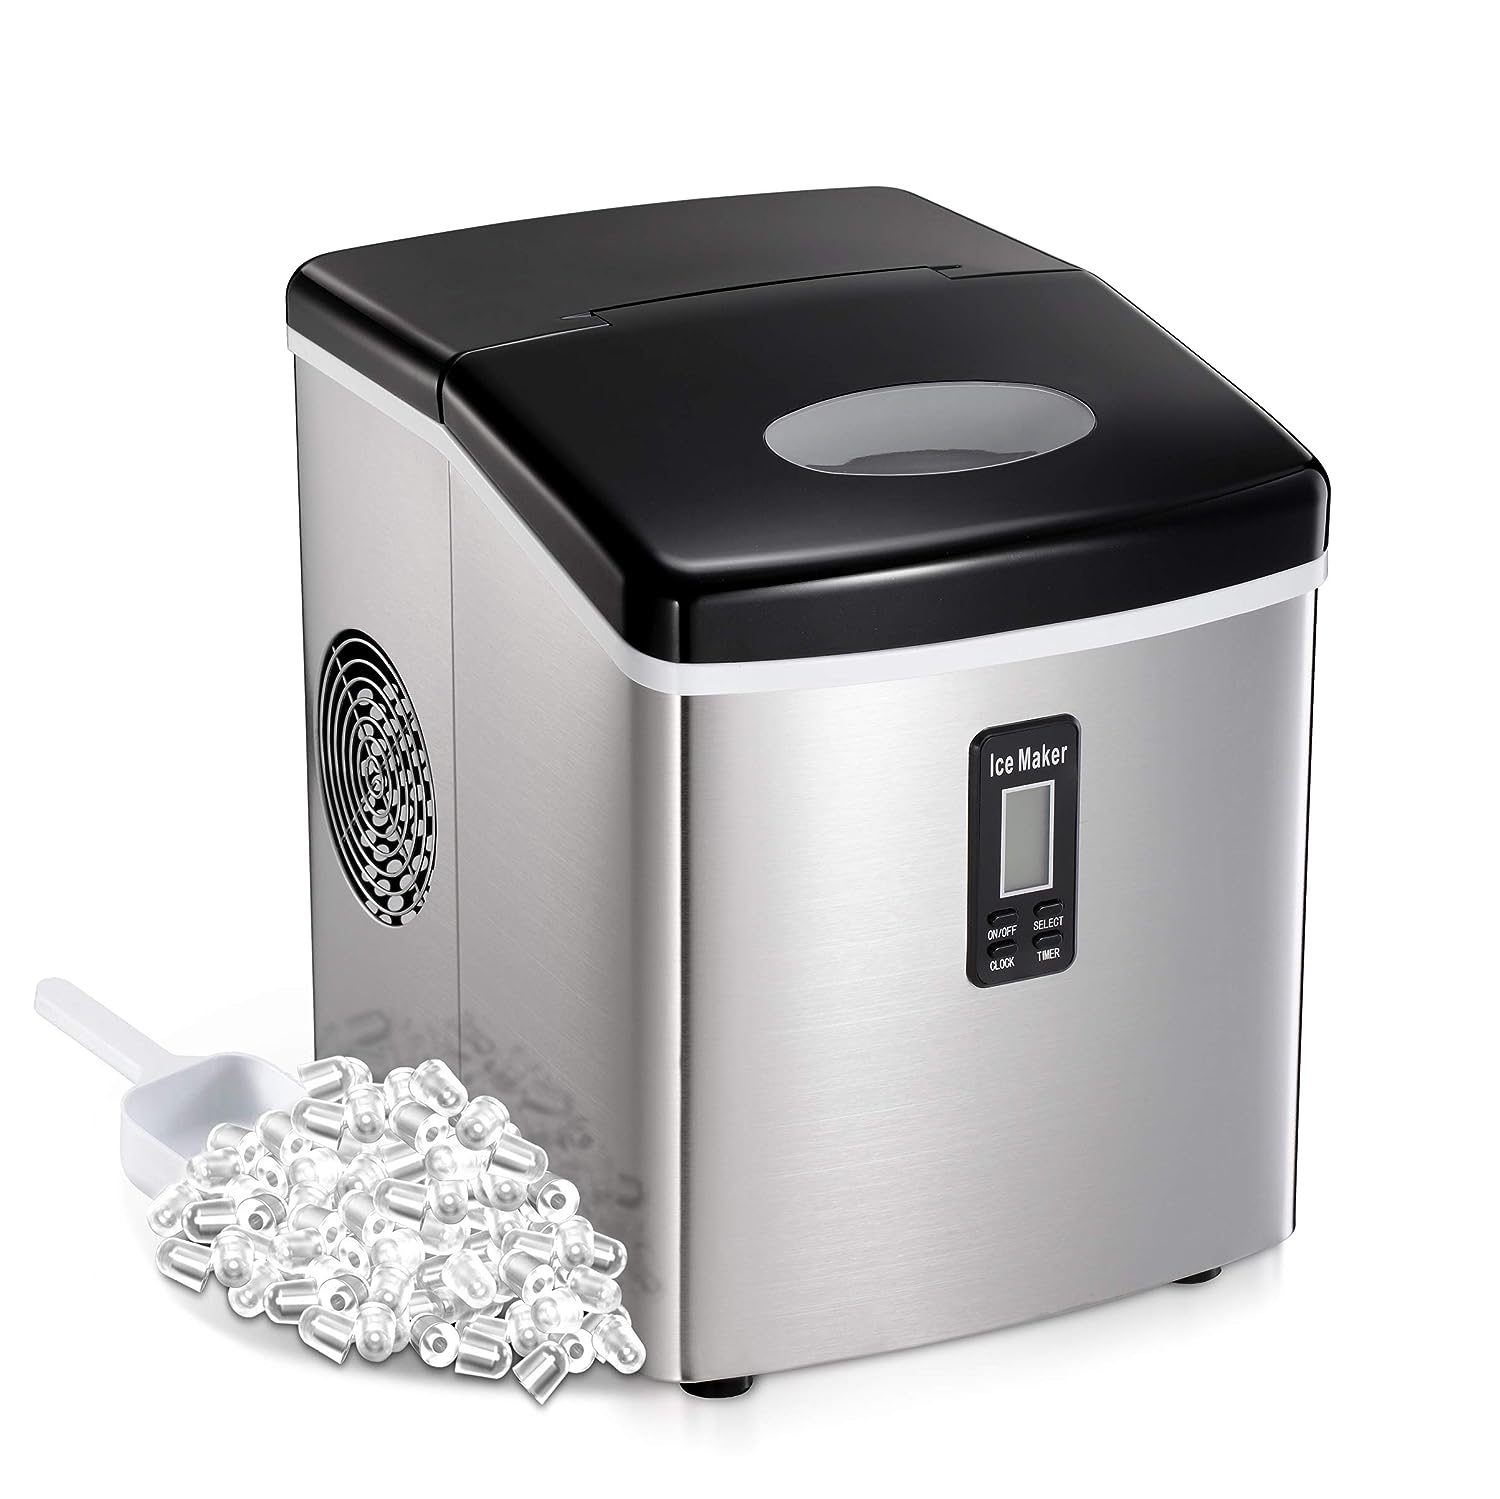
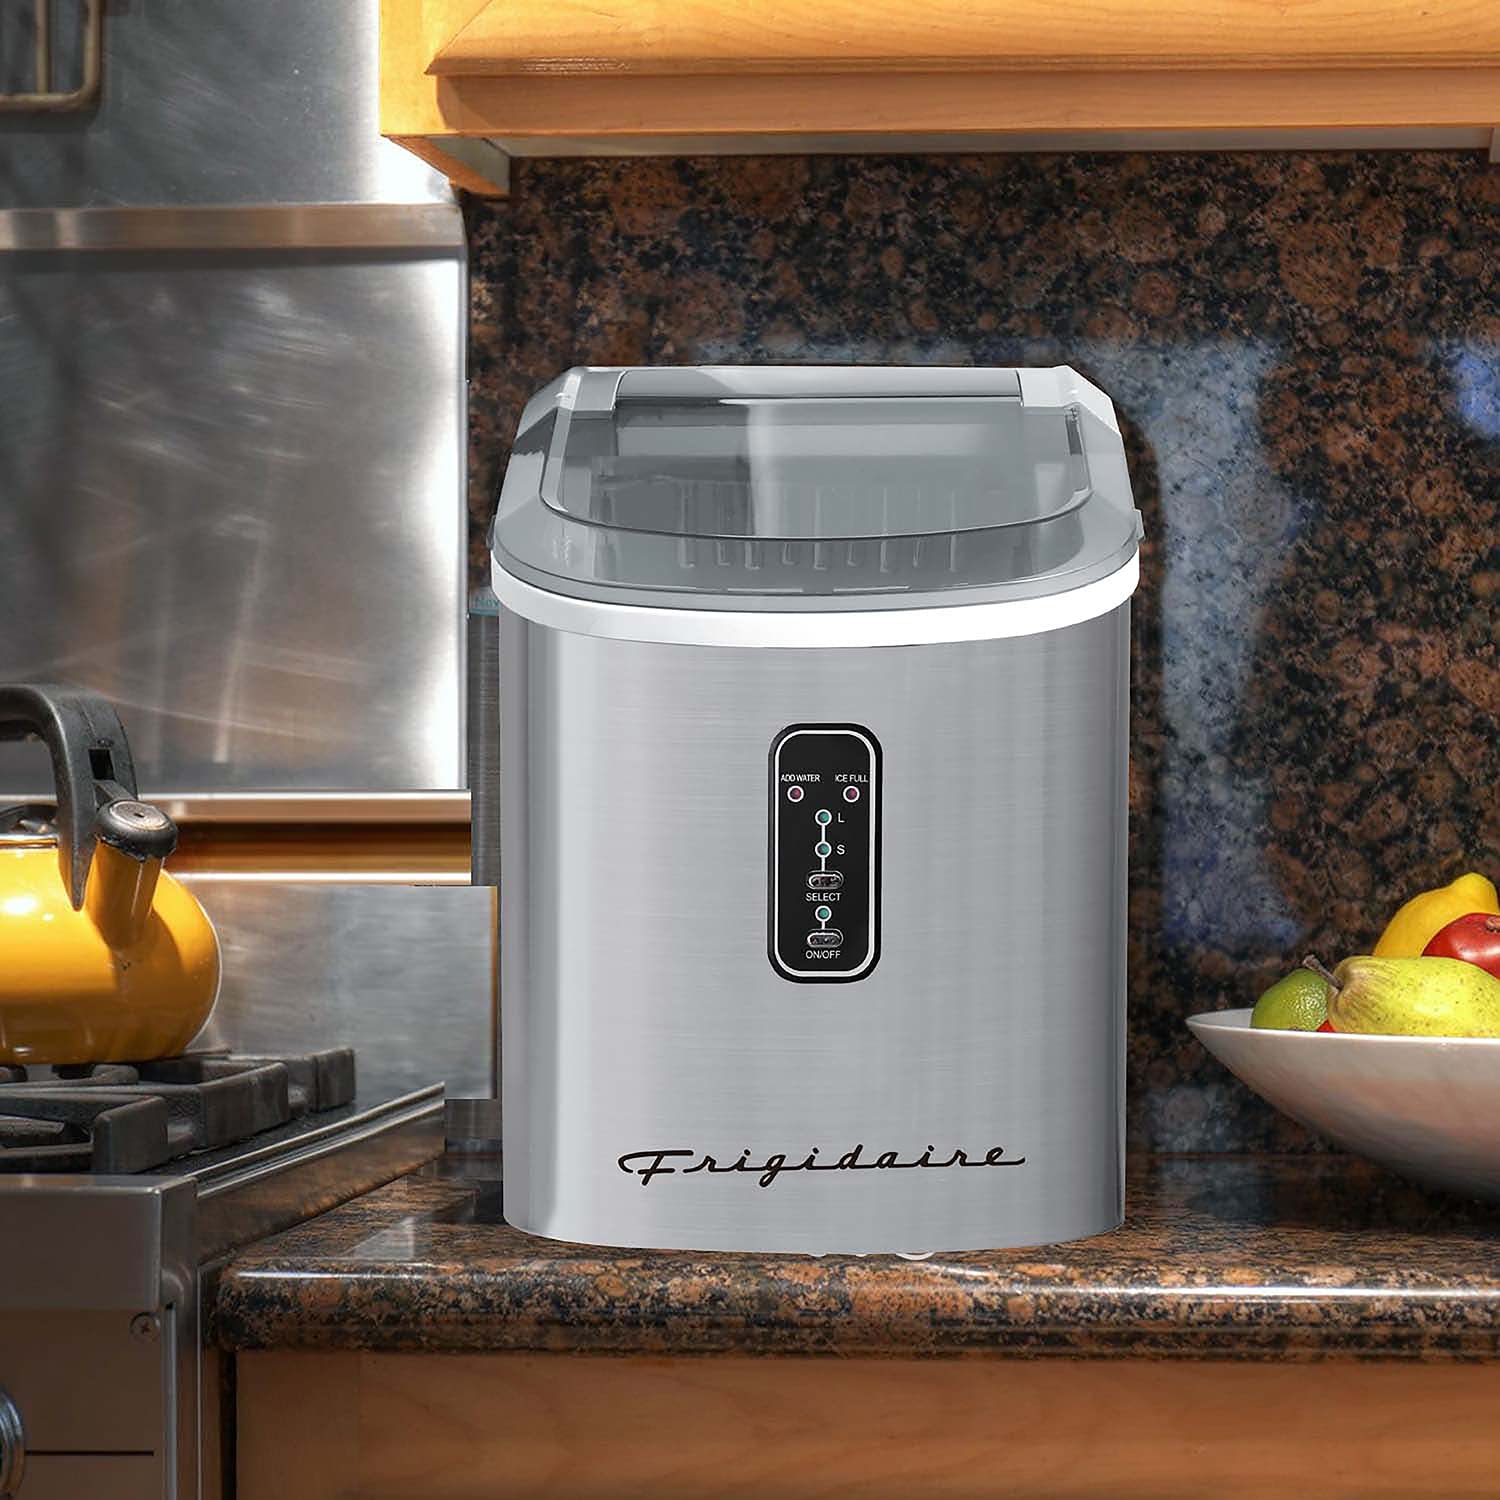
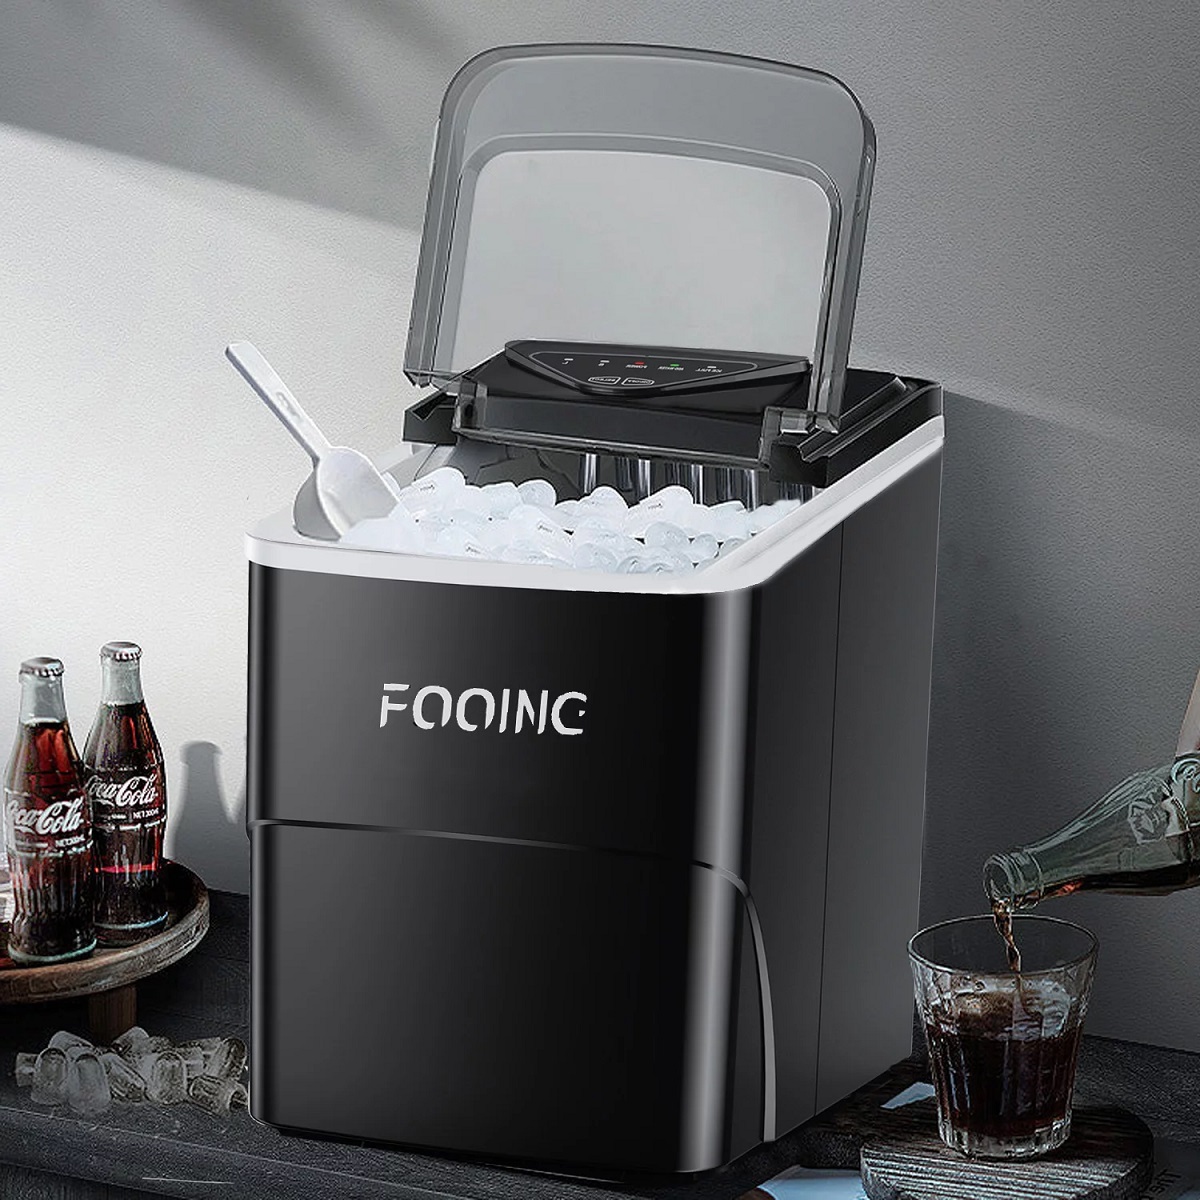
Welcome to our comprehensive guide on how to use the ice maker in the freezer. An ice maker is an incredibly convenient appliance that allows you to have a steady supply of ice at home, whether it’s for refreshing beverages or entertaining guests.
In this article, we will walk you through the step-by-step process of using the ice maker in your freezer. We’ll also provide you with some essential safety precautions and maintenance tips to ensure that your ice maker operates smoothly and efficiently.
Before we begin, it’s essential to note that the specific instructions may vary depending on the make and model of your freezer and ice maker. We recommend consulting your appliance’s user manual for manufacturer-specific instructions. However, the general steps outlined here will provide you with a good foundation for using most ice makers.
So, without further ado, let’s dive in and learn how to make the most of your freezer’s ice maker!
Key Takeaways:
- Enjoy hassle-free ice making by following safety precautions, checking the unit, connecting the water supply, adjusting ice size settings, and harvesting and storing ice properly.
- Maximize the efficiency and lifespan of your ice maker by prioritizing safety, regular cleaning, and maintenance, ensuring a constant supply of refreshing ice for various purposes.
Read more: How To Clean An Ice Maker In The Freezer?
Safety Precautions
Before using the ice maker in your freezer, it’s crucial to prioritize safety. Here are some essential safety precautions to keep in mind:
- Read the user manual: Familiarize yourself with the instructions and warnings provided by the manufacturer in the user manual. This will ensure that you understand the specific safety guidelines for your ice maker.
- Electrical safety: Ensure that the power supply to your freezer is switched off before performing any maintenance or installation tasks. This will help protect you from the risk of electric shock.
- Water supply safety: If your ice maker requires connecting to a water supply, make sure to follow the necessary guidelines provided in the user manual. Use appropriate fittings and connect the water supply according to the manufacturer’s instructions to prevent leaks or other water-related accidents.
- Proper ventilation: Maintain adequate airflow around your freezer to prevent overheating. Avoid blocking the vents and ensure that there is sufficient space for the appliance to dissipate heat.
- Careful handling of ice: Ice can be slippery, so exercise caution when removing or handling ice from the ice maker. Wipe up any water spills promptly to prevent slips and falls.
- Regular cleaning: Keep your ice maker clean and free from any debris or mold buildup. Regular cleaning will help maintain the quality of the ice and prevent potential health hazards.
- Keep children away: Keep the ice maker and freezer out of reach of children. The ice maker may not be a toy, and improper handling can result in injuries.
Remember, these are general safety precautions, and it’s essential to consult your specific ice maker’s user manual for any model-specific guidelines. By following these safety measures, you’ll ensure a safe and hassle-free experience while using your freezer’s ice maker.
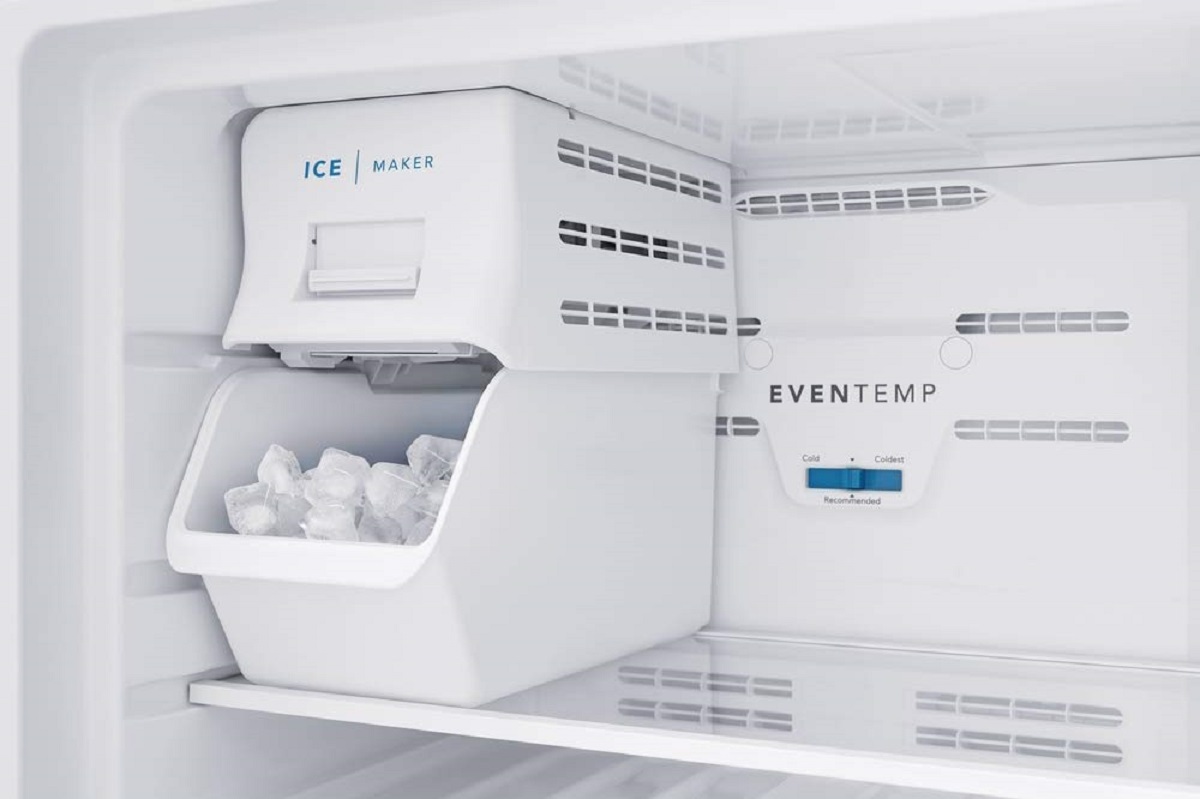
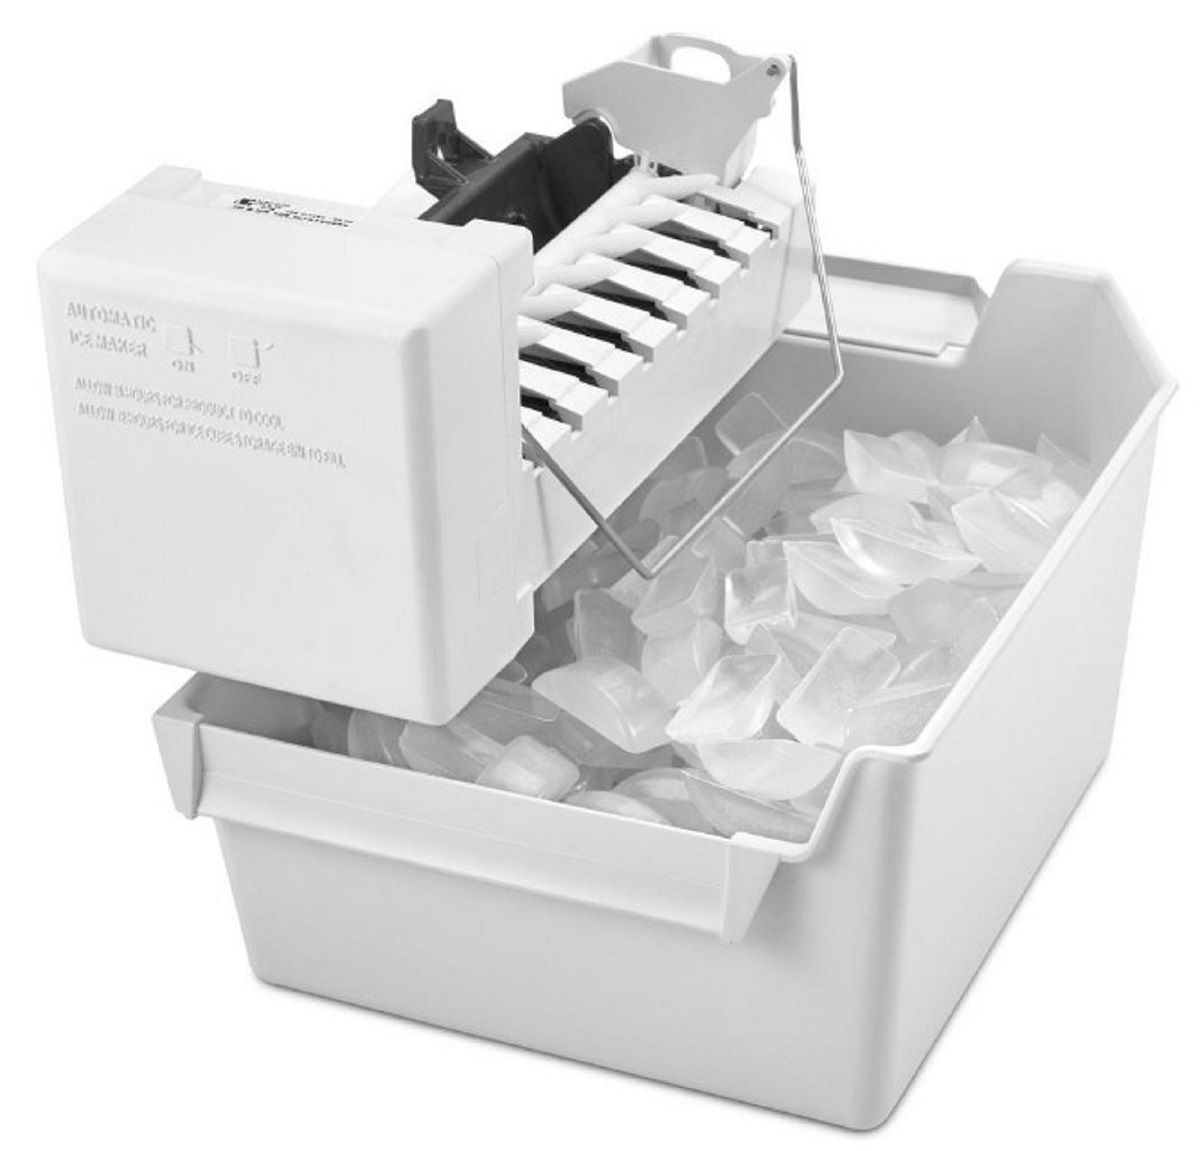
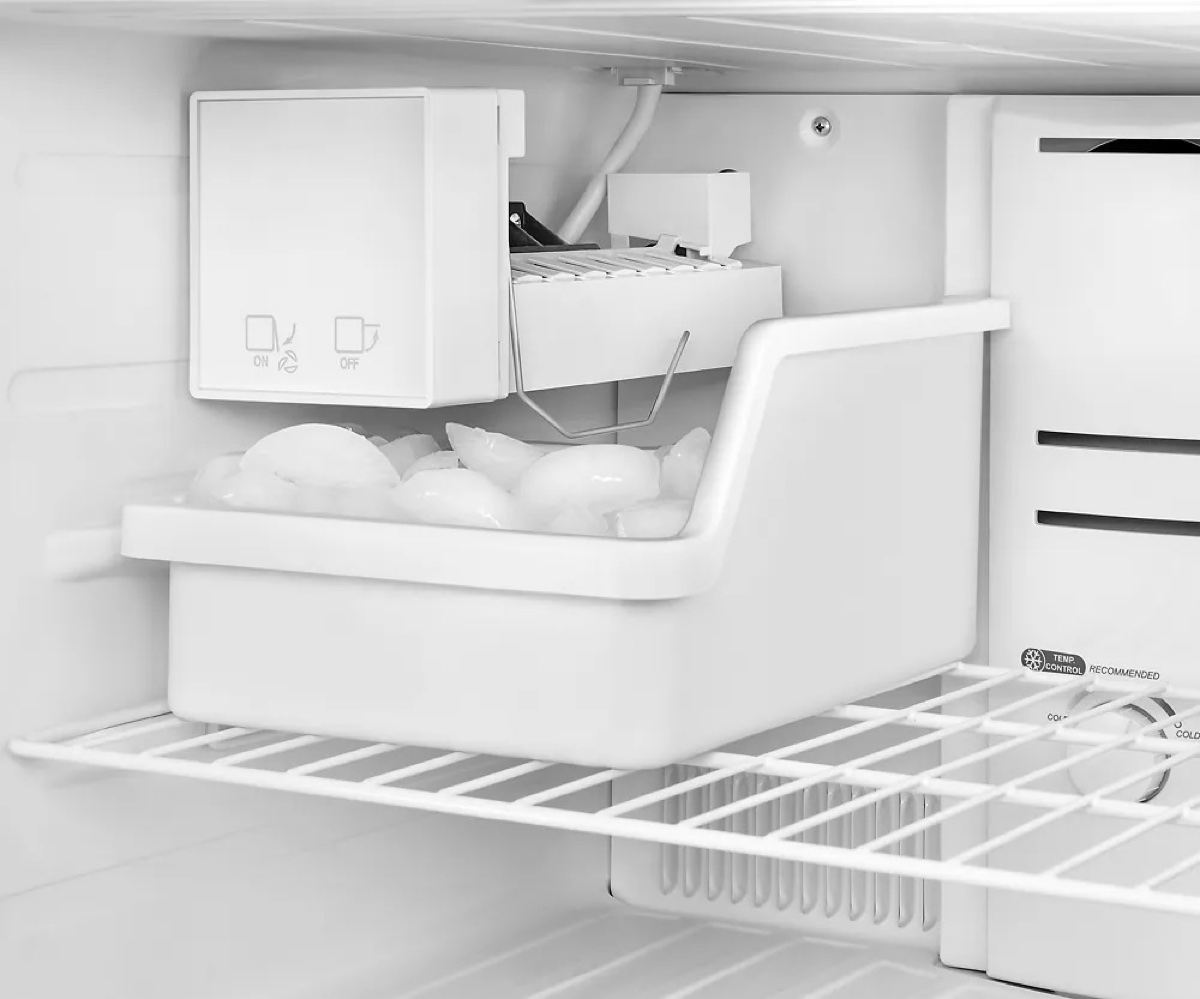
Step 1: Check the Ice Maker Unit
Before you start using the ice maker in your freezer, it’s important to check the unit for any visible damage or obstructions. Here’s what you need to do:
- Inspect the ice maker tray: Open the freezer and locate the ice maker unit. Look inside the ice maker tray to ensure that there are no leftover ice cubes or debris. If you notice any, remove them gently.
- Check the water line: If your ice maker requires a water supply connection, check the water line for any kinks or leaks. Ensure that the water line is securely connected to both the ice maker unit and the water supply valve.
- Examine the ice maker components: Take a close look at the ice maker components, such as the ice mold, ice level sensor, and motor. Ensure that these components are clean and free from any obstructions. If you notice any damage or malfunction, it’s recommended to consult a professional for repair or replacement.
- Confirm the power source: Ensure that your freezer is connected to a stable power source and turned on. Without power, the ice maker will not be able to function properly.
By taking the time to inspect and check the ice maker unit, you can identify any potential issues and address them before proceeding. This will help optimize the performance of your ice maker and ensure that it produces ice effectively.
Step 2: Connect the Water Supply
If your ice maker requires a water supply connection, it’s important to properly connect it for efficient ice production. Follow these steps to connect the water supply:
- Locate the water supply valve: Find the water supply valve behind or near your freezer. It is typically a small, cylindrical valve with a handle.
- Turn off the main water supply: Before connecting the water supply to the ice maker, shut off the main water supply valve. This will prevent any water from flowing while you make the connection.
- Connect the water line: Take the water line provided with your ice maker and connect one end to the water supply valve. Make sure it is securely attached.
- Connect the other end to the ice maker: Locate the water inlet valve on the ice maker and connect the other end of the water line to it. Ensure that the connection is tight to prevent leaks.
- Tighten all connections: Use a wrench or pliers to tighten all the water line connections. This will secure them in place and minimize the risk of leaks.
- Turn on the water supply: Once all the connections are secure, turn on the main water supply valve. This will allow water to flow into the ice maker.
It’s important to note that the specific steps for connecting the water supply may differ depending on your ice maker’s model. Always refer to the manufacturer’s instructions for detailed guidance on connecting the water supply.
Once the water supply is connected, you can move on to the next step of using your ice maker. If your ice maker does not require a water supply connection, you can skip this step and proceed to the next one.
Step 3: Turn on the Ice Maker
With the water supply properly connected, it’s time to turn on the ice maker and get it ready for ice production. Follow these steps to turn on your ice maker:
- Locate the power switch: Depending on your ice maker model, the power switch may be located on the front, side, or back of the unit. Look for the switch and make sure it is in the “On” position.
- Wait for the ice maker to start: Once you’ve turned on the power, the ice maker will begin its initialization process. Give it a few minutes to start up and get ready to produce ice.
- Listen for the sound of water filling the ice mold: As the ice maker starts up, you may hear a gentle sound of water flowing into the ice mold. This indicates that the ice maker is filling with water to create the ice cubes.
- Monitor the ice production cycle: Depending on the model, it may take a few hours or longer for the ice maker to produce its first batch of ice. Keep an eye on the ice maker to observe its progress.
- Do not overload the ice maker: It’s important to be patient and avoid overloading the ice maker with excessive water or demand for ice. Allow the ice maker to go through its production cycle and replenish the ice gradually.
- Be mindful of noise and power consumption: While the ice maker is operating, you may notice some noise and increased power consumption. This is normal, but if you feel that there are unusual noises or excessive energy usage, consult the manufacturer for assistance.
Once the ice maker is turned on and operational, you can move on to the next step, which involves adjusting the ice size settings to suit your preferences. Refer to the manufacturer’s instructions for your specific ice maker model to determine the available size options and how to adjust them.
Keep the ice maker clean by regularly removing any built-up ice and wiping down the interior with a mild cleaning solution. This will help ensure that the ice maker continues to function properly and produce clean ice.
Step 4: Adjust the Ice Size Settings
Most ice makers offer several options for adjusting the size of the ice cubes it produces. Follow these steps to adjust the ice size settings according to your preference:
- Locate the ice size control: Look for the ice size control button or switch on your ice maker. It is typically located on the front panel or inside the freezer near the ice maker unit.
- Select the desired ice size: Depending on your ice maker model, you may have options such as small, medium, or large ice cubes. Choose the size that suits your needs and preferences.
- Press or switch the control: Use the designated button or switch to adjust the ice size settings. Some ice makers may require you to press the button repeatedly to cycle through the different size options.
- Observe the ice production: After making the size adjustment, monitor the ice maker to see the changes in the size of the ice cubes. It may take a couple of ice-making cycles before the new size settings take effect.
- Make further adjustments if necessary: If you find that the ice cubes are not the desired size after the initial adjustment, you can repeat the process and select a different size. Fine-tune the settings until you achieve your preferred ice cube size.
Remember that the size adjustment options may vary depending on your ice maker model. Refer to the manufacturer’s instructions for your specific ice maker to determine the available size settings and how to adjust them accurately.
With the ice size settings adjusted, your ice maker is now ready to produce ice cubes in the size that suits your needs. Continue to the next step to learn about harvesting and storing the ice cubes.
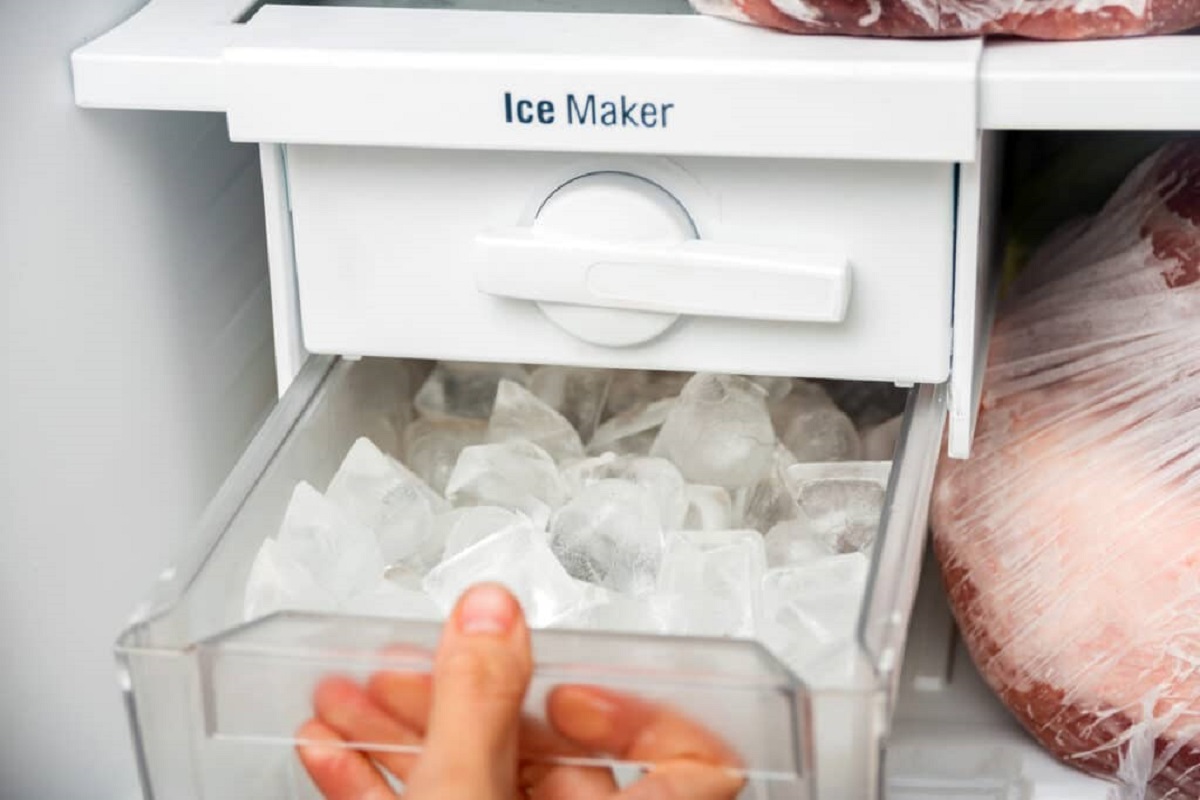
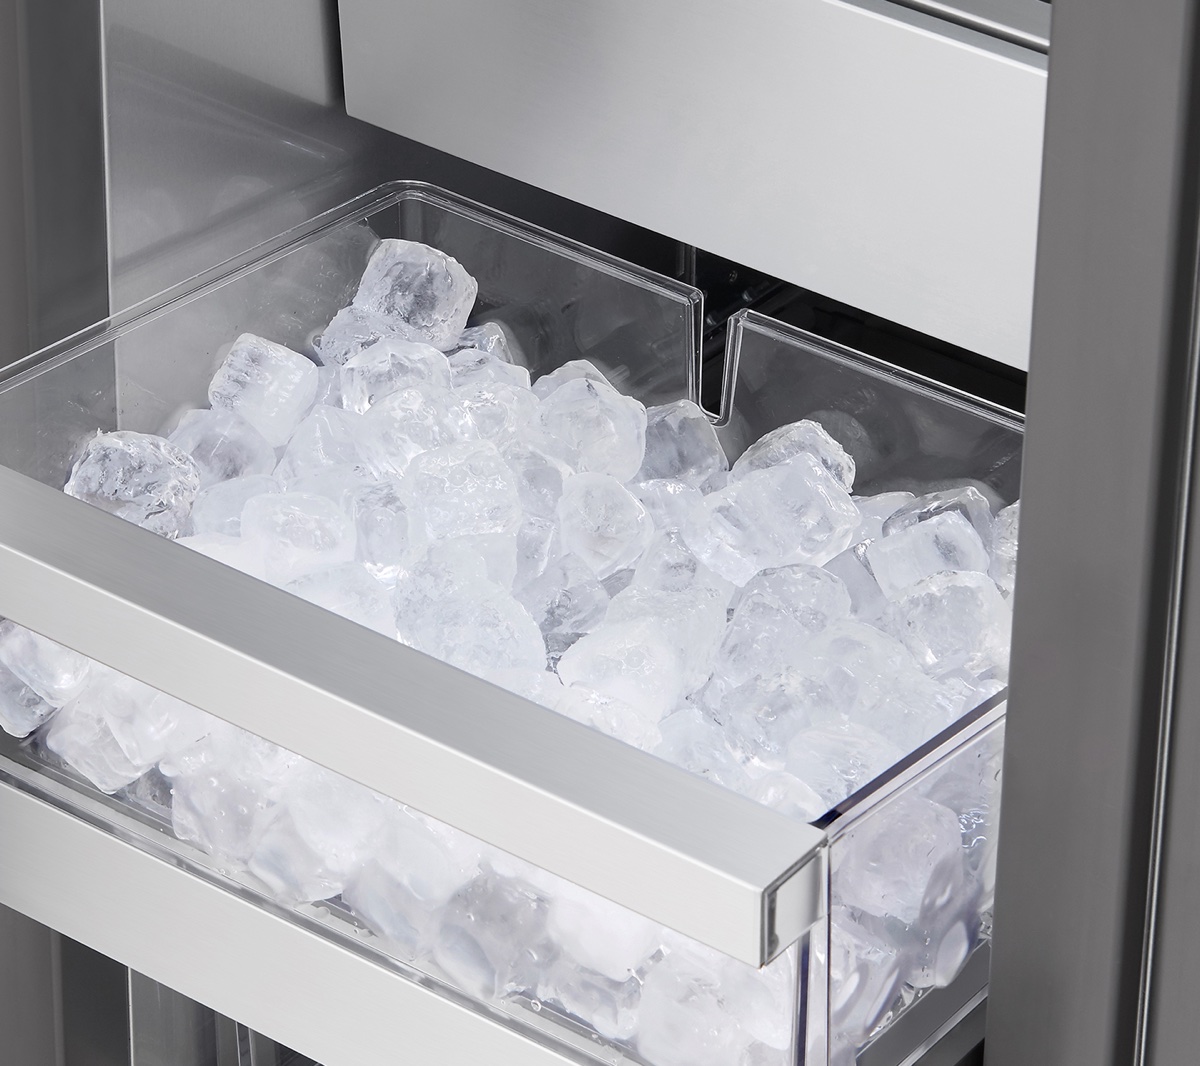
Step 5: Harvesting and Storing Ice
Once your ice maker has produced a sufficient amount of ice cubes, it’s time to harvest and store them properly. Follow these steps to ensure the ice remains fresh and ready for use:
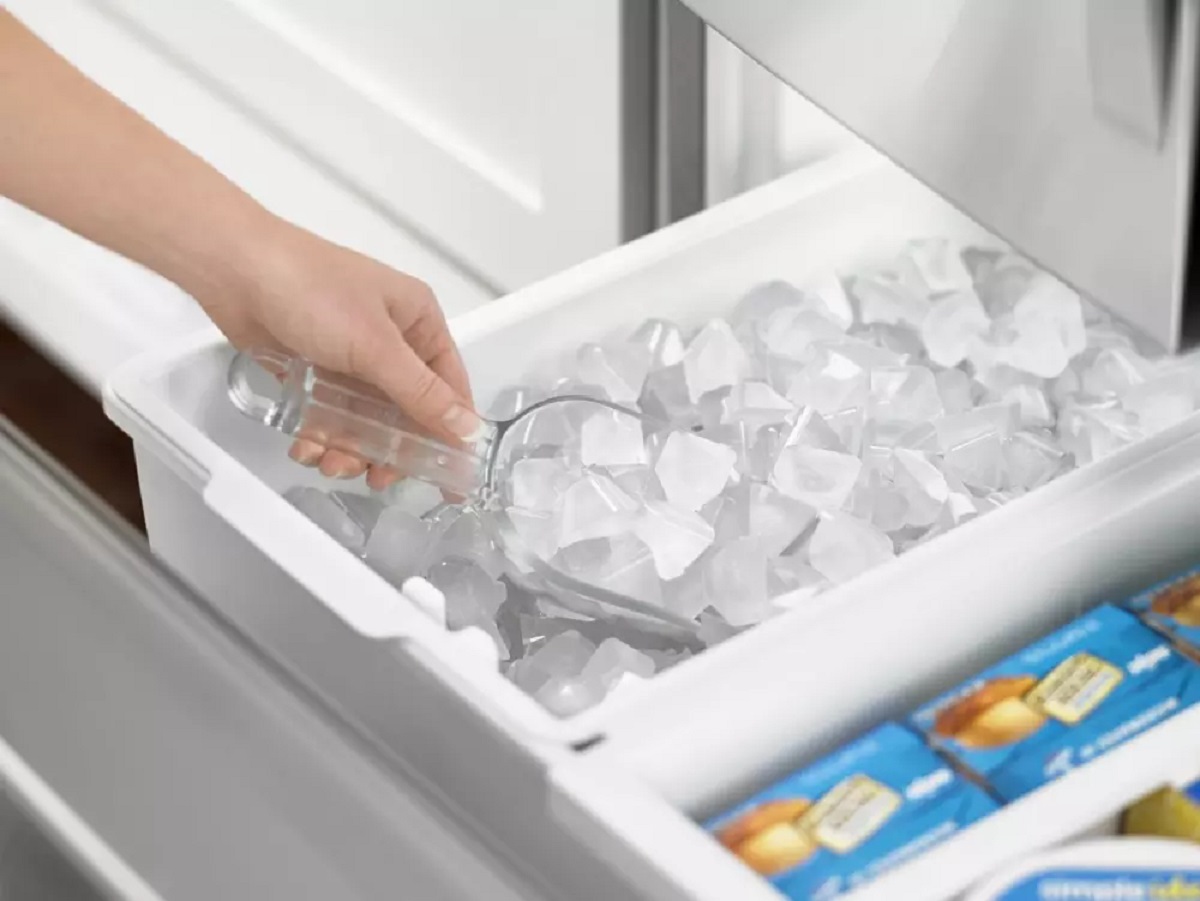
- Harvesting the ice: Open the freezer and locate the ice maker unit. Depending on your ice maker model, you may need to press a button or flip a lever to release the ice cubes into the ice bin.
- Transfer the ice to a storage container: Using a clean scoop or a gloved hand, transfer the harvested ice cubes from the ice bin to a clean and airtight storage container. This will help maintain the freshness and prevent any contamination.
- Store the ice in the freezer: Place the storage container filled with the harvested ice cubes back into the freezer. Ensure that the container has a tight seal to prevent freezer burn and the absorption of undesirable odors from other food items.
- Monitor the ice level: Keep an eye on the ice level in the storage container. When it starts running low, harvest more ice from the ice maker and replenish the container as needed.
- Dispose of old or unused ice: If you notice that the stored ice has been in the freezer for an extended period or has accumulated freezer burn, it’s best to dispose of it and make room for fresh ice cubes.
By following these steps, you ensure that your ice remains clean, fresh, and free from any contaminants. Remember to regularly clean the storage container to maintain optimal hygiene and quality of the ice cubes.
Next, let’s move on to the final step, which involves cleaning and maintaining the ice maker to keep it in excellent working condition.
Step 6: Cleaning and Maintenance of the Ice Maker
To keep your ice maker running smoothly and producing high-quality ice cubes, it’s crucial to regularly clean and maintain the unit. Follow these steps for effective cleaning and maintenance:
- Turn off and unplug the ice maker: Before cleaning the ice maker, ensure that it is turned off and unplugged to avoid any electrical hazards.
- Remove and clean the ice bin: Take out the ice bin from the freezer and empty any remaining ice cubes. Wash the ice bin with warm soapy water and rinse it thoroughly. Allow it to dry completely before placing it back in the freezer.
- Clean the ice maker tray and components: Gently remove the ice maker tray and any removable components, such as the ice scoop or ice level sensor. Clean them with warm soapy water, ensuring all debris and residue are removed. Rinse and dry them thoroughly before reassembling.
- Wipe down the ice maker unit: Use a soft cloth or sponge dampened with warm soapy water to clean the exterior and interior surfaces of the ice maker unit. Pay close attention to any areas prone to buildup, such as the water inlet valve or the ice chute.
- Check and replace the water filter (if applicable): If your ice maker has a water filter, consult the manufacturer’s instructions for the recommended schedule of filter replacements. Replace the filter as needed to ensure clean and fresh-tasting ice.
- Inspect for any damages or issues: While cleaning the ice maker, take the opportunity to inspect the unit for any damages or malfunctions. Look for any clogs, leaks, or signs of wear and tear. If you notice anything concerning, contact a professional for assistance.
- Regular maintenance: In addition to cleaning, perform regular maintenance tasks, such as lubricating moving parts, checking and adjusting the water supply connections, and ensuring proper ventilation around the ice maker unit.
By following these cleaning and maintenance steps, you can prolong the lifespan of your ice maker and ensure that it consistently produces high-quality ice cubes. Remember to consult the manufacturer’s instructions for your specific ice maker model, as they may have additional recommendations or guidelines for cleaning and maintenance.
Congratulations! You have successfully learned how to use and maintain the ice maker in your freezer. Enjoy the convenience and refreshing pleasure of having a steady supply of ice at your fingertips!
Conclusion
Using the ice maker in your freezer can greatly enhance your convenience and enjoyment when it comes to having a constant supply of ice cubes. By following the steps outlined in this guide, you can make the most of your ice maker while ensuring its optimal performance and longevity.
From checking the ice maker unit and connecting the water supply to turning on the ice maker, adjusting the ice size settings, harvesting and storing ice, and performing regular cleaning and maintenance, each step plays a vital role in the efficient operation of your ice maker.
By prioritizing safety precautions, reading the user manual, and ensuring proper electrical and water supply connections, you can avoid potential hazards and enjoy a hassle-free ice-making experience.
With the ice maker up and running, adjusting the ice size settings allows you to personalize your ice cubes to suit your preferences and needs. Harvesting and storing the ice properly in a clean and airtight container ensures that it remains fresh and free from contamination.
Regular cleaning and maintenance are essential to keep your ice maker in top condition. By following the recommended cleaning steps, inspecting for damages, and performing routine maintenance tasks, you can maximize the efficiency and lifespan of your ice maker.
Remember, it’s important to refer to the manufacturer’s instructions specific to your ice maker model for detailed guidance and any additional recommendations.
Now that you’re equipped with the knowledge and guidance on how to use and maintain the ice maker in your freezer, you can enjoy the convenience of having ice readily available for refreshing beverages, entertaining guests, and any other purposes that arise.
Cheers to a continuously refreshing supply of ice!
Frequently Asked Questions about How To Use The Ice Maker In The Freezer
Was this page helpful?
At Storables.com, we guarantee accurate and reliable information. Our content, validated by Expert Board Contributors, is crafted following stringent Editorial Policies. We're committed to providing you with well-researched, expert-backed insights for all your informational needs.

0 thoughts on “How To Use The Ice Maker In The Freezer”