Articles
How To Use Tape When Installing Showerhead
Modified: August 27, 2024
"Learn the best tips and tricks for installing a showerhead with ease. Find articles and guides to help you use tape for a secure and leak-free installation."
(Many of the links in this article redirect to a specific reviewed product. Your purchase of these products through affiliate links helps to generate commission for Storables.com, at no extra cost. Learn more)
Introduction
Installing a showerhead may seem like a simple task, but ensuring a tight seal is crucial to prevent any leaks or water damage. One often overlooked but highly effective technique is using tape during the installation process. Tape can provide an additional layer of security, creating a watertight seal and preventing any potential issues down the line.
In this article, we will explore the benefits of using tape when installing a showerhead, discuss the types of tape that are suitable for this application, provide a step-by-step guide for a seamless installation process, and offer additional tips to ensure a successful setup. So, let’s dive in and learn why tape is a handy tool when it comes to installing a showerhead.
Key Takeaways:
- Upgrade your shower installation by using tape for a secure, leak-free connection. Choose plumber’s tape or silicone tape and follow our step-by-step guide for a hassle-free showering experience.
- Enjoy water efficiency and durability with tape-sealed showerhead installations. Follow our tips for a successful setup and maintain a worry-free shower experience.
Read more: How To Install A New Showerhead
Benefits of Using Tape When Installing a Showerhead
Using tape during the installation of a showerhead offers several key benefits that can make a noticeable difference in the performance and longevity of your shower setup. Here are some of the main advantages:
- Leak Prevention: One of the primary benefits of using tape when installing a showerhead is its ability to prevent leaks. By creating a tight seal between the shower arm and the showerhead, tape acts as a barrier, ensuring that no water escapes and causing potential damage to your bathroom.
- Water Efficiency: A properly installed showerhead with tape can help maximize water efficiency. By sealing any gaps or loose connections, tape ensures that the water flows exclusively through the showerhead, minimizing any wastage. This can also result in lower water bills and a more environmentally friendly showering experience.
- Easy Installation and Removal: Tape is a versatile and user-friendly tool that can be easily applied when installing a showerhead. It requires no special skills or equipment and can be effortlessly removed if necessary. This makes tape an ideal choice for both DIY enthusiasts and professional plumbers alike.
- Durability: Showerheads are exposed to constant moisture and temperature changes, which can lead to rust and corrosion over time. By using tape during the installation process, you can protect the connections from these elements, prolonging the lifespan of your showerhead and ensuring consistent performance.
- Versatility: Another benefit of using tape is its versatility. It can be used with various types of showerheads, regardless of the material or design. Whether you have a handheld, rainfall, or massaging showerhead, tape can help create a secure and reliable connection.
By taking advantage of these benefits, you can ensure a hassle-free and efficient shower experience. Whether you are installing a new showerhead or replacing an old one, incorporating tape into the installation process is a smart move that can significantly improve the overall performance of your shower setup.
Types of Tape to Use
When it comes to choosing the right tape for installing a showerhead, there are a few options to consider. Here are the most commonly used types of tape that are suitable for this application:
- Plumber’s Tape: Also known as Teflon tape, plumber’s tape is a popular choice for sealing threaded plumbing connections. It is made of polytetrafluoroethylene (PTFE), a non-stick material that is resistant to water and chemicals. Plumber’s tape is easy to use and provides a reliable seal, making it ideal for showerhead installations.
- Silicone Tape: Silicone tape is a self-fusing tape that adheres to itself when stretched and wrapped around the shower arm thread. It forms a strong, waterproof bond and can withstand high temperatures and pressure. Silicone tape is a durable option that can be used in various plumbing applications, including showerhead installations.
- Thread Sealant Tape: Thread sealant tape, also known as pipe dope, is a paste-like substance that is applied to the threads of the shower arm. It fills in any gaps or imperfections and creates a tight seal. While it may be messier to work with compared to tape, thread sealant can provide a secure connection and help prevent leaks.
When choosing the appropriate tape for your showerhead installation, consider factors such as durability, compatibility with the showerhead material, ease of use, and the level of waterproofing required. Plumber’s tape and silicone tape are generally the more common and widely recommended options for most showerhead installations, given their versatility and reliability.
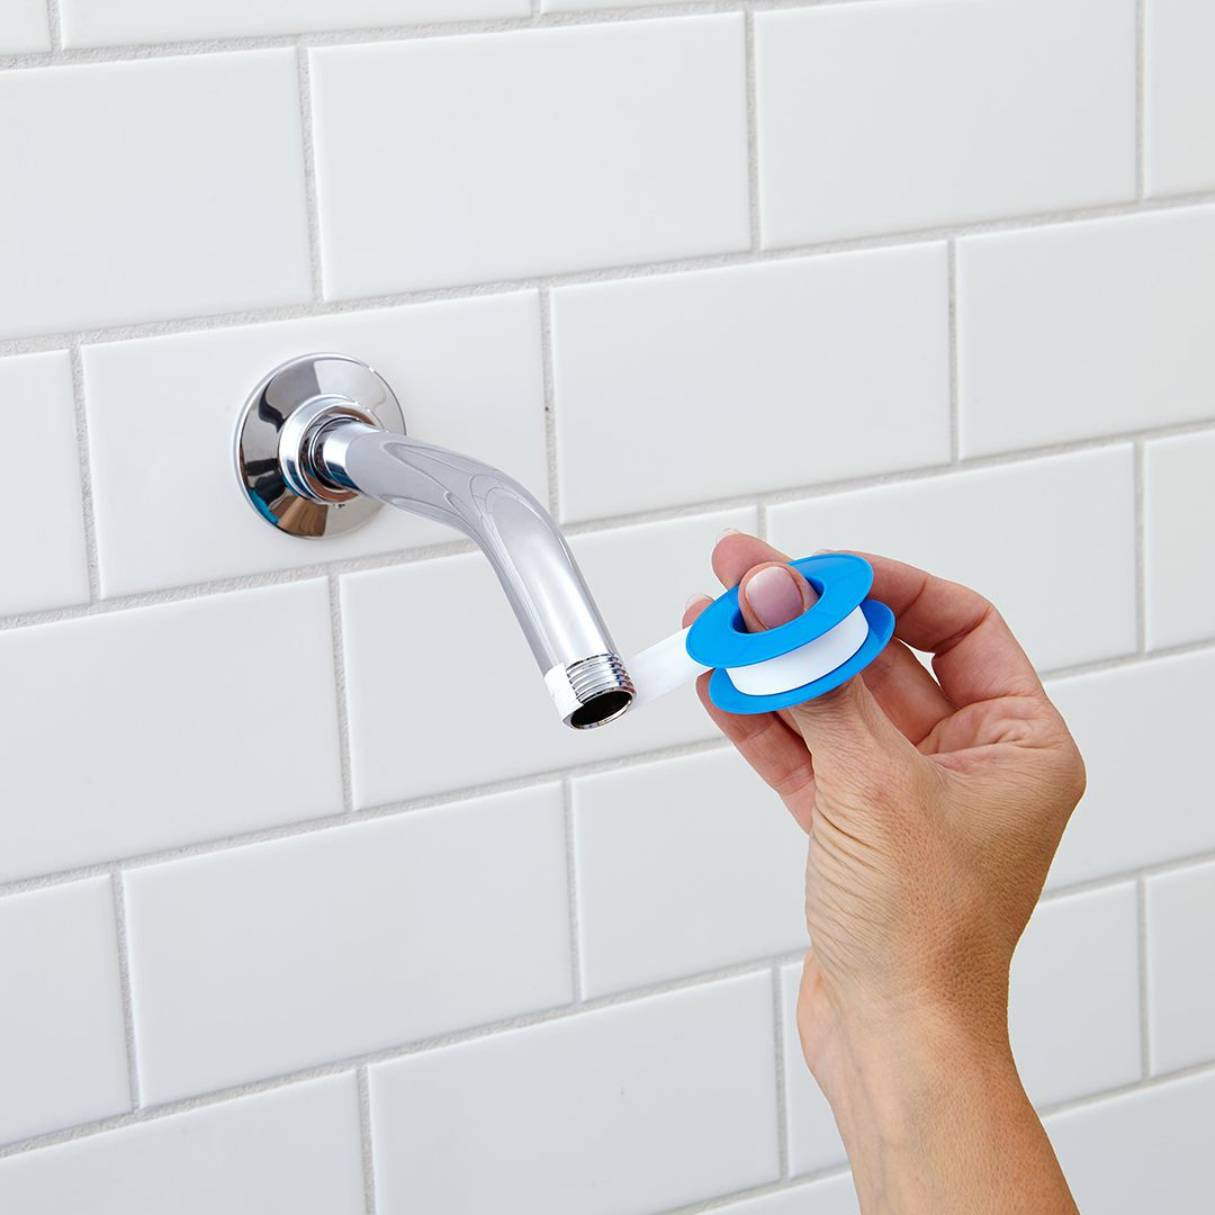
It’s important to note that whichever tape you choose, make sure to wrap it in a clockwise direction around the shower arm thread to ensure a tight seal. This ensures that the tape doesn’t unwind as you screw on the showerhead, providing a secure and watertight connection.
Now that you know the types of tape available, let’s move on to the next section, where we will provide a step-by-step guide on how to install a showerhead using tape.
When installing a new showerhead, use Teflon tape on the threads to create a tight seal and prevent leaks. This will ensure a secure and long-lasting installation.
Step-by-Step Guide to Installing a Showerhead with Tape
Installing a showerhead with tape is a straightforward process that can be completed in just a few simple steps. Follow this step-by-step guide to ensure a successful installation:
- Prepare the shower arm: Start by cleaning the shower arm thread to remove any debris or old tape. Use a clean cloth or brush to wipe away any dirt or residue.
- Apply the tape: Take the chosen tape, whether it’s plumber’s tape or silicone tape, and begin wrapping it clockwise around the threads of the shower arm. Make sure to apply the tape tightly and evenly, covering the entire thread surface with at least 3-4 layers of tape. This will create a secure and watertight seal.
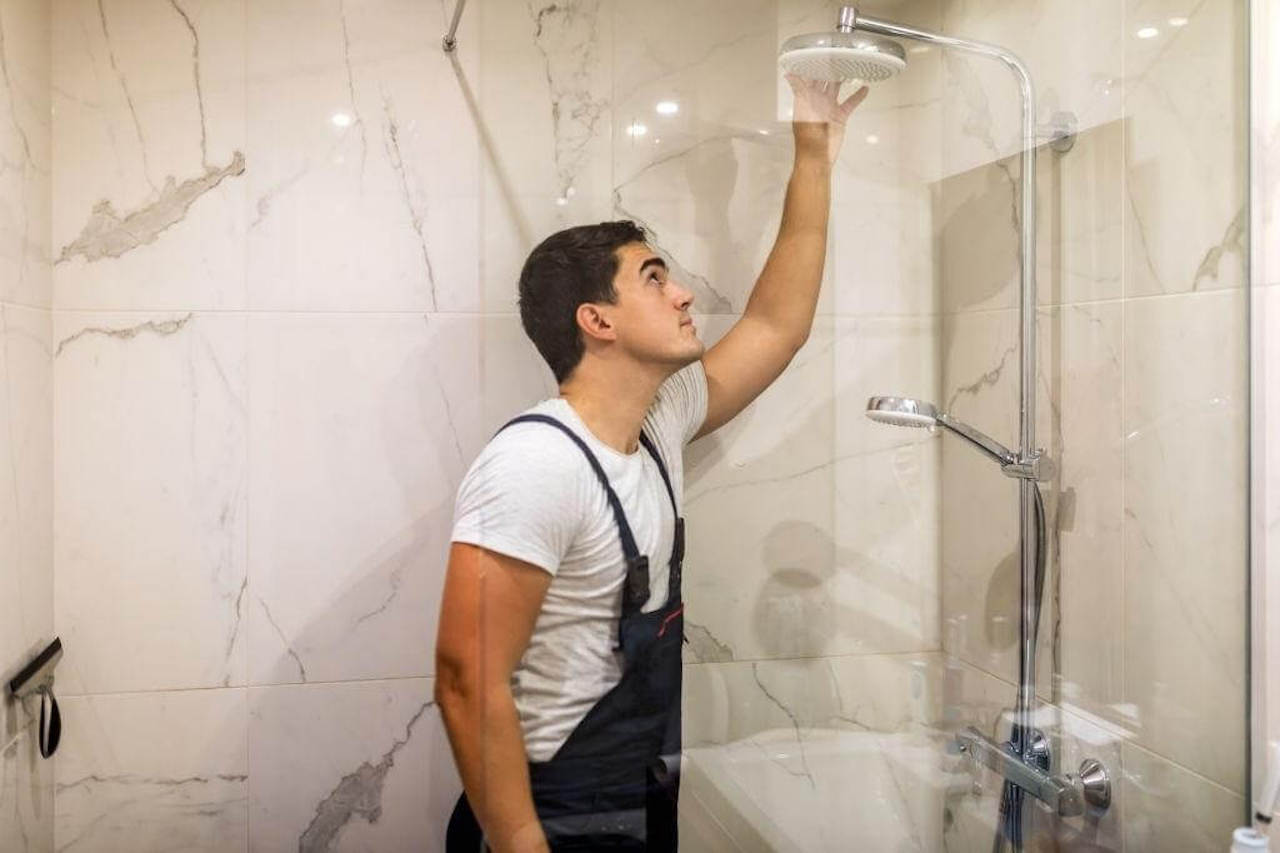
- Screw on the showerhead: Carefully screw the showerhead onto the shower arm, turning it clockwise. Start by hand-tightening it, then use a wrench or pliers to gently tighten it a bit more. Be cautious not to over-tighten, as it can damage the showerhead or cause leaks.
- Test for leaks: Once the showerhead is securely in place, turn on the water to test for any leaks. If you notice any leaks, gently tighten the showerhead a little more. If the leaks persist, you may need to reapply the tape or try a different sealing method.
- Adjust the angle: After confirming that there are no leaks, adjust the angle of the showerhead to ensure optimal positioning for your showering preferences.
- Enjoy your new showerhead: With the showerhead properly installed and sealed using tape, you can now enjoy a refreshing and leak-free showering experience.
Remember, following these steps will help ensure a successful installation. It’s important to take your time, apply the tape properly, and check for leaks to avoid any potential issues down the line.
Now that you are familiar with the installation process, let’s move on to some additional tips that can help you achieve an even better outcome.
Additional Tips for a Successful Installation
While the step-by-step guide we provided earlier should help you install your showerhead with tape effectively, here are some additional tips to ensure a successful and long-lasting installation:
- Clean the shower arm: Before applying the tape, make sure to clean the shower arm thread thoroughly. Removing any debris or old tape will ensure a clean surface for the tape to adhere to, resulting in a better seal.
- Wrap the tape correctly: When applying the tape, remember to wrap it in a clockwise direction around the threads. This ensures that it doesn’t unravel as you screw on the showerhead and provides a secure and watertight seal.
- Use the right amount of tape: To ensure a tight seal, apply at least 3-4 layers of tape to the shower arm thread. This will provide ample protection against leaks without compromising the fitting of the showerhead.
- Avoid over-tightening: When screwing on the showerhead, be cautious not to over-tighten it. Over-tightening can damage the showerhead or cause leaks. Hand-tightening, followed by a gentle additional tightening with a wrench or pliers, should be sufficient.
- Check for leaks: After the installation is complete, it’s important to test for any leaks. Turn on the water and inspect the connections carefully. If you notice any leaks, tighten the showerhead slightly. If the leaks persist, consider reapplying the tape or seeking professional assistance.
- Maintain the showerhead: Regularly clean and maintain your showerhead to ensure its performance and longevity. Remove any mineral deposits or debris that may accumulate over time, as they can affect water flow and cause leaks.
- Consider professional installation: If you are unsure about the installation process or encounter any difficulties, it’s always a good idea to seek assistance from a professional plumber. They have the expertise and tools necessary to ensure a secure and leak-free installation.
By following these additional tips, you can enhance the effectiveness of your showerhead installation and enjoy a worry-free showering experience.
Now that you have all the necessary information, it’s time to put it into practice and install your showerhead with confidence!
Read more: How To Install A Hascon Showerhead
Conclusion
Installing a showerhead with tape is a simple yet effective method to ensure a secure and leak-free connection. By using the appropriate tape and following the step-by-step guide we provided, you can enjoy a hassle-free showering experience while preventing any potential water damage.
The benefits of using tape during the installation process are numerous. It helps prevent leaks, improves water efficiency, and enhances the durability of your showerhead. With the right tape choice, such as plumber’s tape or silicone tape, you can create a watertight seal that withstands constant use and the effects of moisture and temperature changes.
Remember to clean the shower arm thread thoroughly, wrap the tape correctly in a clockwise direction, and avoid over-tightening the showerhead. Testing for leaks and maintaining your showerhead regularly are essential steps to ensure its optimal performance over time.
If you ever encounter difficulties during the installation process or have any concerns, don’t hesitate to seek assistance from a professional plumber. They have the expertise to handle any challenges and provide you with a secure and reliable showerhead installation.
Now that you have learned the benefits of using tape, the types of tape suitable for this application, the step-by-step installation guide, and additional tips for success, you are well-equipped to install a showerhead with confidence. Enjoy the peace of mind that comes with a properly installed showerhead, knowing that you have taken the necessary steps to prevent any unwanted leaks or issues.
So go ahead, upgrade your showering experience, and make use of tape during your showerhead installations. You’ll be rewarded with a refreshing and worry-free shower every time.
Frequently Asked Questions about How To Use Tape When Installing Showerhead
Was this page helpful?
At Storables.com, we guarantee accurate and reliable information. Our content, validated by Expert Board Contributors, is crafted following stringent Editorial Policies. We're committed to providing you with well-researched, expert-backed insights for all your informational needs.

0 thoughts on “How To Use Tape When Installing Showerhead”