Articles
How To Whitewash A Brick Fireplace
Modified: January 9, 2024
Learn how to white wash your fireplace brick with these helpful articles. Transform your space with this simple DIY project.
(Many of the links in this article redirect to a specific reviewed product. Your purchase of these products through affiliate links helps to generate commission for Storables.com, at no extra cost. Learn more)
Introduction
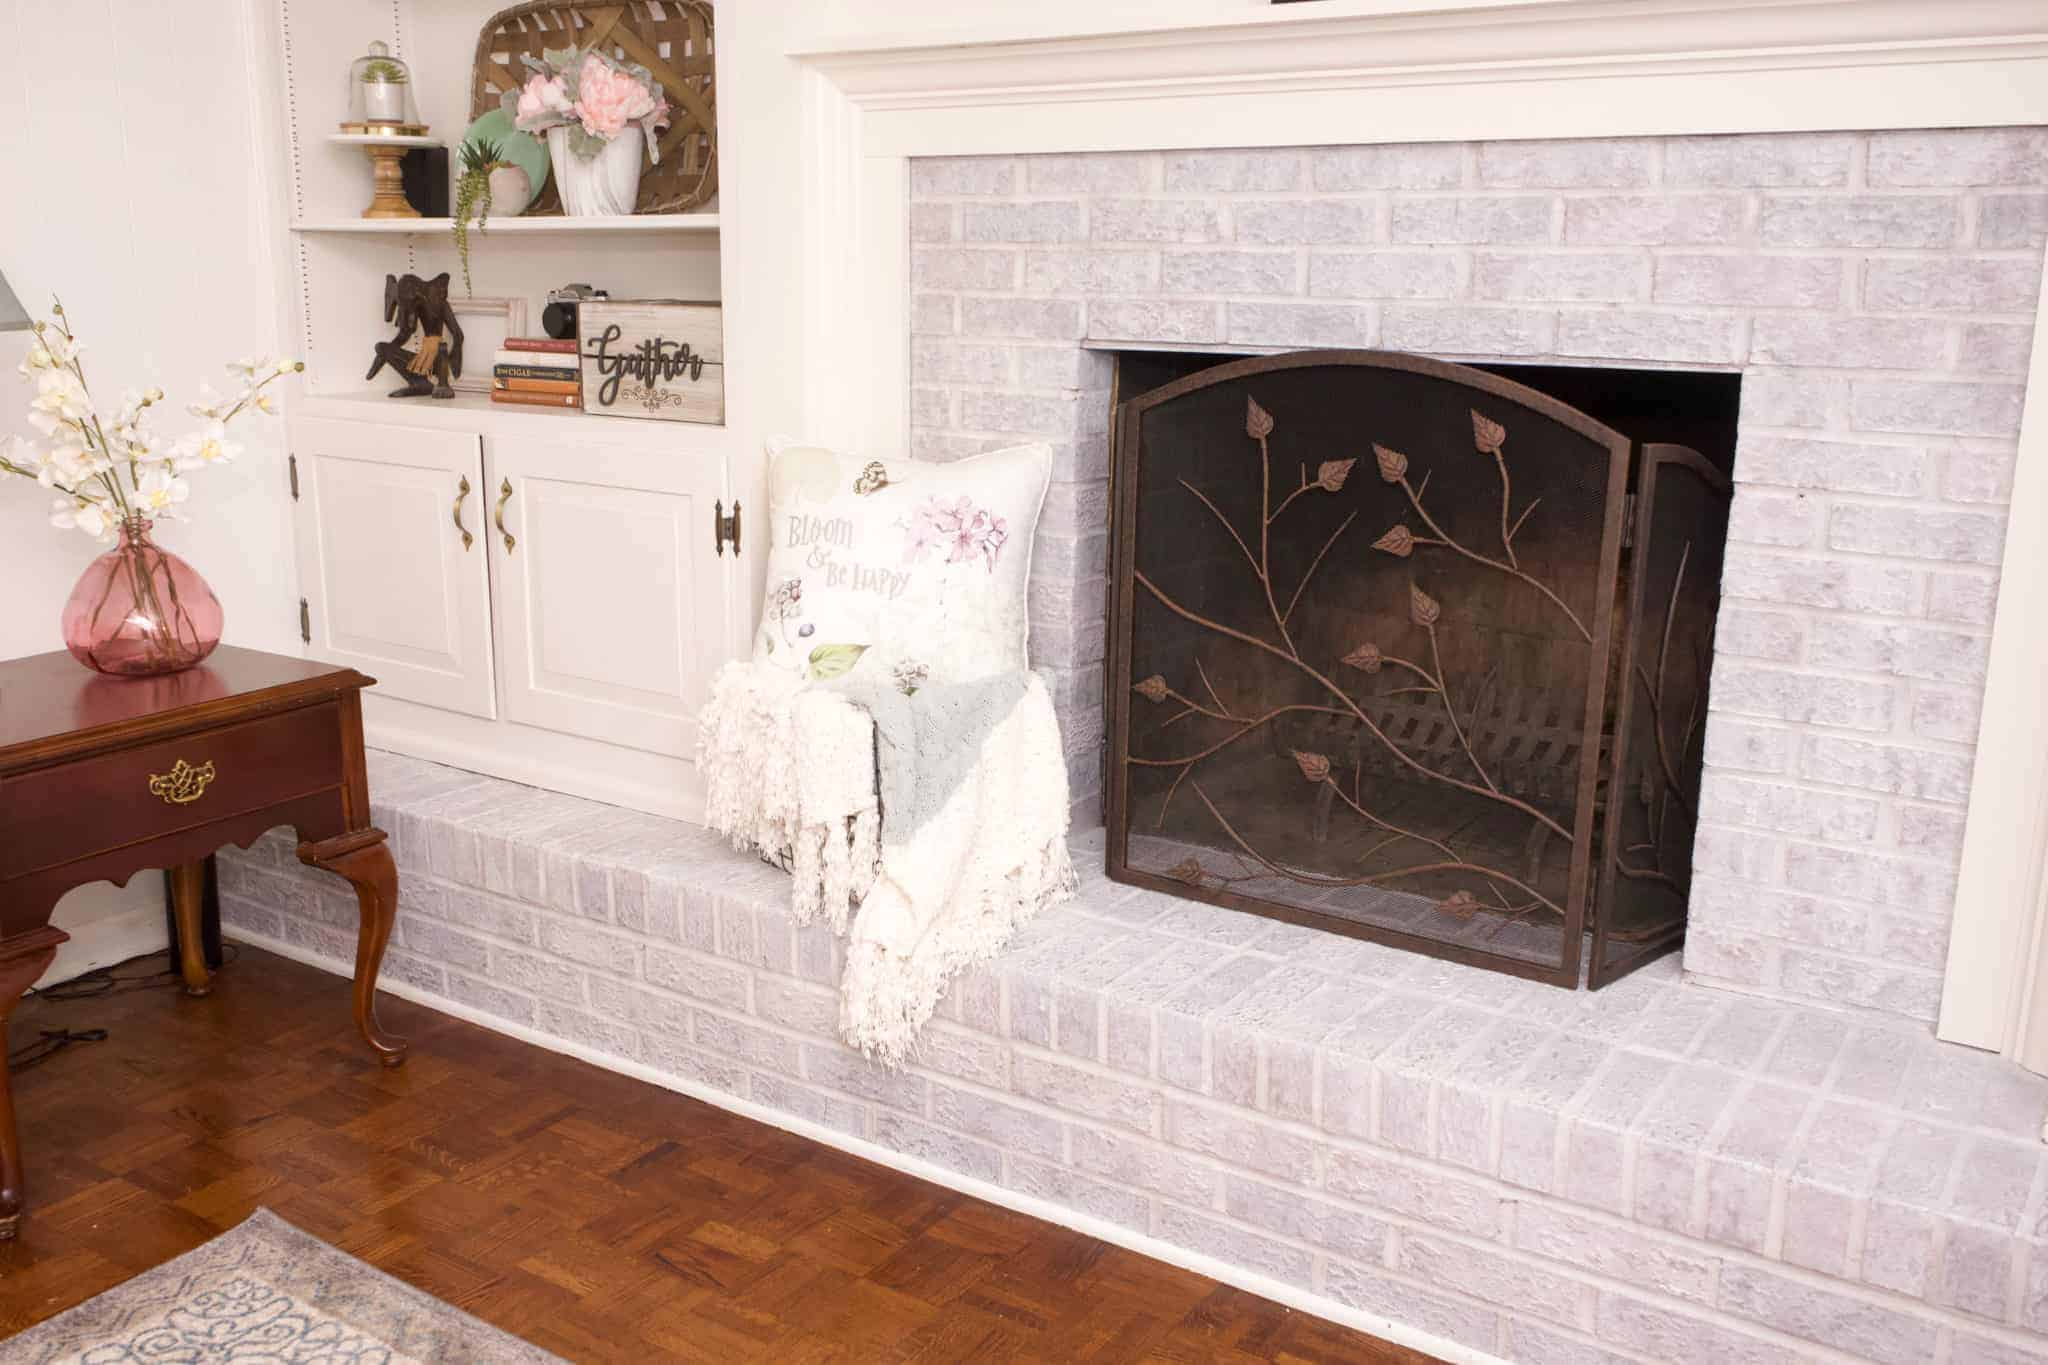
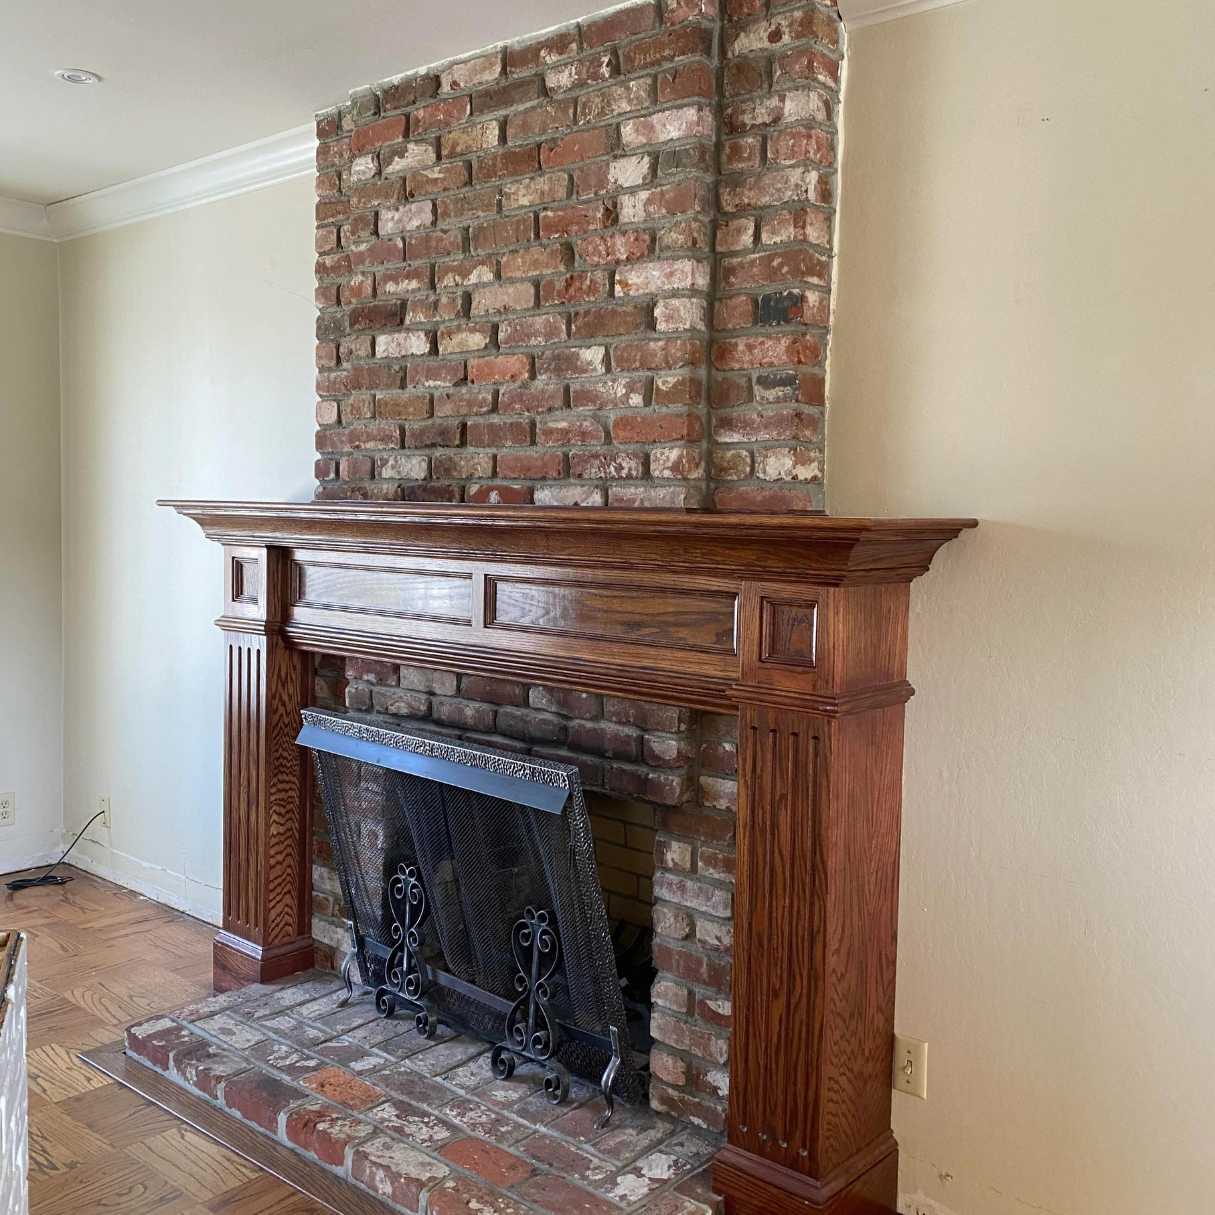
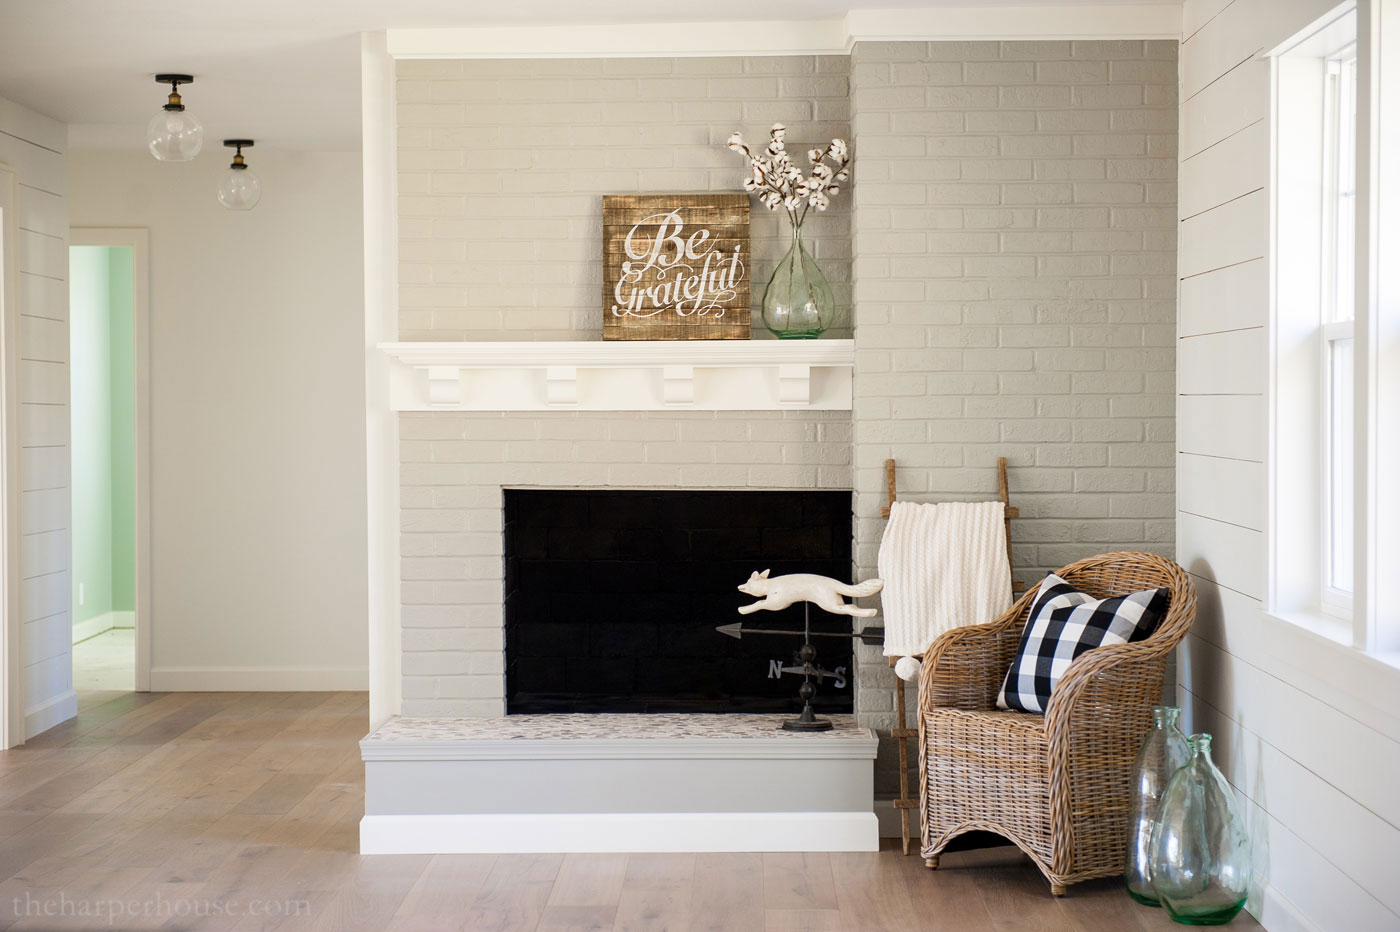
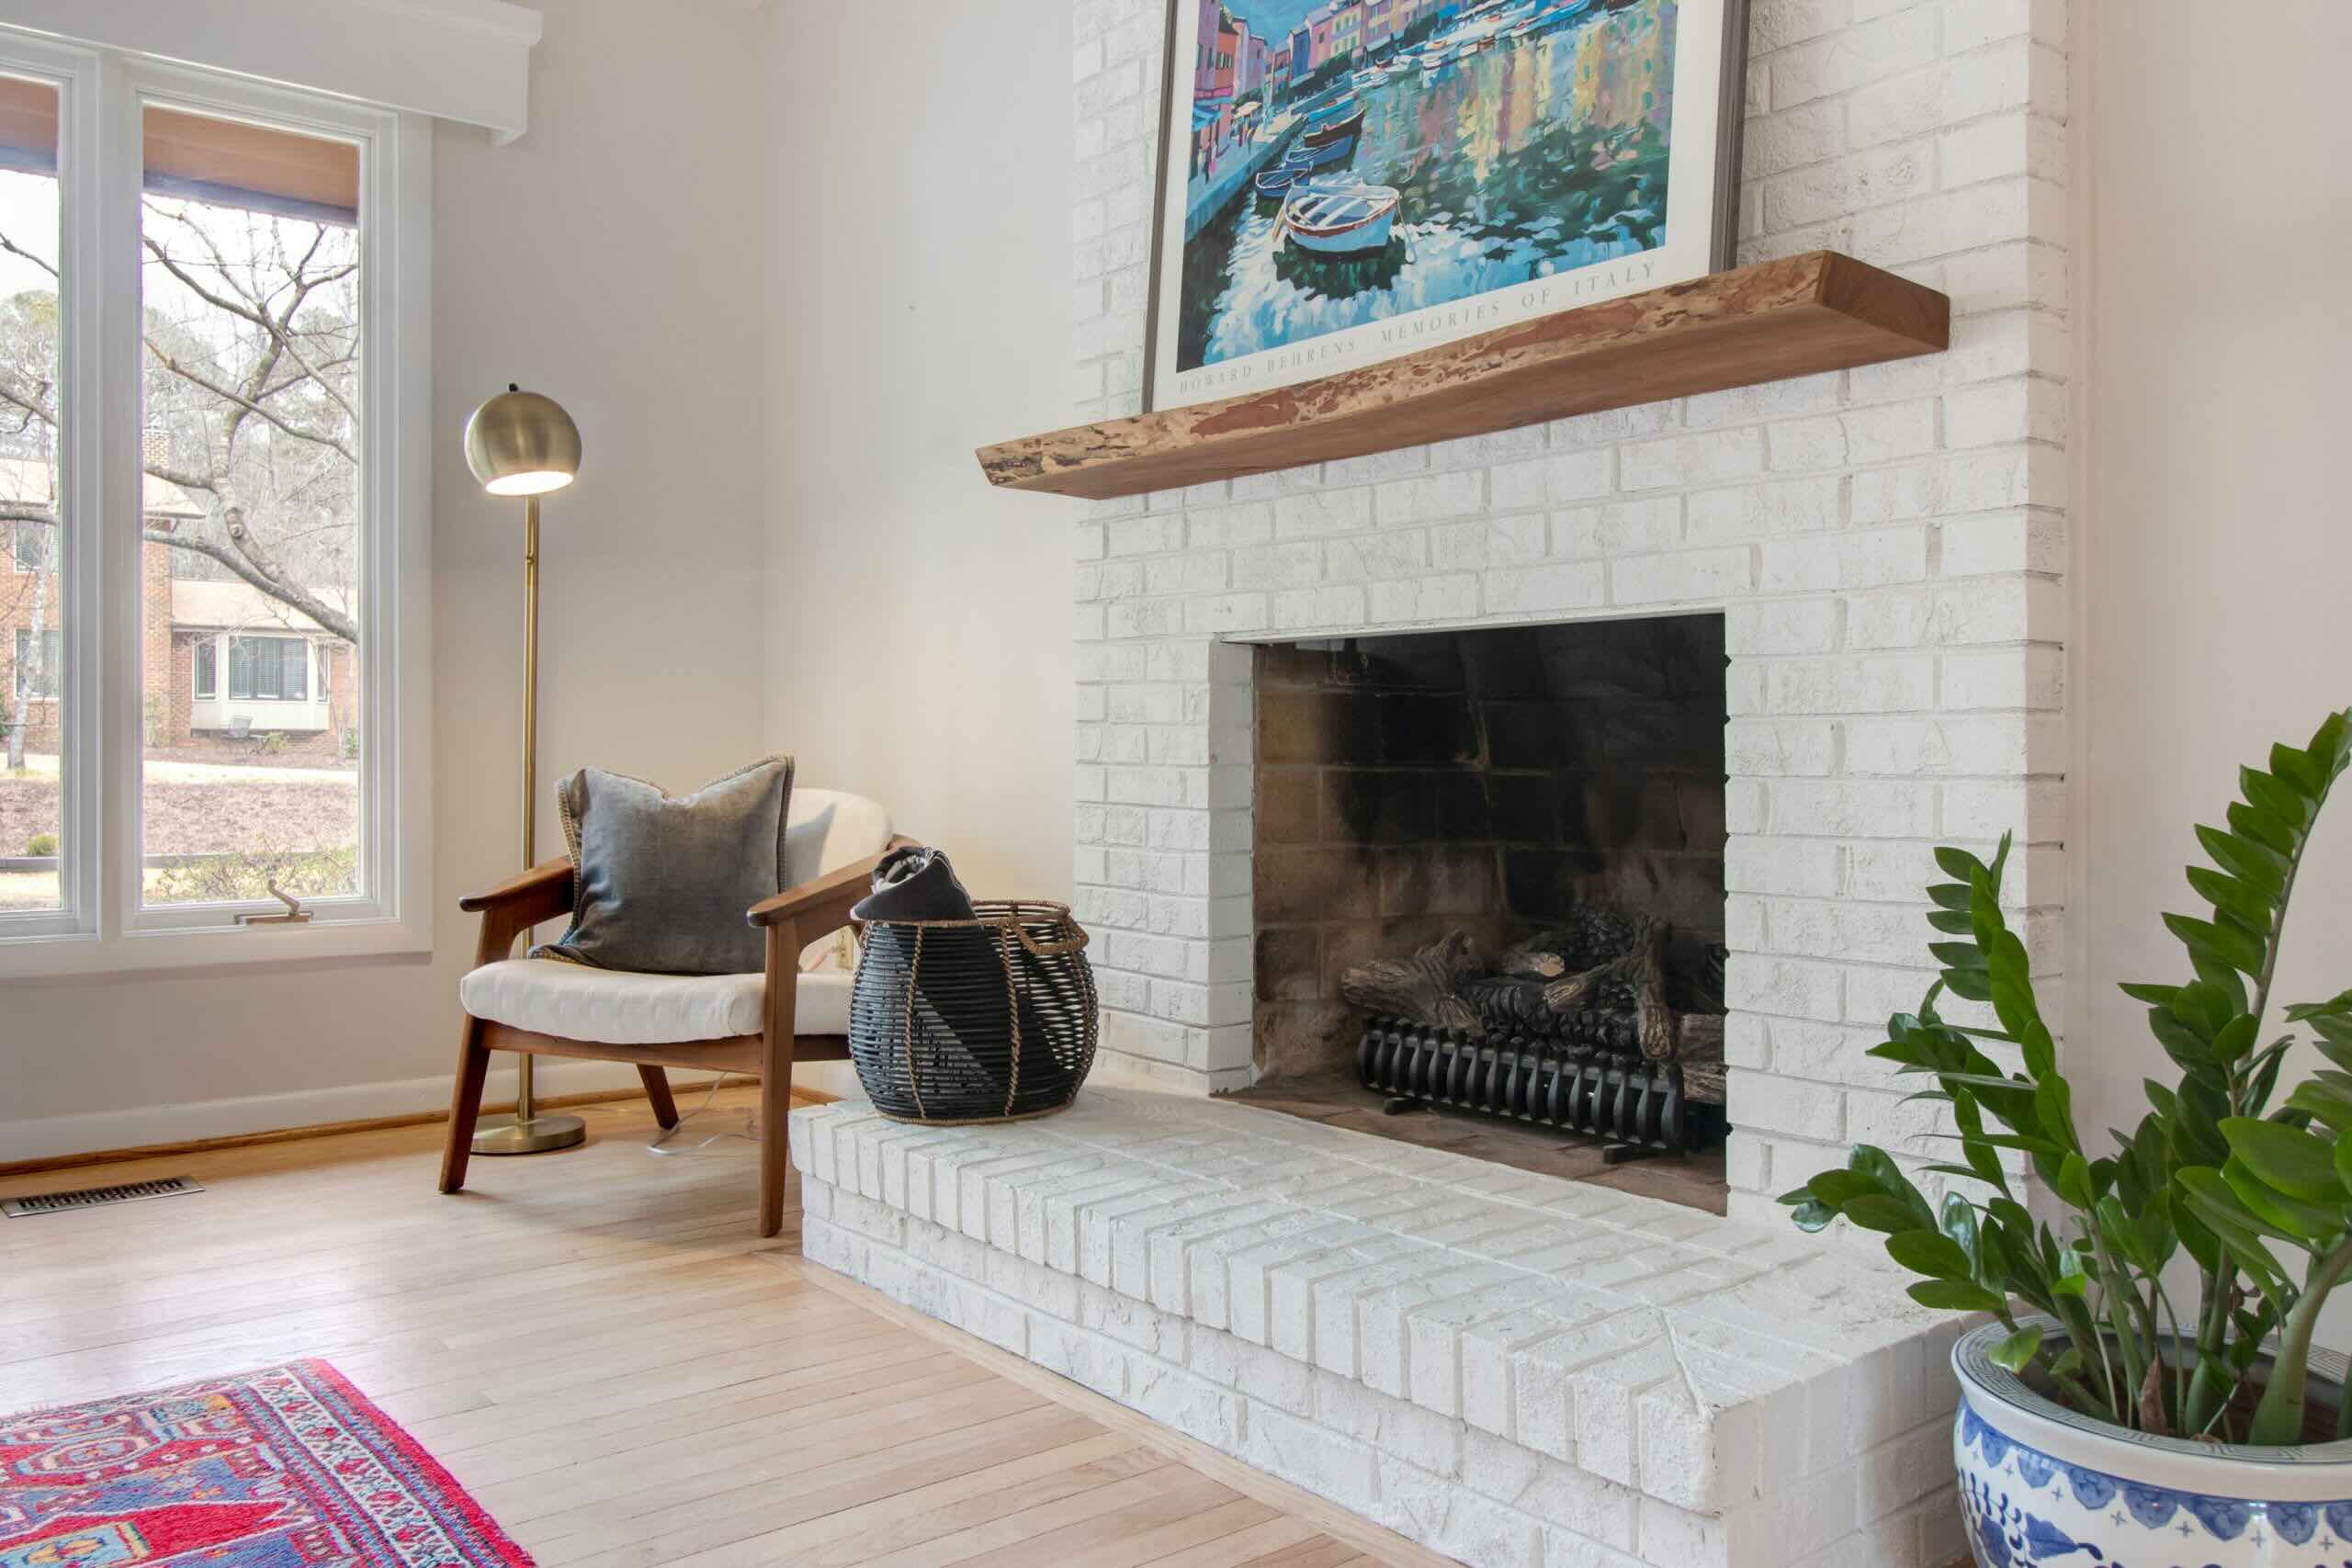
Welcome to our guide on how to white wash fireplace brick. If you’re tired of the old, outdated look of your brick fireplace, white washing can be a simple and cost-effective way to give it a fresh, modern makeover. This technique adds a beautiful, whitewashed finish to the brick while still allowing its natural texture and character to shine through.
White washing is a popular choice for those who want to lighten the appearance of their fireplace without completely covering up the brick. It creates a lovely, rustic look that can complement a variety of interior design styles, from farmhouse to coastal to Scandinavian.
In this article, we will walk you through the step-by-step process of white washing your fireplace brick. We will also provide a list of materials you’ll need and offer some tips and tricks to achieve the best results. So, let’s get started on transforming your brick fireplace!
Key Takeaways:
- Transform your outdated brick fireplace into a modern masterpiece with a simple and cost-effective white washing technique that preserves its natural texture and character.
- Achieve a stunning, contemporary look for your fireplace by following the step-by-step process, from preparing the brick and mixing the whitewash solution to adding optional coats and sealing for added protection.
Read more: How To Whitewash A Brick Fireplace
Materials Needed
Before you begin white washing your fireplace brick, gather the following materials:
- A bucket or container for mixing the whitewash solution
- White latex paint (flat or matte finish)
- Water
- A paintbrush or roller
- Drop cloths or plastic sheets to protect the surrounding area
- A scrub brush or wire brush
- Sandpaper or sanding block
- A clean cloth or sponge
- Painter’s tape (optional)
- Sealer (optional)
Make sure you have all these materials on hand before you begin. Additionally, wearing protective gloves and goggles can help prevent any paint or solution from getting on your skin or in your eyes.
Now that you have everything you need, let’s move on to the next step in the process: preparing the fireplace.
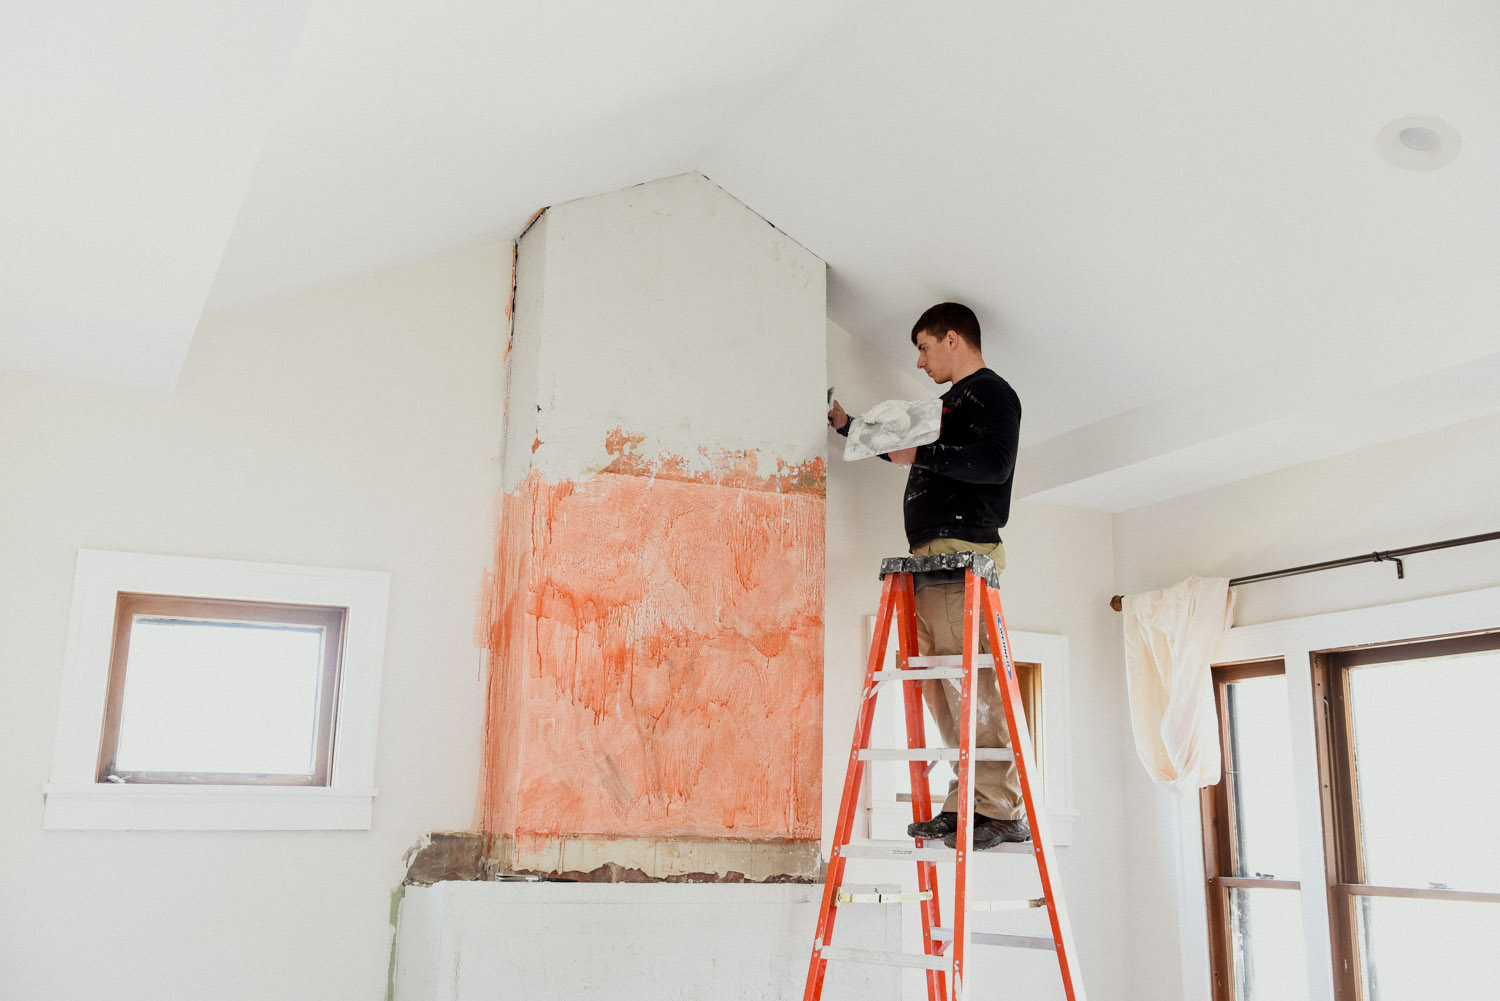
Step 1: Preparing the Fireplace
Before you start the white washing process, it’s important to properly prepare your fireplace.
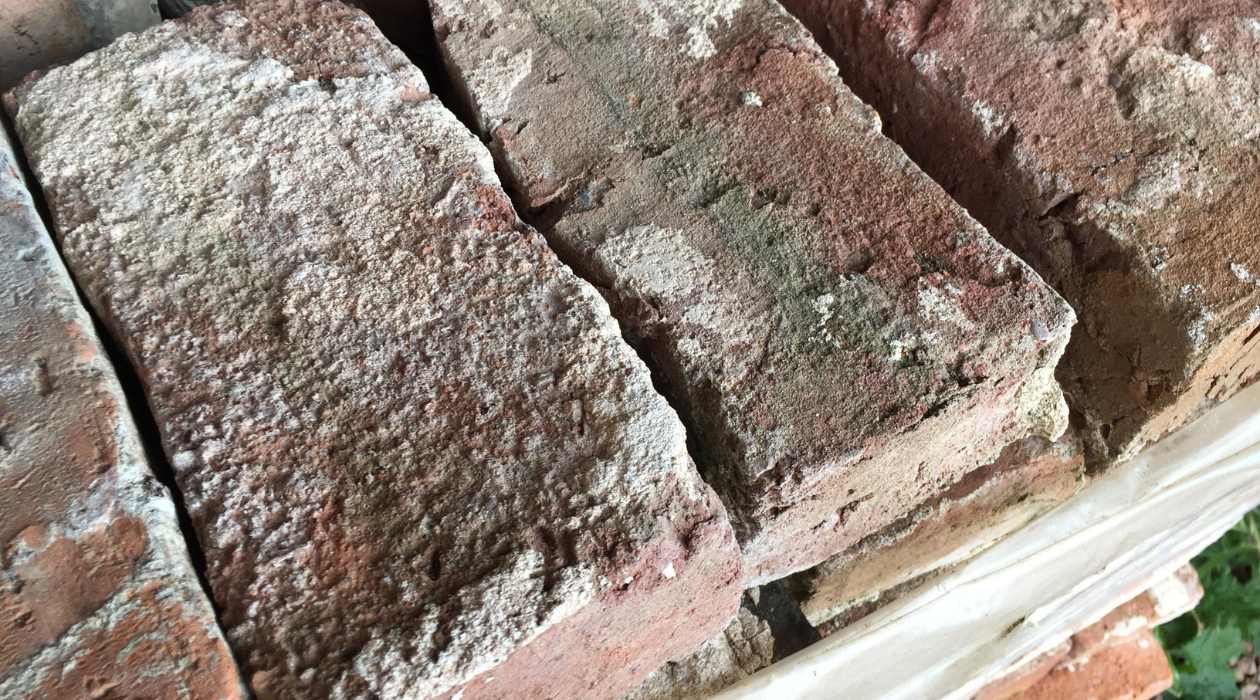
- Clean the brick: Begin by removing any dirt, dust, or soot from the brick surface. Use a scrub brush or wire brush to gently scrub away any stubborn stains or residue. If your brick has loose mortar, you may need to use a sanding block to smooth it out. Once the brick is clean and dry, you’re ready to move on to the next step.
- Protect the surrounding area: Cover the floor and any nearby furniture or objects with drop cloths or plastic sheets to protect them from any drips or splatters.
- Tape off any areas: If there are any areas adjacent to the brick that you don’t want to get whitewash on, such as the mantel or trim, use painter’s tape to cover and protect them.
By taking the time to properly prepare the fireplace, you’ll ensure that the white wash adheres well to the brick and that you have a clean and neat working environment.
Now that your fireplace is prepped and ready, let’s move on to the next step: mixing the whitewash solution.
Step 2: Mixing the Whitewash Solution
Now that your fireplace is prepped, it’s time to mix the whitewash solution. This solution is what will give the brick its whitewashed look while still allowing its natural texture to show through.
Here’s how to mix the whitewash solution:
- Start with a base: In a bucket or container, pour a small amount of white latex paint. This will serve as the base for your whitewash solution.
- Add water: Gradually add water to the paint while stirring continuously. The amount of water you add will depend on how opaque or transparent you want the whitewash to be. Start with equal parts paint and water and adjust as needed.
- Stir well: Mix the paint and water together thoroughly until you have a smooth and consistent solution. It should be thin enough to easily apply but thick enough to cling to the brick.
It’s important to note that the whitewash solution is not a precise formula, and you can adjust the ratios of paint and water to achieve your desired effect. Feel free to experiment with different consistencies until you achieve the look you want.
With your whitewash solution mixed and ready, it’s time to move on to the next step: applying the whitewash solution to the brick.
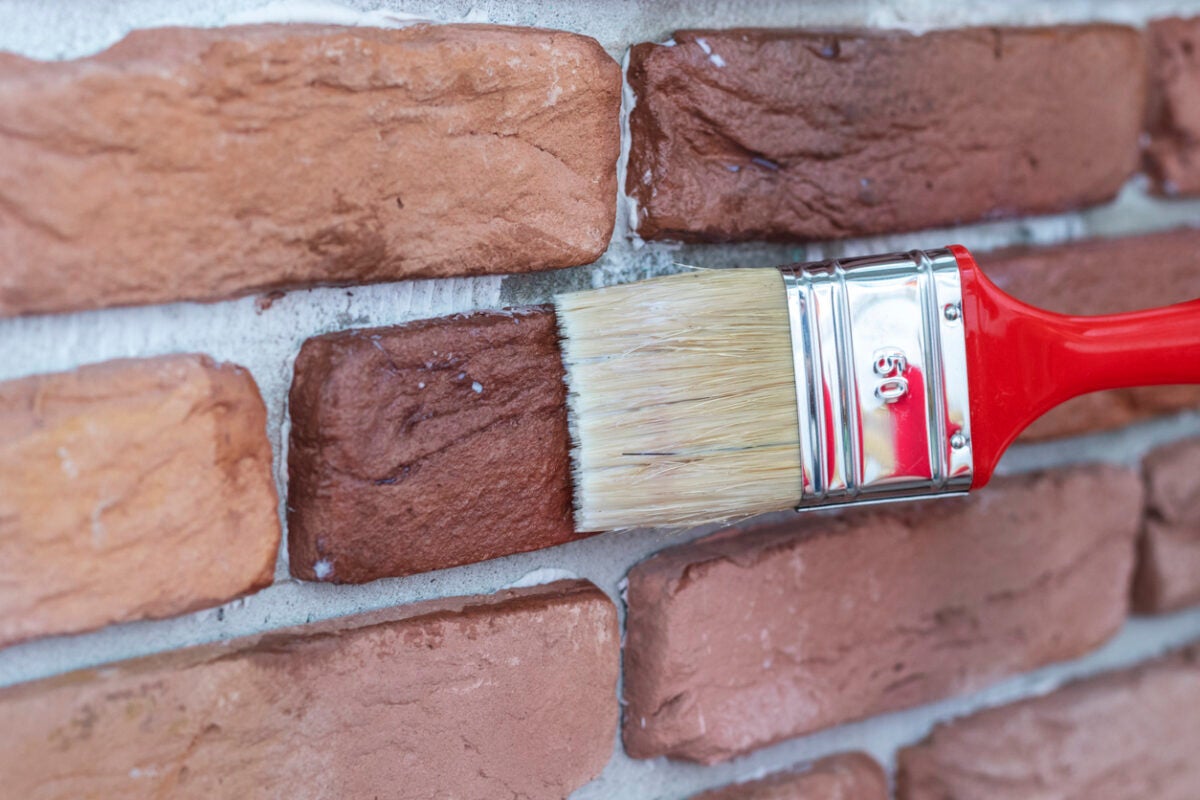
Before whitewashing fireplace brick, make sure to clean the surface thoroughly to remove any dirt, soot, or debris. This will ensure that the whitewash adheres properly and gives a smooth finish.
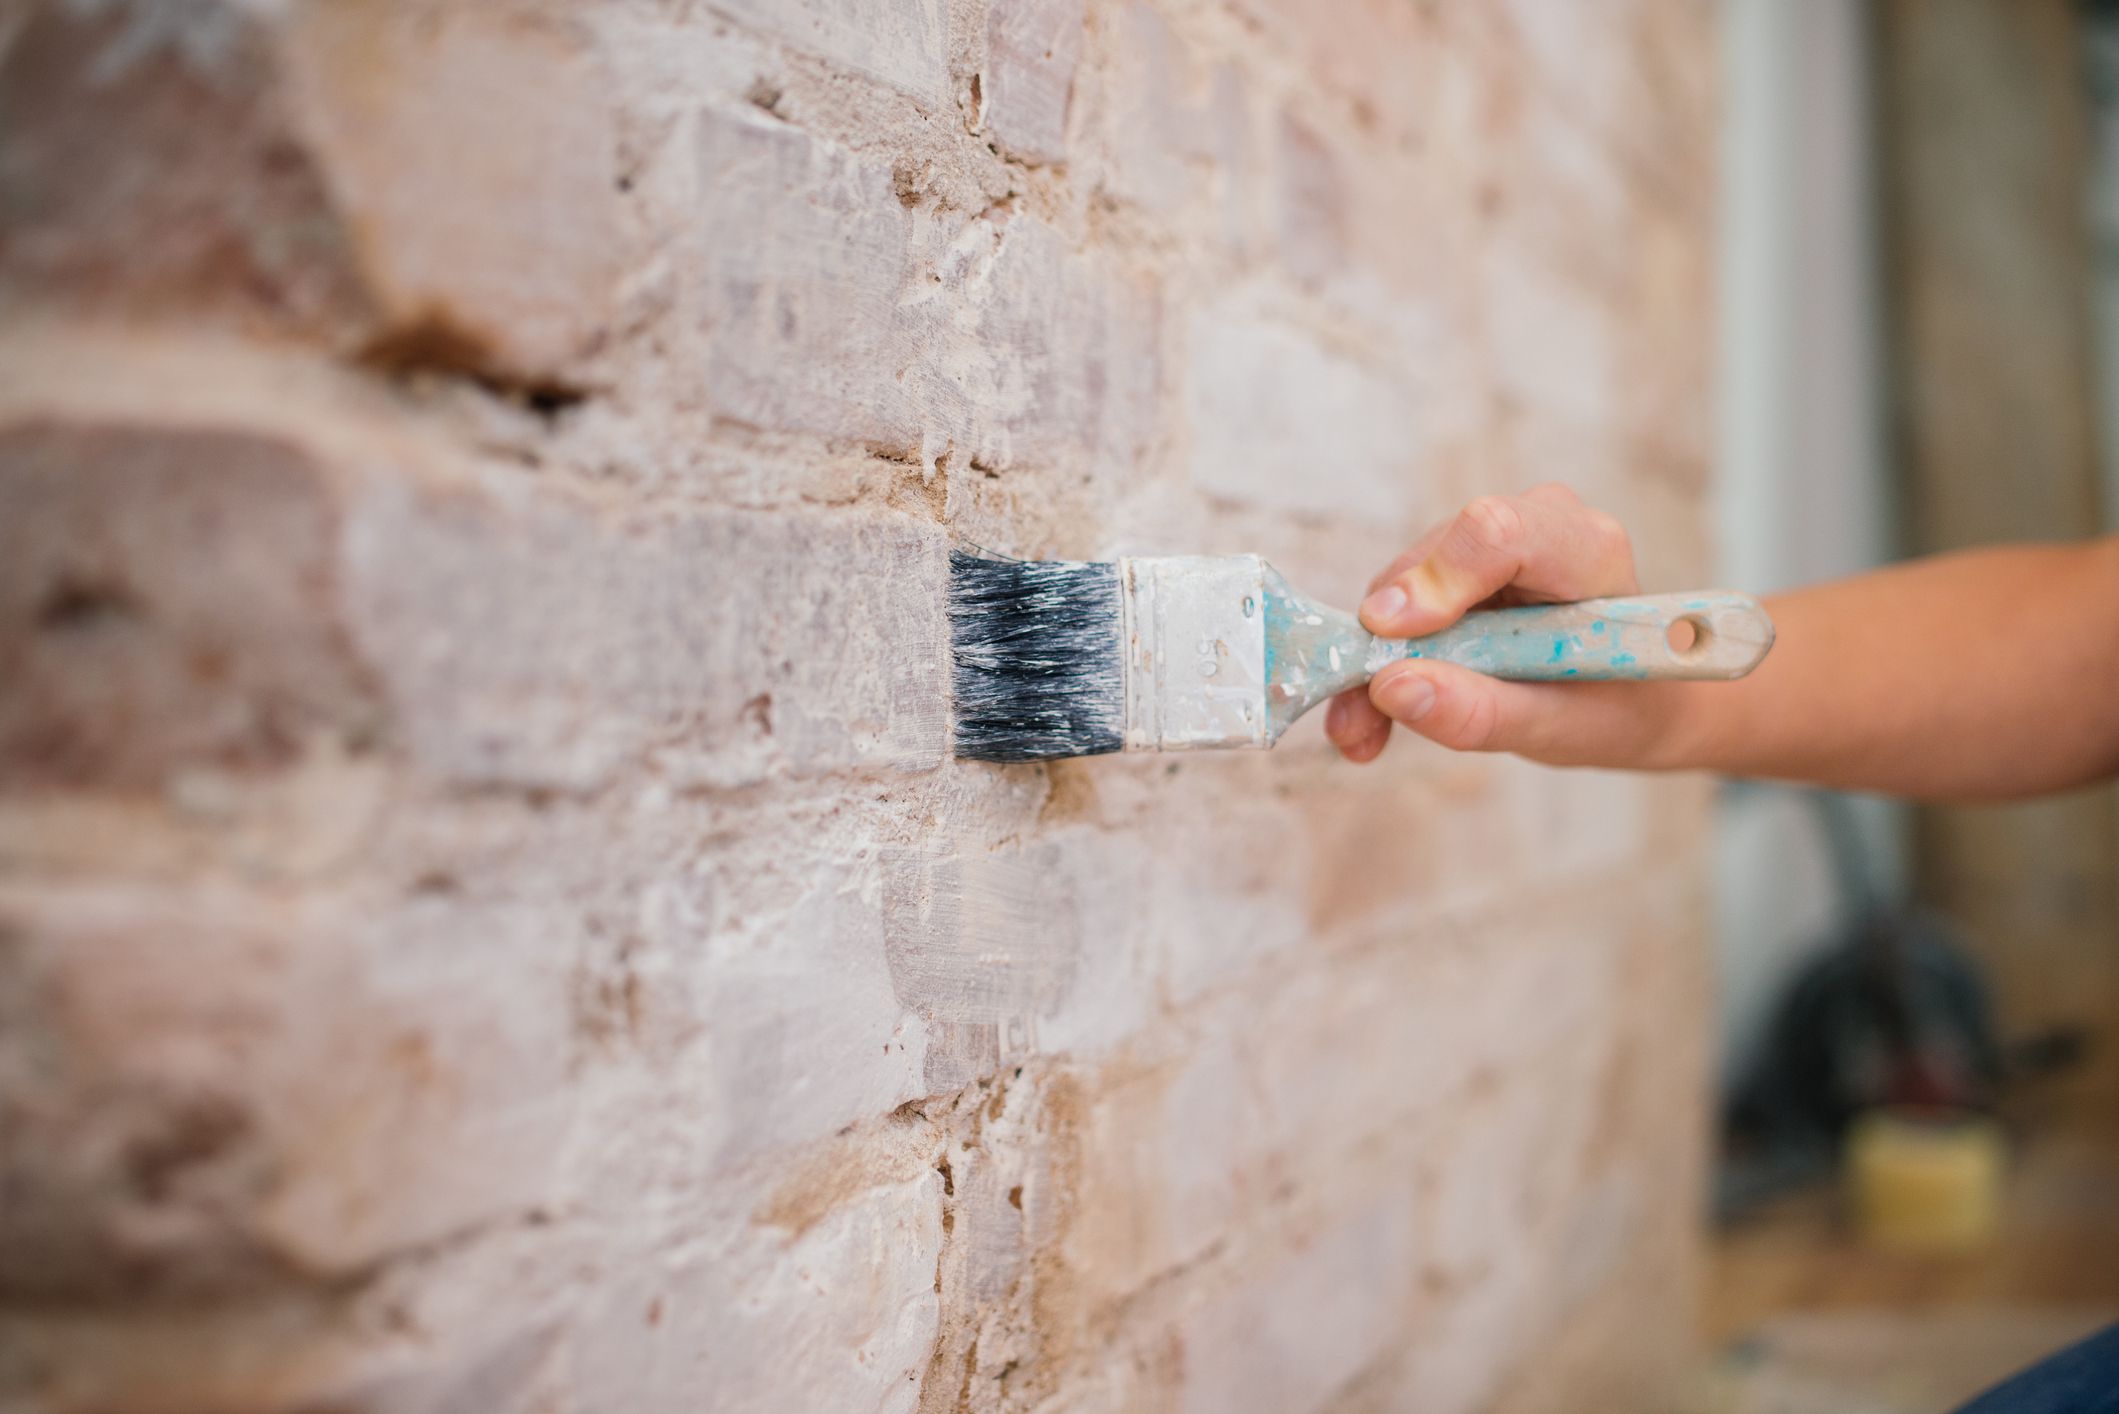
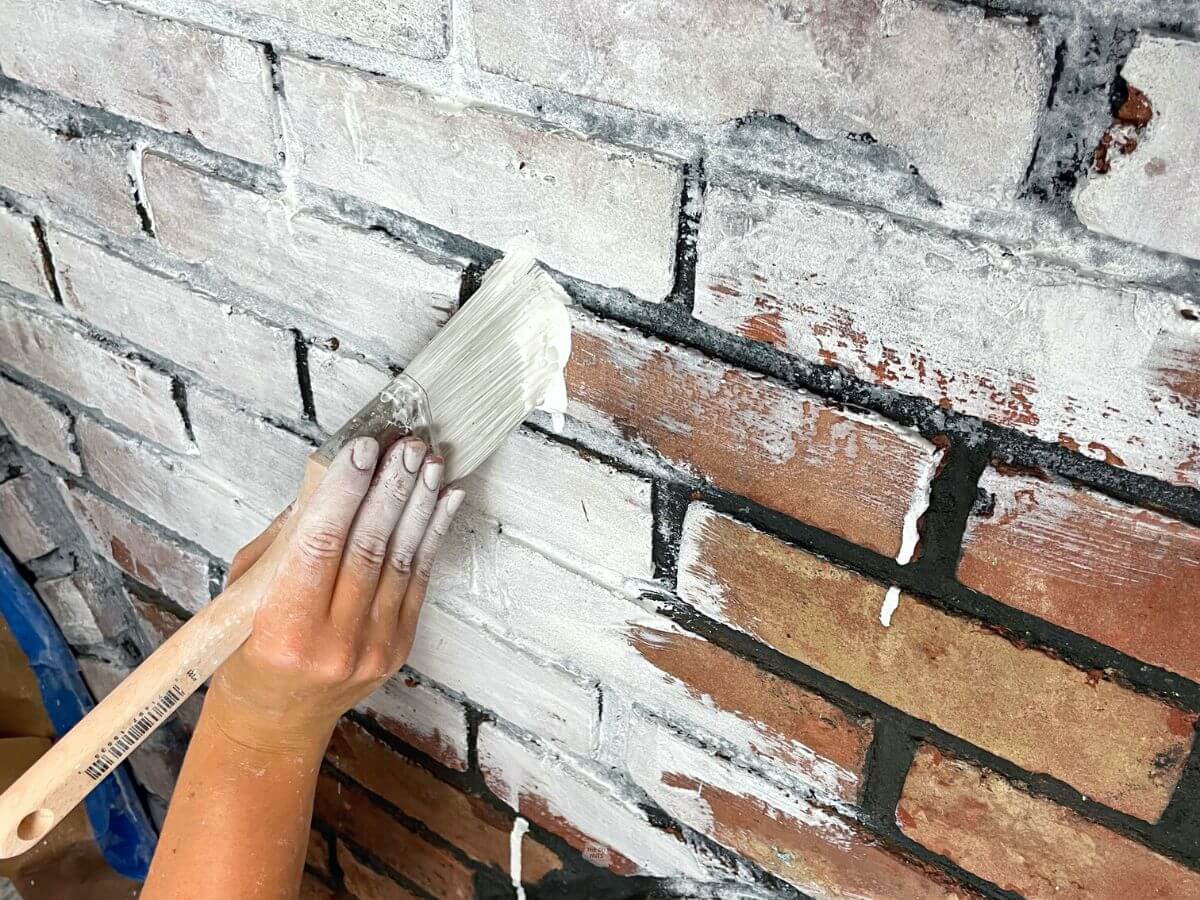
Step 3: Applying the Whitewash Solution
With your whitewash solution mixed and prepared, it’s time to apply it to the brick and achieve that beautiful whitewashed look. Here’s how you can do it:
- Start from the top: Begin applying the whitewash solution on the topmost part of the brick and work your way down. This will prevent any drips from ruining your progress.
- Use a paintbrush or roller: Depending on your preference and the texture of the brick, you can use either a paintbrush or roller to apply the whitewash. A paintbrush will allow for more control and precision, while a roller can cover larger areas faster.
- Apply in sections: Work in small sections, applying the whitewash solution evenly across the brick’s surface. Apply with broad strokes, following the natural lines and texture of the brick.
- Wipe off excess: After applying the whitewash, use a clean cloth or sponge to gently wipe off any excess solution. This will help create a more subtle and blended look.
- Allow for drying time: Let the whitewash solution dry for a few hours or overnight. This will give it time to settle and adhere to the brick.
Remember, the goal is to achieve a whitewashed look that still allows the natural texture and character of the brick to show through. Don’t worry if the coverage is not completely uniform or if some areas show more brick than others – this is part of the charm of a whitewashed fireplace.
Once you have finished applying the whitewash solution, it’s time to move on to the next step: adding additional coats (optional).
Read more: How To Whitewash A Stone Fireplace
Step 4: Adding Additional Coats (Optional)
Adding additional coats of whitewash to your fireplace brick can enhance the depth and intensity of the whitewashed look. While it is optional, applying multiple coats can help achieve a more solid and opaque finish. Here’s how you can do it:
- Assess the first coat: Once the initial coat of whitewash has dried, take a step back and evaluate the overall look. If you’re satisfied with the level of coverage and the whitewashed effect, you can move on to the next step. If you prefer a more solid finish, proceed with adding additional coats.
- Repeat the application process: Using the same technique as before, apply subsequent coats of whitewash to the brick, following the same steps of starting from the top and working your way down, using a paintbrush or roller, and applying in small sections.
- Allow for drying time: Just like with the first coat, let each additional coat of whitewash dry for a few hours or overnight before applying the next one. This will ensure proper adhesion and a smooth final result.
By adding multiple coats, you can achieve a more solid and uniform whitewash finish. However, keep in mind that adding more coats will also make the brick appear whiter and cover up more of its natural texture. Strike a balance that suits your aesthetic preferences.
Once you have completed the desired number of coats, it’s time to consider the final step: sealing the whitewashed brick (optional).
Step 5: Sealing the Whitewashed Brick (Optional)
After completing the whitewashing process, you have the option to seal the whitewashed brick. Sealing can provide added protection to the finish and make it easier to clean and maintain. Here’s how you can seal the whitewashed brick:
- Choose the right sealer: Select a clear sealer specifically designed for masonry or brick surfaces. Make sure it is compatible with the type of paint used for the whitewash.
- Read and follow the instructions: Before applying the sealer, carefully read the instructions provided by the manufacturer. Follow the recommended application and drying times for the best results.
- Apply the sealer: Using a brush or roller, apply a thin and even coat of the sealer to the whitewashed brick. Be sure to cover all surfaces, including the mortar joints.
- Allow for drying and curing: Let the sealer dry and cure according to the manufacturer’s instructions. This time may vary depending on the specific product used.
- Enjoy your sealed whitewashed brick: Once the sealer has fully cured, your whitewashed brick will have an added layer of protection, making it easier to clean and maintain.
Sealing the whitewashed brick is optional but recommended, especially in high-traffic areas or if you anticipate frequent cleaning. It helps extend the lifespan of the whitewashed finish and keeps it looking fresh for longer.
Congratulations! You have successfully completed the whitewashing process and, if desired, sealed your whitewashed brick. Step back and admire the transformation of your fireplace into a beautiful focal point that enhances the atmosphere and style of your space.
If you followed all the steps and tips in this guide, your whitewashed brick fireplace should now have a stunning, contemporary look while still preserving its natural charm. Enjoy the cozy and inviting ambiance it brings to your home!
Conclusion
White washing your fireplace brick is a fantastic way to update the look of your living space and add a touch of modern charm. It’s a simple and cost-effective DIY project that can completely transform the appearance of your fireplace without losing the natural beauty and texture of the brick.
In this guide, we have provided you with a step-by-step process to successfully white wash your fireplace brick. From preparing the fireplace and mixing the whitewash solution to applying the solution and adding additional coats (if desired), we have covered all the necessary steps to achieve a beautiful whitewashed finish.
Remember, the key to a successful white wash is finding the right balance between coverage and the natural texture of the brick. It’s perfectly okay if some areas show more brick than others. This variation adds to the character and rustic charm of the whitewashed fireplace.
If you want to protect and prolong the life of your whitewashed brick, you have the option to seal it with a clear masonry sealer. This step is optional but highly recommended, as it provides added protection and makes cleaning and maintenance easier.
Now that you have completed the white washing process and, if desired, sealed your whitewashed brick, it’s time to sit back, relax, and enjoy the cozy and inviting ambiance your newly transformed fireplace brings to your space.
We hope this guide has inspired and empowered you to take on the task of white washing your fireplace brick. It’s a rewarding project that can breathe new life into your living area and become a stunning focal point that brings joy and warmth to your home for years to come.
Happy white washing!
Frequently Asked Questions about How To Whitewash A Brick Fireplace
Was this page helpful?
At Storables.com, we guarantee accurate and reliable information. Our content, validated by Expert Board Contributors, is crafted following stringent Editorial Policies. We're committed to providing you with well-researched, expert-backed insights for all your informational needs.


0 thoughts on “How To Whitewash A Brick Fireplace”