Home>Construction & Tools>Building Materials>How To Whitewash Brick With Paint
Building Materials
How To Whitewash Brick With Paint
Modified: March 9, 2024
Learn how to whitewash brick with paint to give your building materials a fresh, modern look. Follow our step-by-step guide for a professional finish.
(Many of the links in this article redirect to a specific reviewed product. Your purchase of these products through affiliate links helps to generate commission for Storables.com, at no extra cost. Learn more)
Introduction
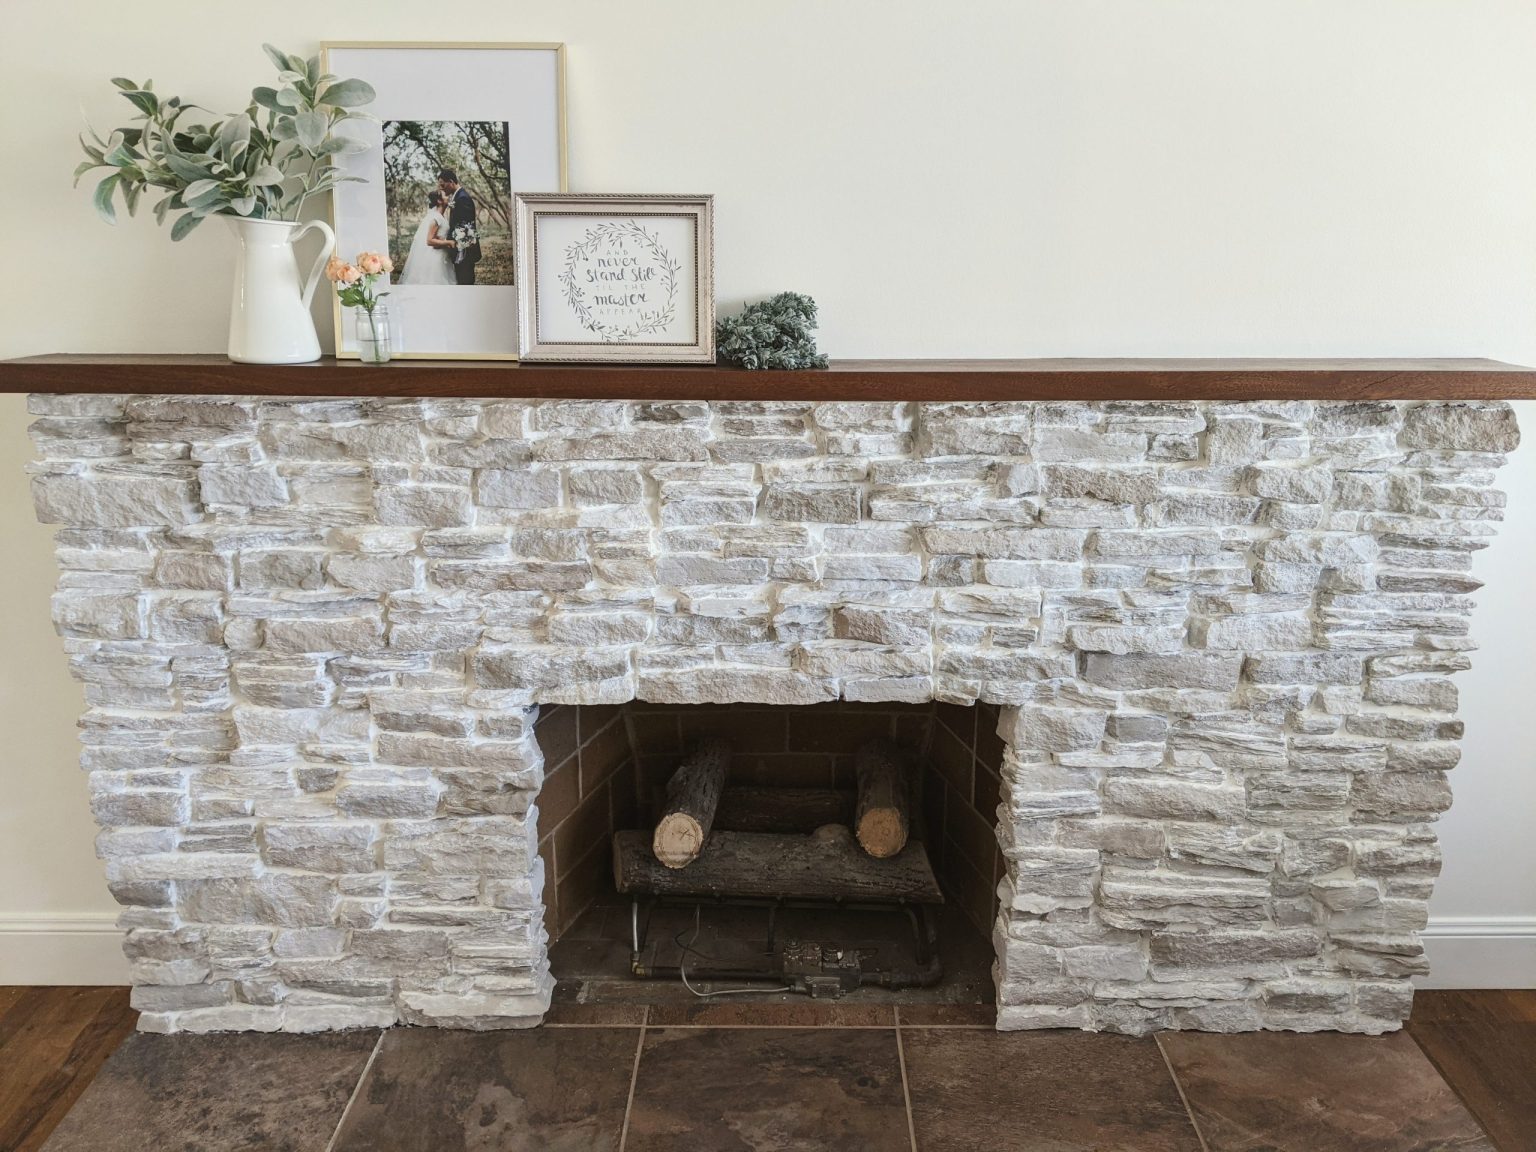
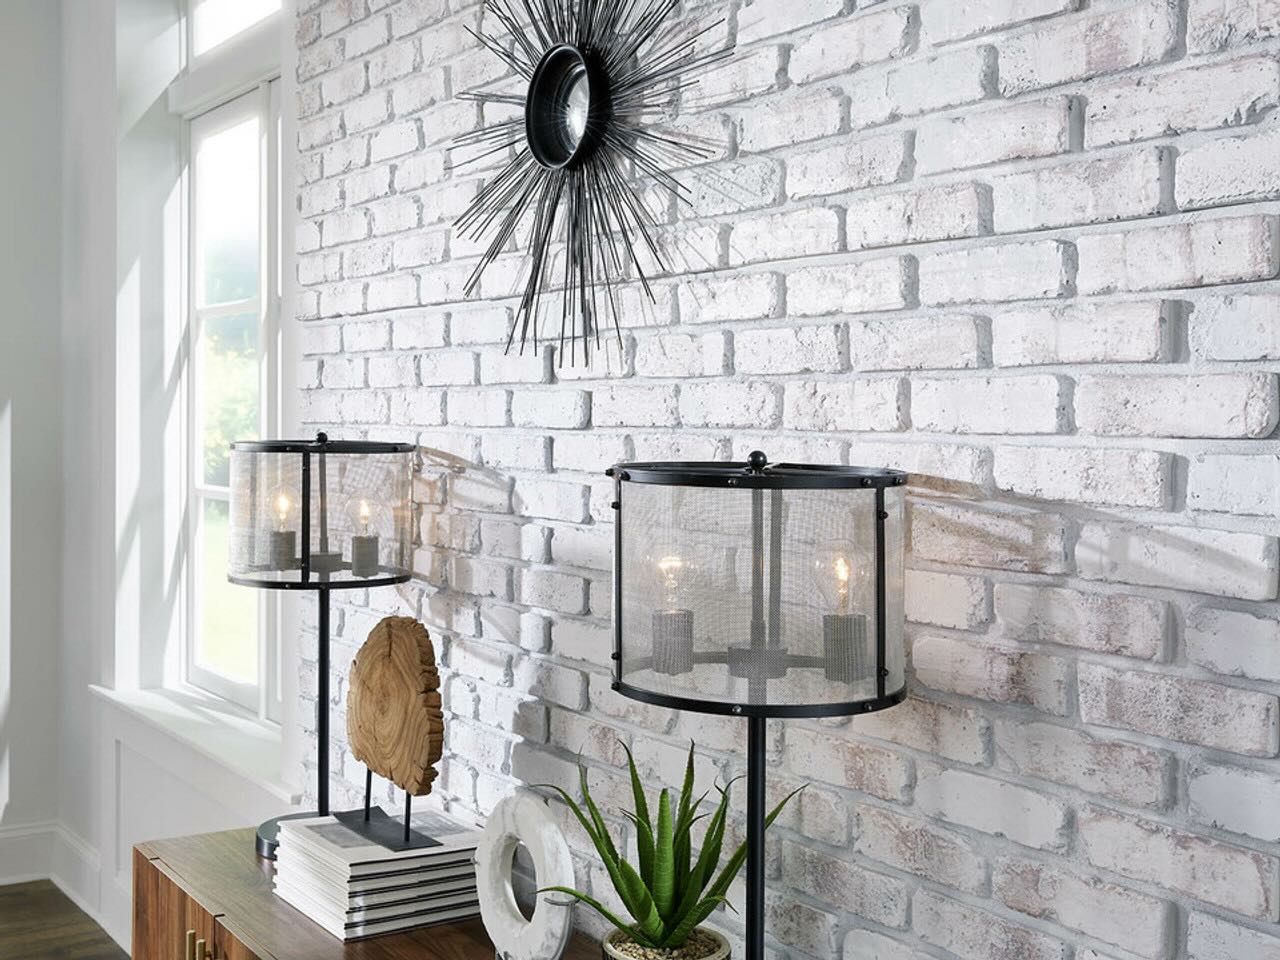
So, you've got a brick surface that's looking a bit tired and in need of a refresh. Whether it's an interior fireplace, an exterior wall, or any other brick surface, whitewashing can breathe new life into it. Whitewashing brick with paint is a fantastic way to update the look of your space while maintaining the texture and character of the brick. This technique allows the natural variations in the brick to show through, adding depth and visual interest to the surface.
Whitewashing is a popular choice for those seeking a rustic, weathered look. It's a versatile technique that can be tailored to suit a range of styles, from farmhouse chic to coastal charm. The process is relatively simple and can be completed as a DIY project, making it an accessible option for many homeowners.
In this guide, we'll walk you through the process of whitewashing brick with paint, from preparing the surface to applying the whitewash and adding those final touches. By the end, you'll have the knowledge and confidence to transform your brick surfaces and infuse them with a fresh, new aesthetic. Let's dive in and discover how to achieve that timeless whitewashed look for your brick!
Key Takeaways:
- Whitewashing brick with paint is a simple DIY project that can breathe new life into tired surfaces, adding rustic charm and visual interest to your space.
- By carefully preparing the brick surface, mixing the whitewash, and applying finishing touches, you can achieve a stunning, timeless whitewashed look that enhances the natural beauty of the brick.
Read more: What Type Of Paint To Whitewash Brick
Materials Needed
Before you embark on your whitewashing project, it’s essential to gather the necessary materials. Here’s what you’ll need:
- Brick surface to be whitewashed
- Trisodium phosphate (TSP) or a similar cleaning solution
- Stiff-bristled brush
- Drop cloths or plastic sheeting to protect surrounding areas
- Painter’s tape
- Primer
- Latex or acrylic paint (white or a custom color of your choice)
- Water
- Bucket
- Stir stick
- Paintbrushes (various sizes)
- Rags or sponges
- Protective gloves
- Protective eyewear
- Respirator mask (if working in a poorly ventilated area)
It’s important to ensure that you have all the necessary materials before starting the whitewashing process. Proper preparation and having the right tools at hand will contribute to a successful and satisfying outcome.
Preparing the Brick Surface
Before diving into the whitewashing process, it’s crucial to prepare the brick surface adequately. This preparation sets the stage for optimal paint adhesion and a professional-looking finish. Here’s how to prepare the brick surface:
Clean the Surface: Start by cleaning the brick surface to remove any dirt, dust, or grime. A solution of trisodium phosphate (TSP) and water is highly effective for this task. Follow the manufacturer’s instructions for mixing the solution, and use a stiff-bristled brush to scrub the surface thoroughly. Rinse the brick with clean water and allow it to dry completely.
Protect Surrounding Areas: Cover the surrounding areas with drop cloths or plastic sheeting to protect them from accidental paint splatters or drips. Use painter’s tape to secure the protective coverings in place, ensuring that adjacent surfaces remain clean and untouched during the whitewashing process.
Apply Primer: Once the brick surface is clean and dry, apply a high-quality primer suitable for masonry surfaces. The primer helps the paint adhere better and promotes an even finish. Use a paintbrush to apply the primer, ensuring complete coverage over the entire surface. Allow the primer to dry thoroughly according to the manufacturer’s recommendations.
By thoroughly cleaning the brick surface, protecting surrounding areas, and applying a suitable primer, you’ll create an ideal foundation for the whitewashing process. This meticulous preparation paves the way for a stunning and long-lasting whitewashed finish.
Mixing the Whitewash
Creating the perfect whitewash mixture is a crucial step in achieving the desired aesthetic for your brick surface. The whitewash should strike a balance between opacity and translucency, allowing the natural texture and variations of the brick to shine through. Here’s how to mix the whitewash:
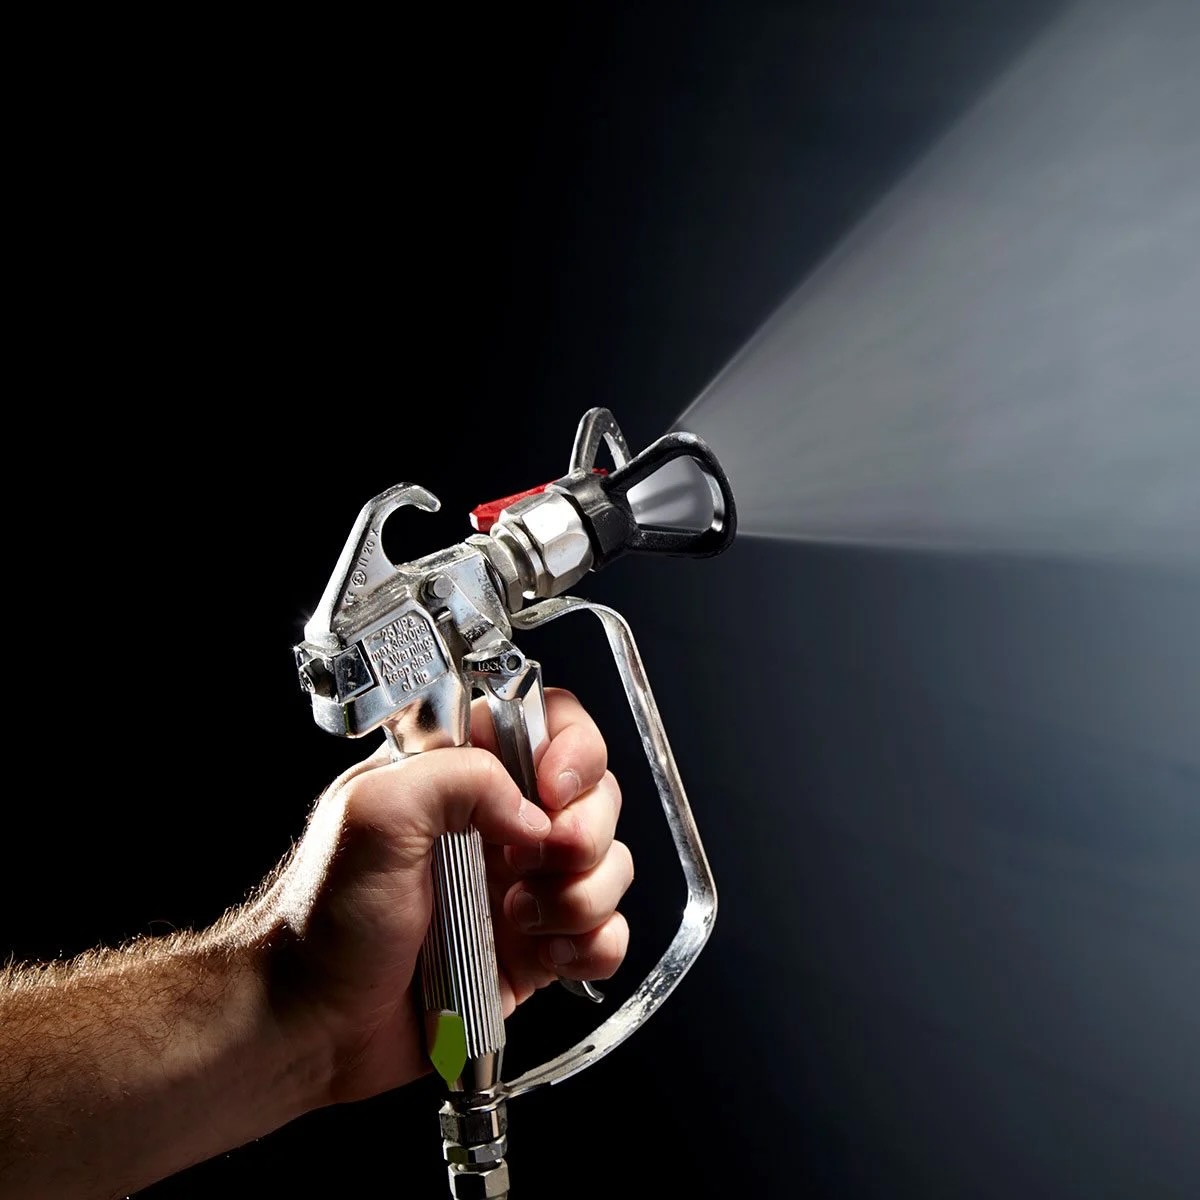
Choose the Paint: Select a high-quality latex or acrylic paint in white or a custom color of your choice. Keep in mind that the whitewash should be diluted to achieve the desired effect, so the chosen paint color will appear lighter when applied to the brick.
Prepare the Mixture: In a bucket, combine the chosen paint with water. The ratio of paint to water will depend on the level of transparency you wish to achieve. As a general guideline, start with a 1:1 ratio and adjust as needed. Use a stir stick to thoroughly mix the paint and water, ensuring a uniform consistency throughout the mixture.
Test the Whitewash: Before applying the whitewash to the entire surface, it’s advisable to test the mixture on a small, inconspicuous area of the brick. This test allows you to assess the opacity and adjust the mixture if necessary. Keep in mind that the whitewash will appear lighter and more translucent when dry, so take this into account when evaluating the test area.
By carefully selecting the paint, preparing the whitewash mixture, and conducting a test application, you’ll be well-equipped to proceed with confidence. The whitewash mixture sets the tone for the overall appearance of the brick surface, so take the time to achieve the perfect balance of coverage and translucency.
Before painting, clean the brick surface with a wire brush and water. Use a primer specifically designed for masonry, then apply a high-quality latex paint in the color of your choice.
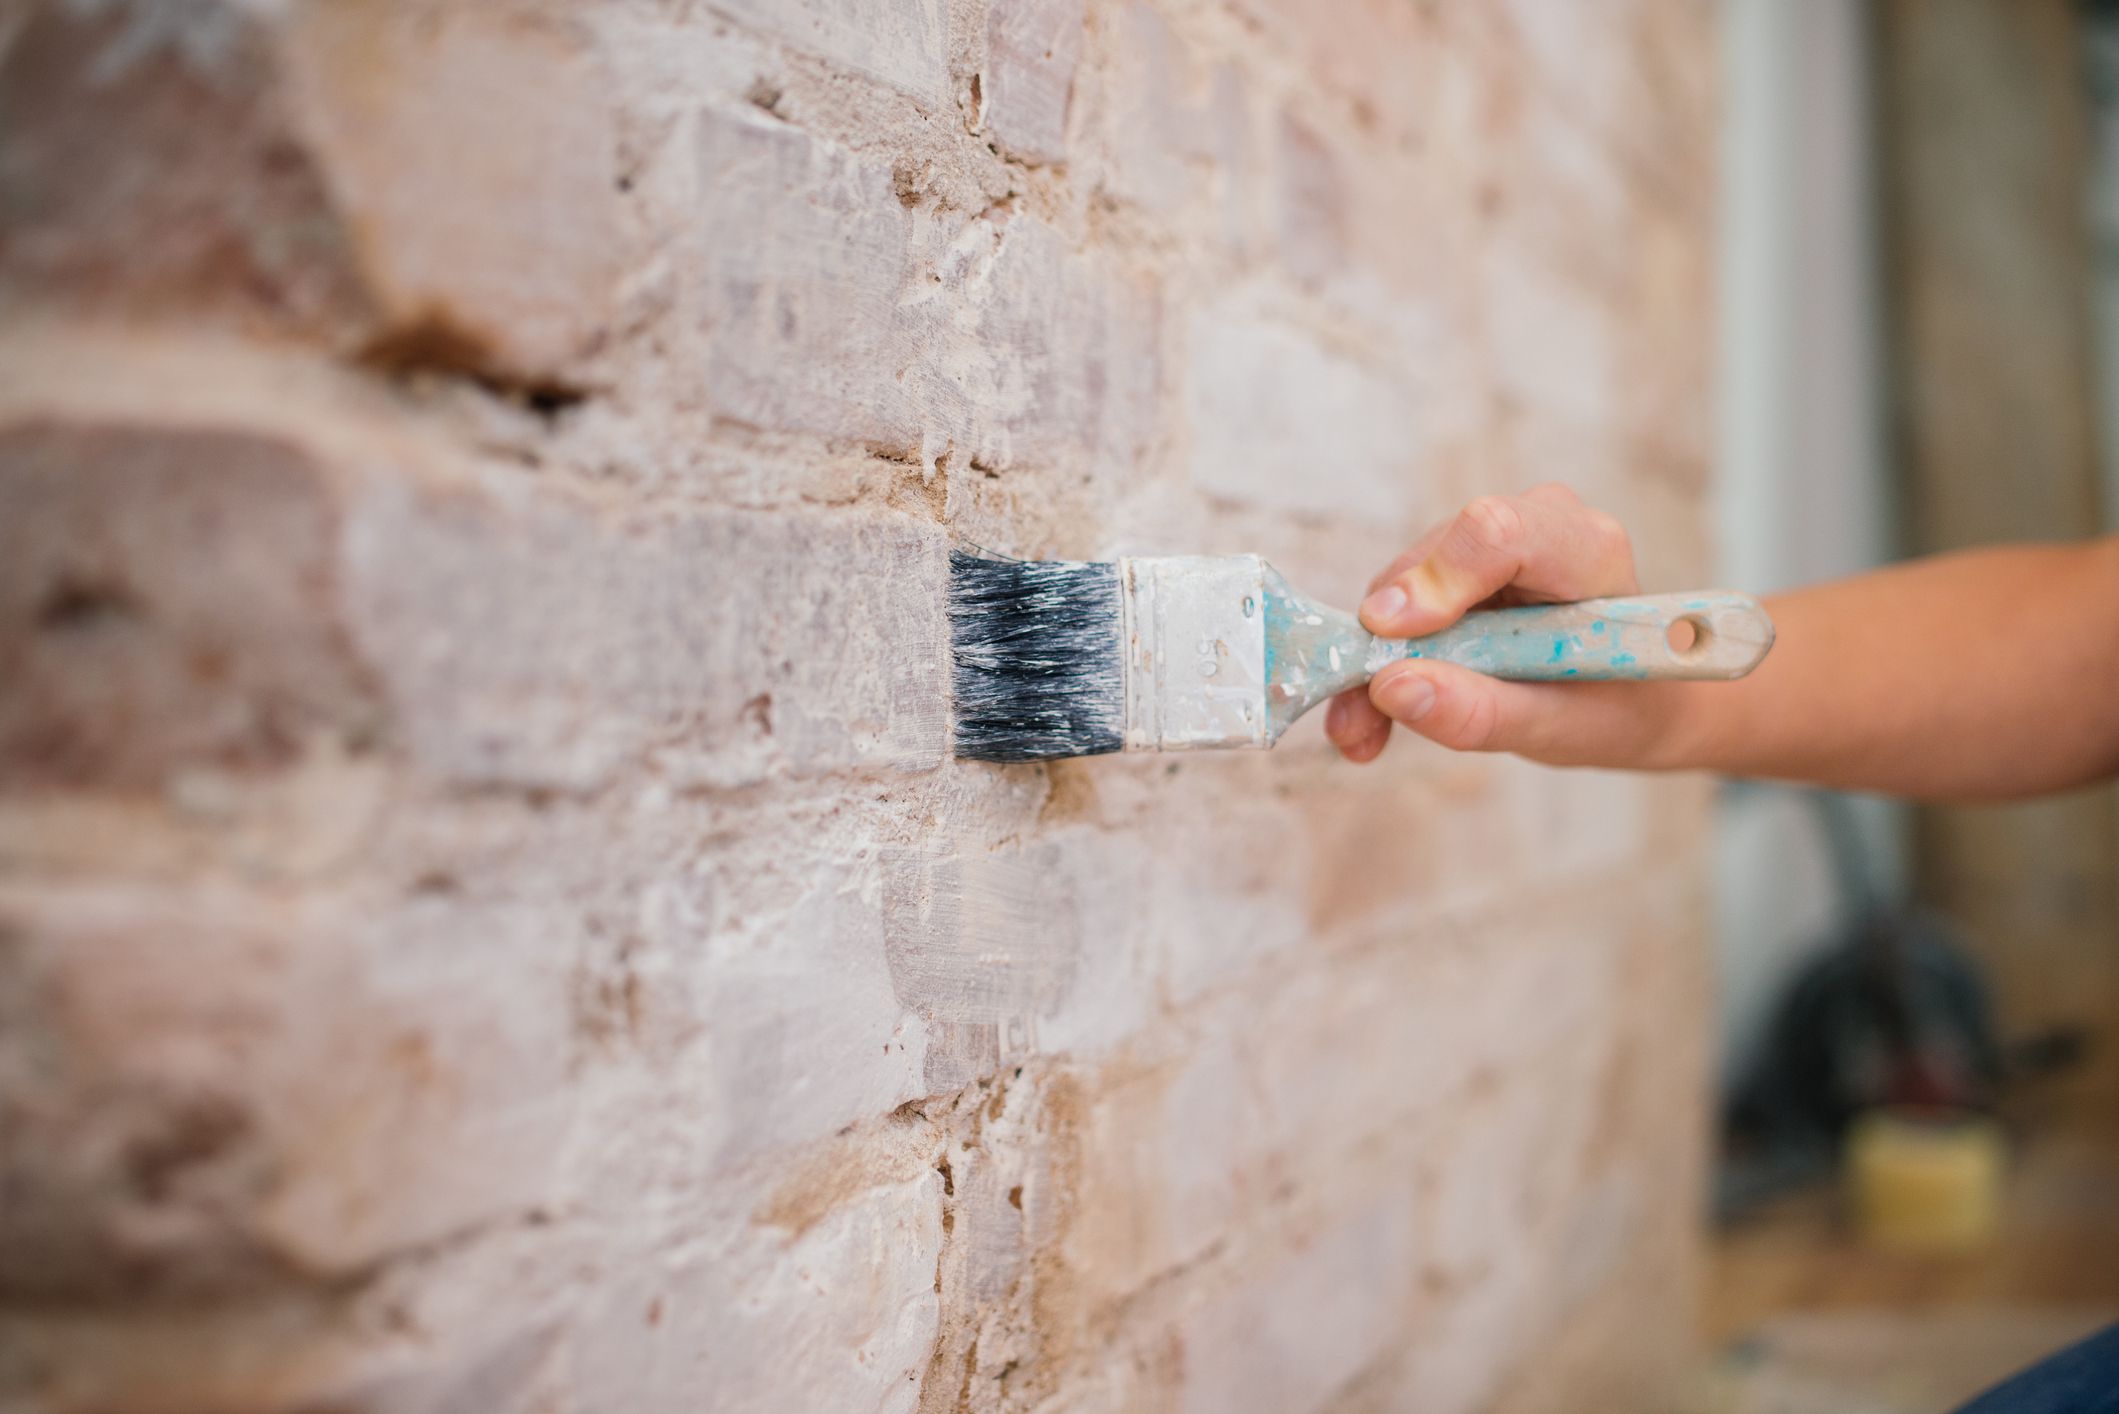
Applying the Whitewash
With the brick surface prepared and the whitewash mixture perfected, it’s time to apply the whitewash and bring your vision to life. The application process requires attention to detail and a methodical approach to ensure an even and attractive finish. Here’s how to apply the whitewash:
Start with a Base Coat: Begin by applying a base coat of the whitewash mixture to the brick surface. Use a paintbrush to work the whitewash into the texture of the brick, ensuring comprehensive coverage. The goal of the base coat is to establish a foundational layer that sets the tone for subsequent applications.
Work in Sections: To maintain control over the application and achieve a consistent finish, work in manageable sections. Apply the whitewash to one section at a time, ensuring that each area receives uniform coverage before moving on to the next. This approach helps prevent the whitewash from drying unevenly and allows for adjustments as needed.
Blend and Feather: As you apply the whitewash, blend and feather the edges of each section to create a seamless transition between areas. This technique softens any abrupt lines and contributes to a harmonious overall appearance. Pay attention to the natural variations in the brick, embracing them as part of the charm of the whitewashed finish.
Assess and Adjust: Periodically step back to assess the progress and ensure that the whitewash is being applied consistently. Make any necessary adjustments to maintain an even and balanced look across the entire surface. Take note of any areas that may require additional coverage or blending for a cohesive result.
By approaching the whitewash application with care and precision, you’ll be able to achieve a beautifully whitewashed brick surface that exudes character and charm. Embrace the process as an opportunity to enhance the natural beauty of the brick while infusing it with a fresh, new aesthetic.
Read more: How To Whitewash A Brick Fireplace
Finishing Touches
As the whitewash application nears completion, attending to the finishing touches will elevate the overall result and contribute to a polished and professional appearance. These final steps add depth and character to the whitewashed brick surface, ensuring a visually striking outcome. Here’s how to perfect the finishing touches:
Enhance Texture: Emphasize the texture of the brick by selectively enhancing certain areas with additional whitewash. Lightly brush or dab the whitewash onto raised or recessed areas to create subtle highlights and shadows, accentuating the natural contours of the brick. This technique adds dimension and visual interest to the surface.
Distress for Character: If you desire a more weathered or aged look, consider distressing the whitewashed surface. Gently sand or scrape certain areas of the brick to reveal hints of the original brick color beneath the whitewash. This method imparts a sense of history and character, lending a timeless appeal to the finished surface.
Protective Sealant: Once the whitewash has dried completely, consider applying a protective sealant to safeguard the finish and enhance its longevity. A clear masonry sealant can help shield the whitewashed surface from wear and tear, moisture, and other environmental factors, preserving its beauty for years to come.
Step Back and Admire: After attending to the finishing touches, take a moment to step back and admire your handiwork. Appreciate the transformation of the brick surface and the unique character that the whitewash has imparted. Your attention to detail and creative touch have revitalized the space with a timeless and captivating aesthetic.
By incorporating these finishing touches, you’ll bring a sense of artistry and refinement to the whitewashed brick surface, elevating it from a mere painted facade to a visually captivating feature. Embrace the opportunity to infuse the surface with depth, character, and enduring allure.
Conclusion
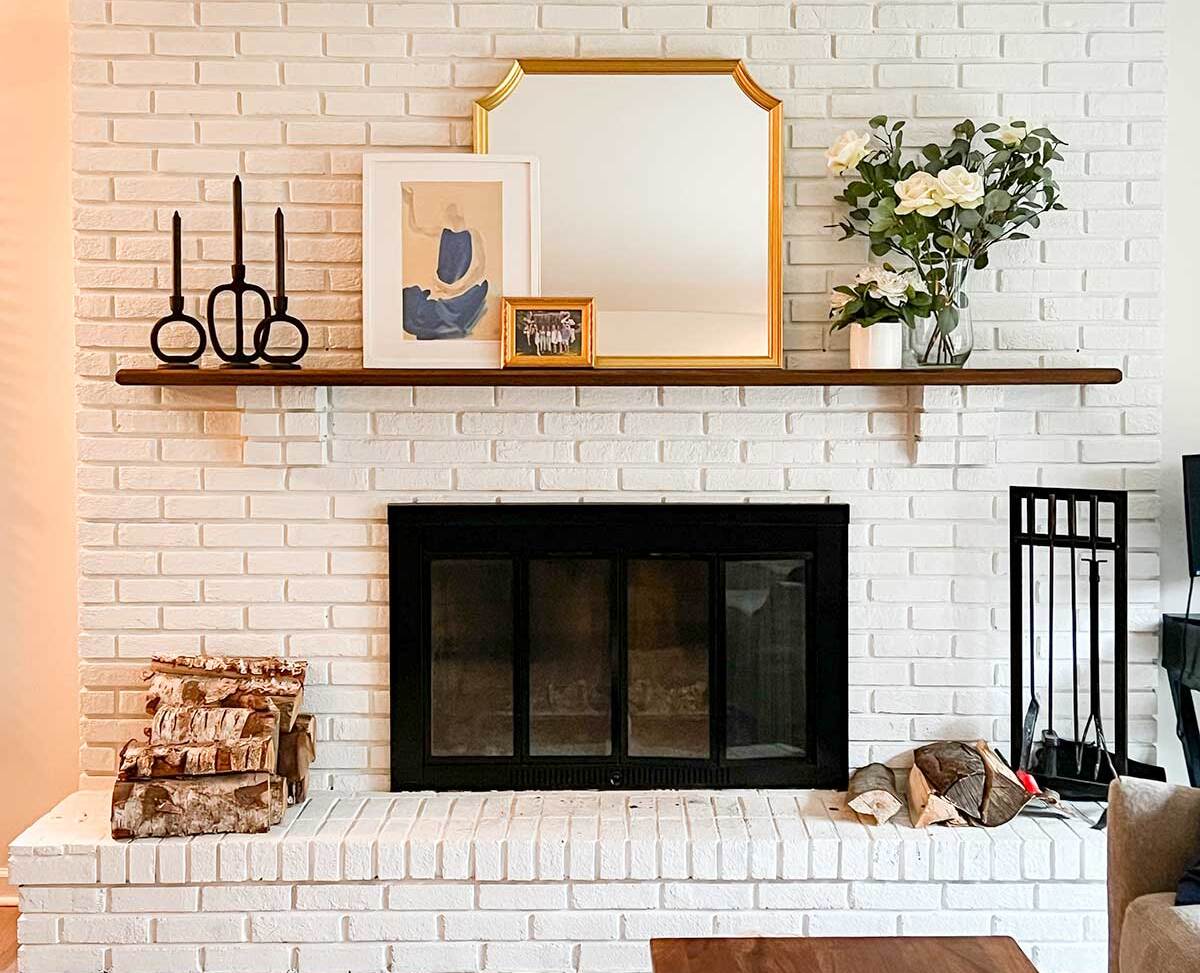
Whitewashing brick with paint offers a transformative and versatile approach to updating and enhancing various surfaces within your home or outdoor space. This timeless technique allows the inherent character and texture of the brick to shine through, infusing the environment with a sense of rustic charm and enduring allure.
Throughout the whitewashing process, from preparing the brick surface to applying the whitewash and adding those final touches, you have embarked on a creative journey that celebrates the intrinsic beauty of the brick while introducing a fresh, new aesthetic. Your attention to detail, careful application, and artistic flair have culminated in a stunning whitewashed finish that breathes new life into the space.
As you stand back and admire the whitewashed brick surface, take pride in the artistry and craftsmanship that have brought this vision to fruition. The subtle variations and nuances of the whitewash, the enhanced texture of the brick, and the overall ambiance it creates contribute to a captivating and inviting atmosphere.
Whether you’ve transformed an interior fireplace, an exterior wall, or another brick surface, the impact of whitewashing extends beyond mere visual appeal. It evokes a sense of nostalgia, warmth, and authenticity, enriching the space with a timeless allure that transcends passing trends.
As you continue to explore creative ways to enhance your living environment, remember the enduring charm and versatility of whitewashing brick with paint. This technique stands as a testament to the fusion of art and craftsmanship, offering a canvas for self-expression and a means to infuse your surroundings with enduring beauty.
Embrace the art of whitewashing, and allow its timeless allure to leave an indelible mark on your living spaces, enriching them with character, depth, and a touch of rustic elegance.
Frequently Asked Questions about How To Whitewash Brick With Paint
Was this page helpful?
At Storables.com, we guarantee accurate and reliable information. Our content, validated by Expert Board Contributors, is crafted following stringent Editorial Policies. We're committed to providing you with well-researched, expert-backed insights for all your informational needs.


0 thoughts on “How To Whitewash Brick With Paint”