Home>Construction & Tools>Building Materials>How To Whitewash A Brick Wall

Building Materials
How To Whitewash A Brick Wall
Modified: August 28, 2024
Learn how to whitewash a brick wall with our step-by-step guide using common building materials. Transform your space with this easy DIY technique!
(Many of the links in this article redirect to a specific reviewed product. Your purchase of these products through affiliate links helps to generate commission for Storables.com, at no extra cost. Learn more)
**
Introduction
**
Whitewashing a brick wall is an excellent way to revitalize its appearance and add a touch of rustic charm to any space. This timeless technique has been used for centuries to brighten up interior and exterior surfaces, imparting a fresh, clean look while still allowing the natural texture of the brick to shine through. Whether you're aiming for a cozy, farmhouse-inspired aesthetic or a more contemporary feel, whitewashing offers a versatile and cost-effective solution.
In addition to its aesthetic appeal, whitewashing provides a protective layer that helps shield the brick from the elements, making it a practical choice for both decorative and functional purposes. With the right materials and a bit of know-how, you can easily transform a plain brick wall into a stunning focal point that complements your personal style.
Throughout this guide, we'll explore the step-by-step process of whitewashing a brick wall, from gathering the necessary materials to applying the finishing touches. By the end, you'll have the knowledge and confidence to embark on this rewarding home improvement project, infusing your living space with character and warmth.
Let's dive into the world of whitewashing and uncover the secrets to achieving a beautifully whitewashed brick wall that exudes timeless elegance and allure.
Key Takeaways:
- Whitewashing a brick wall adds rustic charm and protects the surface from the elements. With the right materials and careful application, you can transform a plain wall into a stunning focal point.
- By following the step-by-step process, you can achieve a timeless and durable whitewashed brick wall. Embrace the weathering process and consider decorative accents to enhance its unique allure.
Read more: How To Whitewash A Brick Fireplace
Materials Needed
Before embarking on your whitewashing journey, it’s essential to gather the necessary materials to ensure a smooth and successful process. Here’s a comprehensive list of items you’ll need:
1. Protective Gear:
- Gloves
- Goggles
- Mask
2. Cleaning Supplies:
- Stiff-bristled brush
- Mild detergent
- Water
3. Whitewash Mixture:
- White masonry paint or hydrated lime
- Water
- Large bucket for mixing
4. Application Tools:
- Paintbrushes (various sizes)
- Roller and tray
- Drop cloths or plastic sheeting
5. Optional Additives:
- Pigment (for tinted whitewash)
- Salt (to prevent mold growth)
6. Ladder or Scaffolding:
- Depending on the height of the wall
- For thoroughly blending the whitewash mixture
8. Sealant (Optional):
- Clear masonry sealer for added protection
By ensuring you have all these materials on hand, you’ll be well-equipped to tackle the whitewashing process with confidence and efficiency. With the stage set, it’s time to prepare the wall for the transformative whitewashing treatment.
Preparing the Wall
Before diving into the whitewashing process, it’s crucial to prepare the brick wall to ensure optimal adhesion and a flawless finish. Follow these steps to ready the surface for whitewashing:
1. Clean the Surface: Begin by thoroughly cleaning the brick wall to remove dirt, dust, and any existing debris. Use a stiff-bristled brush, mild detergent, and water to scrub away grime and ensure a clean, smooth canvas for the whitewash.
2. Test for Absorbency: Sprinkle water onto the brick surface to assess its absorbency. If the water is quickly absorbed, the bricks are porous and suitable for whitewashing. If the water beads on the surface, the bricks may require etching or a different treatment to enhance their ability to bond with the whitewash.
3. Repair Any Damage: Inspect the wall for any cracks, holes, or damaged mortar. Use appropriate patching materials to fill in gaps and ensure the surface is even and structurally sound before proceeding with the whitewashing process.
4. Allow for Drying Time: After cleaning and repairing the wall, allow sufficient time for the surface to dry completely. This is essential for promoting strong adhesion and preventing moisture-related issues during and after the whitewashing application.
By meticulously preparing the brick wall, you’ll create an ideal foundation for the whitewashing procedure, setting the stage for a stunning transformation. With the wall primed and ready, the next step involves mixing the whitewash solution to achieve the desired consistency and coverage.
Mixing the Whitewash
Creating the perfect whitewash mixture is a crucial step in the process, as it determines the final appearance and durability of the finish. Follow these guidelines to mix a high-quality whitewash solution:
1. Choose Your Base: Select either white masonry paint or hydrated lime as the primary ingredient for your whitewash. Masonry paint offers a more opaque finish, while hydrated lime provides a traditional, breathable coating that allows the bricks to “breathe.”
2. Determine the Ratio: Depending on the desired opacity and texture, adjust the ratio of paint or lime to water. For masonry paint, a 1:1 ratio of paint to water typically yields a solid coverage. When using hydrated lime, start with a 1:1 ratio and adjust as needed to achieve the desired consistency.
3. Mix Thoroughly: In a large bucket, combine the chosen base (masonry paint or hydrated lime) with the appropriate amount of water. Use a stirring stick or mixer to blend the components thoroughly, ensuring a smooth, lump-free whitewash mixture.
4. Optional Additives: If you wish to tint the whitewash, add pigment to the mixture and stir until the desired hue is achieved. Additionally, incorporating salt into the mixture can help prevent mold growth on exterior walls, particularly in damp or humid environments.
5. Test the Consistency: Before proceeding, test the whitewash on a small section of the wall to assess its coverage and texture. Adjust the mixture as needed to achieve the desired opacity and workability, ensuring it adheres well to the bricks without running or dripping excessively.
By carefully mixing the whitewash to the appropriate specifications, you’ll be equipped with a high-quality solution that is ready to be skillfully applied to the prepared brick wall. With the whitewash prepared, it’s time to move on to the application phase, where the transformation truly takes shape.
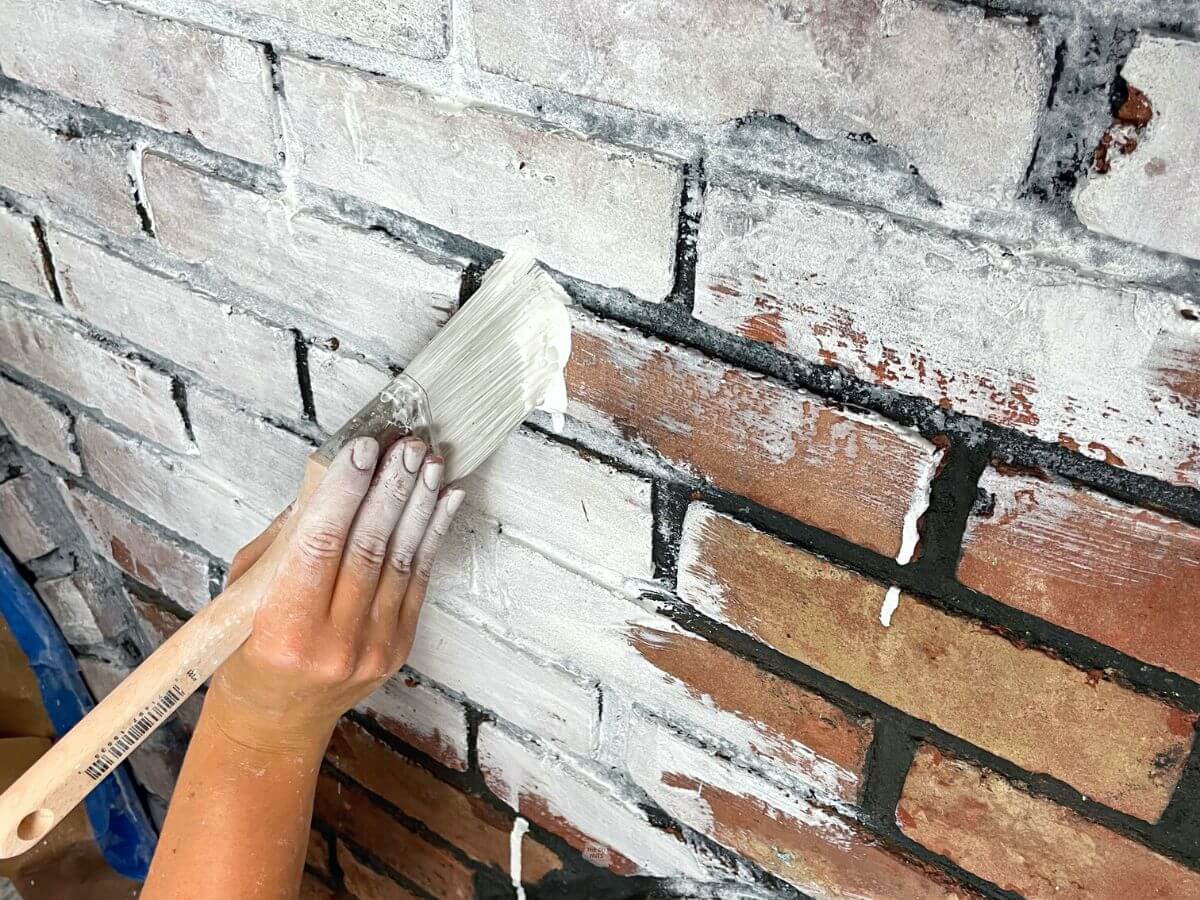
Mix equal parts of white latex paint and water in a bucket. Use a brush or roller to apply the mixture to the brick, working in small sections. Wipe off excess with a rag for a more natural look.
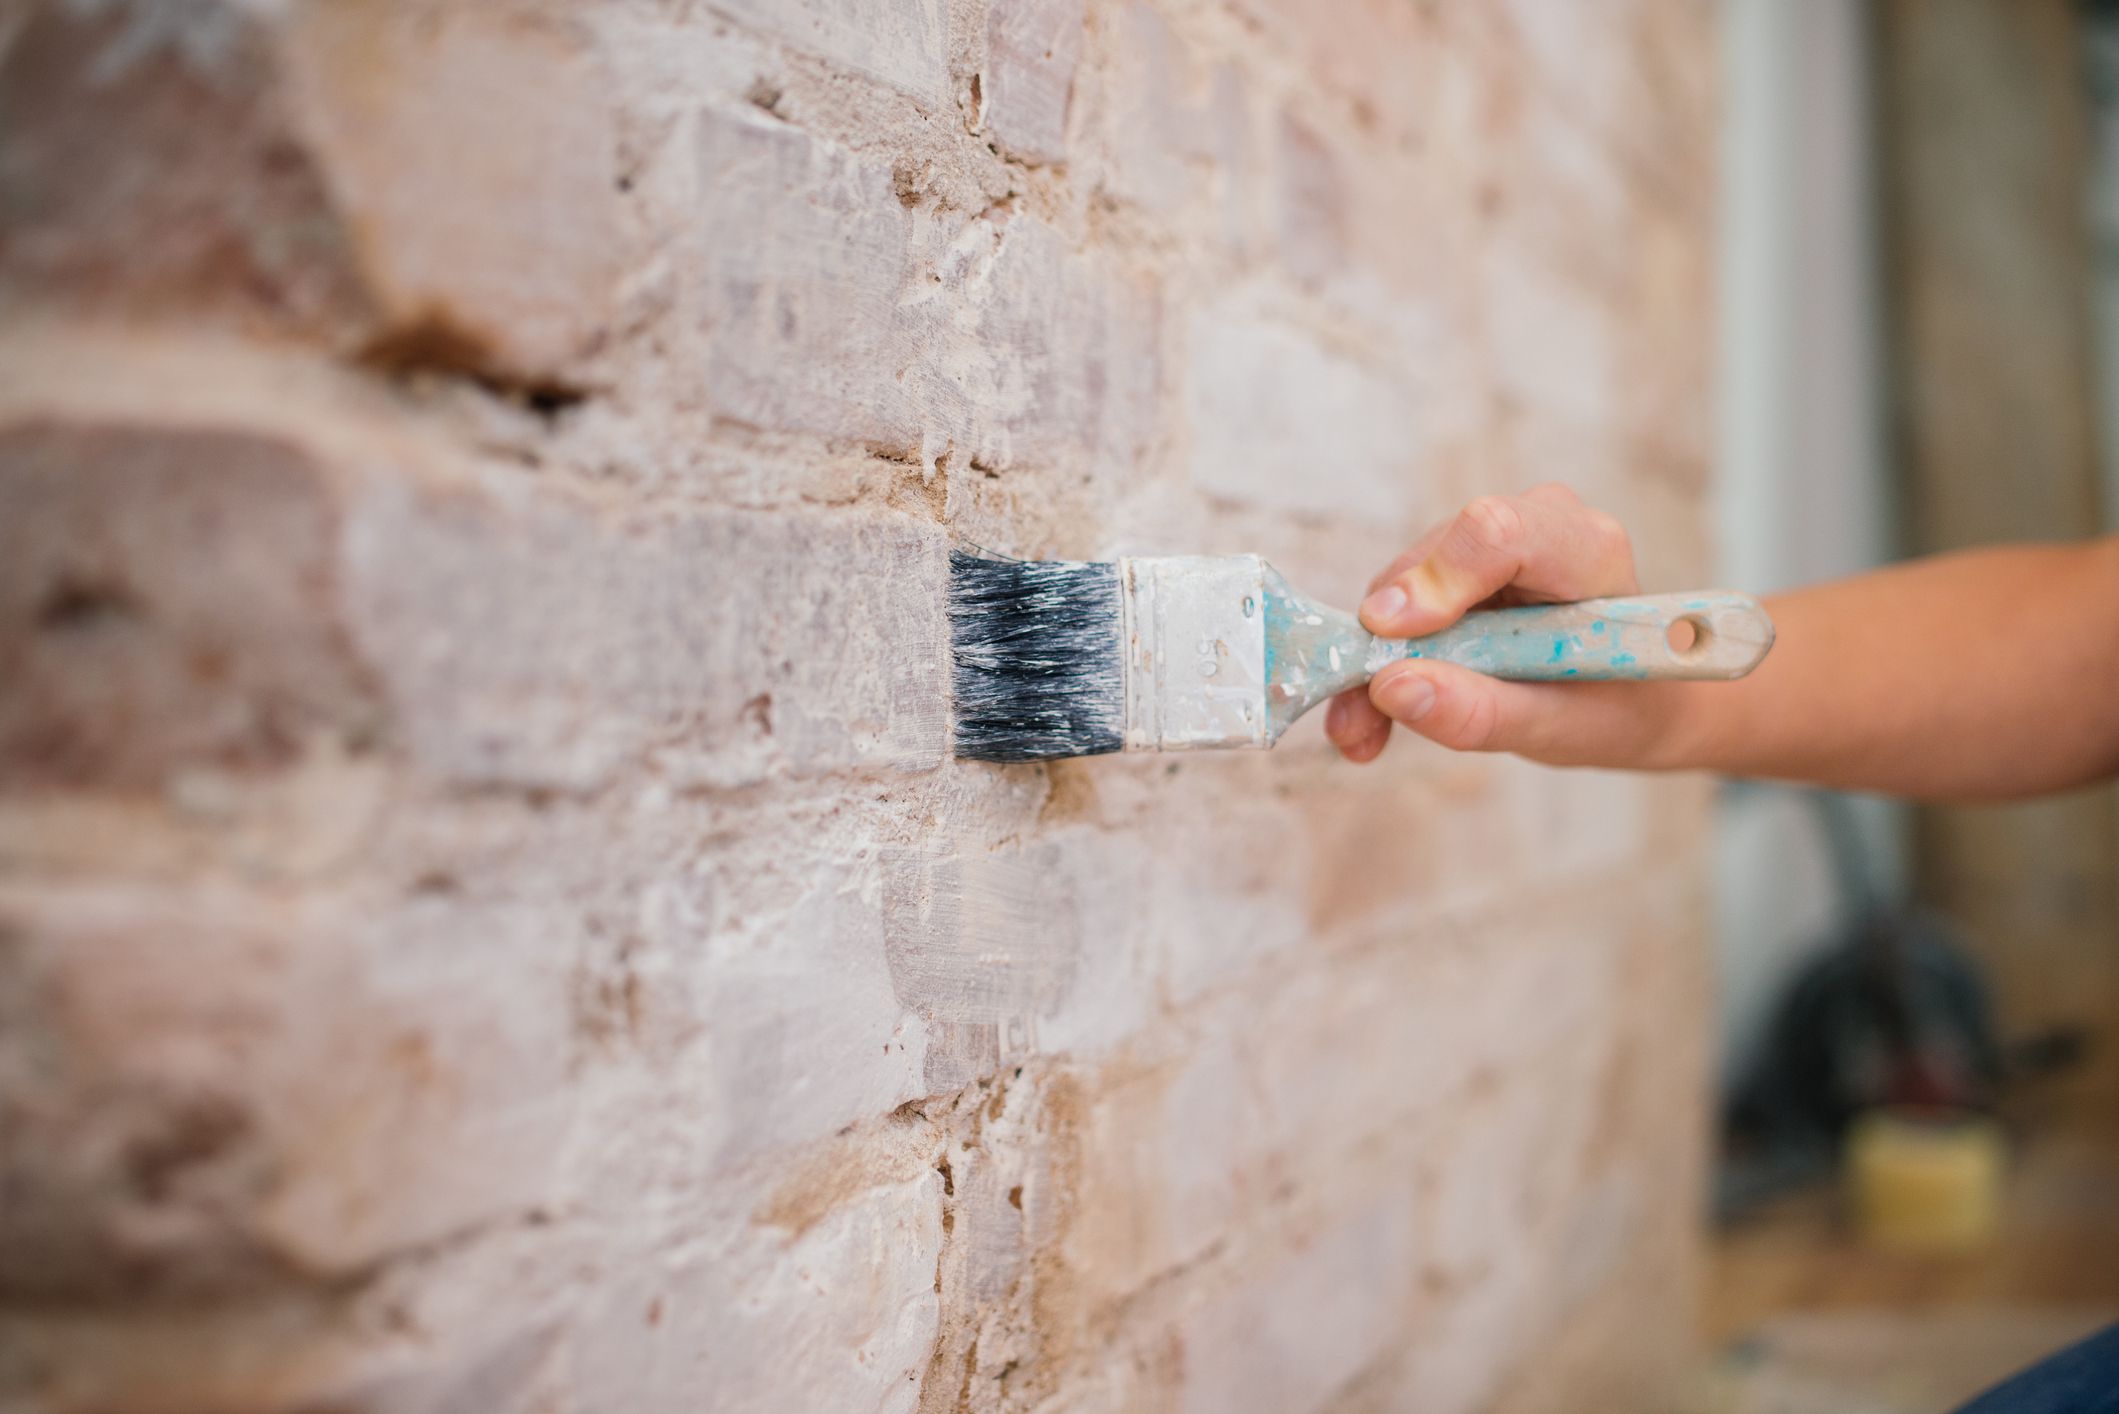
Applying the Whitewash
With the whitewash mixture prepared, it’s time to bring your vision to life by applying the solution to the brick wall. Follow these steps for a successful and aesthetically pleasing application:
1. Protect Surrounding Areas: Lay down drop cloths or plastic sheeting to shield the ground and nearby surfaces from accidental spills and splatters. This precaution will help maintain a tidy work environment and prevent unintended staining.
2. Begin with a Test Area: Before tackling the entire wall, start by applying the whitewash to a small, inconspicuous section to ensure the color and texture meet your expectations. This test area allows for adjustments before committing to the full application.
3. Use the Right Tools: Depending on the size and texture of the wall, choose the appropriate application tools. A paintbrush is ideal for detailed work and mortar joints, while a roller can expedite the process for larger surface areas.
4. Apply in Even Strokes: Dip the brush or roller into the whitewash mixture, ensuring it is evenly coated, and apply the solution to the brick surface using smooth, overlapping strokes. Work methodically from the top of the wall downward, maintaining a consistent application technique for uniform coverage.
5. Work in Manageable Sections: To prevent the whitewash from drying unevenly, work in manageable sections, completing one area before moving on to the next. This approach ensures a cohesive finish without visible seams or variations in color.
6. Allow for Drying Time: After applying the whitewash, allow the wall to dry completely before assessing the coverage and texture. Depending on environmental conditions, drying times may vary, so exercise patience to achieve the best results.
By following these steps, you’ll skillfully apply the whitewash to the brick wall, transforming its appearance and infusing it with a timeless, weathered charm. Once the whitewash has dried, it’s time to add the finishing touches to complete the revitalization of the brick surface.
Read more: How To Whitewash A Brick House
Finishing Touches
As the whitewash dries and the brick wall undergoes its stunning transformation, consider adding thoughtful finishing touches to enhance the overall aesthetic and longevity of the whitewashed surface. Here are some key steps to perfecting the whitewashing process:
1. Assess the Coverage: Once the whitewash has dried, inspect the entire wall to ensure consistent coverage and texture. Touch up any areas that may require additional whitewash for a seamless, uniform finish.
2. Seal the Whitewash (Optional): For added protection and longevity, consider applying a clear masonry sealer to the whitewashed surface. This step can help safeguard the brick wall from moisture, dirt, and wear, prolonging the lifespan of the whitewash and preserving its appearance.
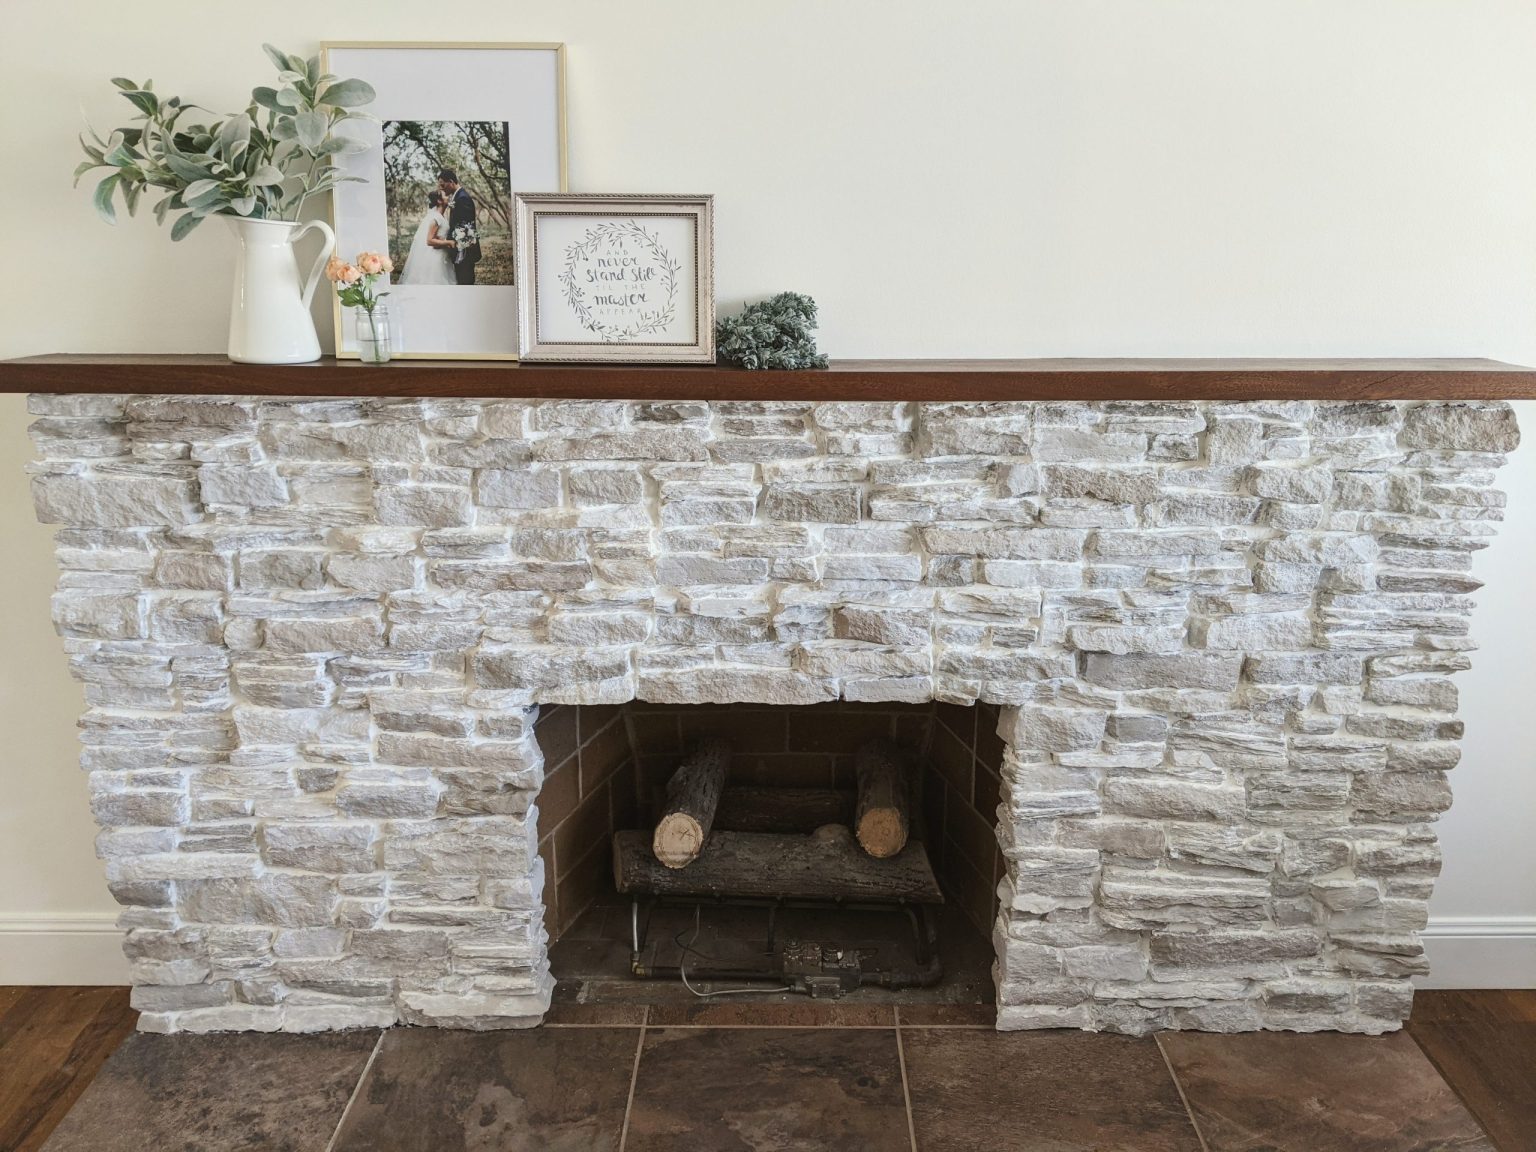
3. Embrace the Weathering Process: Over time, the whitewashed brick wall will naturally develop a weathered patina, adding to its rustic charm and character. Embrace this evolution as an intrinsic part of the whitewashing technique, celebrating the unique allure it imparts to the space.
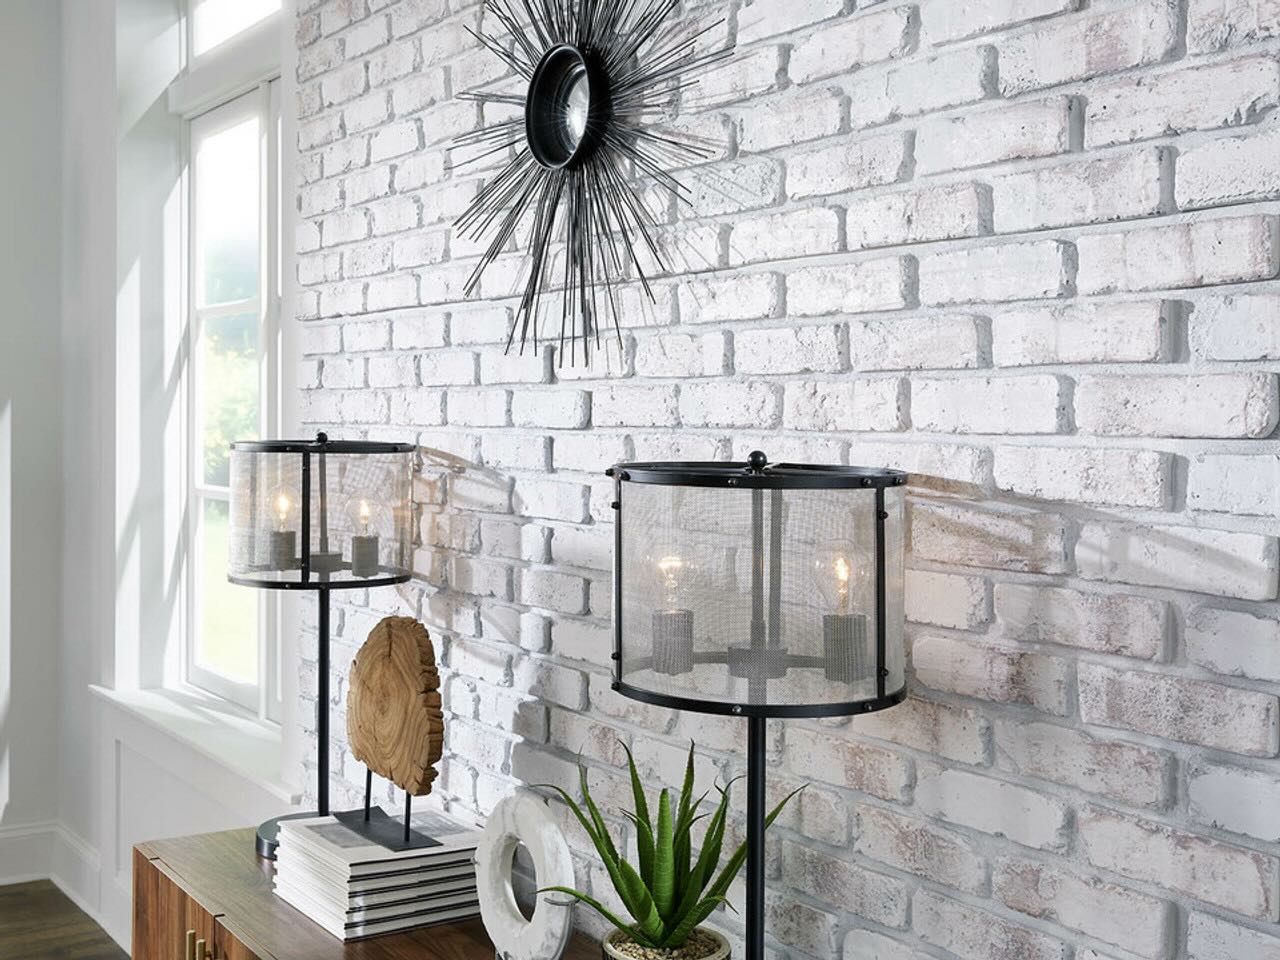
4. Consider Decorative Accents: Complement the whitewashed brick wall with decorative accents such as wall sconces, climbing vines, or artwork to highlight its newfound allure. These elements can accentuate the wall’s texture and create a captivating focal point within the space.
5. Maintenance and Care: To preserve the beauty of the whitewashed brick wall, periodically inspect the surface for any signs of wear or damage. Address minor touch-ups as needed and clean the wall gently to maintain its pristine appearance over time.
By attending to these finishing touches, you’ll elevate the impact of the whitewashing process, ensuring a durable and visually striking result that enhances the ambiance of the surrounding environment. With the wall now revitalized and adorned with its distinct charm, it’s time to reflect on the rewarding journey of whitewashing a brick wall.
Conclusion
Embarking on the journey of whitewashing a brick wall is a gratifying endeavor that yields both aesthetic and practical benefits. By following the step-by-step process outlined in this guide, you’ve gained the knowledge and confidence to transform a plain brick surface into a captivating focal point that exudes timeless allure and rustic charm.
From the meticulous preparation of the wall to the skillful application of the whitewash, each stage of the process plays a pivotal role in achieving a stunning result. The careful selection of materials, the artful mixing of the whitewash, and the thoughtful finishing touches contribute to the enduring beauty and resilience of the whitewashed brick wall.
As the whitewash dries and settles into the texture of the bricks, it breathes new life into the space, infusing it with a sense of warmth and character. The weathered patina that develops over time adds a layer of authenticity, echoing the timeless appeal of this age-old technique.
Whether you’ve chosen to whitewash an interior feature wall, an exterior facade, or a fireplace surround, the impact of this transformative process extends beyond visual aesthetics. The protective layer provided by the whitewash shields the brick from the elements, contributing to the longevity and resilience of the surface.
As you admire the whitewashed brick wall, take pride in the craftsmanship and artistry that have revitalized the space. Embrace the evolving character of the wall as it ages gracefully, each imperfection and weathered nuance adding to its unique allure.
With the completion of this enriching project, you’ve not only enhanced the ambiance of your environment but also embarked on a creative journey that celebrates tradition, craftsmanship, and the timeless appeal of whitewashing. As the walls whisper stories of transformation and enduring beauty, you’ve left an indelible mark on the space, infusing it with your unique vision and passion for craftsmanship.
Congratulations on mastering the art of whitewashing a brick wall, and may the timeless allure of this technique continue to inspire and captivate for years to come.
Frequently Asked Questions about How To Whitewash A Brick Wall
Was this page helpful?
At Storables.com, we guarantee accurate and reliable information. Our content, validated by Expert Board Contributors, is crafted following stringent Editorial Policies. We're committed to providing you with well-researched, expert-backed insights for all your informational needs.


0 thoughts on “How To Whitewash A Brick Wall”