Articles
How To Wire A Single-Pole Dimmer Switch
Modified: February 23, 2024
Learn how to wire a single-pole dimmer switch with our informative articles. Step-by-step instructions and expert tips for a successful installation.
(Many of the links in this article redirect to a specific reviewed product. Your purchase of these products through affiliate links helps to generate commission for Storables.com, at no extra cost. Learn more)
Introduction
A single-pole dimmer switch is an excellent addition to any room in your home. It allows you to adjust the brightness of your lights and create the perfect ambiance for any occasion. Whether you’re looking to dim the lights for a cozy movie night or brighten up the room for a lively gathering, a single-pole dimmer switch provides you with the flexibility to control your lighting to suit your needs.
In this article, we will guide you through the process of installing a single-pole dimmer switch. It’s a relatively straightforward DIY project that can be accomplished with a few basic tools and some patience. So let’s get started!
Key Takeaways:
- Upgrade your lighting system with a single-pole dimmer switch to effortlessly set the mood and ambiance in your home. Follow the step-by-step guide for a successful DIY installation and enjoy customizable lighting control.
- Prioritize safety and consult a licensed electrician if you encounter challenges during the installation process. With the right tools and understanding, you can easily enhance your lighting experience and create the perfect atmosphere for any occasion.
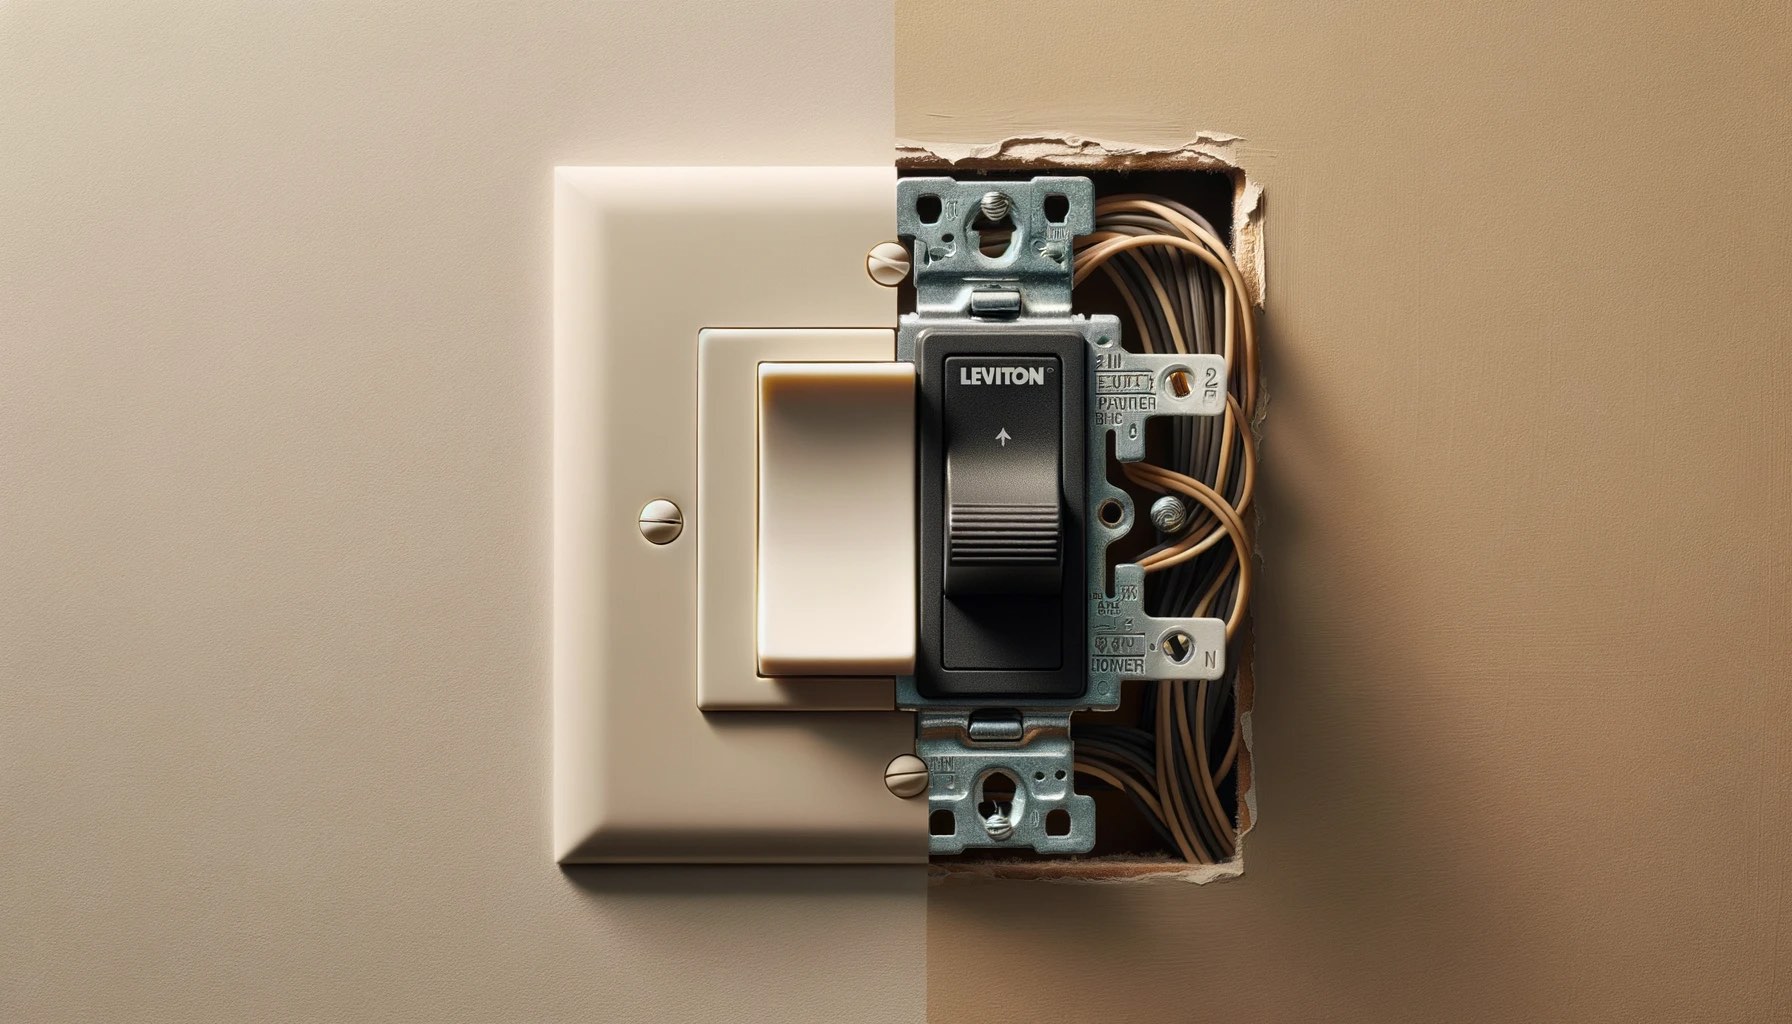
Understanding Single-Pole Dimmer Switches
Before we jump into the installation process, let’s take a moment to understand what a single-pole dimmer switch is and how it works.
A single-pole dimmer switch is designed to control the intensity of the lights in a room from a single location. It is called a single-pole switch because it is used in setups where there is only one switch controlling the lights. This is in contrast to a three-way or four-way setup where multiple switches are used to control the same lights.
The main component of a single-pole dimmer switch is a rheostat, which is a variable resistor that regulates the flow of electrical current to the lights. By adjusting the position of the switch, you can change the resistance and thereby control the brightness of the lights. This is achieved by reducing or increasing the amount of current flowing to the lights.
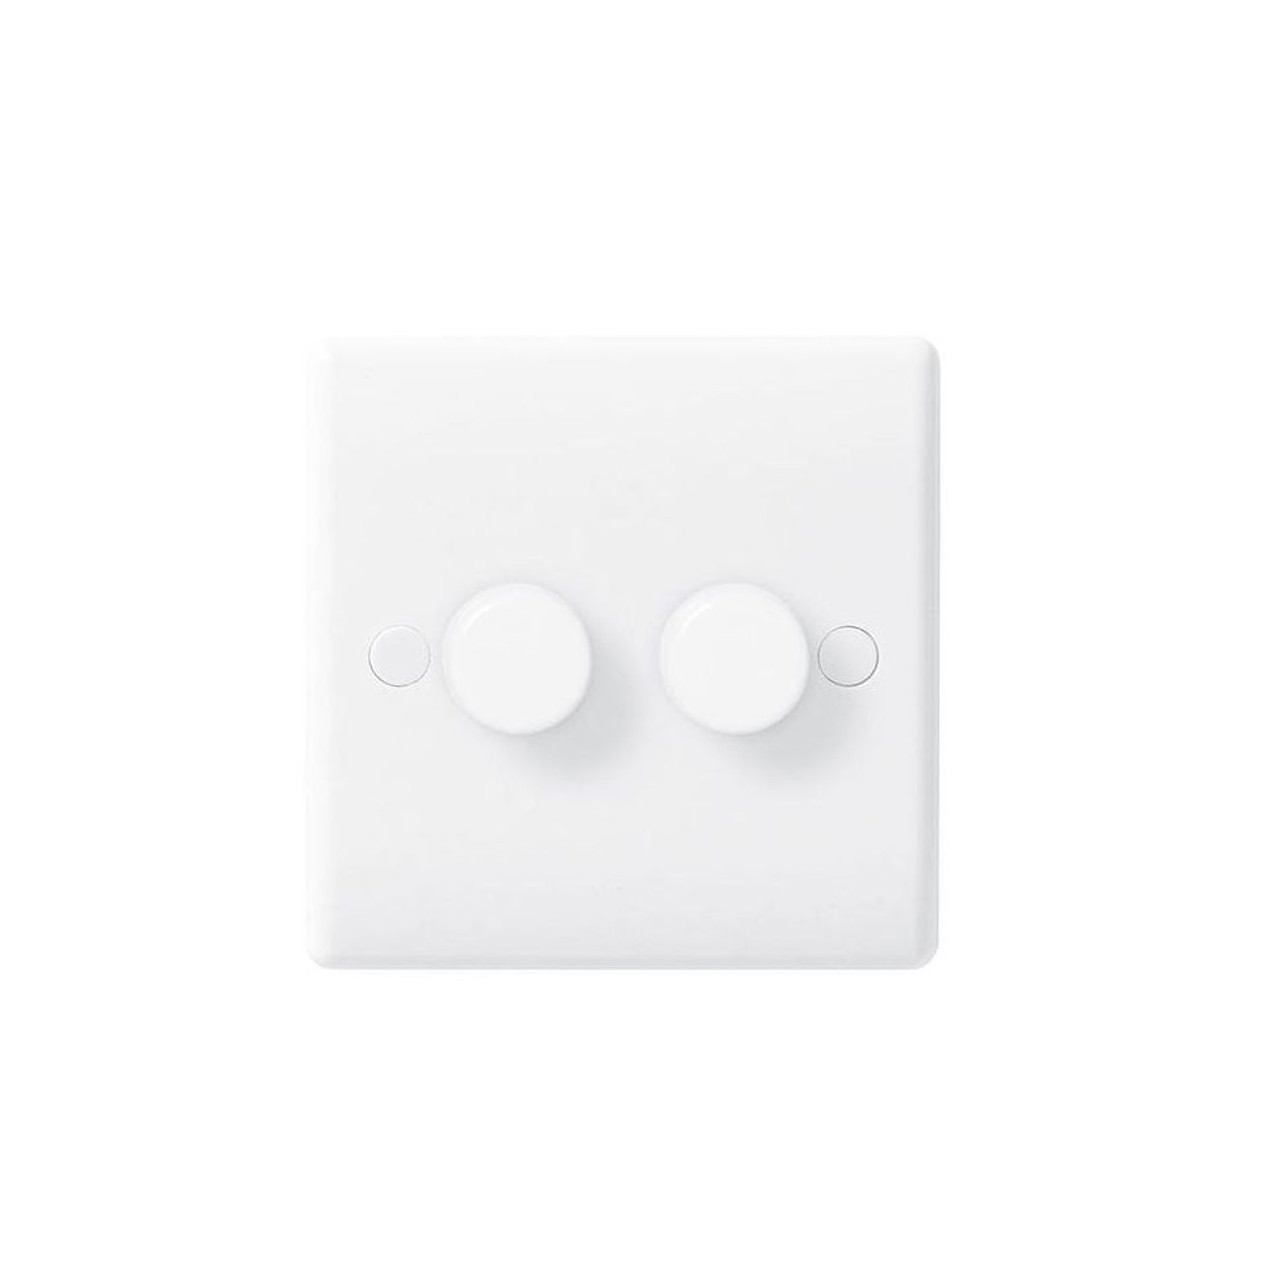
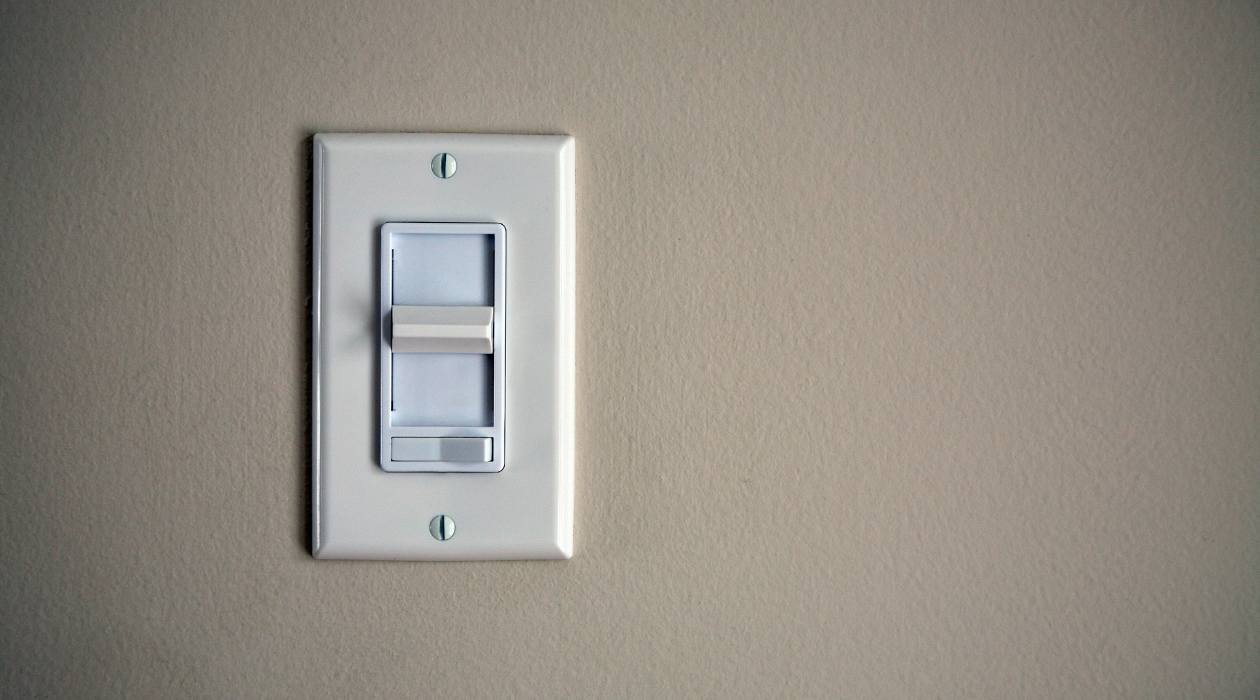
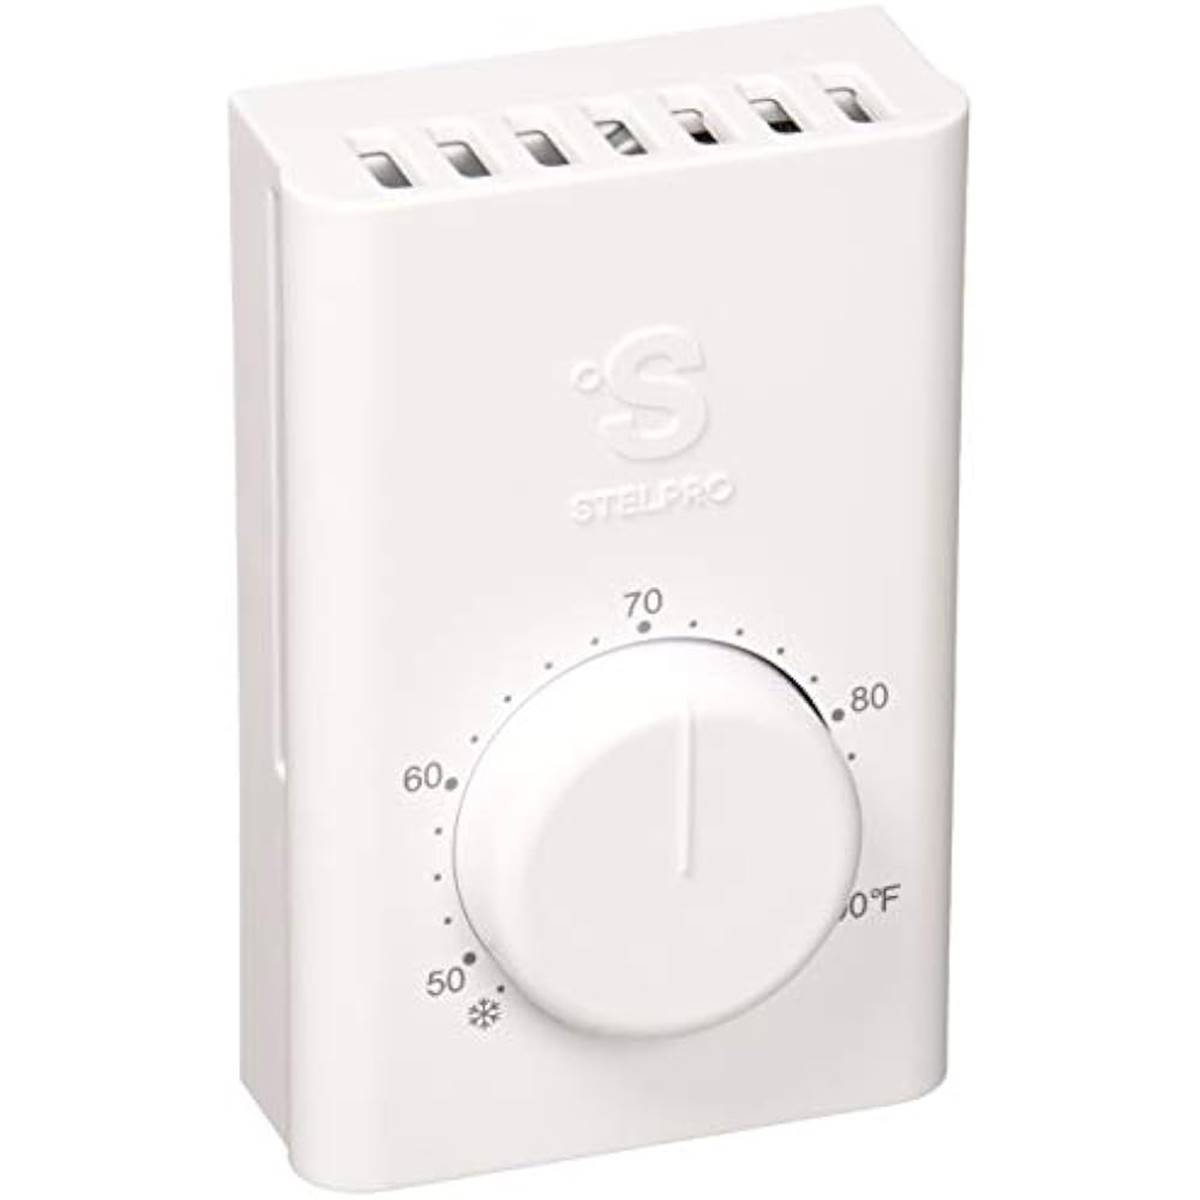
Single-pole dimmer switches come in different styles, including rotary, slide, and touch-sensitive models. The rotary switch features a dial that you can turn to adjust the brightness. The slide switch has a lever that you can slide up and down to control the intensity. The touch-sensitive switch is operated by simply tapping or swiping your finger across the surface.
It is important to note that not all types of light bulbs are compatible with dimmer switches. Traditional incandescent bulbs work well with dimmers, as do halogen bulbs. However, it is crucial to check the specifications of other bulbs, such as LED and CFL, to ensure they are labeled as dimmable. Using non-dimmable bulbs with a dimmer switch can cause flickering, buzzing, or even damage to the bulbs.
Now that we have a better understanding of single-pole dimmer switches, let’s move on to the tools and materials you’ll need for the installation process.
Tools and Materials Required
Before you begin installing a single-pole dimmer switch, it’s important to gather all the necessary tools and materials to ensure a smooth and successful installation. Here’s a list of what you’ll need:
- Screwdriver (flathead or Phillips, depending on the screws used)
- Wire stripper
- Needle-nose pliers
- Voltage tester
- Dimmer switch
- Dimmer switch plate
- Wire connectors
- Electrical tape
It’s crucial to have the right tools and materials for the job to ensure your safety and the proper functioning of the dimmer switch. Before starting the installation, make sure you have these items readily available.
Additionally, ensure that you have turned off the power to the circuit you’ll be working on. This can be done by switching off the circuit breaker or removing the fuse for the specific circuit. Be cautious and use a voltage tester to double-check that there is no electrical current running through the wires before proceeding with the installation.
Once you have gathered your tools and materials and verified that the power is turned off, you’re ready to move on to the next step: removing the existing switch and switch plate.
Step 1: Turn Off Power
Before you begin any electrical work, it is essential to ensure your safety by turning off the power to the circuit you’ll be working on. This step is crucial to avoid the risk of electric shock or damage to your electrical system.
To turn off the power, follow these steps:
- Locate your electrical panel or circuit breaker box. This is typically found in a basement, utility room, or garage.
- Open the panel door, and you’ll see a series of switches or circuit breakers labeled with the different areas of your home.
- Identify the circuit that powers the lights you’ll be working on. Look for labels such as “lights,” “bedroom,” or any other indication of the area.
- Flip the switch or turn off the circuit breaker that corresponds to the specific circuit. The switch should move to the “off” position, or the circuit breaker should click to the “off” position.
After switching off the power, it’s a good idea to double-check that the lights are no longer working by flipping the switch or trying to turn on the lights. This extra precaution ensures that the power has been effectively disconnected from the circuit.
Even though you have turned off the power, it’s still a good practice to use a voltage tester to confirm that there is no electrical current running through the wires. This handheld device can detect the presence of electricity and provide an extra level of safety.
Remember, electrical work should only be performed by individuals with proper training or experience. If you’re unsure about any aspect of the installation process, it’s always best to consult a licensed electrician.
Now that you have turned off the power, you can proceed to the next step: removing the switch plate and existing switch.
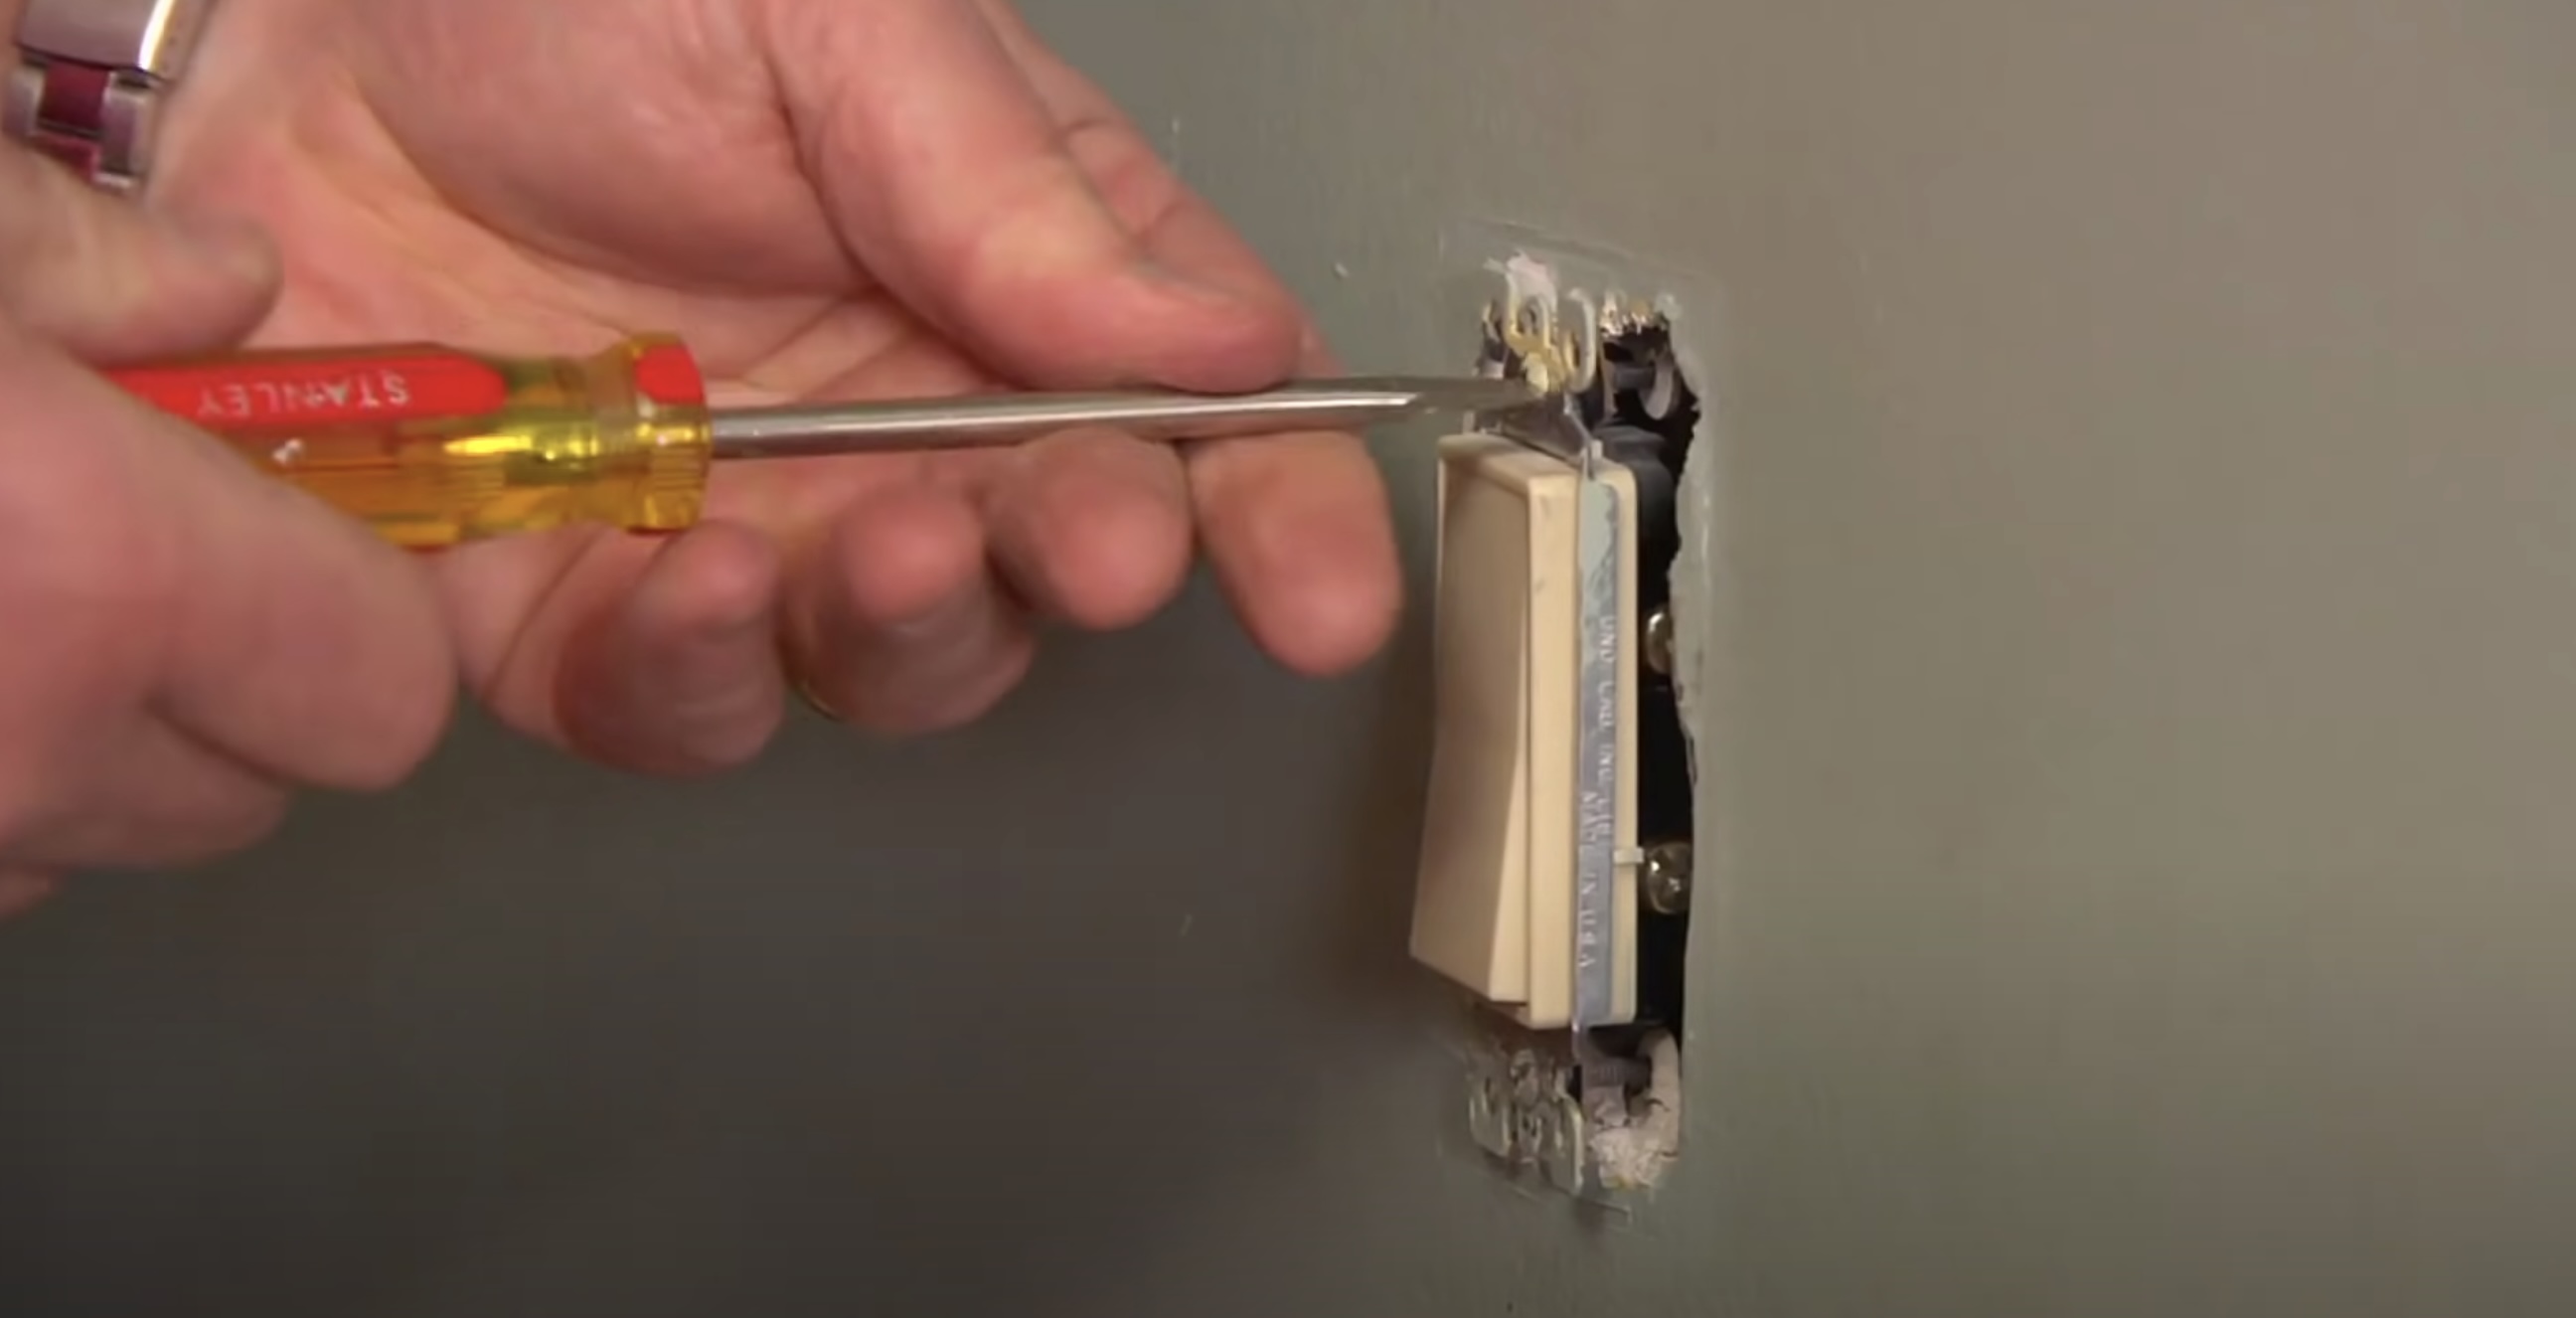
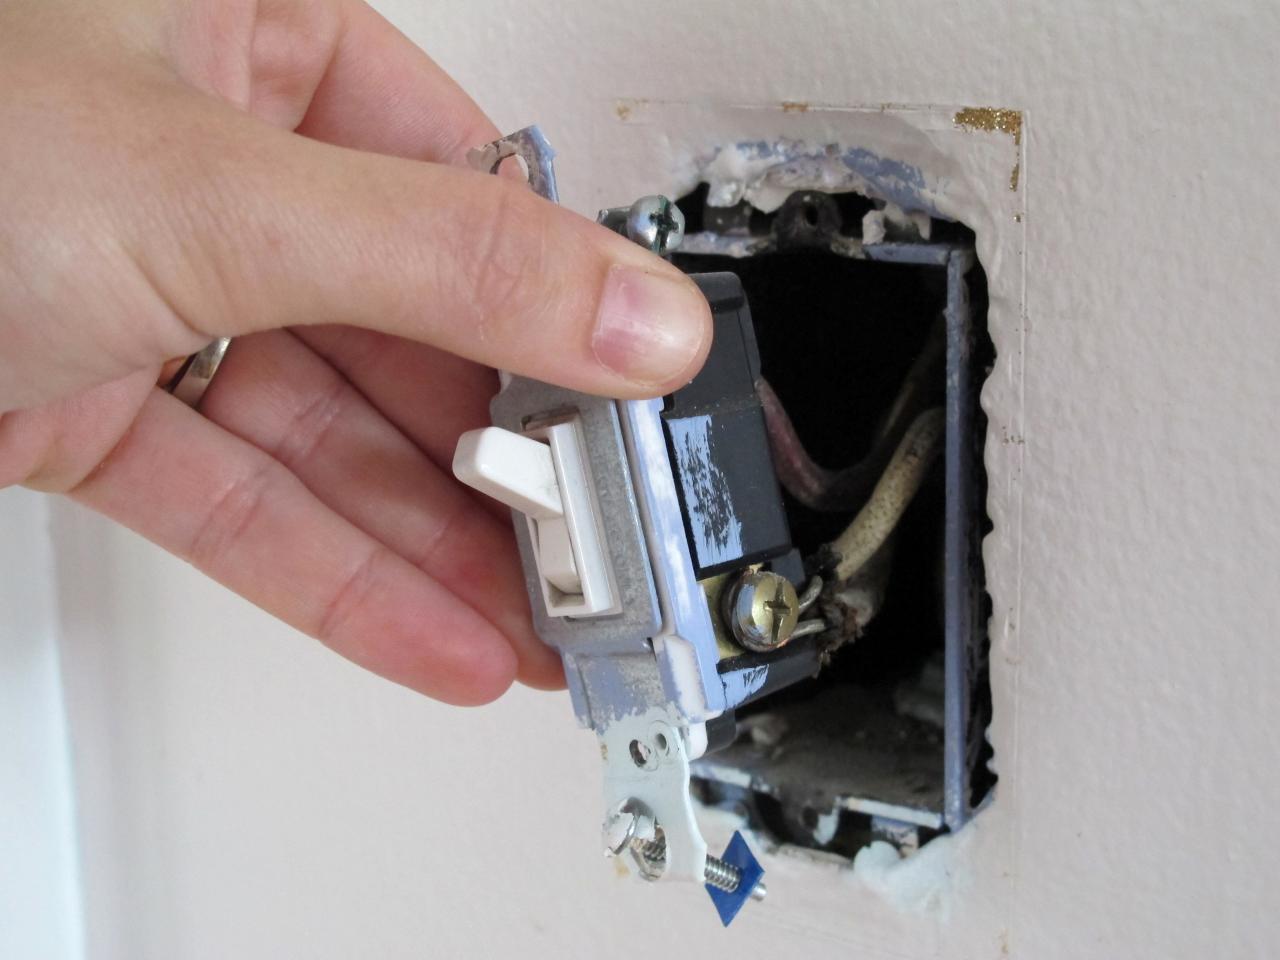
Step 2: Remove Switch Plate and Existing Switch
Now that the power is turned off, you can safely remove the switch plate and existing switch. This step will give you access to the wiring behind the switch and allow you to proceed with the installation of the dimmer switch.
Follow these steps to remove the switch plate and existing switch:
- Begin by using a screwdriver to loosen and remove the screws holding the switch plate in place. Set the screws aside in a safe place, as you will need them later.
- Gently pull the switch plate away from the wall, being careful not to damage the surrounding area.
- Once the switch plate is removed, you will see the existing switch attached to a mounting bracket. The switch will be held in place by screws at the top and bottom.
- Use a screwdriver to loosen and remove these screws, allowing the switch to come free from the mounting bracket.
- Take note of how the wires are connected to the existing switch. You may want to take a picture or make a diagram to reference later during the installation of the dimmer switch.
- Carefully disconnect the wires from the existing switch by loosening the terminal screws or removing the wire connectors, depending on the type of wiring used.
Once the wires are detached, the existing switch can be fully removed. Set it aside, as it will no longer be needed.
With the switch plate and existing switch removed, you are now ready to move on to the next step: identifying the different wires.
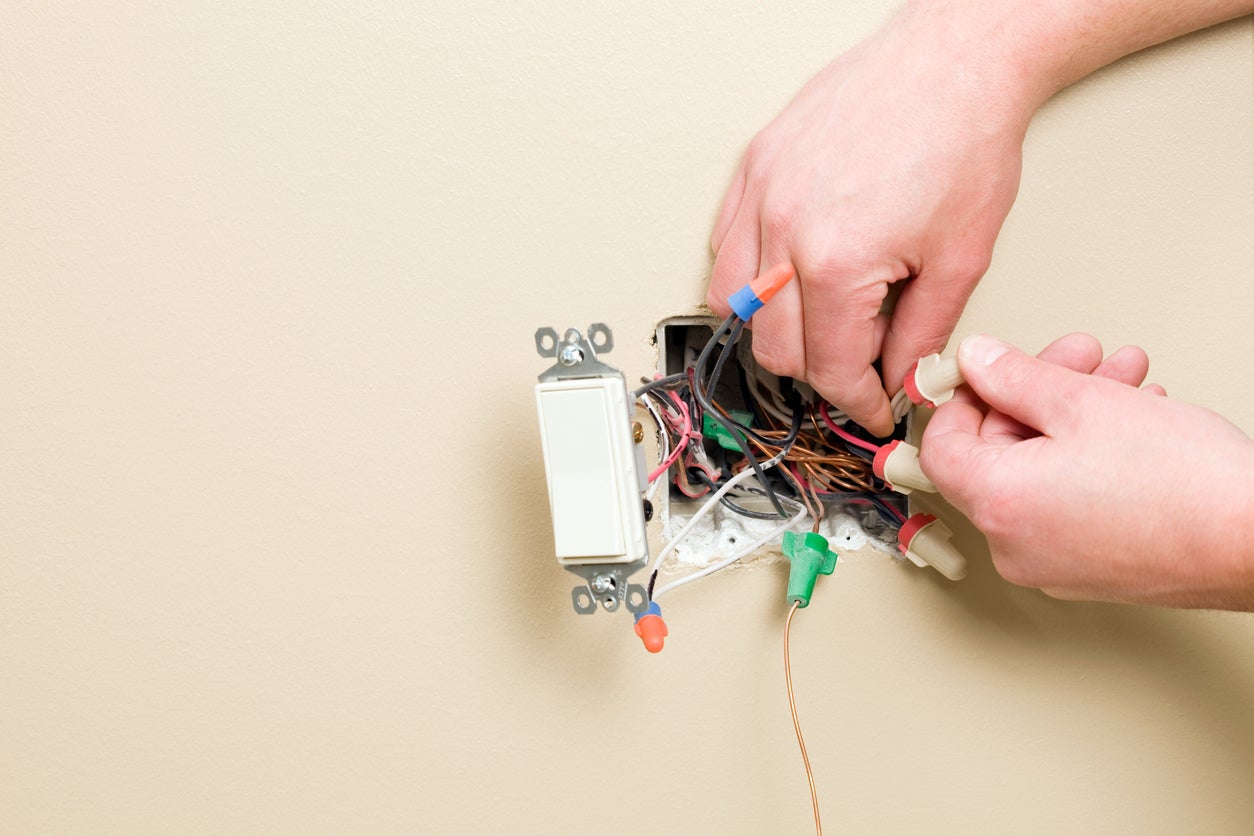
Step 3: Identify the Different Wires
Before you can install the dimmer switch, it’s important to identify the different wires in order to properly connect them. Understanding the purpose of each wire will help you navigate the installation process with confidence.
Here are the most common types of wires you may encounter:
- Black wire: This wire is typically hot or live and carries the electrical current to the switch.
- White wire: This wire is neutral and carries the electrical current back to the power source.
- Green or bare copper wire: This wire is the ground wire and provides a path for excess electricity to safely discharge into the ground.
However, keep in mind that the colors of the wires may vary depending on the wiring system used in your home. It’s always best to double-check using a voltage tester to determine the function of each wire.
To identify the different wires:
- Use a voltage tester and touch one probe to the black wire. The voltage tester should indicate a current if the wire is hot.
- Touch the other probe of the voltage tester to the white wire. If the voltage tester indicates a current, it confirms that the wire is neutral.
- If you have a ground wire, it is typically either green or bare copper. However, it may also be covered with green insulation.
- Take note of the location and function of each wire. This information will be crucial in the next step when you connect the dimmer switch.
Once you have identified the different wires, you are now ready to proceed with the installation of the dimmer switch. In the next step, we will guide you through connecting the wires to the dimmer switch.
When wiring a single-pole dimmer switch, always turn off the power at the circuit breaker before starting. Use a voltage tester to ensure the power is off before touching any wires.
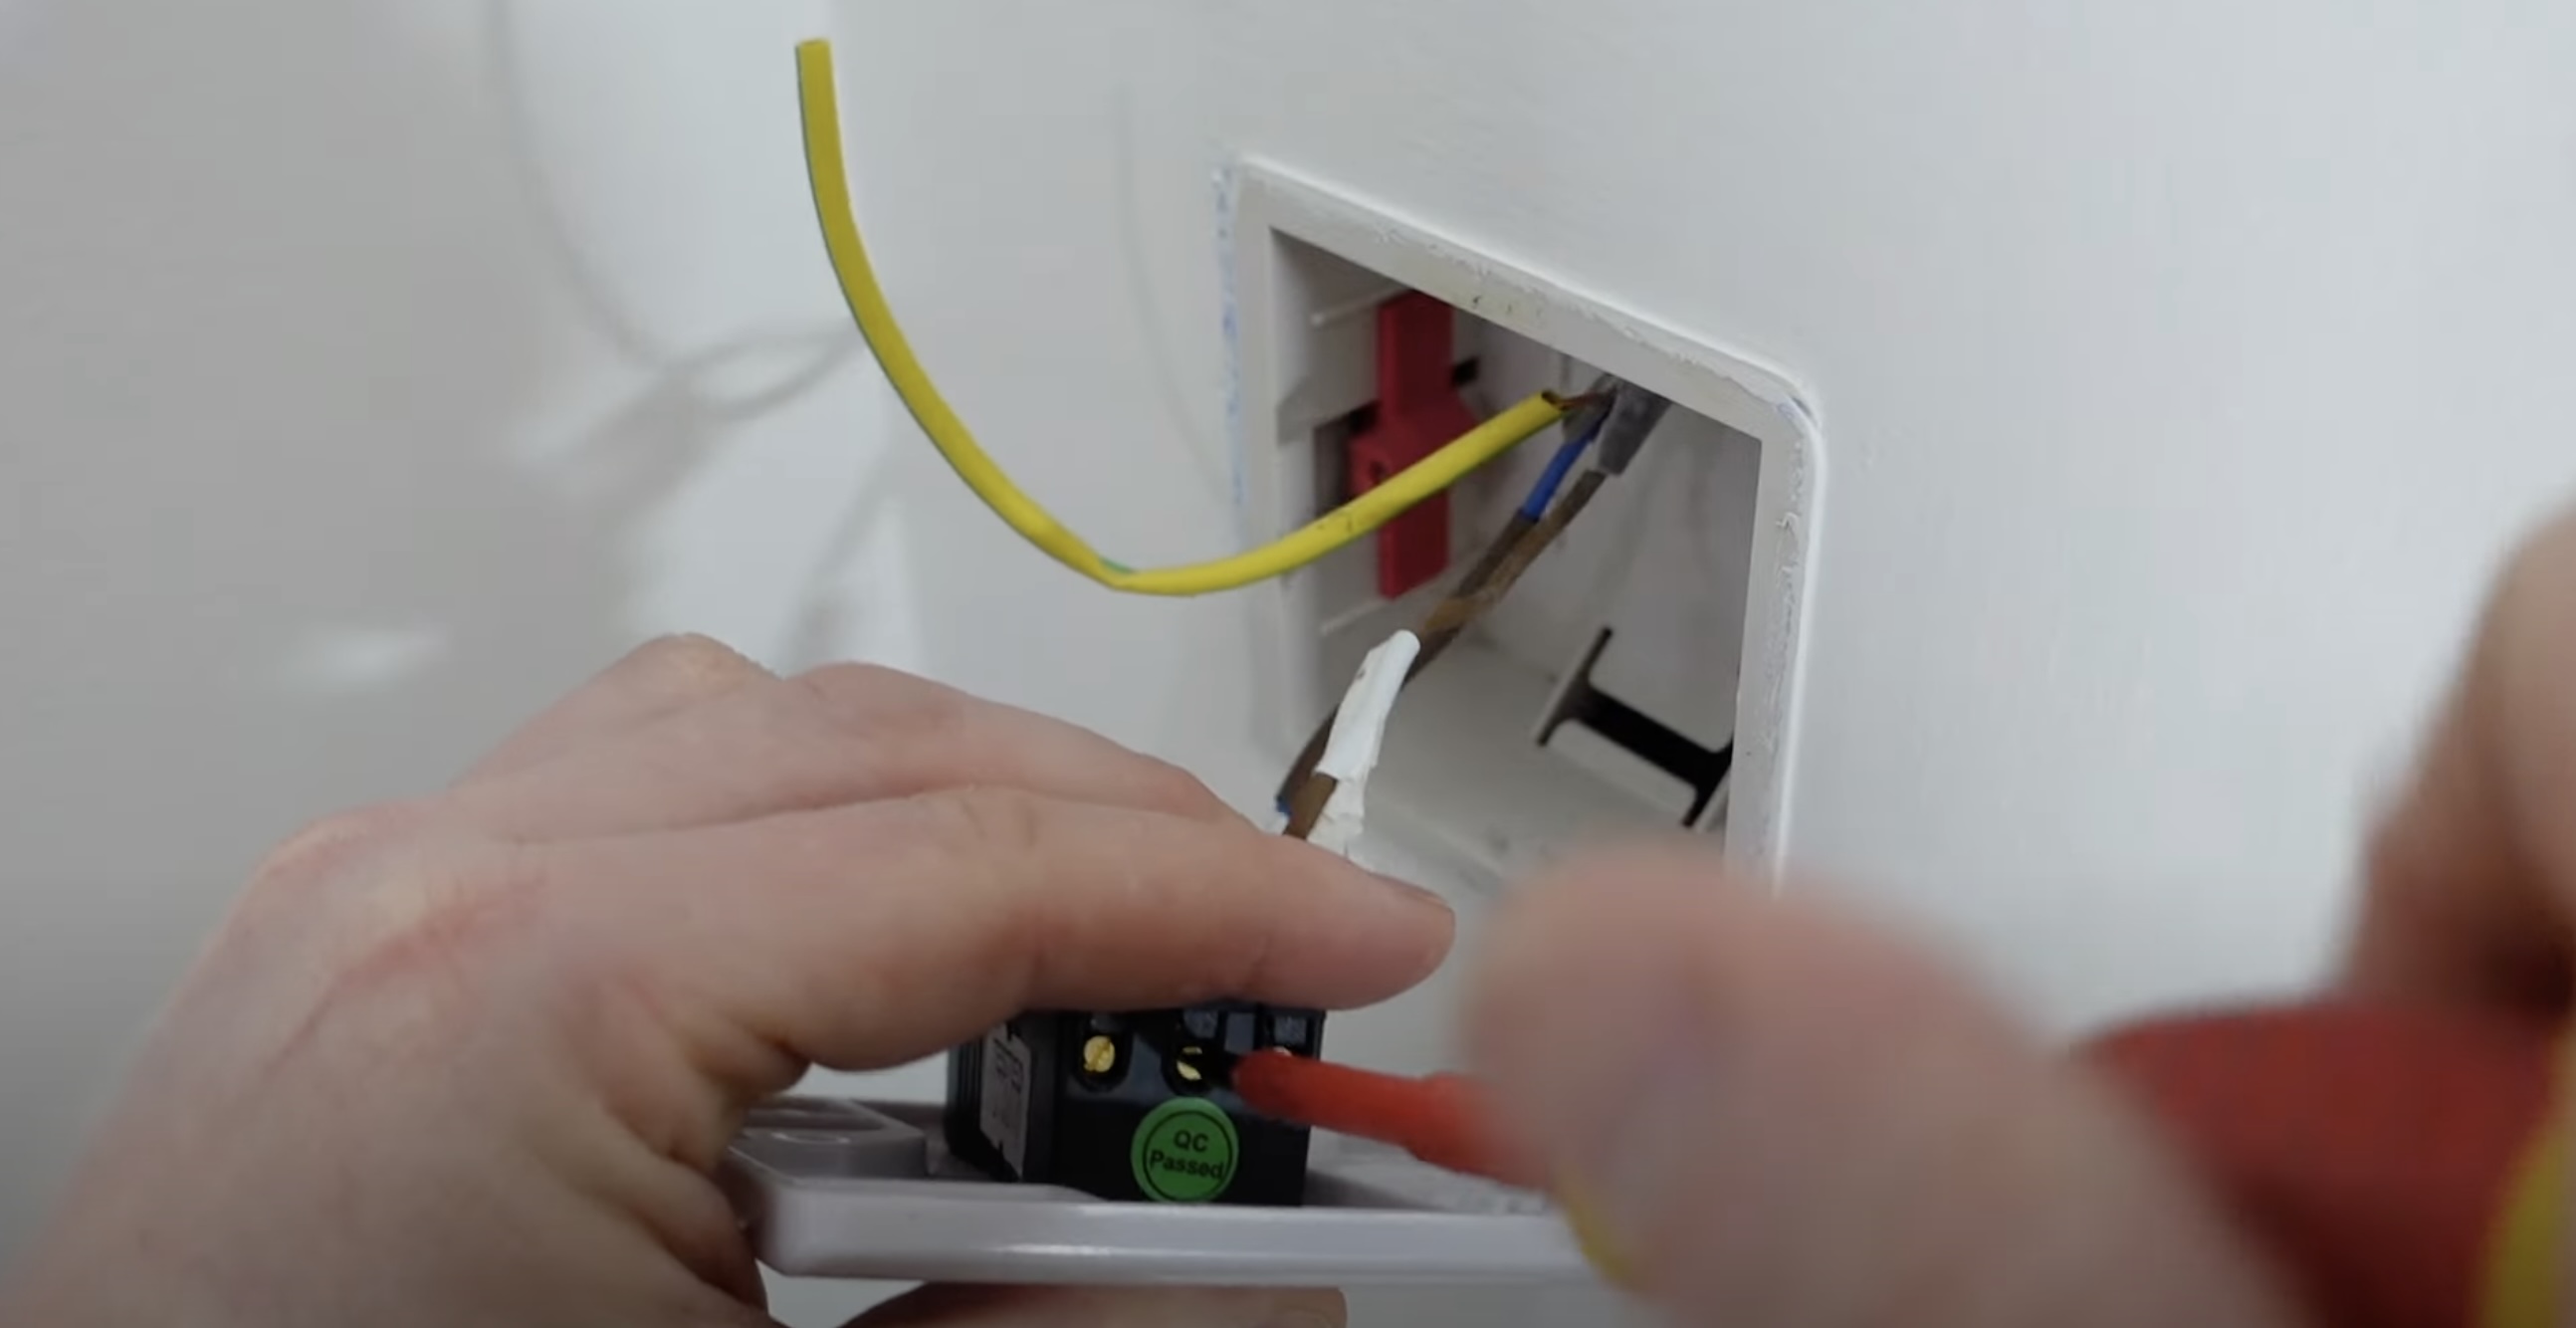
Step 4: Connect the Dimmer Switch
Now that you have identified the different wires, it’s time to connect the dimmer switch. Follow these steps to ensure a proper and secure connection:
- Start by carefully examining the dimmer switch. You will notice that it has three terminals: one for the black wire (hot), one for the white wire (neutral), and one for the ground wire.
- Begin by connecting the black wire from the switch to the black (hot) wire from the wall. Loosen the terminal screw on the dimmer switch, wrap the exposed end of the wire around the screw in a clockwise direction, and tighten the screw to secure the connection.
- Next, connect the white wire from the switch to the white (neutral) wire from the wall. Follow the same procedure as above, ensuring a secure connection.
- If you have a ground wire, connect it to the green terminal on the dimmer switch. Again, wrap the exposed end of the wire around the screw in a clockwise direction and tighten the screw to secure the connection.
- Ensure that all connections are tight and secure. Give each wire a gentle tug to make sure it is properly attached.
It’s important to note that some dimmer switches may have different wiring configurations or additional features such as dimmer controls or indicator lights. Always refer to the manufacturer’s instructions for your specific dimmer switch to ensure the correct wiring procedure.
Once you have connected the wires to the dimmer switch, you can proceed to the next step: securing the dimmer switch.
Step 5: Secure the Dimmer Switch
After connecting the wires to the dimmer switch, the next step is to secure it in place. Properly securing the switch will ensure stability and prevent it from coming loose or moving around.
Follow these steps to secure the dimmer switch:
- Carefully tuck the connected wires into the electrical box behind the switch. Be mindful not to pinch or damage any of the wires during this process.
- Align the dimmer switch with the screw holes on the mounting bracket inside the electrical box.
- Using the screws that were included with the dimmer switch, insert them through the screw holes on the switch and tighten them into the mounting bracket. Make sure they are snug but not overtightened.
- Check the dimmer switch to ensure it is securely fastened and does not wiggle or move when touched. Any excessive movement may indicate that the screws need to be tightened further.
Securing the dimmer switch is an important step to ensure its proper functionality and durability. A securely mounted switch will provide stability and prevent any accidental disconnections or damage.
With the dimmer switch securely in place, you can move on to the next step: installing the dimmer switch plate.
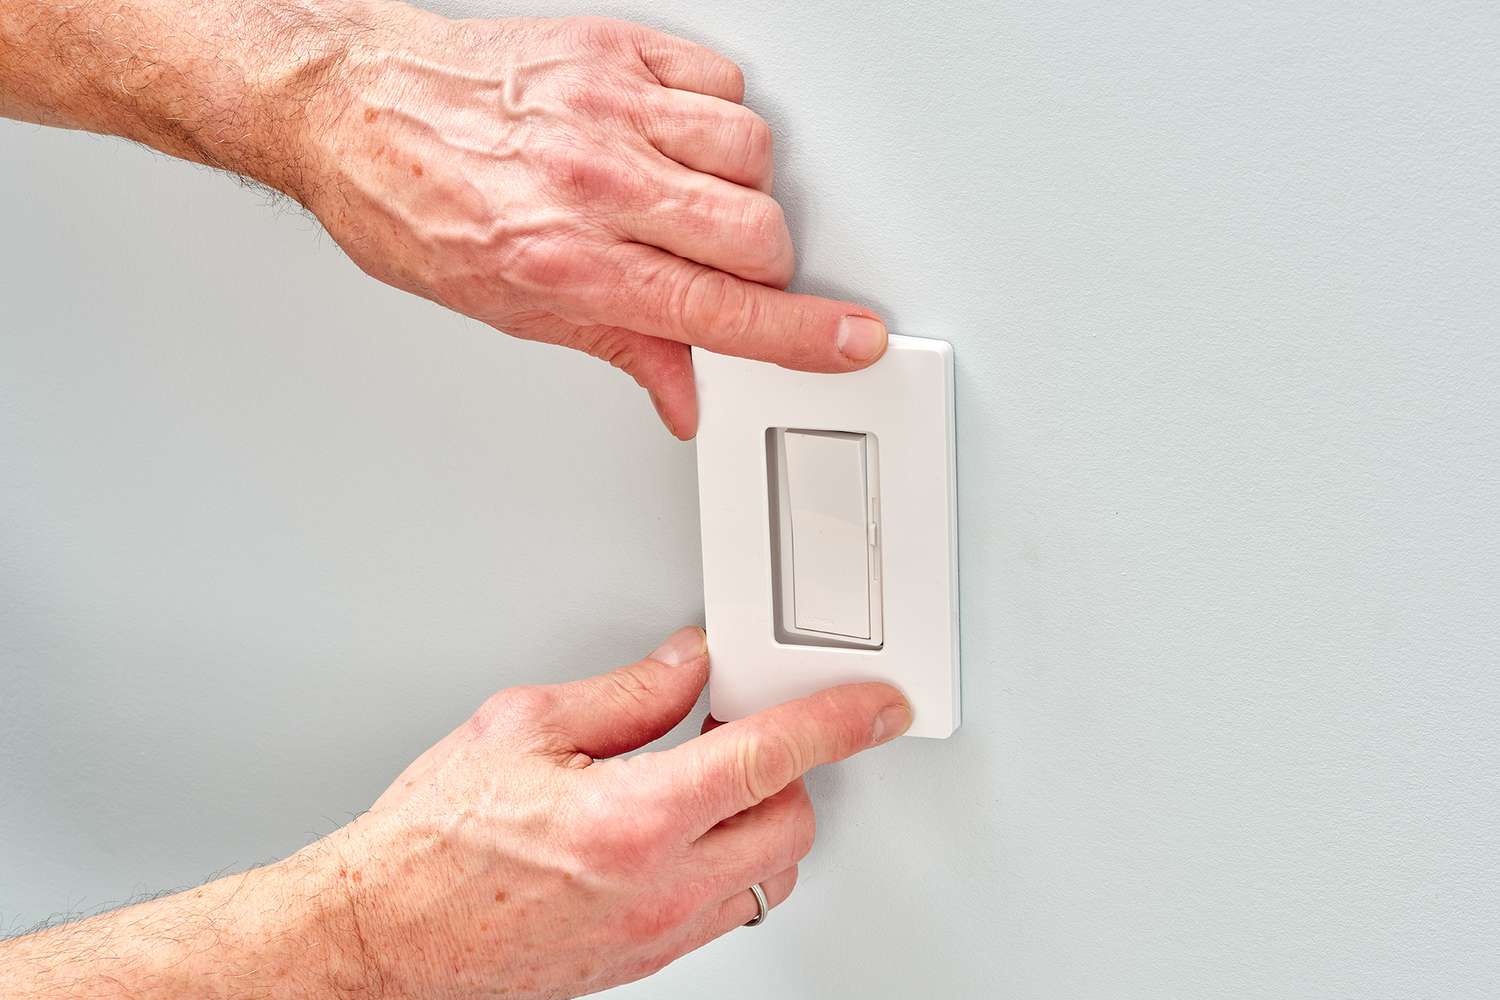
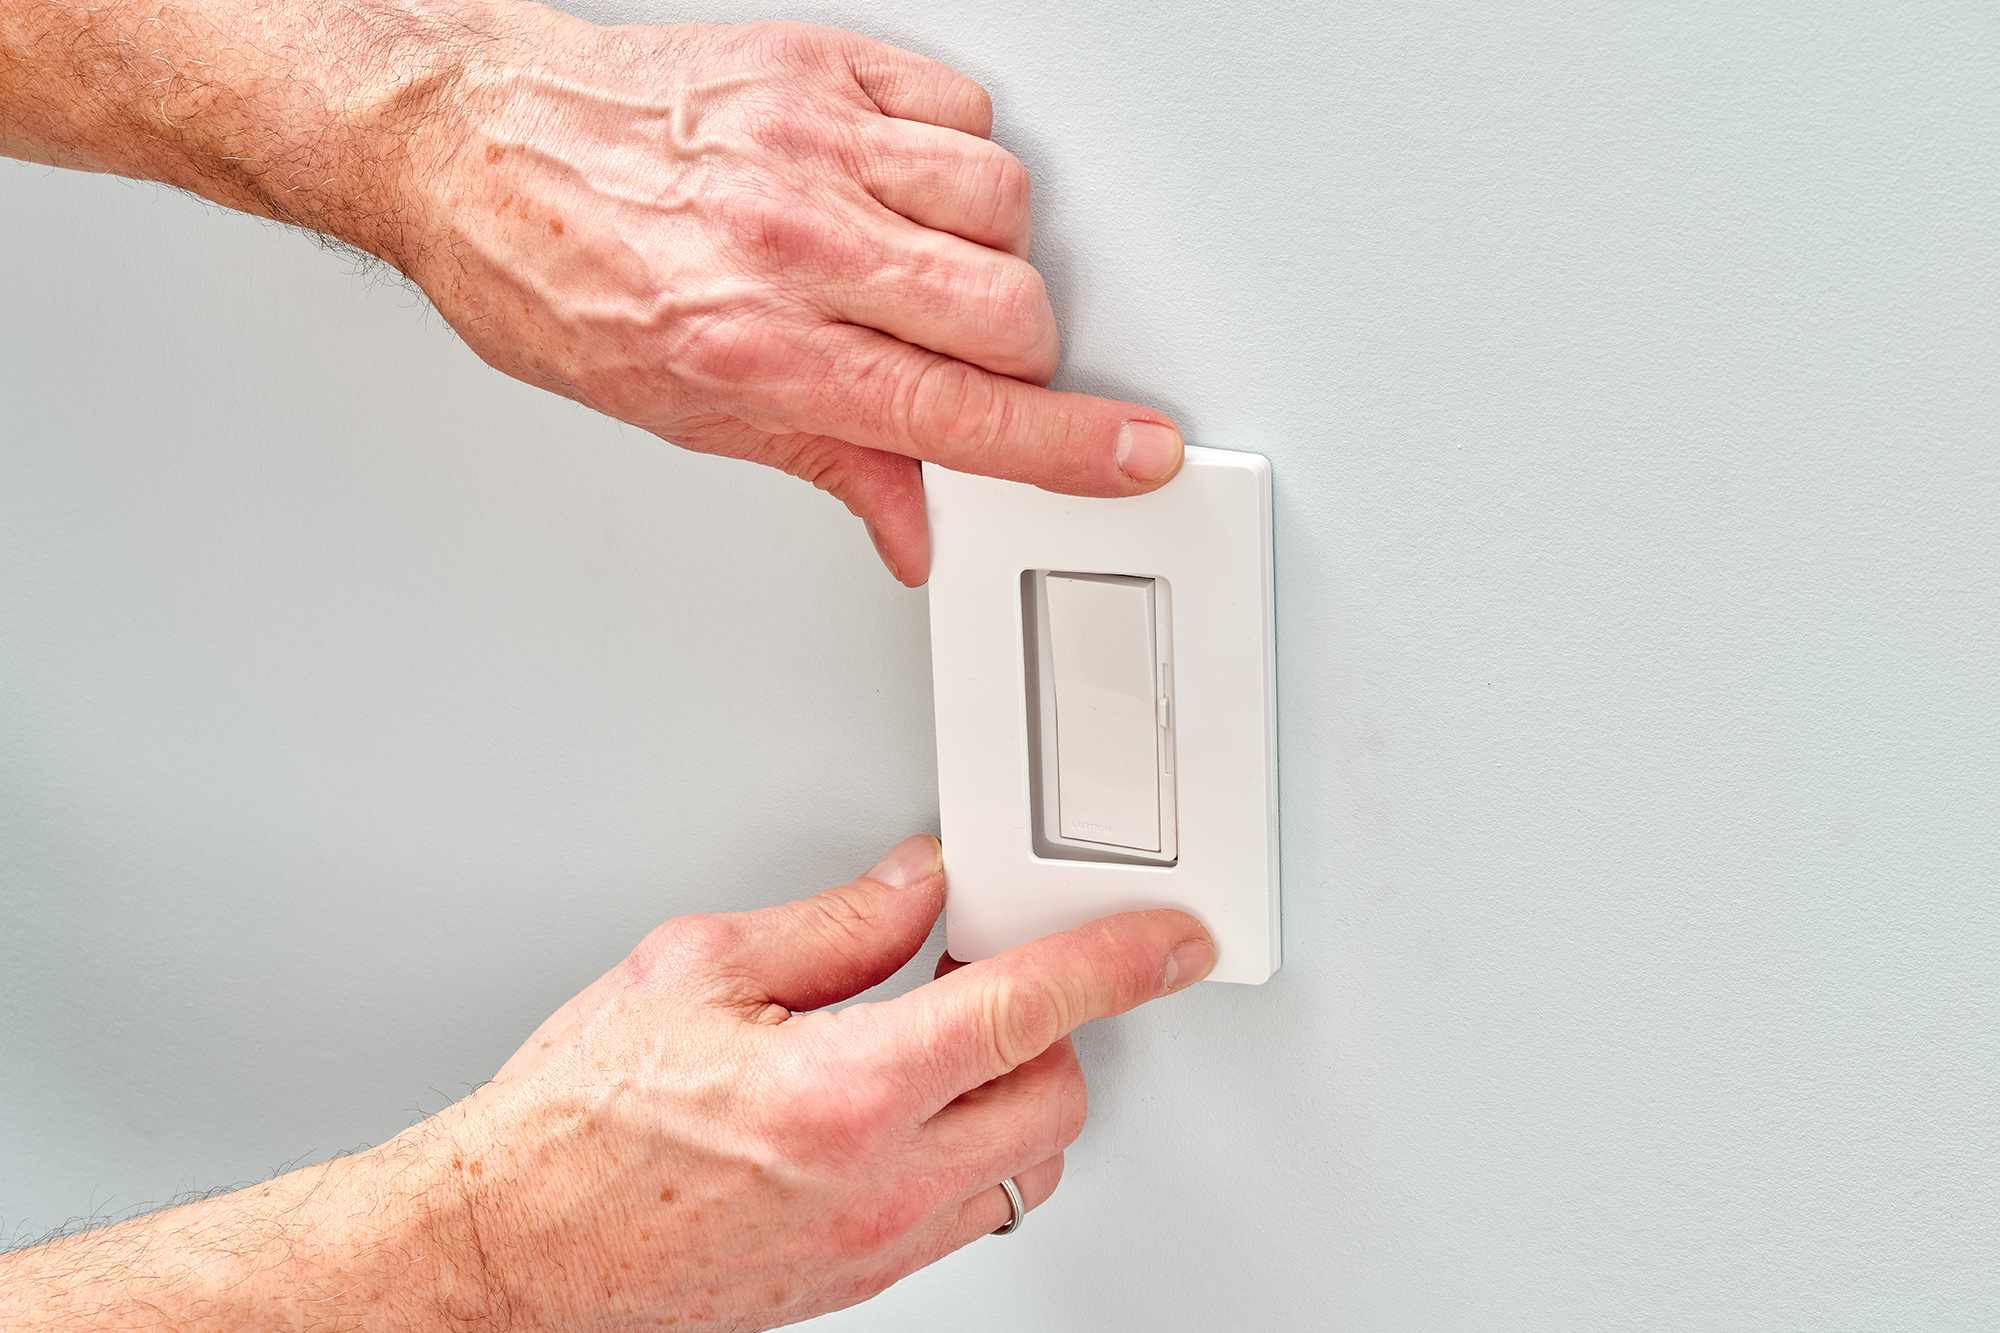
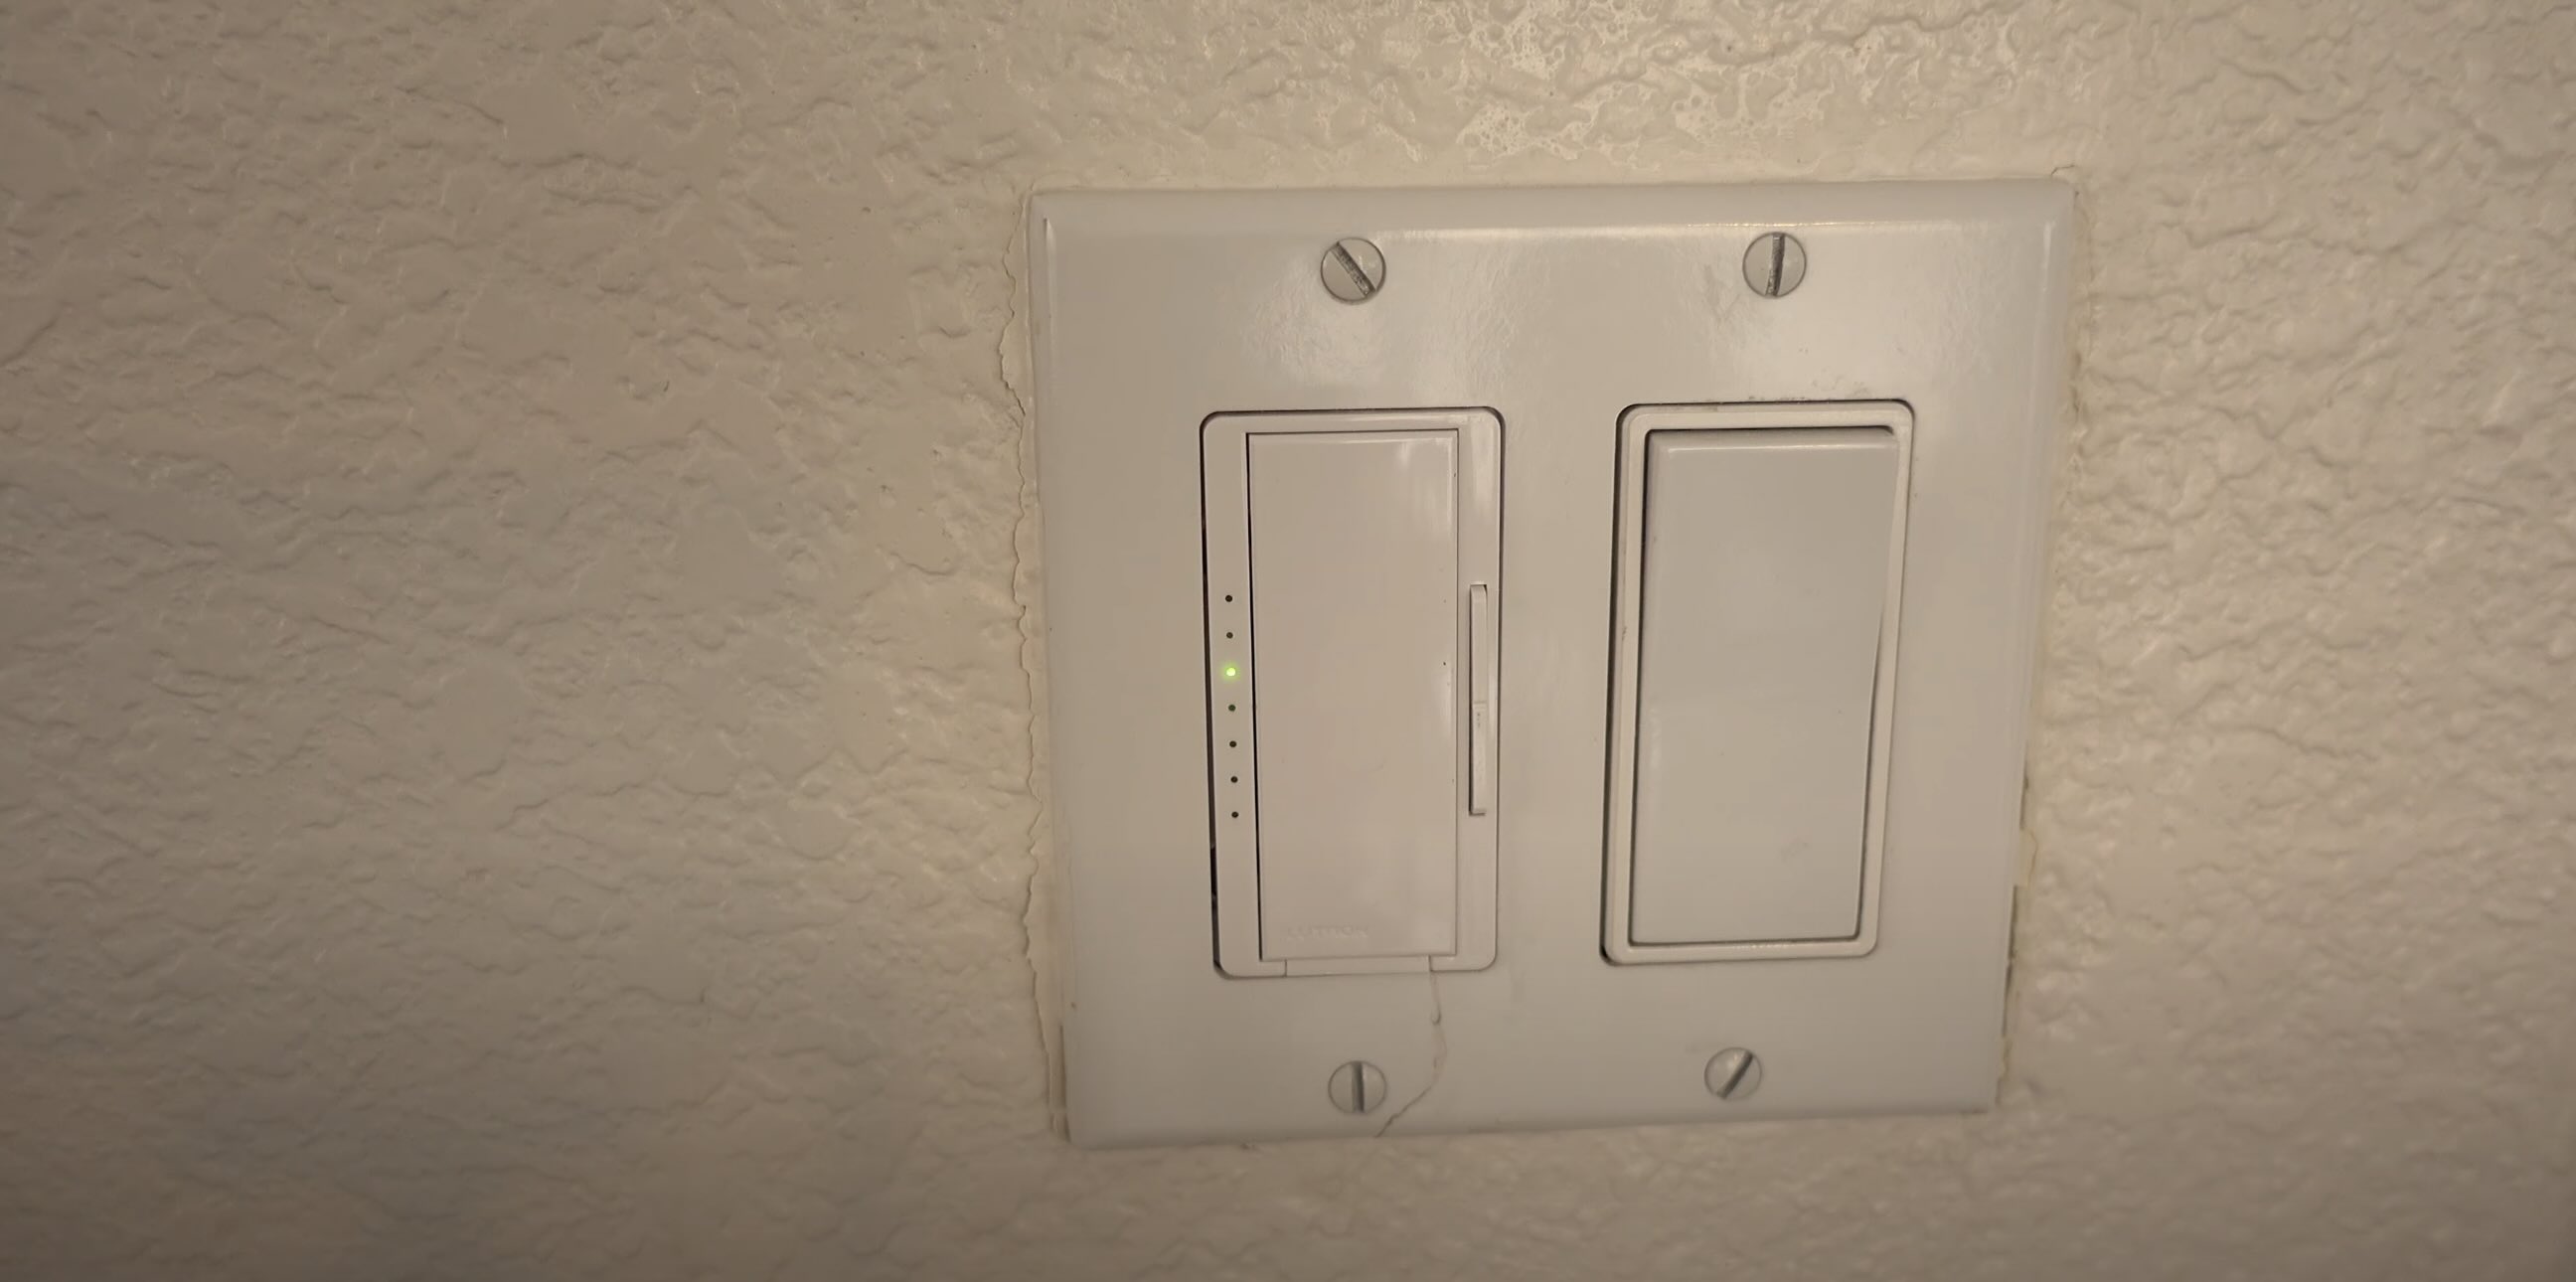
Step 6: Install Dimmer Switch Plate
Now that the dimmer switch is securely installed, it’s time to put the finishing touch on the installation by attaching the dimmer switch plate. The switch plate will not only provide a clean and polished look but also protect the switch and wiring behind it.
Follow these steps to install the dimmer switch plate:
- Take the dimmer switch plate and align it with the screw holes on the electrical box.
- Insert the screws into the screw holes on the plate and tighten them until the plate is firmly attached to the electrical box. Be careful not to overtighten the screws, as this can damage the plate or the electrical box.
- Double-check that the dimmer switch plate is level and aligned correctly. Adjust the position if necessary.
- Gently give the switch plate a slight tug to ensure it is securely in place.
With the dimmer switch plate installed, your installation is nearly complete. However, before you can restore power and test the dimmer, there is one final step: restoring power to the circuit.
Remember to always follow safety precautions and turn off the power before working on any electrical installations or repairs. If you’re unsure about any aspect of the installation process, consult a licensed electrician for assistance.
Now that the dimmer switch plate is installed, you’re ready for the last step: restoring power and testing the dimmer switch.
Read more: How To Wire In A Dimmer Switch
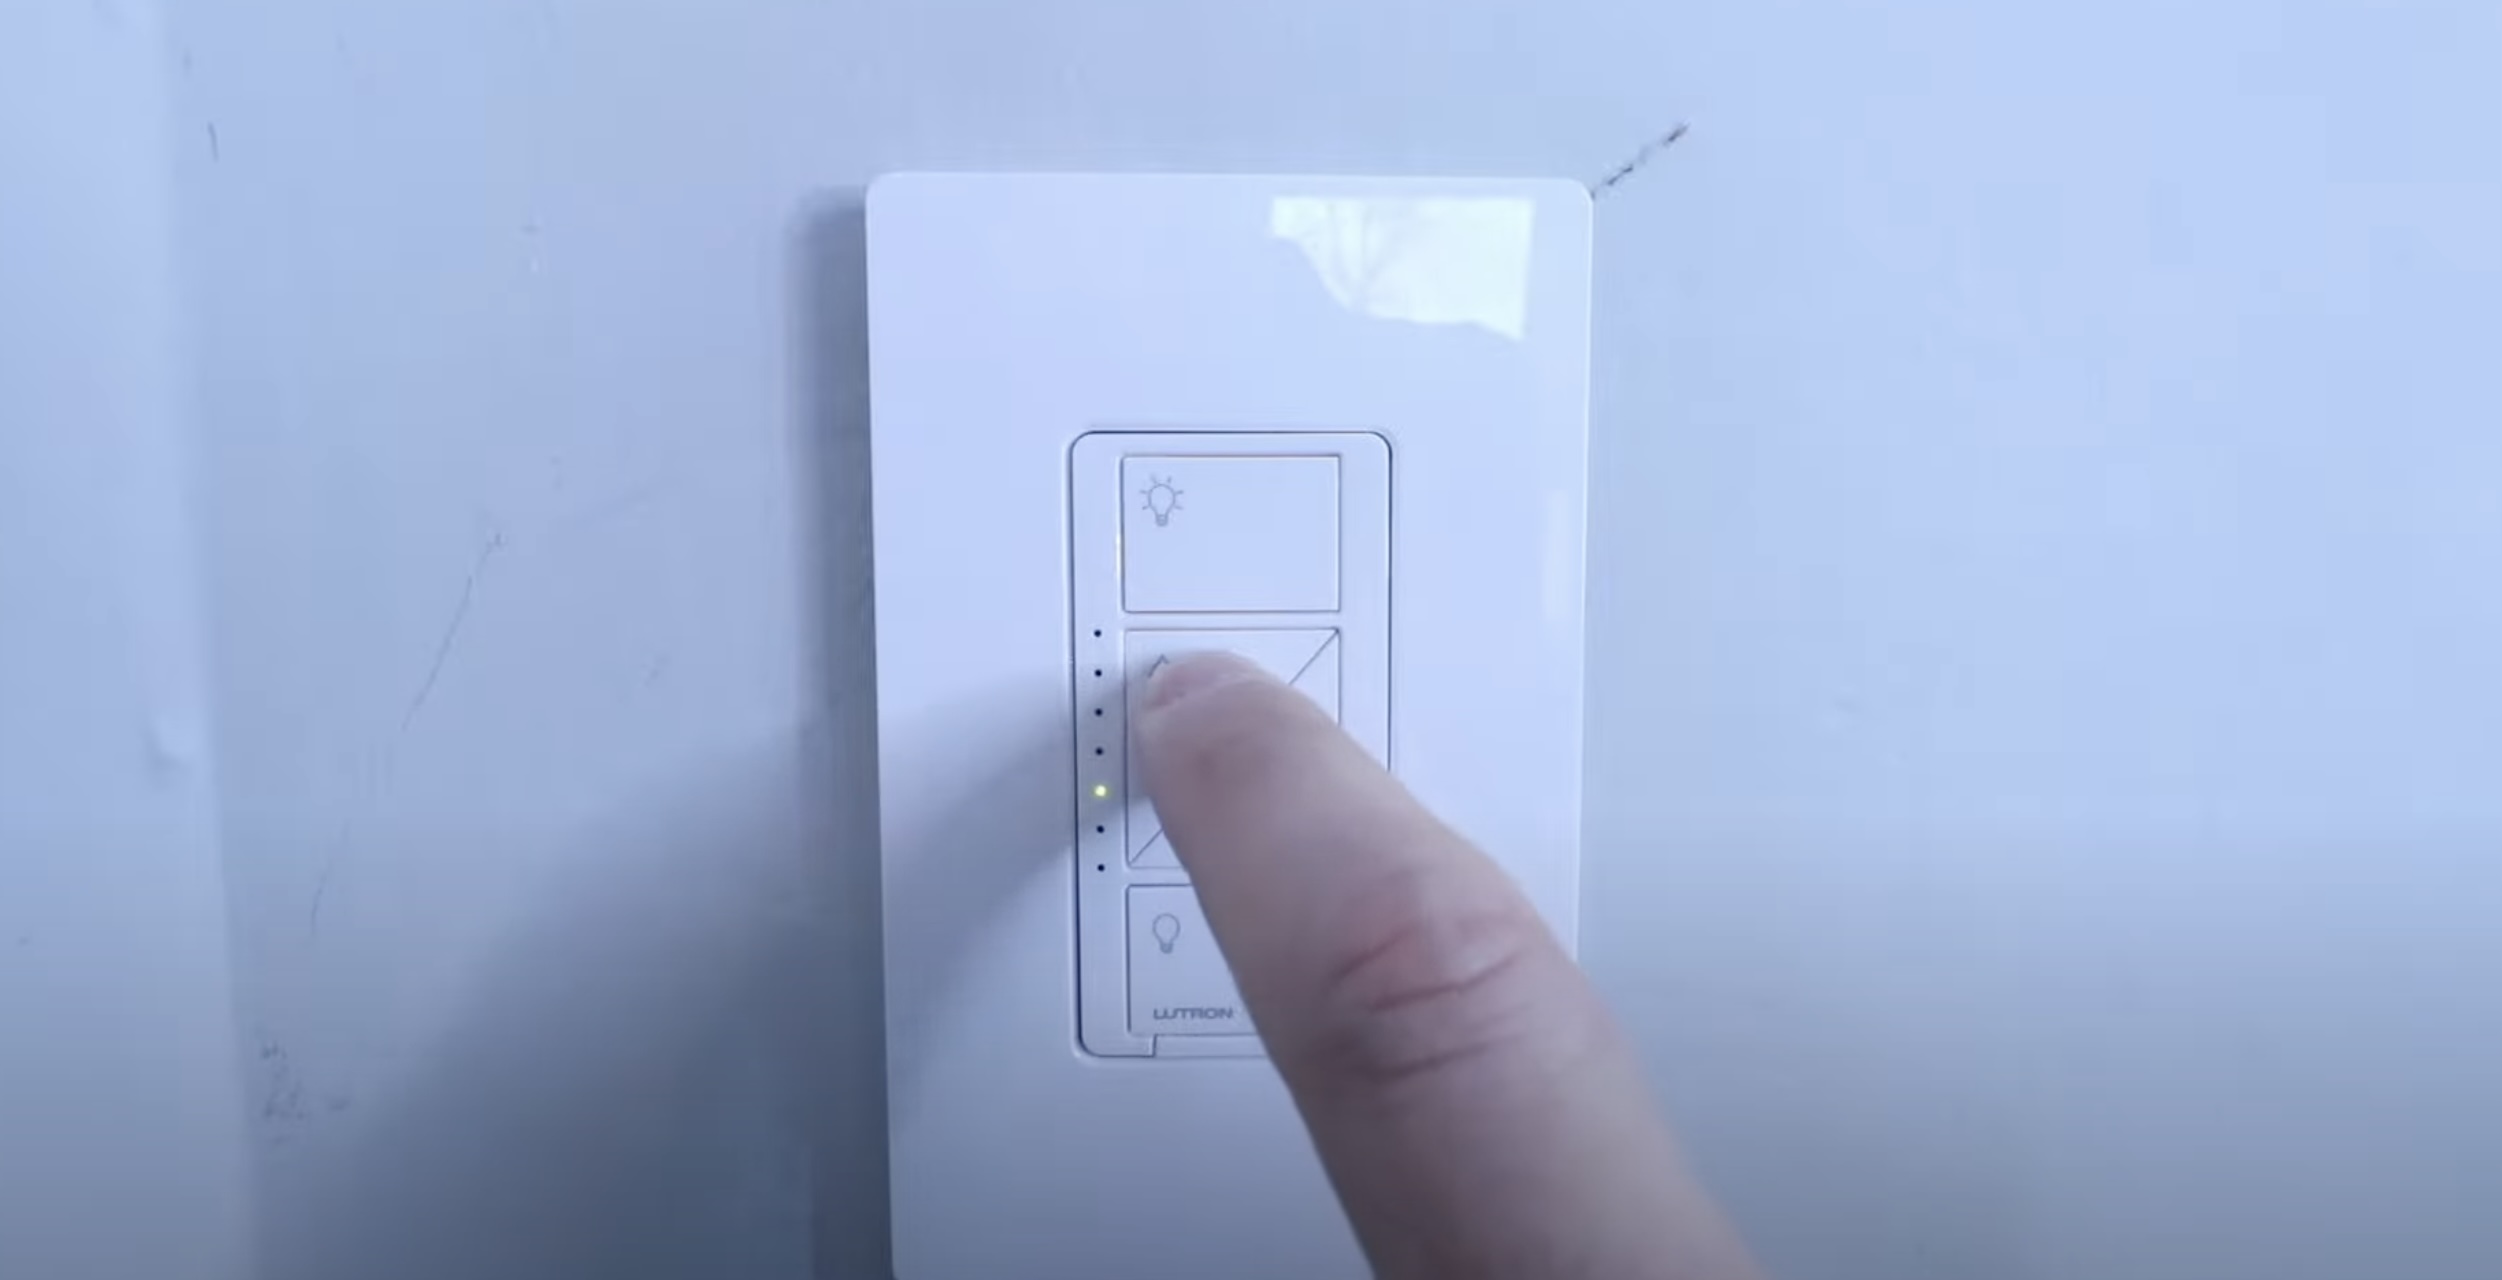
Step 7: Restore Power and Test the Dimmer
After completing the installation of the dimmer switch and switch plate, it’s time to restore power and test the functionality of the dimmer. This final step will ensure that everything is properly connected and that the dimmer switch is working as intended.
Follow these steps to restore power and test the dimmer:
- Return to the electrical panel or circuit breaker box and locate the circuit that you switched off earlier.
- Flip the switch or turn on the circuit breaker to restore power to the circuit.
- Once the power is restored, go to the area where the dimmer switch is installed.
- Gradually adjust the dimmer switch by rotating, sliding, or tapping, depending on the type of switch you have installed. Observe the lights and check if they respond accordingly by dimming or brightening.
- Test the full range of the dimmer switch to ensure it smoothly adjusts the brightness levels of the lights.
If the lights do not respond to the dimmer switch or exhibit any abnormal behavior, double-check the wiring connections and make sure they are secure. It’s possible that a loose or incorrect connection may be causing the issue.
If you encounter any difficulties or the dimmer switch does not function as expected, consult the manufacturer’s instructions or contact a licensed electrician for further assistance.
With the power restored and the dimmer switch tested successfully, congratulations! You have completed the installation of a single-pole dimmer switch.
Remember, it’s important to always exercise caution and follow proper safety procedures when working with electricity. If you are not confident in your abilities or encounter any challenges during the installation process, it’s best to seek professional assistance.
Enjoy the flexibility and ambiance that a single-pole dimmer switch brings to your home!
Overall, the installation of a single-pole dimmer switch is a relatively simple DIY project that can provide significant benefits in terms of lighting control and energy efficiency. With the right tools, materials, and proper understanding of the installation process, you can easily upgrade your lighting system and enhance the ambiance of your space.
Remember, safety should always be your top priority. If you have any concerns or doubts about the installation process, it’s best to consult a qualified electrician to ensure a safe and successful installation.
So go ahead, get started with your dimmer switch installation project, and enjoy the enhanced lighting experience it brings to your home!
Conclusion
Installing a single-pole dimmer switch is a straightforward and rewarding DIY project that allows you to have full control over the lighting in your home. By following the steps outlined in this article and ensuring your safety at every stage, you can successfully upgrade your lighting system and create the perfect ambiance for any occasion.
We began by understanding what a single-pole dimmer switch is and how it works. We discussed the different types of dimmer switches available and the importance of using dimmable bulbs for optimal performance.
We then covered the tools and materials you’ll need for the installation, emphasizing the significance of working with the correct equipment for a smooth and efficient project.
Throughout the step-by-step process, we guided you on how to turn off the power, remove the existing switch and switch plate, identify the different wires, connect the dimmer switch, secure it in place, install the dimmer switch plate, restore power, and test the functionality of the dimmer.
We stressed the importance of safety and highlighted the need to consult a licensed electrician if you encounter any difficulties or have any concerns during the installation process.
By following these instructions and taking the necessary precautions, you can successfully install a single-pole dimmer switch and enjoy the benefits of customizable lighting in your home.
Remember, the installation of electrical devices should be approached with caution, and if you are unfamiliar with electrical work, it is always best to seek professional assistance.
So go ahead, enhance your lighting experience with a single-pole dimmer switch, and enjoy the ability to effortlessly set the mood and atmosphere in your home!
Frequently Asked Questions about How To Wire A Single-Pole Dimmer Switch
Was this page helpful?
At Storables.com, we guarantee accurate and reliable information. Our content, validated by Expert Board Contributors, is crafted following stringent Editorial Policies. We're committed to providing you with well-researched, expert-backed insights for all your informational needs.


0 thoughts on “How To Wire A Single-Pole Dimmer Switch”