
Articles
How To Wire Fan Switch
Modified: March 1, 2024
Learn how to wire a fan switch with our informative articles. Whether you're a beginner or an expert, our guides will help you get the job done.
(Many of the links in this article redirect to a specific reviewed product. Your purchase of these products through affiliate links helps to generate commission for Storables.com, at no extra cost. Learn more)
Introduction
Having a fan switch is essential for controlling the operation of your ceiling or exhaust fan. Whether you are replacing an old and worn-out switch or installing a new one, it is important to know how to wire a fan switch correctly. This article will guide you through the process, ensuring that your fan operates safely and efficiently.
This step-by-step guide will provide you with the necessary instructions and insights to successfully wire a fan switch. By following these instructions and using the right tools and materials, you can complete the task with ease and confidence.
Before we delve into the details, it is important to mention that working with electrical connections can be dangerous if you are not familiar with the process. If you are not comfortable or experienced with electrical work, it is recommended to seek the assistance of a professional electrician.
That being said, if you are ready to take on the task, let’s gather the necessary tools and materials to get started.
Key Takeaways:
- Prioritize safety by turning off the power, identifying wire connections, and securing them with wire connectors and electrical tape when wiring a fan switch.
- Enjoy the convenience of controlling your fan with ease by following the step-by-step guide to wire a new fan switch, ensuring proper installation and functionality.
Read more: How To Wire A Ceiling Fan To A Light Switch
Tools and Materials Needed
Before you begin wiring the fan switch, make sure you have the following tools and materials ready:
- Wire cutter/stripper: This tool will be used to cut and strip the wires.
- Screwdriver: Depending on the switch type, you may need a Phillips or flathead screwdriver.
- Wire connectors: These connectors will be used to secure the wire connections.
- Electrical tape: It is important to insulate the wire connections with electrical tape for safety purposes.
- Voltage tester: This tool will help you ensure that the power is turned off before starting the wiring process.
- New fan switch: Make sure you have a compatible replacement switch that matches the specifications of your current switch.
- Wire nuts: These will be used to attach the wires to the fan switch.
- Step ladder: Depending on the height of your fan, you may need a step ladder or stool to safely access the switch.
Additionally, it is important to turn off the power to the fan circuit before starting any work. This can be done by switching off the breaker at the electrical panel that controls the fan. Double-check that there is no power running to the circuit by using a voltage tester. Safety should always be a top priority when working with electricity.
Once you have all the necessary tools and materials, you are ready to proceed with the wiring process. Let’s move on to the next step.
Step 1: Turn Off Power
Before you begin working on wiring the fan switch, it is crucial to turn off the power to the circuit. This step is necessary to ensure your safety and prevent any risk of electrical shock.
Start by locating your electrical panel or circuit breaker box. Open the panel door and find the switch that corresponds to the circuit that powers the fan. It is usually labeled or marked accordingly.
Once you have identified the correct switch, flip it to the “off” position. This will cut off the power supply to the fan circuit. You can double-check if the power is off by testing the fan switch with a voltage tester. Place one end of the voltage tester against the switch terminals and the other end on a known ground, such as a metal electrical box. If the tester does not light up or beep, it indicates that there is no power running to the switch.
It is crucial to always double-check the power before proceeding with any electrical work. By taking this precautionary step, you minimize the risk of electrical accidents or injuries. Remember, safety should be your top priority throughout the entire wiring process.
Once you have confirmed that the power is off, you are ready to move on to the next step of removing the old fan switch.
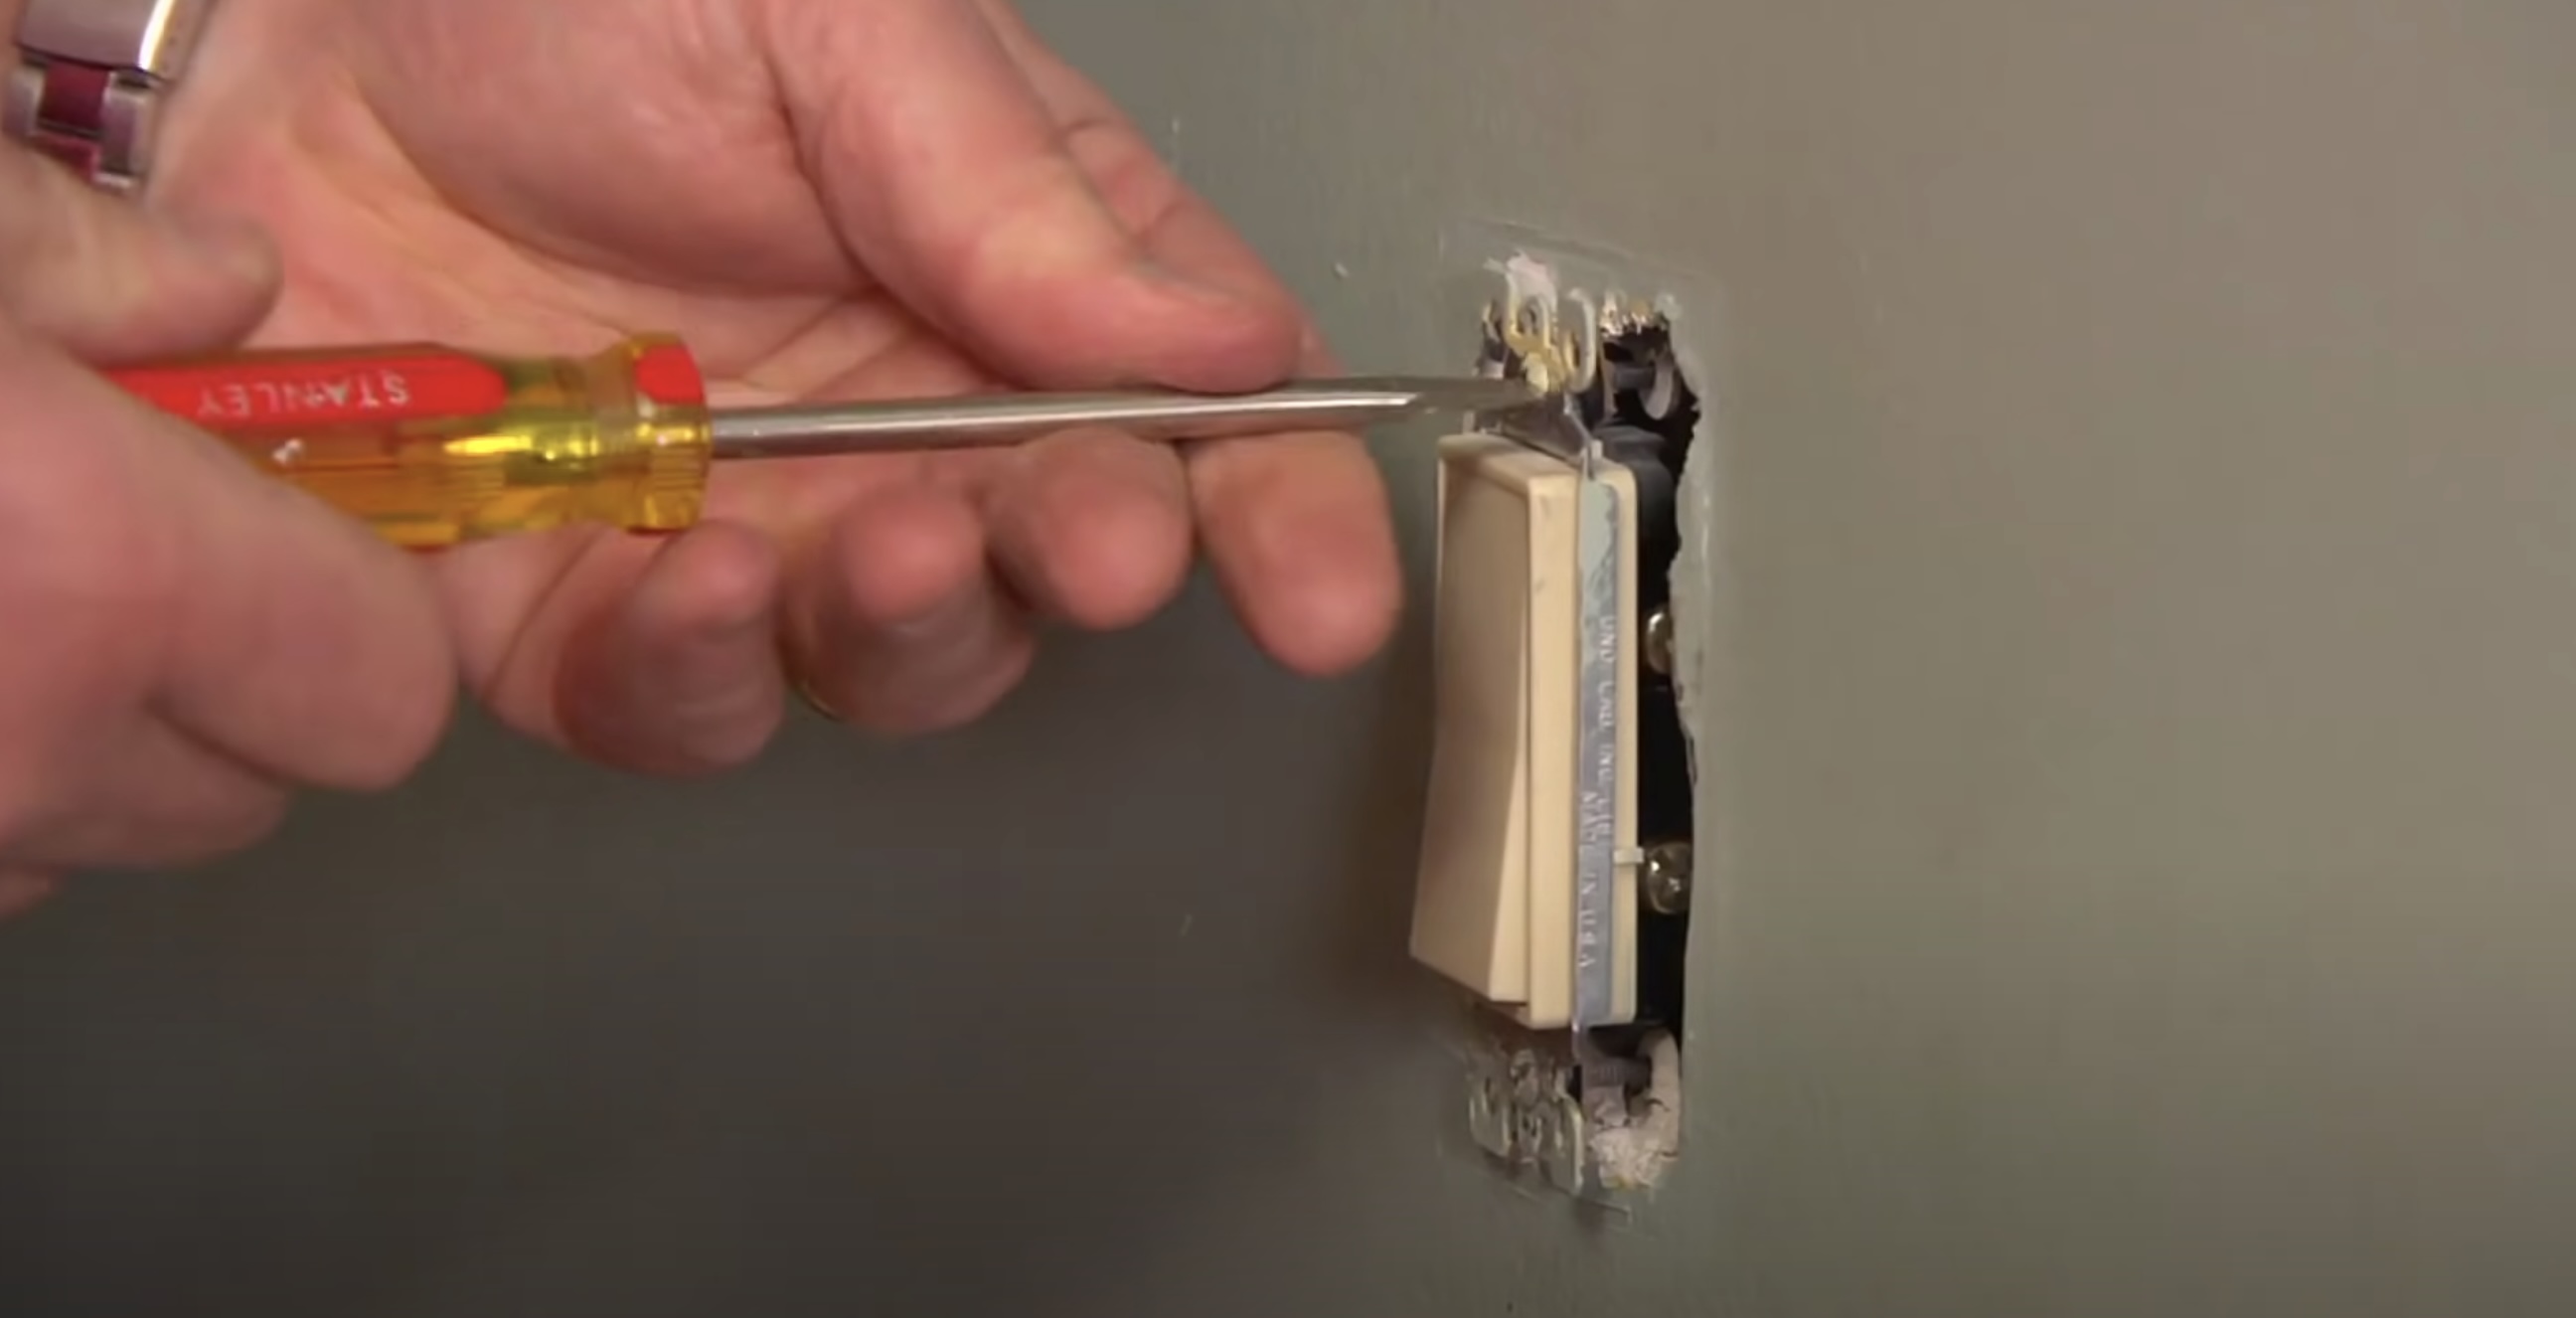
Step 2: Remove the Old Fan Switch
Now that you have turned off the power to the fan circuit, it’s time to remove the old fan switch. Follow these steps carefully:
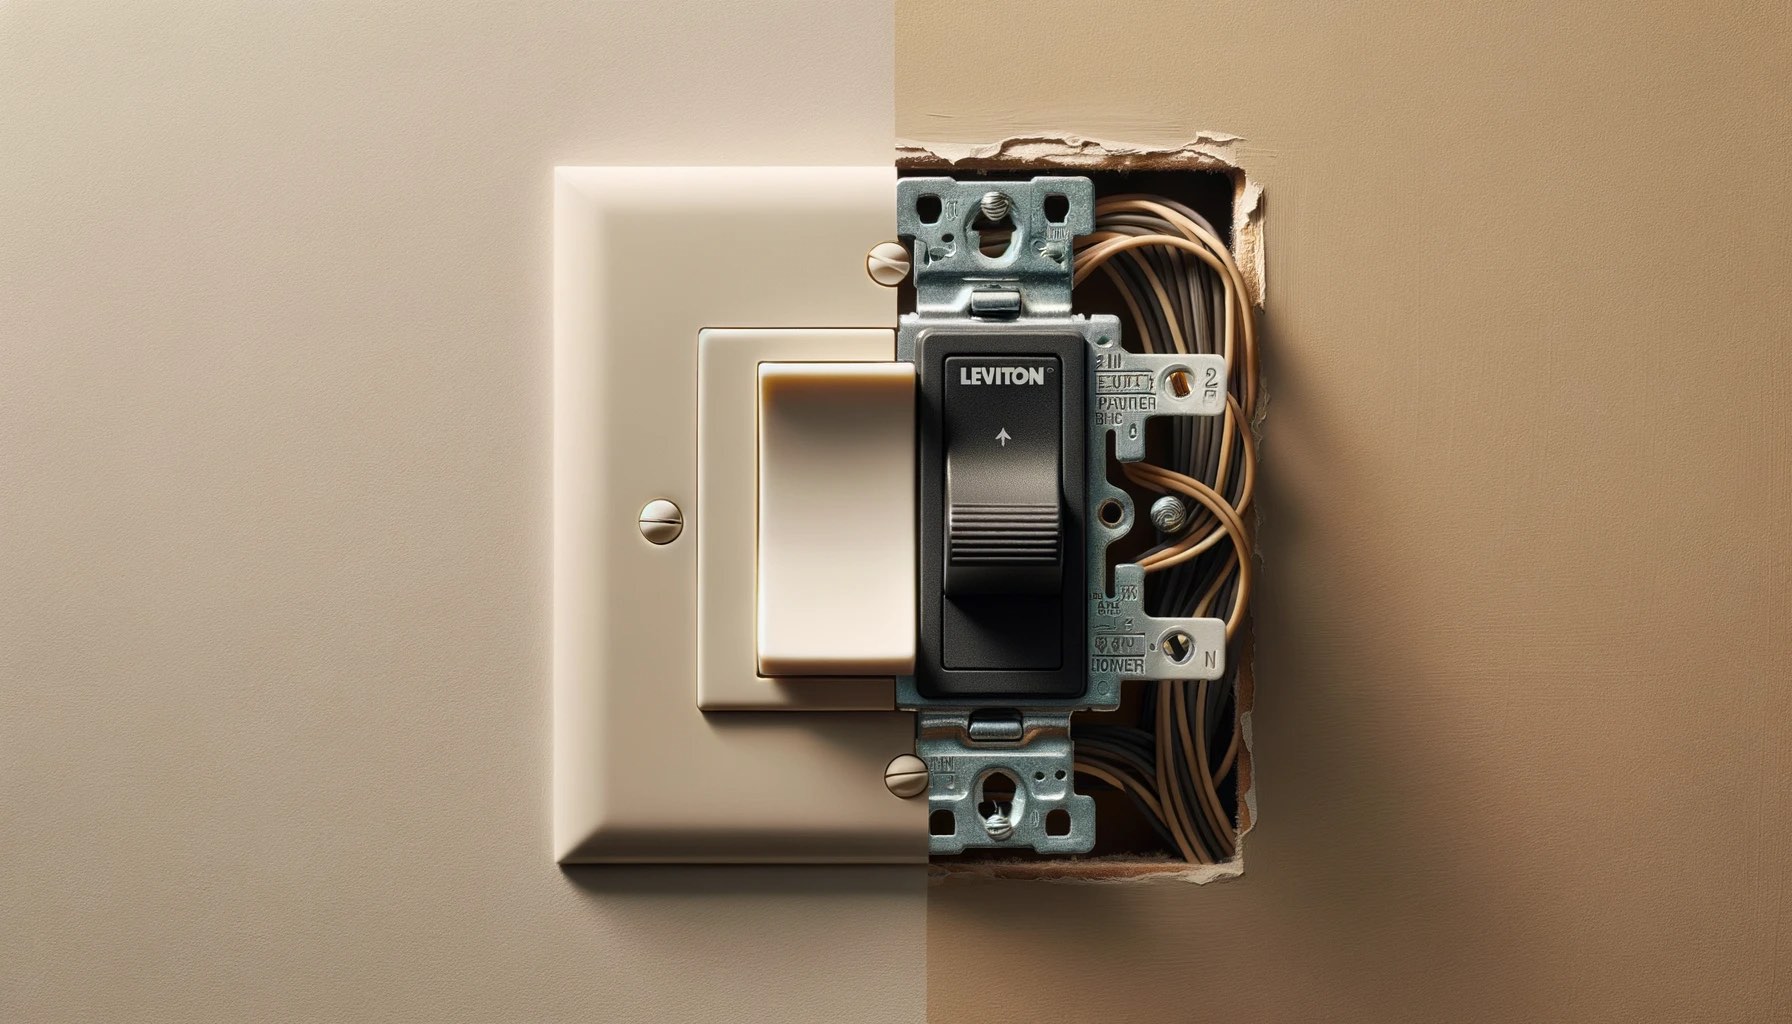
- Inspect the switch cover: The switch cover is the faceplate that surrounds the fan switch. Look for any screws or clips holding the cover in place. Use a screwdriver to remove the screws or gently pry off the cover if it’s held by clips.
- Expose the switch terminals: Once the cover is removed, you should see the fan switch terminals and wires. Take a moment to examine the connections and note which wires are attached to each terminal. You may want to take a picture or make a diagram for reference.
- Disconnect wires from the old switch: Carefully loosen the screws or nuts that secure the wires to the switch terminals. Depending on the switch type, you may need to use a screwdriver or pliers. Pay attention to the color-coding of the wires for easier reconnection later.
- Remove the old switch: With the wires detached, you can now remove the old fan switch from the electrical box. Gently wiggle it out, being careful not to damage any wires or surrounding components.
At this point, you should have successfully removed the old fan switch. Take a moment to ensure the wires are not touching each other or any exposed metal surfaces. If necessary, cover the ends of the wires with electrical tape to prevent any accidental contact.
Now that the old switch is out, let’s move on to the next step of identifying the wire connections.
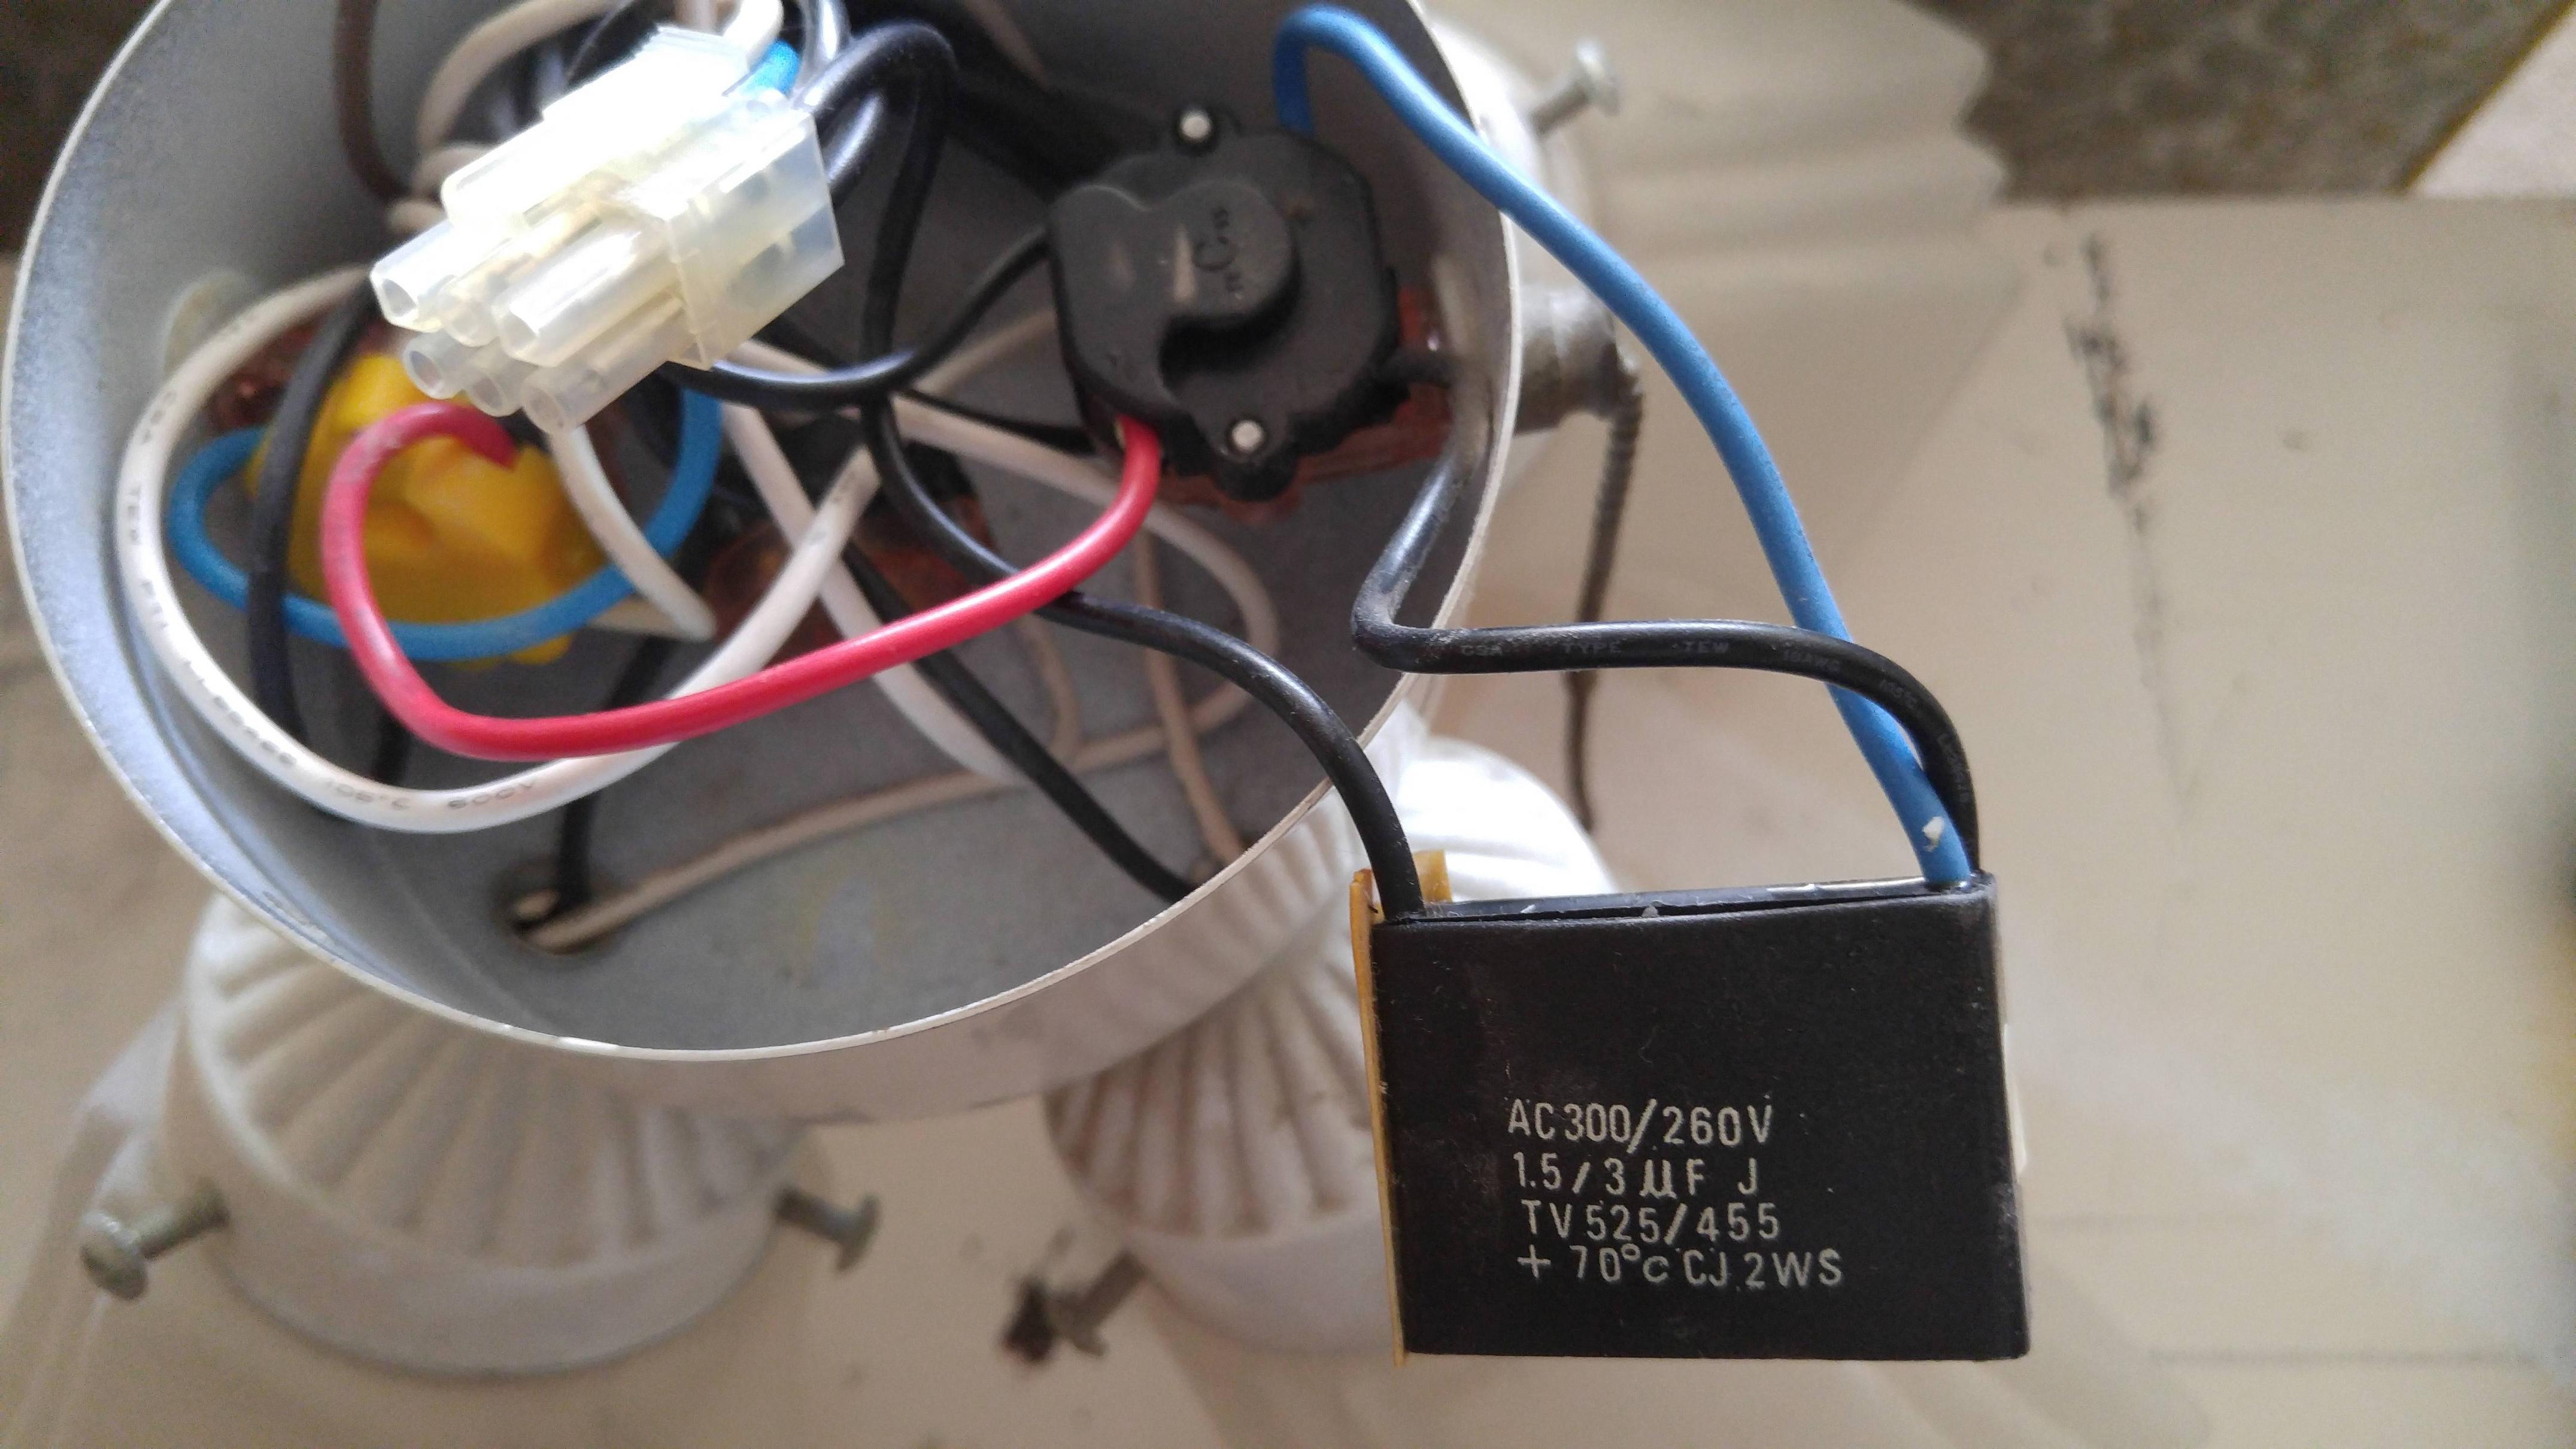
Step 3: Identify Wire Connections
Now that the old fan switch is removed, it’s time to identify the wire connections. This step is crucial to ensure that you wire the new fan switch correctly. Follow these steps to identify the wire connections:
- Examine the wires: Take a close look at the wires that were connected to the old switch. Typically, you will find three wires – black, white, and green or bare copper. The black wire is the hot wire, the white wire is the neutral wire, and the green or bare copper wire is the ground wire.
- Identify the hot wire: The hot wire is the one that carries the electrical current from the power source. It is usually black, but it can also be red or another color. Carefully trace the wires and identify which one is the hot wire. You can use a voltage tester to double-check by testing each wire’s voltage relative to ground or neutral. The wire that shows a voltage reading is the hot wire.
- Identify the neutral wire: The neutral wire carries the current back to the power source. It is typically white or gray. Look for the wire that is connected to the white or gray wire in the electrical box. This is your neutral wire.
- Identify the ground wire: The ground wire is responsible for ensuring electrical safety. It is green or bare copper. Locate the wire that is connected to the metal electrical box or any other grounded metal surface. This is your ground wire.
Take note of which wire is connected to each terminal on the old switch. This will help you correctly reconnect the wires to the new fan switch.
Now that you have identified the wire connections, let’s move on to the next step of connecting the new fan switch.
When wiring a fan switch, always make sure to turn off the power at the circuit breaker before starting. Use a voltage tester to double-check that the power is off before touching any wires.
Read more: How To Wire A Ceiling Fan With Two Switches
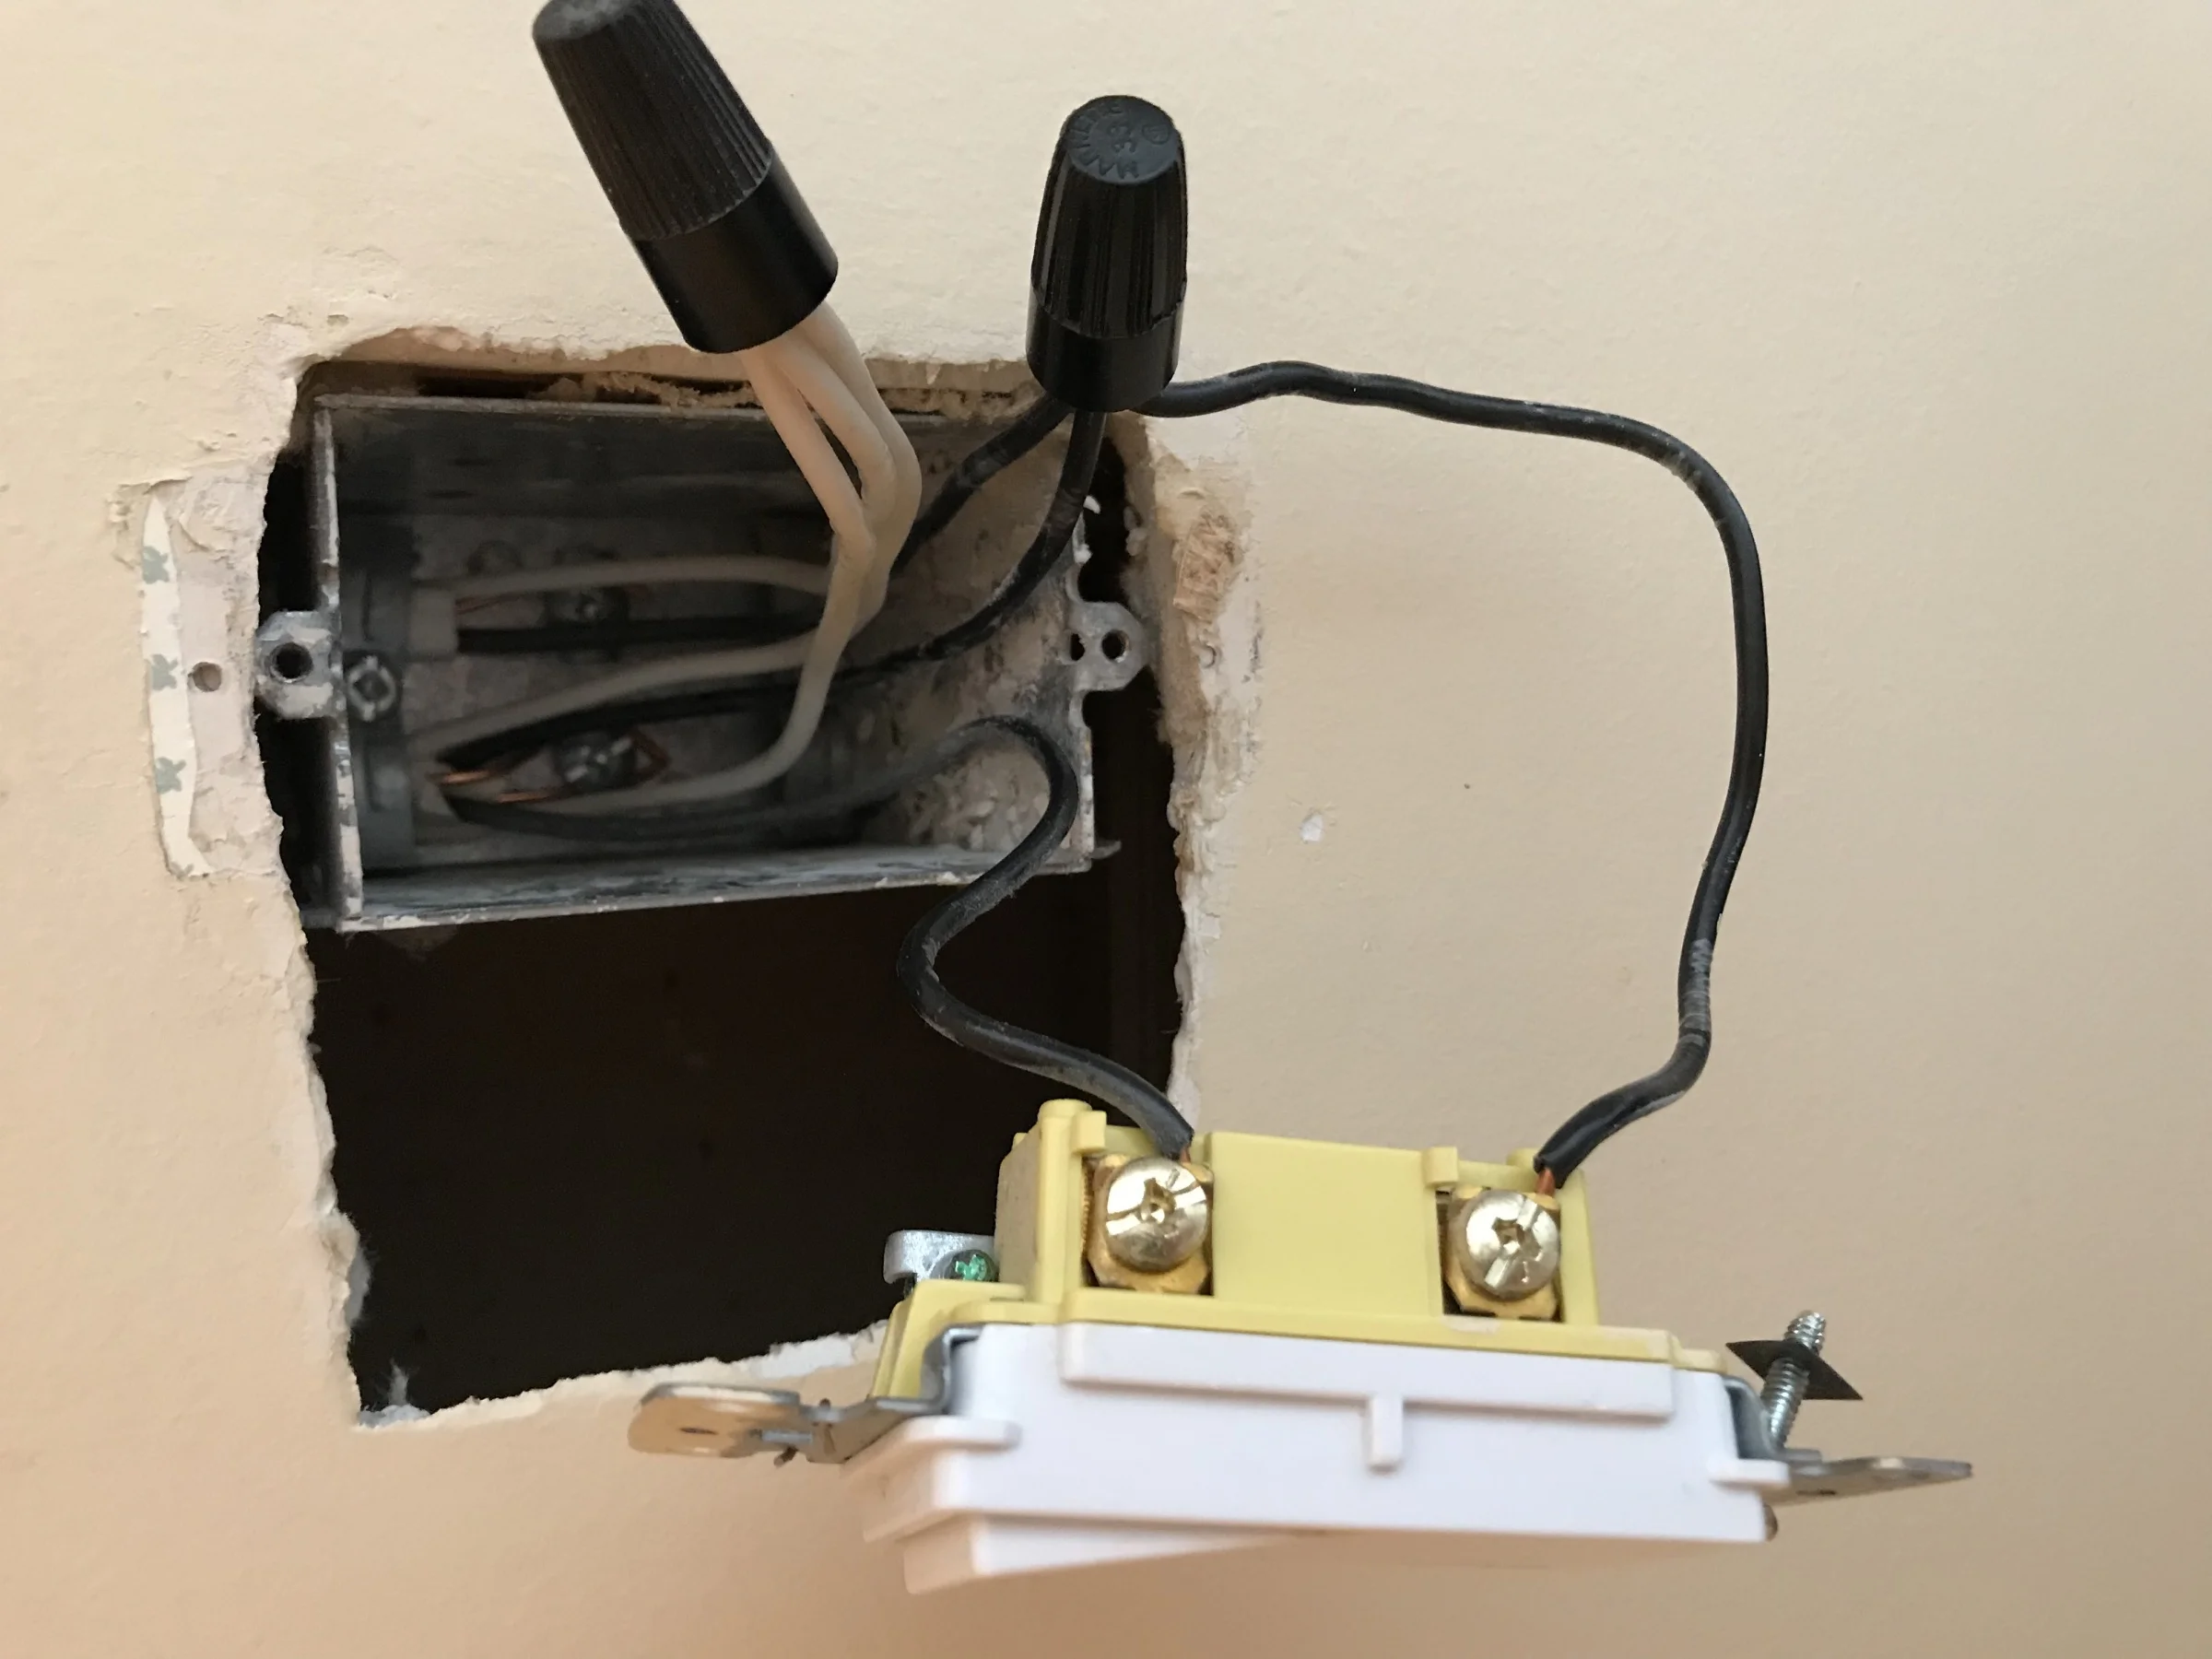
Step 4: Connect the New Fan Switch
With the wire connections identified, it’s time to connect the new fan switch. Follow these steps carefully:
- Prepare the wires: Before connecting the wires to the new switch, trim the ends of the wires if necessary. Use a wire cutter/stripper to remove about 1/2 inch of insulation from the end of each wire.
- Connect the hot wire: Starting with the hot wire, locate the terminal on the new fan switch labeled for the hot wire or “H.” Loosen the corresponding screw or nut on the terminal. Insert the stripped end of the hot wire under the screw or nut, ensuring that it is securely held in place. Tighten the screw or nut to firmly secure the wire connection.
- Connect the neutral wire: Locate the terminal on the new switch labeled for the neutral wire or “N.” Loosen the screw or nut on the terminal and insert the stripped end of the neutral wire. Tighten the screw or nut to secure the connection.
- Connect the ground wire: The ground wire is typically connected to a green or bare copper screw terminal on the new switch. Loosen this terminal, insert the stripped end of the ground wire, and tighten the screw to secure the connection.
Double-check that all wire connections on the new switch are secure and tight. Ensure that no bare wire is exposed and that the insulation covers the connection properly.
It’s important to note that some fan switches may have additional terminals for controlling fan speed or lighting functions. Refer to the manufacturer’s instructions for your specific fan switch and make the necessary connections accordingly.
Once all the wire connections are made, you’re ready to proceed to the next step of securing the connections.
Step 5: Secure the Connections
After connecting the wires to the new fan switch, it’s essential to secure the connections properly. This step will ensure that the connections are safe, reliable, and free from any potential hazards. Follow these steps to secure the connections:
- Double-check the wire connections: Before proceeding, make sure that each wire is securely connected to its respective terminal on the new fan switch. Confirm that the hot wire is connected to the “H” terminal, the neutral wire is connected to the “N” terminal, and the ground wire is connected to the designated grounding terminal.
- Use wire connectors: To provide additional protection and stability to the wire connections, use wire connectors. Twist together the exposed ends of each wire with its corresponding wire from the switch. Then, screw on a wire connector over the twisted wires, ensuring a tight and secure connection. Repeat this process for all wire connections.
- Insulate the connections: After securing the wire connections with wire connectors, wrap electrical tape around each connector. This will provide insulation and further protect the connections from any potential electrical shock or damage.
Take a moment to inspect each connection and ensure that they are properly secured and insulated. If any wires are loose or not securely fastened, make the necessary adjustments to tighten them.
It is important to note that when dealing with multiple wires in an electrical box, it is recommended to also use wire nuts to secure the connections. This prevents any accidental contact between the wires and ensures a reliable and safe electrical connection.
Once you are confident that the connections are securely fastened and properly insulated, it’s time to proceed to the next step of testing the fan switch.
Step 6: Test the Fan Switch
Now that the new fan switch is securely connected, it’s time to test its functionality. Follow these steps to test the fan switch:
- Switch on the power: Go back to the electrical panel or circuit breaker box and flip the switch that corresponds to the fan circuit back to the “on” position. This will restore power to the fan.
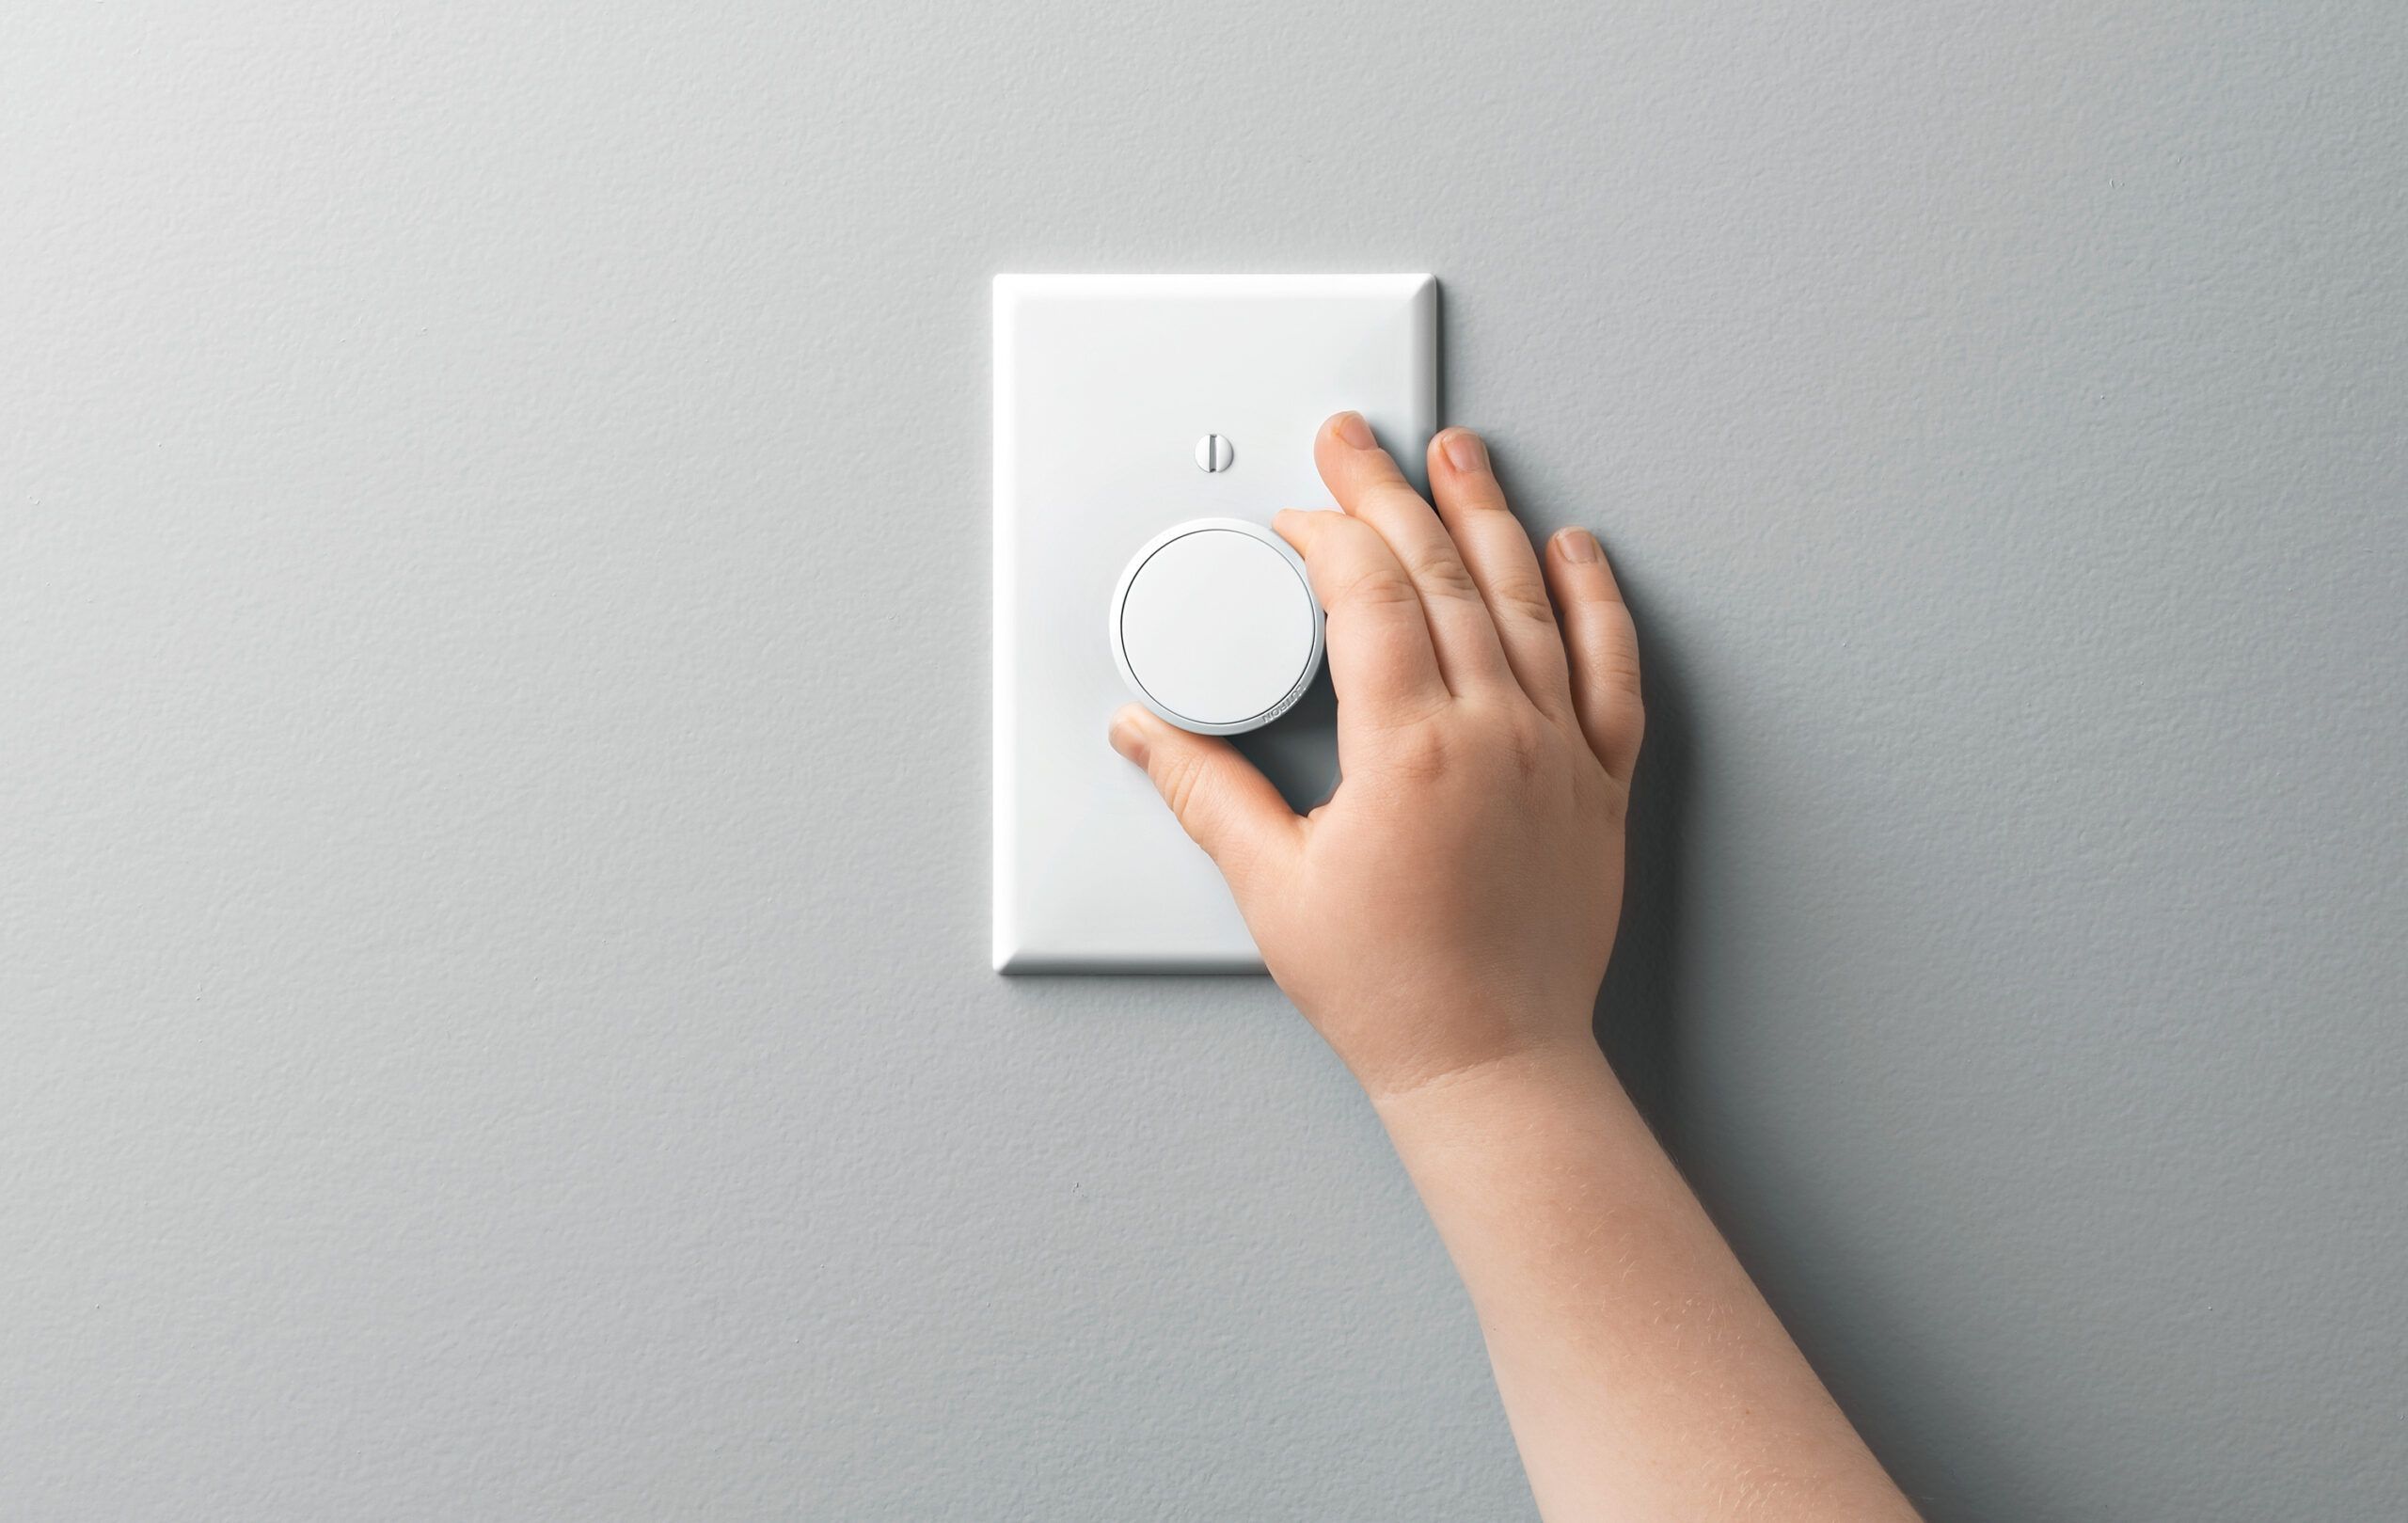
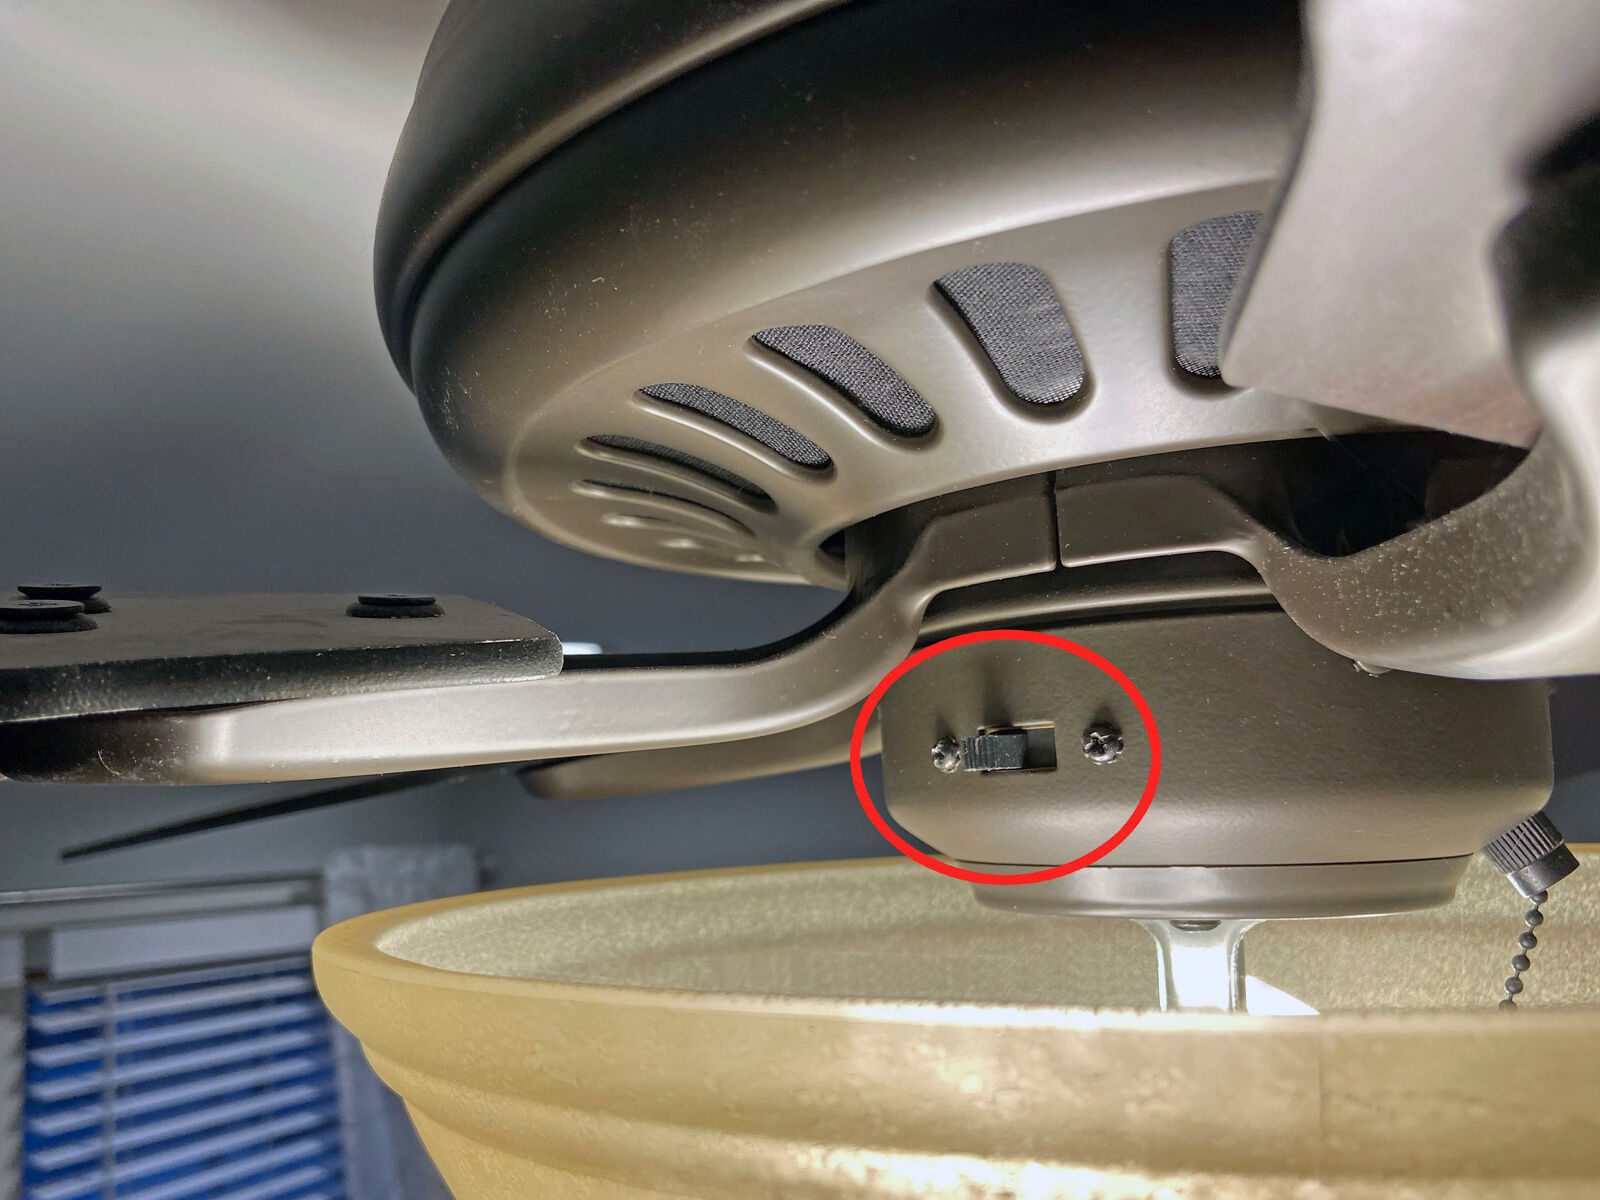
- Turn on the fan: Use the fan switch to turn on the fan. Depending on the type of fan and switch, you may need to push, slide, or rotate the switch to activate the fan.
- Check different settings: Test each available setting on the fan switch. For instance, if your fan switch has multiple speed settings, try adjusting it to high, medium, and low speeds to ensure that the fan responds accordingly.
- Test additional functions: If your fan switch has additional functions, such as controlling a light or timer, make sure to test those as well. This will ensure that all the features of the fan switch are functioning as intended.
Observe the fan as you test the switch. The fan should turn on and off smoothly, and the different settings or functions should work without any issues. If you notice any abnormal behavior or if the fan fails to respond to the switch, double-check the wire connections and troubleshoot any potential issues.
Ensure that the fan operates smoothly and silently and that all the functions of the fan switch are working correctly. If everything is functioning properly, you can proceed to the final step of replacing the switch cover.
Take your time to test the fan switch thoroughly, as it is essential for ensuring the proper operation of your fan and maximizing your comfort.
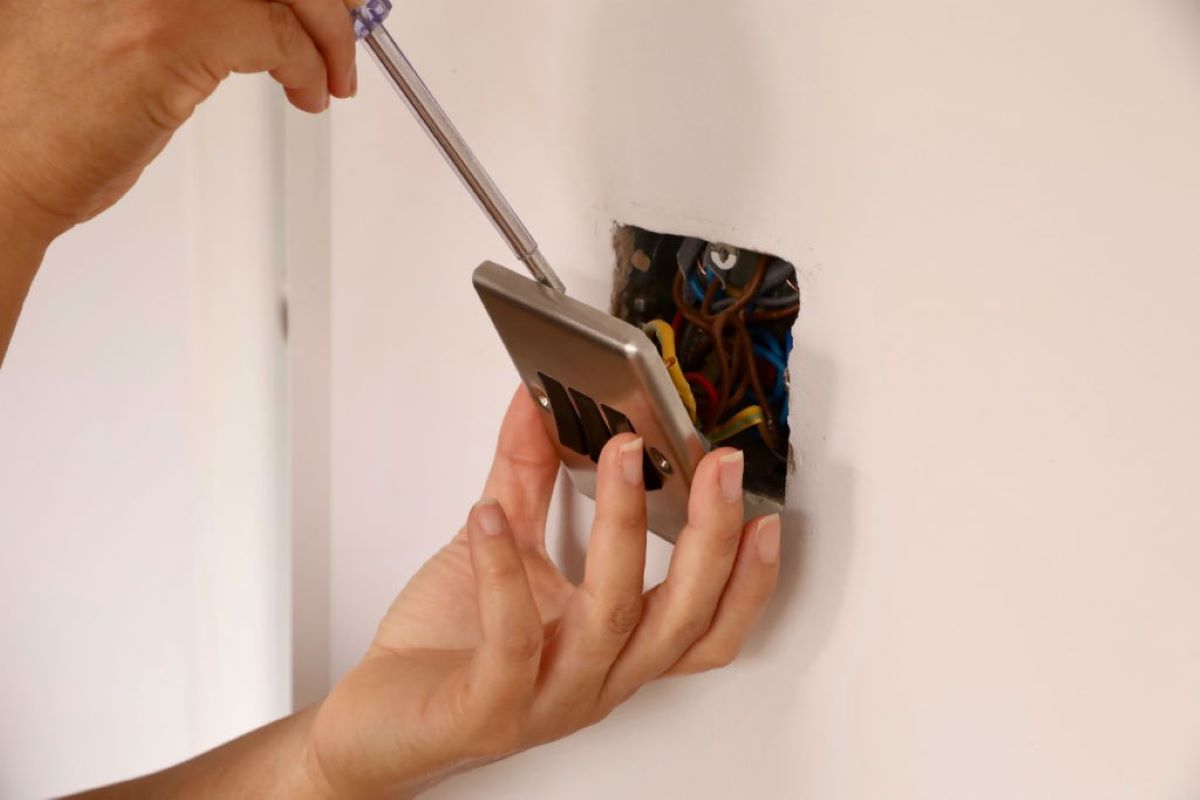
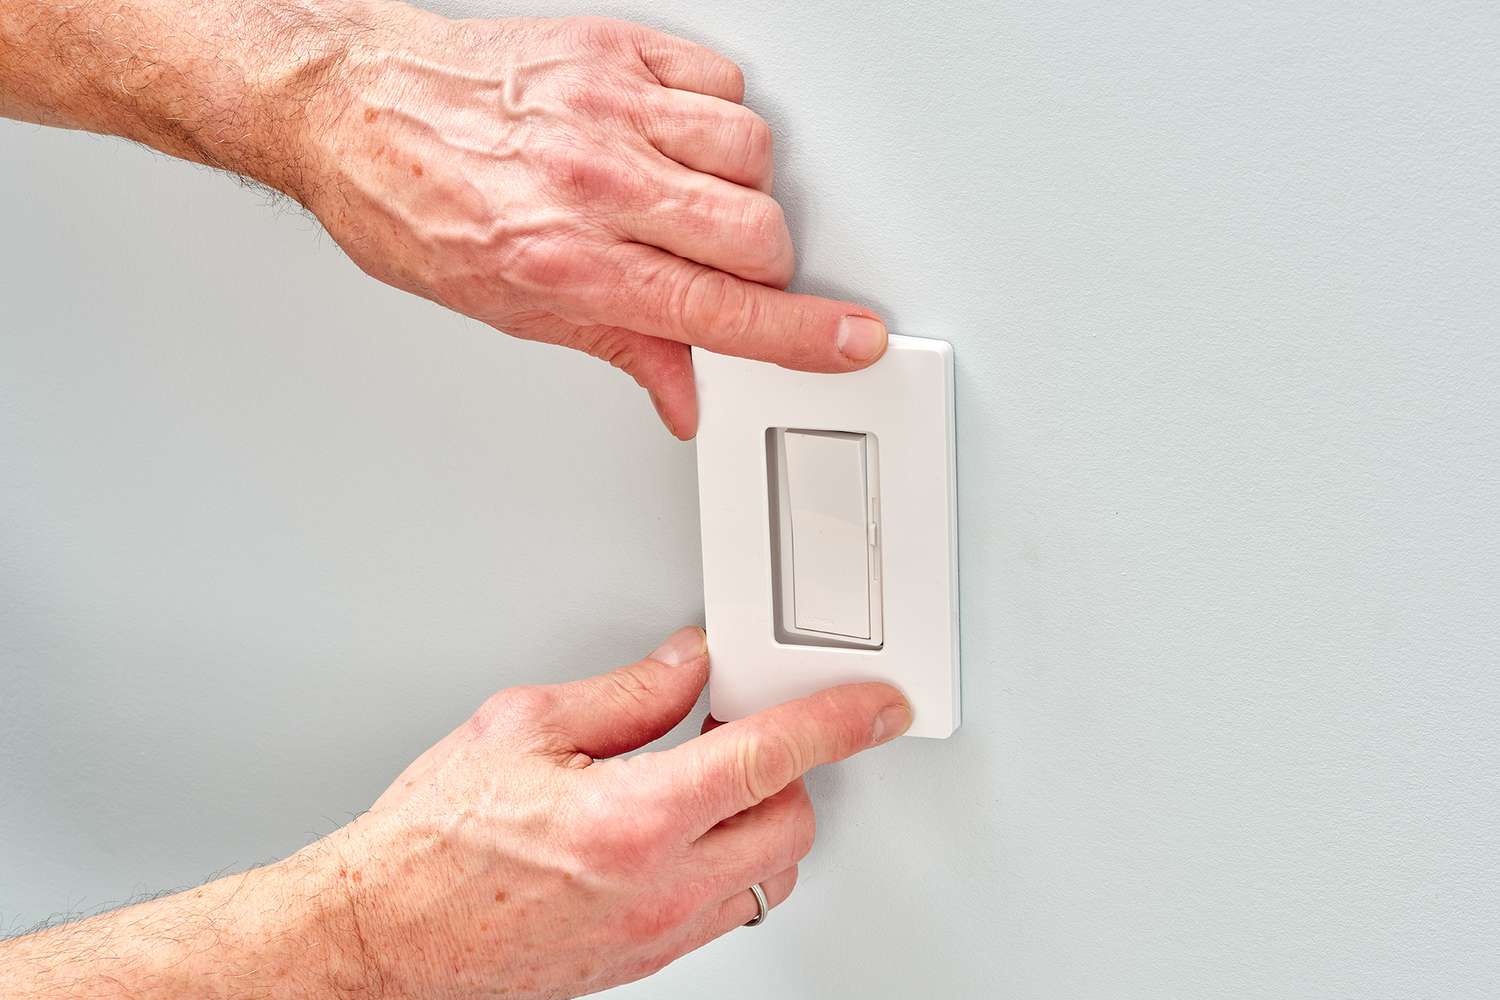
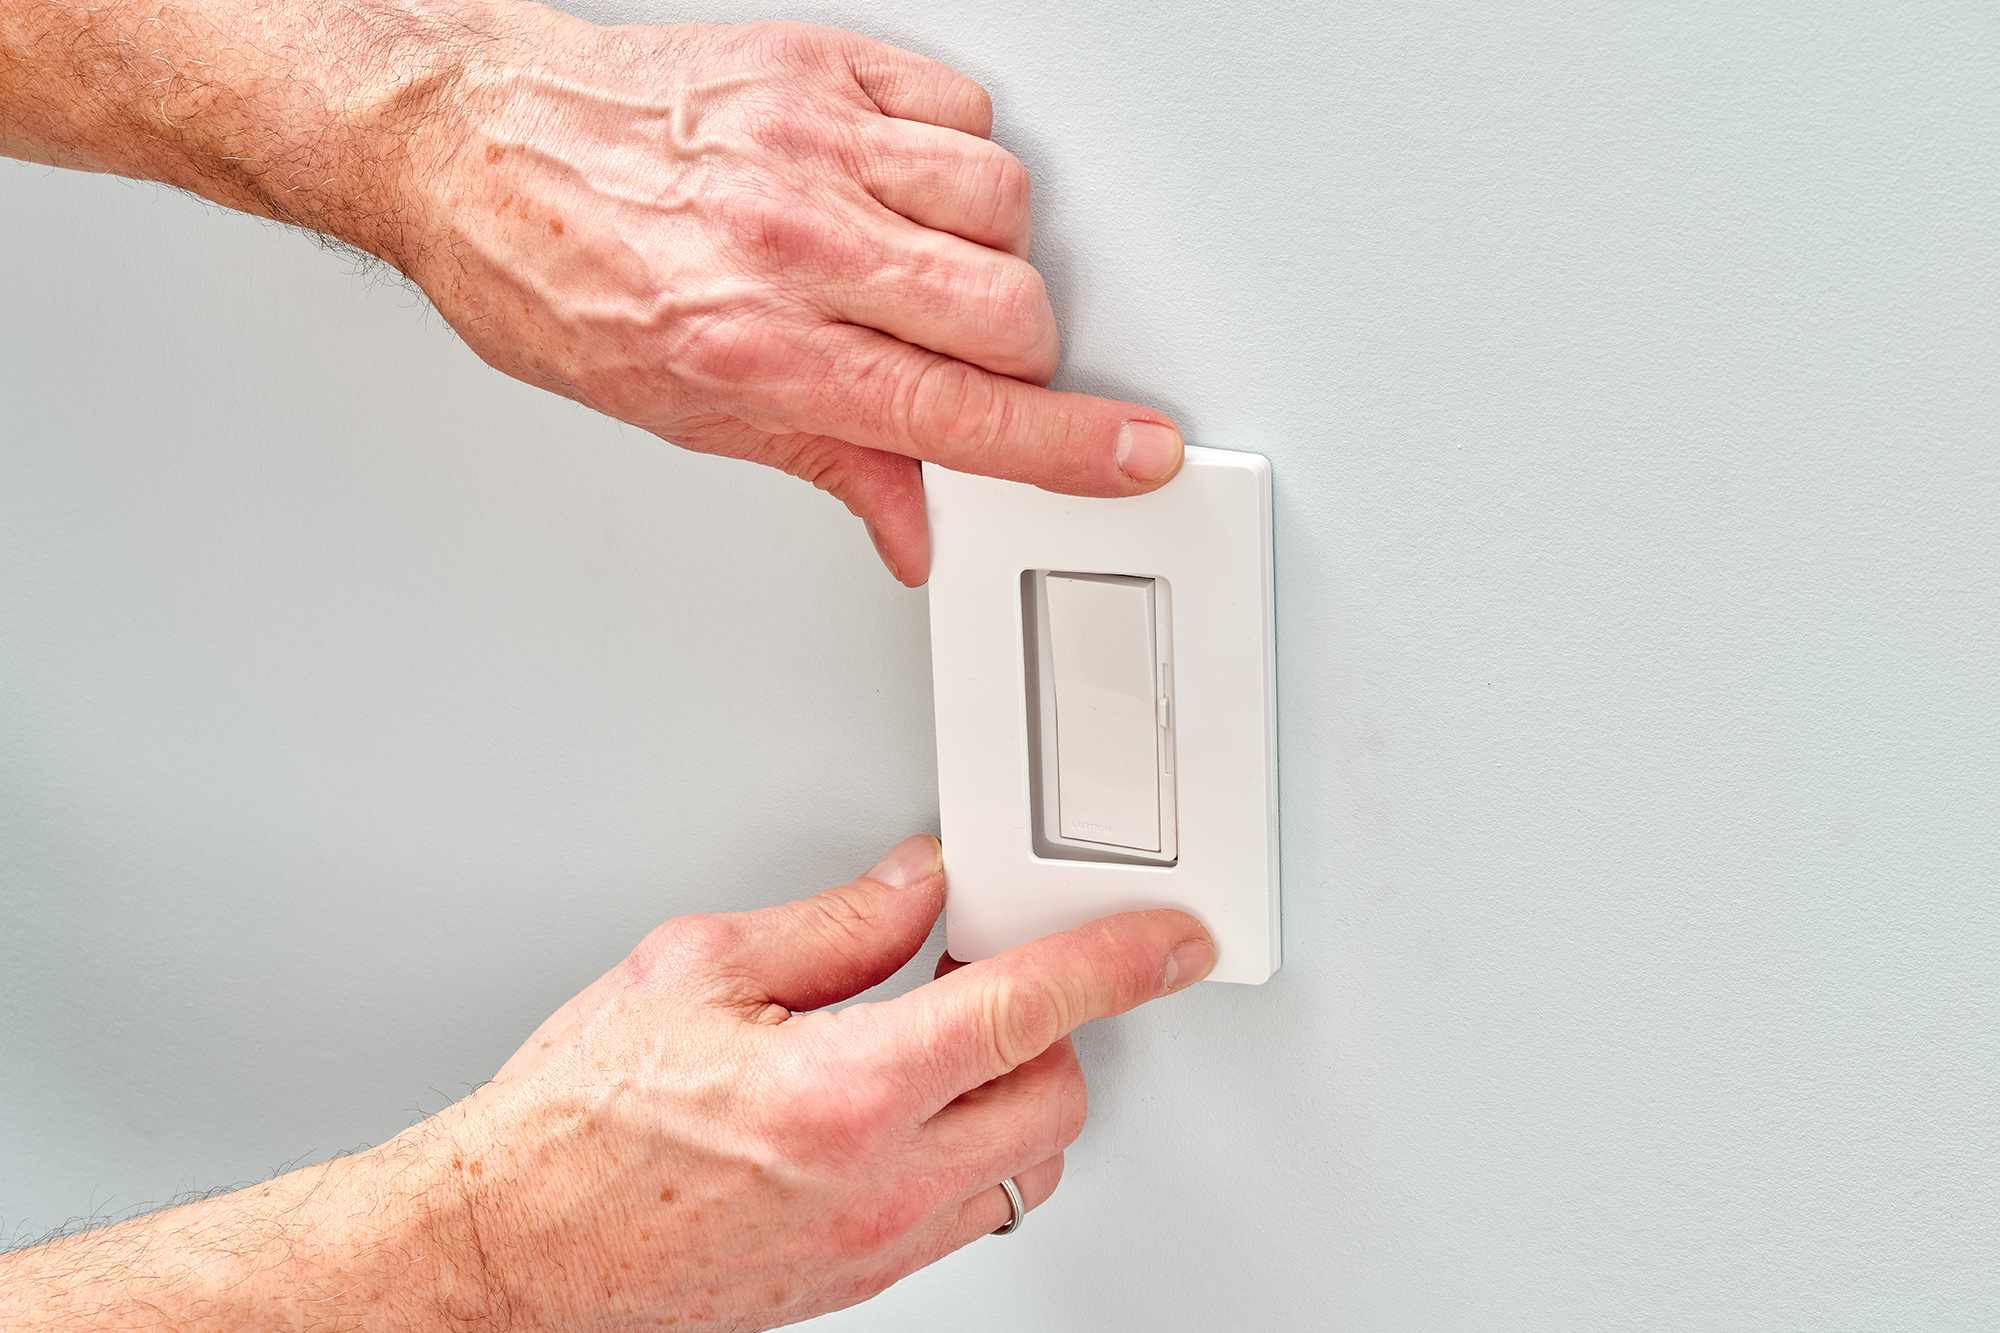
Step 7: Replace the Switch Cover
With the new fan switch installed and tested, it’s time to complete the wiring process by replacing the switch cover. Follow these steps to replace the switch cover:
- Position the switch cover: Align the switch cover with the screw holes or clips on the electrical box. Make sure it is level and properly aligned.
- Attach the switch cover: If your switch cover is held in place by screws, use a screwdriver to secure the screws back into the screw holes. If it is held by clips, gently push the cover into place until the clips snap into position.
- Tighten the screws: If your switch cover is attached with screws, ensure they are securely tightened. Be careful not to overtighten, as this can damage the cover or the electrical box.
Once the switch cover is in place and securely attached, take a step back and admire your work. Congratulations! You have successfully wired and installed a new fan switch.
Now, it’s important to test the fan switch one final time to ensure it is still functioning properly after replacing the switch cover. Turn on the power at the electrical panel and test the fan switch by turning the fan on and off, adjusting the speeds, and testing any additional functions.
If the fan switch works as expected and the fan operates smoothly, you can consider the installation process complete.
Remember, it is important to prioritize your safety throughout the entire wiring process. If you encounter any issues or are unsure about any steps, it is always recommended to seek the assistance of a professional electrician.
With the fan switch properly installed and tested, you can now enjoy the comfort and convenience of controlling your fan with ease.
Read more: How To Wire A Dimmer Switch With 4 Wires
Conclusion
Wiring a fan switch is a task that can be accomplished with the right tools, materials, and knowledge. By following the steps outlined in this guide, you can successfully replace or install a new fan switch, allowing you to control your ceiling or exhaust fan with ease.
Throughout the process, it is crucial to prioritize safety. Always remember to turn off the power to the fan circuit before starting any work and use a voltage tester to confirm that there is no power running to the switch. Additionally, double-check the wire connections, secure them properly, and insulate them with wire connectors and electrical tape to minimize the risk of electrical hazards.
Testing the functionality of the fan switch is a vital step to ensure its proper operation. Take the time to test the fan on different speed settings and any additional functions or features, ensuring that everything is working as intended.
Finally, replacing the switch cover is the final touch to complete the installation process. Make sure it is properly aligned and securely attached, providing a finished and polished look to your fan switch.
While this guide provides you with a comprehensive overview of wiring a fan switch, always remember that if you are not confident or experienced with electrical work, it is best to seek the assistance of a professional electrician. They have the expertise and knowledge to handle the task safely and efficiently.
Now that you have successfully wired your fan switch, sit back, relax, and enjoy the comfort and convenience of controlling your fan with ease. Stay cool!
Frequently Asked Questions about How To Wire Fan Switch
Was this page helpful?
At Storables.com, we guarantee accurate and reliable information. Our content, validated by Expert Board Contributors, is crafted following stringent Editorial Policies. We're committed to providing you with well-researched, expert-backed insights for all your informational needs.


0 thoughts on “How To Wire Fan Switch”