
Articles
How To Wire An Extension Cord To A Light
Modified: August 27, 2024
Learn how to wire an extension cord to a light with our informative articles. Find step-by-step instructions and expert tips for a safe and effective setup.
(Many of the links in this article redirect to a specific reviewed product. Your purchase of these products through affiliate links helps to generate commission for Storables.com, at no extra cost. Learn more)
Introduction
Wiring an extension cord to a light fixture can be a practical solution in situations where you need additional lighting but don’t have an available electrical outlet nearby. Whether you’re working in a garage, basement, or outdoor area, having a portable light source can make your tasks easier and more efficient.
However, it’s important to remember that working with electricity can be dangerous if not done properly. Always follow safety precautions and consult a professional electrician if you have any doubts or concerns. With that said, if you’re comfortable working with electrical wiring, this guide will take you through the step-by-step process of wiring an extension cord to a light fixture.
Before we dive into the details, let’s go over a few things you’ll need for this project:
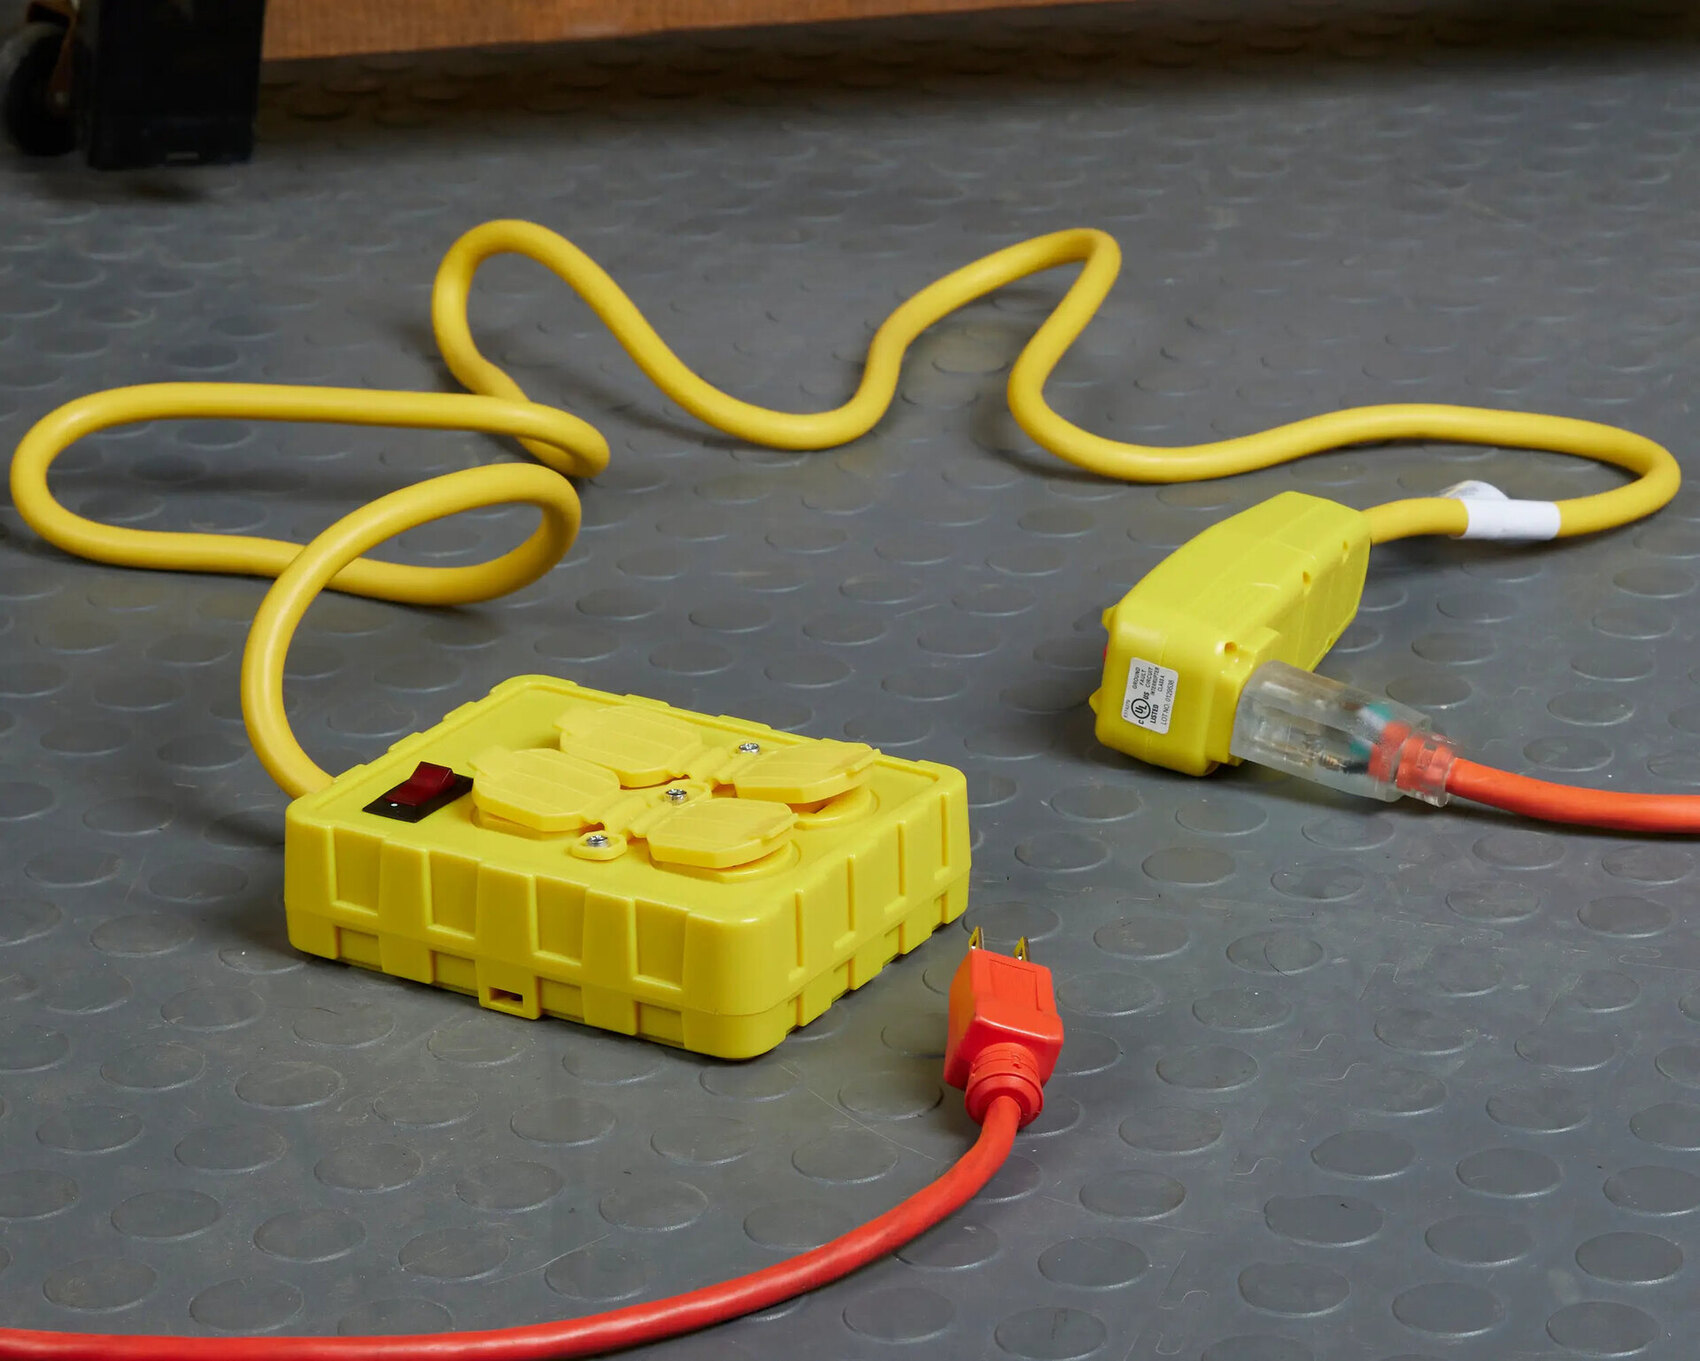
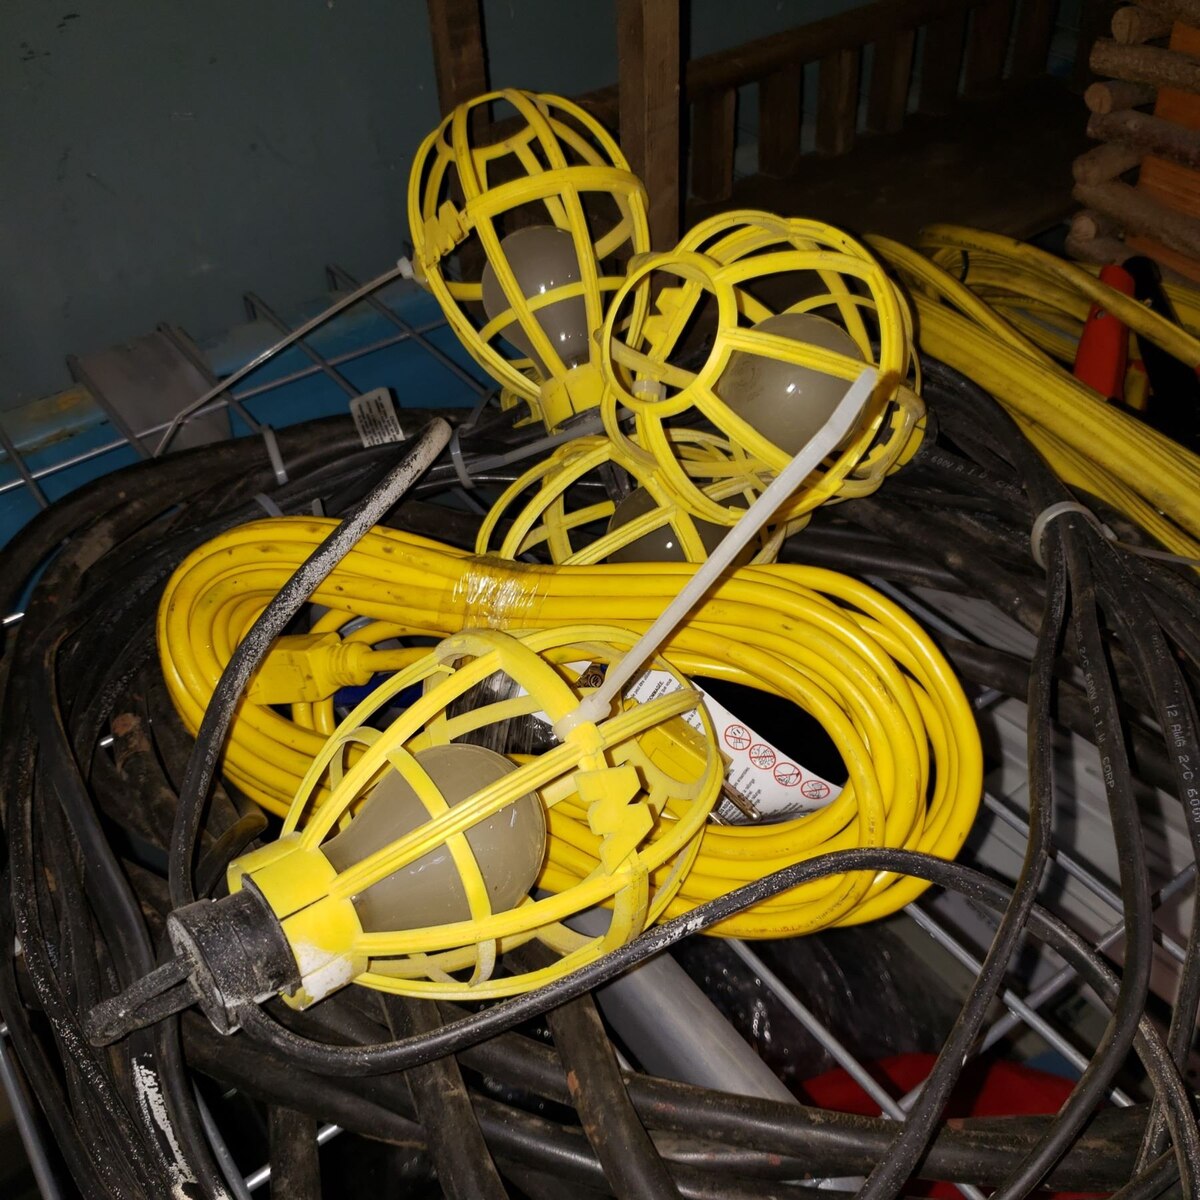
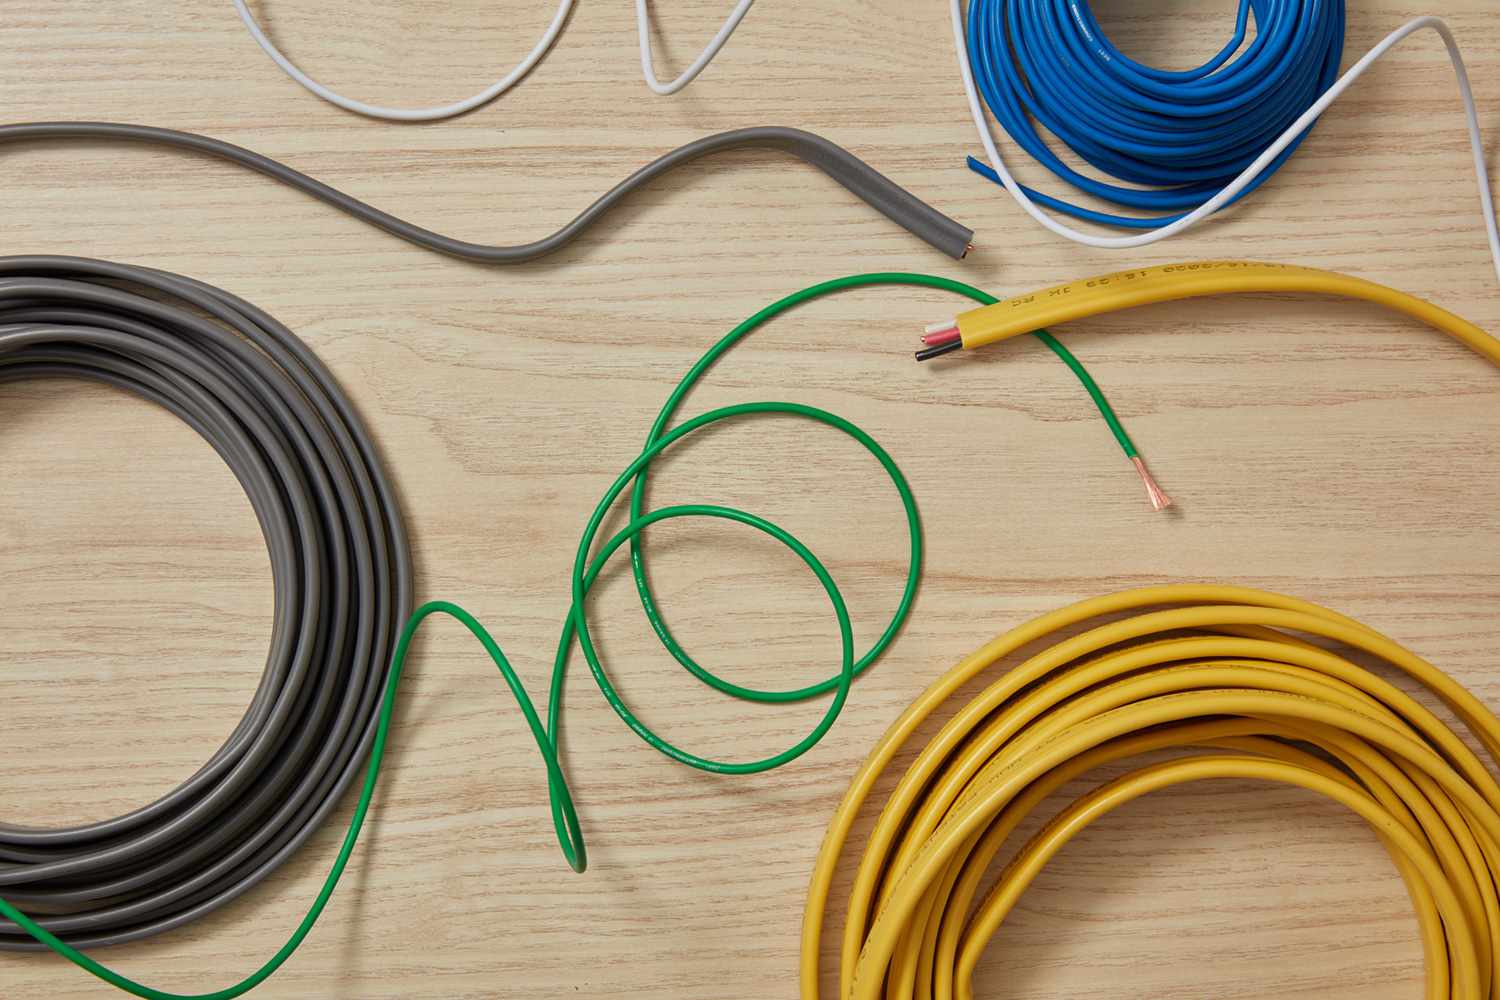
- An extension cord: Make sure it is a heavy-duty cord with a three-prong plug (grounded).
- A light fixture: Choose a fixture that suits your needs and is compatible with the extension cord.
- Wire strippers: These will be necessary to remove the insulation from the cord wires.
- Wire connectors: These are used to secure the wire connections.
- Electrical tape: This provides extra protection and insulation for the wires.
- A screwdriver: You’ll need this tool to connect the wires and secure the fixture in place.
With these tools and materials ready, let’s move on to the step-by-step process of wiring your extension cord to a light fixture.
Key Takeaways:
- Prioritize safety and gather the necessary tools before wiring an extension cord to a light fixture. Proper preparation and attention to detail are crucial for a safe and efficient electrical connection.
- After completing the wiring process, perform final checks and implement necessary precautions to ensure the safe and reliable operation of the extension cord and light fixture. Regular maintenance is essential for long-term functionality.
Read more: How To Wire An Extension Cord Plug
Step 1: Gather the Necessary Tools and Equipment
Before you start wiring your extension cord to a light fixture, it’s important to gather all the necessary tools and equipment. Having everything ready beforehand will save time and ensure you have everything you need to complete the job. Here are the tools and equipment you’ll need:
- An extension cord: Make sure it is a heavy-duty cord with a three-prong plug (grounded). The length of the cord will depend on your specific needs and the distance between the power source and the location of the light fixture.
- A light fixture: Choose a fixture that suits your needs and is compatible with the extension cord. Consider factors such as the amount of lighting required, the type of bulb socket, and whether the fixture needs to be weatherproof for outdoor use.
- Wire strippers: These are essential for removing the insulation from the cord wires. Make sure to use wire strippers that are designed for the gauge of wire you are working with.
- Wire connectors: These connectors will be used to secure the wire connections. There are different types of wire connectors available, such as twist-on connectors or push-in connectors. Choose connectors that are suitable for your specific wiring job.
- Electrical tape: This tape provides extra insulation and protection for the wires. It is used to wrap around the wire connections to prevent any exposed wires.
- A screwdriver: You’ll need a screwdriver to connect the wires and secure the fixture in place. The type of screwdriver required will depend on the screws used in your light fixture.
Once you have gathered all the necessary tools and equipment, you will be ready to proceed to the next steps of wiring your extension cord to a light fixture. Remember to always prioritize safety and consult a professional electrician if you have any doubts or concerns.
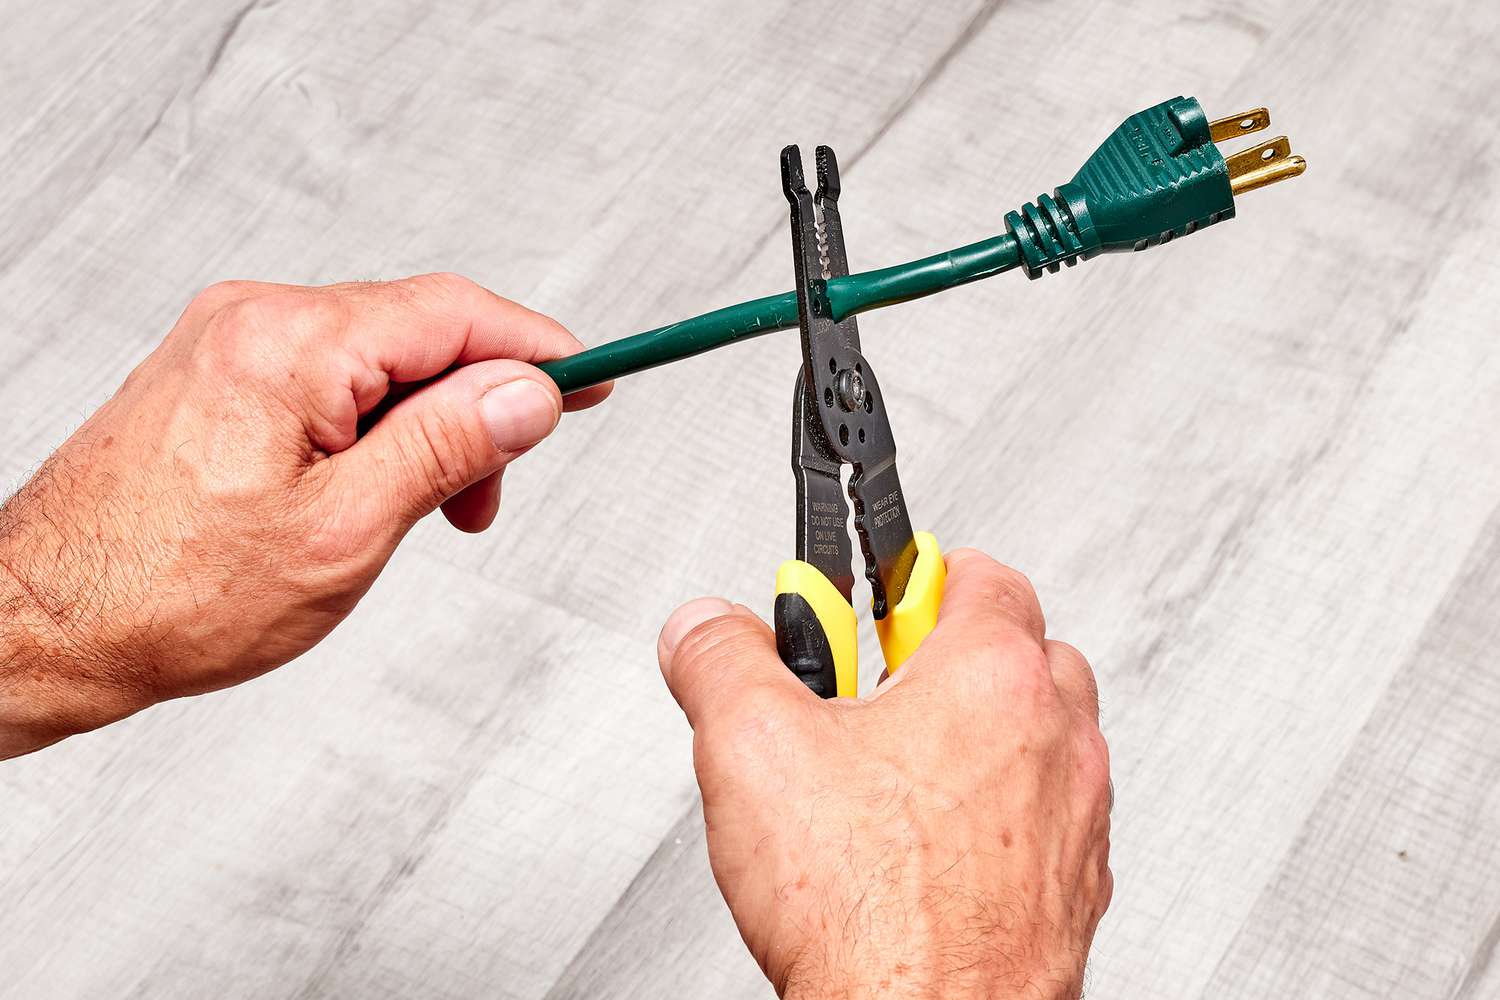
Step 2: Cut and Prepare the Extension Cord
After gathering the necessary tools and equipment, the next step is to cut and prepare the extension cord. Follow these steps to ensure the cord is properly prepared for wiring:
- Unplug the extension cord: Before you begin working with the extension cord, make sure it is unplugged from the power source to avoid any electrical accidents.
- Determine the length needed: Measure and determine the length of the cord needed to reach from the power source to the location of the light fixture. Take into account any obstacles or areas where the cord may need to be secured or hidden.
- Cut the extension cord: Using a pair of wire cutters or a sharp knife, carefully cut the extension cord to the desired length. Make sure to cut cleanly and avoid fraying the wires.
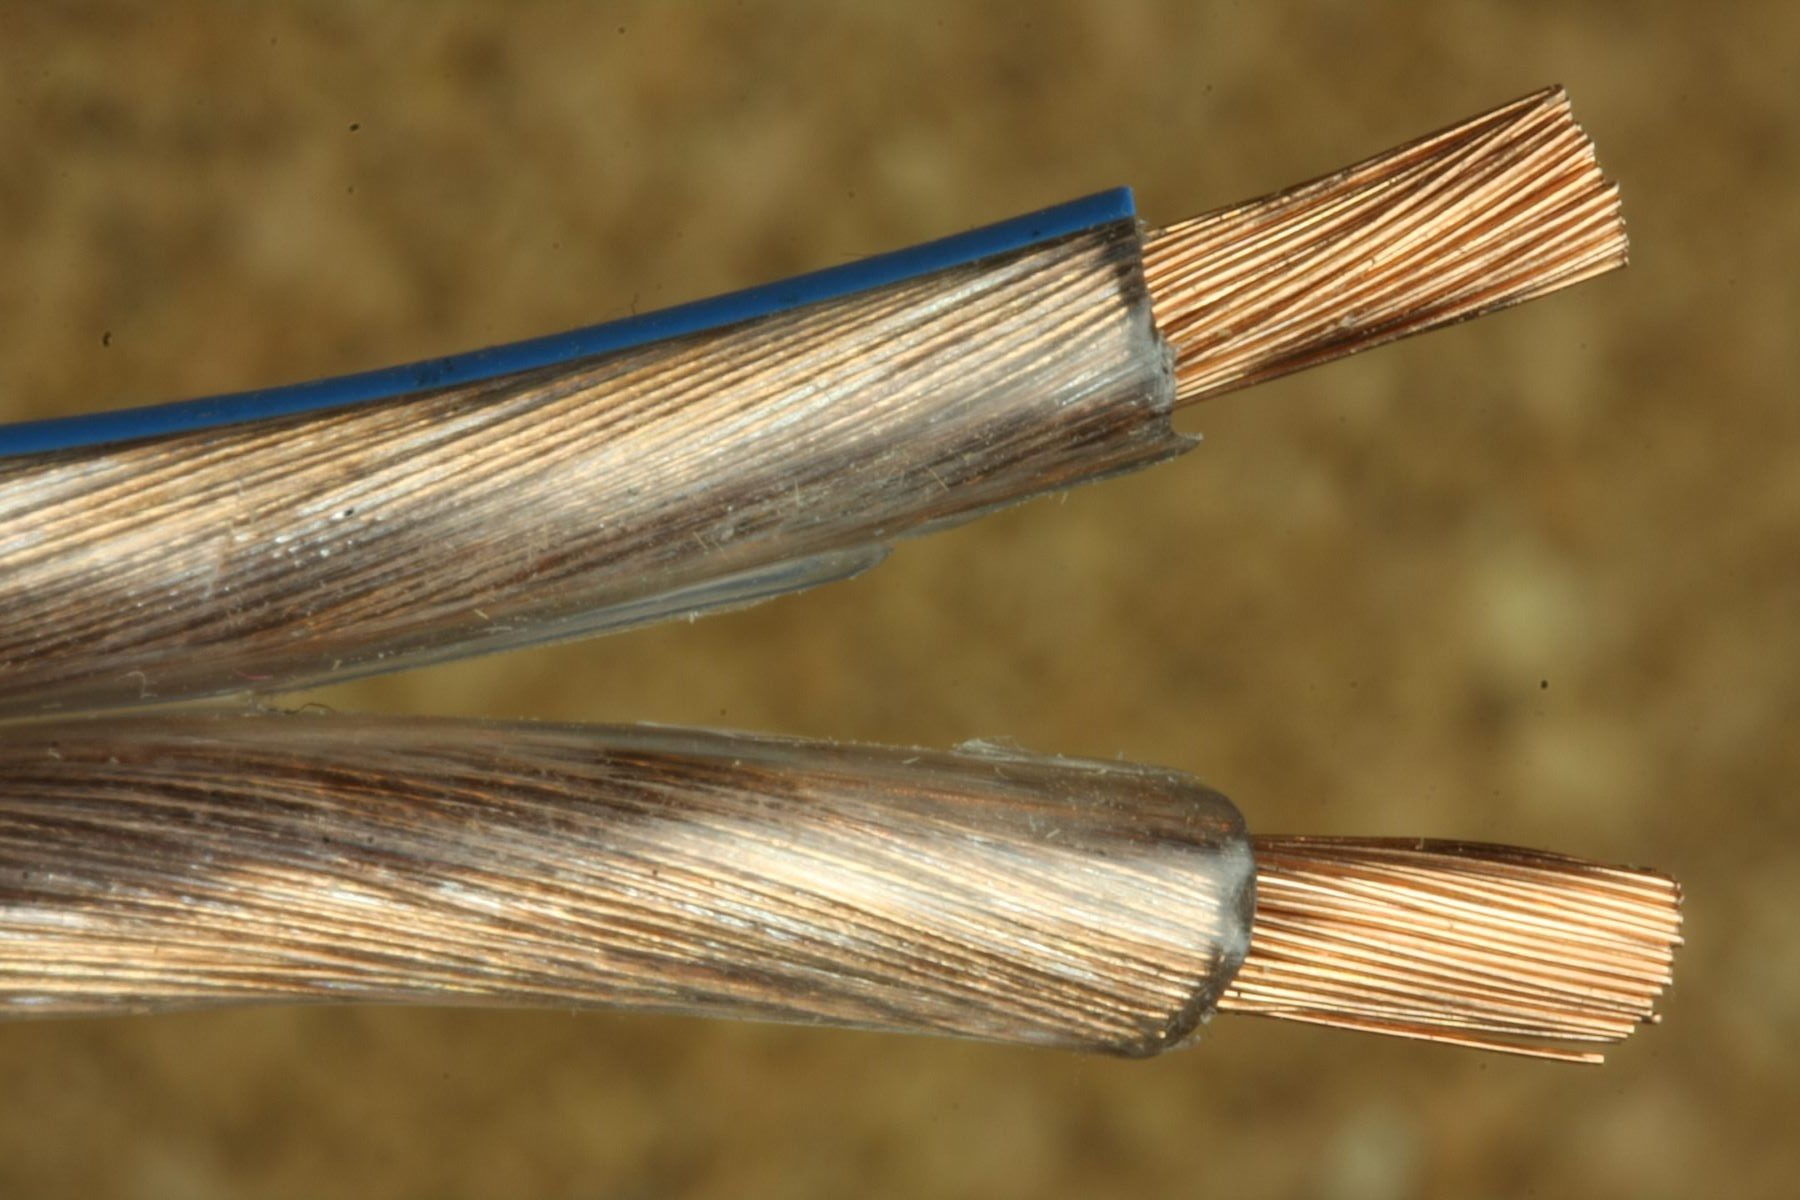
- Strip the cord jacket: Locate the cut end of the extension cord and carefully remove the outer jacket or insulation. Use wire strippers to strip away approximately 2-3 inches of the jacket, exposing the interior wires.
- Inspect the wires: Once the jacket is stripped, take a close look at the interior wires. There should be three wires: a black wire (hot), a white wire (neutral), and a green or bare wire (ground). Ensure that the wires are in good condition and free from any damage.
By cutting and preparing the extension cord correctly, you are setting the foundation for a safe and efficient wiring process. Take your time to ensure the cord is properly cut and stripped, as this will provide a clean and secure connection to the light fixture in the subsequent steps.
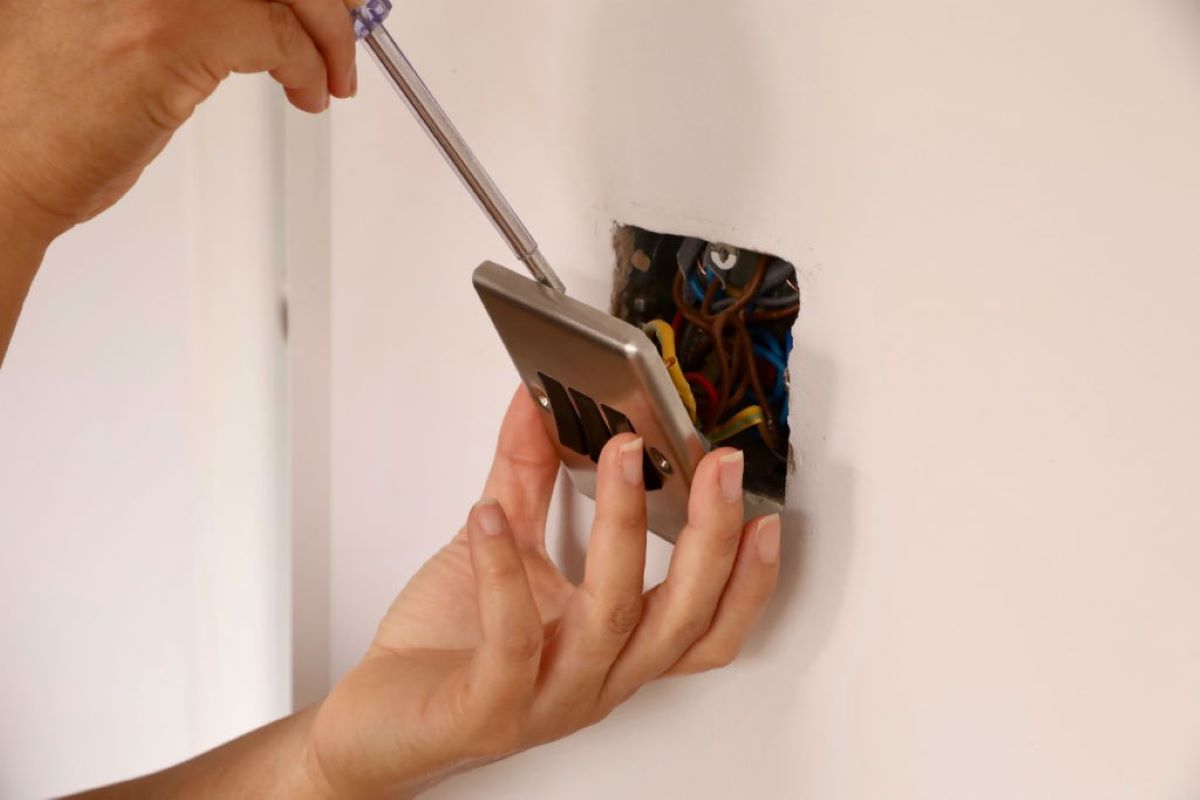
Step 3: Strip the Insulation from the Cord Wires
With the extension cord cut and prepared, the next step in wiring an extension cord to a light fixture is to strip the insulation from the cord wires. Properly stripping the wires will allow for a clean and secure connection. Follow these steps to strip the insulation:
- Separate the wires: Identify and separate the three wires of the extension cord – the black wire (hot), the white wire (neutral), and the green or bare wire (ground). It’s crucial to ensure the cord is unplugged from the power source before proceeding.
- Prepare the wire strippers: Select wire strippers that are appropriate for the gauge of the extension cord wires. Insert the wire into the appropriate stripping slot on the strippers, keeping a firm grip on the cord.
- Strip the insulation: Gently squeeze the wire strippers around the cord wire and carefully pull towards the end of the wire. Apply even pressure as you pull to avoid damaging or breaking the wire. Repeat this process for each wire, exposing approximately 1/2 inch of bare wire.
It’s crucial to pay attention while stripping the insulation, as excessive force or improper technique can damage the wires. Take your time and work carefully to ensure a clean strip without any nicks or cuts to the wire itself.
Once you have stripped the insulation from the cord wires, it’s important to note the functionality of each wire. The black wire is the “hot” wire and carries the electrical current, the white wire is the neutral wire that completes the electrical circuit, and the green or bare wire is the ground wire that provides a safety path for electrical faults.
Now that the wires are properly stripped and ready for connection, we can move on to the next step of wiring the extension cord to the light fixture.
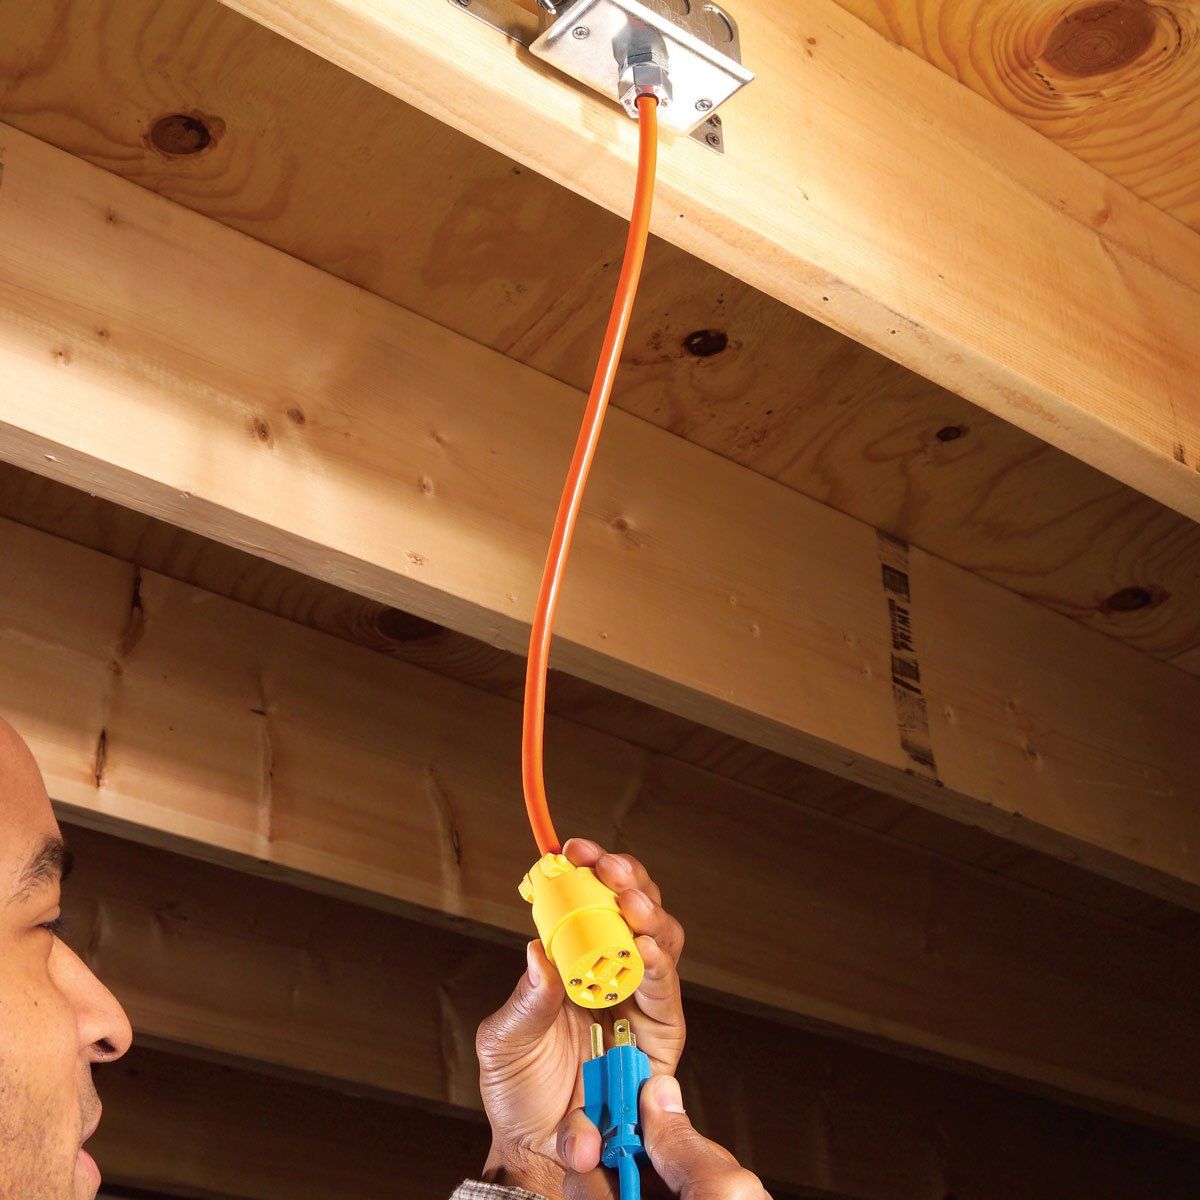
Step 4: Connect the Extension Cord to the Light Fixture
With the extension cord wires properly stripped, the next step is to connect the extension cord to the light fixture. This process will involve joining the corresponding wires from the extension cord to those of the light fixture. Follow these steps to make the connections:
- Identify the wires: Take a closer look at the light fixture and identify the corresponding wires – typically black, white, and green or bare.
- Match the wires: Match the wires of the extension cord to their corresponding colors on the light fixture. Connect the black wire from the extension cord to the black wire on the light fixture, the white wire to the white wire, and the green or bare wire to the green or bare wire.
- Join the wires: To join the wires, twist the ends of each corresponding wire together in a clockwise direction. This will create a secure and tight connection. If needed, you can use wire connectors to join and secure the wires further.
- Insulate the connections: Once the wires are joined, wrap electrical tape tightly around the exposed wire connections. This provides added insulation and protection against any accidental contact.
It’s important to ensure that the wire connections are secure and well-insulated. Loose or exposed wires can lead to electrical hazards and potential malfunctioning of the light fixture. Take your time to double-check each connection and make any necessary adjustments to ensure a solid and safe connection.
Once the extension cord is properly connected to the light fixture, we can proceed to the next step, which is securing the wire connections.
When wiring an extension cord to a light, make sure to match the wire gauge of the extension cord to the power requirements of the light to avoid overheating and potential fire hazards.
Read more: What Size Wire For Welder Extension Cord
Step 5: Secure the Wire Connections
After connecting the extension cord to the light fixture, the next important step is to secure the wire connections. This ensures that the wires remain securely joined and reduces the risk of accidental disconnection. Follow these steps to properly secure the wire connections:
- Inspect the wire connections: Take a close look at each wire connection to ensure they are properly joined. Check for any loose or exposed wires that may need to be adjusted before securing.
- Use wire connectors: If you haven’t already used them in the previous step, now is the time to utilize wire connectors. Choose appropriate wire connectors that are compatible with the wire gauge and twist them onto each set of joined wires. These connectors provide a secure and reliable connection.
- Twist the connectors: Once the connectors are in place, give them an extra twist to ensure they are tightly secured. This will help prevent any accidental loosening or disconnection of the wires.
- Check for stability: Gently tug on each wire to ensure the connections are secure and hold in place. If any of the wires feel loose or easily disconnected, go back and re-tighten the connectors.
Securing the wire connections is crucial for both safety and functionality. By doing so, you minimize the risk of electrical hazards and ensure that the light fixture operates smoothly. It’s also important to note that different wire connectors have varying capacity and compatibility, so choose the appropriate connectors based on the wire gauge being used.
Once you’re confident that the wire connections are securely in place, we can move on to the next step, which involves testing the connection and taking necessary safety precautions.
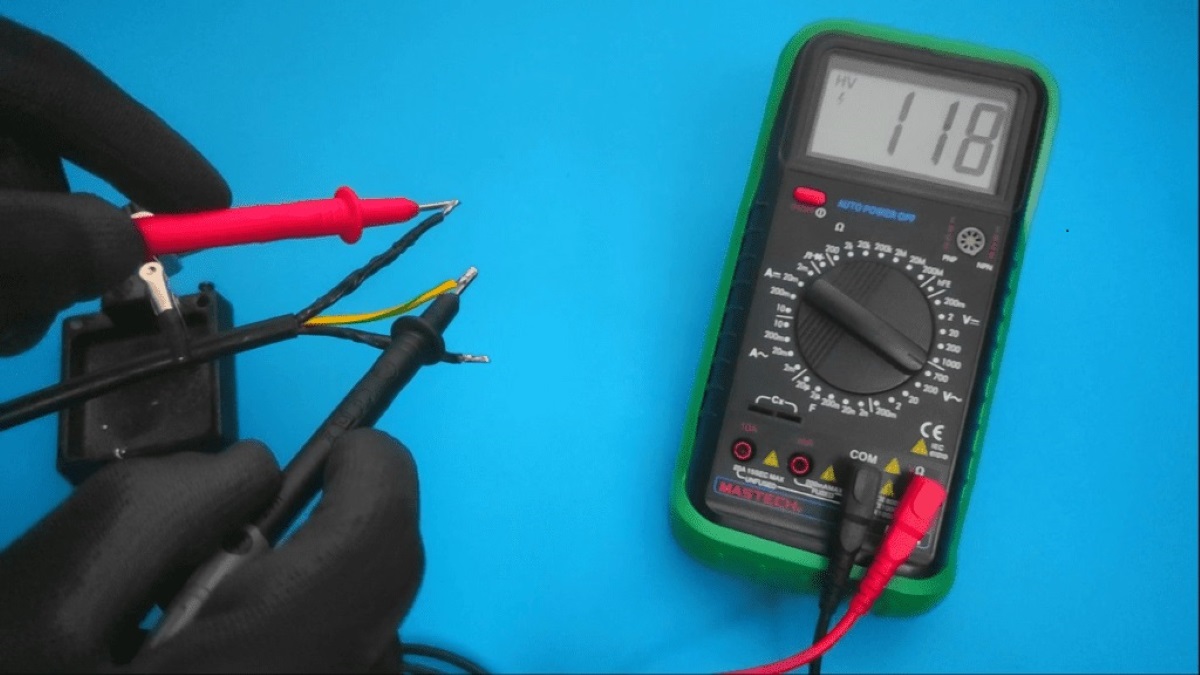
Step 6: Test the Connection and Safety Precautions
Now that the wire connections have been secured, it’s time to test the connection and take necessary safety precautions to ensure the wiring is functioning properly and safely. Follow these steps to test the connection and implement safety measures:
- Safety first: Before proceeding with testing, make sure you have taken necessary safety precautions. Ensure you are working in a well-ventilated area, avoid any flammable materials, and wear appropriate safety gear such as gloves and safety glasses.
- Plug in the extension cord: Carefully plug the extension cord into a nearby electrical outlet.
- Turn on the light fixture: Once the extension cord is plugged in, turn on the light fixture. Verify that the light fixture is receiving power and emitting light. If the light does not turn on, double-check the wire connections and ensure they are securely joined.
- Check for any issues: While the light fixture is on, inspect the entire setup for any signs of overheating, flickering lights, or unusual noises. These could indicate a potential problem with the wiring or the light fixture itself. If any issues are detected, immediately unplug the extension cord and assess the situation to identify and address the problem.
- Properly position the extension cord and light fixture: Once you have confirmed that the wiring is functioning properly, position the extension cord and light fixture in a safe and suitable location. Avoid placing the cord in high-traffic areas or areas where it can be tripped over.
- Regularly check the setup: After the initial installation, periodically check the extension cord and light fixture for any signs of wear and tear, loose wires, or other safety issues. Regular maintenance and inspection can help prevent potential hazards.
Testing the connection and taking safety precautions is essential to ensure that the wiring is functioning correctly and that you are using the setup safely. Any issues or abnormalities should be addressed immediately to prevent further problems and potential dangers.
With the connection tested and safety measures in place, we can now move on to the next step, which involves mounting and positioning the light fixture.
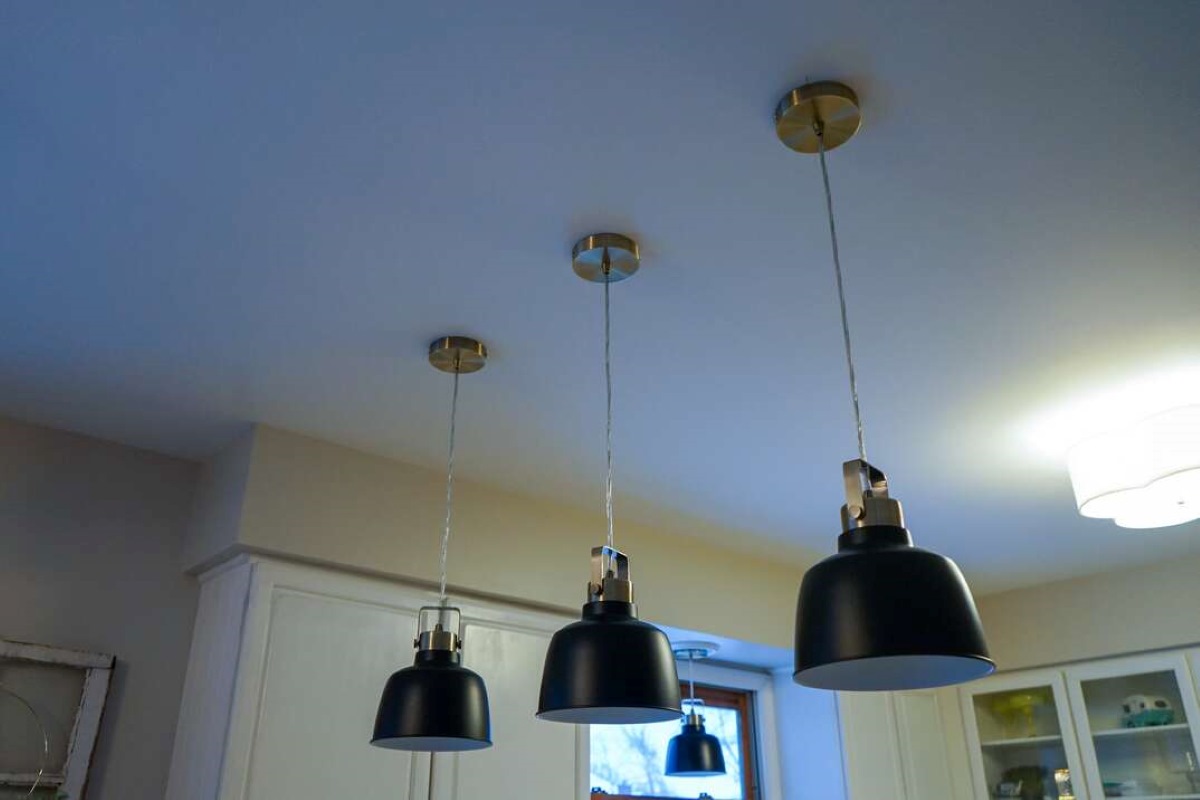
Step 7: Mount and Position the Light Fixture
After testing the connection and ensuring safety measures are in place, it’s time to mount and position the light fixture. Properly mounting and positioning the fixture will ensure optimal lighting and functionality. Follow these steps to mount and position the light fixture:
- Choose the mounting location: Determine the ideal location for the light fixture based on your specific needs. Consider factors such as the area you need to illuminate, the accessibility of the location, and any specific requirements for the light fixture.
- Prepare the mounting surface: Clean and prepare the surface where you will be mounting the light fixture. Ensure it is sturdy, stable, and suitable for supporting the weight of the fixture.
- Mark the mounting holes: Position the light fixture against the mounting surface and mark the locations for the mounting holes. Use a pencil or marker to make clear and visible marks.
- Drill pilot holes: Carefully drill pilot holes at the marked locations using an appropriate drill bit size. The size of the pilot holes will depend on the mounting screws provided with the light fixture.
- Attach the light fixture: Line up the mounting holes on the light fixture with the pilot holes you drilled. Insert the mounting screws through the holes and tighten them securely using a screwdriver or a drill with a screwdriver bit. Ensure that the fixture is firmly attached to the mounting surface.
- Adjust the position: Once the light fixture is mounted, adjust the position as needed to achieve the desired lighting angle and coverage. Some light fixtures may have adjustable heads or swivel options to provide flexibility in positioning.
Take your time and ensure that the light fixture is securely mounted and positioned correctly. A properly mounted fixture will not only provide effective lighting but also reduce the risk of accidents or damage caused by an unstable fixture.
After mounting and positioning the light fixture, we can move on to the final steps of checking and implementing any necessary precautions before concluding the process.
Step 8: Final Checks and Precautions
Before finalizing the process of wiring an extension cord to a light fixture, it’s important to perform some final checks and implement necessary precautions to ensure everything is in order. Follow these steps for the final checks and precautions:
- Double-check the wire connections: Take a moment to inspect the wire connections one last time. Make sure they are securely joined, properly insulated with electrical tape, and free from any signs of damage or loose wires.
- Verify the stability of the light fixture: Gently shake or tug on the light fixture to check its stability. Ensure that it is securely mounted and does not move or wobble excessively.
- Inspect the cord for any damage: Carefully examine the extension cord for any signs of damage, such as frayed wires or exposed insulation. If any damage is detected, immediately replace the cord to prevent electrical hazards.
- Make sure the cord is positioned safely: Ensure that the extension cord is positioned in a safe manner, away from areas where it can be tripped over or damaged. Use cord clips or ties to secure the cord and minimize any potential hazards.
- Test the light fixture once more: Turn on the light fixture and verify that it is functioning properly. Ensure that there are no flickering lights, sparking, or any other issues. If any problems are experienced, consult a professional electrician for assistance.
- Follow maintenance guidelines: Refer to the manufacturer’s guidelines for maintenance and care of the light fixture. Regularly inspect and clean the fixture to maintain optimal performance and longevity.
By performing these final checks and implementing necessary precautions, you can ensure the safe and efficient operation of the wired extension cord and light fixture. It’s crucial to prioritize safety and always exercise caution when working with electricity.
With the final checks and precautions complete, you have successfully wired an extension cord to a light fixture. Enjoy the convenience and functionality of your newly installed portable light source!
Read more: How To Wire Electrical Cord
Conclusion
Wiring an extension cord to a light fixture can be a practical solution for providing additional lighting in areas where an electrical outlet is not readily available. By following the step-by-step process outlined in this guide, you can successfully wire an extension cord to a light fixture while ensuring safety and functionality.
Throughout the process, it is essential to prioritize safety. Always adhere to safety precautions, such as wearing appropriate safety gear, unplugging the extension cord before working on it, and consulting a professional electrician if you have any doubts or concerns. Electrical work should be approached with caution to avoid accidents and ensure a reliable connection.
By gathering the necessary tools and equipment, cutting and preparing the extension cord, stripping the insulation from the cord wires, connecting the extension cord to the light fixture, securing the wire connections, testing the connection, mounting and positioning the light fixture, and performing final checks and precautions, you can successfully complete the wiring process.
Remember to periodically check and maintain the setup to ensure its continued functionality and safety. Regular inspection, cleaning, and addressing any signs of wear and tear will help maintain the efficiency and longevity of the setup.
Now that you have the knowledge and understanding of how to wire an extension cord to a light fixture, you can enjoy the convenience and benefits of having portable lighting wherever you need it. Whether you’re working in your garage, basement, or outdoor area, having a well-lit space can greatly enhance your productivity and overall experience.
Always remember to exercise caution and prioritize safety when working with electrical wiring. If you have any uncertainties or concerns, it is recommended to consult a professional electrician for guidance and assistance.
With proper planning, execution, and attention to safety, you can successfully wire an extension cord to a light fixture and enjoy the benefits of versatile and convenient lighting solutions.
Ready to tackle more home improvement projects? Wiring isn't limited to small fixtures. For those planning to extend their electrical prowess, mastering how to run overhead electrical wire to your garage can significantly optimize your space usage and increase functionality. Our detailed guide not only simplifies the process but ensures safety and efficiency every step of the way. Don't miss out on transforming your garage into a fully powered workshop or cozy retreat.
Frequently Asked Questions about How To Wire An Extension Cord To A Light
Was this page helpful?
At Storables.com, we guarantee accurate and reliable information. Our content, validated by Expert Board Contributors, is crafted following stringent Editorial Policies. We're committed to providing you with well-researched, expert-backed insights for all your informational needs.

0 thoughts on “How To Wire An Extension Cord To A Light”