Articles
How To Wrap Large Boxes
Modified: January 19, 2024
Looking for craft storage solutions? Learn how to wrap large boxes effectively with our step-by-step guide. Maximize your space and keep your supplies organized!
(Many of the links in this article redirect to a specific reviewed product. Your purchase of these products through affiliate links helps to generate commission for Storables.com, at no extra cost. Learn more)
How to Wrap Large Boxes
If you have ever tried to wrap a large box, you know that it can be a challenging task. However, with the right technique and a little patience, you can achieve a beautifully wrapped gift that will impress the recipient. In this article, we will guide you through the process of wrapping large boxes step-by-step.
Key Takeaways:
- Prepare the box by cleaning, smoothing, and considering modifications before wrapping to ensure a polished and visually appealing result.
- Use double-sided tape to secure the wrapping paper, reinforce edges and corners, and add optional embellishments for a professional and personalized touch.
Gather Materials
Before you start wrapping your large box, gather all the materials you will need. This includes:
– Wrapping paper: Make sure you have enough to cover the entire box.
– Scissors: A good pair of scissors will come in handy for cutting the wrapping paper.
– Tape: Choose a strong, double-sided tape to secure the wrapping paper.
– Ribbon or bows (optional): Adding a decorative touch can elevate the look of your wrapped gift.
Prepare the Box
Before you begin wrapping, ensure that the box is clean and free from any dust or debris. If there are any protrusions, like handles or knobs, consider removing or covering them to make the wrapping process smoother.
Measure and Cut Wrapping Paper
Start by measuring the dimensions of your box. Lay the wrapping paper on a flat surface, with the printed side facing down. Place the box in the center of the paper. Roll the box until it is completely covered by the wrapping paper, ensuring there is enough paper on all sides to cover the box’s edges.
Using the scissors, cut the wrapping paper, leaving extra on each side to fold over the edges of the box.
Key Takeaways:
- Prepare the box by cleaning, smoothing, and considering modifications before wrapping to ensure a polished and visually appealing result.
- Use double-sided tape to secure the wrapping paper, reinforce edges and corners, and add optional embellishments for a professional and personalized touch.
Gather Materials
Before you start wrapping your large box, gather all the materials you will need. Having everything prepared beforehand will make the wrapping process much smoother and more efficient. Here are the essential materials you’ll need:
– Wrapping Paper: Choose a sturdy and durable wrapping paper that is large enough to cover the entire box. Make sure the design or color of the paper aligns with the occasion or the recipient’s preferences.
– Scissors: A good pair of scissors is necessary to cut the wrapping paper to the right size and to trim any excess paper. Make sure your scissors are sharp to achieve clean and precise cuts.
– Tape: Select a strong, double-sided tape that will securely hold the wrapping paper in place. Avoid using regular cellophane tape, as it may not provide the needed strength and could result in the paper coming loose.
– Ribbon or Bows (optional): To add an extra decorative touch to your wrapped box, consider using ribbon or bows. These embellishments can enhance the overall appearance and make the gift more visually appealing.
– Gift Tags: Don’t forget to have gift tags on hand to write a personalized message or indicate the recipient’s name. This small detail adds a thoughtful touch to your gift.
– Box Reinforcements (optional): If your box is fragile or in need of extra support, consider using box reinforcements such as adhesive corner protectors or foam padding. These can help ensure the box stays intact during transportation and handling.
Once you have gathered all the necessary materials, organize them in a designated wrapping area. Make sure you have enough space to move around comfortably while wrapping the large box. Having everything within reach will save you time and prevent unnecessary interruptions during the wrapping process.
Remember, preparation is key when it comes to wrapping large boxes. By having all the materials ready, you can focus on creating a beautifully wrapped gift without any last-minute mishaps.
Prepare the Box
Before you begin the actual wrapping process, it is essential to properly prepare the large box. This step will ensure that the box is clean and ready to be wrapped, as well as help make the wrapping process smoother and more successful. Here are the key aspects to consider when preparing the box:
1. Clean the Box: Inspect the box for any dust, dirt, or debris. Wipe it down with a clean cloth or use a lint roller to remove any loose particles. Cleaning the box will prevent unwanted particles from getting trapped under the wrapping paper, resulting in a clean and polished final look.
2. Remove Price Tags and Labels: If your box has any price tags or labels, carefully remove them. Use a gentle adhesive remover if needed, to avoid leaving behind any sticky residue. Removing these tags will ensure a neat and professional appearance.
3. Smooth out Any Imperfections: Check the box for any dents, creases, or bumps. Gently push out any noticeable imperfections to make sure the box’s surface is as smooth as possible. This step is crucial as it will help the wrapping paper adhere evenly and create a visually appealing result.
4. Consider Box Modifications: If your box has any protrusions such as handles, knobs, or closures, you may want to assess whether they need to be modified or covered. In some cases, you can remove the handles temporarily and reattach them after wrapping. Alternatively, you can cover them with decorative elements such as bows or ribbon to seamlessly incorporate them into the overall design.
Taking the time to prepare the box properly will set the foundation for a successful wrapping process. By ensuring it is clean, smooth, and free from any imperfections, you’ll have a solid base to showcase your wrapping skills. It’s also a great opportunity to personalize the gift and make it more aesthetically pleasing. So, invest some time in preparing the box, and you’ll be on your way to creating a beautifully wrapped gift that will surely impress the recipient.
Measure and Cut Wrapping Paper
Now that you have prepared the box, it’s time to measure and cut the wrapping paper. This step is crucial to ensure that the paper fits the box perfectly and achieves a clean and professional-looking result. Follow these steps for accurate measurement and cutting:
1. Lay Out the Wrapping Paper: Find a flat surface, such as a table or floor, where you can work comfortably. Unroll the wrapping paper with the printed side facing down. If the paper has a clear front and back, make sure the front side is facing down.
2. Position the Box: Place the large box in the center of the wrapping paper. Make sure it is aligned evenly, with each side of the box facing towards the corners of the paper.
3. Measure the Wrapping Paper: Pull the wrapping paper up and over one side of the box. Ensure that there is enough paper to cover the entire side and extend a few inches over the edge of the box. Repeat this step for each side, making sure the paper overlaps slightly at the corners.
4. Cut the Wrapping Paper: Using a pair of sharp scissors, carefully cut along the edge of the paper to create clean, straight lines. Take your time to make precise cuts, ensuring that the edges are neat and not jagged.
5. Repeat for the Other Sides: Once you have cut the wrapping paper for one side, gently lift the box and shift it to the adjacent side. Repeat the measuring and cutting process for each remaining side until all sides of the box are covered.
6. Trim Any Excess Paper: Once all the sides are wrapped, evaluate if there is any excess paper hanging over the edges. If so, use your scissors to trim the excess, leaving about an inch or two of paper to fold neatly over the edges of the box.
Remember to take accurate measurements and cut the wrapping paper precisely. A well-fitted paper will create a crisp and polished appearance, making your wrapped gift look impressive. Take your time during this step to ensure that the measurements are correct and the cuts are clean. With the wrapping paper ready, you’re one step closer to beautifully wrapping your large box.
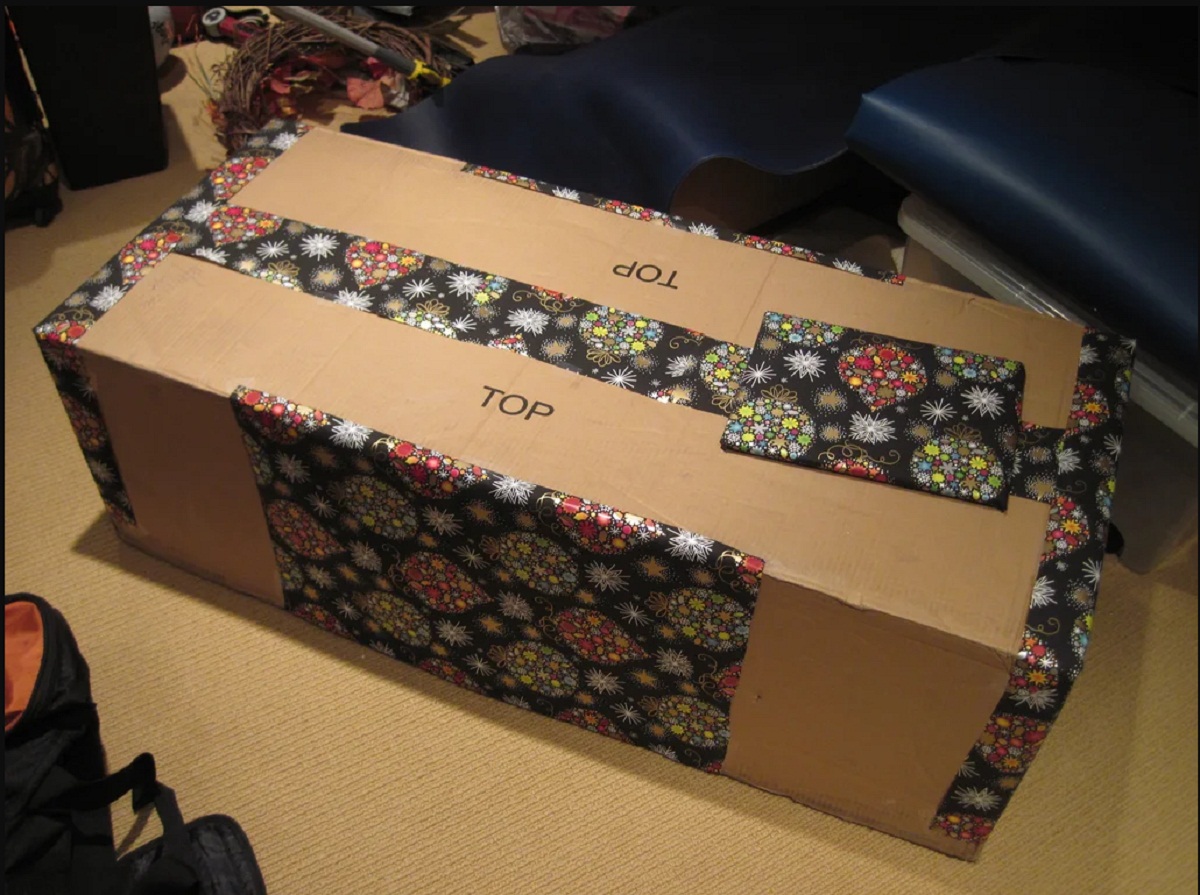
Wrap the Box
With the wrapping paper measured and cut to size, it’s time to wrap the large box. Follow these step-by-step instructions to ensure a tight and seamless wrap:
1. Position the Box: Place the box in the center of the wrapping paper, with one of the larger sides facing up. Make sure the paper extends beyond the edges of the box on all sides.
2. Fold the Paper: Take one side of the wrapping paper and carefully fold it over the box, creating a neat and straight edge along one side. Press down firmly to secure the paper in place.
3. Repeat for the Opposite Side: Fold the opposite side of the wrapping paper over the box, aligning it with the first folded side. Adjust as needed to ensure a tight and even fit. Press the paper down firmly to secure it in place.
4. Secure the Sides: Begin securing the folded sides of the wrapping paper to the box using double-sided tape. Place small pieces of tape along the inner edges and corners of the paper. Press the paper against the box to ensure a secure hold.
5. Fold the Remaining Sides: Take the remaining two sides of the wrapping paper and fold them inward, overlapping the first two folded sides. Make sure the edges meet evenly and adjust as necessary. Press the paper down firmly to create a clean and seamless wrap.
6. Use Tape to Secure: Once the remaining sides are folded, use additional strips of double-sided tape to secure the overlapping edges. Apply the tape on the inner edges and corners to ensure a secure hold.
7. Smooth Out Wrinkles: Gently run your hands over the wrapped box to smooth out any wrinkles or air bubbles. Apply light pressure to ensure that the paper is tightly adhered to the box’s surface.
8. Repeat for the other Side: If your box requires wrapping on both sides, carefully flip it over and follow the same steps to wrap the other side.
Remember to take your time and apply even pressure while wrapping the box. A well-wrapped box will have clean and crisp edges, giving it a professional and polished look. Adjust the paper as needed to ensure a tight and smooth fit before securing it with tape. With the box securely wrapped, you’re ready to move on to the next step of the gift wrapping process.
Secure the Wrapping Paper
Now that the large box is neatly wrapped, it’s important to secure the wrapping paper to ensure it stays in place and maintains its polished appearance. Follow these steps to securely fasten the wrapping paper:
1. Reinforce the Edges: Start by gently pulling the loose edges of the wrapping paper towards the center of each side. This will create clean and defined edges along the box.
2. Use Double-Sided Tape: Apply strips of double-sided tape along the inside edges of the wrapping paper. Make sure the tape is close to the edge but not visible from the outside. The double-sided tape will provide a strong hold without compromising the overall look of the wrapped box.
3. Press and Smooth Out: Carefully press the edges of the wrapping paper onto the double-sided tape, ensuring they adhere securely. Smooth out any wrinkles or creases by running your hands along the surface of the wrapping paper, starting from the center and moving towards the edges.
4. Secure the Corners: To prevent the corners of the wrapping paper from coming loose, fold each corner towards the center of the box, creating a triangular shape. Press the folded corners firmly against the box, securing them in place with double-sided tape.
5. Reinforce with Additional Tape: For added security, you can reinforce the edges and corners by applying additional strips of double-sided tape. This will provide extra support and help maintain the integrity of the wrapped box.
6. Trim Excess Paper (If Necessary): If there is excess wrapping paper beyond the edges of the box, use scissors to carefully trim it, creating clean and tidy edges.
By following these steps and using double-sided tape, you can ensure that the wrapping paper stays in place and maintains a professional appearance. Take the time to reinforce the edges and corners, as they are areas prone to coming loose during transportation or handling. With the wrapping paper securely fastened, your beautifully wrapped large box is now ready for any finishing touches or decorations you may want to add.
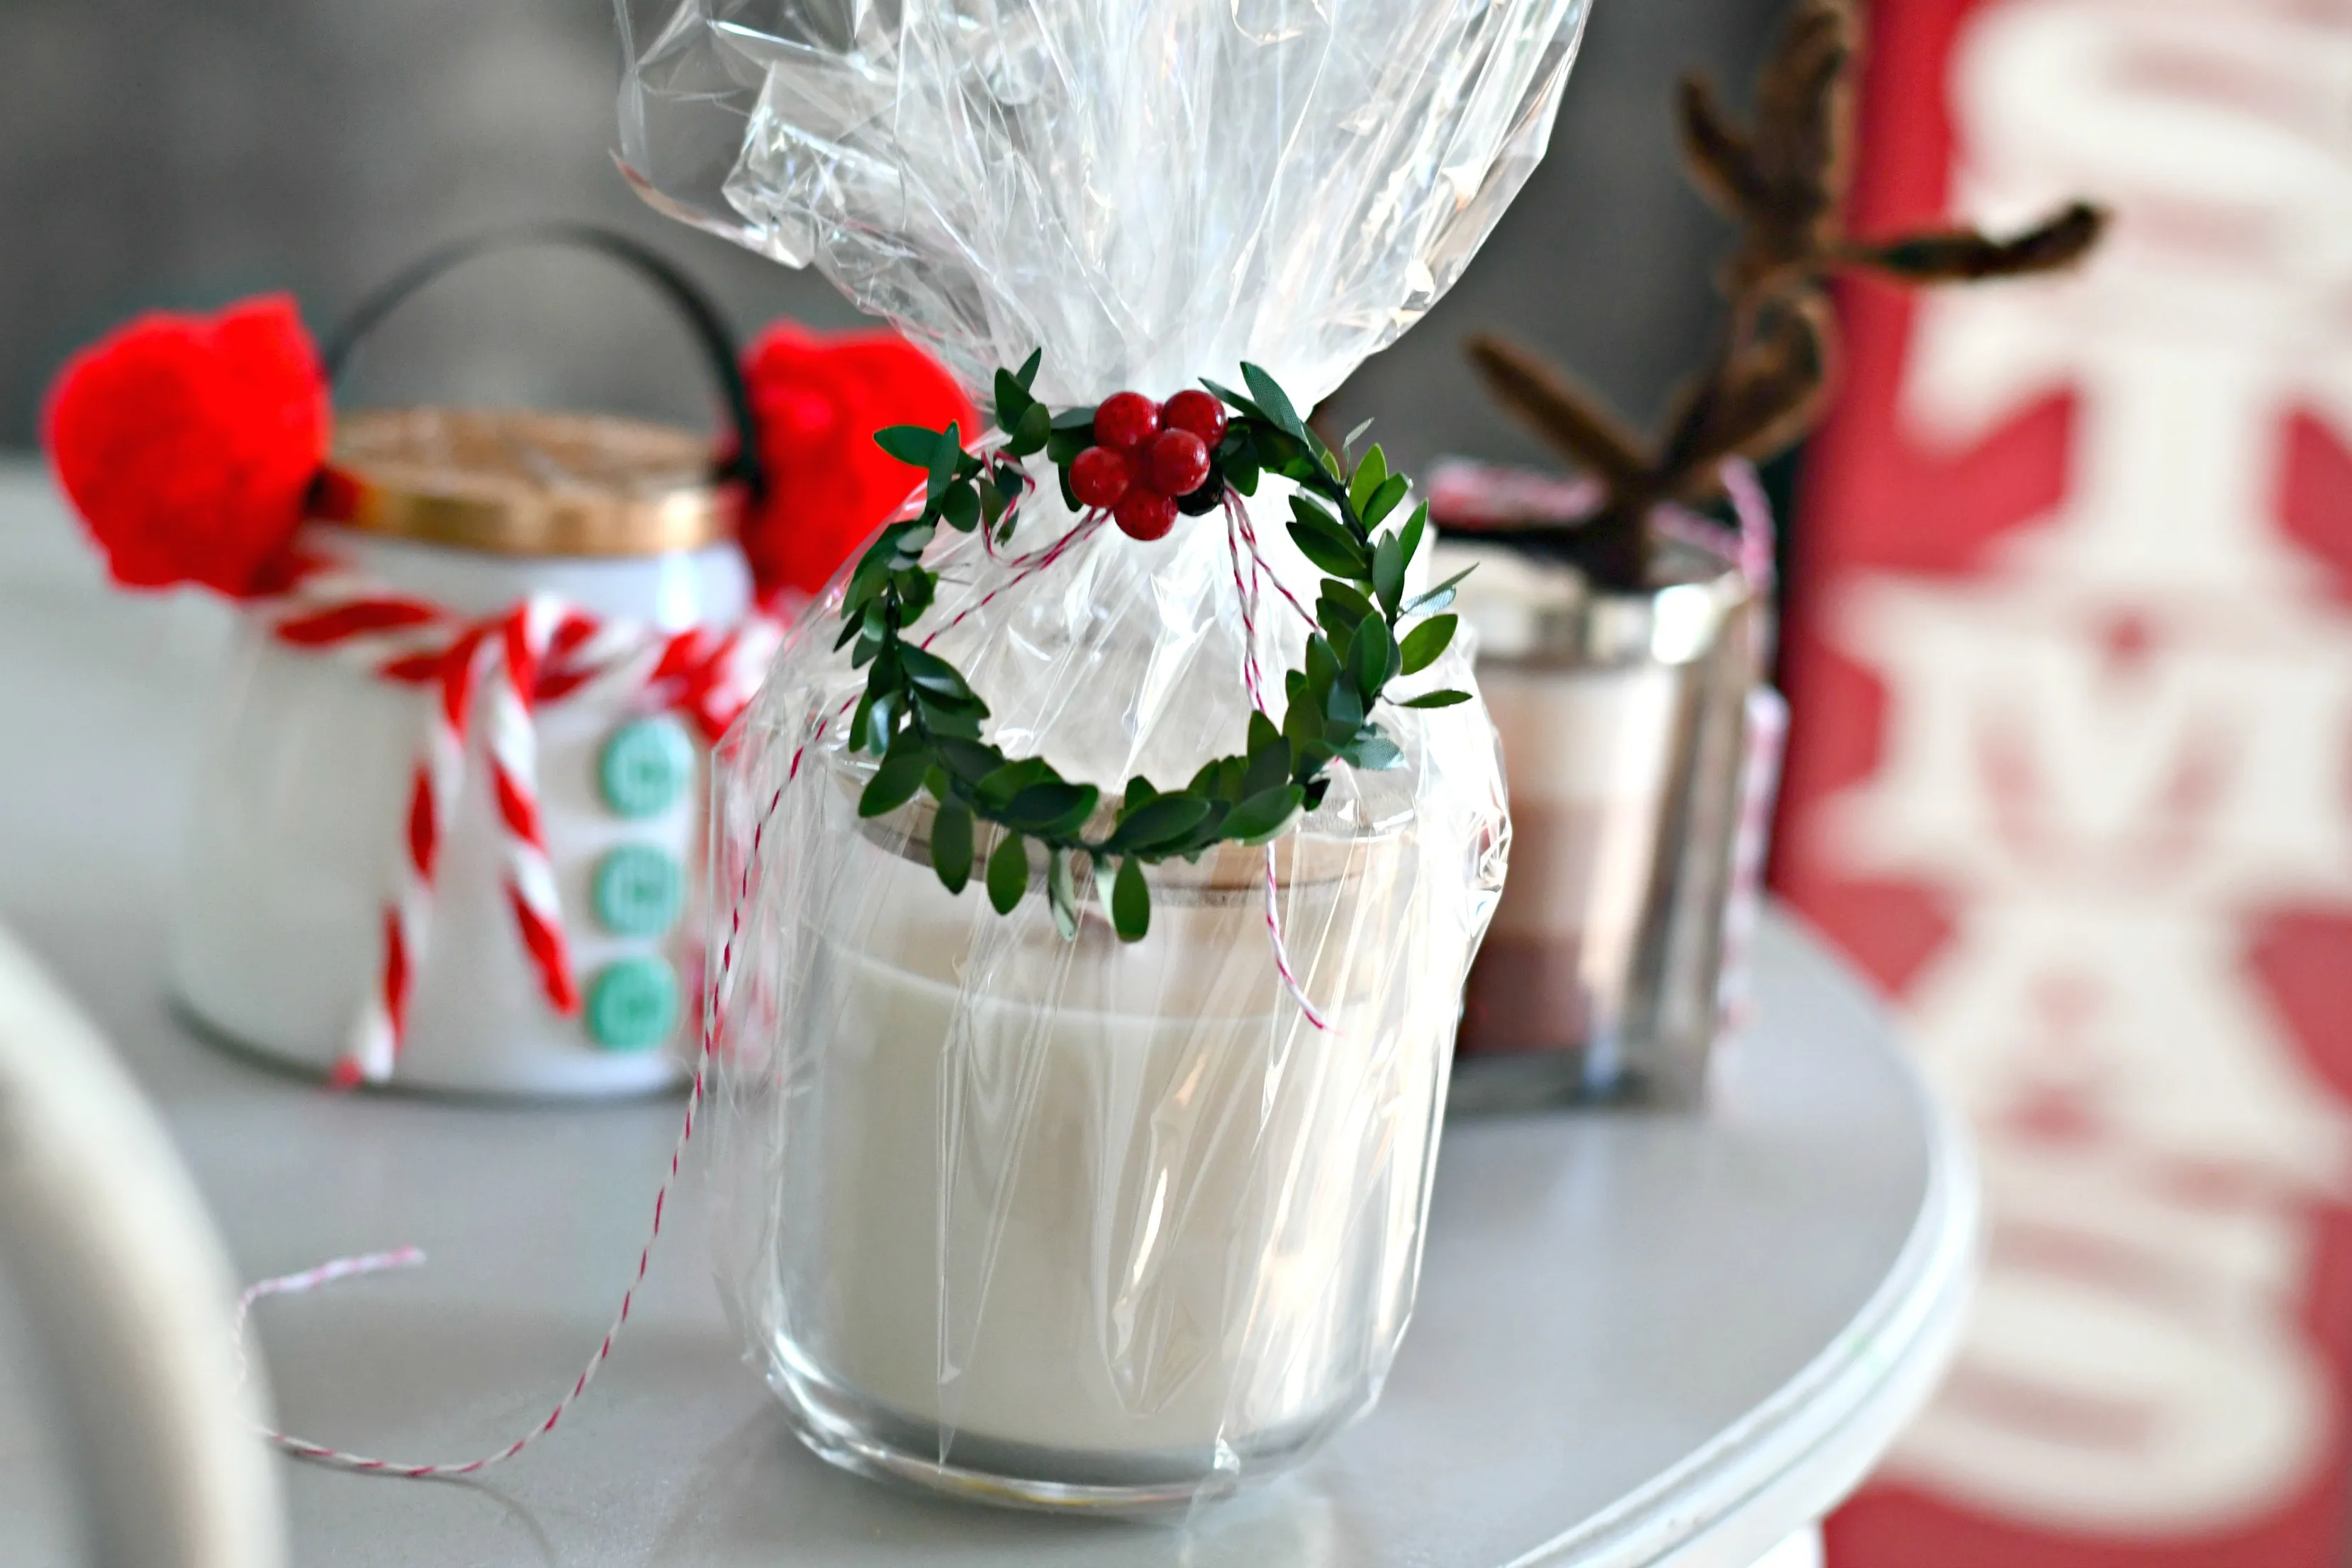
Embellish (Optional)
While a neatly wrapped large box is already visually appealing, you can take your gift to the next level by adding some decorative embellishments. Here are some optional embellishments you can consider:
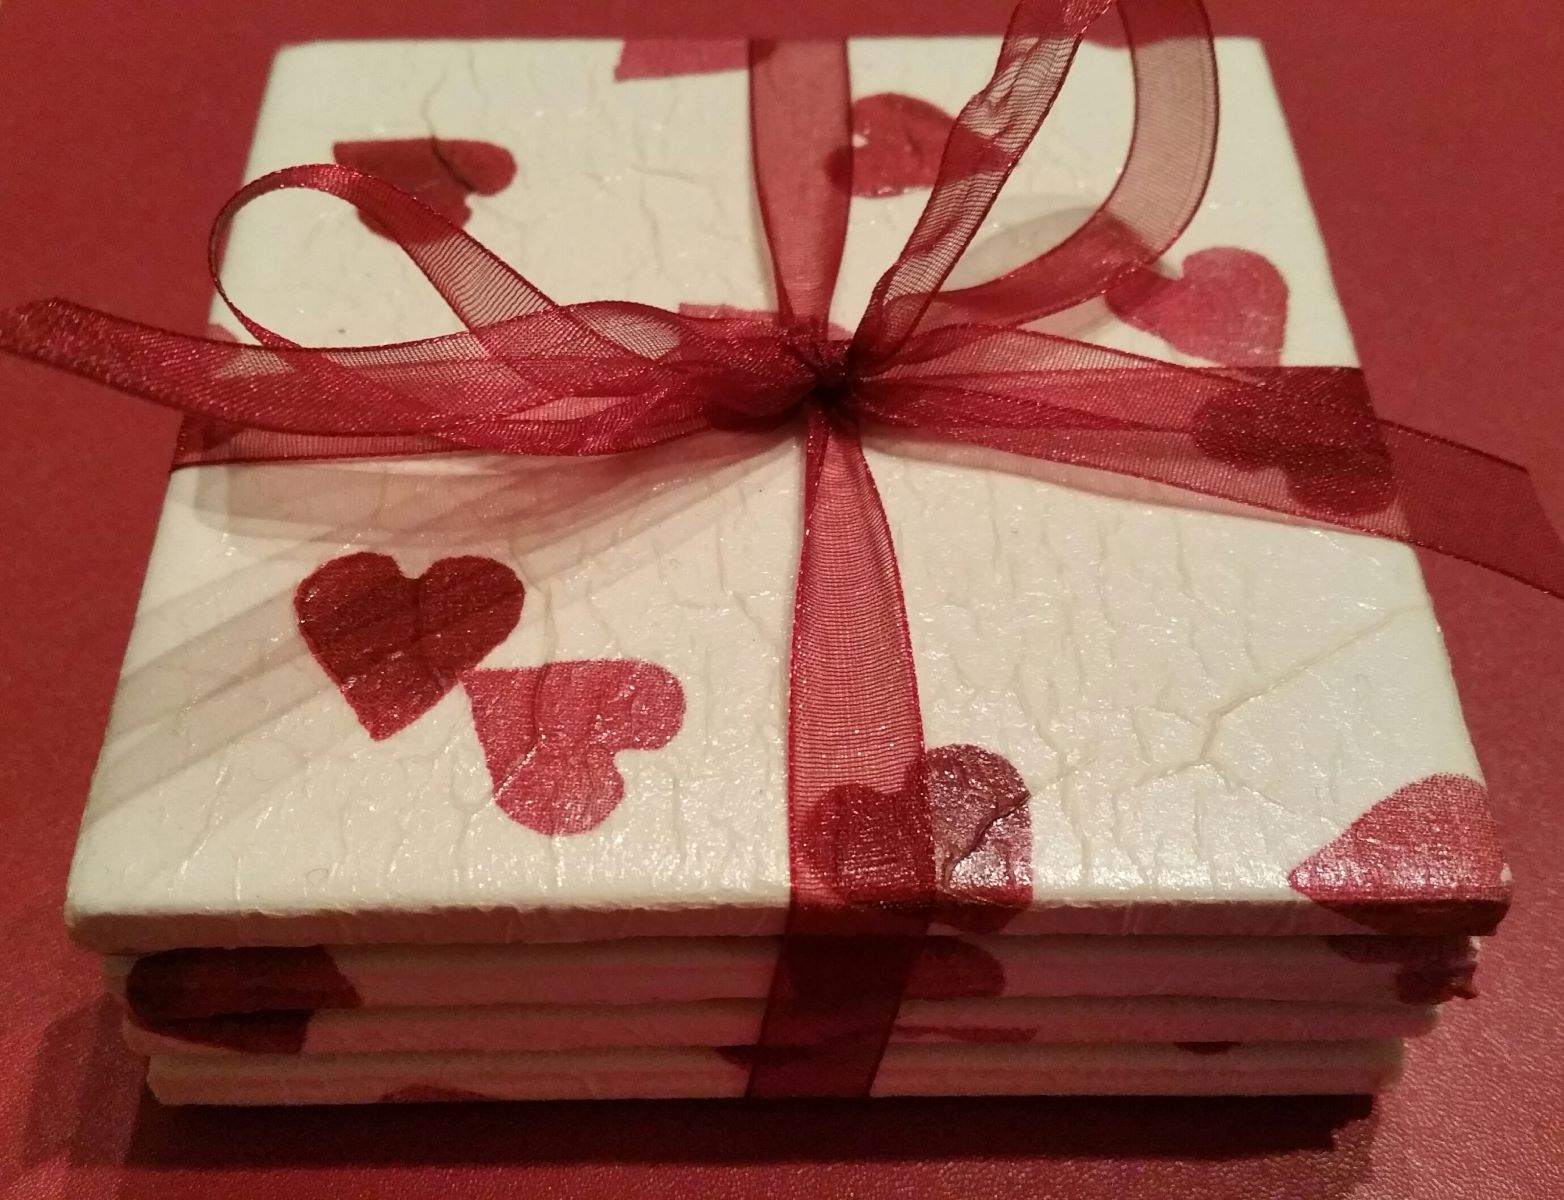
1. Ribbons and Bows: For a classic and elegant look, tie a ribbon around the box and create a beautiful bow on top. Choose a ribbon that complements the wrapping paper or opt for a contrasting color to make it stand out. Experiment with different bow styles, such as a classic bow or a fluffy bow, to add a touch of sophistication.
2. Gift Tags or Labels: Attach a personalized gift tag or label to the package. Write a heartfelt message or the recipient’s name on the tag to make the gift feel more personalized. You can find pre-made gift tags in various designs or create your own using cardstock or decorative paper.
3. Foliage or Flowers: Add a natural touch to your gift by attaching foliage or flowers. Choose sprigs of greenery, like eucalyptus or ferns, or small blooms that match the occasion. Tie them to the ribbon or attach them with a small piece of tape to bring a touch of freshness and beauty to the wrapped box.
4. Stickers or Decals: If you want a fun and playful touch, use stickers or decals to decorate the wrapping paper. Look for stickers that match the recipient’s interests or use themed stickers based on the occasion. Place them strategically to create a unique design that adds charm and personality to the gift.
5. Glitter or Sparkle: For a touch of glamour, consider adding some glitter or sparkle to the wrapped box. Sprinkle a little glitter or use adhesive rhinestones or sequins to create a dazzling effect. Be cautious with glitter, as it can be messy, so apply it sparingly and seal it with clear tape to keep it in place.
6. Gift Toppers or Ornaments: Attach small gift toppers or ornaments to the gift for an extra decorative element. This can include mini ornaments, small toys, or even a charm that represents something special to the recipient. These small additions can make the gift more interactive and memorable.
Remember, embellishments are optional, and you should choose ones that align with the recipient’s taste and preferences. Be mindful not to overwhelm the gift with too many decorations, as it could distract from the elegance of the wrapped box. Select a few embellishments that enhance the overall presentation and create a sense of anticipation and excitement. With the optional embellishments added, your wrapped large box will truly impress the recipient.
Tips and Tricks
Wrapping a large box can be a bit challenging, but with these tips and tricks, you’ll be able to achieve a beautifully wrapped gift with ease:
1. Measure Twice, Cut Once: Take your time to accurately measure the wrapping paper before cutting. Double-check the dimensions of the box and add a few extra inches to ensure enough paper to wrap around the edges without falling short.
2. Use a Flat Surface: Find a spacious and flat surface to wrap your large box. A table or clean floor works best. This will provide ample space to maneuver the wrapping paper and ensure a seamless wrap.
3. Roll, Don’t Fold: When wrapping the box, roll it as you would with a present that has a cylindrical shape. This will help you achieve a tight and snug fit around the box, avoiding excess paper or loose ends.
4. Reinforce the Bottom: Before placing the gift inside the box, reinforce the bottom by using extra tape or reinforcement stickers. This will give the box added stability and prevent it from collapsing under the weight of the gift.
5. Try the Diagonal Fold: To create clean and crisp corners, fold the wrapping paper diagonally at the edges of the box. This technique helps eliminate excess paper and creates neat triangular flaps that can be secured with tape.
6. Use Clear Tape: Opt for clear double-sided tape or transparent tape. This will ensure that the tape doesn’t distract from the overall appearance of the wrapped box. If using regular adhesive tape, fold the edges of the wrapping paper over to conceal it.
7. Don’t Forget the Gift Tag: Attach a gift tag or label to the wrapped box to add a personal touch. This allows you to write a special message or write the recipient’s name, making the gift feel more thoughtful and individualized.
8. Take Breaks if Needed: Wrapping a large box can be time-consuming, so don’t hesitate to take breaks if you feel overwhelmed. It’s better to take a step back and come back to it with fresh eyes and a clear mind.
9. Experiment with Decorative Elements: Have fun with embellishments and decorations. Explore different ribbon styles, try different bow sizes, or mix and match materials to add uniqueness to your wrapped box. The possibilities are endless!
10. Practice Makes Perfect: If you’re new to wrapping large boxes or want to improve your skills, practice with a few smaller boxes beforehand. This will help you build confidence and master the techniques.
Remember, the key to successful wrapping is patience and attention to detail. With practice and these helpful tips, you’ll become a pro at wrapping large boxes in no time. Enjoy the process and create beautifully wrapped gifts that will delight your recipients!
Conclusion
Wrapping large boxes doesn’t have to be a daunting task. With the right materials, proper preparation, and attention to detail, you can create a stunningly wrapped gift that will leave a lasting impression.
By gathering all the necessary materials and preparing the box beforehand, you set the stage for a successful wrapping experience. Measuring and cutting the wrapping paper with precision ensures a perfect fit, while securely wrapping the box and reinforcing the edges ensures a polished and tidy appearance.
Optional embellishments such as ribbons, bows, or personalized gift tags can elevate the overall presentation and add a touch of charm. Remember to have fun with your creative choices, but also exercise restraint to let the elegance of the wrapped box shine through.
Throughout the wrapping process, keep in mind these tips and tricks to make the task easier and more enjoyable. Double-check measurements, use a flat surface, and don’t hesitate to take breaks when needed. Practice makes perfect, so don’t be discouraged if your first attempt isn’t flawless. With time and practice, you’ll develop your own wrapping style and techniques.
Wrapping a large box isn’t just about enclosing a gift—it’s an opportunity to show someone you care. A beautifully wrapped box creates an air of anticipation and excitement for the recipient, making the gift-giving experience even more special.
So, next time you have a large box to wrap, approach it with confidence. Follow the steps outlined in this article, embrace your creativity, and enjoy the process. With your newfound skills, you’ll be able to create memorable and impressive gifts that will be cherished by your loved ones. Happy wrapping!
Frequently Asked Questions about How To Wrap Large Boxes
Was this page helpful?
At Storables.com, we guarantee accurate and reliable information. Our content, validated by Expert Board Contributors, is crafted following stringent Editorial Policies. We're committed to providing you with well-researched, expert-backed insights for all your informational needs.

0 thoughts on “How To Wrap Large Boxes”